
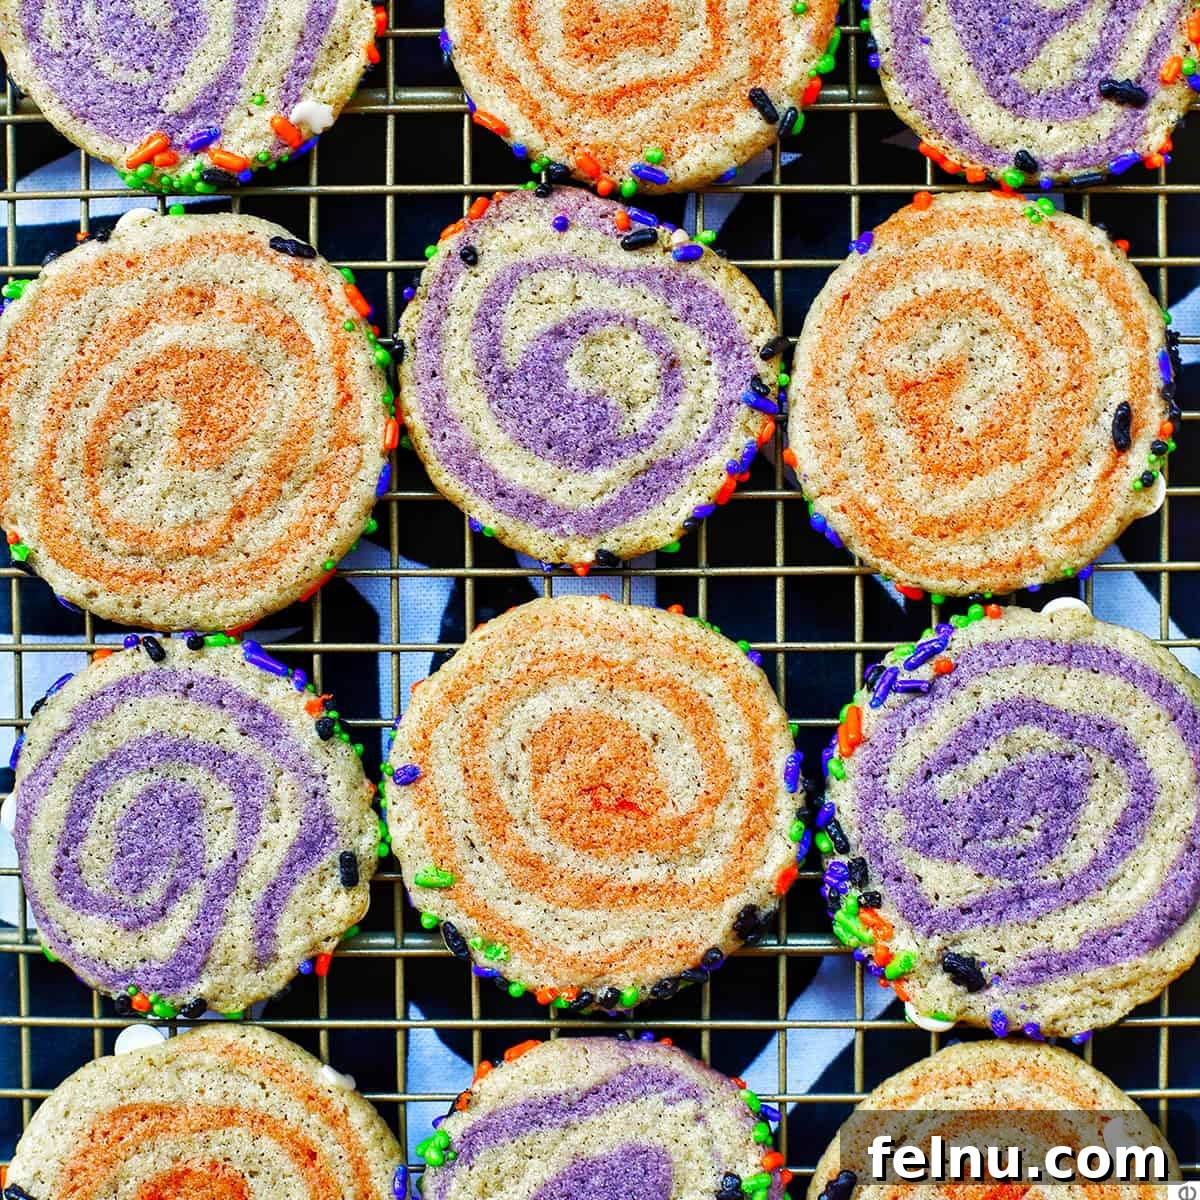
Spooky & Delicious Halloween Pinwheel Cookies: The Ultimate Recipe
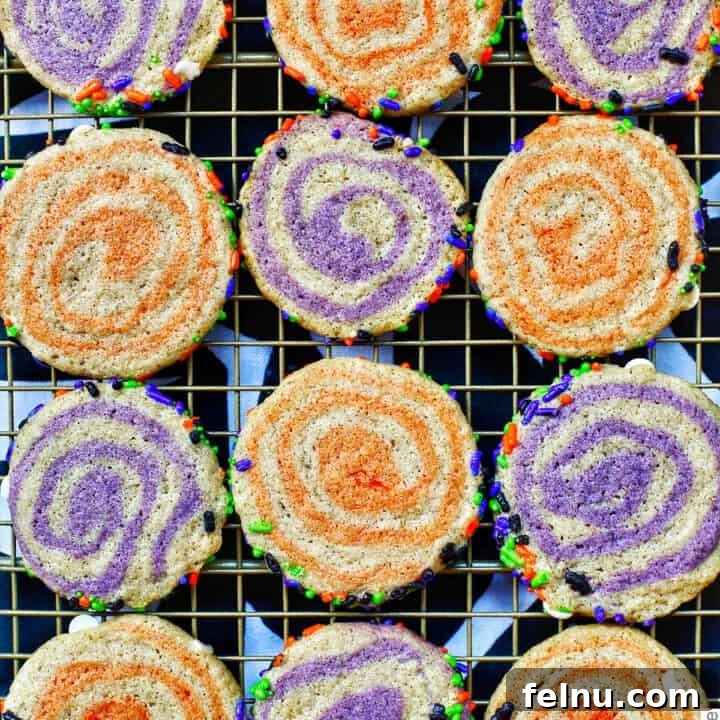
Get ready for a spooktacular treat! These Halloween Pinwheel Cookies are a delightful twist on classic slice-and-bake cookies, infused with a hint of pumpkin spice and brimming with Halloween spirit. They’re not just cookies; they’re a festive experience! The bright colors, swirling patterns, and delicious flavor make these pinwheel cookies the perfect addition to any Halloween celebration. From neighborhood gatherings to spooky movie nights, these cookies are sure to be a hit.
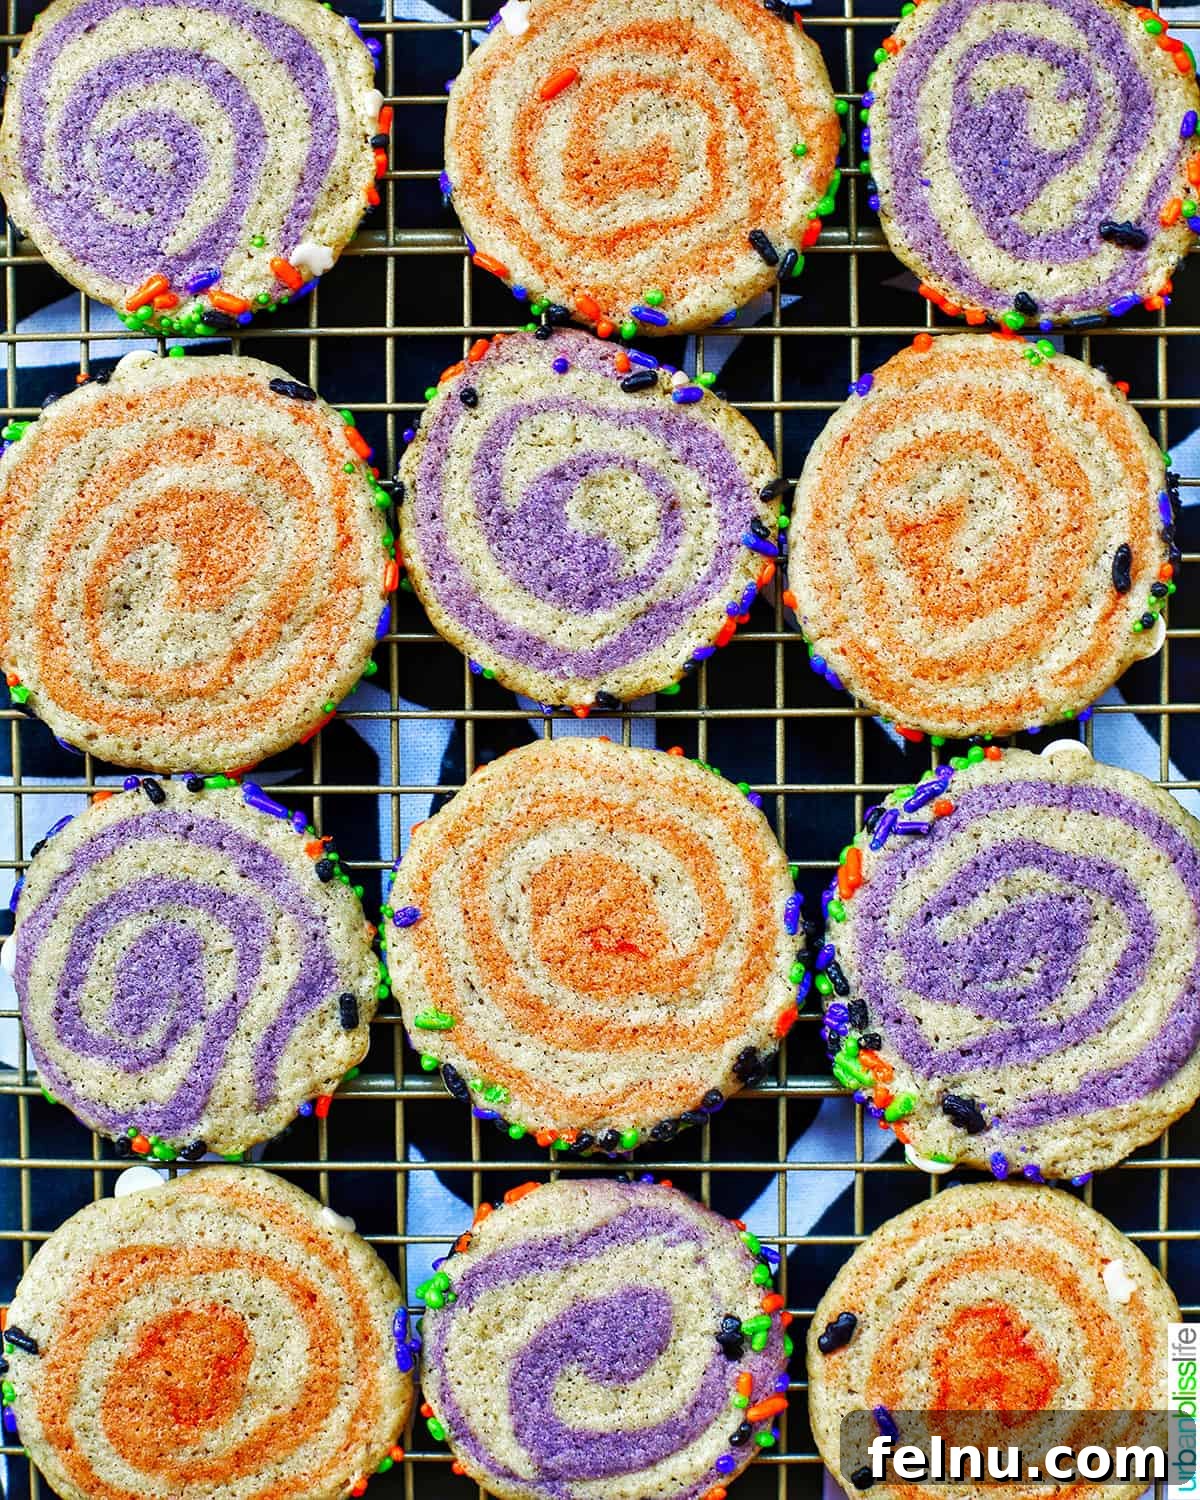
Are you prepared for the Halloween season? This year, we’re taking the traditional sugar cookie dough and giving it a Halloween-themed makeover! Transform your kitchen into a magical bakery with these easy-to-make cookies that bring the spirit of Halloween right to your taste buds. These delightful cookies are perfect for sharing with friends, family, and trick-or-treaters alike.
These festive Halloween sugar cookies are a simple and enjoyable addition to any Halloween party, making them ideal for celebrations of all sizes. Make them ahead of time, store them carefully, and watch how many people want to gobble them up quickly!
Why You’ll Love This Halloween Pinwheel Cookie Recipe
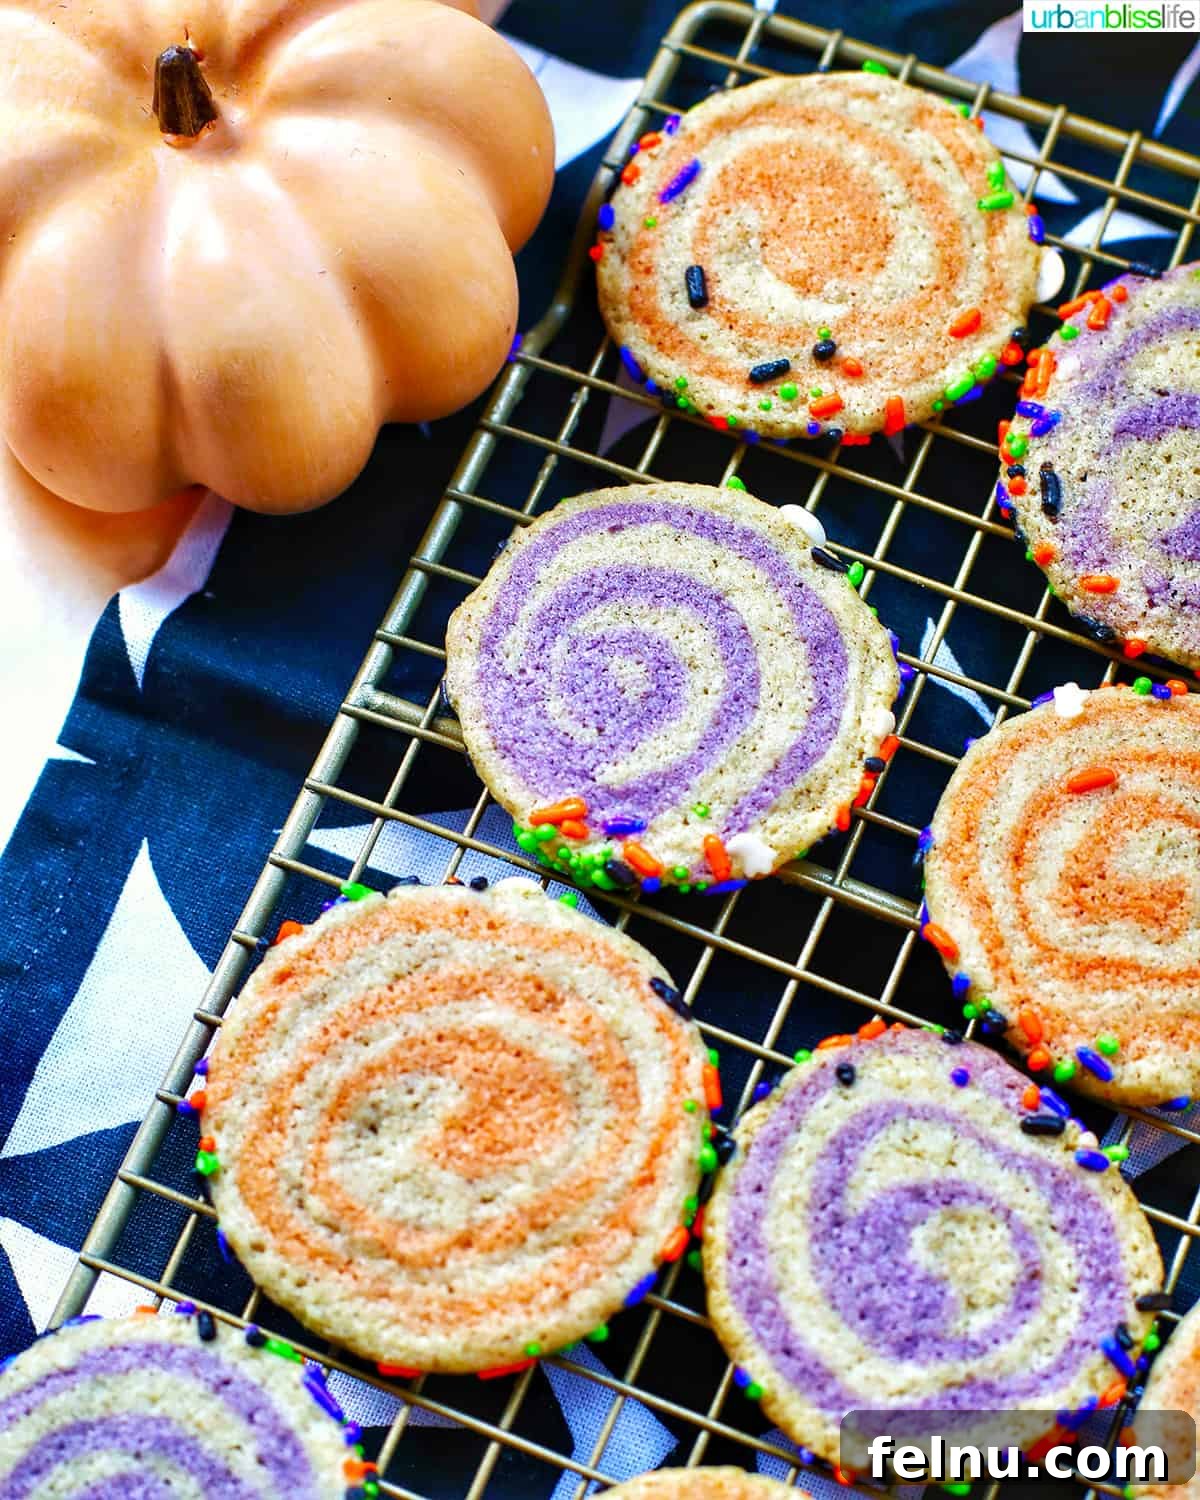
- Fun for the whole family: Halloween is one of the best times of year because of the countless fun recipes you can create. These cookies are no exception! Whether you have toddlers or teenagers, this recipe is a fantastic way to involve the whole family in the Halloween spirit. Making these cookies together can become a beloved family tradition, filled with laughter and delicious results.
- Perfect to make in advance: These cookies are ideal for preparing ahead of time. You can vacuum seal them to maintain freshness, which is especially handy when creating individual treat bags! We’ll explain how to do this later in this post. Make your Halloween prep easier and enjoy fresh, delicious cookies whenever you need them!
- Ideal as gifts: Bake a batch of these sweet treats and take them to your next Halloween get-together! They make thoughtful and delightful gifts that are sure to impress. Whether it’s for a party, a neighbor, or a teacher, these cookies are a perfect way to spread some Halloween cheer.
These cookies pair wonderfully with other Halloween-themed treats such as Monster Halloween Bark, Frankenstein Rice Krispie Treats, or Nutter Butter Ghost Cookies. Expand your Halloween dessert spread and create a variety of spooky and scrumptious goodies!
Ingredient Notes for Halloween Pinwheel Cookies
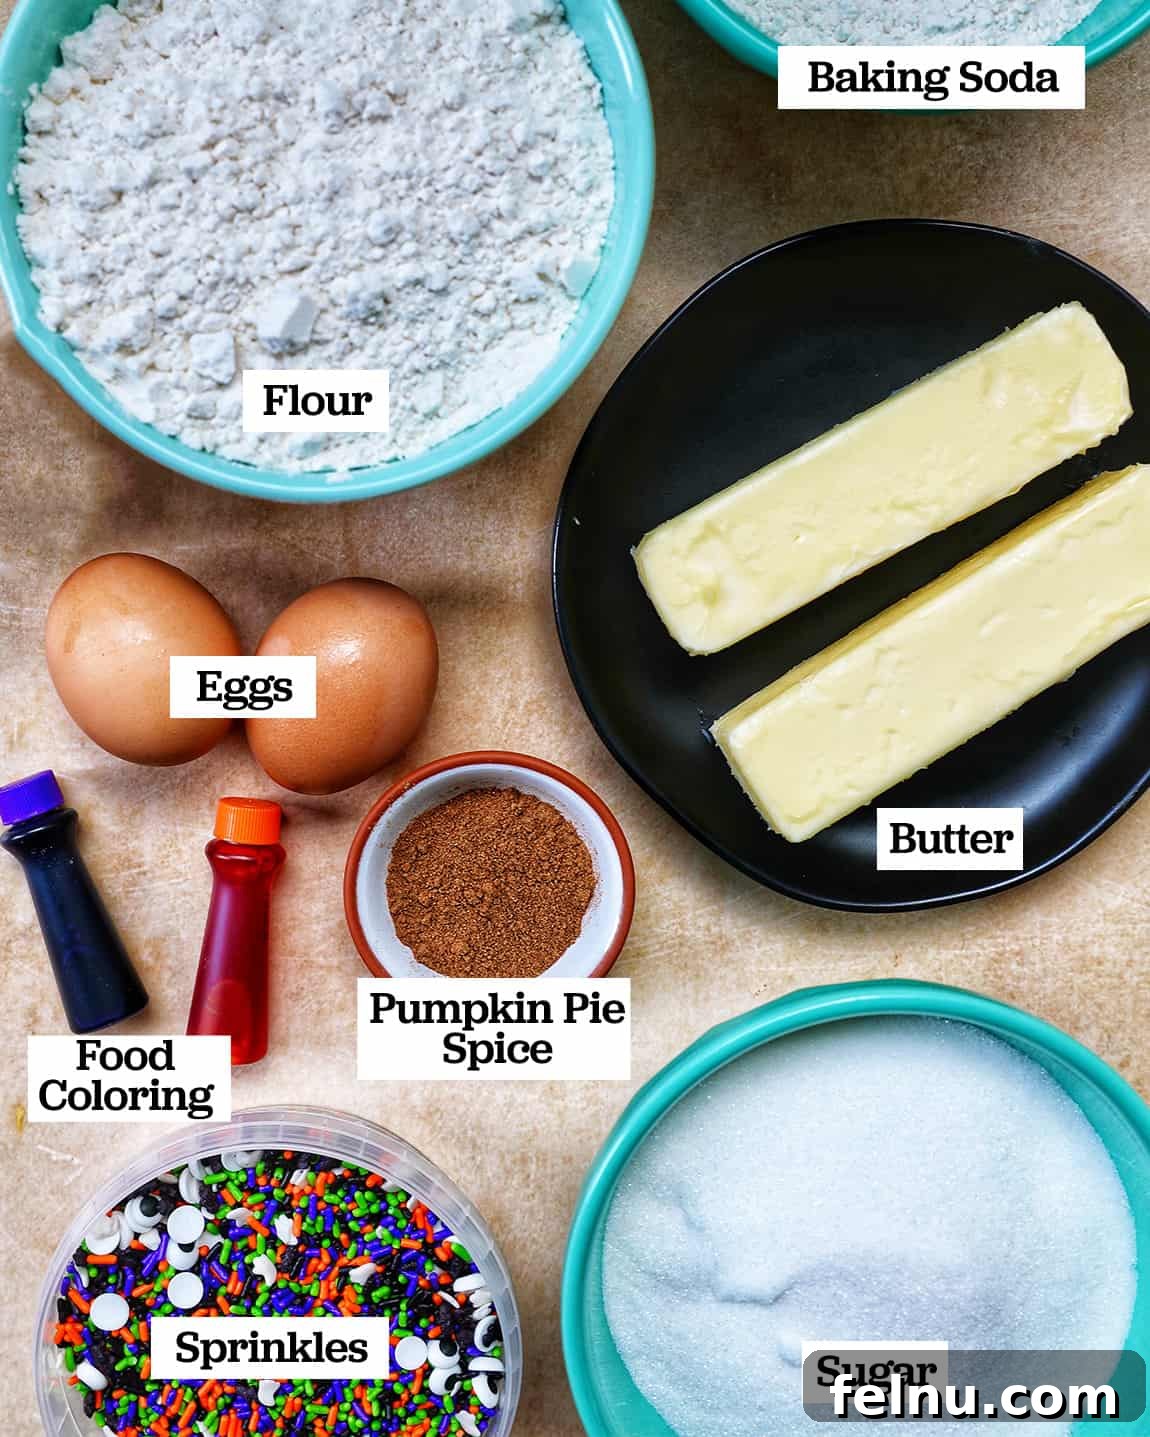
To create these amazing cookies, you’ll require some basic sugar cookie ingredients, but with a Halloween twist!
- Unsalted Butter: Ensure you take the unsalted butter out of the refrigerator approximately 30 minutes before you begin. It needs to be at room temperature to mix properly with the other ingredients.
- Granulated Sugar: Use granulated sugar to give these cookies the perfect sweetness and texture.
- All-Purpose Flour: All-purpose flour is necessary for the structure of these spiral cookies.
- Pumpkin Pie Spice: This recipe calls for one tablespoon of pumpkin pie spice, which gives the cookies a delicate pumpkin spice flavor. If you prefer a stronger pumpkin flavor, you can increase the amount to two tablespoons.
- Food Coloring: We suggest using orange and purple for these cookies to give them that spooky, festive look! However, you can also experiment with orange, purple, black, or green food coloring to emulate typical Halloween colors. Feel free to keep two parts of the dough their original color, or add food coloring for a more vibrant effect. Think orange and black, green and purple, or orange, purple, green, and black. Be imaginative!
Step-by-Step Instructions for Making Halloween Pinwheel Cookies
A complete list of ingredients and detailed instructions are in the printable recipe card at the end of this post. Here is a step-by-step photo guide to help you through the baking process of these fun Halloween cookies!
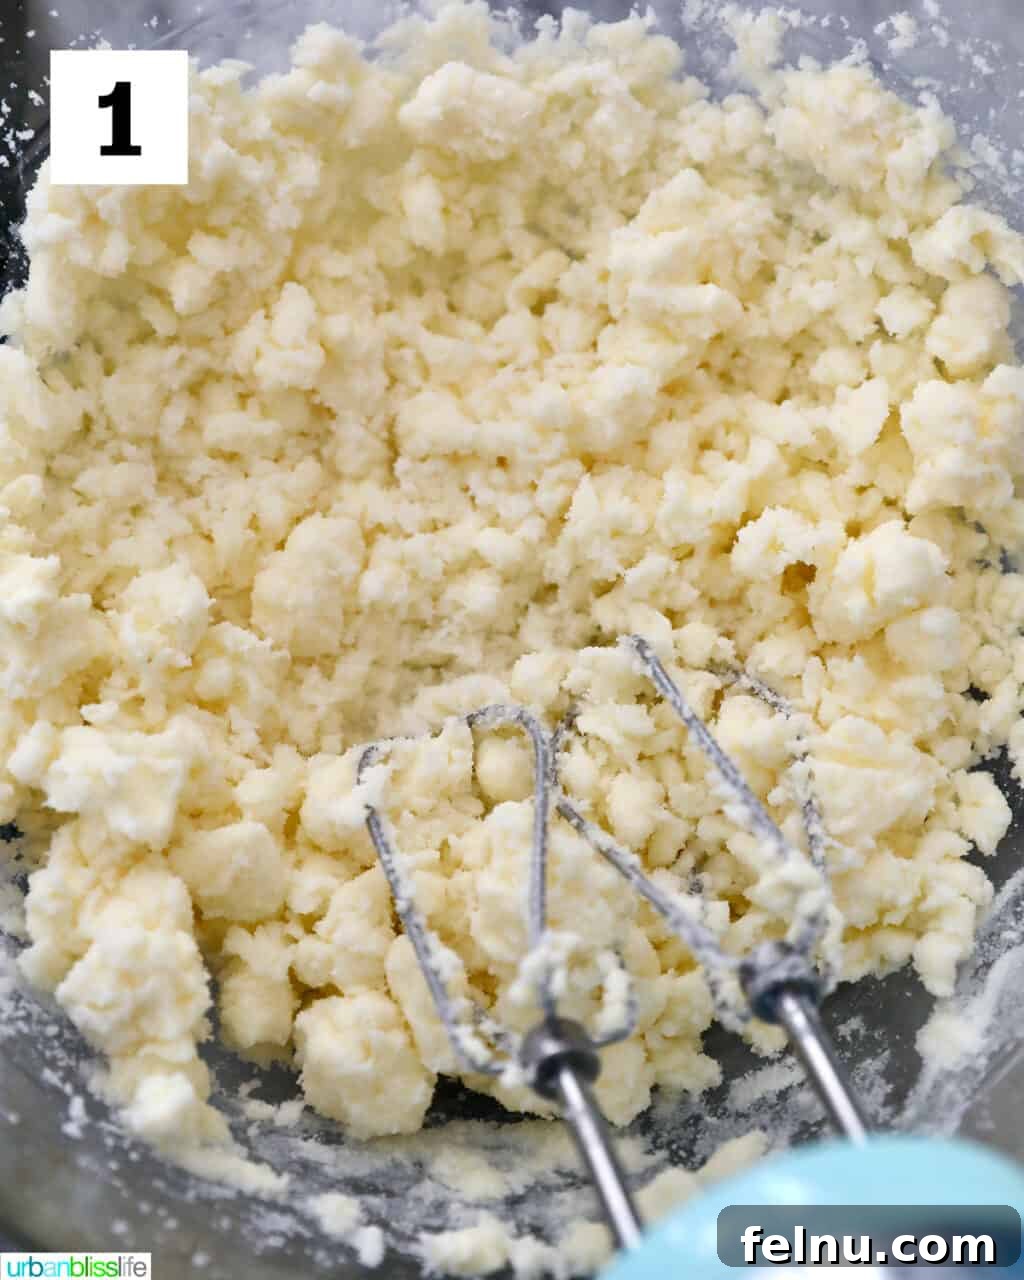
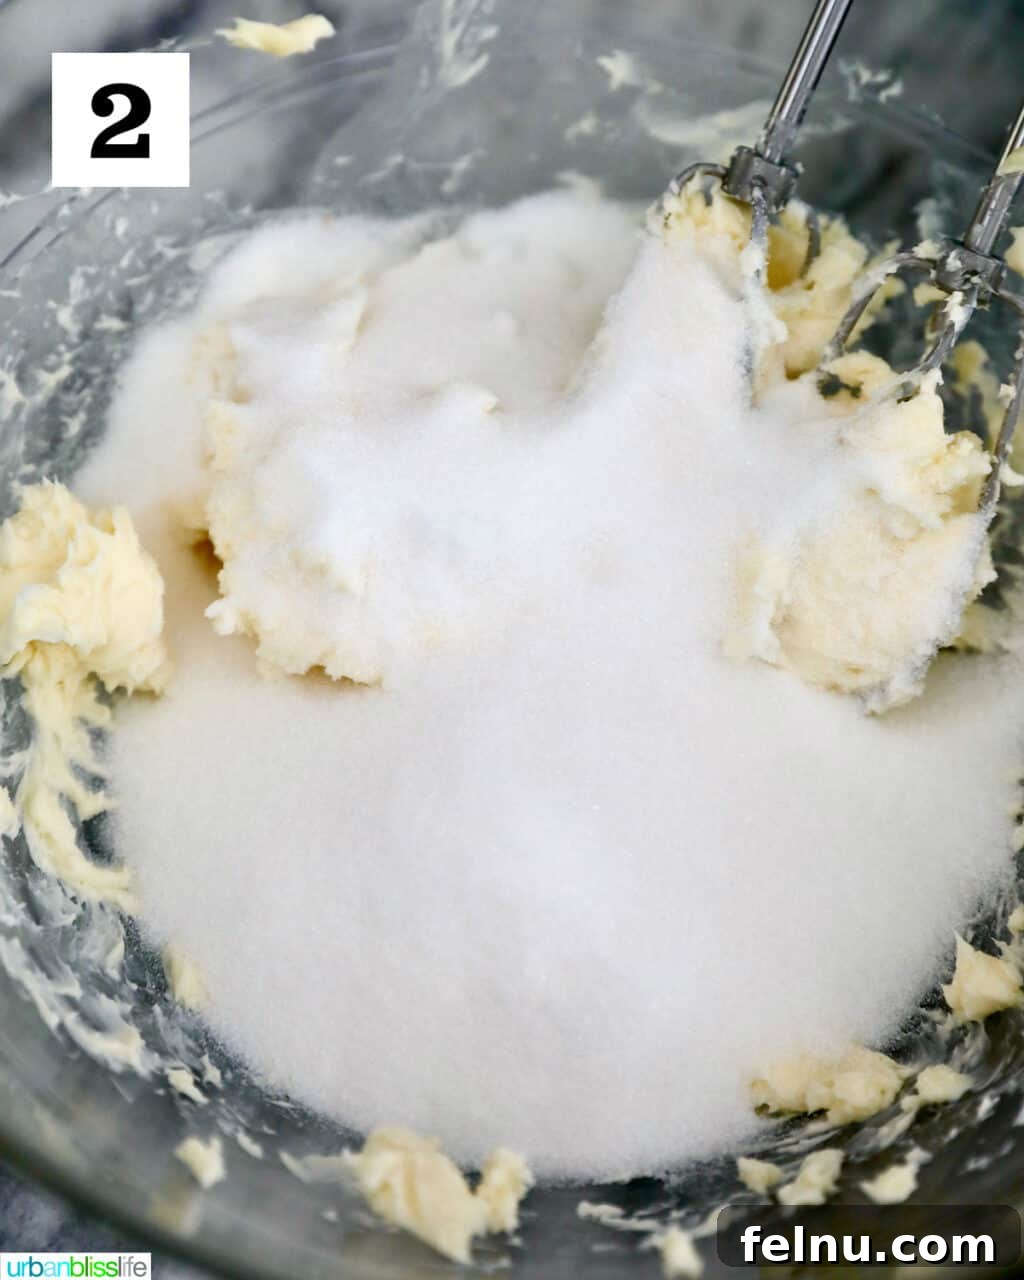
1-2. In a large bowl, use a hand mixer, or a stand mixer, to cream the softened butter and sugar together until the mixture is light and fluffy.
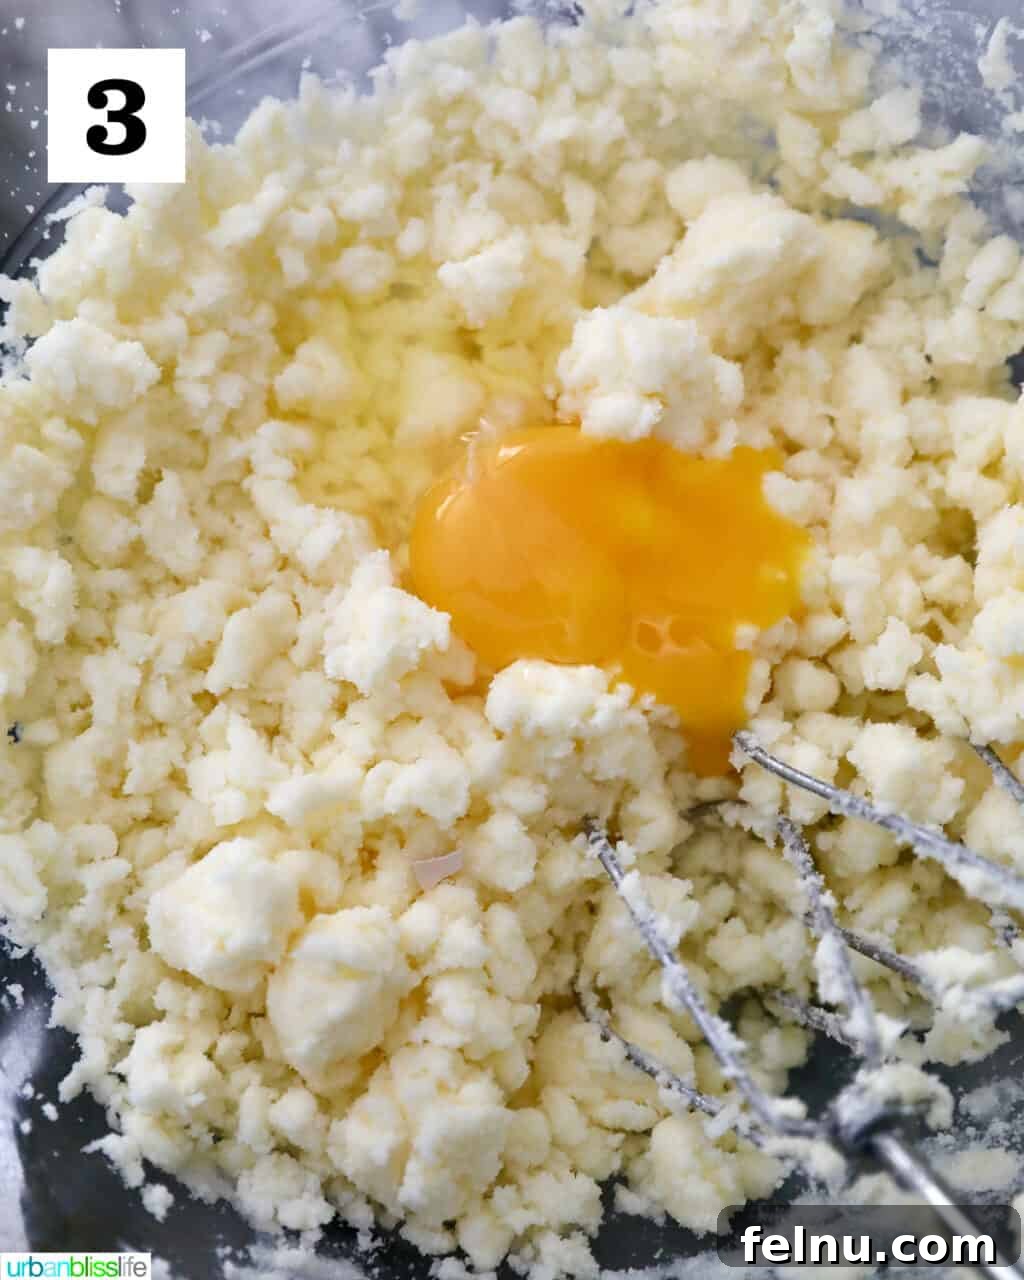
3. Incorporate the egg into the mixture and mix until fully combined.
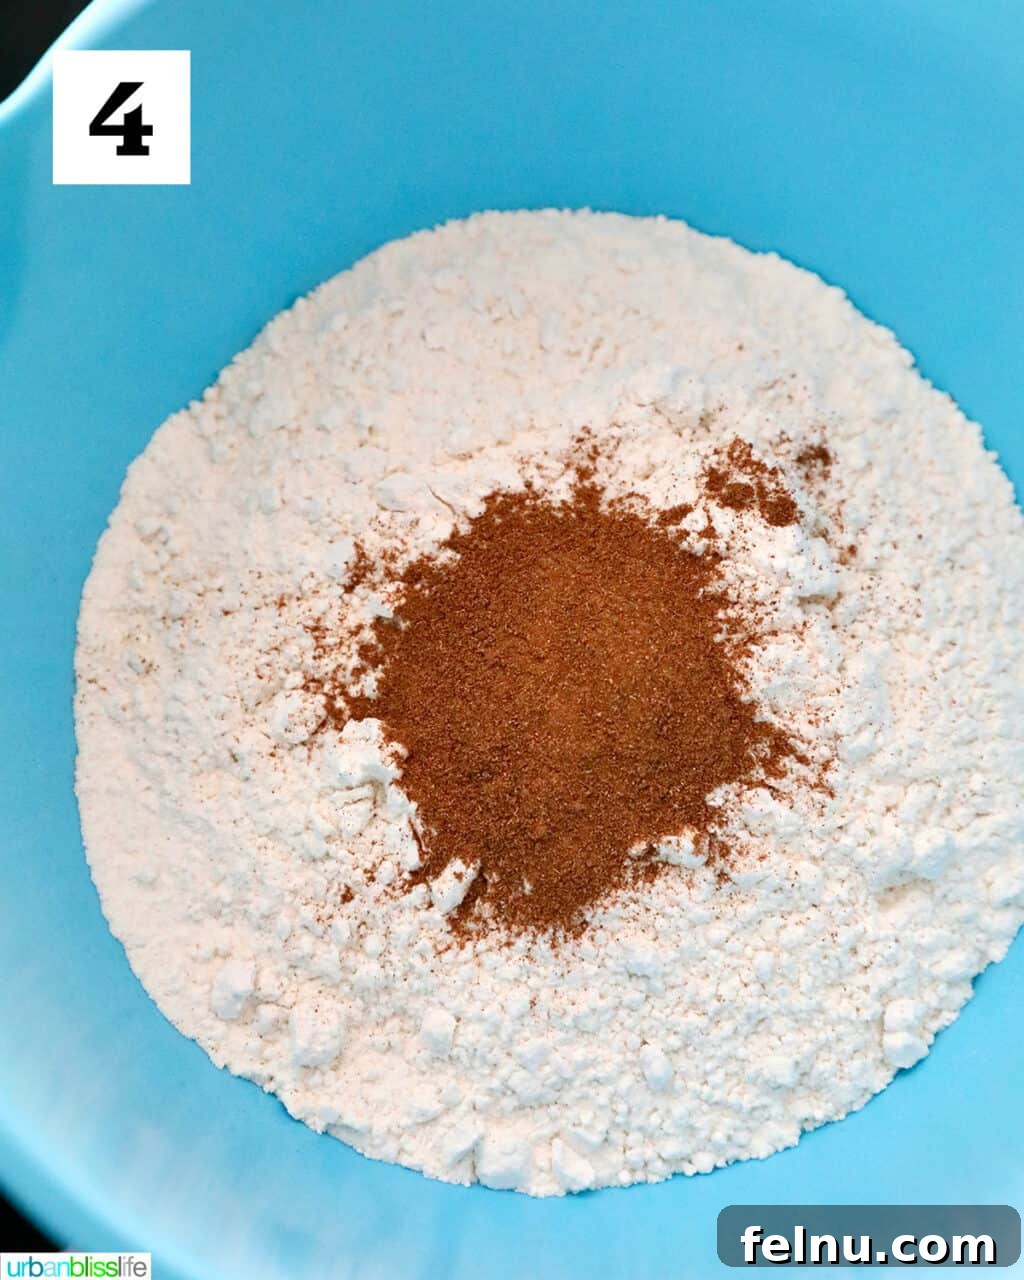
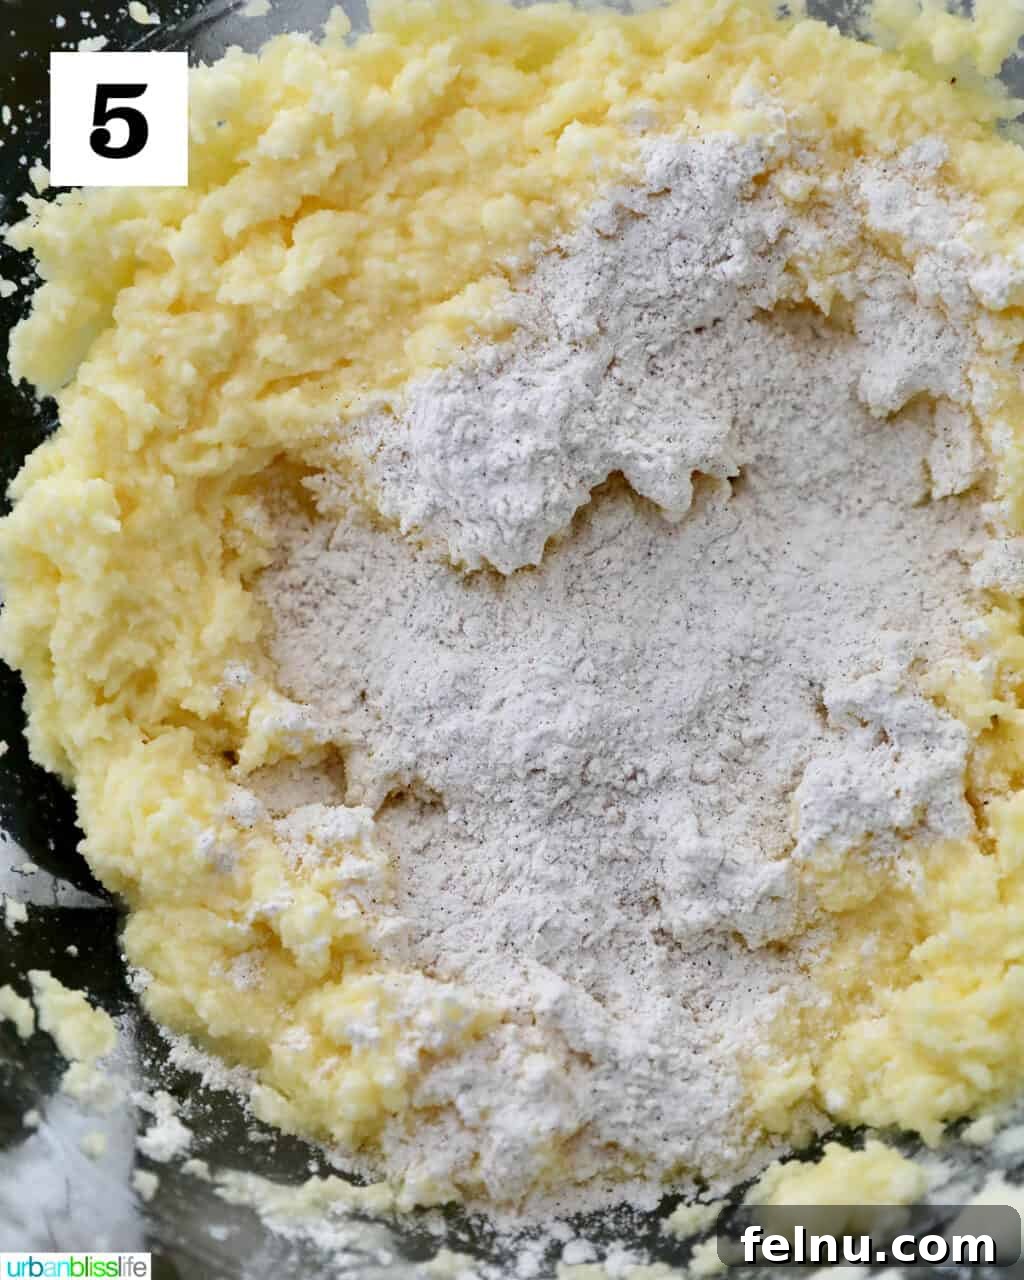
4. In another large bowl, whisk together the flour, baking soda, and pumpkin pie spice until they are well combined.
5. Gradually add the dry ingredients (flour mixture) to the wet ingredients, mixing until everything is well combined.
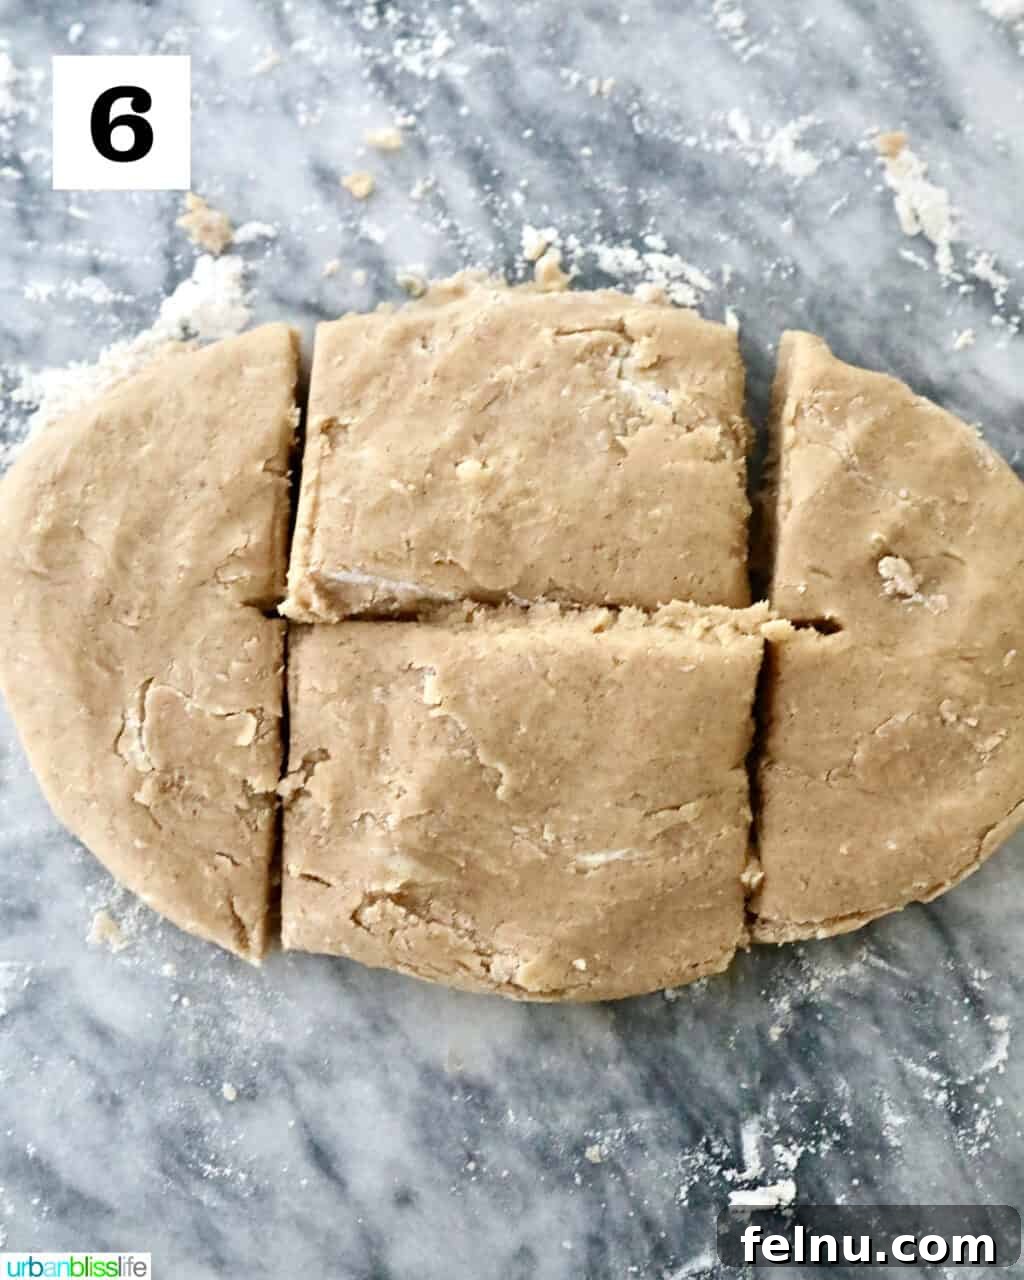
6. Lightly flour a clean surface. Roll the cookie dough onto the floured surface and separate it into four equal portions.
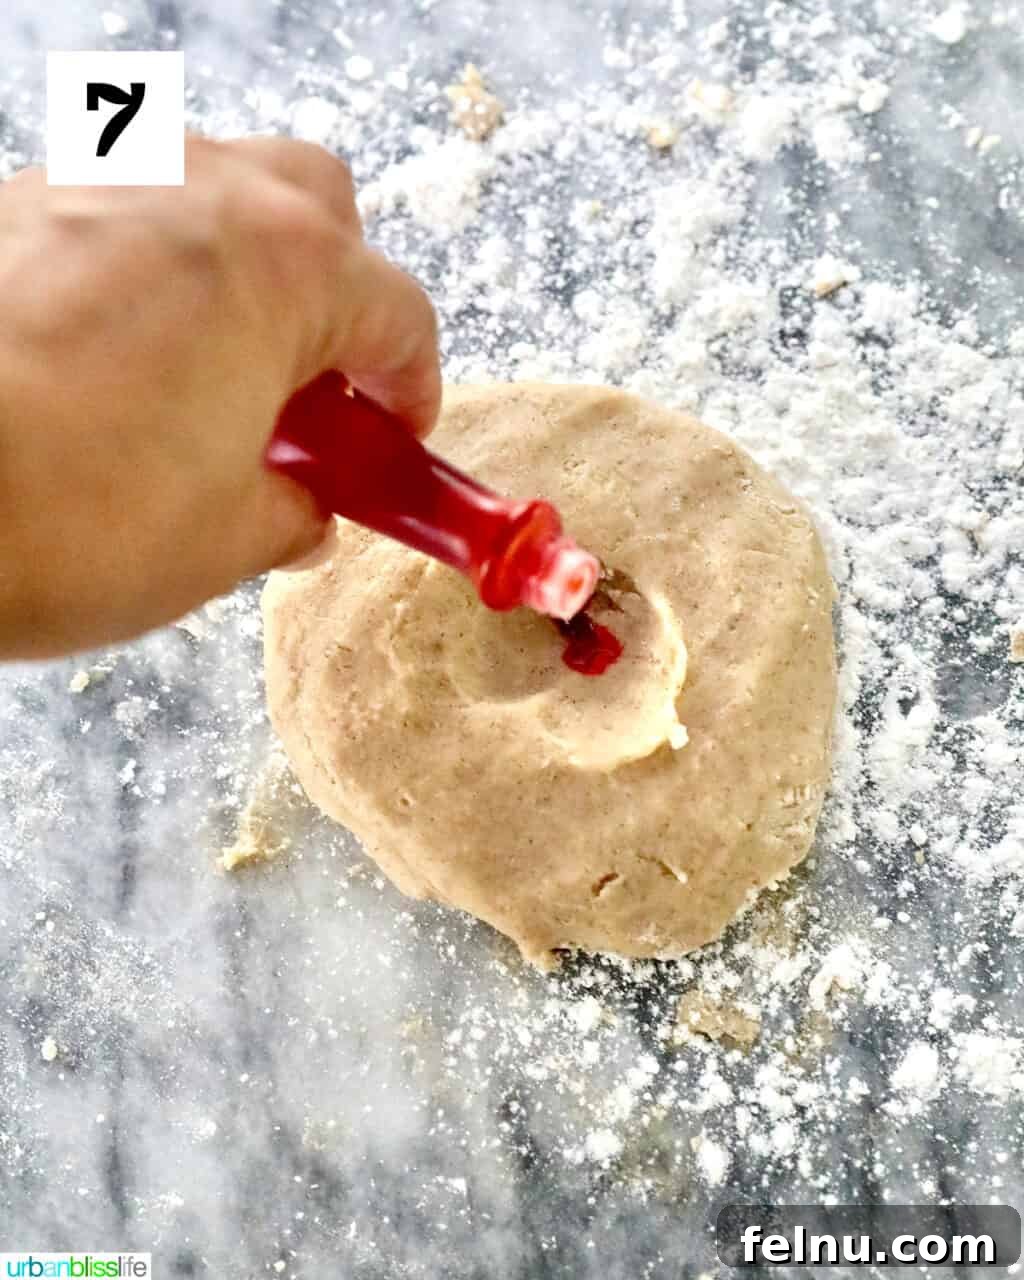
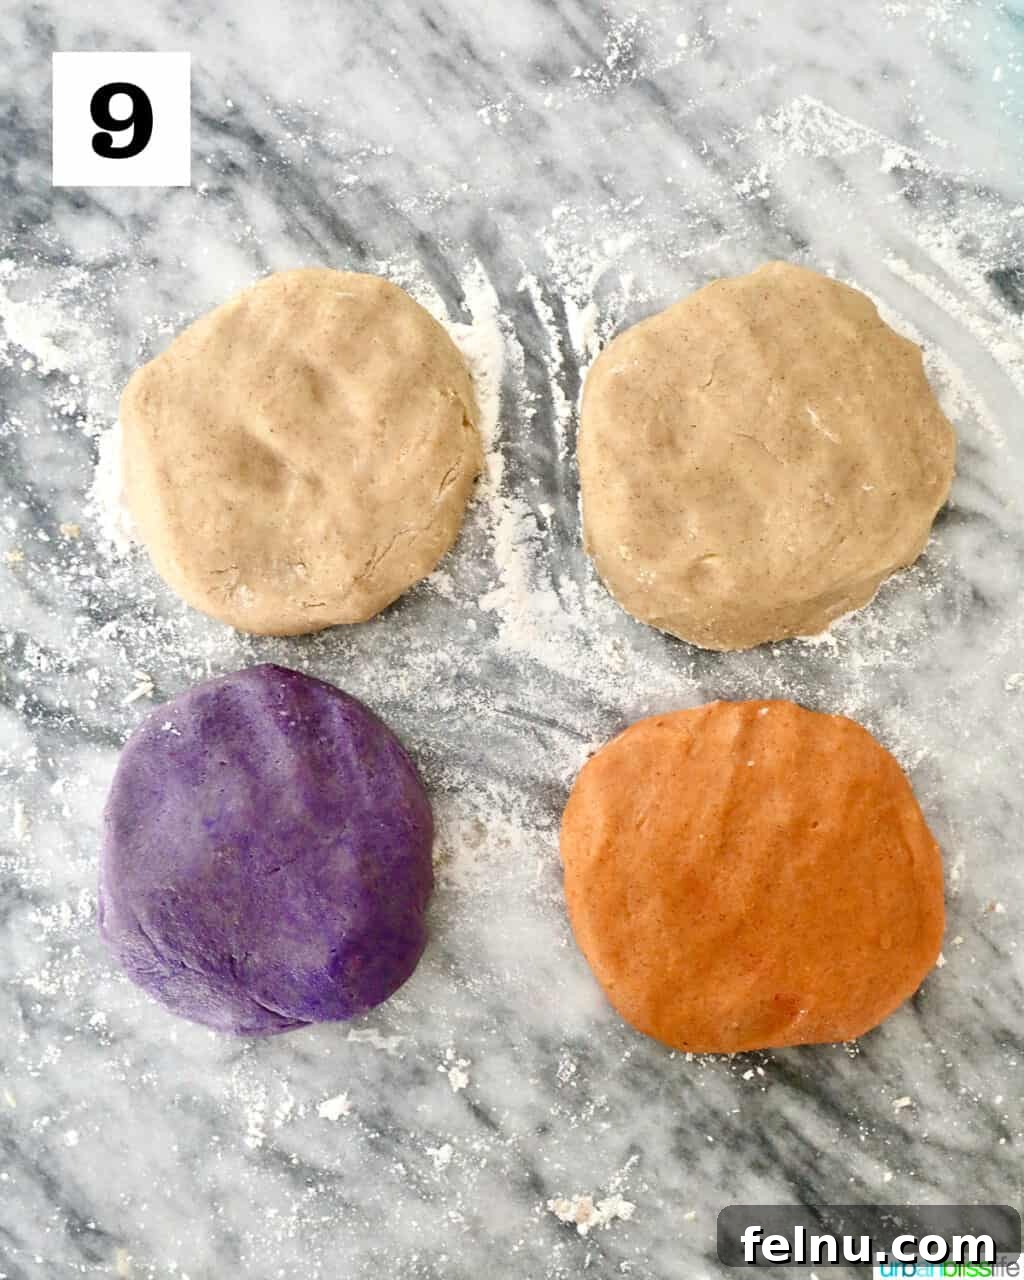
7. Add one food color to one portion of dough and knead until the food coloring is uniformly distributed. Shape the dough into a disc and set aside.
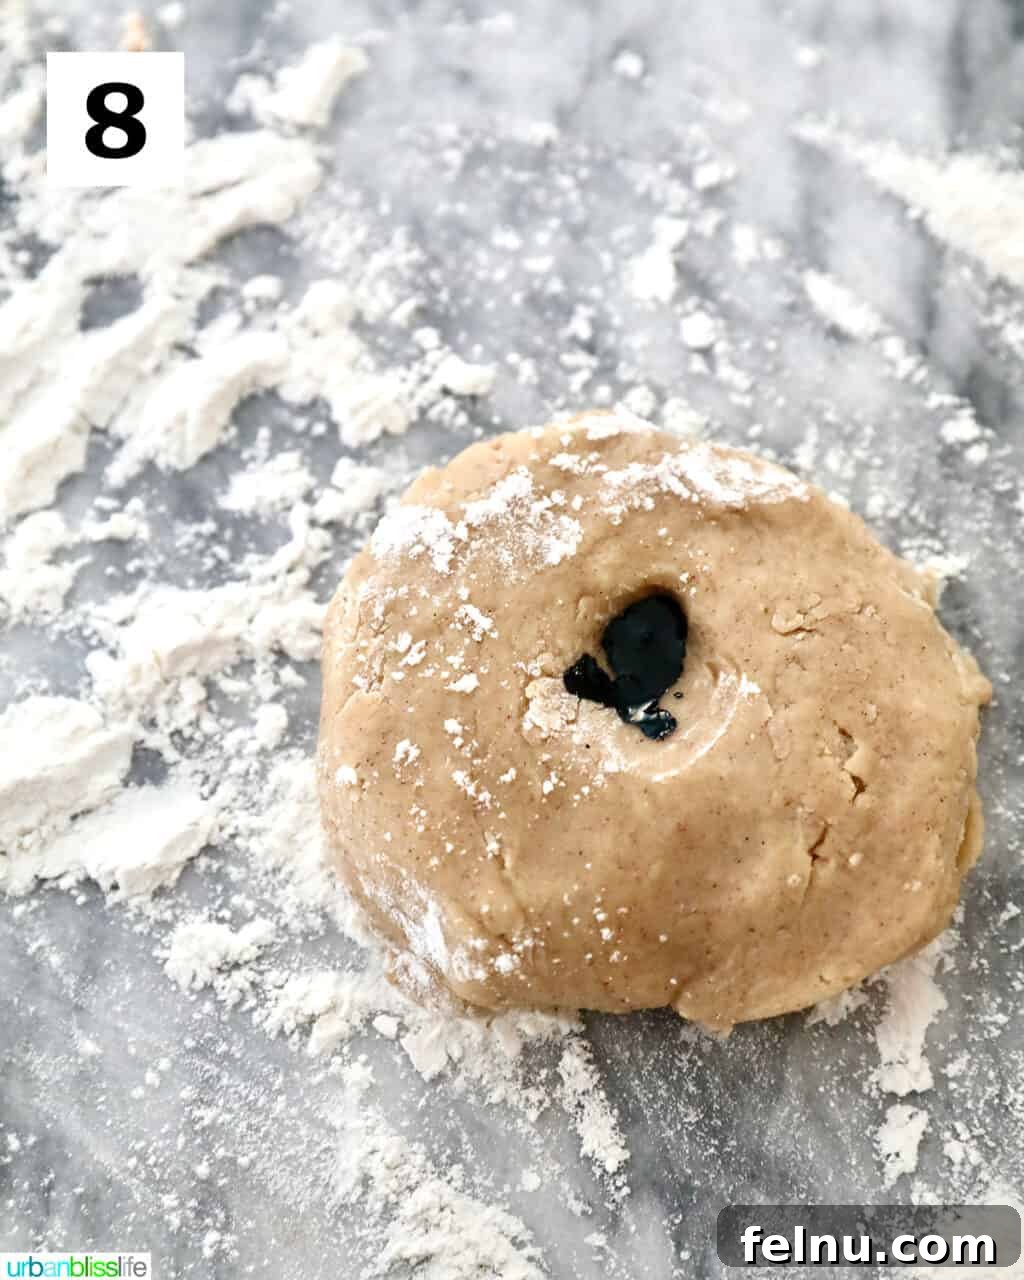
8. Repeat the process using a different food color with another portion of dough.
9. Leave the remaining two dough portions their original color, or add more food coloring if you like. Shape all the colored and plain dough into discs.
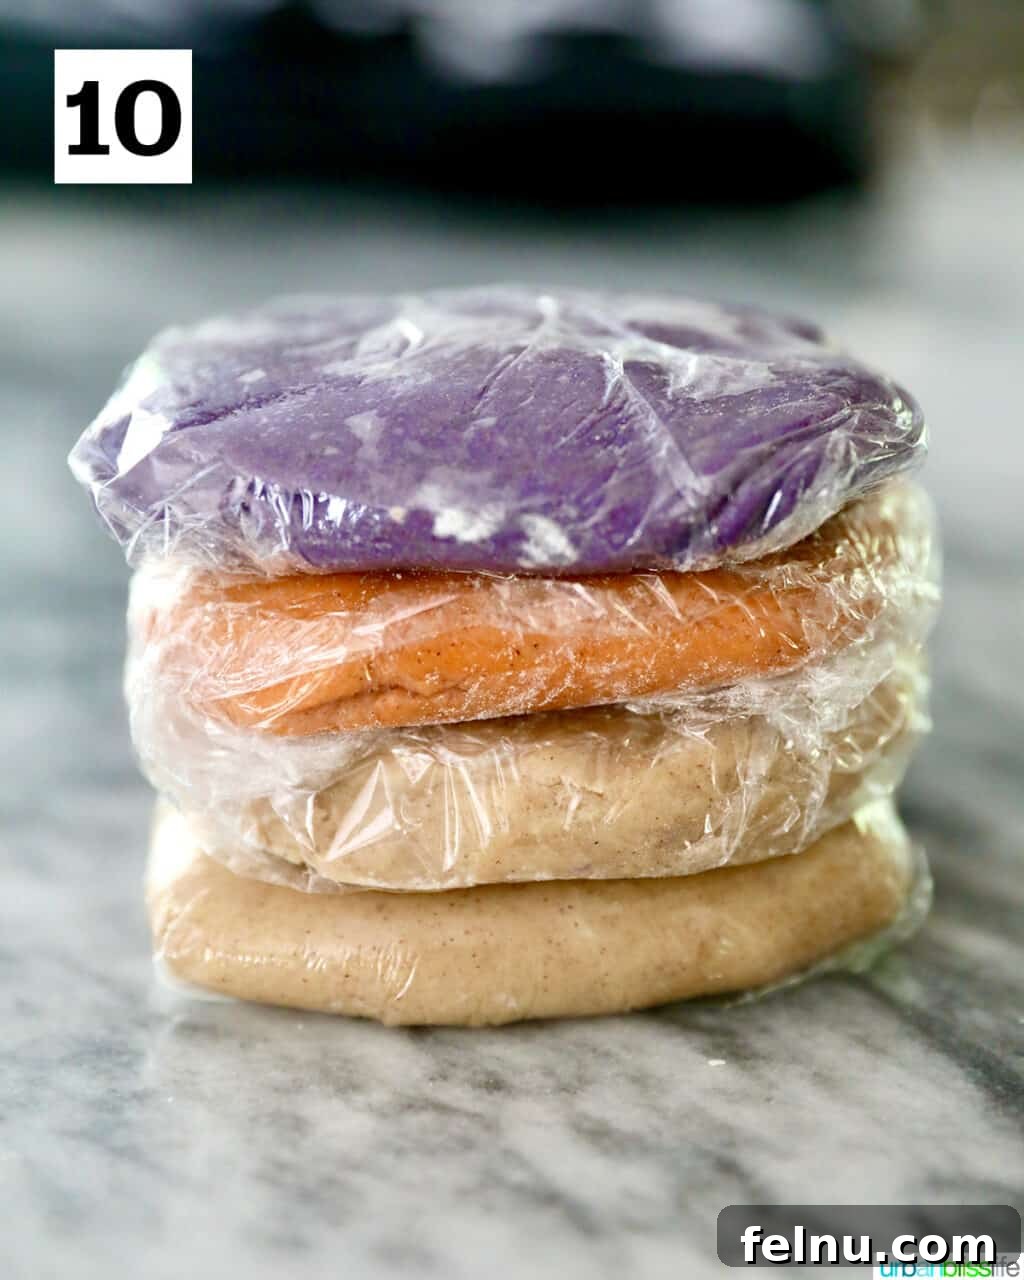
10. Wrap each disc individually in plastic wrap and refrigerate for 30 minutes.
Rolling, Assembling, and Decorating the Halloween Pinwheel Cookies
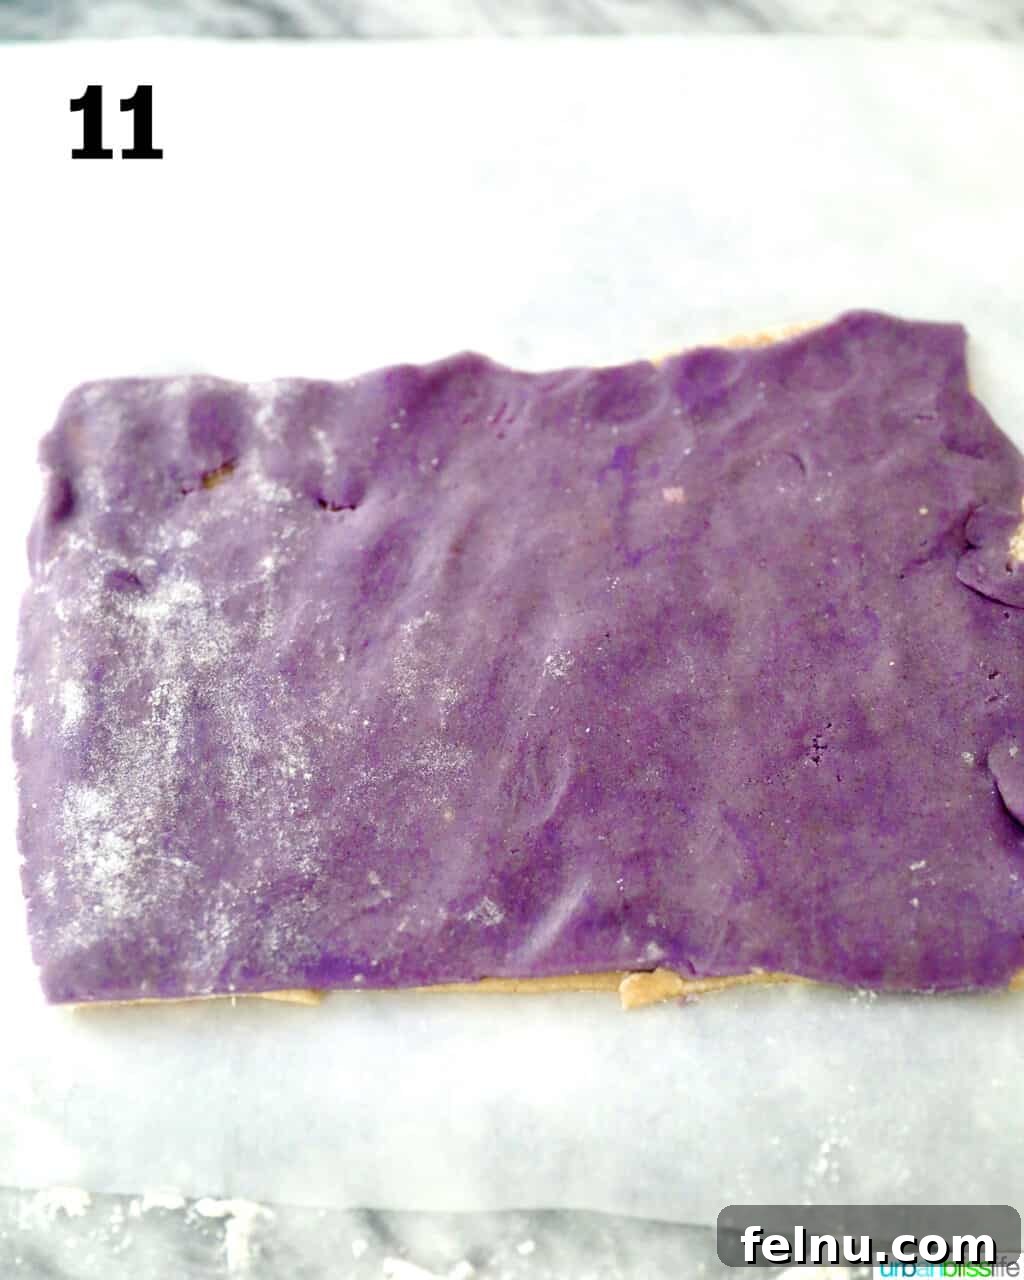
11. After 30 minutes, take the dough discs out of the refrigerator. Use a rolling pin to roll out one of the original-colored dough discs. Use a sharp knife or pastry scraper to form the dough into a rectangle. Do the same with one of the colored dough discs.
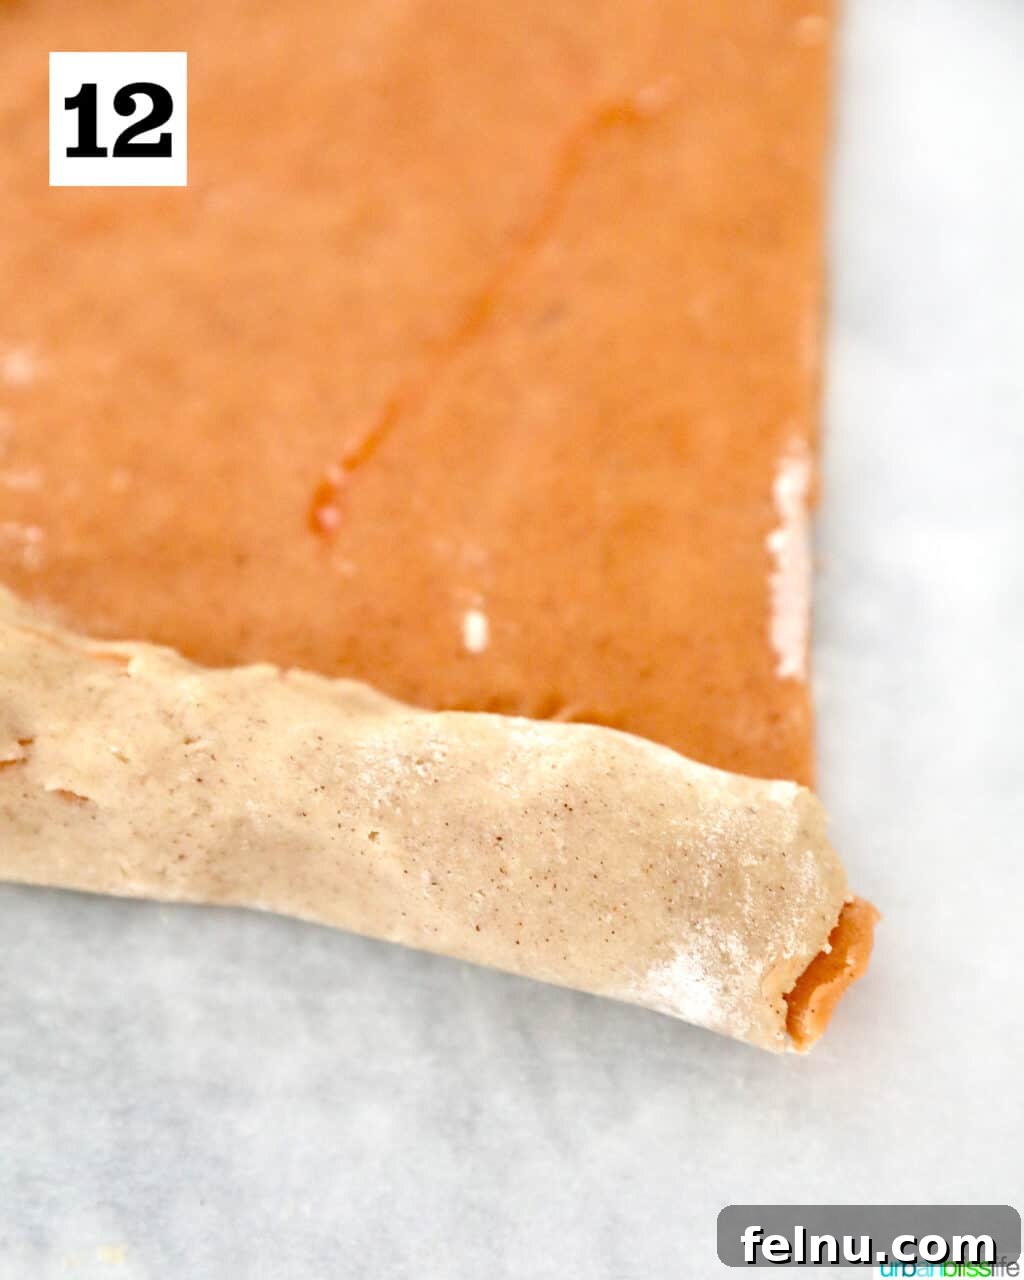
12. Place the colored dough rectangle over the original-colored dough rectangle. Starting from one of the shorter ends of the rectangle, roll the stacked dough tightly into a log. Don’t worry if there are a few cracks here and there; they will smooth out as you roll the dough.
Repeat this process with the remaining uncolored dough disc and the remaining colored dough disc. Rewrap both dough logs in plastic wrap and refrigerate for 1 hour.
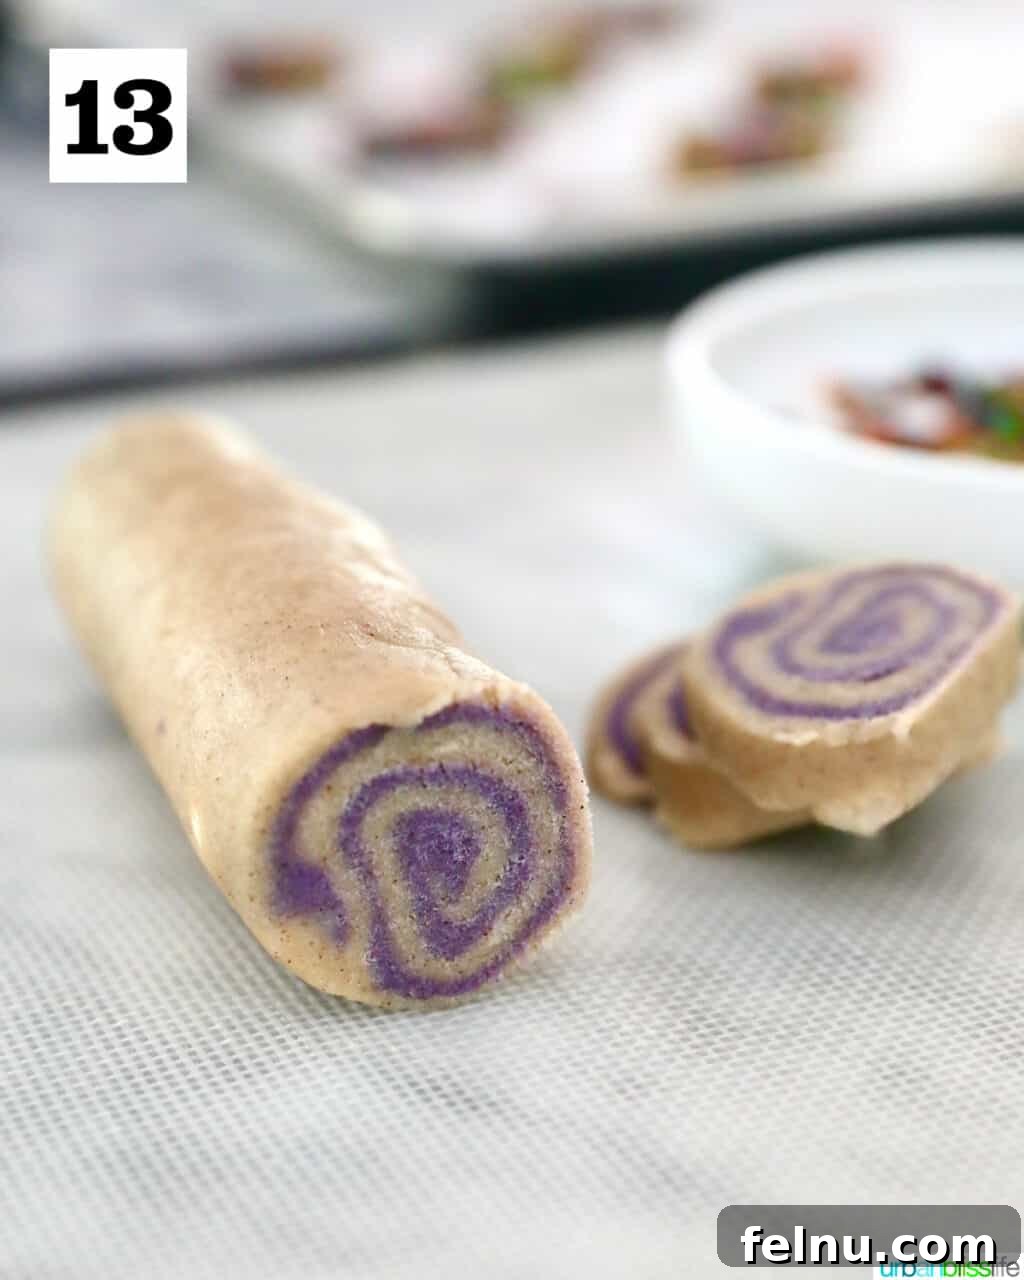
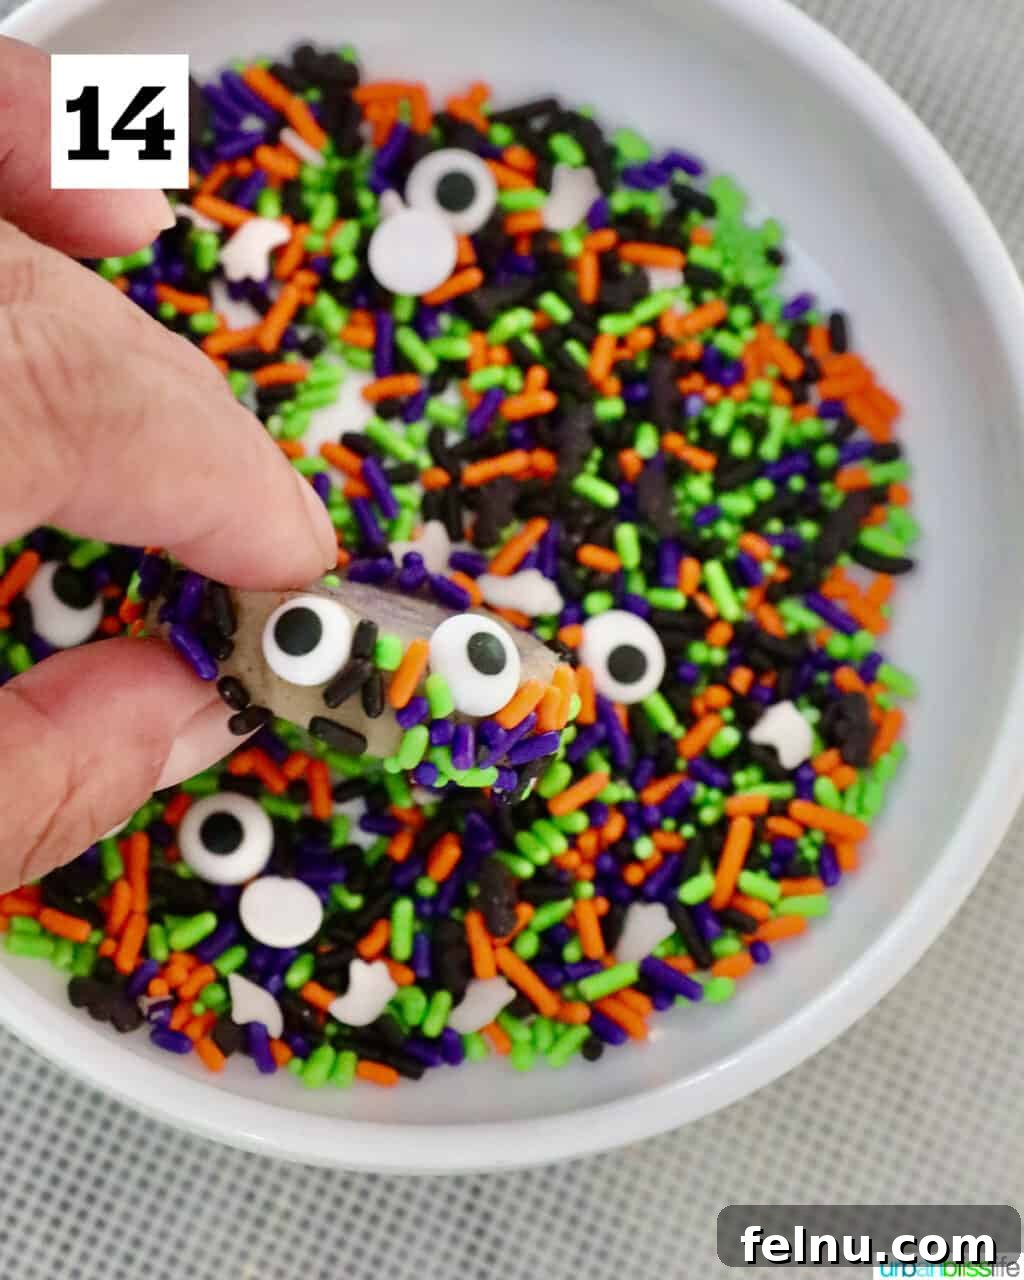
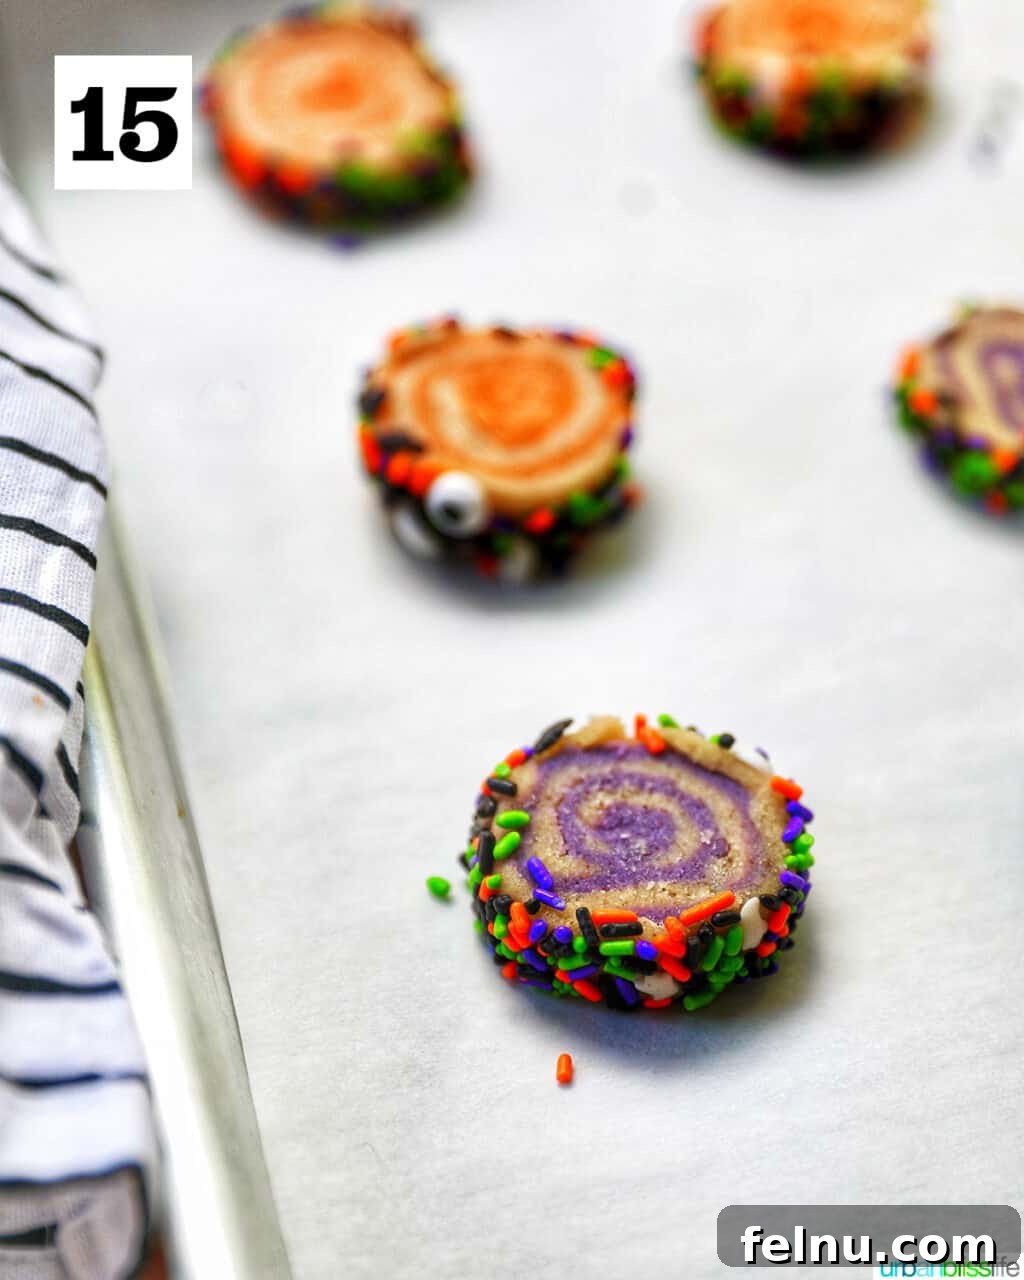
After 1 hour, take the dough logs out of the refrigerator. Preheat the oven to 350°F. Line two baking sheets with parchment paper and set them aside.
13. Using a sharp knife, slice the dough logs into thin slices, around 1/4-inch to 1/2-inch thick. These slices will transform into the beautiful pinwheel cookies.
14. Dip the edges of each sliced cookie dough into the Halloween-themed sprinkles. This adds a festive touch and extra flavor.
15. Place the cookies on the prepared baking sheet, about 2 inches apart, to allow for spreading during baking.
Bake the sugar cookies at 350°F for 11 to 13 minutes, or until the edges are lightly golden. Let them cool on the pan for 2 to 5 minutes before transferring them to a cooling rack to cool completely. This ensures they maintain their shape.
Recipe FAQs for Halloween Pinwheel Cookies
Store the cookies in an airtight container at room temperature for up to five days. This will keep them fresh and delicious.
Yes! We suggest using a vacuum sealer to seal the cookies and then freeze them for up to two months. This method helps maintain their flavor and texture.
We recommend stacking these slice-and-bake cookies in stacks of no more than two cookies to prevent them from cracking during the vacuum-sealing process. If your cookies are very thin, you might be able to stack three, but in our experience, the more you stack, the higher the risk of cracking.
Kitchen Tools and Equipment Needed
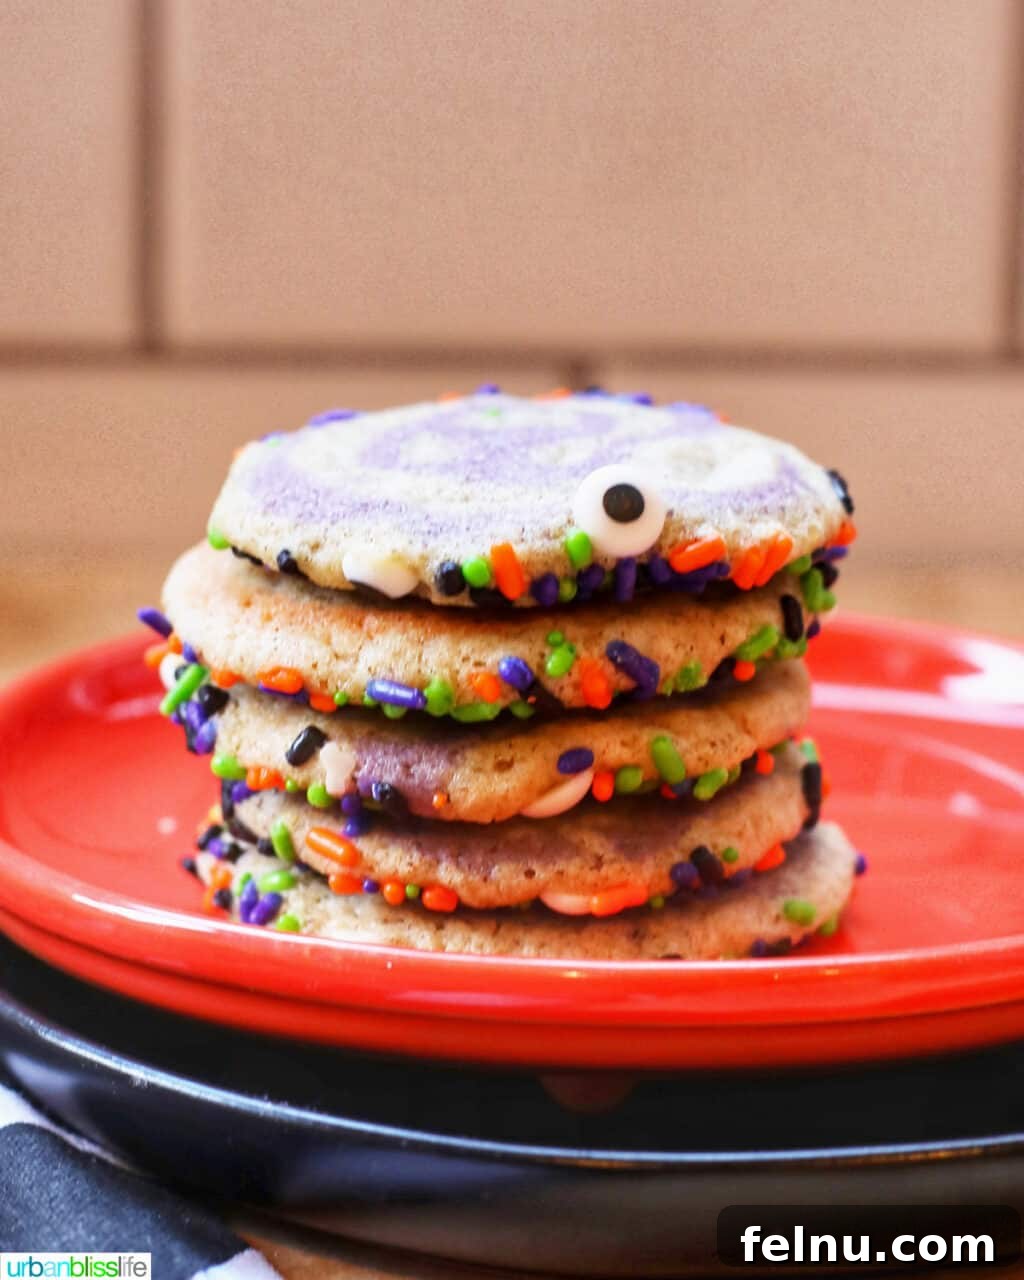
Here is a list of what you will need to make these delicious cookies:
- Two Baking Sheets: Since this recipe makes a few batches, having two half-sheet baking sheets allows you to bake more efficiently.
- Parchment Paper: Use parchment paper to line the cookie sheets and ensure the cookies do not stick.
- Mixer: You will need either a stand mixer or a large bowl with a hand mixer to cream the butter, sugar, and eggs, and then to mix in the dry ingredients.
- Second Large Mixing Bowl: For mixing the dry ingredients separately.
- Whisk: To whisk together the dry ingredients, ensuring they are evenly distributed.
- Spatula: A heatproof silicone spatula makes it easier to scrape all of the dough out of the bowl.
- Plastic Wrap: To wrap the dough while it chills in the refrigerator.
Ways to Serve Halloween Pinwheel Cookies
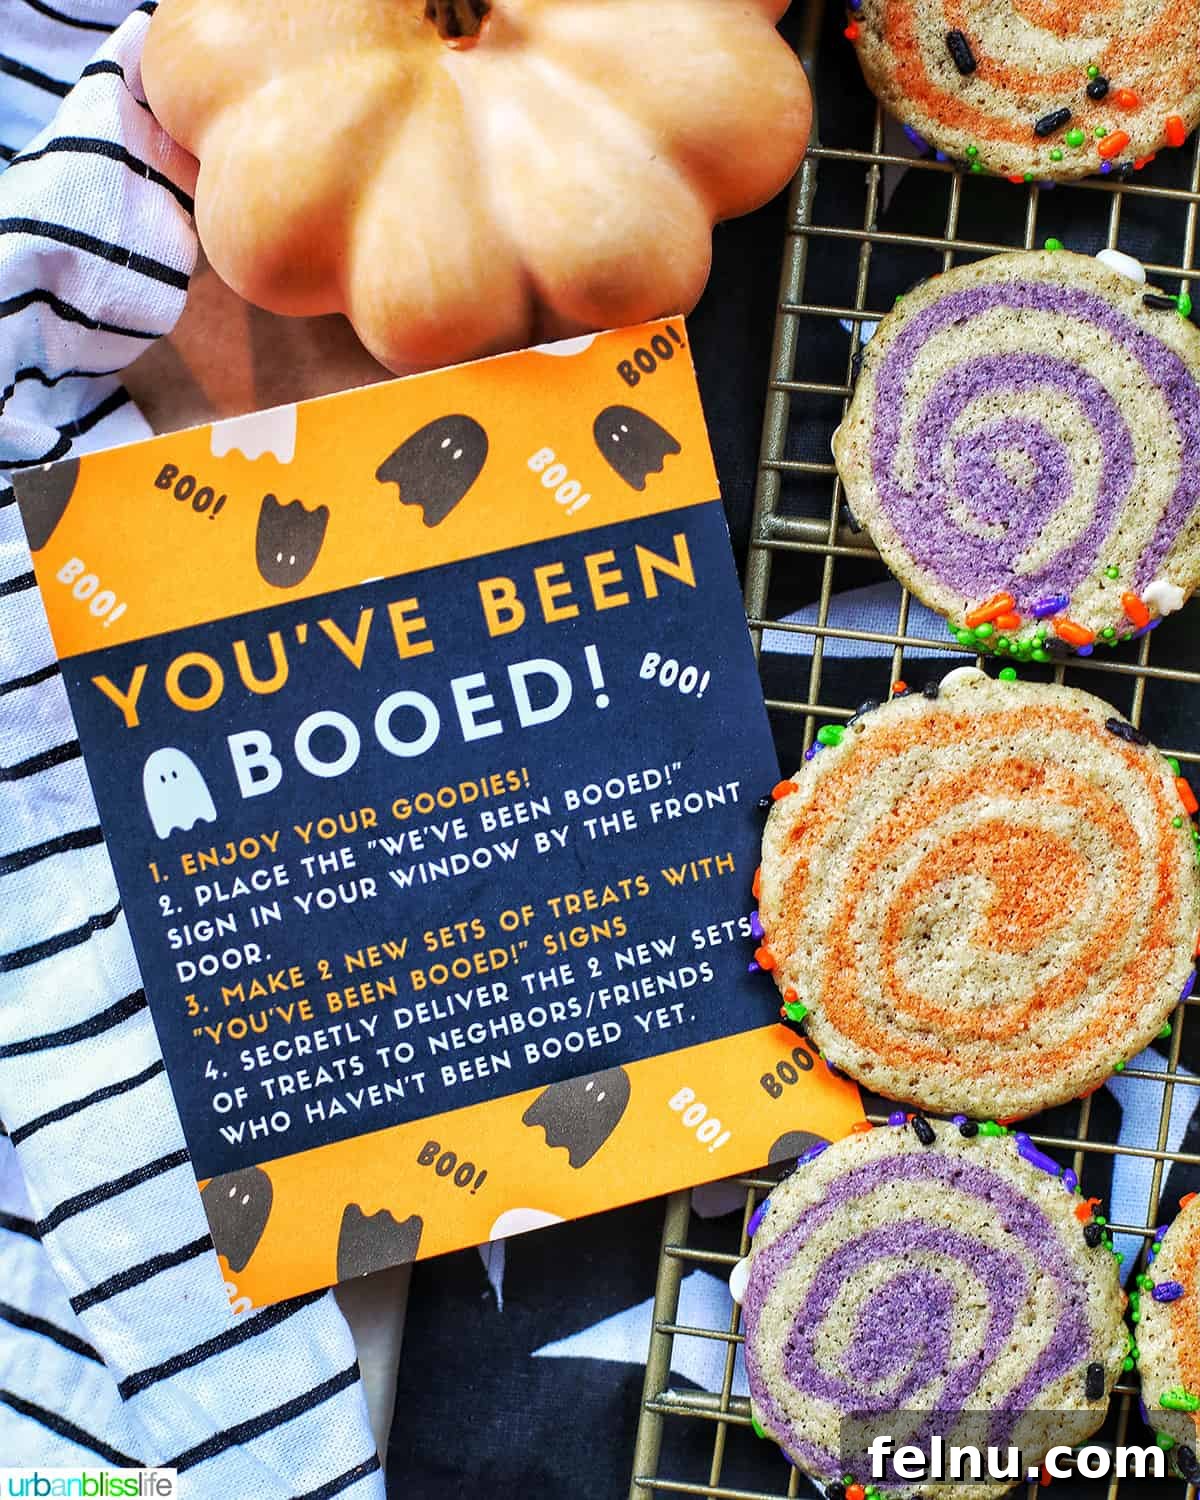
These Halloween Pinwheel Cookies are versatile and suitable for various occasions. Here are some serving suggestions:
- Stack them into food-safe boxes and mail them to friends and family to share the Halloween spirit.
- Make them earlier in the month and freeze them for easy access when Halloween arrives.
- Arrange them on platters for Halloween parties to delight your guests.
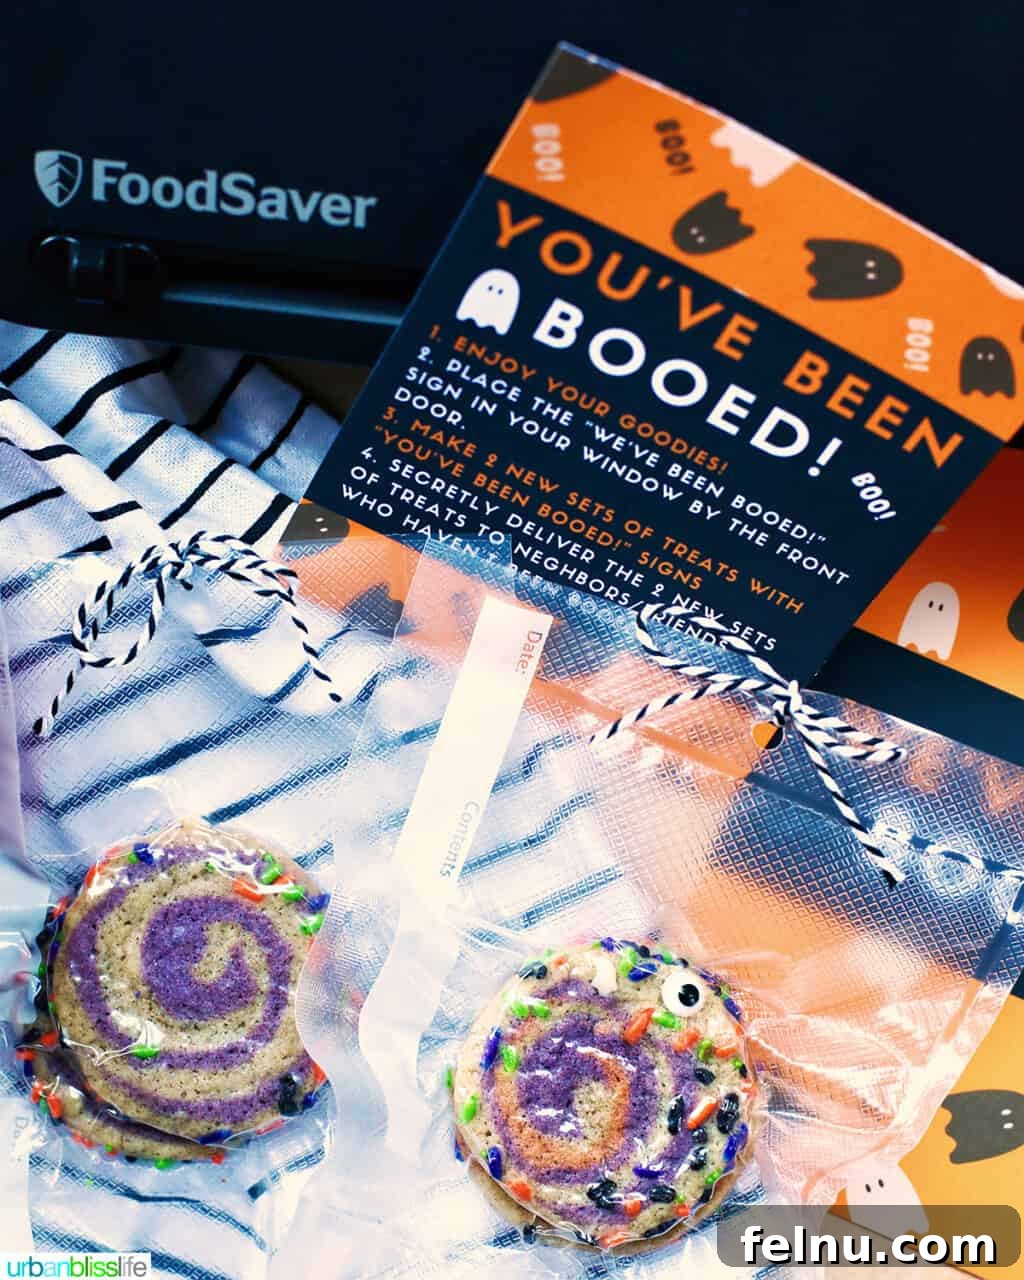
- Pack them into cute little bags to use as Halloween party favors or treats for “You’ve Been Booed” baskets!
How to Create Vacuum-Sealed Treat Bags
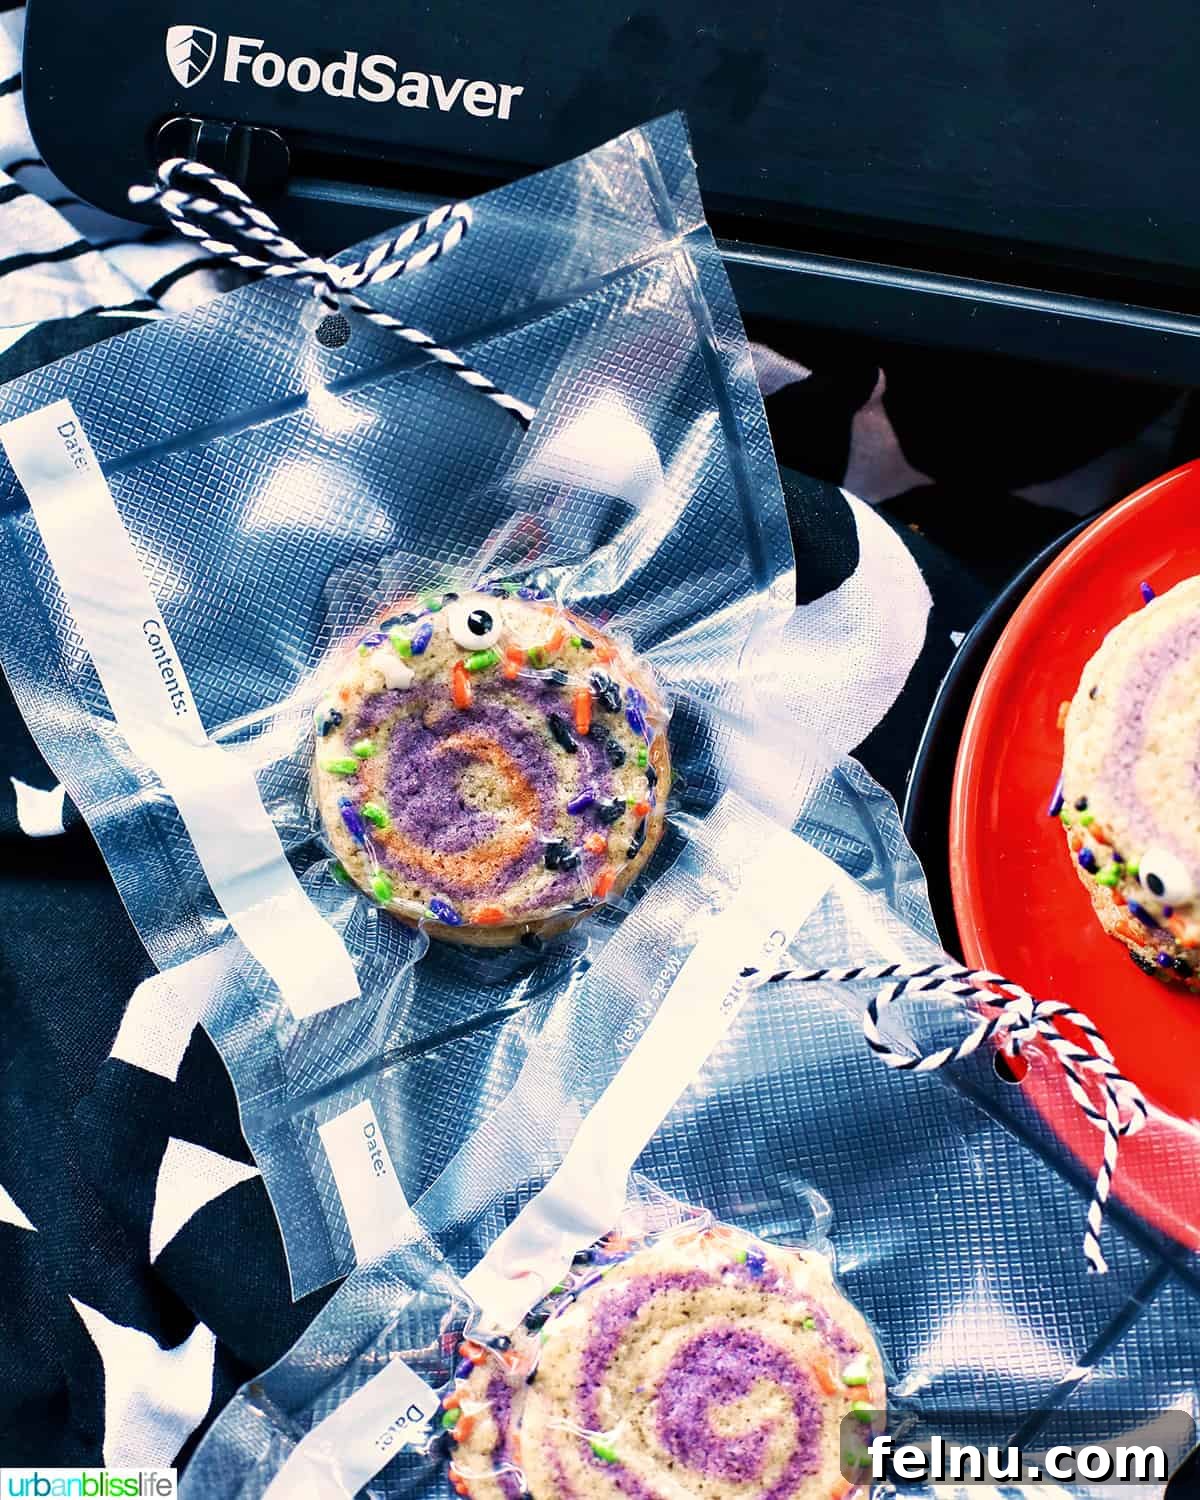
To keep these cookies fresh for Halloween party favors and “You’ve Been Booed” baskets, use a food preservation system along with vacuum seal bags.
Here’s how to do it:
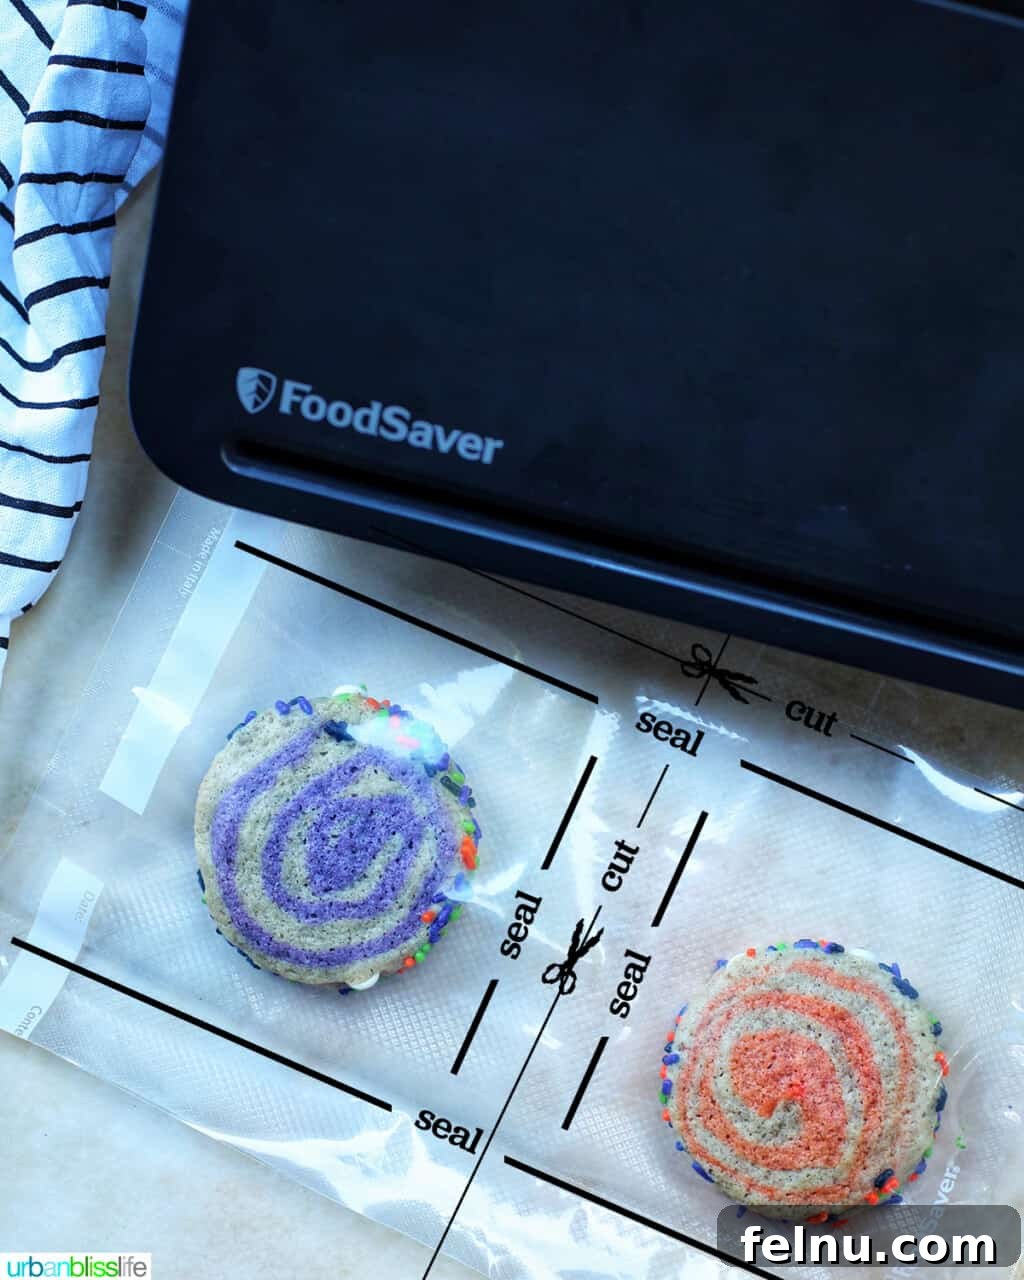
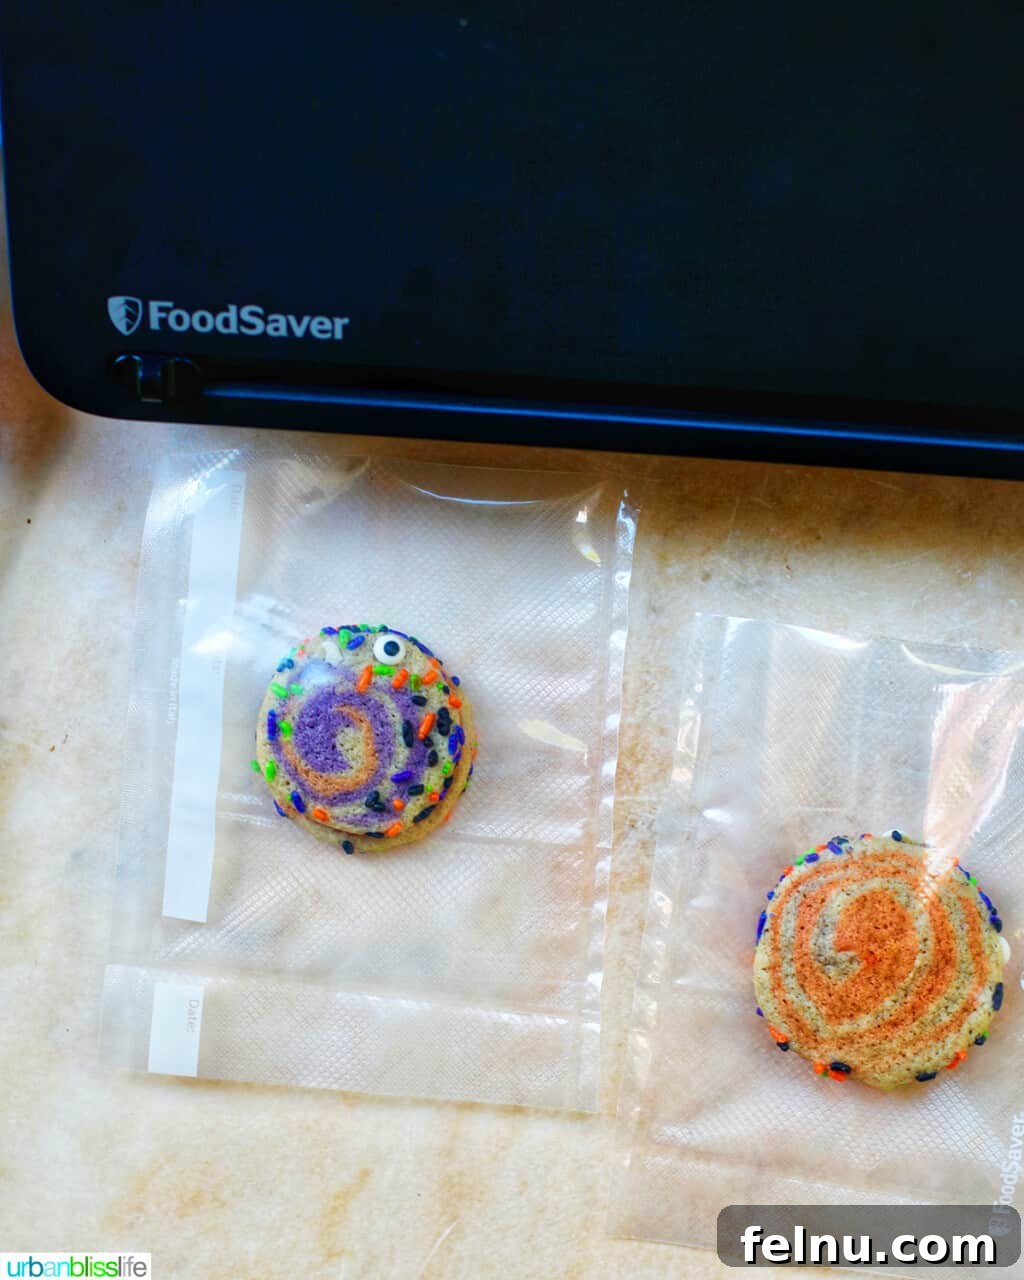
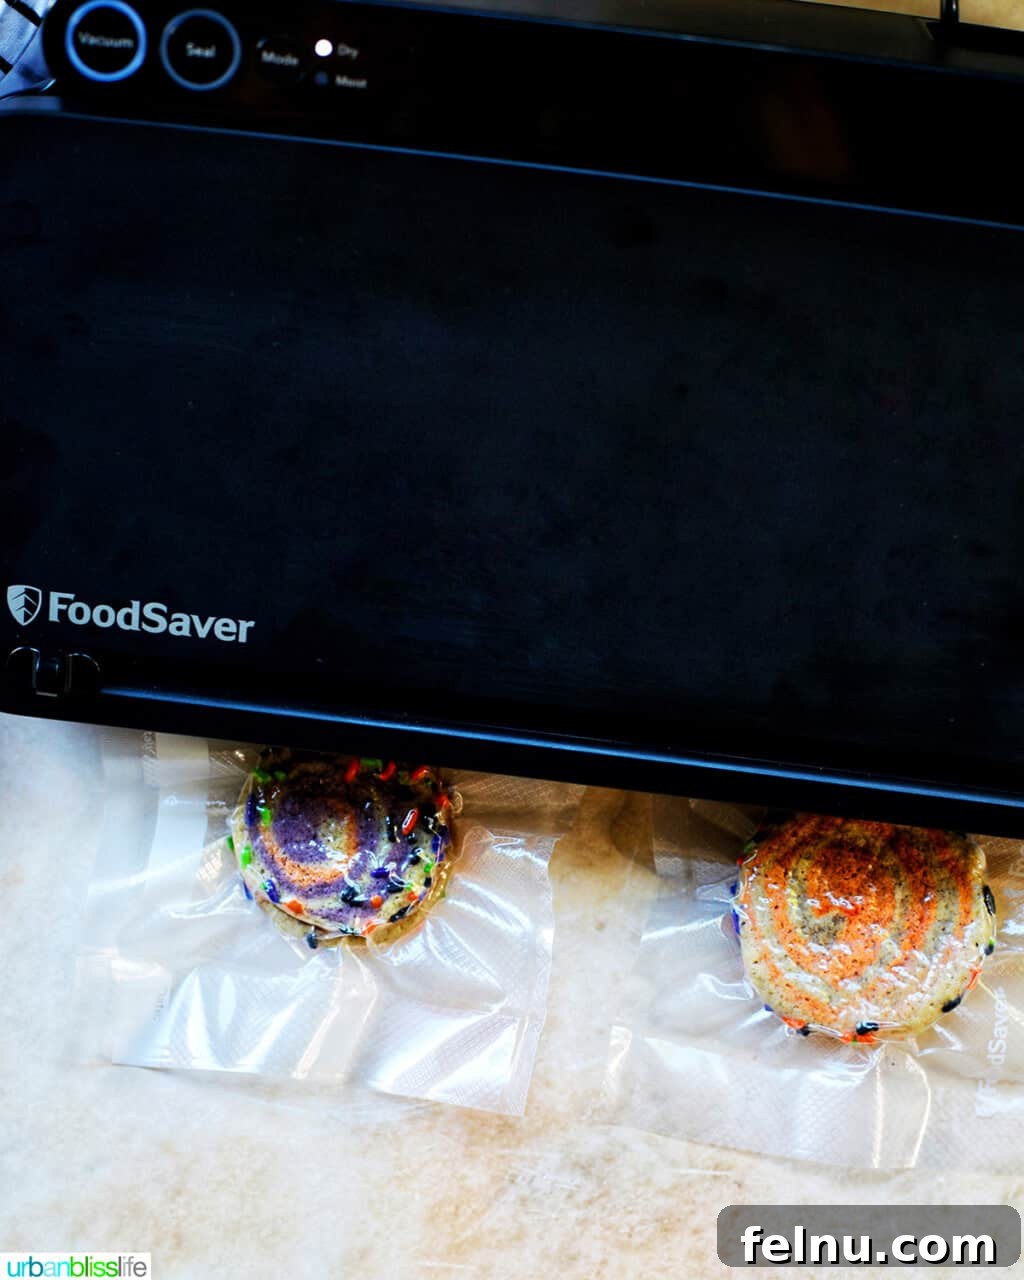
- Use your vacuum sealer to seal the bottom of the bag.
- Place two cookies on top of the bag to measure and create individual treat bags. Mark the spots where you’ll need to seal and cut out two individual treat bags, leaving at least one inch around each cookie.
- Remove the cookies and align the bag with your markings. Then, use the built-in cutter to cut along the marking for the top of the goodie bags.
- Rotate the cut bag 90 degrees and line it up with your sealing markings in the middle. Use the seal function on your vacuum sealer to create two seals, then cut in-between those two mid-way seals. You will have two treat bags sealed on three sides that can hold two cookies each.
- Place two cookies inside each bag, then use your vacuum sealer to create a final seal across the top of each bag.
- Use a hole punch to create a hole at the top of each bag, above the seal, and tie a festive ribbon through it.
- Repeat these steps to create as many individually sealed cookie bags as you need!
You’ve Been Booed Printables
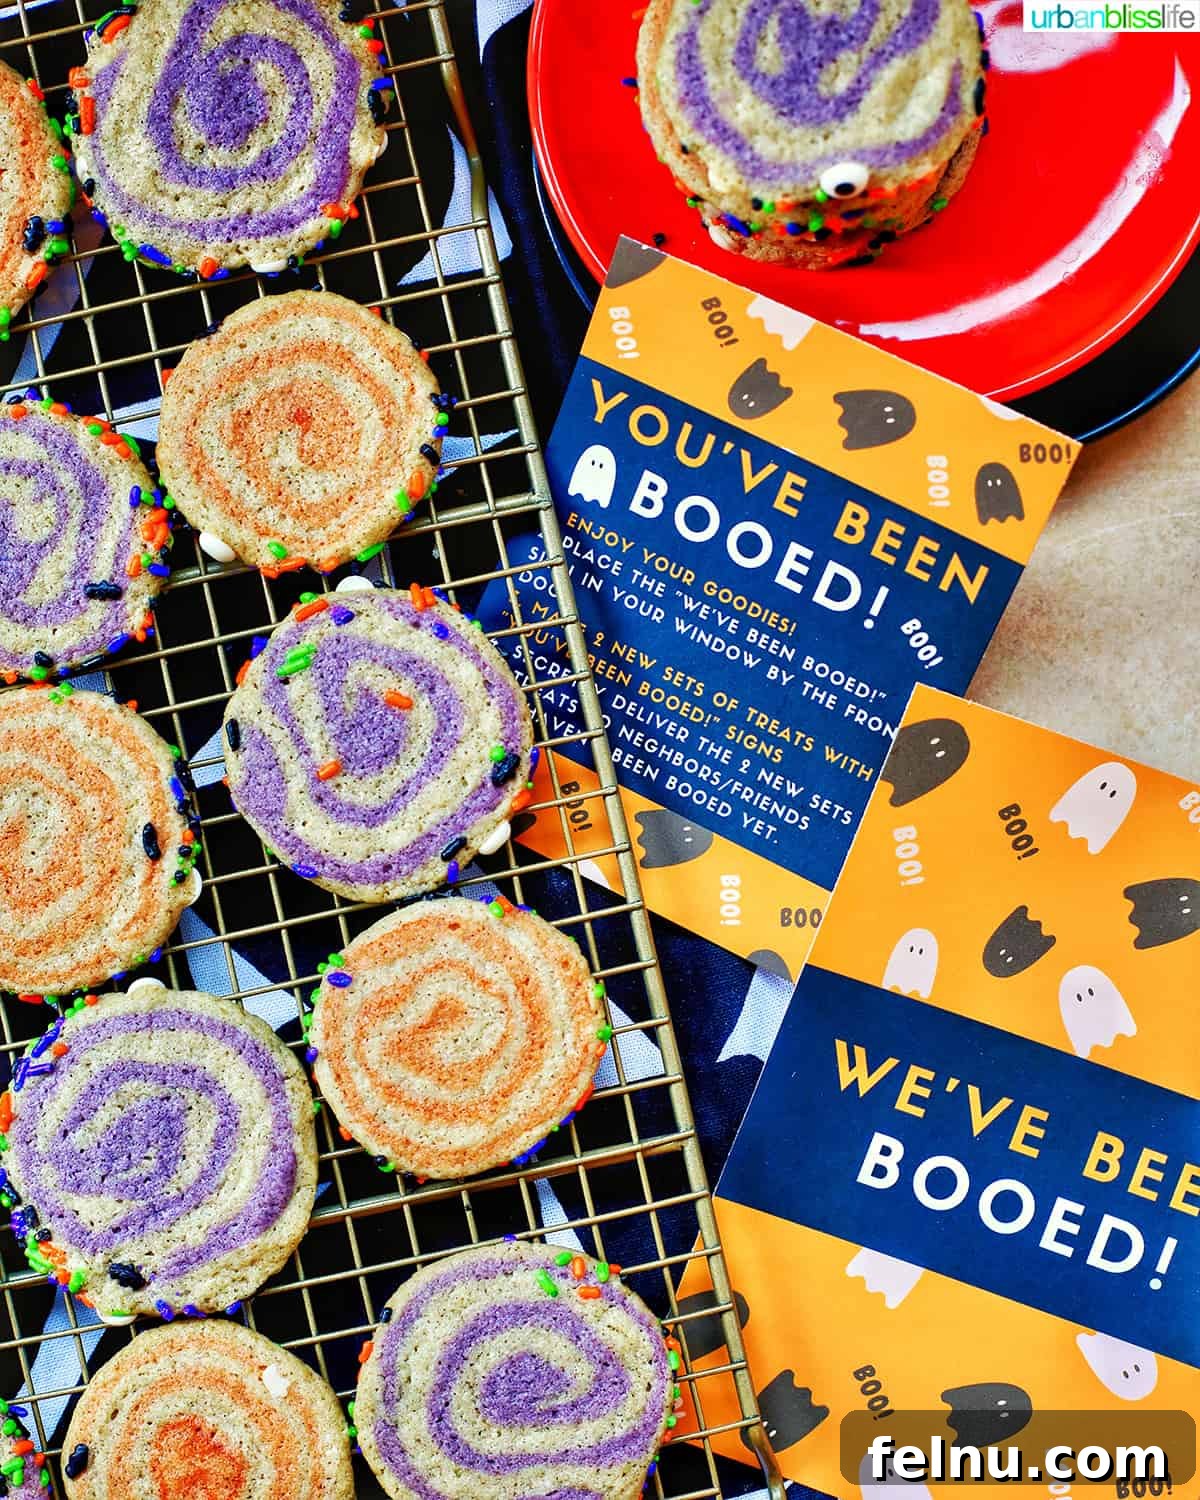
Are you familiar with “You’ve Been Booed,” a Halloween treat-giving tradition? It entails secretly placing treats at a neighbor’s front door with “You’ve Been Booed” and “We’ve Been Booed” signs. This act is then replicated by the neighbors for two other neighbors, creating a joyful chain reaction. It’s an enjoyable and celebratory way to commemorate Halloween, particularly when traditional trick-or-treating may be limited. We’ve made some cute ones that you can print off!
More Halloween Recipes
Nutter Butter Halloween Ghost Cookies
Monster Halloween Bark
Pumpkin Cream Cheese Muffins
Ube Donuts
Did you try this recipe? Don’t forget to leave a 5-Star rating in the recipe card, and if you really enjoyed it, please leave a comment down below. Thank you!
Halloween Pinwheel Cookies Recipe
Yields: 48 cookies
Prep time: 15 mins
Cook time: 12 mins
Chill time: 1 hr 30 mins
A delicious Halloween cookie recipe that is sure to get rave reviews!
- 1 cup unsalted butter, softened to room temperature
- 1 1/2 cups granulated sugar
- 2 large eggs, at room temperature
- 2 3/4 cups all-purpose flour
- 1/2 teaspoon baking soda
- 1 tablespoon pumpkin pie spice
- food coloring
- In a large bowl using a hand mixer, or in a stand mixer, cream the softened butter together with the sugar until fluffy. Beat in one egg at a time until incorporated.
- In a separate large bowl, whisk together the flour, baking soda, and pumpkin pie spice.
- Gradually beat the dry ingredients into the wet ingredients until combined.
- Lightly flour a clean surface. Roll the dough onto the floured surface until the dough no longer sticks to your hand.
- Divide the dough into four equal pieces. Add one food color to one dough piece and continue folding dough into itself until the food coloring is evenly distributed throughout that dough pieces. Shape into a disc and set aside.
- Add a second food coloring to another dough piece and repeat the process.
- Leave the remaining two dough pieces the original color, or feel free to add food coloring to those as well. Shape into discs.
- Wrap each disc in plastic wrap and refrigerate for 30 minutes.
- After 30 minutes, remove the dough discs from the refrigerator. Roll out one regular colored dough disc and use a knife or pastry scraper to cut the dough into a rectangle. Repeat this process with one of the colored dough discs. Place the colored dough disc onto the regular dough disc. Then, working from one of the shorter ends of the rectangle to the other, roll the stacked dough tightly into a log. It’s okay if there are small cracks here and there because they will push together as you roll the rest of the dough up.
- Repeat this process with the remaining regular colored dough disc and remaining colored dough disc. Re-wrap both dough logs in plastic wrap and refrigerate for 1 hour.
- After 1 hour, remove the dough logs from the refrigerator. Preheat the oven to 350°F. Line two baking sheets with parchment paper and set them aside.
- Slice the dough logs into thin slices about 1/4″ to 1/2″ thick. Dip the sides of each sliced cookie dough into the colored sprinkles and place on the prepared baking sheets approximately 2 inches apart, as the dough will spread while baking.
- Bake at 350°F for 11 to 13 minutes. Let cool on the pan for 2 to 5 minutes before transferring to a cooling rack to cool completely.
Halloween Printables
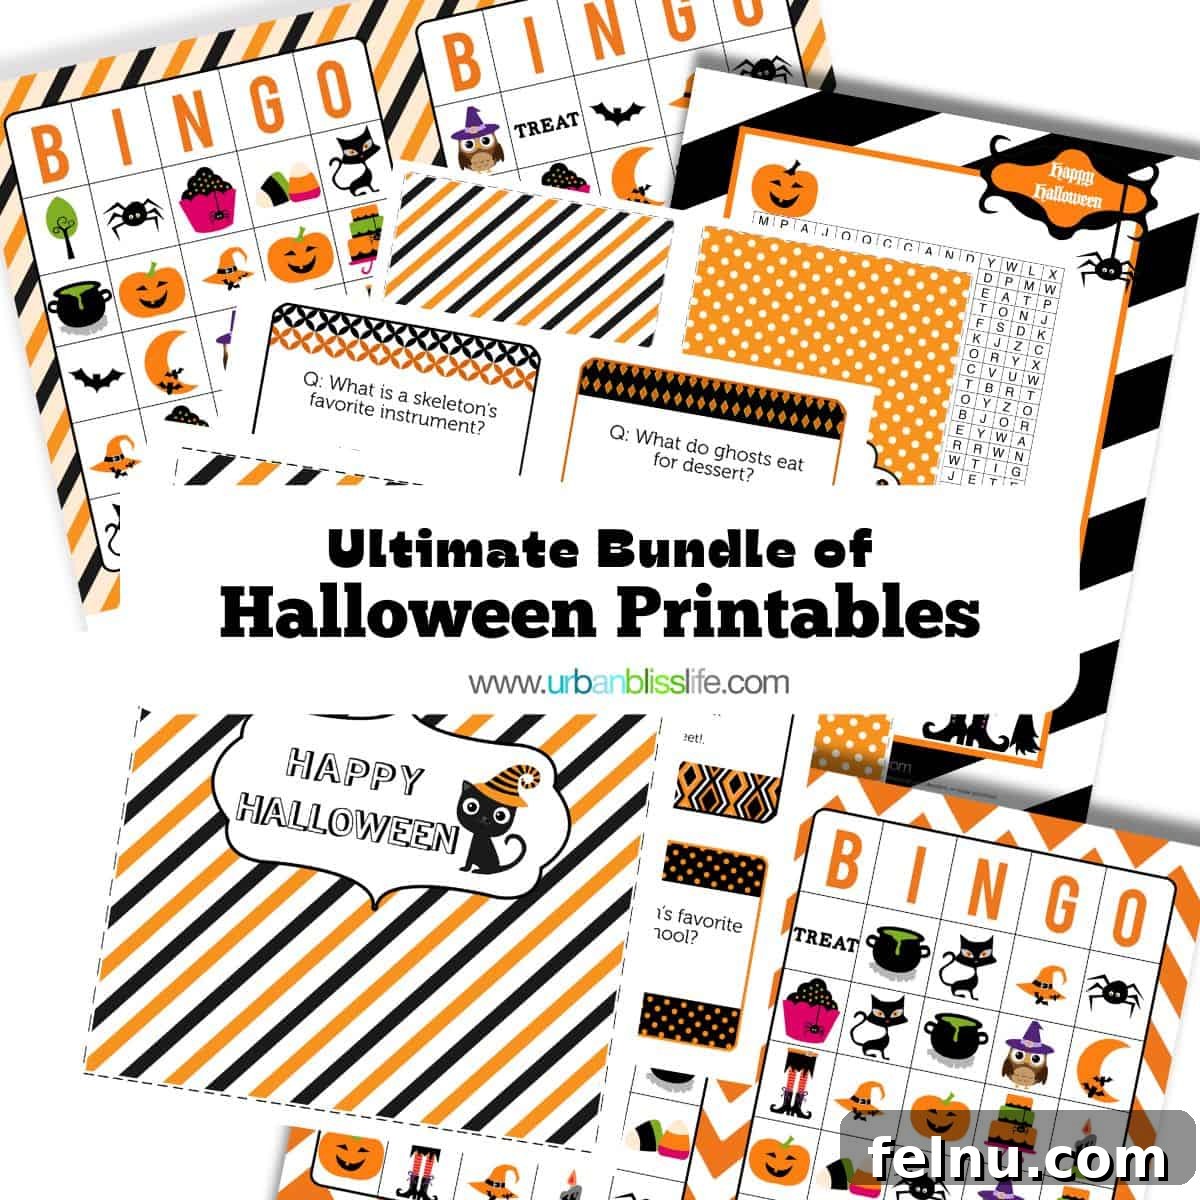
Planning a Halloween bash? Explore our Ultimate Bundle of Halloween printables!
The Halloween printables bundle features:
- A Halloween party invitation design to set the tone for your spooky gathering
- Halloween bingo cards along with call-out cards for hours of festive fun
- Lunchbox laughs with Halloween-themed jokes
- A Halloween word search that challenges and entertains
- Halloween favor bag fold-over tags to add a special touch
- A trick-or-treating scavenger hunt
- Halloween candy wrappers
Enjoy your Halloween pinwheel cookies and have a very Happy Halloween!