
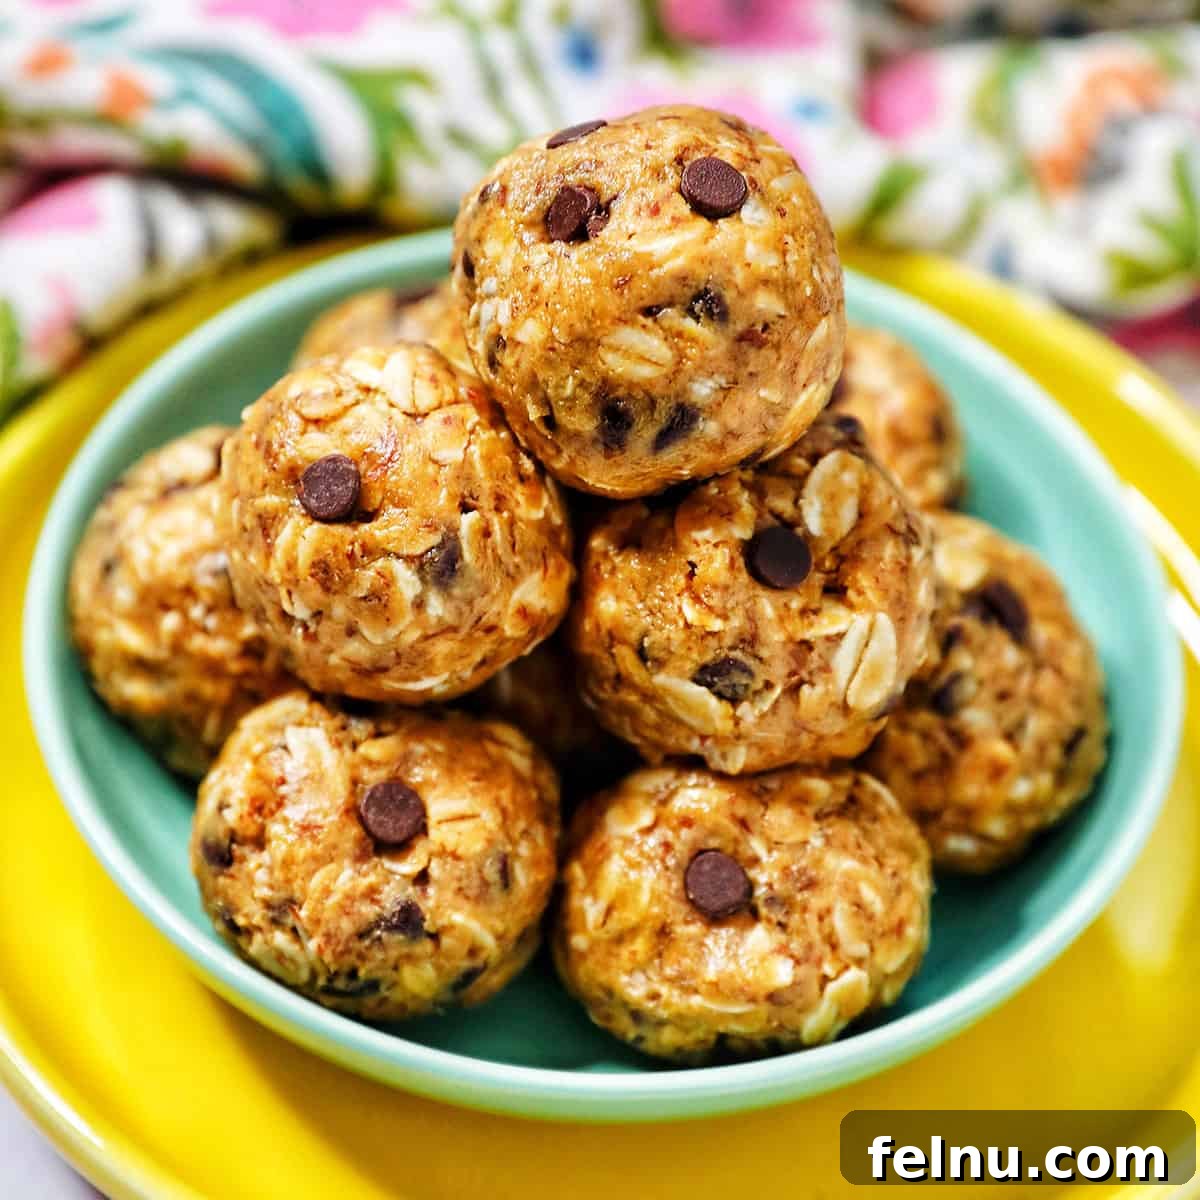
Are you searching for a delectable, energy-boosting snack that perfectly fits your busy lifestyle? Look no further! These irresistible Peanut Butter Chocolate Chip Oatmeal Balls are your answer. Designed to be portable and packed with protein, these bite-sized treats offer a convenient and wholesome way to fuel your day. Best of all, they’re incredibly simple to whip up right in your own kitchen.
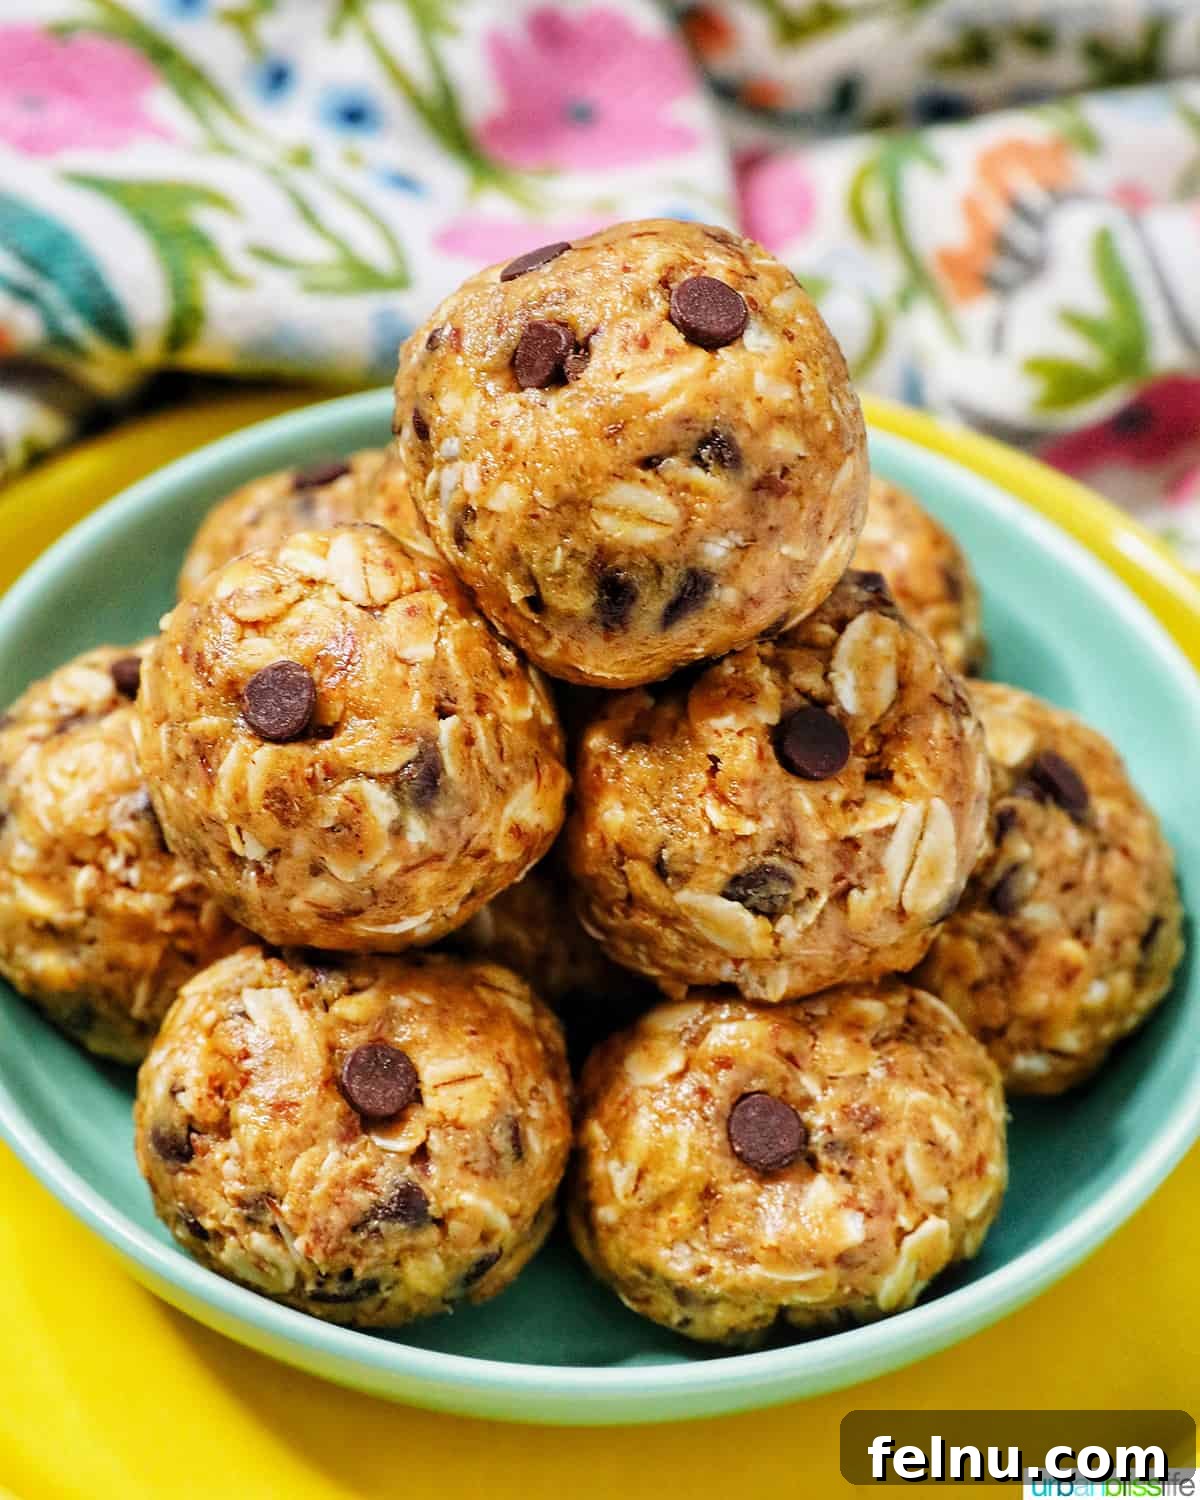
When those cravings for a healthy snack strike, especially when your sweet tooth is calling, these Peanut Butter Chocolate Chip Oatmeal Balls emerge as the ultimate no-bake indulgence. They offer a guilt-free way to enjoy a treat without compromising on nutrition, making them a fantastic choice for adults and kids alike.
Energy ball recipes, like this one, have become a staple in our meal prep routine. Imagine spending just a few minutes at the beginning of the week to prepare a batch, then having wholesome, grab-and-go snacks readily available in your refrigerator. It’s the perfect solution for busy mornings, afternoon slumps, or pre-workout fuel.
These delightful, no-bake snacks can be prepared in a mere 10-15 minutes, with a little chill time. Their combination of creamy peanut butter, wholesome oats, and sweet chocolate chips creates a flavor profile that the entire family will adore. They’re not just tasty; they’re smart snacking made effortless.
🍫 If you’re particularly in the mood for an extra dose of chocolatey goodness, you might also love our Chocolate Peanut Butter Energy Balls for another fantastic no-bake option!
🌟 Why You’ll Love These Peanut Butter Chocolate Chip Oatmeal Balls
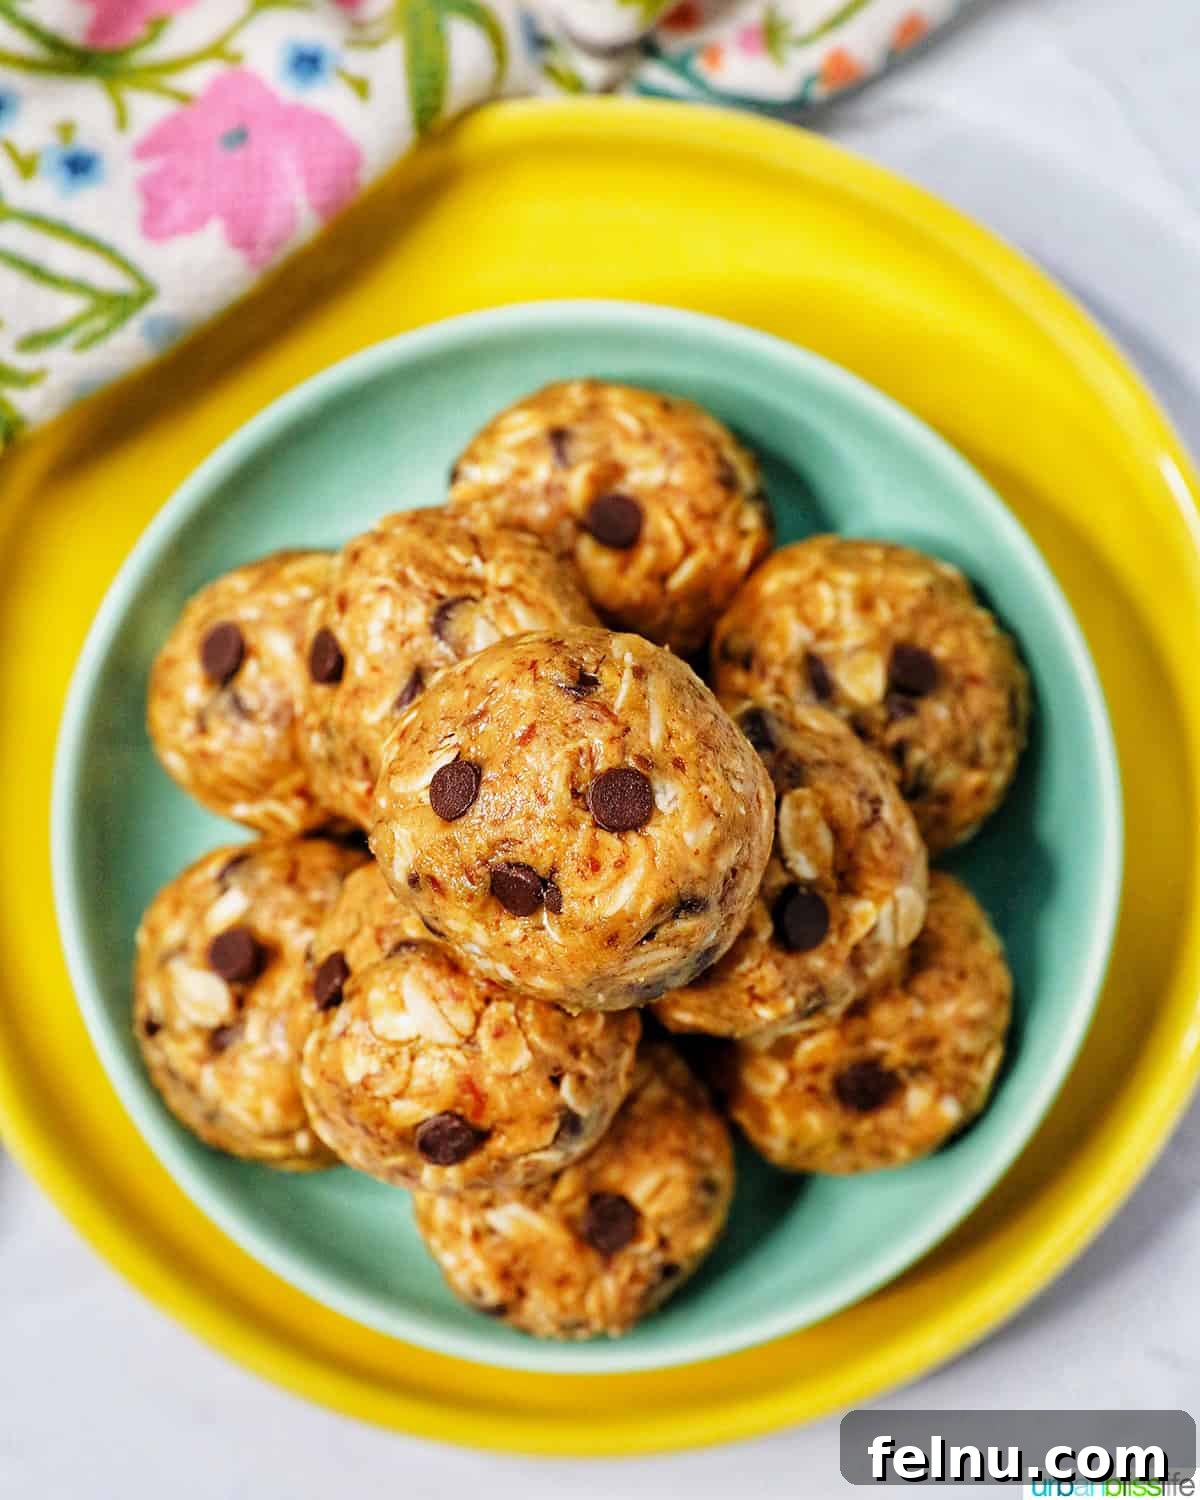
These no-bake Peanut Butter Chocolate Chip Oatmeal Balls are more than just delicious; they are incredibly practical and satisfying little bite-sized snacks, each packing a powerful protein punch. There are so many reasons why this snack recipe consistently remains a favorite, prompting us to make batch after batch:
- Effortless Preparation: Say goodbye to complicated baking processes. This recipe is genuinely easy to make, perfect for beginners or anyone short on time. With no oven required, clean-up is minimal, making your kitchen experience stress-free.
- Wholesome Ingredients: You’ll only need six common ingredients, most of which are likely already in your pantry. We focus on nutrient-dense components that contribute to a balanced and energizing snack.
- Lightning-Fast Assembly: From gathering your ingredients to mixing them, these energy balls come together in just minutes. While a short chill time is recommended for best texture, the active prep time is incredibly quick, making them ideal for spontaneous snack emergencies.
- Irresistibly Delicious Flavor: Each bite is a harmonious blend of creamy peanut butter, comforting oats, and delightful mini chocolate chips. The sweetness is just right, satisfying your cravings without being overpowering. It’s a classic flavor combination that appeals to almost everyone.
- Boosted Nutrition: Beyond their great taste, these energy balls offer a good source of protein, healthy fats, and fiber, helping you stay full and energized. They make a much better alternative to processed snacks.
- Kid-Friendly: Not only do kids love the taste, but they can also actively participate in making these! Rolling the balls is a fun activity for little hands, encouraging healthy eating habits from an early age.
- Perfect for Meal Prep: Make a larger batch at the start of the week, and you’ll have convenient snacks ready to go for several days. This saves time and ensures you always have a healthy option at hand.
🛒 Essential Ingredient Notes for Optimal Flavor & Texture
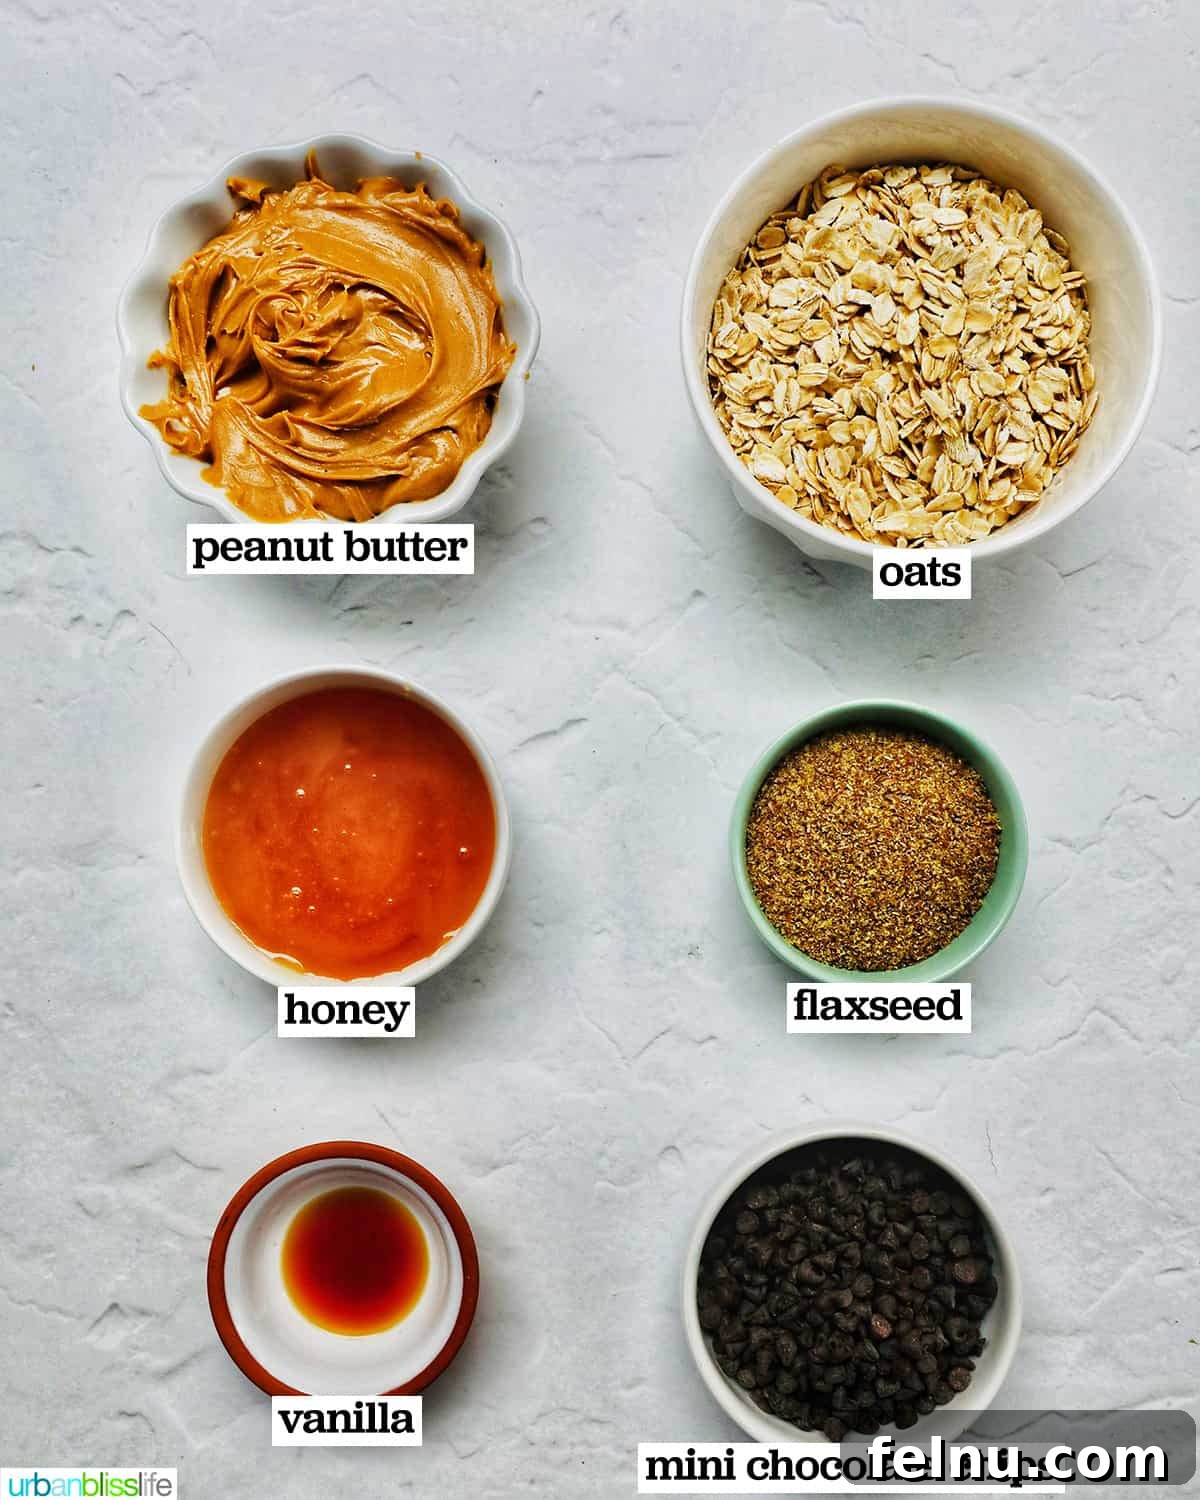
One of the many appealing aspects of this straightforward recipe is its minimal ingredient list – you only need six items to create these delightful energy bites! These are all simple, accessible ingredients that you can easily find at any local grocery store.
- Peanut Butter: The star of the show! Creamy peanut butter not only imparts that distinct, tasty flavor but also acts as the binding agent, helping all the other ingredients cohere into perfectly rollable balls. For the best results and texture, opt for smooth peanut butter. If you prefer natural peanut butter, be sure to stir it very well to combine any separated oil before measuring, and note that the consistency might be slightly different.
- Oats: We highly recommend using old-fashioned oats, also widely known as rolled oats. These provide the ideal chewy texture that holds up beautifully in energy balls. It is crucial to avoid quick-cooking oats (often labeled as “quick oats”) as they tend to absorb liquid too rapidly and can disintegrate when chilled overnight, resulting in a mushy texture rather than firm balls. For a gluten-free option, ensure you use certified gluten-free rolled oats.
- Honey: This natural sweetener adds a lovely touch of sweetness to each bite, perfectly balancing the flavors. Honey also contributes to the binding and pliability of the mixture. If you’re looking for a vegan alternative or a different flavor profile, you can easily substitute pure maple syrup or agave nectar in equal amounts.
- Ground Flaxseed: A fantastic addition for an extra boost of protein, healthy omega-3 fatty acids, and essential vitamins and minerals. Ground flaxseed also helps absorb moisture and bind the ingredients. If you don’t have ground flaxseed, chia seeds are an excellent substitute. While both are nutritious, ground flaxseeds offer a smoother consistency and texture compared to the slight crunchiness that chia seeds can add, making them our preference for these particular energy bites.
- Vanilla Extract: Just a small amount of pure vanilla extract goes a long way in enhancing the overall flavor profile. It adds a subtle depth and warmth that complements the peanut butter and chocolate beautifully, elevating the taste of each bite.
- Mini Chocolate Chips: These tiny morsels are essential for adding bursts of sweetness and a delightful crunch to the energy balls. Mini semi-sweet chocolate chips are a popular choice, but feel free to get creative with substitutions! You can experiment with mini white chocolate chips for a different flavor, butterscotch chips, milk chocolate chips, or even dark chocolate chips for a richer, less sweet experience. For a dairy-free option, ensure you select dairy-free chocolate chips.
✅ Simple Step-by-Step Instructions for Your No-Bake Delights
Crafting these easy no-bake peanut butter chocolate chip oatmeal energy balls is incredibly quick and satisfying, taking just minutes of active preparation. A complete list of ingredients with precise measurements and more detailed instructions can be found in the printable recipe card at the very bottom of this post. For a visual guide, here are step-by-step photos illustrating the process:
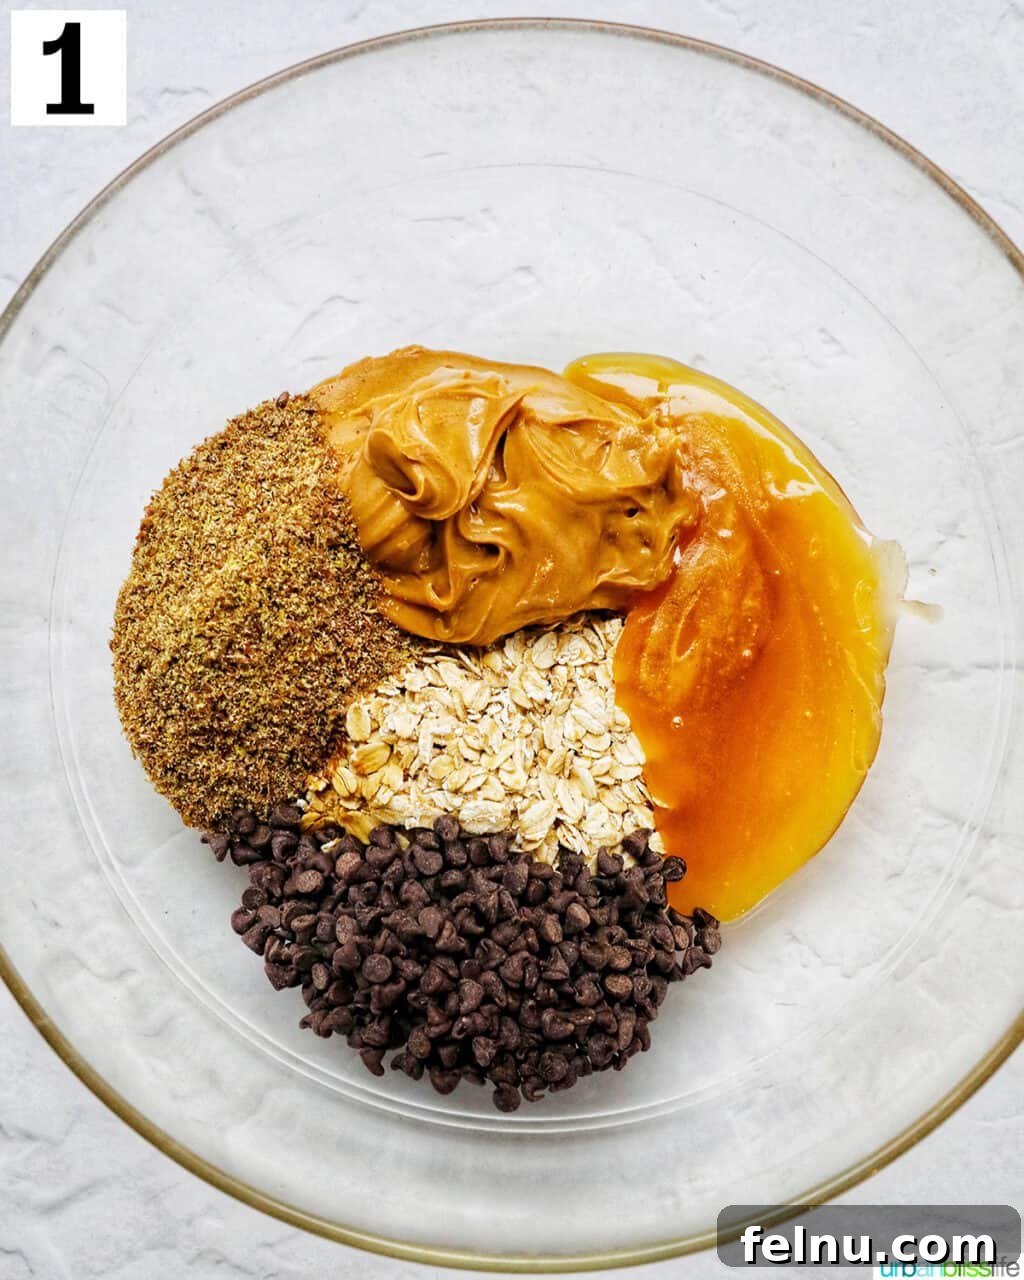
- Combine Ingredients: Begin by adding all six of your measured ingredients (old-fashioned oats, smooth peanut butter, honey, ground flaxseed, vanilla extract, and mini chocolate chips) into a large mixing bowl.
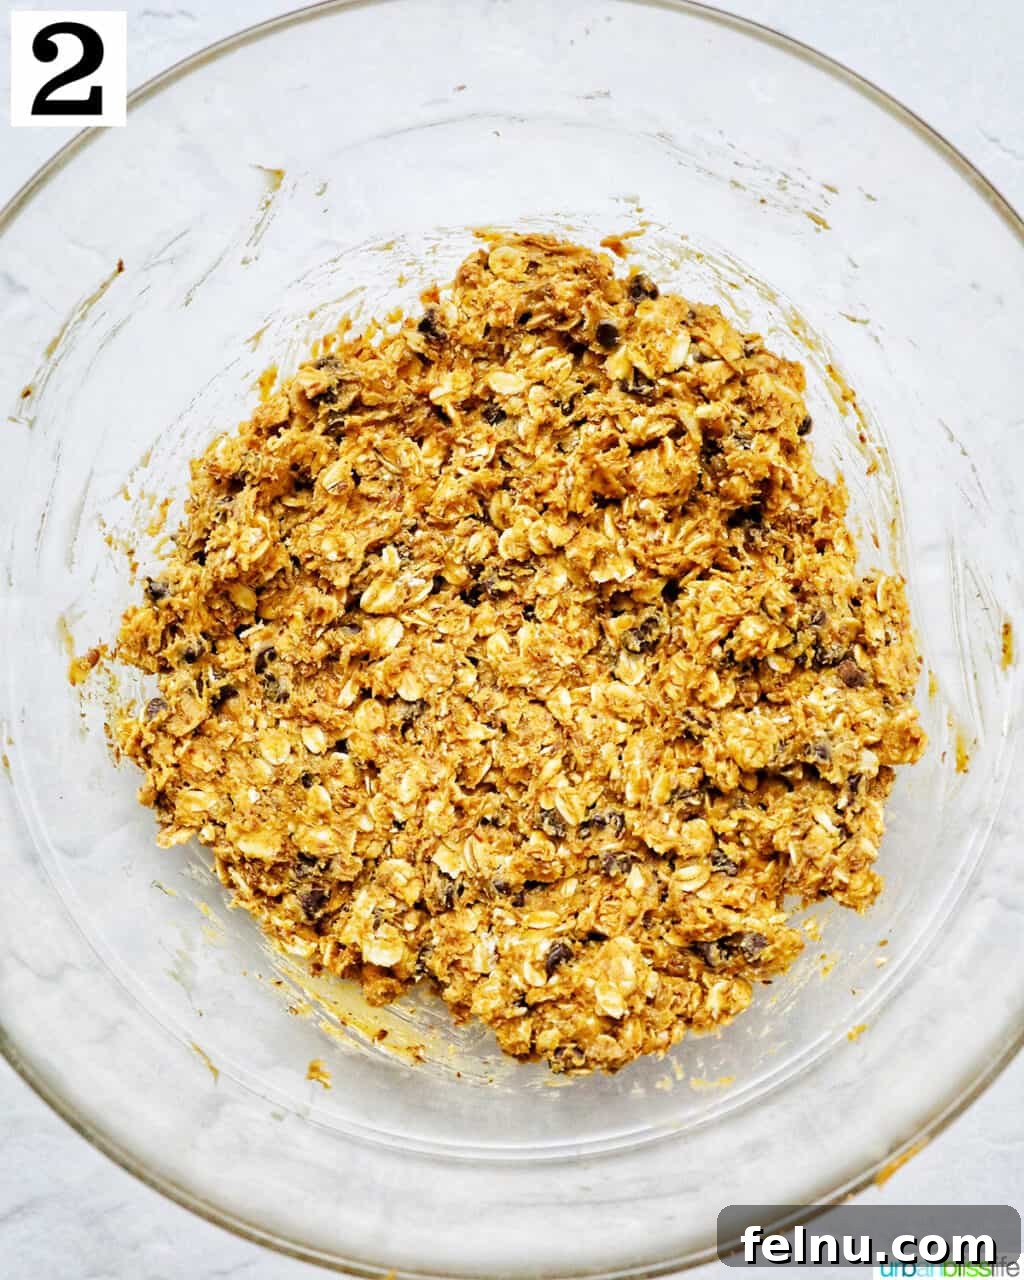
- Mix Thoroughly: Using a sturdy spoon or a flexible silicone spatula, mix all the ingredients together until they are thoroughly combined and evenly distributed. Ensure there are no dry pockets of oats or flaxseed and that the peanut butter and honey have coated everything well. The mixture should be thick and slightly sticky.
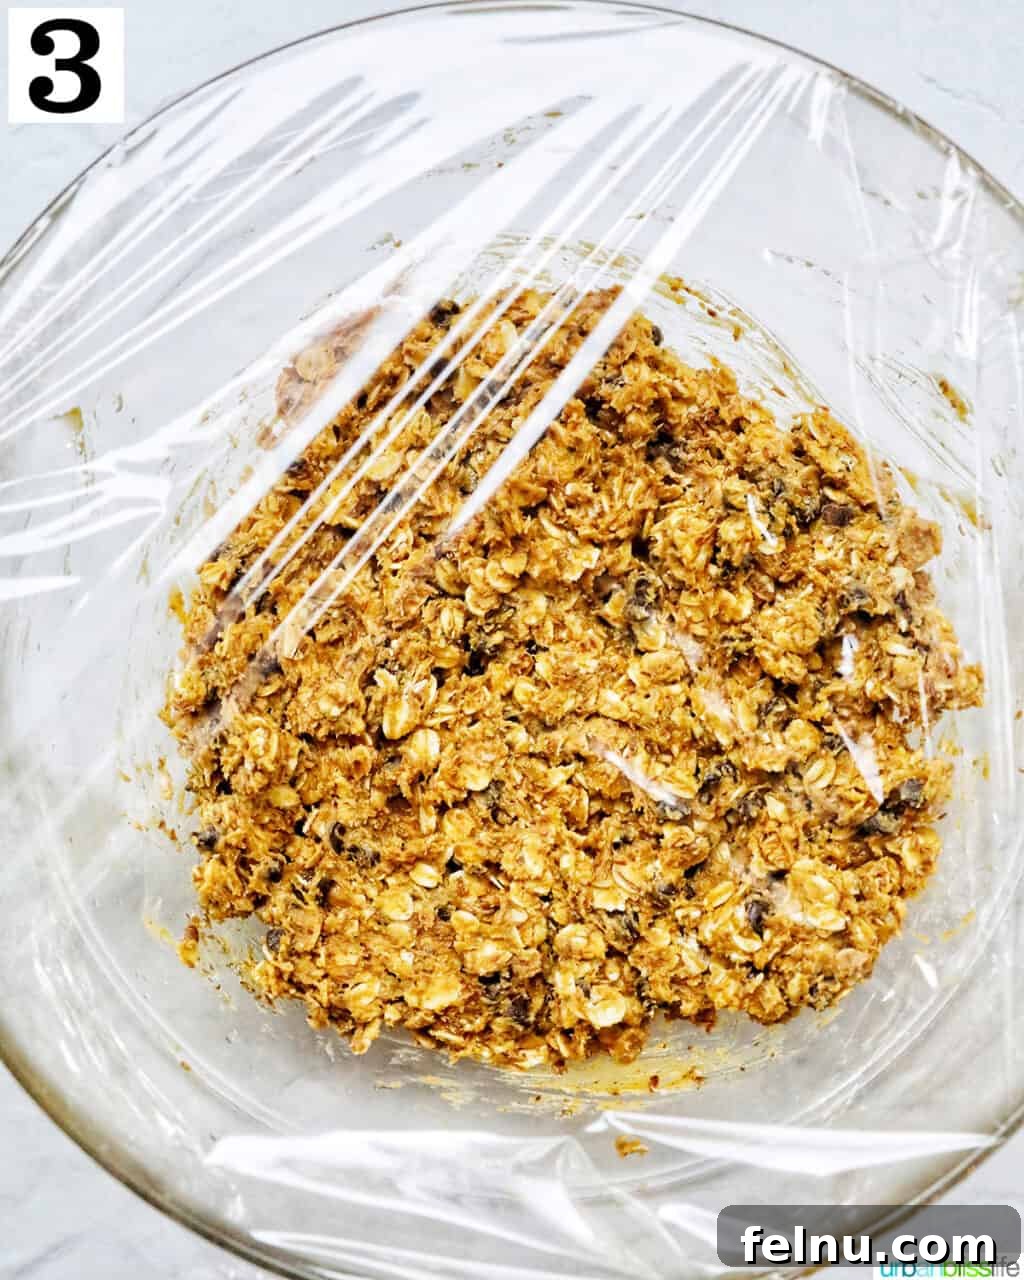
- Chill the Mixture: Cover the bowl tightly with plastic wrap and transfer it to the refrigerator. Allow the mixture to chill for at least 30 minutes, or up to 2 hours. This crucial step helps the oats soften slightly, and the mixture firm up, making it much easier to roll into neat balls.
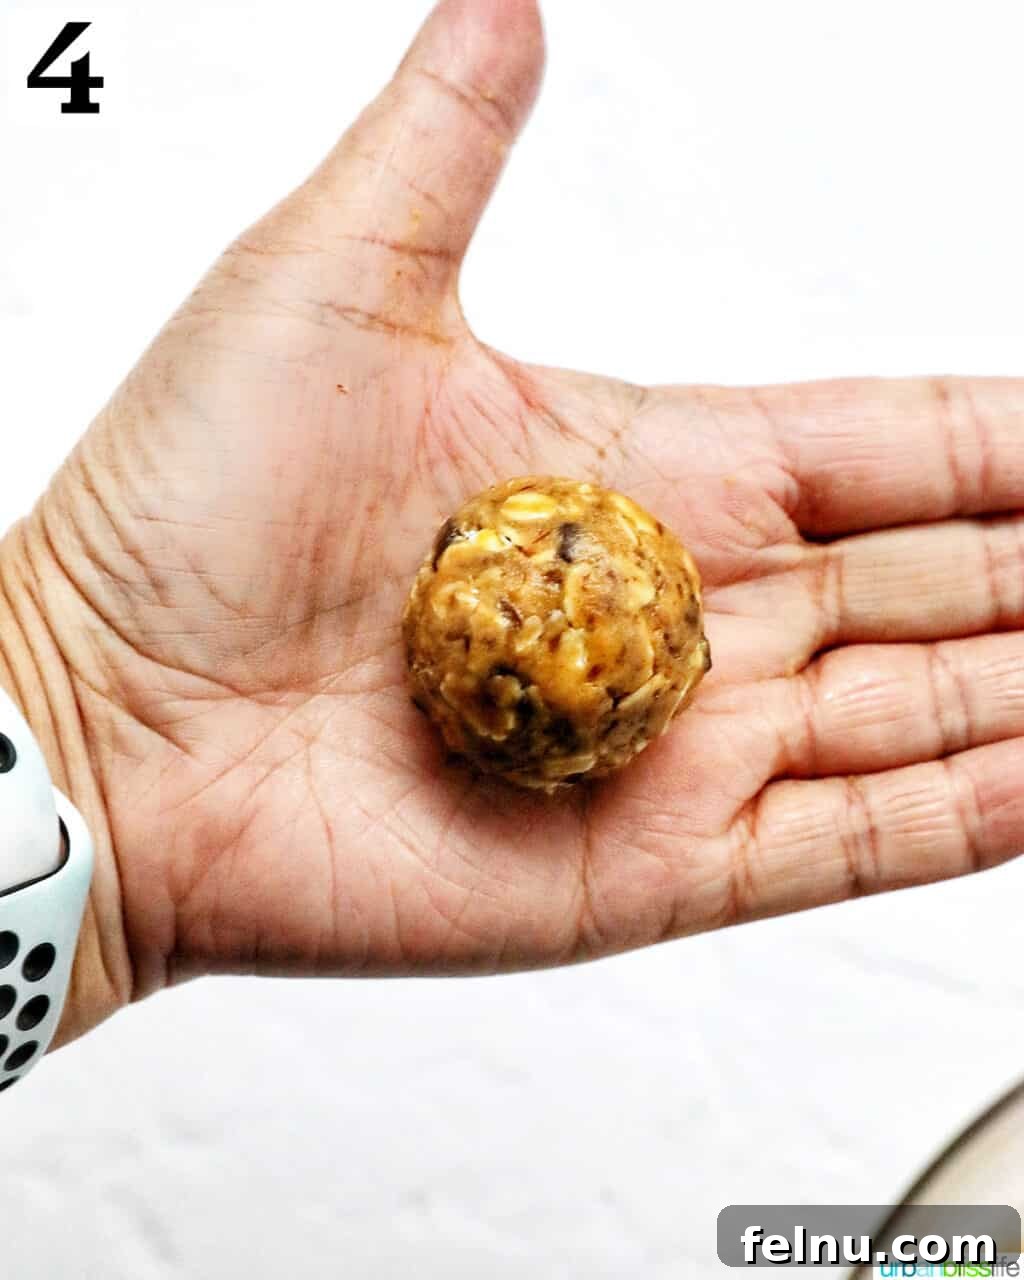
- Form the Balls: Once chilled, remove the mixture from the refrigerator. Scoop out small portions, about 1 to 1.5 inches thick (roughly the size of a golf ball or a tablespoon measure). Roll each portion between your palms to form smooth, compact balls. You can either enjoy them immediately, or for a firmer texture, return them to the refrigerator for a little longer.
👩🏻🍳 Creative Variations and Frequently Asked Questions
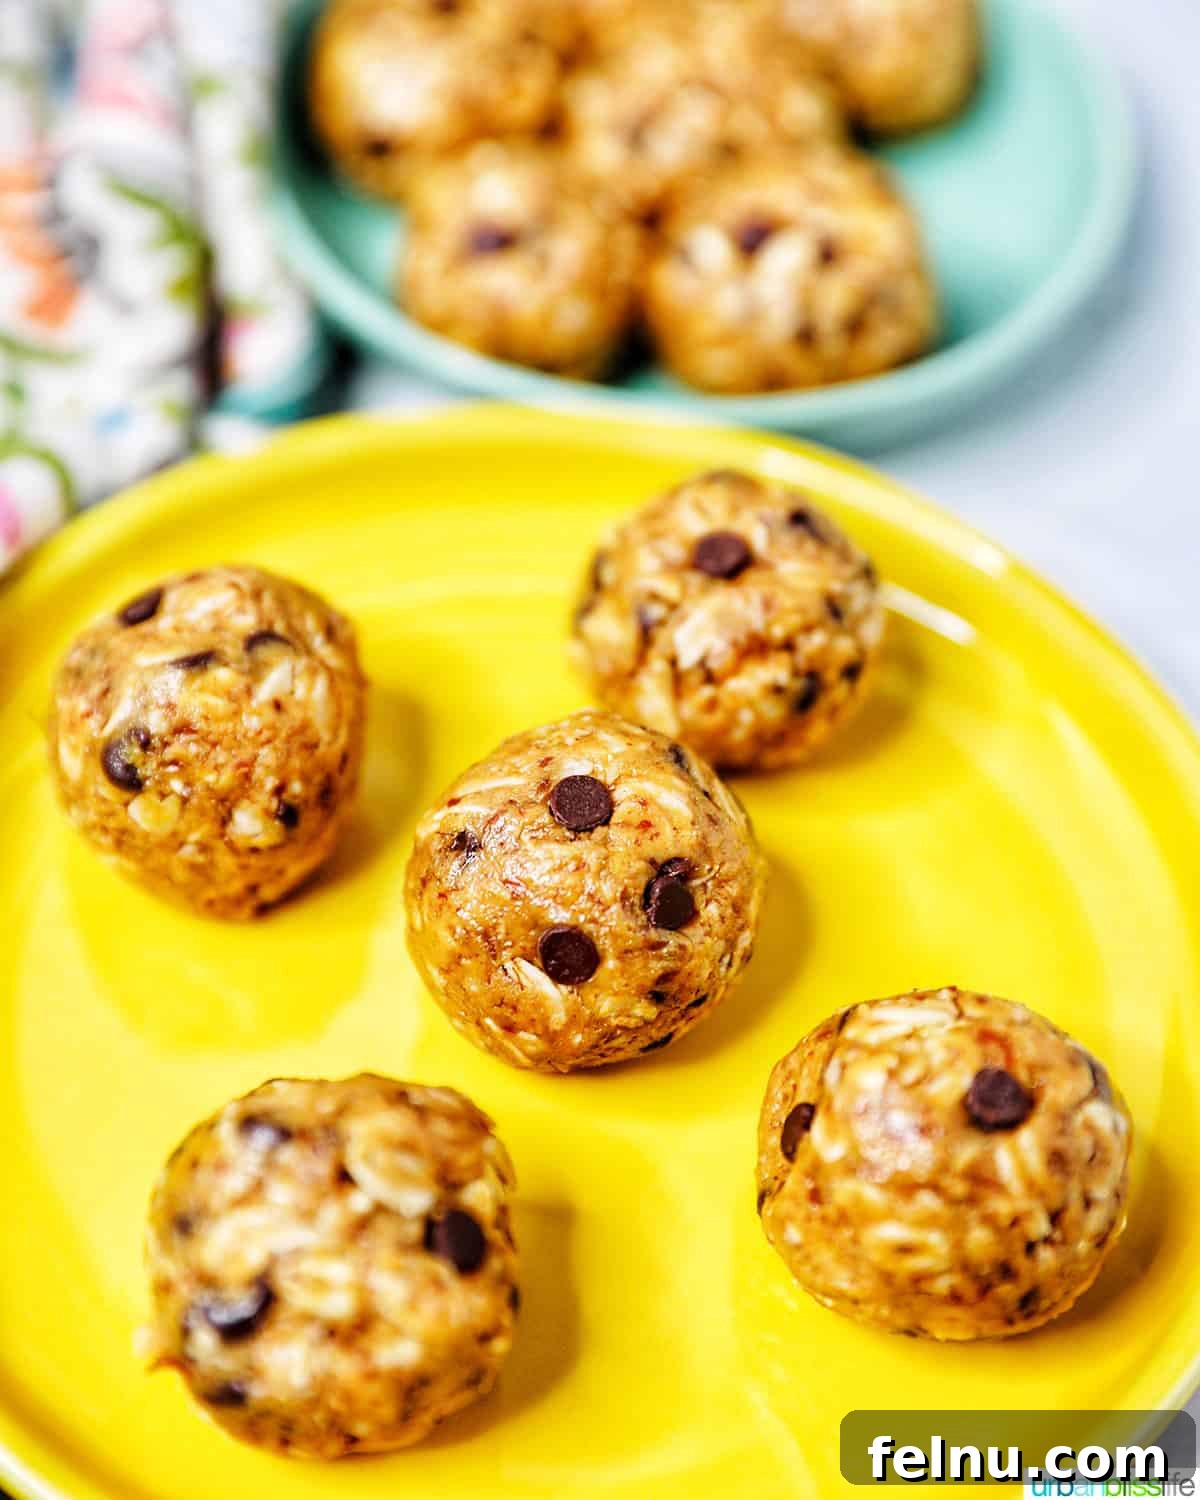
One of the joys of making no-bake energy balls is their incredible versatility. Feel free to experiment with different additions and substitutions to tailor them to your taste preferences or dietary needs. Here are some inspiring variations and mix-ins:
- Tropical Twist: Substitute semi-sweet chocolate chips with white chocolate chips and add a sprinkle of shredded coconut for a delightful tropical flavor.
- Nutty Crunch: Enhance the texture and protein content by folding in finely chopped nuts such as pecans, walnuts, or almonds.
- Sweetener Alternatives: As mentioned, maple syrup or agave nectar can be used in place of honey for a different sweetness profile or to make the recipe vegan.
- Fruity Goodness: Incorporate finely chopped dried fruit like cranberries, raisins, apricots, or dates for added natural sweetness and chewiness.
- Decadent Drizzle: For an extra touch of indulgence, once the balls are formed and chilled, drizzle them with melted dark, milk, or white chocolate.
- Fun with Sprinkles: Make them extra festive and appealing to kids (or adults!) by rolling them in colorful sprinkles before chilling.
- Nut Butter Variety: Explore different nut butters! Sunflower butter (for a nut-free option), cashew butter, or almond butter can be used instead of peanut butter, offering distinct flavors and nutritional benefits.
- Protein Power-Up: For an even greater protein boost, mix in a scoop of your favorite protein powder (vanilla or unflavored work best) before chilling. You might need to add a tiny bit more liquid (honey or water) if the mixture becomes too dry.
- Spice It Up: Add a pinch of cinnamon, nutmeg, or pumpkin spice for a warm, comforting flavor, especially during colder months.
Absolutely! While the exact nutritional content can vary based on the specific ingredients and recipe, protein balls are generally considered a highly nutritious snack. They typically provide a good balance of macronutrients, including complex carbohydrates from oats for sustained energy, healthy fats from peanut butter and flaxseed for satiety and essential nutrients, and protein to support muscle repair and fullness. The protein content can range from 5-10 grams per serving, making them an excellent choice for a post-workout snack or a satisfying pick-me-up.
It is highly recommended that you never mix in raw all-purpose flour into any unbaked or uncooked dish, including protein bites. Raw flour can contain bacteria that are only killed through cooking or baking. For safe raw consumption, you can instead incorporate flours like almond flour, oat flour (made from finely ground oats), or coconut flour. These alternative flours are safe to be eaten raw and can add different textures and nutritional benefits to your energy balls. Always ensure any flour you add to a no-bake recipe is explicitly stated as safe for raw consumption.
To maintain their freshness, texture, and flavor, store your peanut butter protein balls in an airtight container. Place the container in the refrigerator, where they will keep well for up to one week. This makes them perfect for weekly meal prep, ensuring you have healthy snacks available whenever you need them.
Yes, absolutely! Freezing is an excellent way to extend the shelf life of your energy bites. To freeze, arrange the formed balls in a single layer on a baking sheet and freeze for about 30 minutes until solid. Then, transfer them to a freezer bag or another freezer-safe, airtight container. They will remain fresh and delicious in the freezer for 2 to 3 months. When you’re ready to enjoy one, simply grab it from the freezer and let it thaw for a few minutes at room temperature, or enjoy them straight from frozen for a firmer, chewier treat!
🍽 Perfect for Every On-the-Go Adventure
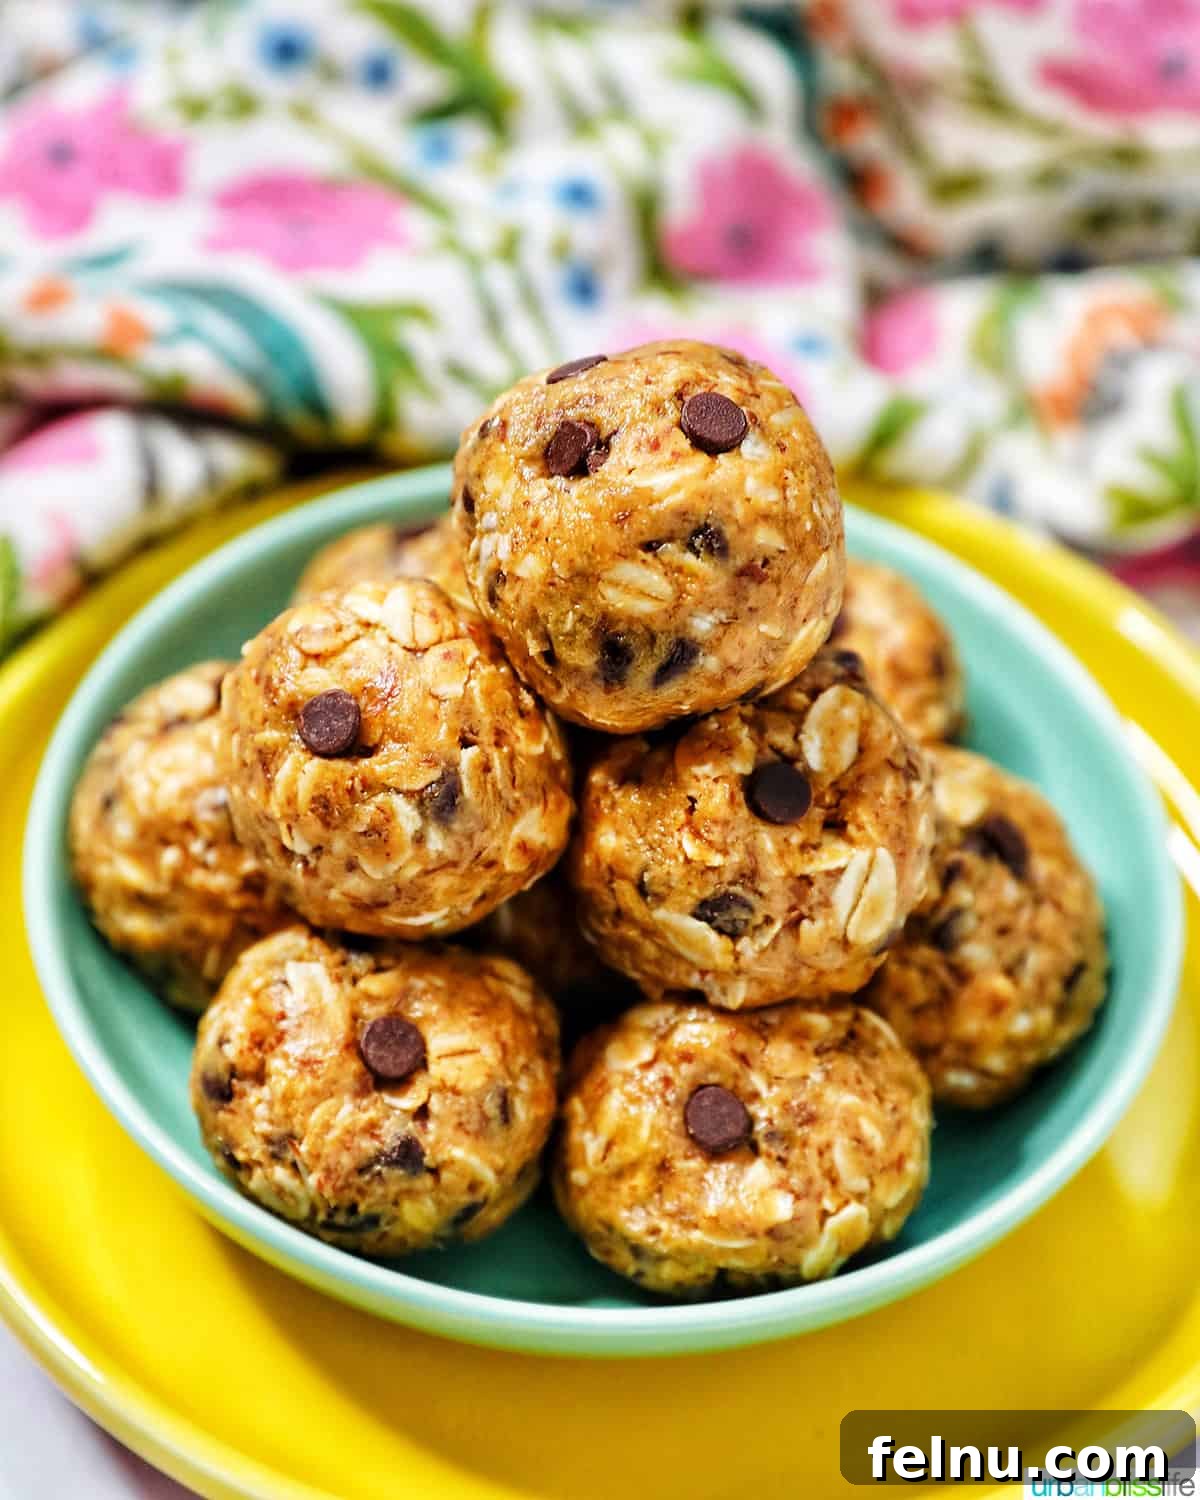
No-bake energy bites like these are truly the quintessential snack for anyone with a busy schedule. Their compact size, robust nutrition, and delicious flavor make them suitable for almost any situation where you need quick, convenient fuel. Make a batch of these peanut butter oatmeal energy bites to power you through:
- Long Road Trips: Forget unhealthy gas station snacks. Pack these for a wholesome, mess-free option that keeps hunger at bay and energy levels up during travel.
- Hectic Mornings: When you barely have time to grab a coffee, these energy balls are a lifesaver. Grab one or two on your way out the door for a quick, nourishing bite that kickstarts your day.
- School Lunchboxes: A much-loved treat that parents can feel good about packing. Kids adore the taste, and you’ll love that they’re getting a healthy boost.
- After-School Hunger: The perfect antidote to post-school munchies, providing sustained energy to carry kids through homework and activities without a sugar crash.
- Sports Activities & Workouts: An ideal pre- or post-workout snack. The combination of protein and carbs helps to fuel your body and aid recovery.
- Outdoor Picnics: Easy to transport and eat outdoors, they’re a fantastic addition to any picnic basket, offering a sweet yet healthy alternative to traditional desserts.
- Beach Trips: Durable and refreshing when chilled, these are perfect for a day by the water, providing a clean source of energy without melting like traditional chocolate bars.
- Hiking and Biking: Lightweight and easy to carry, they provide a quick and efficient energy source during prolonged physical activities.
- Desk Snacks for Work: Keep a container in the office fridge for when you need a healthy brain boost or to stave off those mid-afternoon cravings.
🍳 Recommended Kitchen Tools for Easy Preparation
You don’t need a lot of specialized equipment to make these delightful energy balls. In fact, you likely already have most of these items in your kitchen. Here are the simple tools that will help you prepare this recipe with ease:
- Large Mixing Bowl: You’ll definitely need a spacious large mixing bowl. This ensures you have ample room to add all your ingredients and mix them thoroughly without spills or messes, allowing for an even distribution of flavors.
- Sturdy Mixing Spoon or Spatula: A robust wooden spoon or a flexible silicone spatula is essential for combining the thick mixture. These tools provide the leverage needed to fully integrate the peanut butter and honey with the oats and other dry ingredients.
- Small Cookie Scoop (Optional but Recommended): While not strictly necessary, a small cookie scoop (about 1.5-inch diameter) is incredibly helpful. It assists in portioning out the dough, allowing you to create uniform peanut butter balls that are consistent in size and shape. This also makes the rolling process quicker and less messy.
- Plastic Wrap: For covering the bowl while the mixture chills in the refrigerator.
- Airtight Container: For storing your finished energy balls in the refrigerator or freezer.
Explore More Delicious Snack Recipes
If you loved these Peanut Butter Chocolate Chip Oatmeal Balls, you’re in for a treat! We have a wide array of other easy and delicious snack recipes that are perfect for any time of day. Whether you’re looking for more no-bake options, sweet indulgences, or savory dips, you’ll find something new to love. Check out some of our other popular snack ideas below to keep your snack game strong and exciting:
- Pumpkin White Chocolate Chip Cookies
- Pumpkin Protein Balls
- Black Bean Corn Dip
- Apple Cinnamon Loaf
Did you make this recipe? We’d love to hear from you! Don’t forget to leave a 5-Star 🌟🌟🌟🌟🌟 rating in the recipe card below. If you truly enjoyed it, please take a moment to leave a comment further down on the page. Your feedback helps us and other home cooks. Thank you!
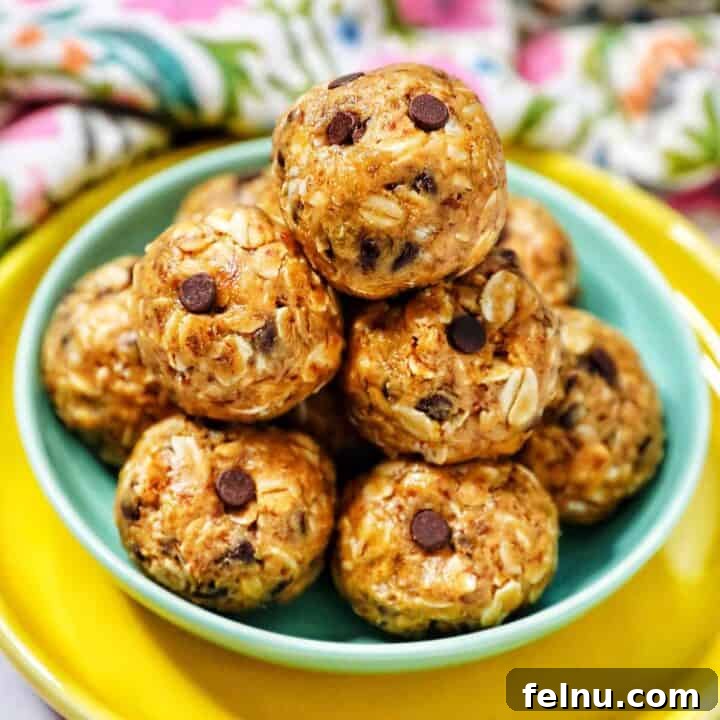
Peanut Butter Chocolate Chip Oatmeal Balls
Print Recipe
Ingredients
- 1 cup old-fashioned oats (rolled oats)
- ½ cup smooth peanut butter
- ⅓ cup honey (or maple syrup/agave nectar)
- ¼ cup ground flaxseed (or chia seeds)
- 1 teaspoon vanilla extract
- ½ cup mini semi-sweet chocolate chips (or your preferred type)
Instructions
-
In a large mixing bowl, combine the old-fashioned oats, smooth peanut butter, honey, ground flaxseed, vanilla extract, and mini chocolate chips.
-
Mix all ingredients thoroughly with a sturdy spoon or spatula until everything is well combined and evenly distributed. The mixture should be thick and slightly sticky.
-
Cover the bowl tightly with plastic wrap and refrigerate for at least 1 hour (or up to 2 hours) to allow the mixture to firm up, making it easier to roll.
-
Remove from the refrigerator and roll the mixture into approximately 1 to 1.5-inch balls (about the size of a golf ball). If desired, use a small cookie scoop for uniform sizes.
-
Serve immediately or store in an airtight container in the refrigerator until you are ready to enjoy!
Notes
Substitutions:
- You may substitute pure maple syrup or agave nectar for the honey for a different flavor or to make the recipe vegan.
- Chia seeds can be used as a direct substitute for ground flaxseed, or you can add a teaspoon of chia seeds in addition to the flaxseed for extra texture and nutrients.
- Feel free to omit the mini chocolate chips entirely if you prefer a less sweet option, or replace them with other mix-ins like chopped nuts or dried fruit.
- For a gluten-free recipe, ensure you use certified gluten-free rolled oats.
Storage: Store the finished energy balls in an airtight container in the refrigerator for up to one week.
Freezing: For longer storage, place the energy balls in a single layer on a baking sheet and freeze until solid (about 30 minutes). Then, transfer them to a freezer bag or freezer-safe airtight container and store in the freezer for up to two months. Thaw briefly at room temperature before enjoying.
Nutrition Information (per ball)
, Carbohydrates: 12g
, Protein: 3g
, Fat: 6g
, Saturated Fat: 1g
, Polyunsaturated Fat: 2g
, Monounsaturated Fat: 2g
, Sodium: 36mg
, Potassium: 88mg
, Fiber: 2g
, Sugar: 7g
, Vitamin C: 0.1mg
, Calcium: 13mg
, Iron: 1mg
Nutrition information is automatically calculated and should only be used as an approximation. Actual values may vary based on specific ingredients and preparation methods.
Tried this irresistible recipe?
Please leave a star rating and a comment below to share your experience! Then, snap a pic of your delicious dish and share it on social media. Don’t forget to tag @UrbanBlissLife and use the hashtag #UrbanBlissLife so we can see your amazing creations!