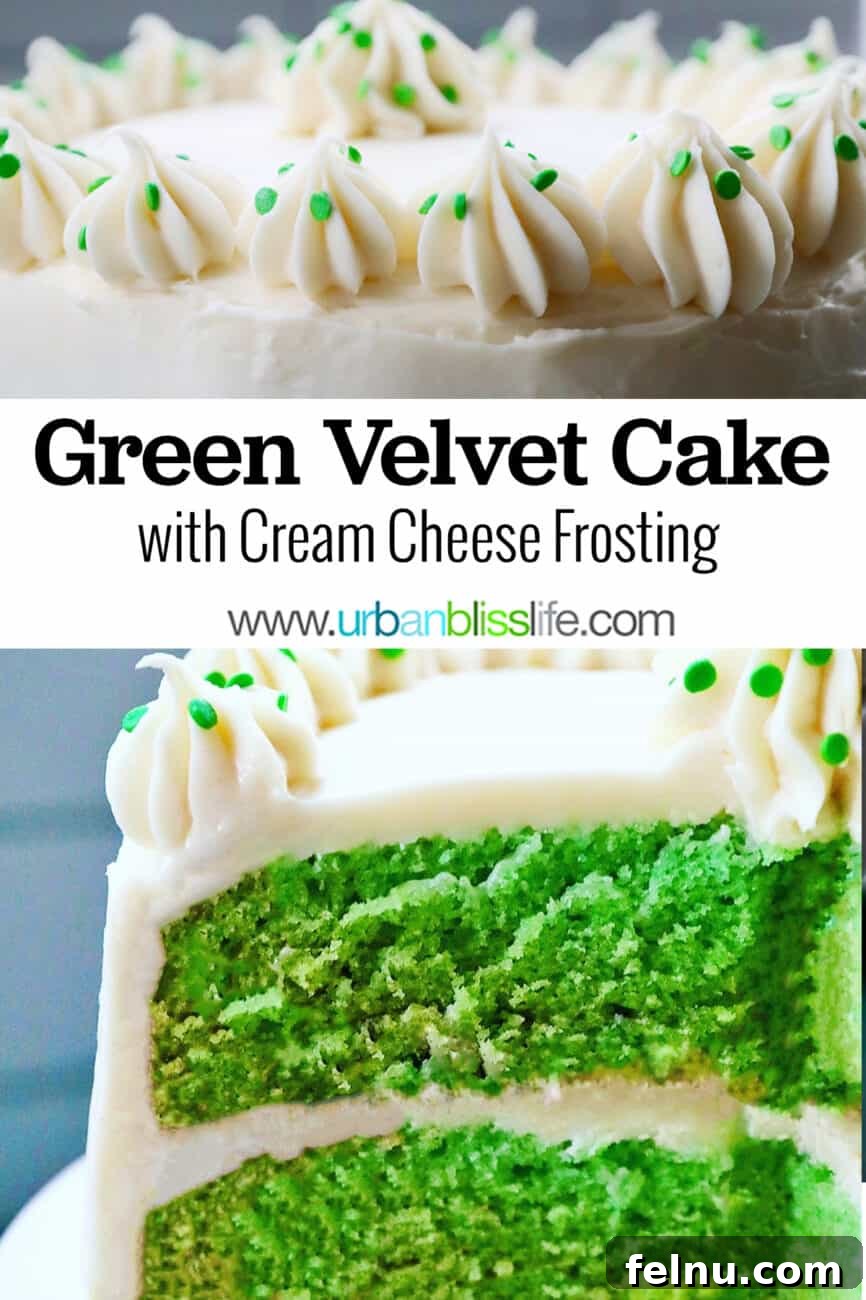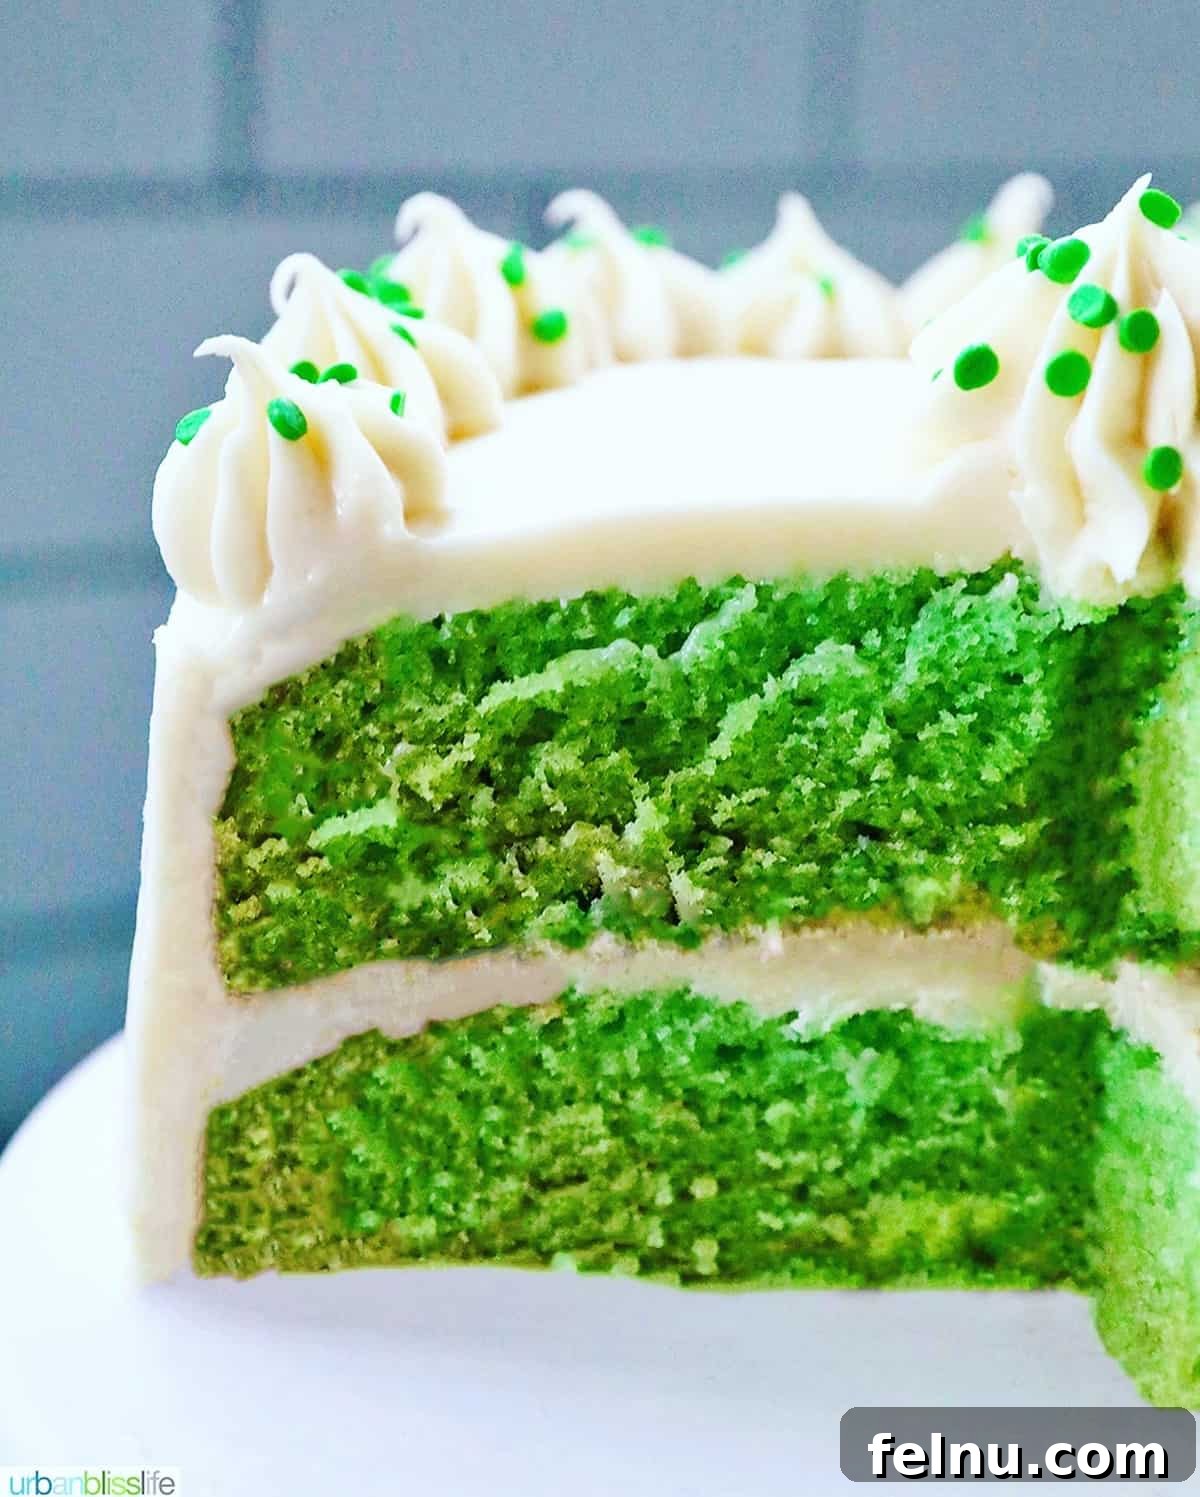
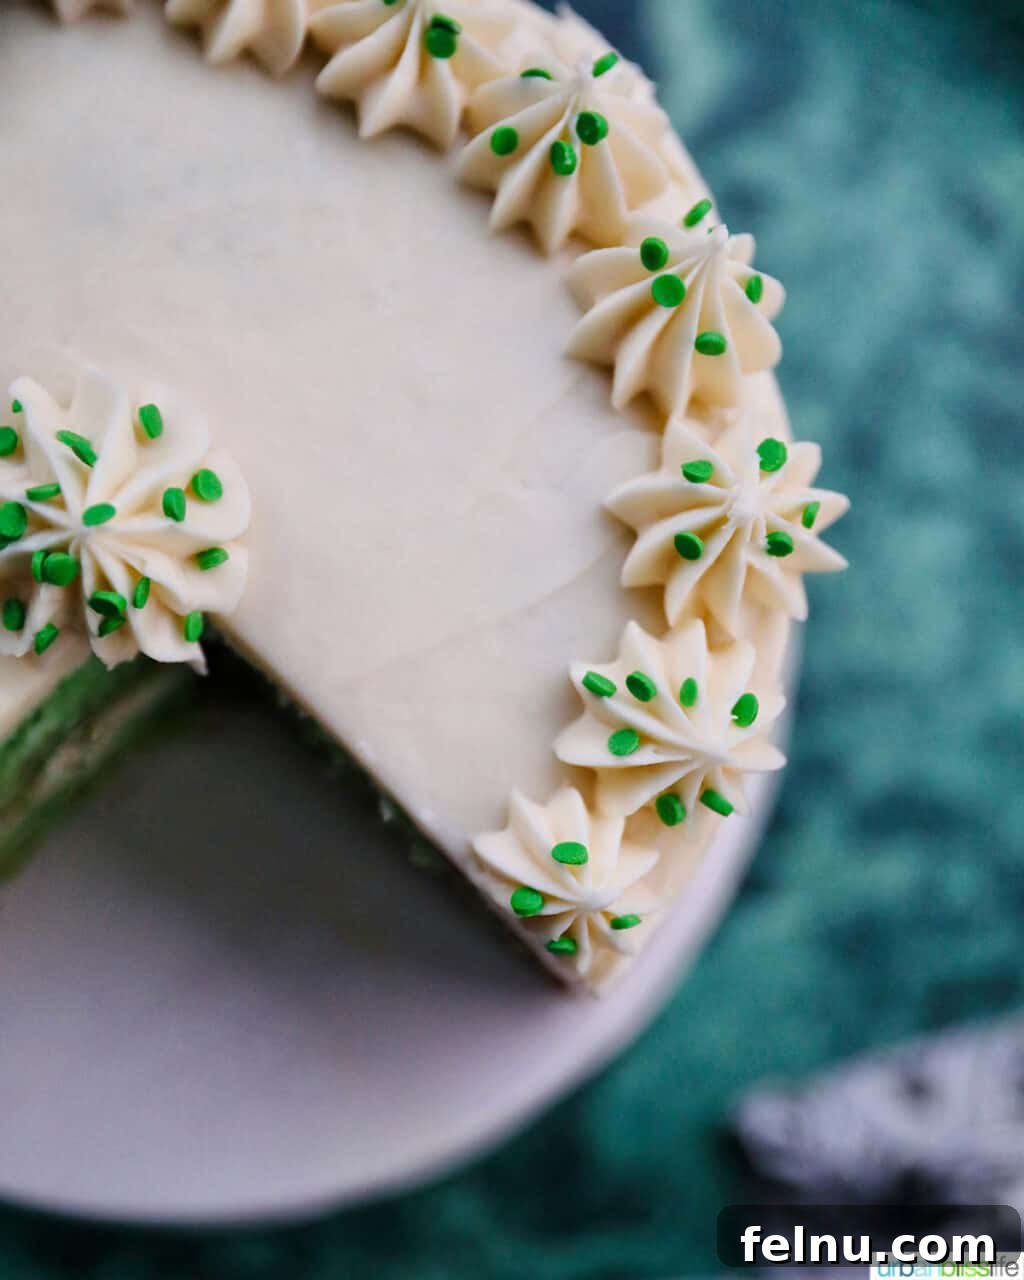
Indulge in the vibrant allure of this exquisite Green Velvet Cake, perfectly paired with a luscious Cream Cheese Frosting. This show-stopping dessert is a true masterpiece, boasting a soft, velvety texture and a delightful flavor profile that makes it ideal for countless celebrations. Whether you’re planning a festive St. Patrick’s Day treat, a memorable Christmas dessert, a bright Easter centerpiece, or simply craving a special homemade cake, this Green Velvet Cake promises to be a delightful experience for both bakers and eaters alike.
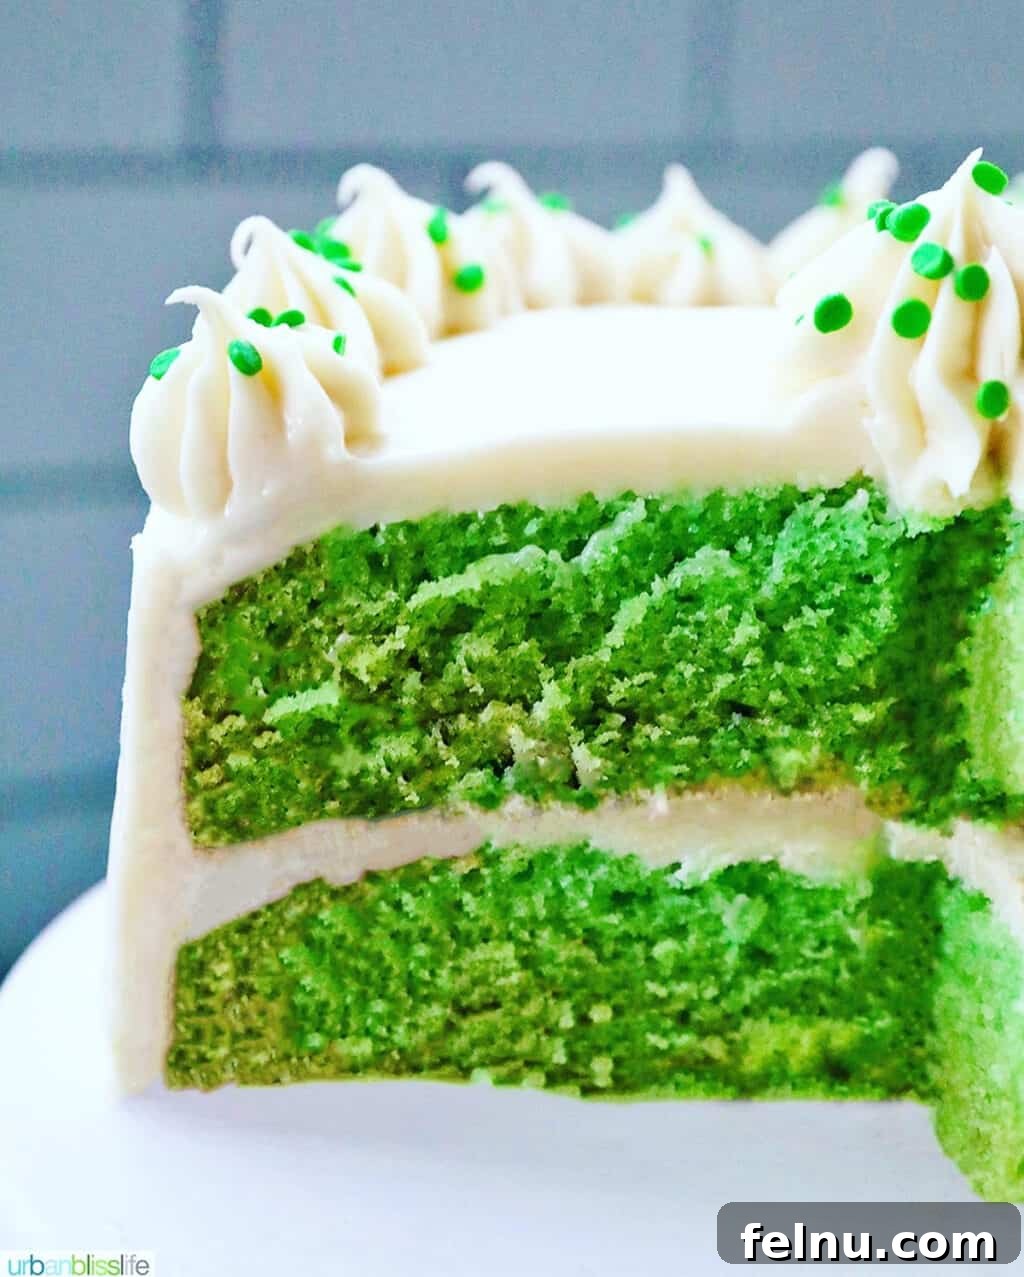
At first glance, many of the recipes we share focus on speed and simplicity – delicious meals ready in 30 minutes or less. However, some culinary endeavors are worth the extra time, effort, and passion. Baking a cake from scratch falls squarely into this category. There’s an undeniable satisfaction in creating something truly special, layer by luscious layer. Layer cakes, in particular, hold a cherished place in our hearts. They offer a perfect balance of moist cake and generous swirls of creamy frosting, creating an irresistible bite every single time. This Green Velvet Cake is not just a recipe; it’s an invitation to an afternoon of therapeutic baking, culminating in a dessert that truly shines.
This Green Velvet Cake reimagines the classic red velvet with a vibrant, playful twist. Its striking emerald hue and delicate crumb make it a stunning choice for a variety of festive occasions. We’re confident that once you try this recipe, it will become a cherished staple in your baking repertoire.
To ensure your baking journey is smooth and successful, we’ve meticulously detailed each step and included helpful tips throughout this guide. Feel free to navigate through the sections using the Table of Contents below.
Table of Contents
- Understanding Velvet Cake: History and What Makes it “Velvety”
- Essential Kitchen Tools for Baking Success
- Key Ingredients for Your Perfect Green Velvet Cake
- The Cocoa Powder Conundrum: Our Decision Explained
- Crafting the Silky Cream Cheese Frosting: Ingredients
- Step-by-Step Guide: Baking Your Vibrant Green Velvet Cake
- Step-by-Step Guide: Preparing the Classic Cream Cheese Frosting
- Assembling Your Masterpiece: Tips for a Stunning Cake
- Cake Storage Tips & Frequently Asked Questions
- Perfect Pairings: What to Serve with Green Velvet Cake
- More Indulgent Dessert Recipes
- Green Velvet Cake Recipe Card
- Troubleshooting Common Baking Challenges
- Pin It for Later
Understanding Velvet Cake: History and What Makes it “Velvety”
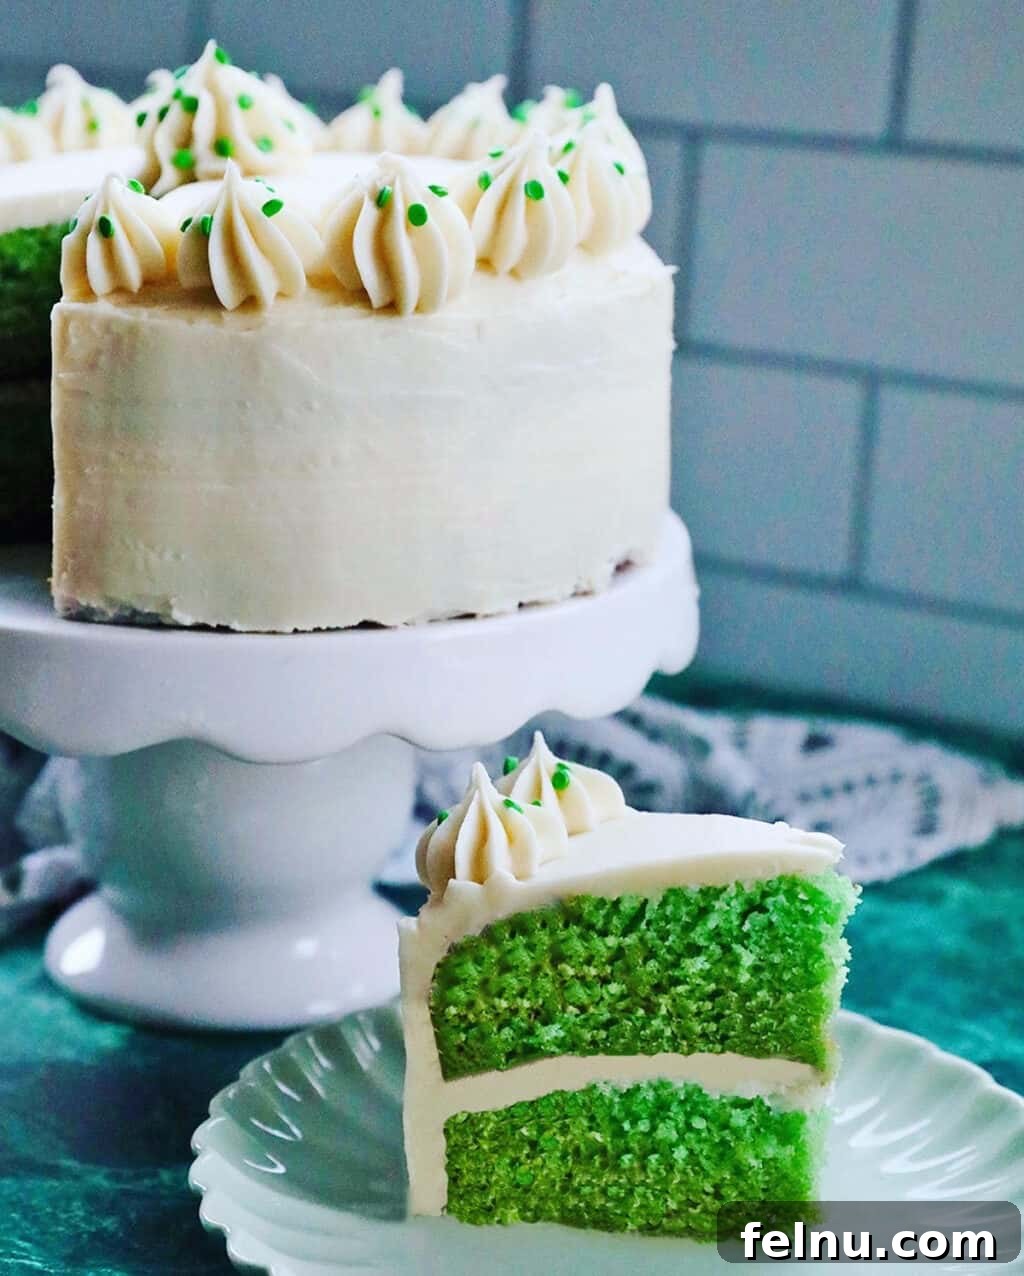
The term “velvet cake” originated in the United States during the early 20th century, a time when most cakes were known for their dense, coarse textures. This new style of cake, however, presented a dramatically different experience: it was incredibly soft, moist, and indeed, velvety. This stark contrast led to its iconic name, most famously associated with the red velvet variation.
The popularity of velvet cake soared in the 1930s when the prestigious Waldorf-Astoria Hotel in New York City began serving its now-legendary red velvet cake. This move cemented its status as a luxurious and highly sought-after dessert.
Our Green Velvet Cake retains all the delightful characteristics of its red counterpart – the tender crumb, the subtle tang from buttermilk, and the irresistible cream cheese frosting – but with a vibrant twist. We’ve substituted the traditional red food coloring for a bright, enchanting green, making it a spectacular choice for a multitude of occasions where a splash of color is desired.
A notable departure in our recipe, and one we arrived at after extensive testing, is the deliberate exclusion of cocoa powder. While traditional red velvet cake always contains a hint of cocoa, and many green velvet recipes follow suit, we found that omitting it yielded a superior result for our green version. We’ll delve deeper into this decision in the dedicated section below, but rest assured, the absence of cocoa powder contributes significantly to the bright green hue and incredibly soft texture that defines this recipe.
Essential Kitchen Tools for Baking Success
Baking a show-stopping cake like our Green Velvet requires a few key tools to ensure a smooth and enjoyable process. Gathering your equipment before you begin will help prevent any interruptions and make your baking experience more efficient.
For the Cake Batter, You’ll Need:
- Cake Pans: For perfectly uniform layers, we highly recommend using two 8-inch round cake pans. While 9-inch pans can be used, be aware that your cake layers will be noticeably thinner, which can slightly alter baking times and the final presentation. Investing in good quality 8-inch pans ensures beautiful, substantial layers.
- Parchment Paper: A baker’s best friend! Lining the bottom of your cake pans with parchment paper is crucial for preventing sticking and ensuring your beautifully baked cakes release easily. Cut circles to fit the bottoms of your pans perfectly.
- Mixing Bowls: Have at least two large mixing bowls ready. One will be dedicated to your dry ingredients, and the other for the wet ingredients. This separation helps ensure all components are thoroughly combined before integrating them.
- Whisk: A sturdy whisk is essential for incorporating air into your dry ingredients and smoothly combining wet ingredients. A high-quality whisk will make light work of these tasks, ensuring no lumps remain.
- Silicone Spatula: This versatile tool is indispensable for scraping down the sides of your mixing bowls, ensuring every last bit of batter is incorporated and transferred into your cake pans. Its flexibility helps prevent waste and ensures consistent mixing.
For Frosting and Assembling the Cake, These Tools Are Invaluable:
- Cake Turntable (Optional but Recommended): While not strictly necessary, a cake turntable dramatically simplifies the frosting process. It allows you to rotate the cake smoothly, making it easier to apply an even layer of frosting to the sides and top. It’s a game-changer for achieving professional-looking results.
- Offset Spatula: This tool is specifically designed for spreading frosting with precision. Its angled blade allows you to apply frosting smoothly and evenly across the cake layers and sides without dragging your knuckles through the frosting.
- Serrated Knife: A sharp serrated knife is the ideal tool for leveling cake layers or trimming off any slightly browned edges if you desire a perfectly uniform green interior. Handle with care for clean, precise cuts.
- Bench Scraper: For achieving impeccably smooth sides on your frosted cake, a bench scraper is invaluable. It helps you create sharp edges and a polished finish, elevating the overall appearance of your cake.
Key Ingredients for Your Perfect Green Velvet Cake
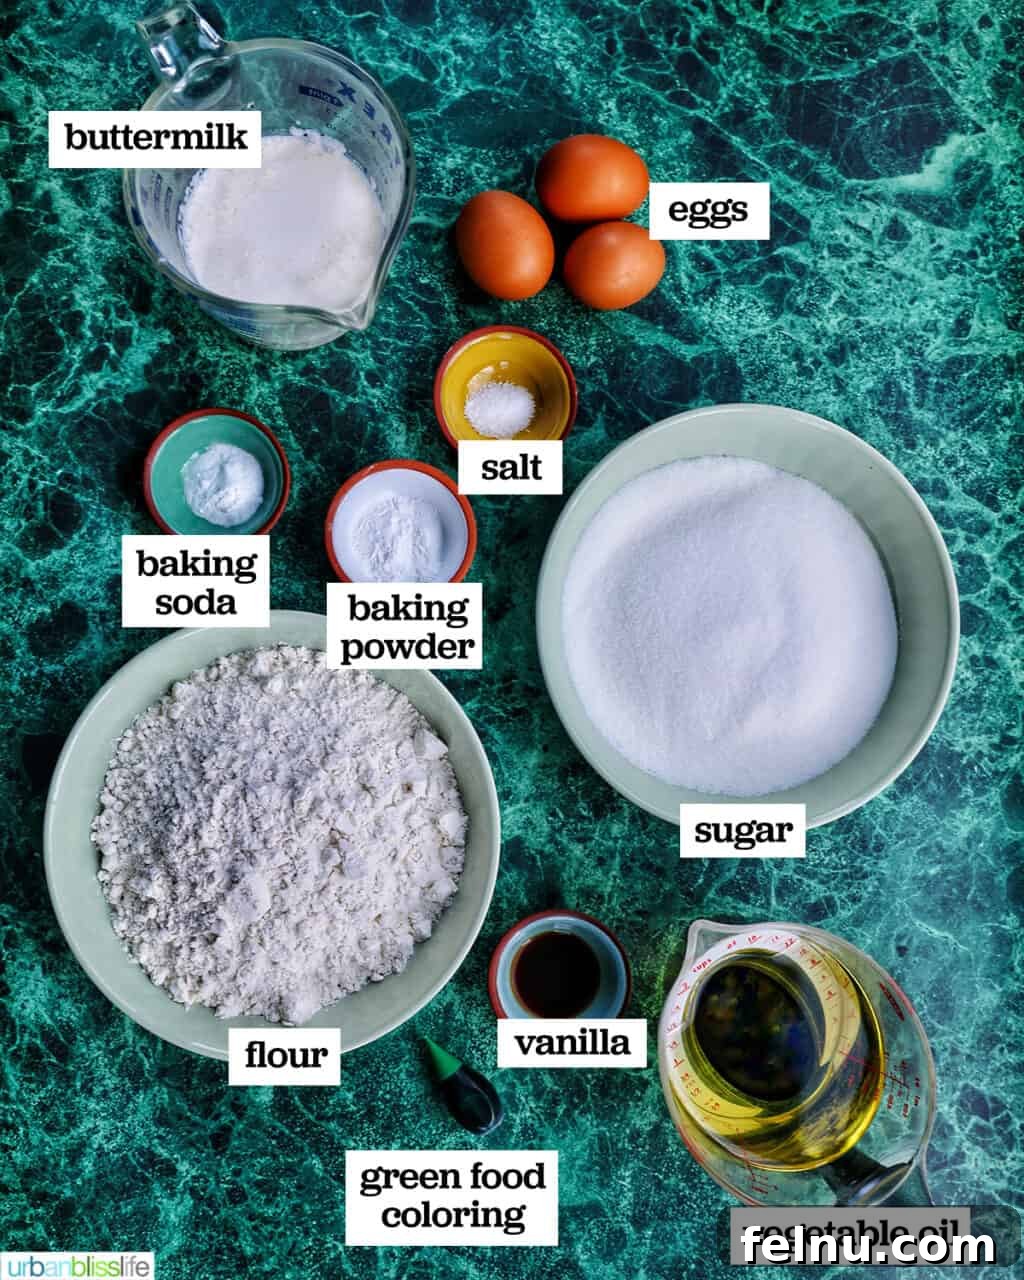
Crafting a truly exceptional Green Velvet Cake begins with understanding the role each ingredient plays. Here’s a detailed look at what you’ll need and why it matters:
- All-Purpose Flour: This is the foundation of our cake. All-purpose flour provides the structure and tender crumb characteristic of velvet cakes. For best results, measure flour by weight if possible, or use the “spoon and level” method to avoid compacting it, which can lead to a dense cake.
- Baking Soda & Baking Powder: These are your essential leavening agents, responsible for the cake’s light, fluffy texture. Always ensure your baking soda and baking powder are fresh. Old leavening agents lose their potency, which can result in a flat, dense cake that doesn’t rise properly. A quick test for baking soda: mix a teaspoon with a bit of vinegar; it should fizz vigorously. For baking powder: mix a teaspoon with hot water; it should also bubble.
- Salt: A pinch of salt enhances all the other flavors in the cake, balancing the sweetness and deepening the overall taste profile. We use kosher salt for its clean flavor. If using table salt, remember that it is finer and saltier by volume; adjust your measurement accordingly (e.g., 1 teaspoon of table salt ≈ 1.25 teaspoons of kosher salt).
- Granulated Sugar: Beyond sweetness, sugar contributes to the cake’s moisture, tenderness, and helps with browning. Use regular granulated sugar for this recipe to achieve the desired texture and sweetness level.
- Large Eggs (at Room Temperature): Eggs play multiple roles: they bind the ingredients, add richness, and contribute to the cake’s structure and moisture. It’s crucial that your eggs are at room temperature. Room temperature eggs emulsify more easily with other ingredients, creating a smoother, more uniform batter and a better-textured cake. Take them out of the refrigerator at least 30 minutes before you plan to start baking.
- Buttermilk: This acidic ingredient is key to the “velvet” texture and interacts with the baking soda to help the cake rise. Buttermilk also adds a subtle tang that complements the sweetness. No buttermilk on hand? No problem! You can easily make your own substitute: pour 1 cup of whole milk or 2% milk into a bowl or measuring cup with a spout. Add 1 tablespoon of lemon juice or white vinegar. Let it sit for 5-10 minutes until it slightly curdles, then stir and use as directed.
- Vegetable Oil: For a cake that’s exceptionally light, moist, and fluffy, vegetable oil is our fat of choice. Cakes made with oil tend to stay moist longer than those made with butter because oil is liquid at room temperature, keeping the crumb tender. This is precisely the texture we aim for in our Green Velvet Cake.
- Vanilla Extract: Pure vanilla extract is crucial for adding that warm, classic bakery scent and depth of flavor that elevates any cake. Don’t skimp on quality here; a good vanilla makes a noticeable difference.
- Green Food Coloring: This is where the magic happens for our green velvet! Gel food coloring is often preferred for its concentrated color and less liquid. Begin with about 10 drops in the batter, whisk well, then add more drops incrementally until you achieve your desired shade of vibrant green. Remember that the color may deepen slightly as it bakes, so aim for a shade slightly brighter than your final goal. We typically use between 20 to 30 drops to get that perfect emerald hue.
The Cocoa Powder Conundrum: Our Decision Explained
Traditional red velvet cake famously includes a small amount of cocoa powder, which historically reacted with acidic ingredients to enhance the red hue and contribute a subtle chocolatey depth. Consequently, many green velvet cake recipes also incorporate cocoa powder, aiming to replicate this classic flavor profile.
However, after extensive experimentation and multiple rounds of recipe testing, we made the deliberate decision to omit cocoa powder entirely from this Green Velvet Cake recipe. Our findings consistently showed that when cocoa powder was added, even in small quantities, the vibrant green color we aimed for was compromised. Instead of a rich, bright green, the cake consistently turned into a muted, brownish army green, losing its celebratory appeal.
Furthermore, the inclusion of cocoa powder slightly altered the cake’s delicate texture, making it a little chalkier and less “velvety” than desired. The goal for this recipe was a light, tender crumb with a clear, brilliant green color.
The moment we removed the cocoa powder, the results were astounding: the cake emerged with a gorgeously bright green hue and an incredibly soft, perfectly moist texture. It was simply amazing!
Therefore, to achieve the most visually striking and texturally pleasing Green Velvet Cake, our recipe proudly features no cocoa powder. If you are deeply attached to the traditional chocolate notes of red velvet and wish to experiment, you are certainly welcome to try adding a small amount of unsweetened cocoa powder (1-2 tablespoons) to your dry ingredients. However, be prepared for a less vivid green and a slightly denser texture.
Crafting the Silky Cream Cheese Frosting: Ingredients
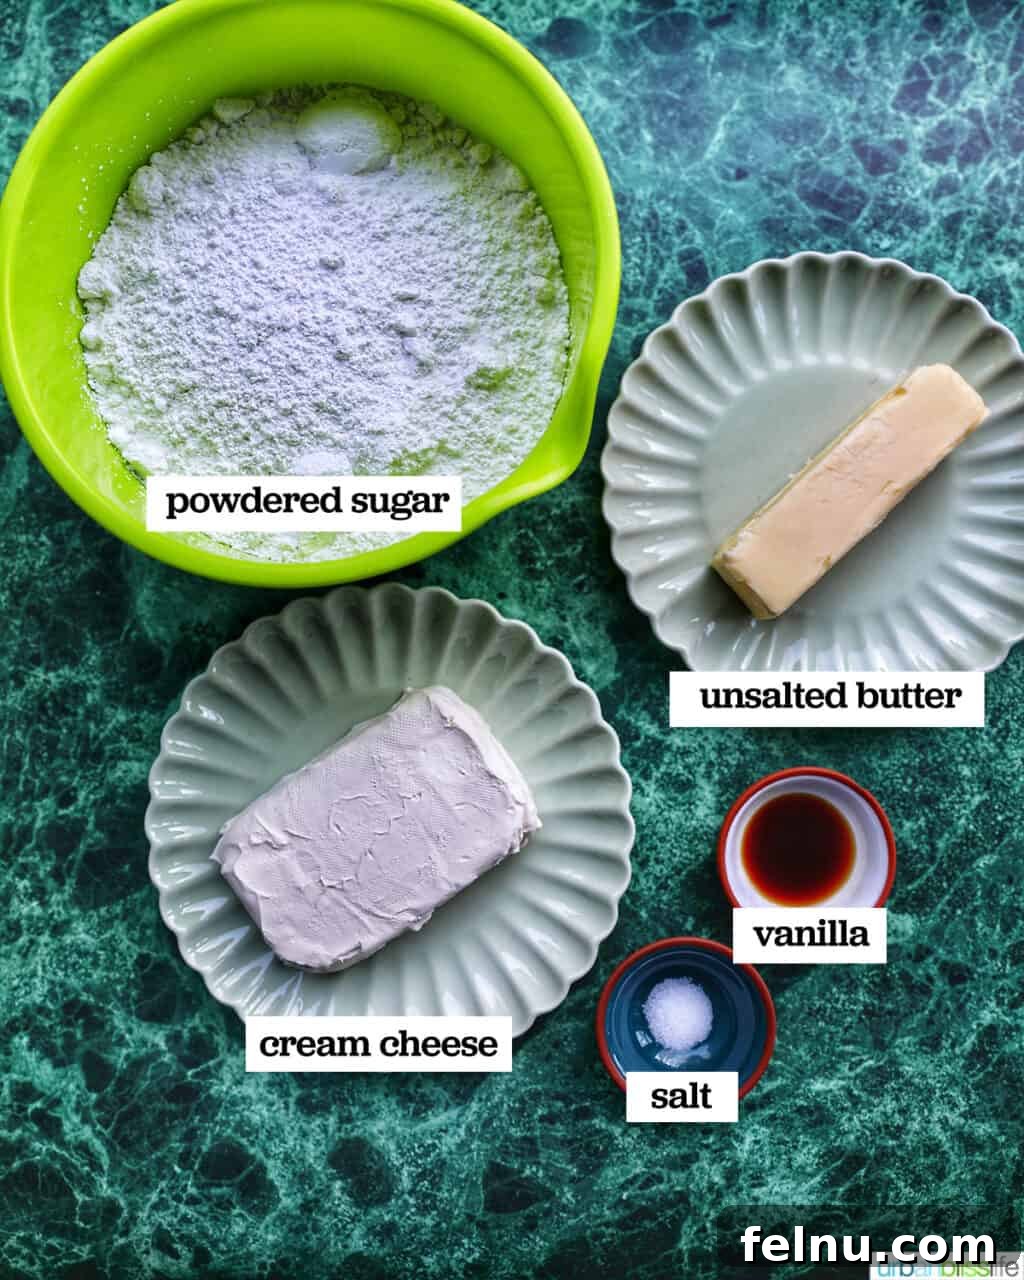
No velvet cake is complete without its iconic companion: a rich, tangy, and irresistibly smooth cream cheese frosting. This frosting perfectly balances the cake’s sweetness and adds a luxurious finish. Here are the essential ingredients:
- Cream Cheese: The star of the show! Use full-fat block cream cheese, not spreadable cream cheese from a tub, for the best consistency and flavor. It’s crucial for the cream cheese to be thoroughly softened at room temperature. This ensures a smooth frosting free of lumps.
- Unsalted Butter: Softened unsalted butter provides richness and stability to the frosting. Like the cream cheese, it must be at room temperature to cream properly and achieve a light, fluffy texture.
- Powdered Sugar (Confectioners’ Sugar): This fine sugar is what gives the frosting its smooth, melt-in-your-mouth texture. Sifting it before adding helps prevent lumps and ensures a silky consistency.
- Salt: Just a touch of salt is essential to cut through the sweetness and enhance the overall flavor of the frosting, preventing it from tasting overly sugary.
- Vanilla Extract: High-quality vanilla extract adds a beautiful aromatic depth that complements the cream cheese and butter, creating that classic, comforting flavor.
Ensuring all your dairy ingredients (butter and cream cheese) are at proper room temperature is perhaps the single most important tip for a flawless cream cheese frosting. Cold ingredients will lead to a lumpy, difficult-to-spread frosting.
Step-by-Step Guide: Baking Your Vibrant Green Velvet Cake
This section provides detailed instructions to help you bake the perfect Green Velvet Cake. Exact measurements are in the recipe card below, but these tips will guide you through each stage.
Begin by preheating your oven to 350°F (175°C). This ensures your oven is at the correct temperature when your batter is ready, promoting even baking and rise.
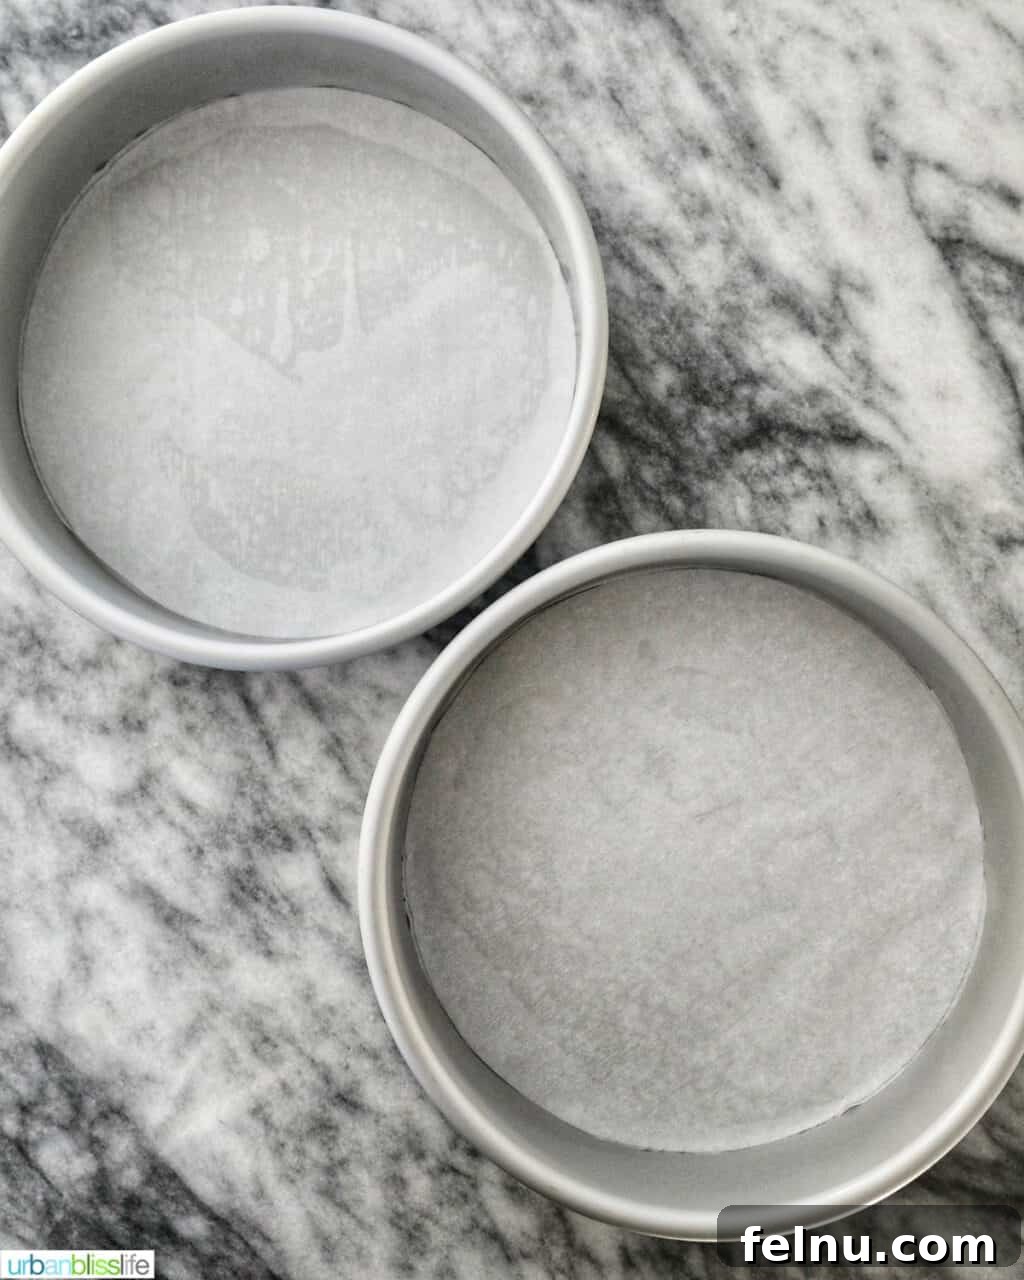
1. Prepare your cake pans: Lightly grease two 8-inch round cake pans. Then, line the bottoms with parchment paper circles. This extra step ensures easy release after baking. Set them aside.
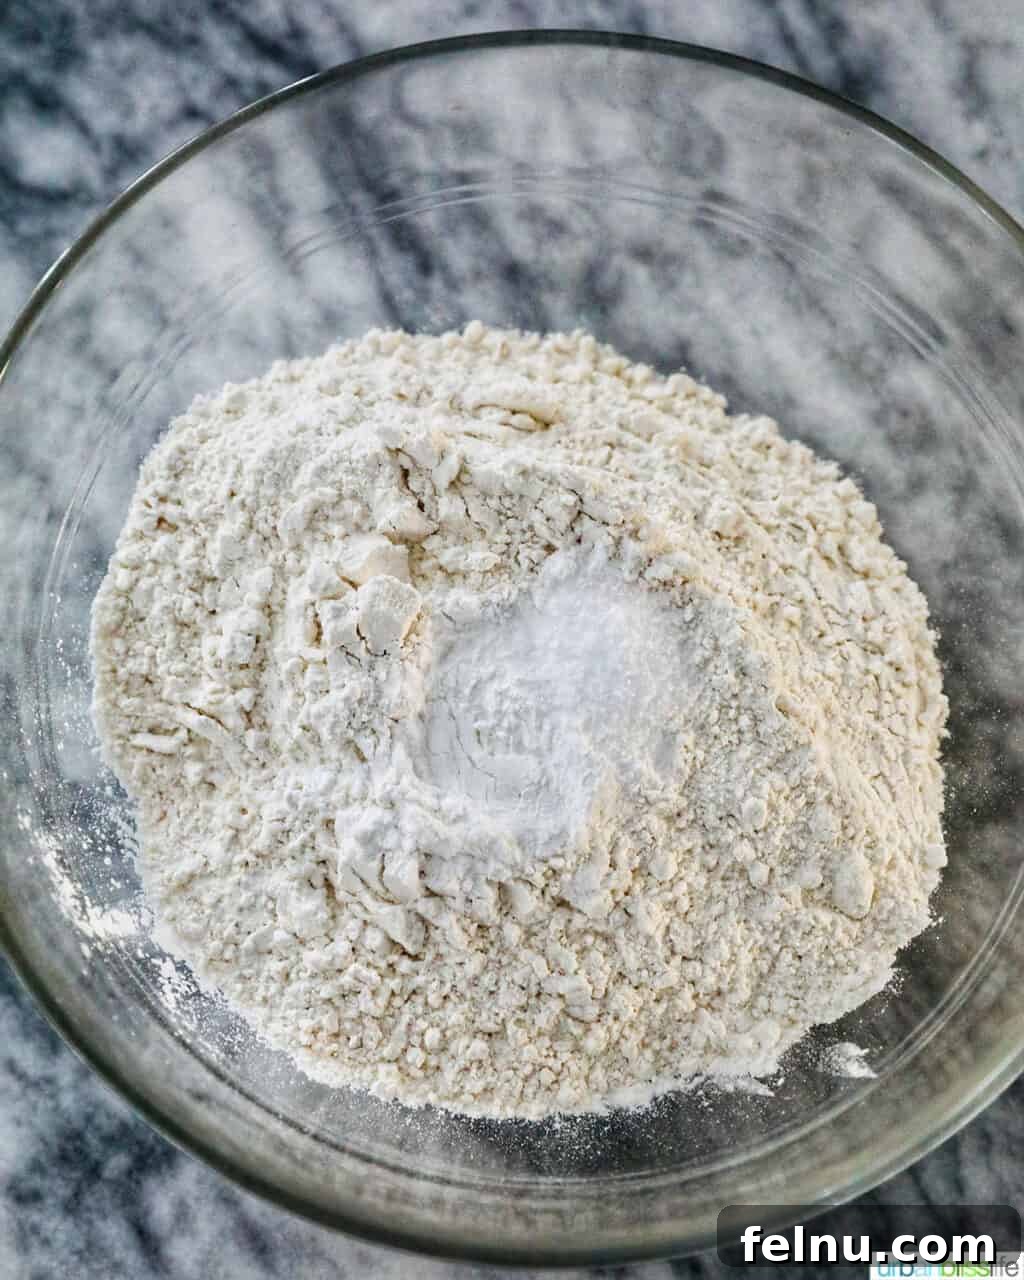
2. In a large mixing bowl, thoroughly whisk together all your dry ingredients: the all-purpose flour, baking soda, baking powder, and salt. Whisking ensures these ingredients are evenly distributed, which is crucial for a consistent rise and texture throughout the cake.
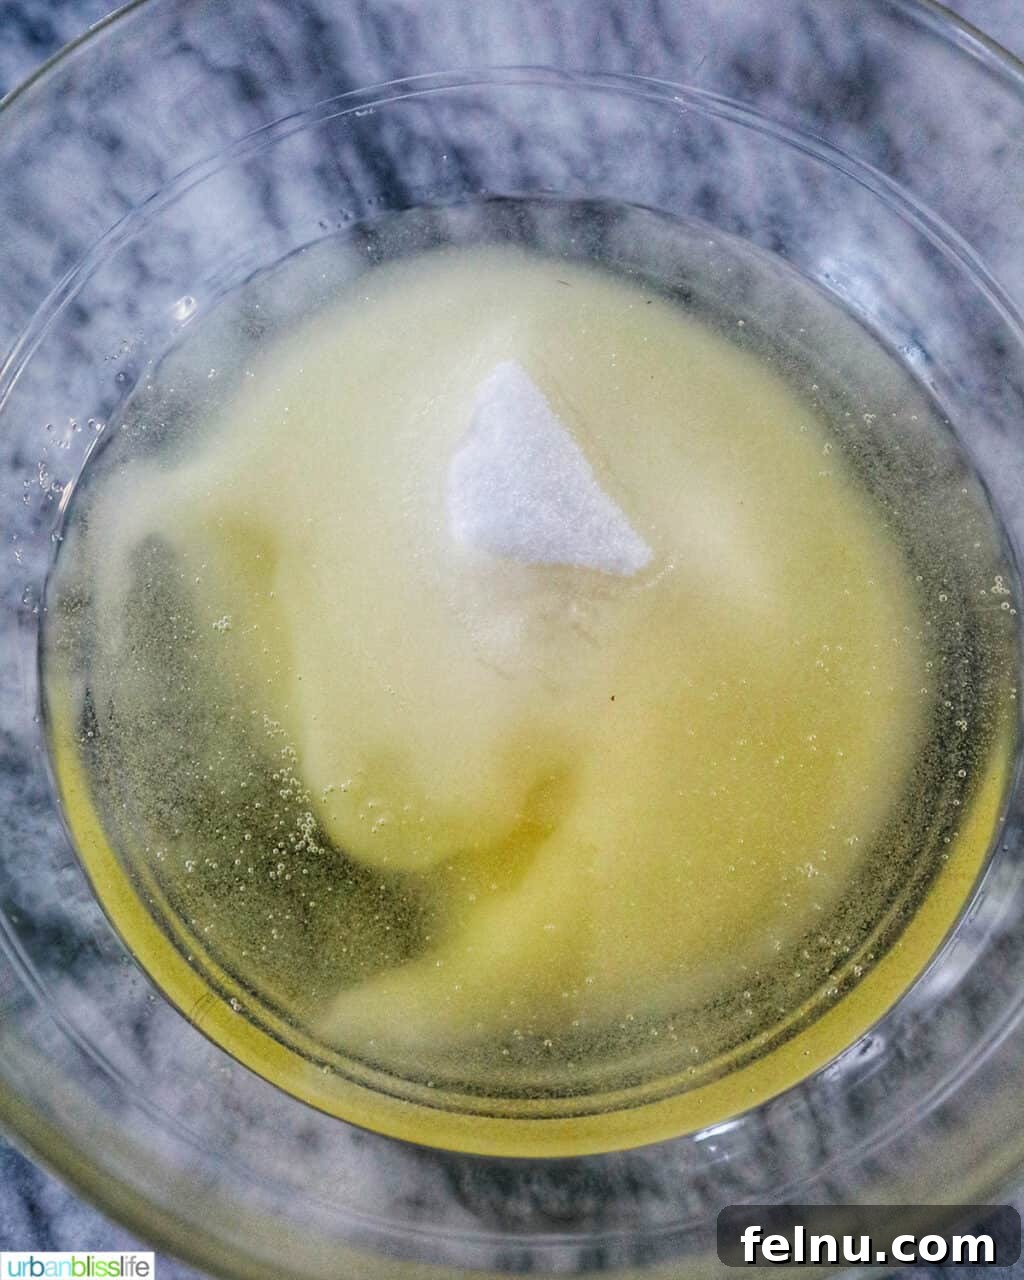
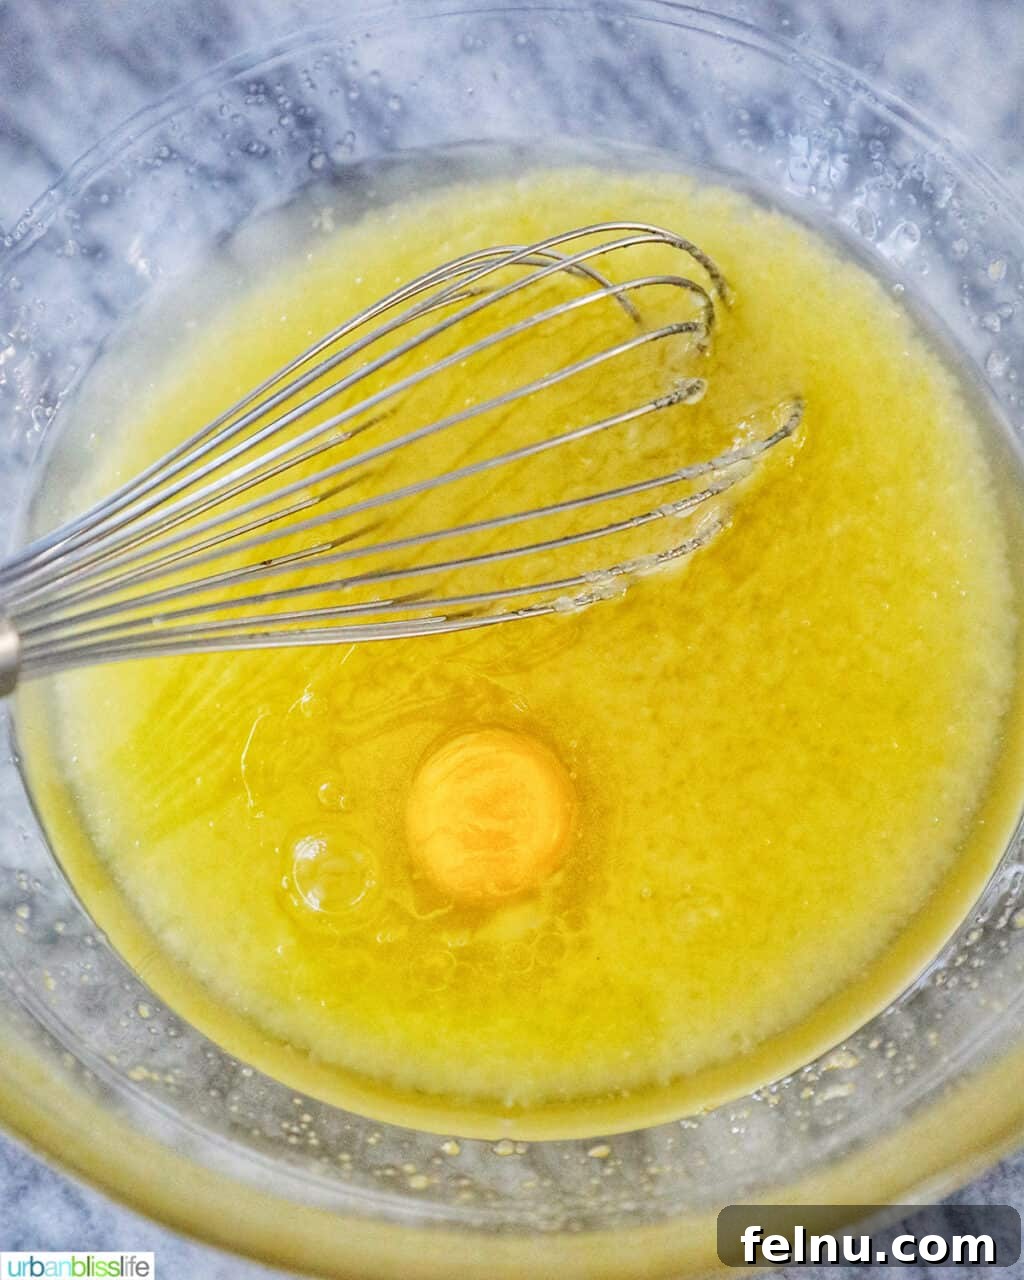
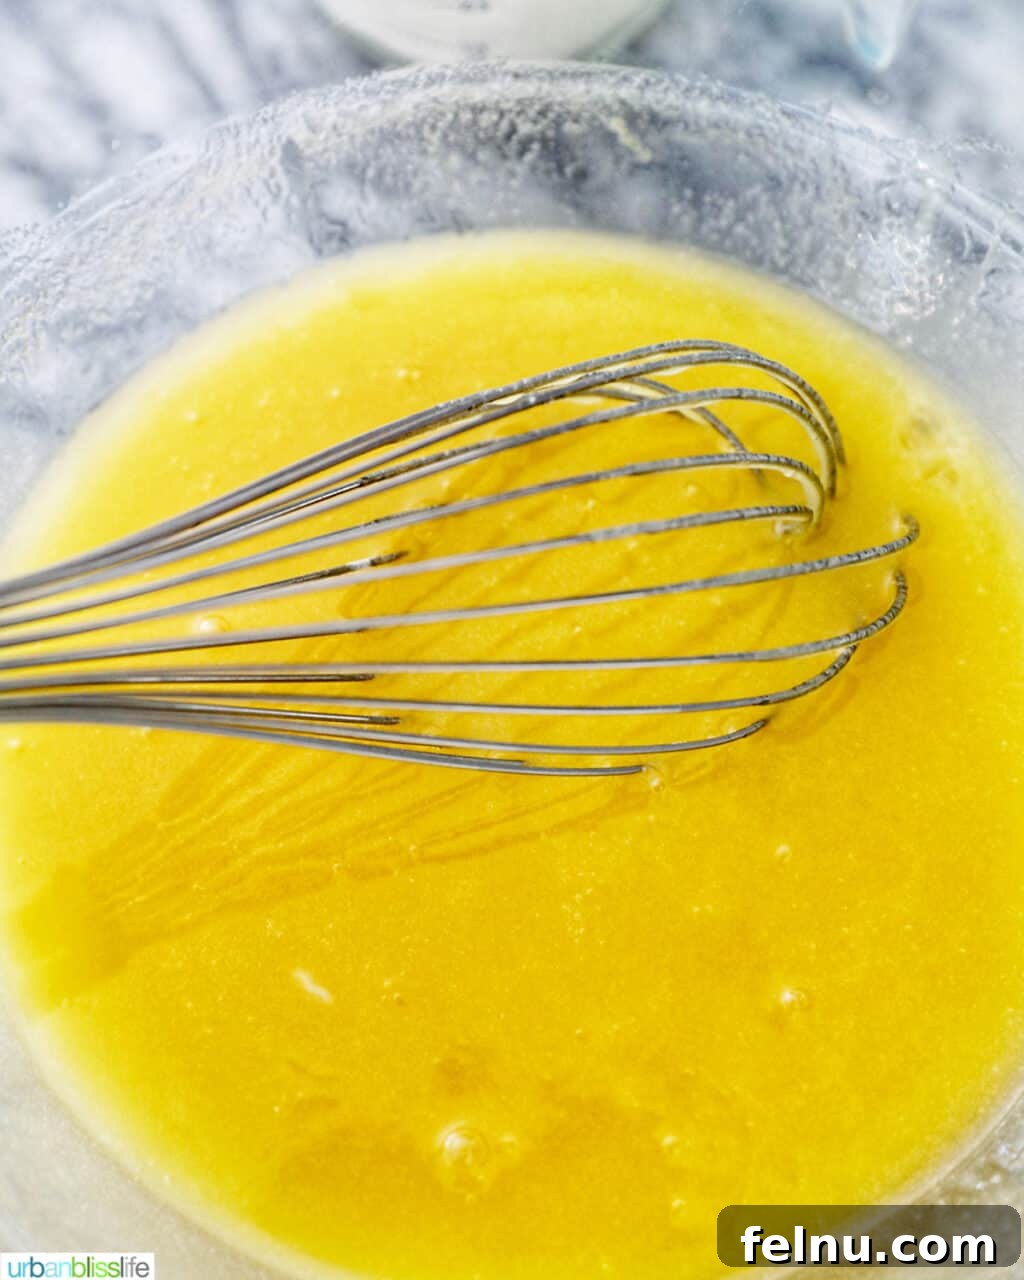
3. In a separate, even larger bowl, combine the wet ingredients. Whisk together the granulated sugar and vegetable oil until they are well combined and smooth. This creates the base for your wet mixture.
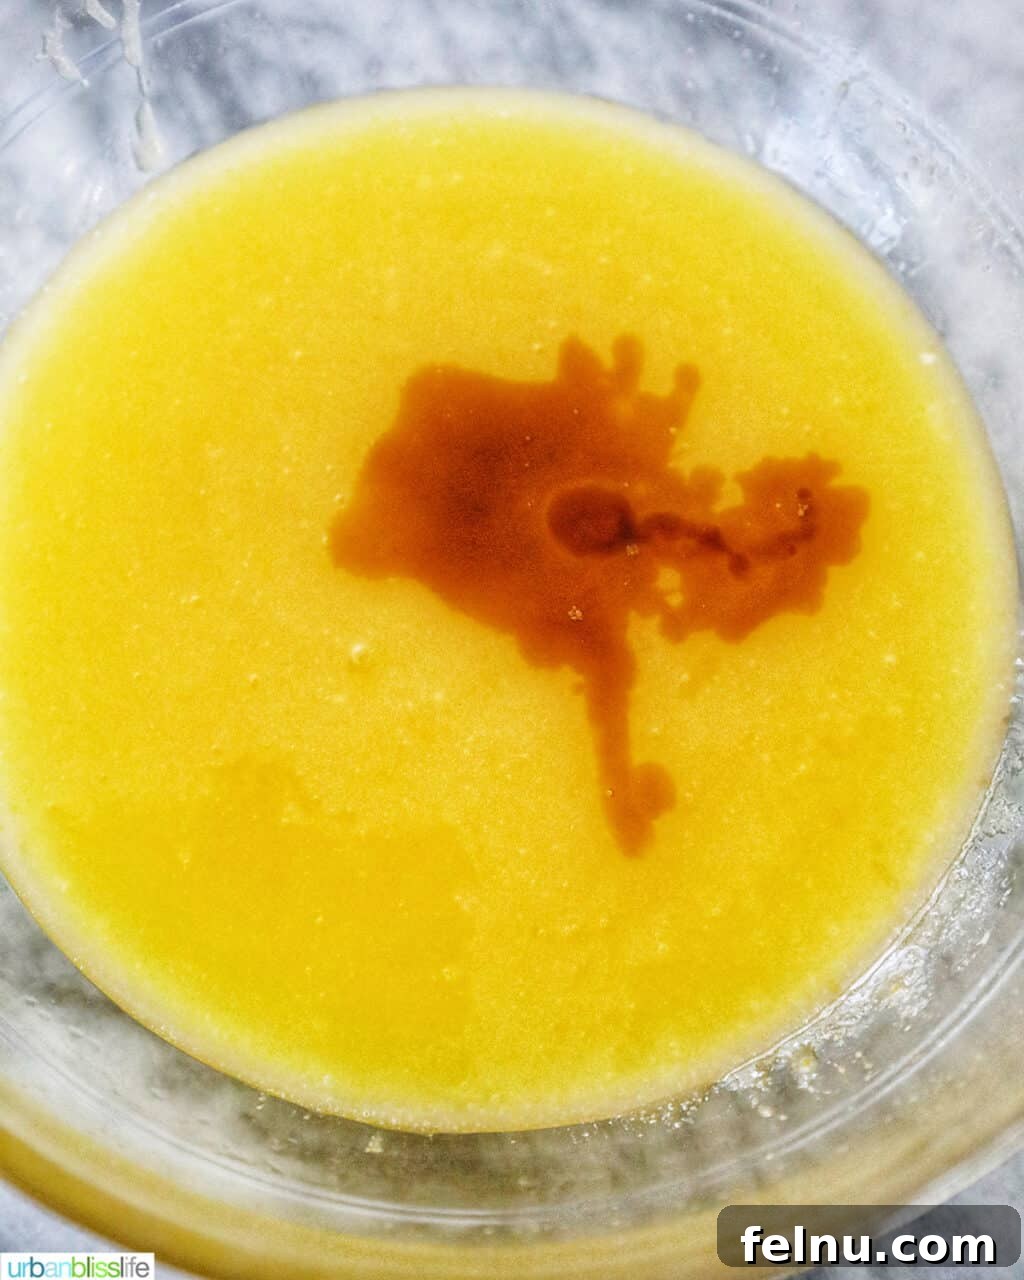
4. Next, add the room temperature eggs to the sugar and oil mixture, one at a time. Whisk thoroughly after each addition until the egg is fully incorporated before adding the next. This allows for better emulsification. Finish by whisking in the vanilla extract, ensuring it’s evenly distributed for that lovely bakery aroma.
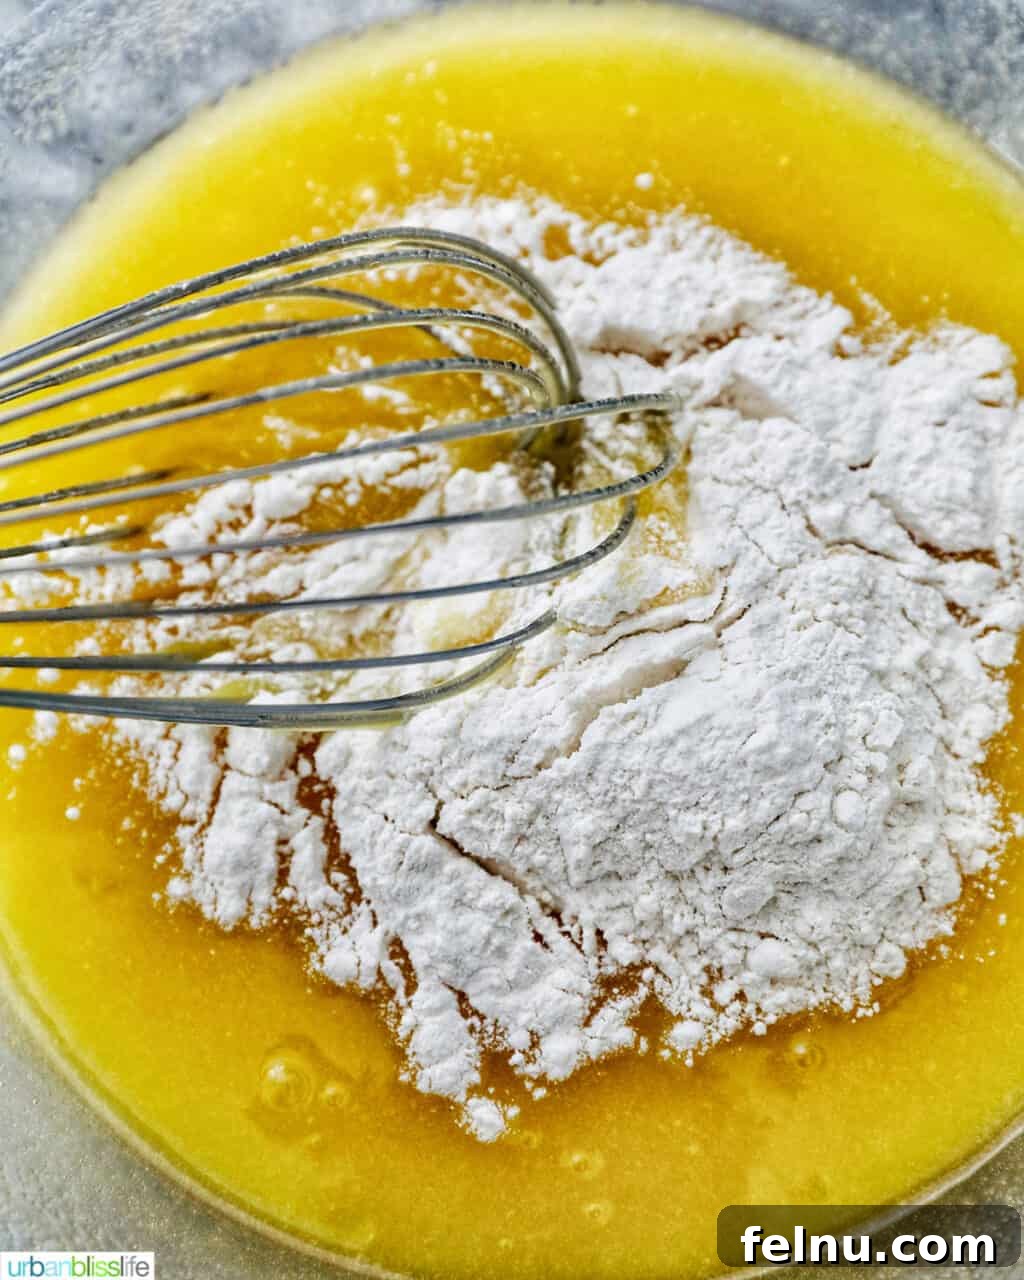
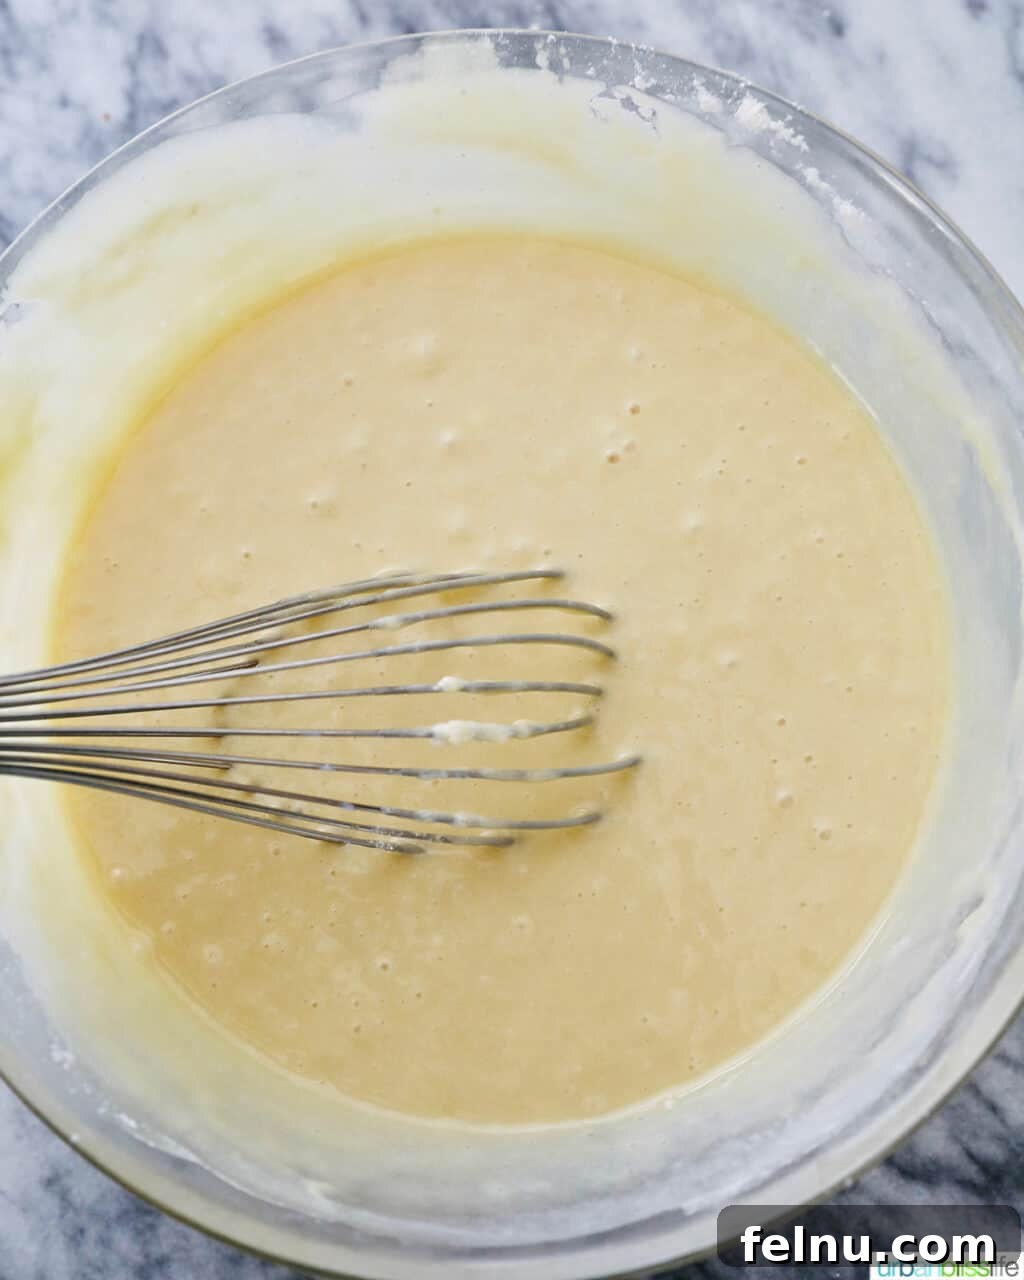
5. Now, it’s time to combine the wet and dry mixtures. Slowly add ⅓ of the whisked flour mixture to the wet ingredients, whisking gently until just combined. Overmixing can lead to a tough cake, so mix only until no streaks of flour remain. Follow this by slowly whisking in ⅓ of the buttermilk until combined.
6. Repeat this process twice more, alternating between the remaining flour mixture and buttermilk. Always add the flour in thirds, then the buttermilk in thirds, ending with the dry ingredients. Mix gently after each addition until everything is just combined. Use your silicone spatula to scrape down the sides of the bowl to ensure all ingredients are thoroughly incorporated without overmixing.
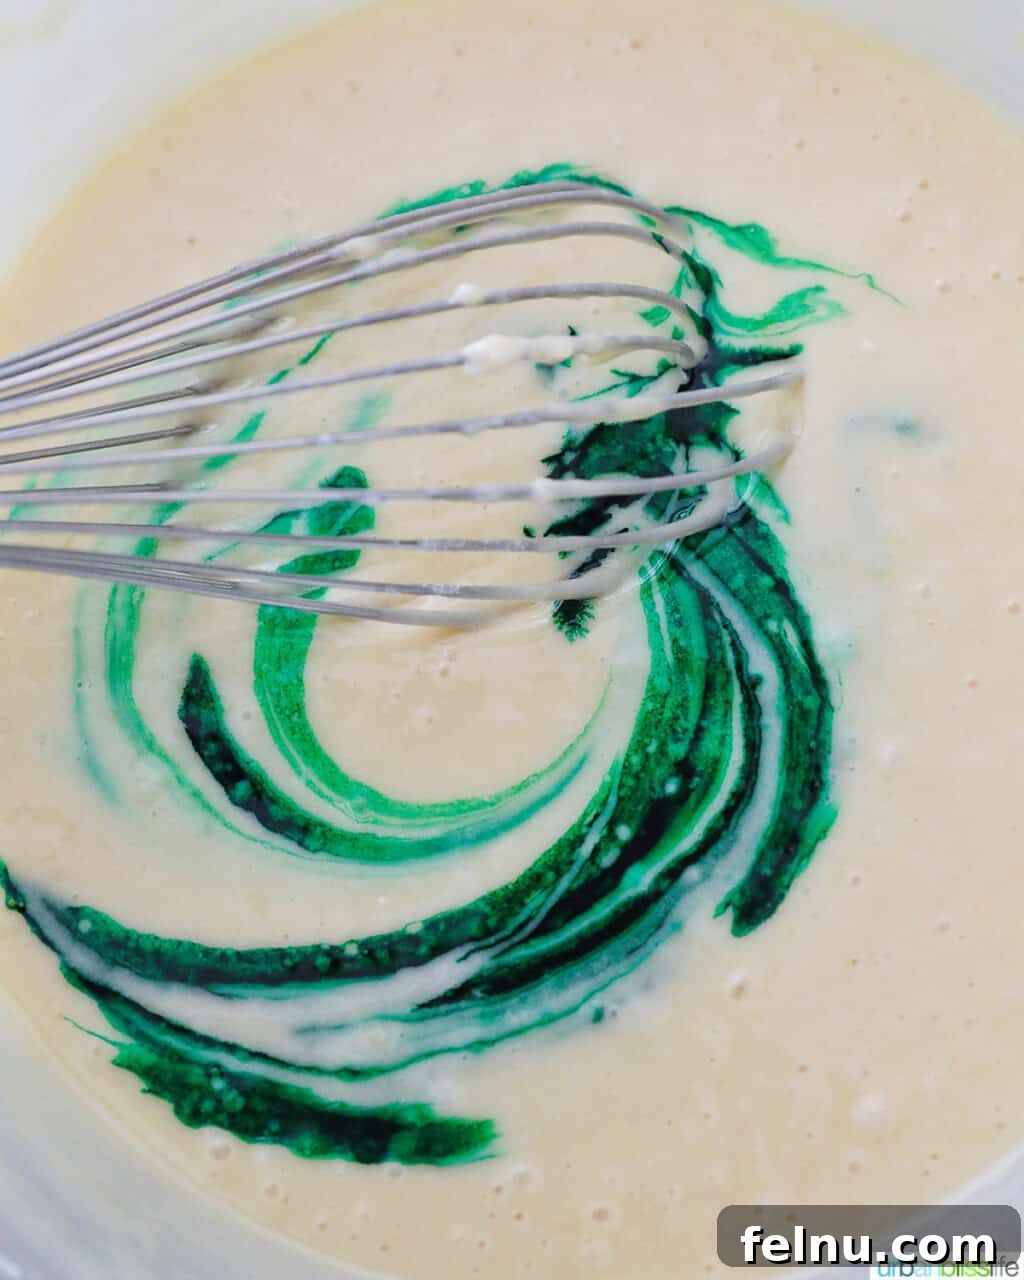
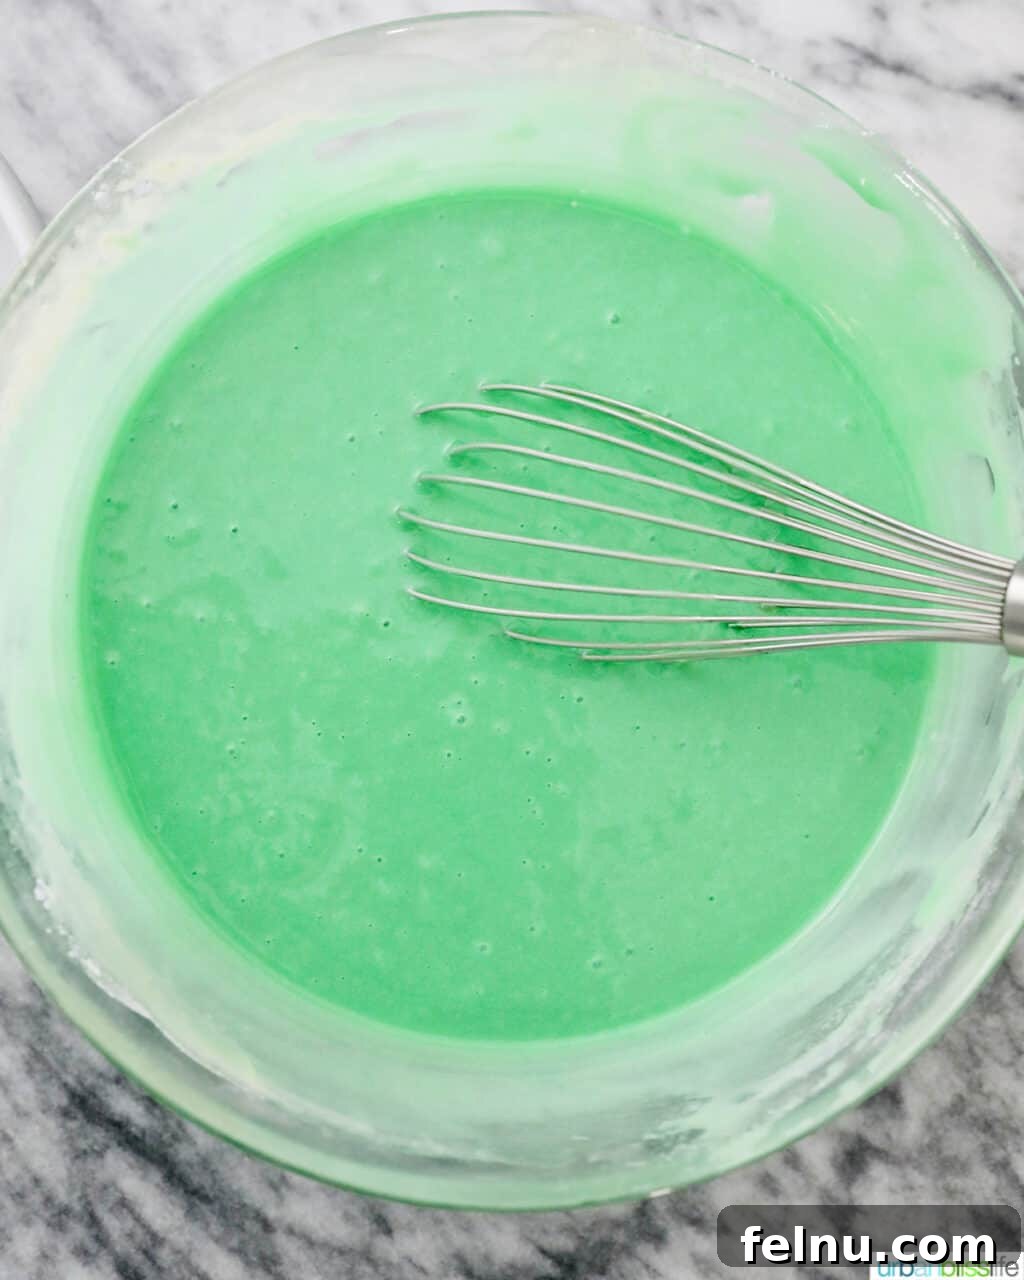
7. Once your batter is smooth, it’s time for the signature green color! Whisk in the green food coloring. Start with approximately 10 drops, whisk thoroughly, and then add more drops gradually until you achieve your desired shade of green. Remember that the color may intensify slightly during baking. For a truly vibrant emerald, we often use between 20 to 30 drops of gel food coloring.
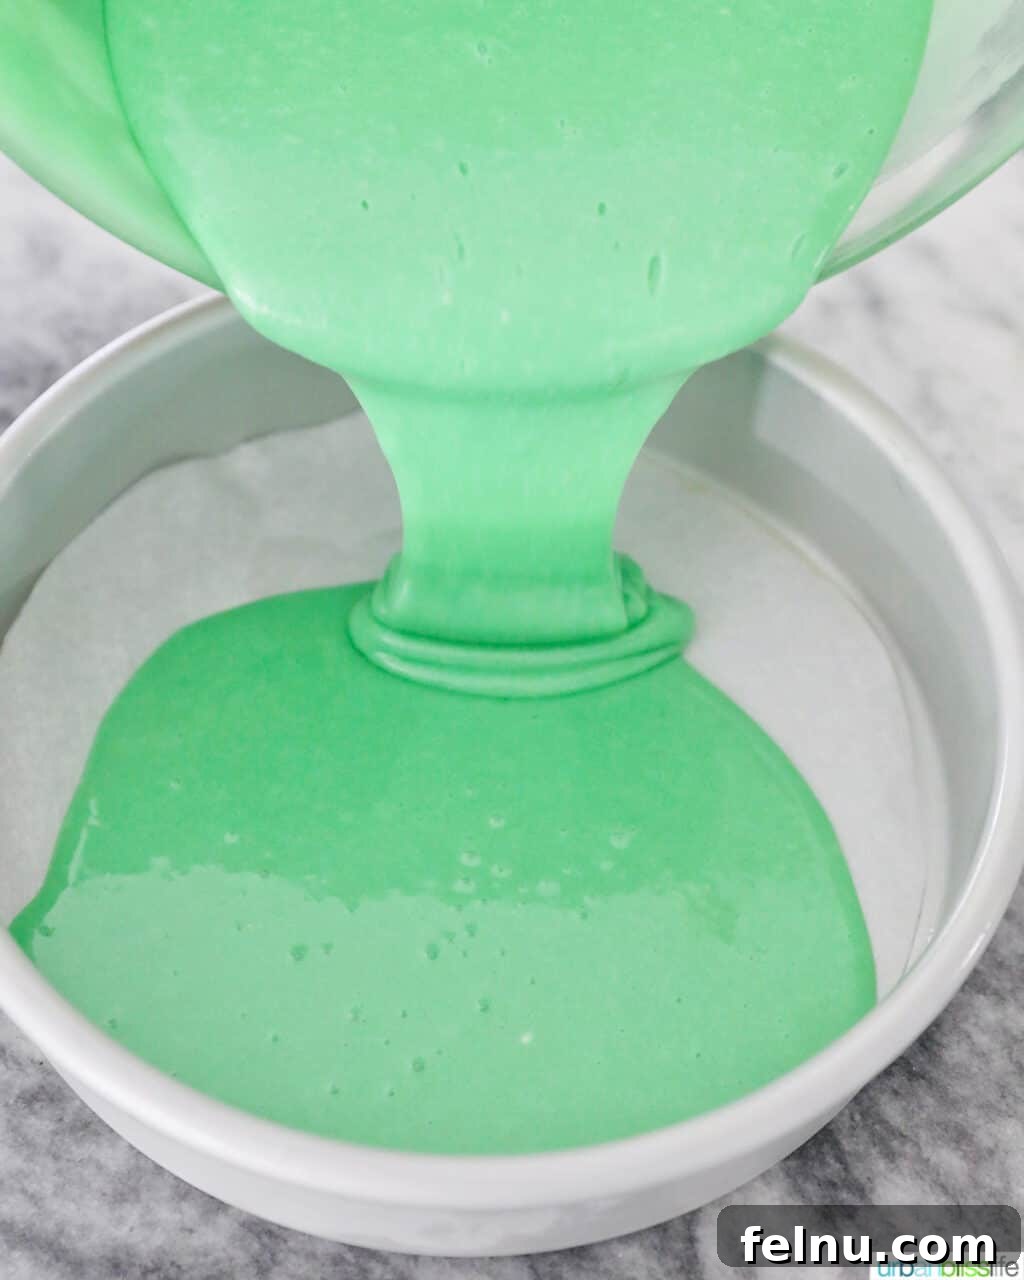
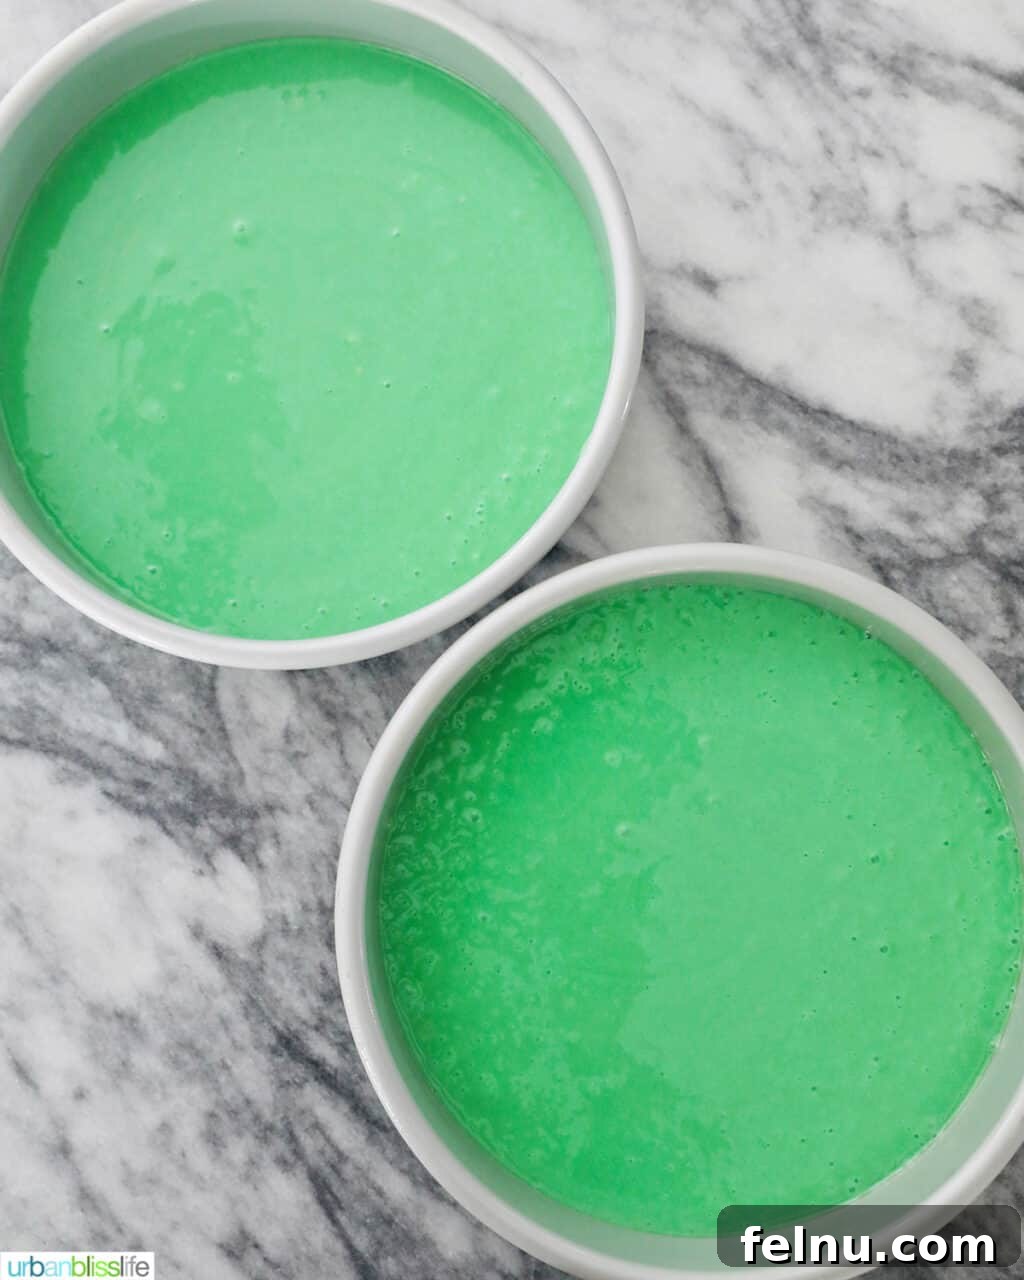
8. Carefully pour the vibrantly colored batter evenly between your two prepared cake pans. You can use a kitchen scale to ensure precise distribution for perfectly level layers. Gently tap the pans on the counter a couple of times to release any large air bubbles.
9. Bake in the preheated oven at 350°F (175°C) for 30 to 40 minutes. The cakes are done when a toothpick inserted into the center comes out clean or with a few moist crumbs attached. Avoid overbaking, as this can lead to a dry cake.
10. While your cakes are baking and filling your kitchen with a delicious aroma, take this time to prepare your cream cheese frosting!
Step-by-Step Guide: Preparing the Classic Cream Cheese Frosting
This recipe features our highly acclaimed Best Cream Cheese Frosting. While we’ve provided the essential steps here, for even more detailed tips, troubleshooting, and insights, you can refer to our dedicated guide on Best Cream Cheese Frosting.
The golden rule for perfect cream cheese frosting: ensure your butter and cream cheese are both thoroughly softened at room temperature. This is non-negotiable for a smooth, lump-free frosting.
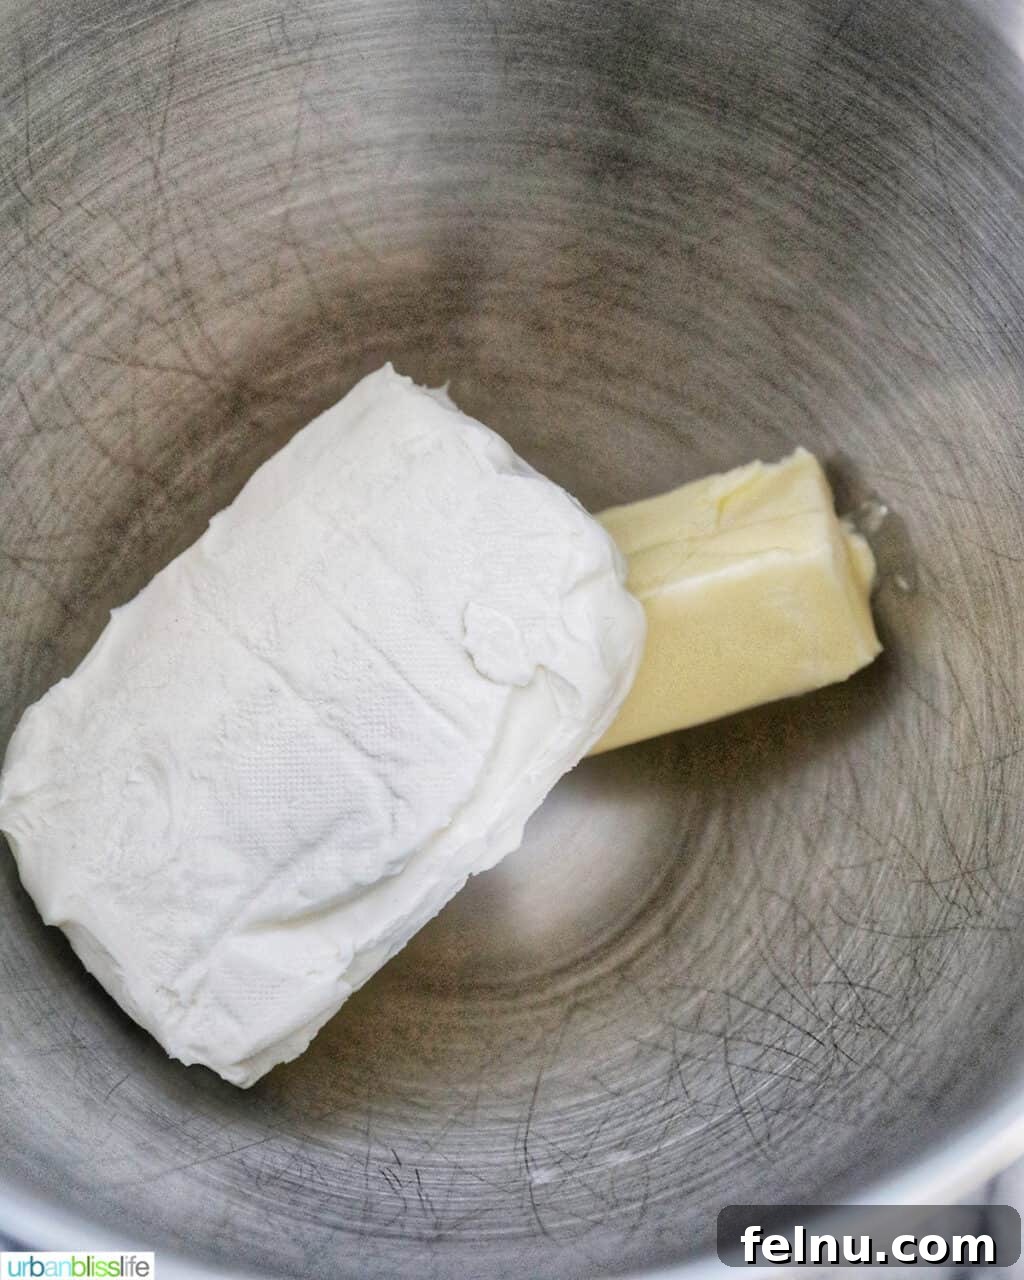
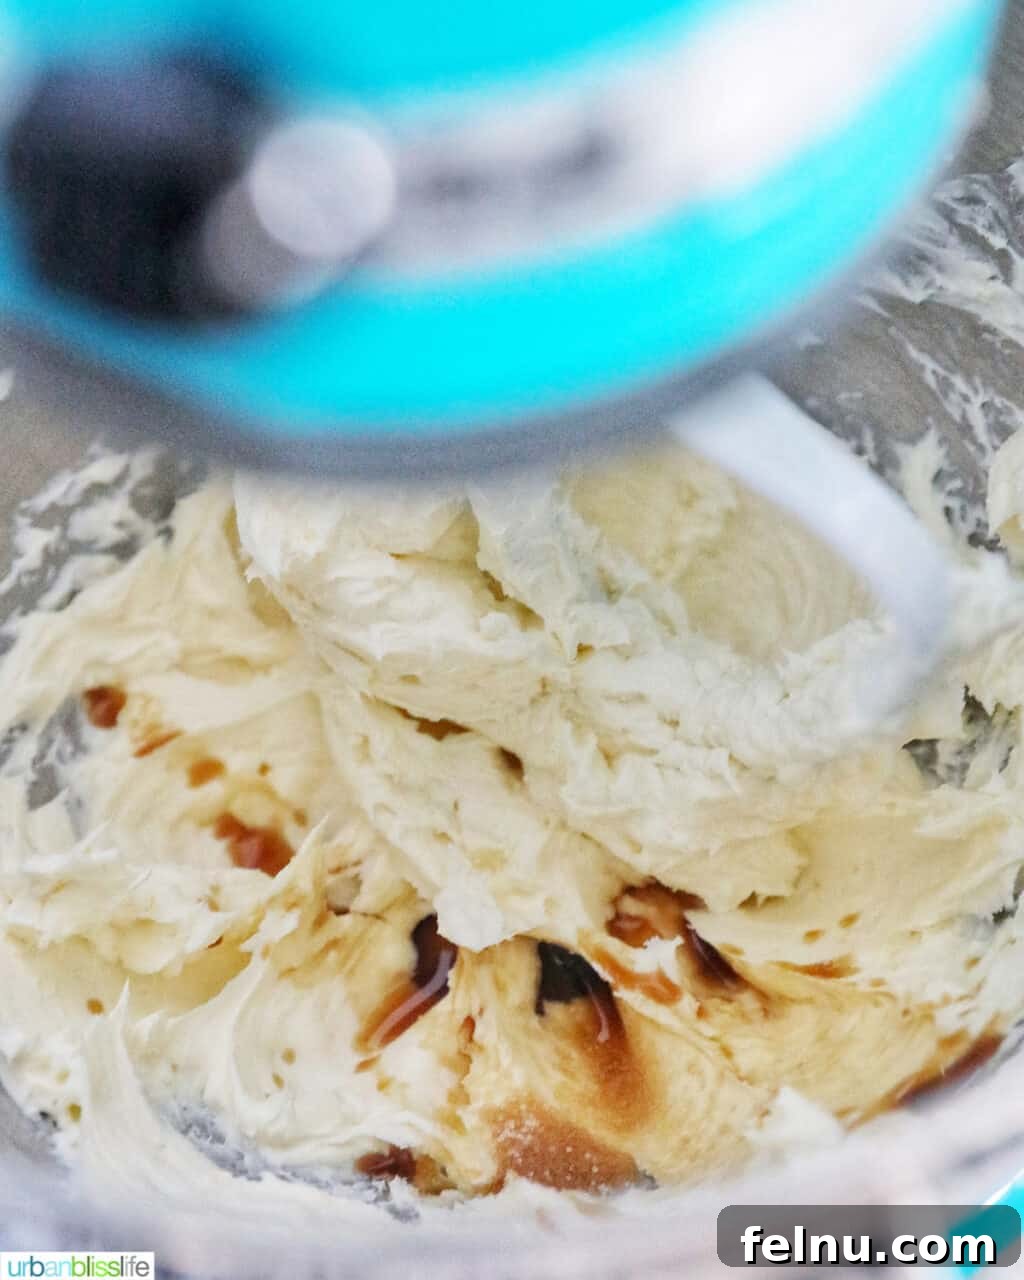
1. In the bowl of a stand mixer fitted with the paddle attachment (or using a large bowl and a hand mixer), combine the softened unsalted butter and softened cream cheese. Cream them together on medium speed for 3 to 5 minutes until the mixture is light yellow, fluffy, and completely smooth. Stop occasionally to scrape down the sides of the bowl with your spatula to ensure everything is evenly mixed.
2. Reduce the mixer speed to low, then add the vanilla extract and salt. Mix until just combined. The salt helps to cut through the sweetness and enhance the rich flavors.
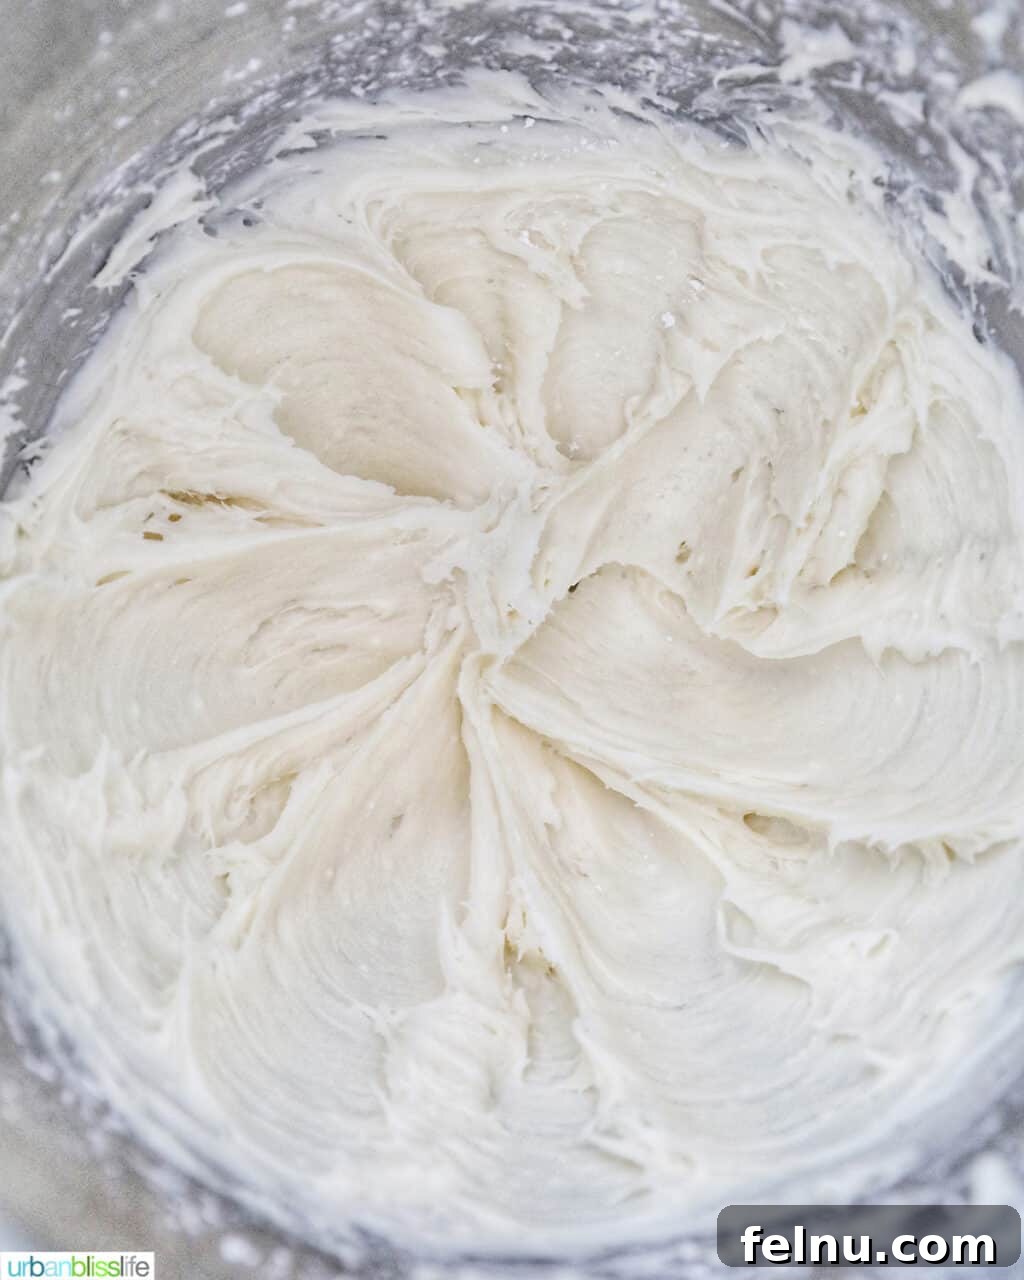
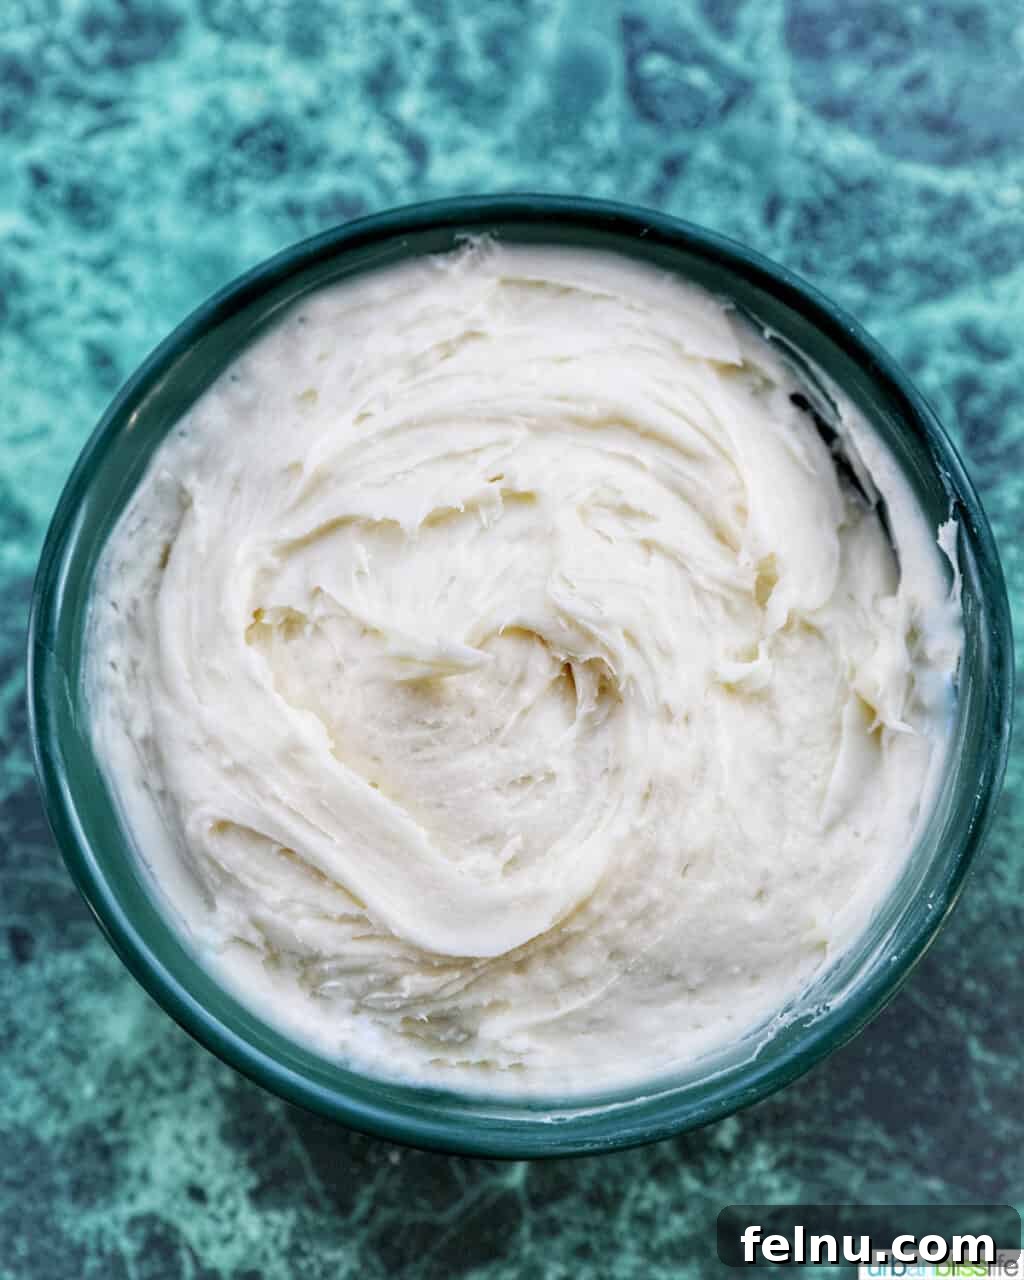
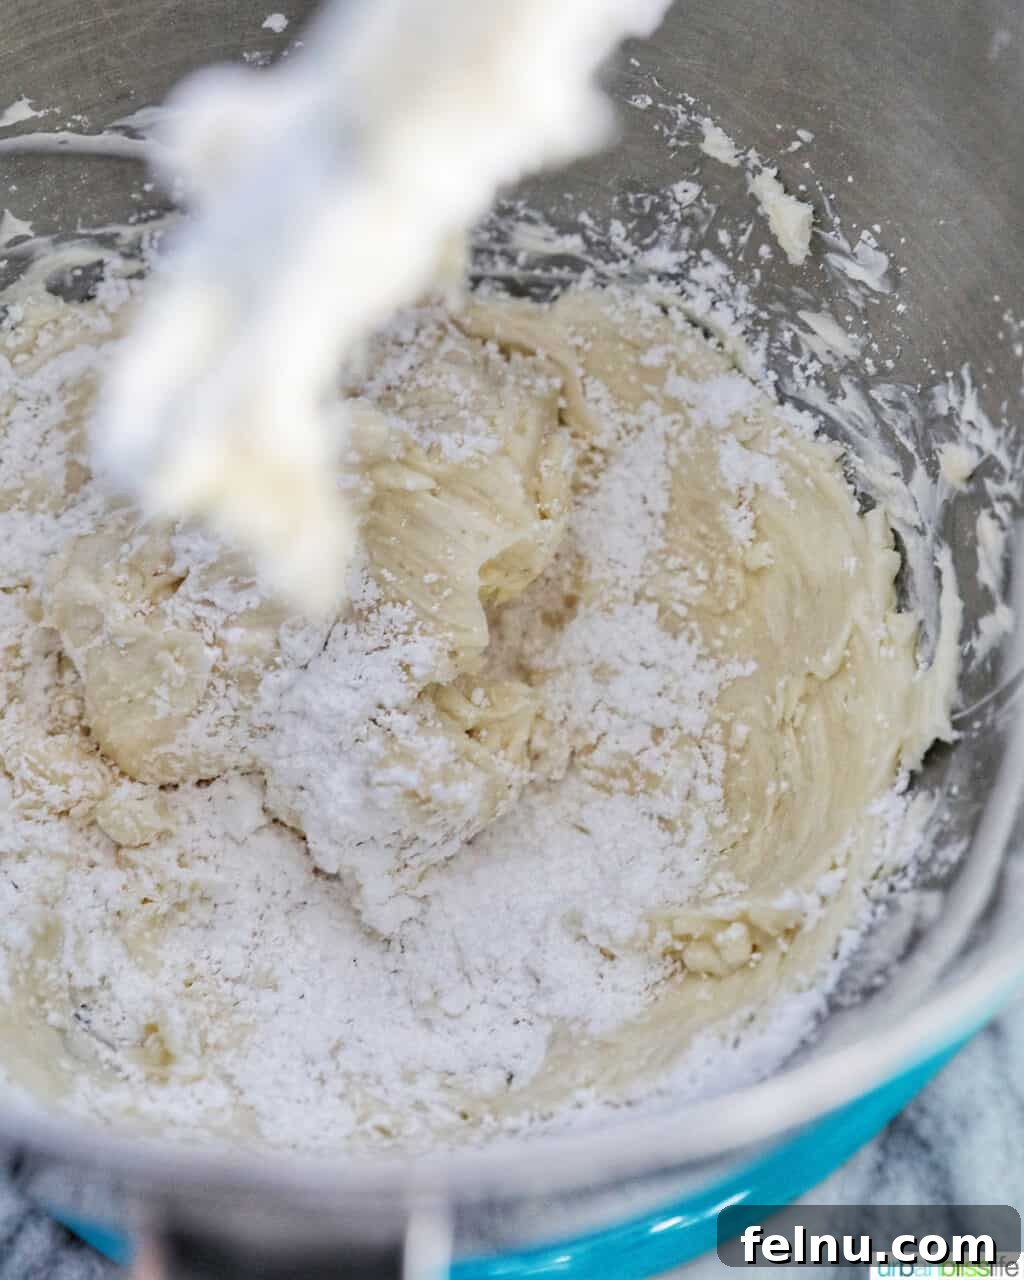
3. Gradually add the sifted powdered sugar, one cup at a time, mixing on low speed until each addition is fully incorporated. Continue mixing until the frosting becomes light, fluffy, and creamy. Again, scrape down the sides of the bowl as needed to ensure no dry pockets of sugar remain.
4. Once your frosting is perfectly smooth and creamy, set it aside. It’s essential that your cake layers are completely cooled before you begin frosting. Frosting a warm cake will cause the frosting to melt and slide off.
Assembling Your Masterpiece: Tips for a Stunning Cake
Now that your cake layers are baked and cooled, and your frosting is ready, it’s time for the exciting part: assembling your beautiful Green Velvet Cake!
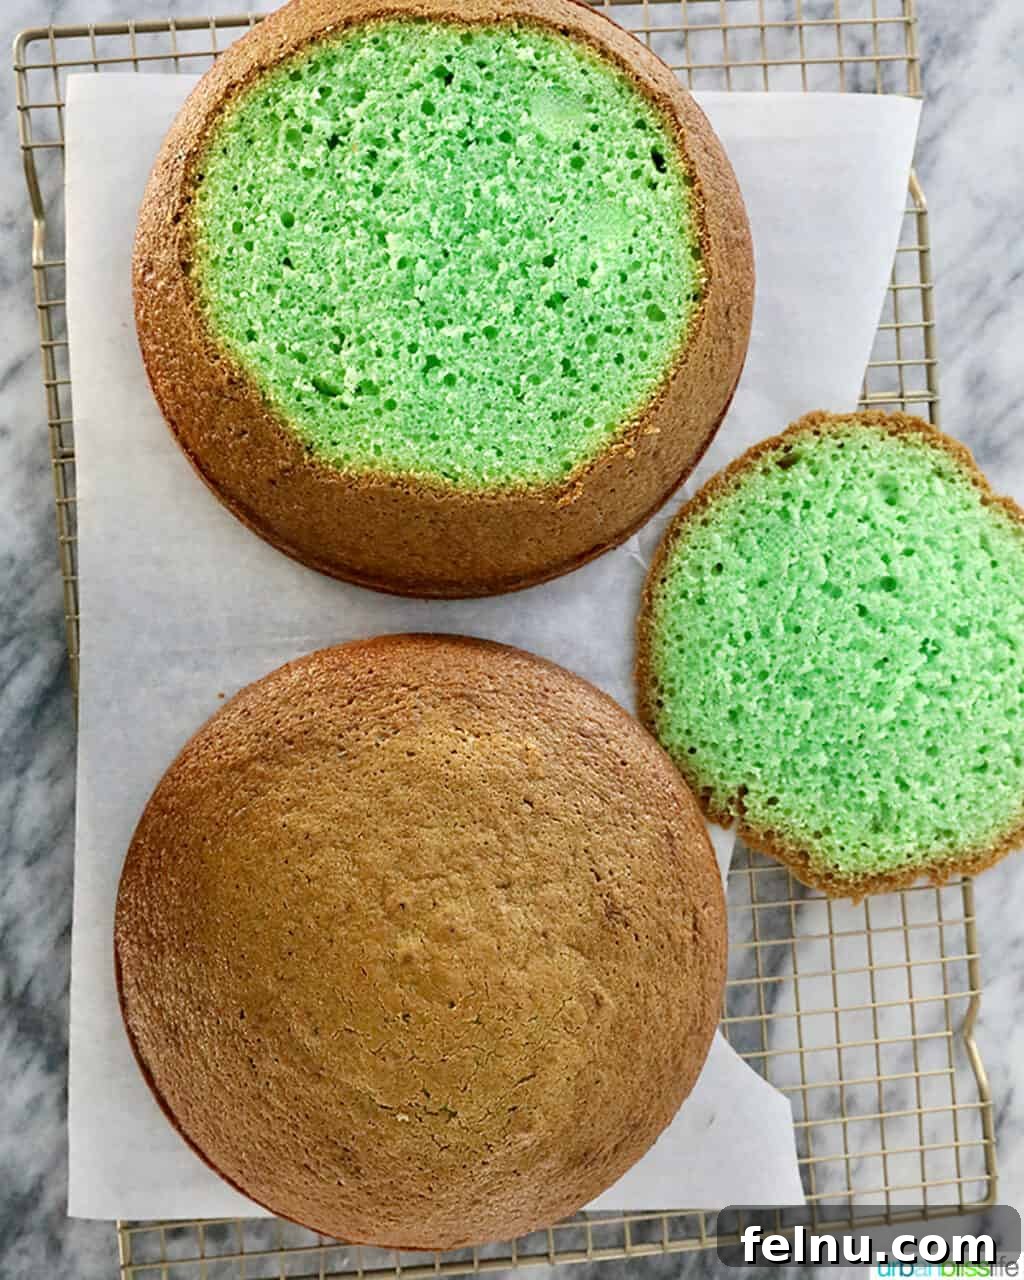
- To Trim or Not to Trim? If you desire a cake that showcases a perfectly uniform, bright green interior when sliced, you can use a serrated knife to carefully trim off the slightly browned or golden edges of your baked cake layers. This reveals the vibrant green center underneath.
PRO TIP: Don’t discard those delicious cake scraps! They are fantastic for making cake pops, trifles, or simply enjoying as a little baker’s treat.
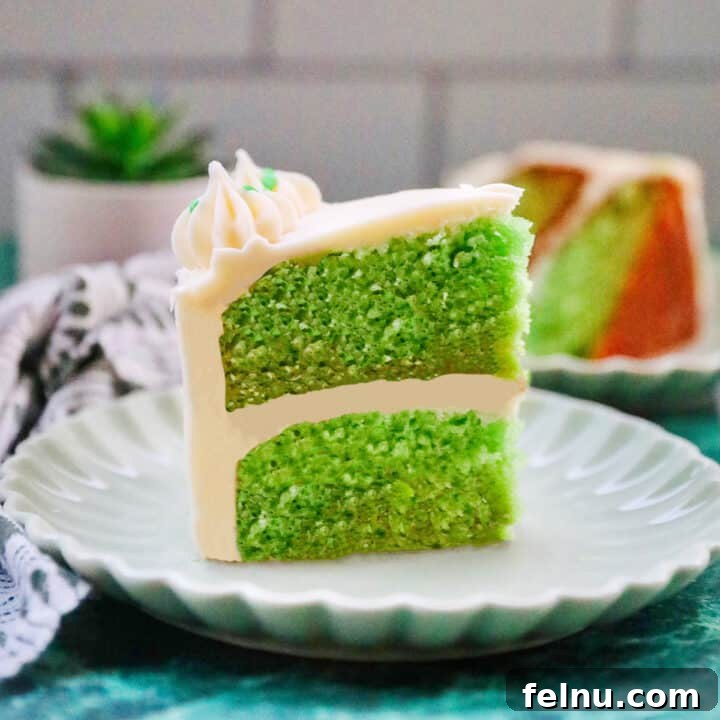
Alternatively, you can choose to leave the brown edges on. This is purely an aesthetic choice and will not affect the taste or texture. You’ll just see a thin layer of brown peeking out when you slice into the cake, as you might notice in some of our photos. We believe a homemade cake is beautiful no matter what, and sometimes those little imperfections add to its charm!
- Leveling Your Cakes: For a stable and even cake, ensure your layers are flat. If your cakes have domed tops, use a serrated knife to carefully slice off the dome, creating a level surface.
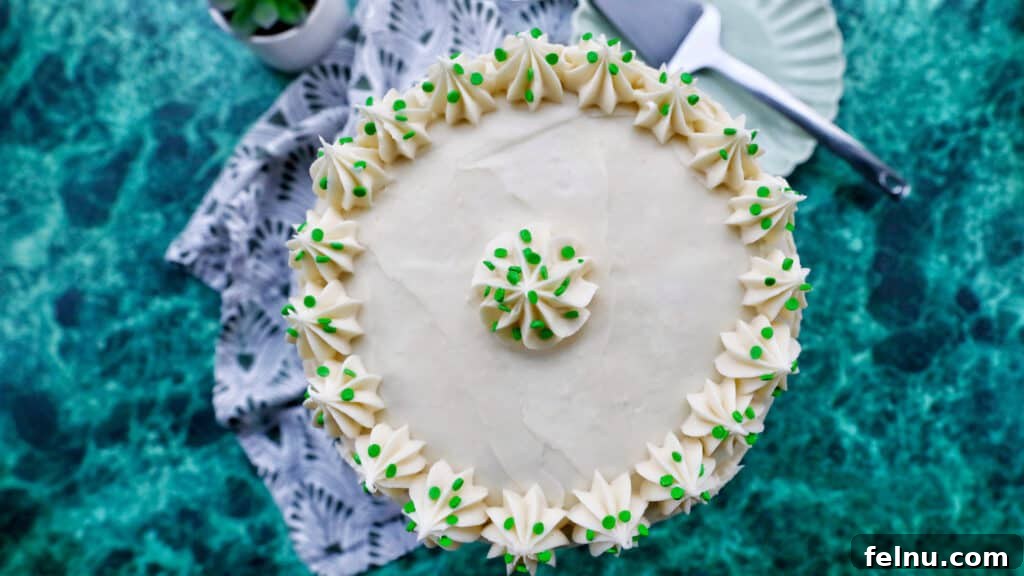
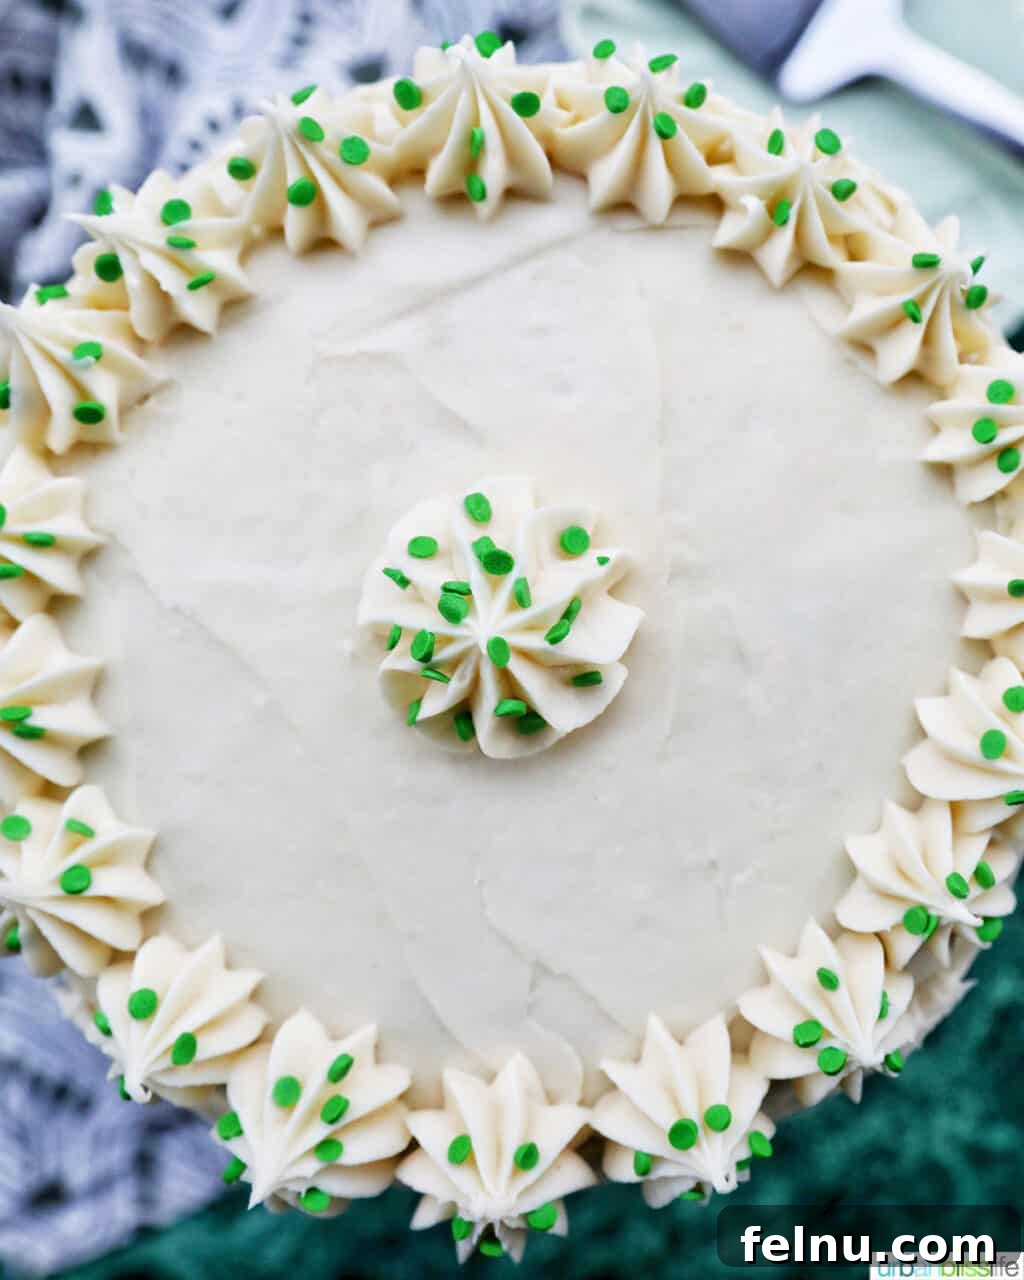
- Generous Frosting Coverage: For the abundant and beautiful frosting coverage you see in our photos, we typically prepare two batches of the cream cheese frosting recipe. This amount allows for a generous, thick middle layer of frosting, a smooth exterior coat, and extra to pipe decorative elements on top, such as borders or swirls. It’s better to have a little extra frosting than not enough!
- Using Your Tools:
- Place your first cake layer on your serving plate or cake stand. If using a cake turntable, this is where it comes in handy.
- Dollop a generous amount of cream cheese frosting onto the center of the first layer. Use your offset spatula to spread it evenly to the edges.
- Carefully place the second cake layer on top. Apply another dollop of frosting and spread it over the top, then move to the sides of the cake.
- Use your offset spatula to apply frosting to the sides. Once the cake is covered, use your bench scraper to smooth out the frosting on both the sides and the top. Hold the scraper at a 45-degree angle against the cake and rotate the turntable (or move around the cake) for a smooth finish.
- Chilling for Stability: If your kitchen is warm or if the frosting becomes too soft to work with, pop the cake (or even just a layer) into the refrigerator for 15-20 minutes to firm up the frosting. This makes it much easier to work with, especially when smoothing the sides or adding more decorative elements.
For more extensive tips and techniques on achieving perfect frosting, refer to our comprehensive guide on Cream Cheese Frosting.
Cake Storage Tips & Frequently Asked Questions
How long will a cake stay fresh after baking?
Unfrosted cake layers can be stored at room temperature for up to three to four days if tightly covered in plastic wrap. After this, they tend to dry out quickly. A frosted cake, however, typically remains fresh for a few days longer. The frosting acts as a protective seal, locking in the cake’s moisture. Always refrigerate frosted cakes.
What’s the best way to store frosted cake?
For best results, store frosted cakes in the refrigerator. First, chill the frosted cake uncovered in the refrigerator for about 15-30 minutes to allow the frosting to set and firm up slightly. This “crust” prevents the plastic wrap from sticking to the frosting. Once the frosting is firm, cover the entire cake tightly with plastic wrap or place it in an airtight cake carrier. Stored this way, it will remain fresh for four to five days in the refrigerator. Before serving, allow the cake to come to room temperature for about 30-60 minutes for the best flavor and texture of both cake and frosting.
How long do individually cut slices of cake last?
Once your cake is sliced, individual pieces tend to dry out more quickly due to increased exposure to air. To preserve freshness, wrap each slice tightly in plastic wrap. Wrapped slices can be stored at room temperature for about two to three days before they start to lose their moisture and become less enjoyable. For longer storage, wrap them well and refrigerate for up to 4-5 days.
Is there a difference in storing oil-based cakes versus butter-based cakes?
Yes, there is a notable difference. Cakes made with oil, such as this Green Velvet Cake recipe, tend to retain moisture better and stay fresh for a few days longer than cakes made primarily with butter. This is because oil remains liquid at room temperature, contributing to a consistently moist crumb, whereas butter can solidify and make butter-based cakes feel denser or drier more quickly.
Can I freeze Green Velvet Cake?
Absolutely! Green Velvet Cake freezes beautifully, whether frosted or unfrosted. To freeze unfrosted layers, ensure they are completely cool, then wrap each layer tightly in several layers of plastic wrap, followed by aluminum foil. They can be frozen for up to 2-3 months. To freeze a frosted cake, first, freeze the uncovered cake until the frosting is solid (about 2-4 hours). Then, wrap the frozen cake tightly in plastic wrap and then in foil. It can be frozen for up to 1-2 months. Thaw frozen cakes in the refrigerator overnight before bringing to room temperature to serve.
What if my frosting is too runny or too stiff?
If your cream cheese frosting is too runny, it’s likely due to overly warm ingredients or insufficient powdered sugar. To thicken, add more sifted powdered sugar, one tablespoon at a time, mixing well after each addition until the desired consistency is reached. If your frosting is too stiff, it might be over-chilled or have too much sugar. To loosen it, add a tiny amount of milk (whole milk works best), about half a teaspoon at a time, and mix until it reaches a spreadable consistency. Remember, warmth can soften it, so if it’s just a little stiff, letting it sit at room temperature for 10-15 minutes might also help.
Perfect Pairings: What to Serve with Green Velvet Cake
The vibrant green hue and delightful flavor of this Green Velvet Cake make it a versatile dessert, perfect for adding a touch of festive cheer to almost any occasion. Its striking color makes it a standout for holidays and special gatherings.
- St. Patrick’s Day Celebrations: This cake is an absolute must-have for St. Patrick’s Day. Imagine ending a hearty dinner of traditional Instant Pot Irish Lamb Stew or Corned Beef and Cabbage with a slice of this emerald beauty. Pair it with homemade Shamrock Shakes, a robust Irish coffee, or a glass of dry stout for a truly festive experience.
- Christmas Feasting: The deep green makes this cake a wonderful addition to your Christmas dessert spread. It complements rich holiday meals beautifully. Serve it after a savory Garlic Rosemary Beef Roast and Potatoes, or alongside other holiday treats like gingerbread cookies and peppermint bark. A mug of spiced eggnog or hot cocoa would be an excellent accompaniment.
- Easter Brunch & Dinners: Bring a touch of spring to your Easter table with this refreshing green cake. It pairs wonderfully with lighter Easter fare such as elegant Hard-Boiled Egg Appetizers and a flavorful Pan-Seared Salmon with Almond Basil Pesto. The cake’s brightness will perfectly complement the fresh, seasonal flavors of an Easter meal.
- Spring & Summer Gatherings: Beyond holidays, the cheerful green makes it ideal for garden parties, baby showers, birthdays, or any gathering where a pop of color is welcome. Serve with fresh berries, a scoop of vanilla bean ice cream, or a light fruit sorbet for a refreshing contrast.
- Everyday Indulgence: And let’s not forget – you don’t need a special occasion to enjoy this cake! Sometimes, the best reason to bake is simply to treat yourself and your loved ones to a slice of pure joy with a cup of tea or coffee.
No matter the event, this Green Velvet Cake with Cream Cheese Frosting is sure to be a conversation starter and a beloved dessert.
More Indulgent Dessert Recipes
If you’re a fan of decadent desserts and love exploring new baking adventures, here are more recipes to inspire your sweet tooth:
- Chocolate Chip Cupcakes with Cookie Dough Frosting
- Easy Vegan Chocolate Cake with Vegan Chocolate Frosting
- Mini Citrus Bundt Cakes
- How to Make an Ombre Cake
- Mini Gingerbread Bundt Cakes
Green Velvet Cake Recipe Card
Green Velvet Cake with Cream Cheese Frosting
Print Recipe
This vibrant velvety cake is perfect for St Patrick’s Day, Spring, Christmas, or any other reason to celebrate!
Equipment
- 2 8-inch Cake Pans
- Parchment Paper
- Large Mixing Bowls
- Whisk
- Silicone Spatula
- Stand Mixer (or Hand Mixer)
- Offset Spatula
- Serrated Knife (optional)
- Bench Scraper (optional)
Ingredients
For the Green Velvet Cake
- 2½ cups all-purpose flour
- 1 teaspoon baking soda
- 1 teaspoon baking powder
- ½ teaspoon salt (kosher salt recommended)
- 1½ cups granulated sugar
- 1½ cups vegetable oil
- 3 large eggs, at room temperature
- 2 teaspoons vanilla extract
- 1 cup buttermilk (or homemade substitute: 1 cup milk + 1 tbsp lemon juice/vinegar)
- 1 Tablespoon green food coloring (approx. 20-30 drops, adjust to desired shade)
For the Cream Cheese Frosting
- ½ cup (1 stick) unsalted butter, softened at room temperature
- 8 ounces (1 package) cream cheese, softened at room temperature
- 1 teaspoon vanilla extract
- ¼ teaspoon kosher salt
- 4 cups sifted powdered sugar
Instructions
Make the Green Velvet Cake
- Preheat oven to 350°F (175°C). Line two 8-inch cake pans with parchment paper and set aside.
- In a large bowl, whisk together the flour, baking soda, baking powder, and salt.
- In a separate large bowl, whisk together the sugar and vegetable oil until combined. Then, whisk in the eggs, one at a time, until fully incorporated. Whisk in the vanilla extract.
- Slowly whisk in ⅓ of the dry flour mixture into the wet ingredients, then ⅓ of the buttermilk until just combined. Repeat this process twice, alternating the flour mixture and the buttermilk, until all ingredients are combined. Do not overmix.
- Whisk in the green food coloring. Start with about 10 drops, whisking well. Add more drops as needed until you achieve your desired vibrant green color (typically between 20-30 drops).
- Pour the batter evenly between the two prepared cake pans. Bake for 30 to 40 minutes, or until a toothpick inserted into the center of the cakes comes out clean.
- While the cakes are baking, prepare the frosting.
Make the Cream Cheese Frosting
- In a stand mixer with the paddle attachment (or using a hand mixer and a large bowl), cream together the softened butter and softened cream cheese until the mixture is light yellow and fluffy, about 3 to 5 minutes. Scrape down the sides of the bowl as needed.
- Beat in the salt and vanilla extract until just combined.
- Gradually add the sifted powdered sugar, one cup at a time, beating until fully combined and the frosting is light and creamy. Scrape down the sides of the bowl as needed. Set aside.
Cooling Time
- Once the cakes are baked, remove them from the oven and allow them to cool in their pans for about 20 minutes.
- After 20 minutes, carefully invert the cake pans onto a wire cooling rack. Remove the parchment paper and allow the cakes to cool completely to room temperature before frosting. This is crucial to prevent the frosting from melting.
Assemble the Cake
- Once the cake layers are completely cool, place one layer on your serving platter or cake stand. If desired, use a serrated knife to trim off the brown edges for a more uniformly green interior.
- Using an offset spatula, spread a generous layer of cream cheese frosting over the first cake layer.
- Carefully place the second cake layer on top. Apply the remaining frosting to the top and sides of the cake. Use an offset spatula and a bench scraper to smooth the frosting for a polished finish. Decorate as you wish!
Notes
Yields: One 8-inch two-layer cake, approximately 12 servings.
General Baking Tips:
- Ensure eggs, butter, and cream cheese are all at room temperature before starting your baking process. This helps create a smooth batter and frosting. Take them out of the refrigerator about 30 minutes to an hour before you begin.
Cream Cheese Frosting Tips:
- If your frosting appears too thin or runny, gradually add more sifted powdered sugar, one tablespoon at a time, until the desired consistency is achieved.
- If your frosting becomes too thick or stiff, add a small amount of milk (whole milk works best), about half a tablespoon at a time, mixing until it reaches a smooth, spreadable texture.
- It is vital that your cake layers are completely cool before applying the frosting. Any residual warmth will cause the frosting to melt. You can even chill the cooled cake layers in the refrigerator for 15-20 minutes before frosting for easier handling.
- For frosting coverage as shown in the images (thick layers and decorative piping), consider making 1.5 to 2 batches of the cream cheese frosting.
Nutrition
Nutrition information is automatically calculated and should only be used as an approximation.
Troubleshooting Common Baking Challenges
Baking, especially with cakes, involves a delicate balance of ingredients and environmental factors. Many elements can influence the final outcome of your Green Velvet Cake, from the humidity in the air to the accuracy of your oven temperature. Even subtle differences, such as the age of your leavening agents or the specific brand of flour you use, can play a role.
We’ve meticulously developed and tested this recipe over several iterations, making continuous adjustments to ensure it delivers the best possible results consistently. The version presented in this post is the culmination of those efforts, proven to be a winner in our kitchen.
However, if you encounter any issues while baking this — or any other recipe on our blog — please don’t hesitate to reach out. Common baking challenges can include:
- Dry Cake: Often a result of overbaking. Ensure you test for doneness with a toothpick and remove the cakes promptly. Also, ensure liquid ingredients (like buttermilk) are measured accurately.
- Dense or Gummy Cake: This can happen from overmixing the batter, which develops the gluten too much. Mix only until ingredients are just combined. Old leavening agents (baking soda/powder) can also contribute to a dense cake that doesn’t rise.
- Uneven Layers: An oven that isn’t preheated properly or has hot spots can cause uneven baking. Using a reliable oven thermometer can help. Also, ensuring an even distribution of batter between pans is key (a kitchen scale can help here!).
- Frosting Issues: Lumpy frosting usually means your butter and cream cheese weren’t soft enough. Runny frosting can be fixed with more powdered sugar; stiff frosting with a tiny bit of milk.
We are always happy to offer assistance and share our baking knowledge. Feel free to email me at [email protected] with any questions or specific troubleshooting needs. Your success in the kitchen is our priority!
Pin It for Later
Tried this recipe?
Please leave a star rating and comment! Then snap a pic of your dish and share it on social media. Tag @UrbanBlissLife and #UrbanBlissLife!