
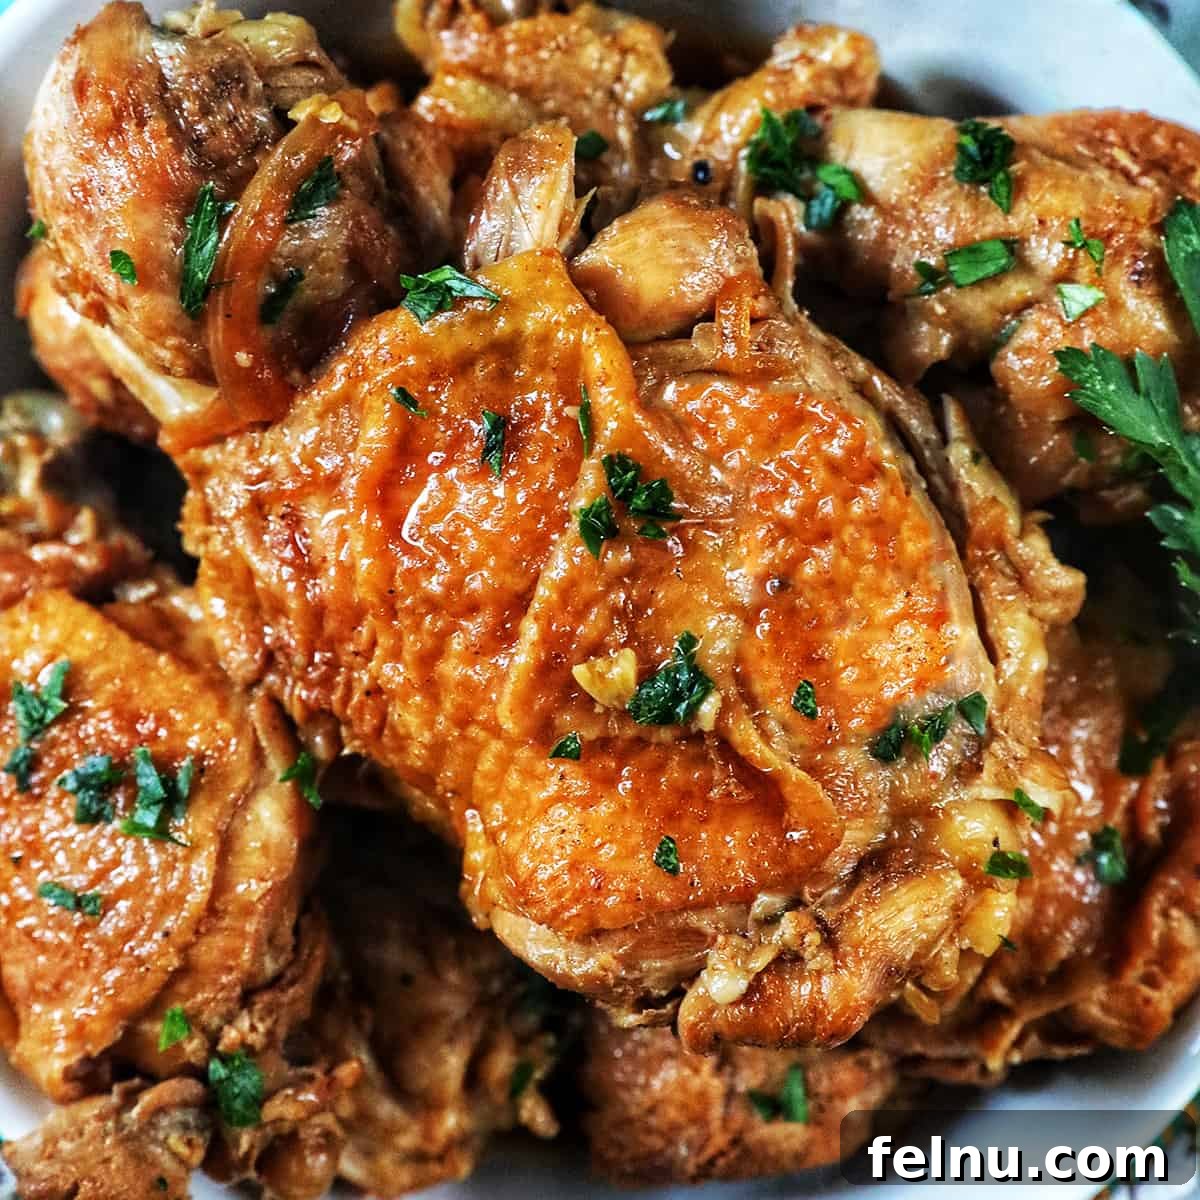
Welcome to the ultimate guide for crafting the most delicious **Instant Pot Chicken Adobo**! This beloved Filipino dish, a staple in countless households, is revered as the unofficial national dish of the Philippines. Our easy-to-follow recipe brings the rich, complex flavors of traditional adobo to your table faster than ever, thanks to the magic of modern electric pressure cooking. Whether you’re a seasoned chef or a beginner, this recipe offers flexible cooking options for your Instant Pot, Ninja Foodi, stovetop, or slow cooker, ensuring a perfect meal every time.
This post was originally published on March 12, 2018. It has been thoroughly updated with more cooking methods, enhanced instructions, fresh photography, and republished on December 4, 2022.
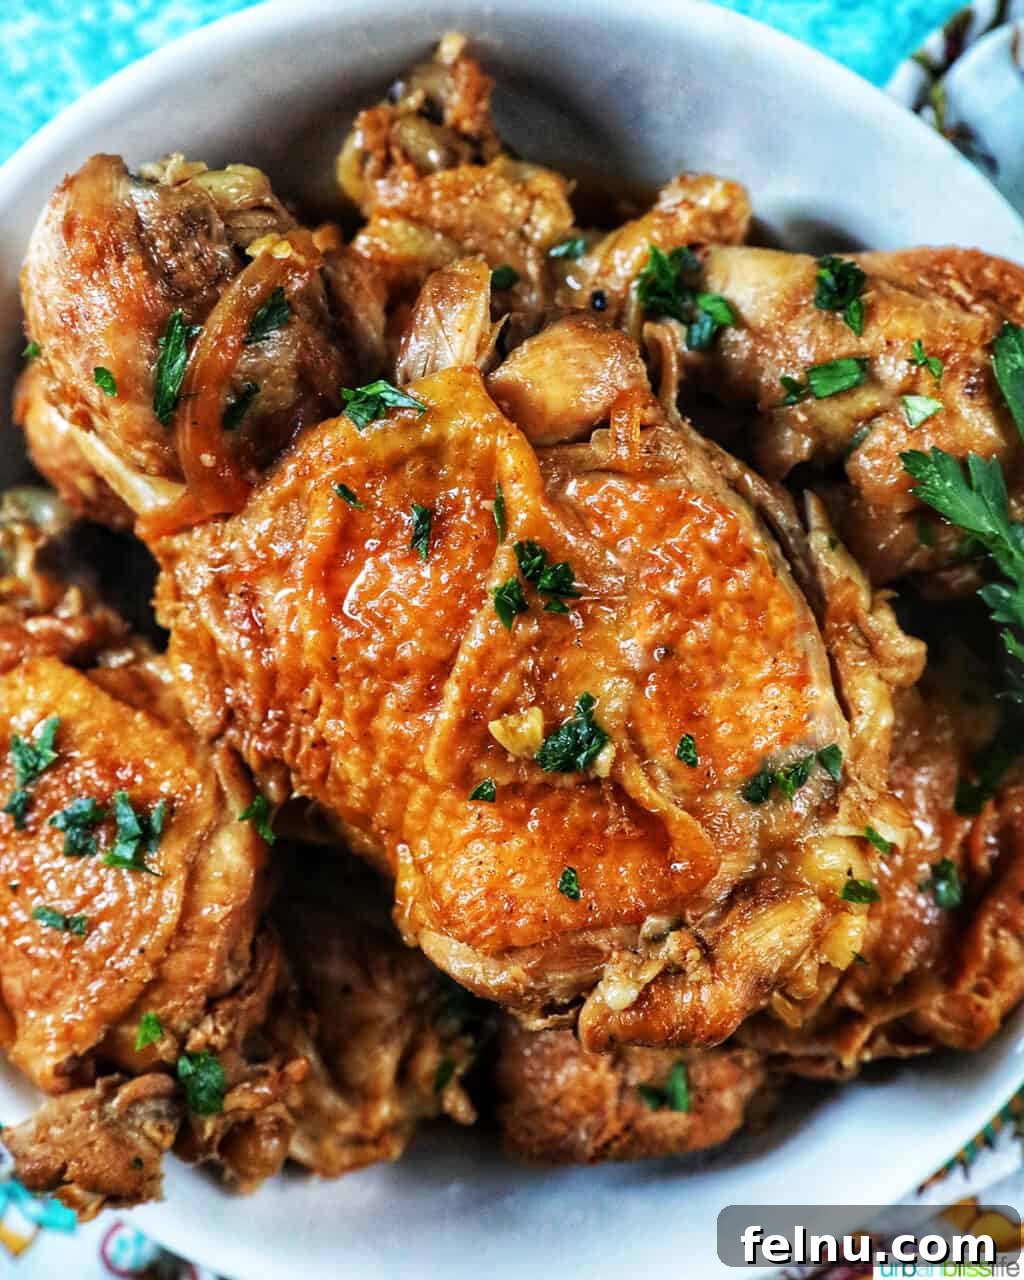
Growing up in a Filipino home, chicken adobo wasn’t just a meal; it was a cherished tradition. Whether it was pork adobo or chicken adobo, these dishes frequently graced our dinner table, leaving a lasting impression on my palate. To this day, it remains one of my absolute favorite comfort foods. While authentic chicken adobo can be prepared in myriad ways, this Instant Pot version offers a contemporary twist on my family’s time-honored recipe. Gone are the hours of braising; instead, you get the same incredibly tender, deeply flavorful chicken adobo in a fraction of the time. Get ready to experience a dish that will quickly become a family favorite in your home too.
Why You’ll Adore This Instant Pot Chicken Adobo
Filipino chicken adobo is renowned for its irresistibly strong and inviting aroma, largely attributed to its distinctive vinegar and garlic base. This traditional recipe, passed down through generations, holds such cultural significance that it’s widely recognized as the unofficial national dish of the Philippines. While most families boast their unique rendition, we are confident you’ll fall in love with our family’s special recipe! Here’s why this Instant Pot version stands out:
- Incredibly Fast: Forget the long hours of stovetop braising. The Instant Pot drastically reduces the cooking time for chicken adobo to approximately 30 minutes, making it perfect for busy weeknights.
- Effortlessly Easy: With minimal preparation required, your Instant Pot or Ninja Foodi takes on most of the work, allowing you to create a gourmet meal with surprising ease.
- Unforgettable Flavor: Pressure cooking infuses every piece of chicken with the rich blend of spices and savory liquids, ensuring each bite is bursting with tender, aromatic flavor.
- Versatile Cooking Methods: This recipe is designed to be flexible. You can prepare this delicious Filipino chicken adobo in your Instant Pot, Ninja Foodi, slow cooker, or even the traditional way in a Dutch oven on the stovetop.
- Customizable to Your Taste: Whether you prefer a rich, thick glaze or a more abundant sauce, this recipe can be easily adjusted to your personal preference. See our detailed notes below for guidance.
- Feeds a Crowd: This recipe yields enough to generously serve six people, making it ideal for family dinners or entertaining guests.
Traditional Filipino chicken adobo typically requires several hours to achieve its signature tenderness and deep flavor. However, thanks to the efficiency of modern appliances like the Instant Pot and Ninja Foodi, this mouthwatering meal can be ready and on your table in about 45 minutes, from start to finish. No lengthy marinating is needed! The electric pressure cooker works wonders by cooking the meat from the inside out, guaranteeing flavorful, juicy, and exceptionally tender chicken in significantly less time.
Filipino Adobo Versus Mexican Adobo: A Culinary Distinction
A common question arises about the difference between Filipino adobo and Mexican adobo, and it’s an excellent one! Understanding the distinction helps appreciate the unique cultural influences that shaped these dishes.
Filipino cuisine boasts a rich tapestry of influences, particularly from Spanish and Chinese traditions, a direct result of the country’s historical past. The very word “adobo” is borrowed from the Spanish “adobar,” which translates to “marinade” or “sauce.”
In the Philippines, “adobo” signifies not only a distinctive cooking technique but also refers to the dish itself – it’s the nation’s unofficial culinary emblem! Filipino adobo uniquely incorporates Southeast Asian ingredients and flavors, characterized by a savory vinegar-soy-based sauce, abundant garlic, aromatic bay leaves, and often pungent peppercorns. The resulting flavor profile is a harmonious balance of tangy, salty, sweet, and umami.
Conversely, Spanish adobo, from which the term was derived, typically denotes an intensely flavored, richly colored sauce. This version is usually defined by the use of ingredients like paprika and chipotle chiles, yielding a smoky and often spicier flavor profile that is quite different from its Filipino counterpart. Both are delicious in their own right, but their ingredients and culinary identities are distinct.
Essential Ingredients for Perfect Chicken Adobo
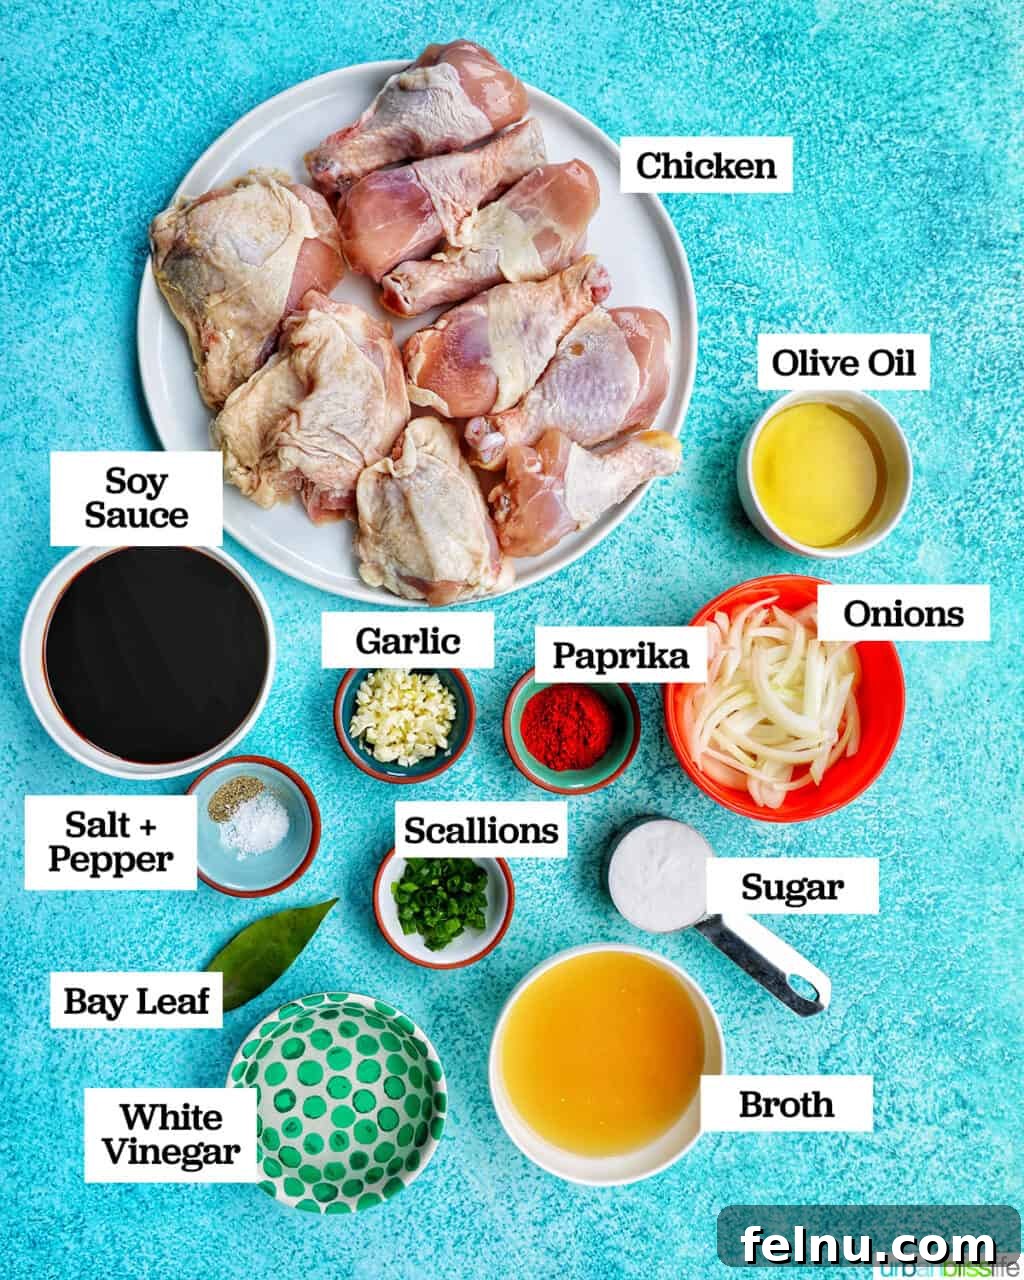
To create this exquisite Filipino chicken adobo, you’ll need a selection of high-quality ingredients, pictured above. For the best flavor and texture, I recommend using a combination of skin-on, bone-in chicken thighs and drumsticks. While skinless, boneless chicken thighs can be used for convenience, keep in mind that the skin and bone contribute significantly to the depth of flavor and moisture of the traditional dish.
Here’s a breakdown of the key components:
- Chicken: Opt for 8-10 pieces, ideally a mix of bone-in, skin-on thighs and drumsticks. The skin renders fat during cooking, adding richness, and the bone provides additional flavor to the sauce.
- Extra-Virgin Olive Oil: Used for browning the chicken, which adds a crucial layer of flavor and color before pressure cooking.
- Cane Vinegar: This is the traditional choice for Filipino adobo, offering a distinct tang. If unavailable, white distilled vinegar or rice vinegar are suitable substitutes. Avoid apple cider vinegar, as its flavor profile will alter the authentic taste of the dish.
- Soy Sauce: The backbone of the savory element. For a gluten-free option, coconut aminos or your preferred gluten-free soy sauce work perfectly.
- Granulated Sugar: A touch of sweetness is essential to balance the sharp tang of the vinegar, creating that signature sweet and savory adobo profile.
- Garlic Cloves: Adobo is famous for its garlic! Don’t be shy; feel free to add more than the recipe calls for if you’re a true garlic enthusiast.
- Onion: A small or medium yellow onion, thinly sliced, adds a foundational aromatic sweetness. Red onion is not recommended as it will impart a different flavor.
- Paprika: While some traditional recipes omit it, I find paprika adds a wonderful depth of flavor and a beautiful hue to the sauce.
- Bay Leaf: Crucial for that classic, aromatic Filipino adobo essence. Remember to remove it before serving.
- Chicken Stock or Broth: I incorporate a small amount to mellow the intensity of the vinegar slightly, ensuring a perfectly balanced, signature garlicky-vinegar flavor without being overly sharp.
- Green Onions (Scallions): Optional, but highly recommended as a fresh, vibrant garnish to complete the dish.
- Salt and Pepper: Basic seasonings to enhance the chicken’s natural flavor.
Easy Instant Pot Chicken Adobo: Step-by-Step
For precise measurements and detailed instructions, please refer to the printable recipe card at the bottom of this page. These helpful tips will guide you through the cooking process.
1. Prepare Your Pressure Cooker: Begin by preheating your Instant Pot or Ninja Foodi. Select the “Sear/Sauté” function, set the temperature to “HI,” and press “Start/Stop” to begin. Allow it to preheat for about 2 minutes.
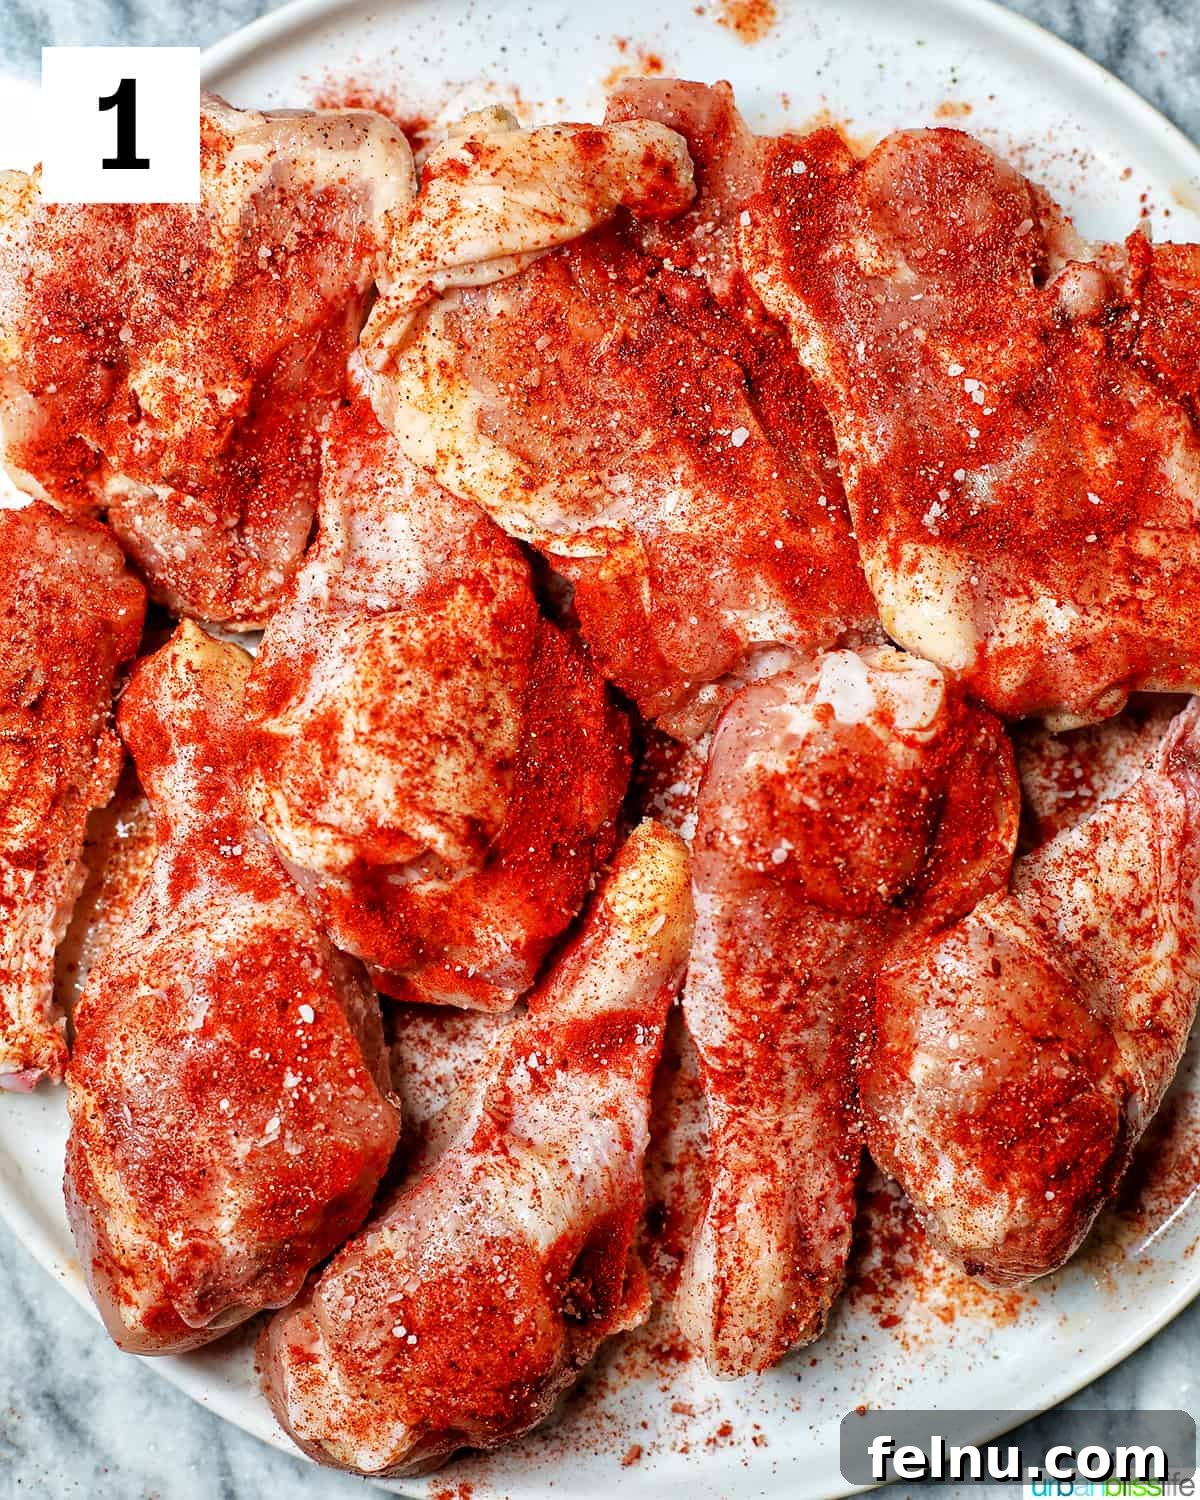
- While your unit preheats, season the chicken pieces evenly on both sides with salt, pepper, and paprika.
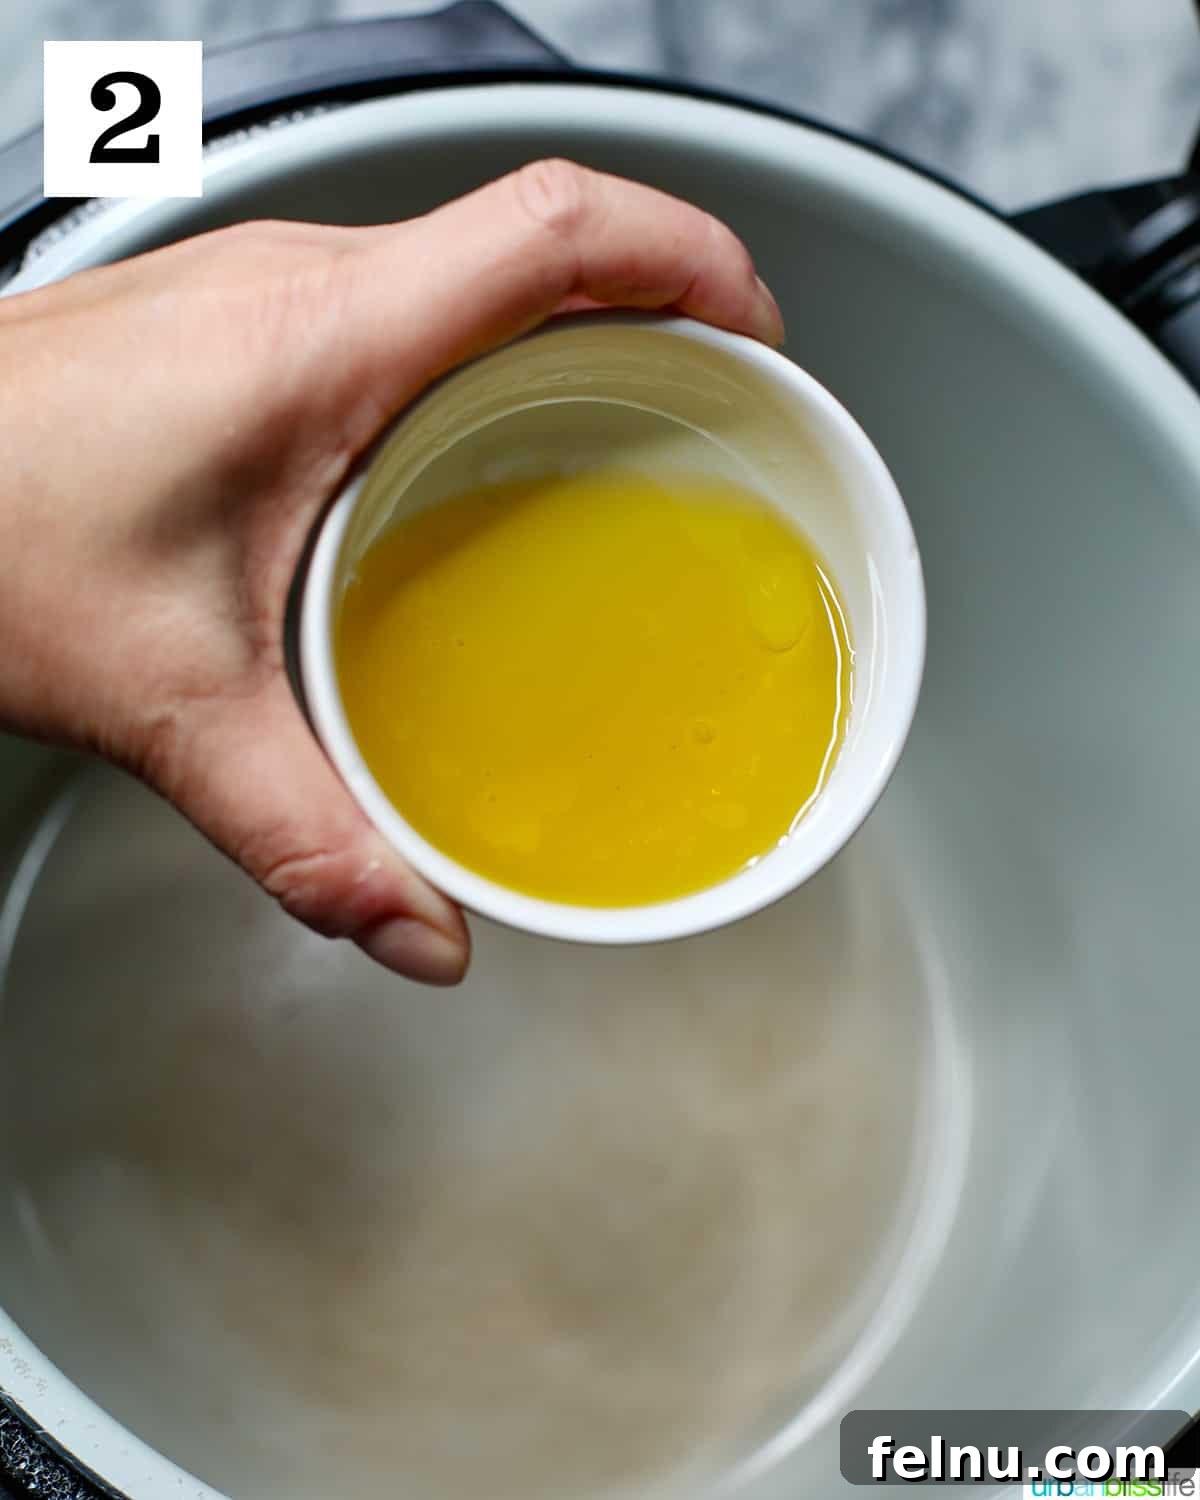
- Add the olive oil to the hot pot, ensuring your pressure cooker is still on Sauté mode.
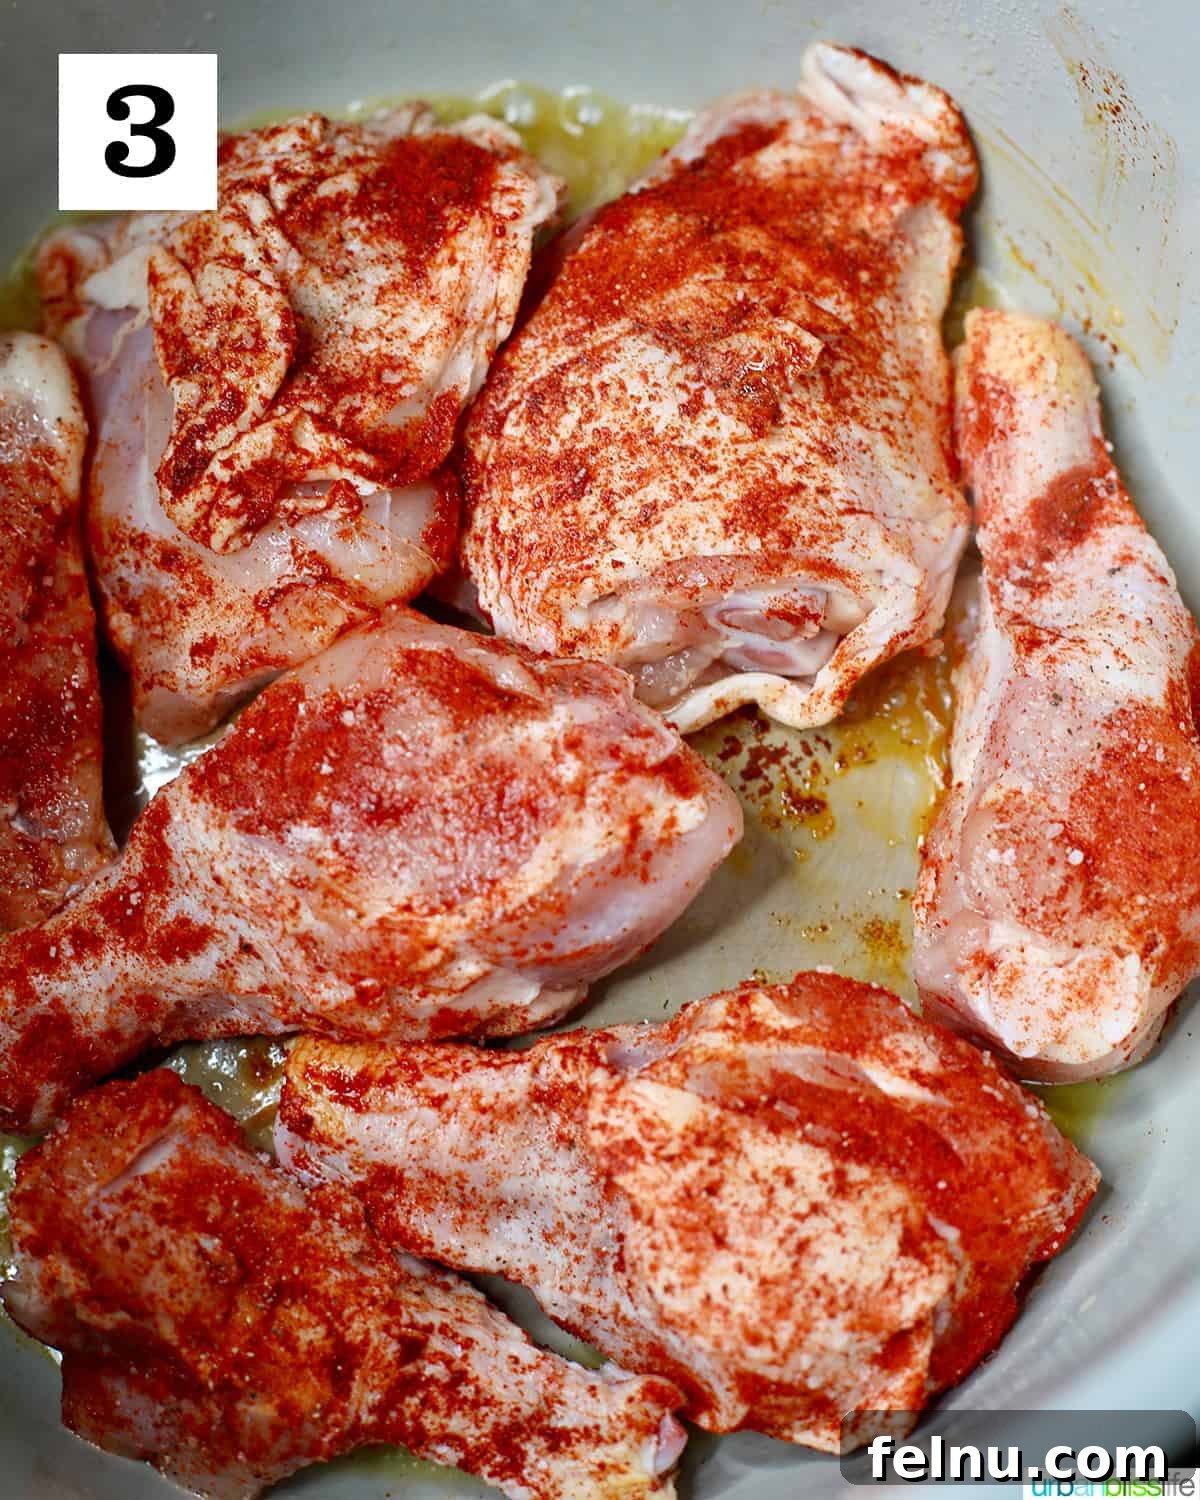
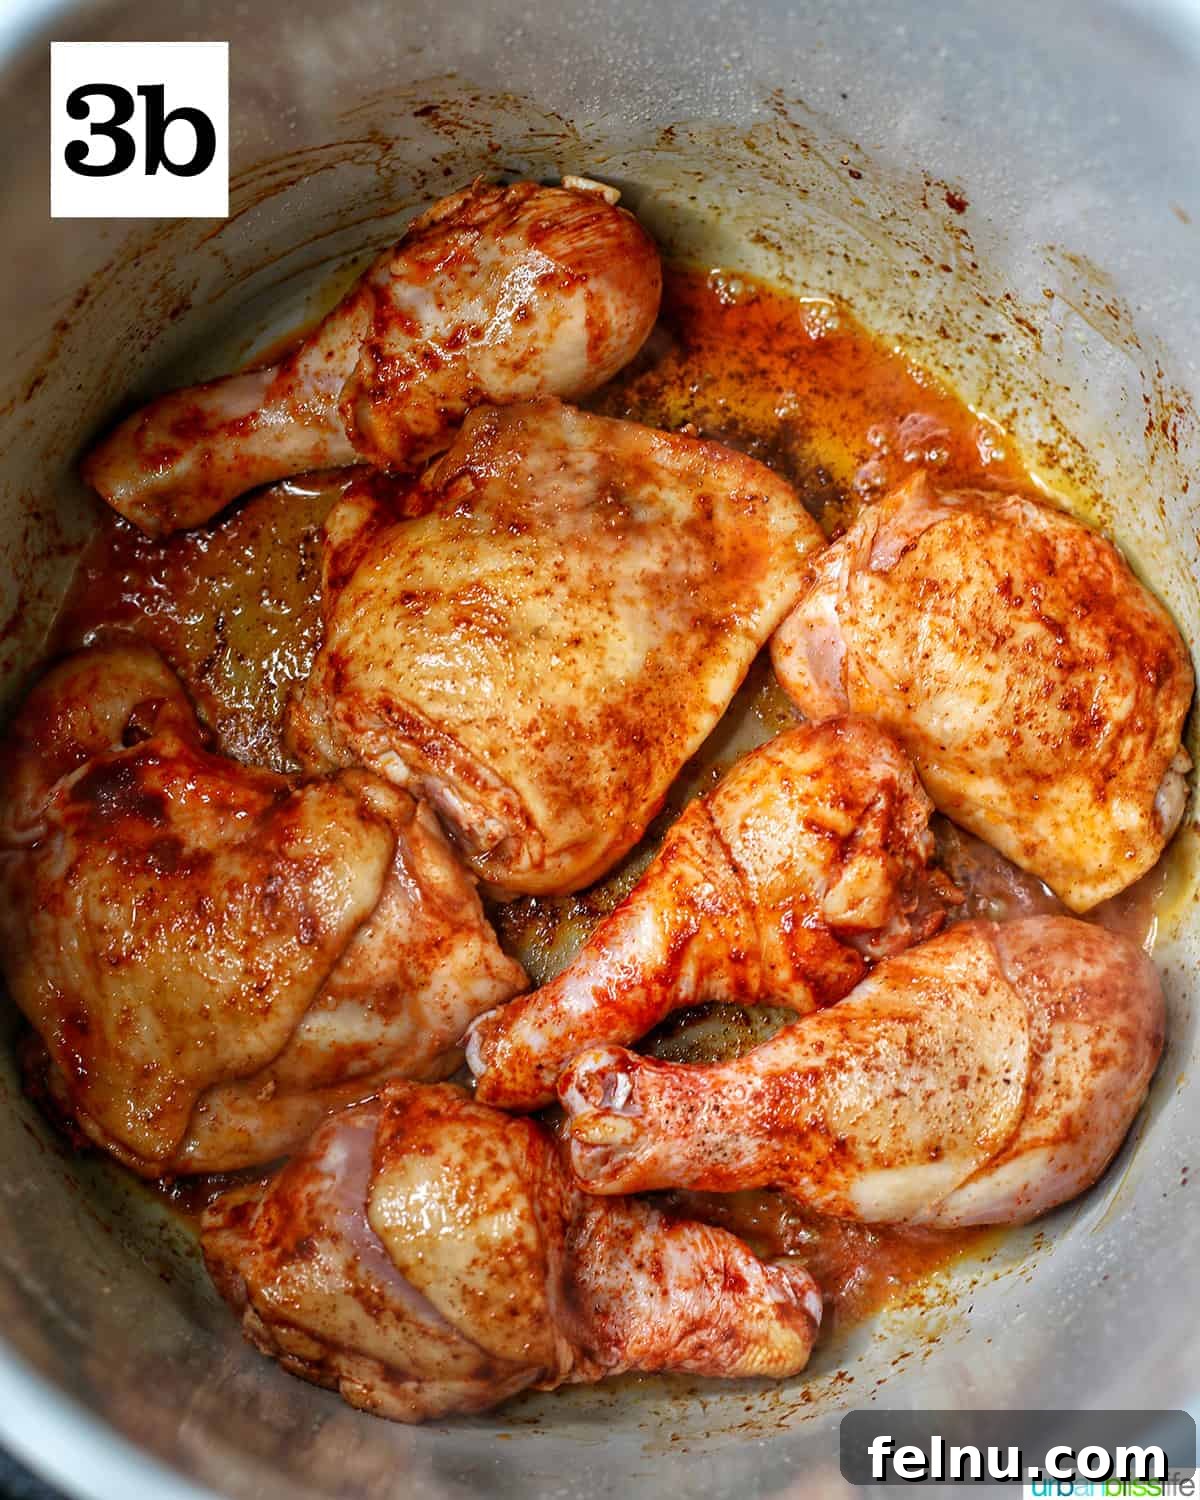
3. Carefully place the chicken into the pot and sauté, browning all sides. This typically takes 4 to 5 minutes. Depending on the size of your pressure cooker, you may need to brown the chicken in batches to avoid overcrowding and ensure even searing.
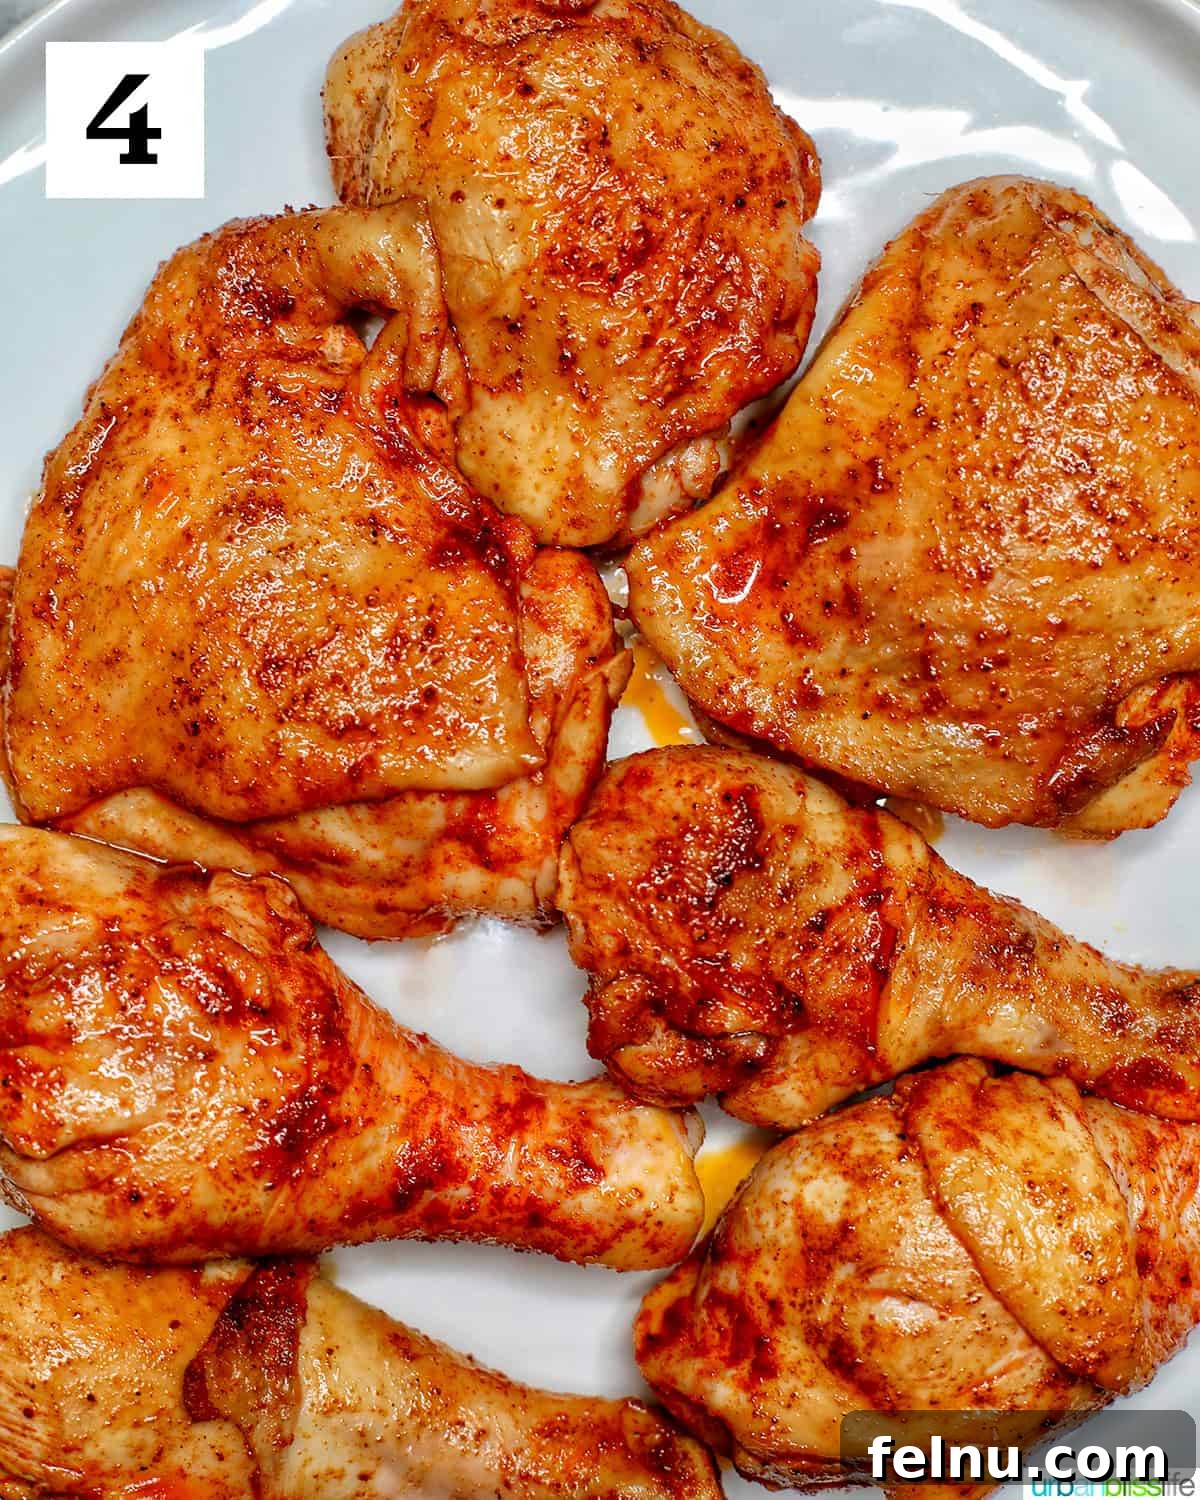
4. Once the chicken is beautifully browned on all sides, press “Start/Stop” to end the sauté function. Transfer the chicken to a clean plate and set it aside.
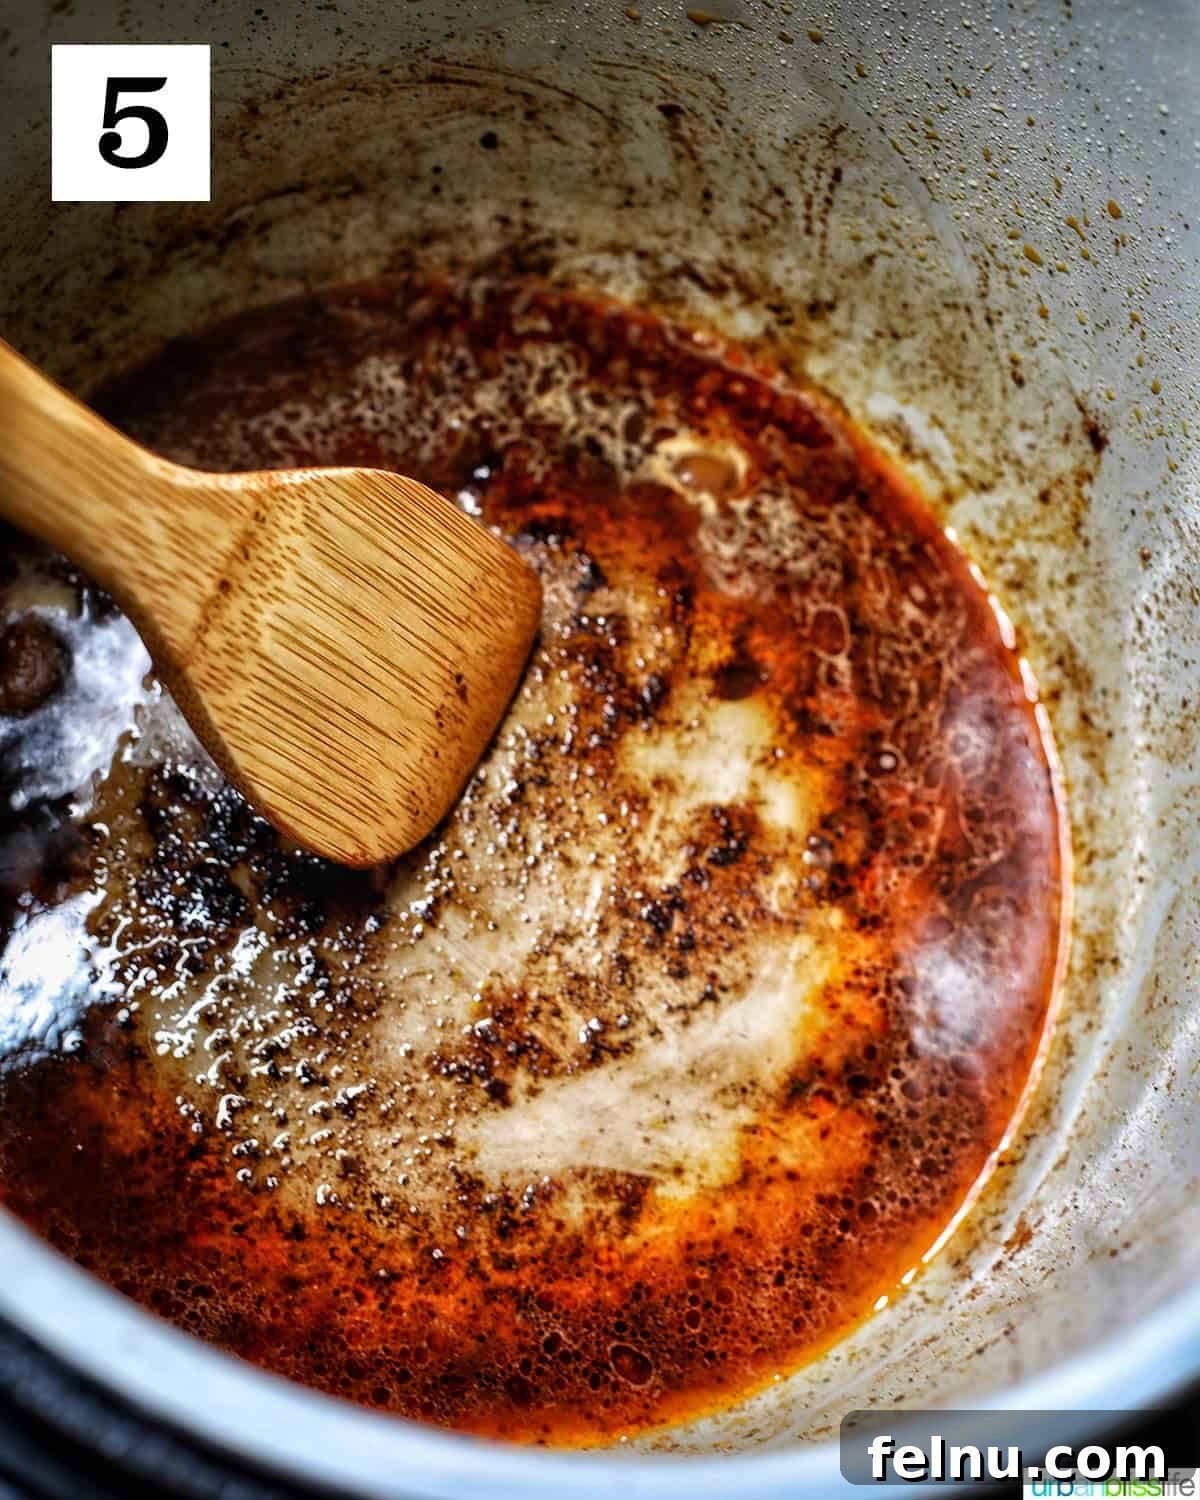
5. Deglaze the pot by pouring in a bit of the chicken stock. Use a wooden spoon to gently scrape up any flavorful browned bits stuck to the bottom of the pot. This step is crucial for preventing a “burn” notice and for building the foundation of your delicious sauce.
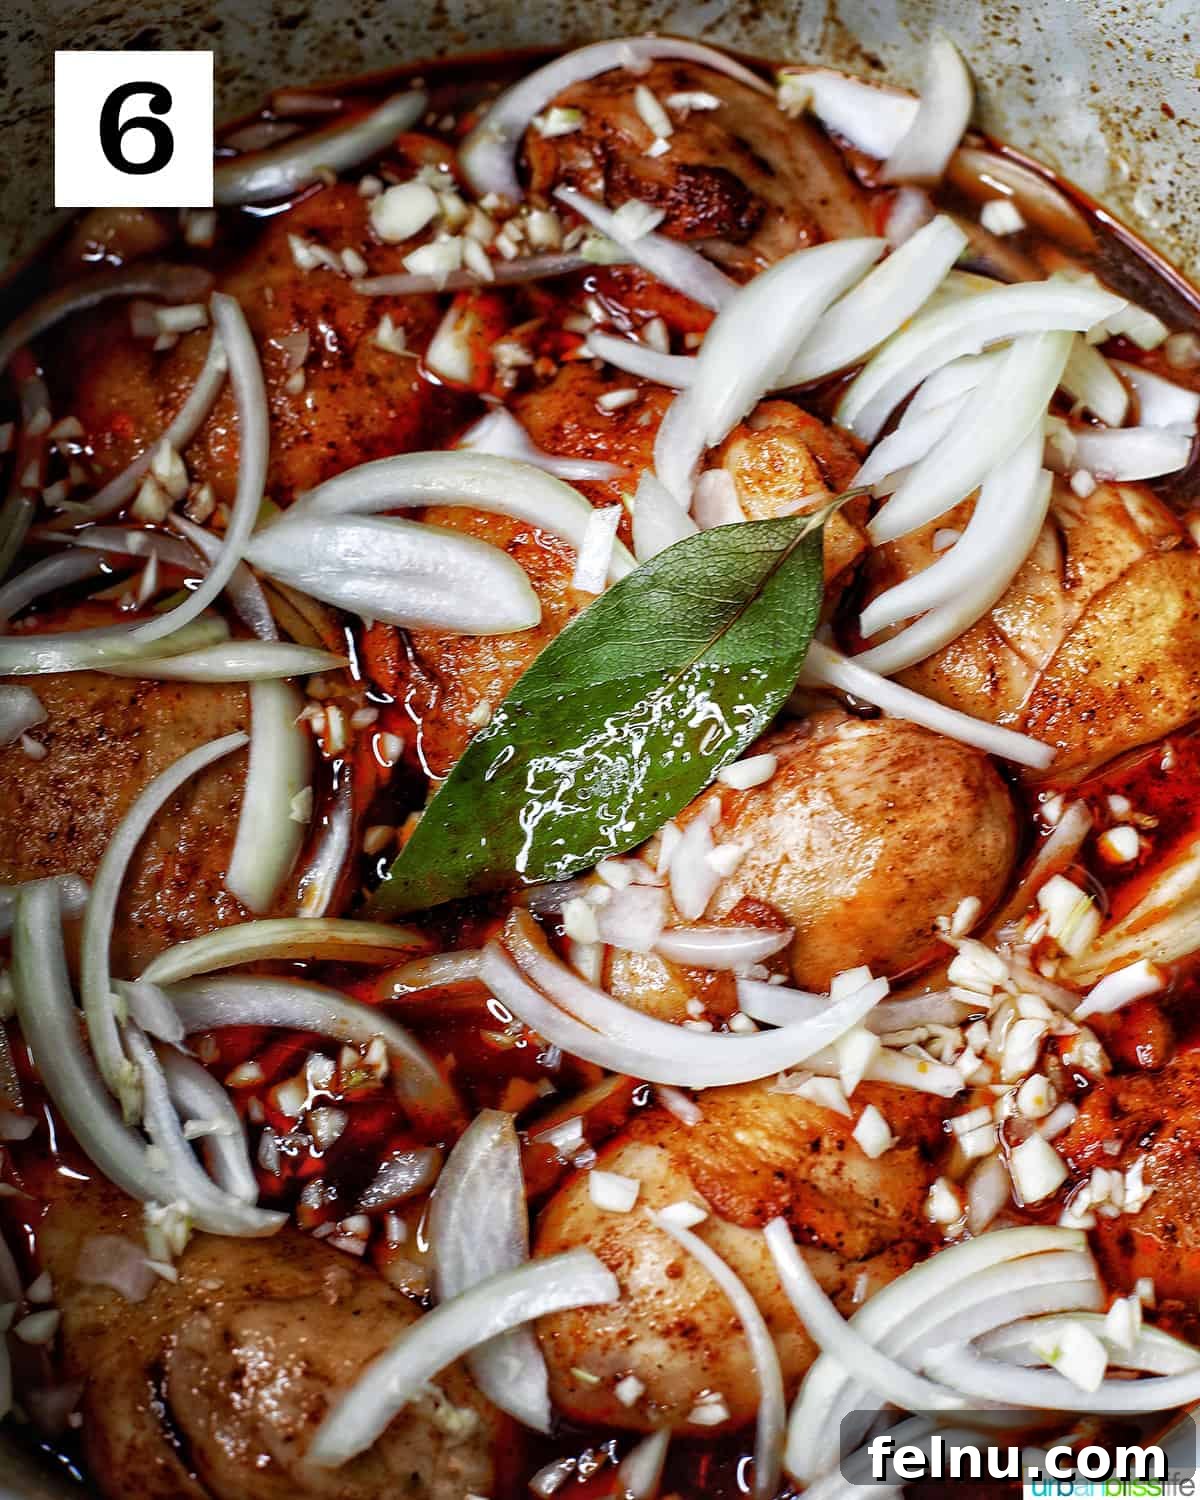
6. Return the browned chicken to the pot. Then, add the soy sauce, sugar, vinegar, the remaining chicken stock or broth, minced garlic, bay leaves, sliced onions, and ½ teaspoon of black pepper. Stir all the ingredients together gently to combine.
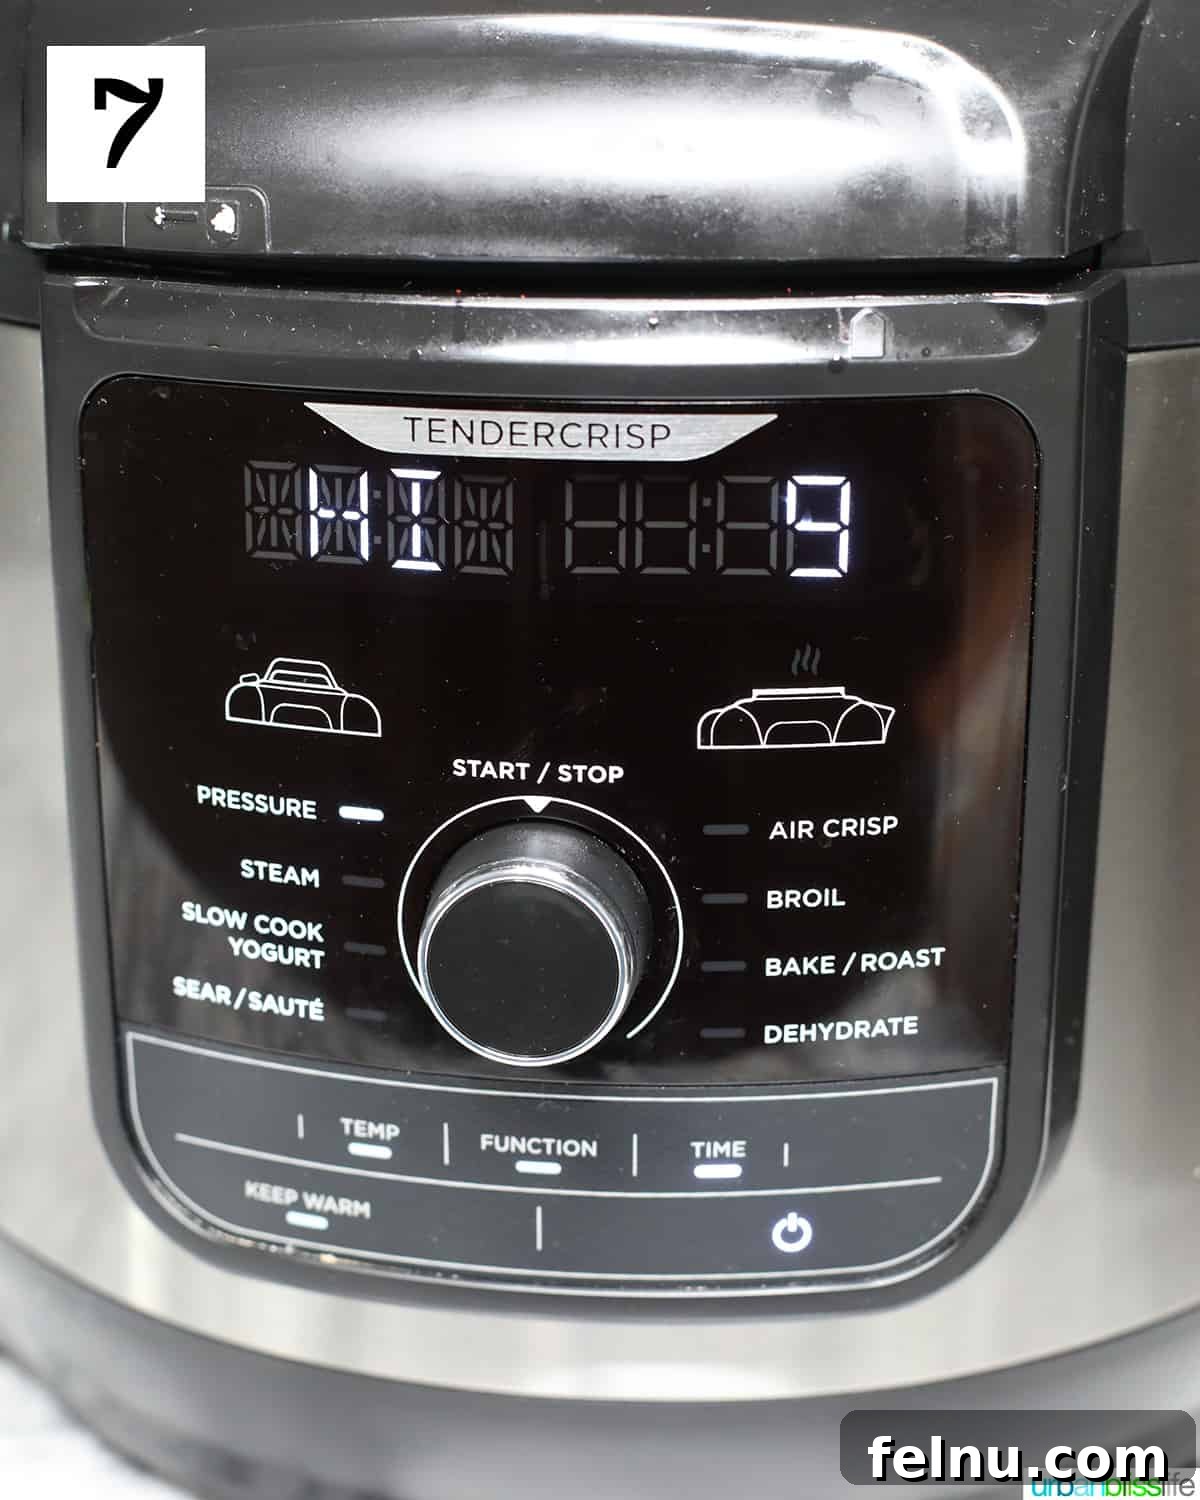
7. Securely assemble the pressure lid on your Instant Pot or Ninja Foodi, making sure the pressure release valve is in the “Seal” position. Select “Pressure Cook” (or “Manual,” depending on your model) and set it to “HI” for 9 minutes. Press “Start/Stop” to begin. The unit will take a few minutes to build pressure before the actual pressure cooking countdown starts.
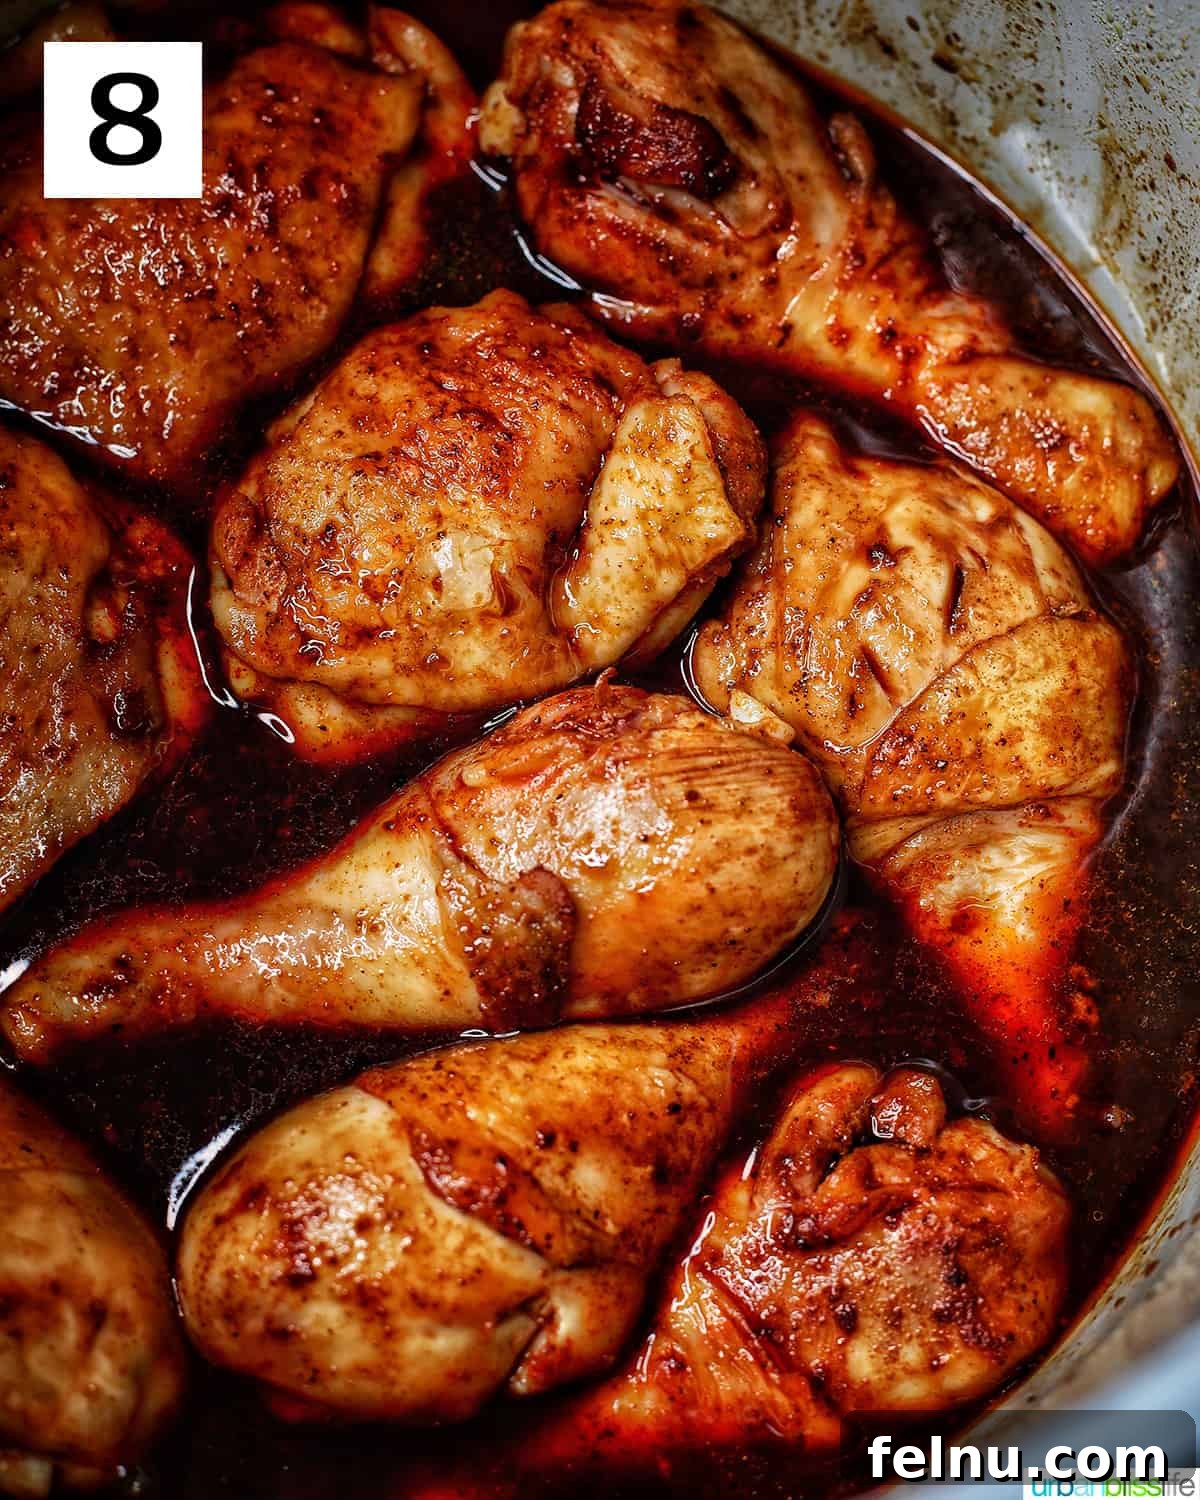
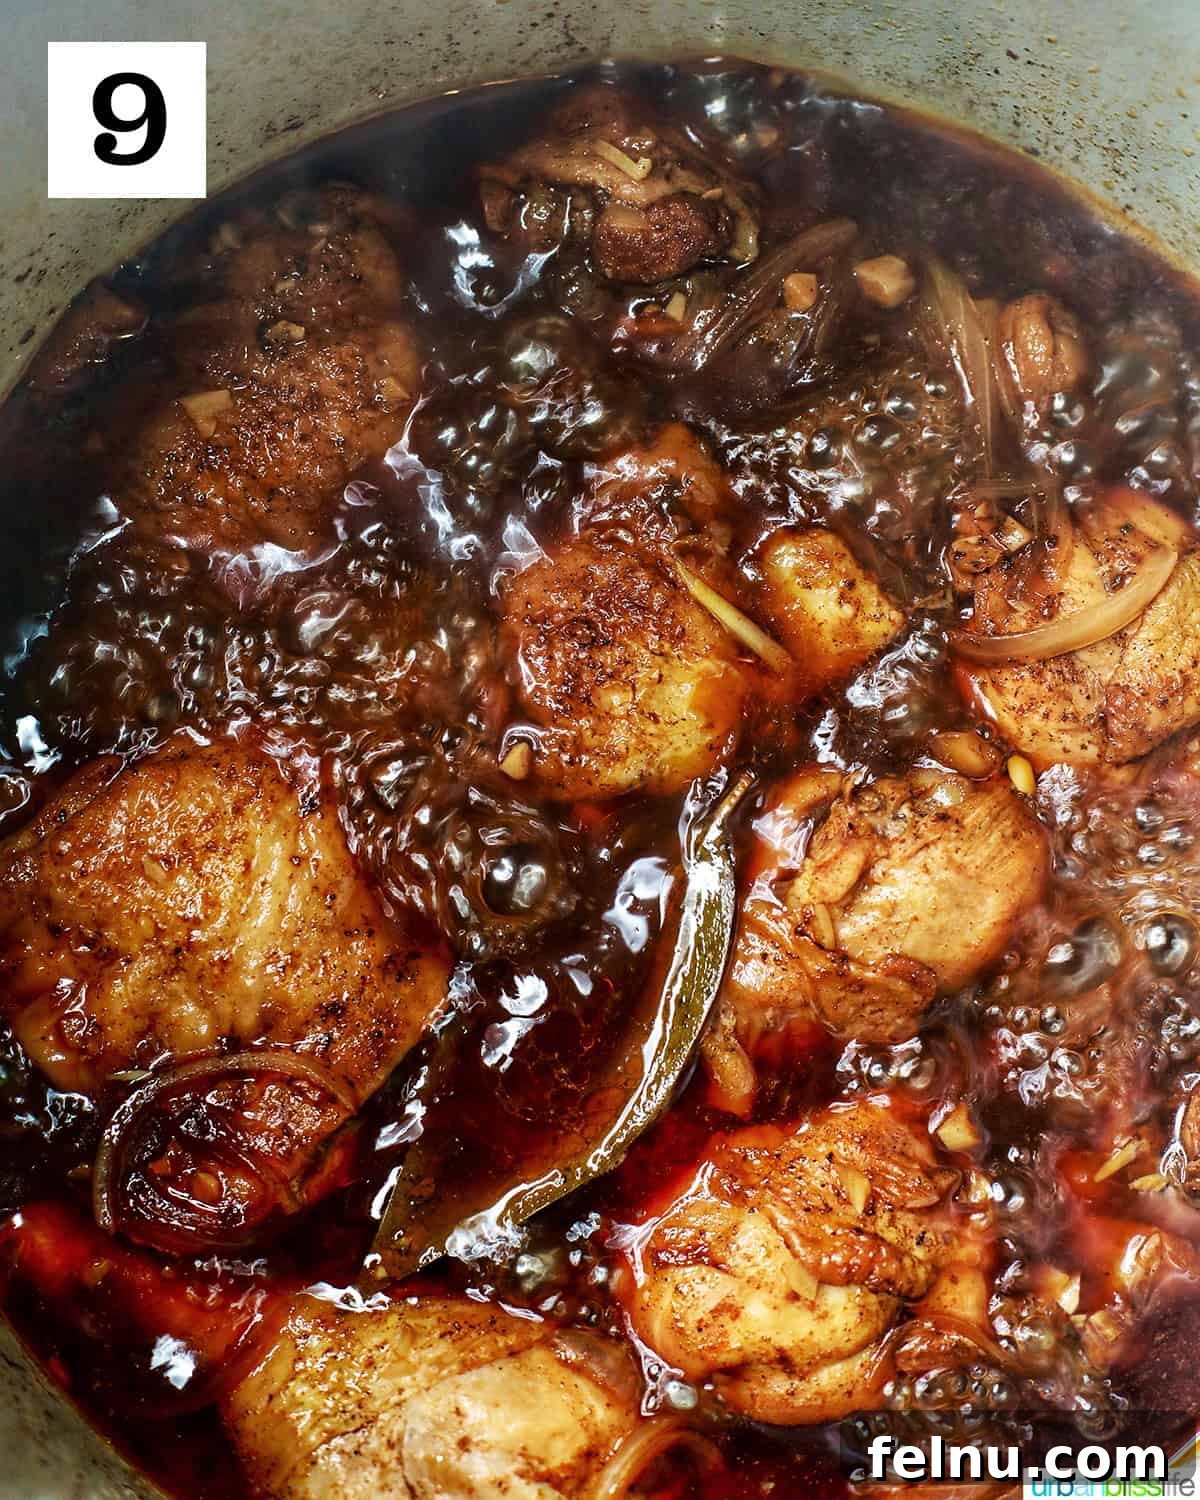
8. Once the cooking cycle is complete, perform a quick release of the pressure. Carefully move the pressure release valve to the “Vent” position. I recommend using tongs or a wooden spoon to protect your hands from the hot steam. After all the pressure has been released and the float valve has dropped down safely, carefully twist the lid to open.
9. If you prefer a richer, thicker glaze over a thinner sauce for your chicken adobo, select the “Sauté” function on your pressure cooker settings. Allow the sauce to come to a gentle boil and continue to cook, stirring regularly to prevent sticking, until it reaches your desired consistency. The adobo is ready to serve when an instant-read thermometer inserted into the thickest part of the chicken registers 165°F (74°C). Transfer the chicken to a serving platter and garnish with freshly sliced green onions. Serve immediately with your favorite sides.
In addition to these Instant Pot instructions, you’ll find traditional stovetop and slow cooker methods detailed in the complete recipe card below.
Perfect Pairings: Serving Your Filipino Chicken Adobo

This Instant Pot Filipino Chicken Adobo is a symphony of flavors: **garlicky, perfectly balanced between sweet and salty, and wonderfully tangy.** It’s designed to be versatile and pairs beautifully with a variety of complementary dishes.
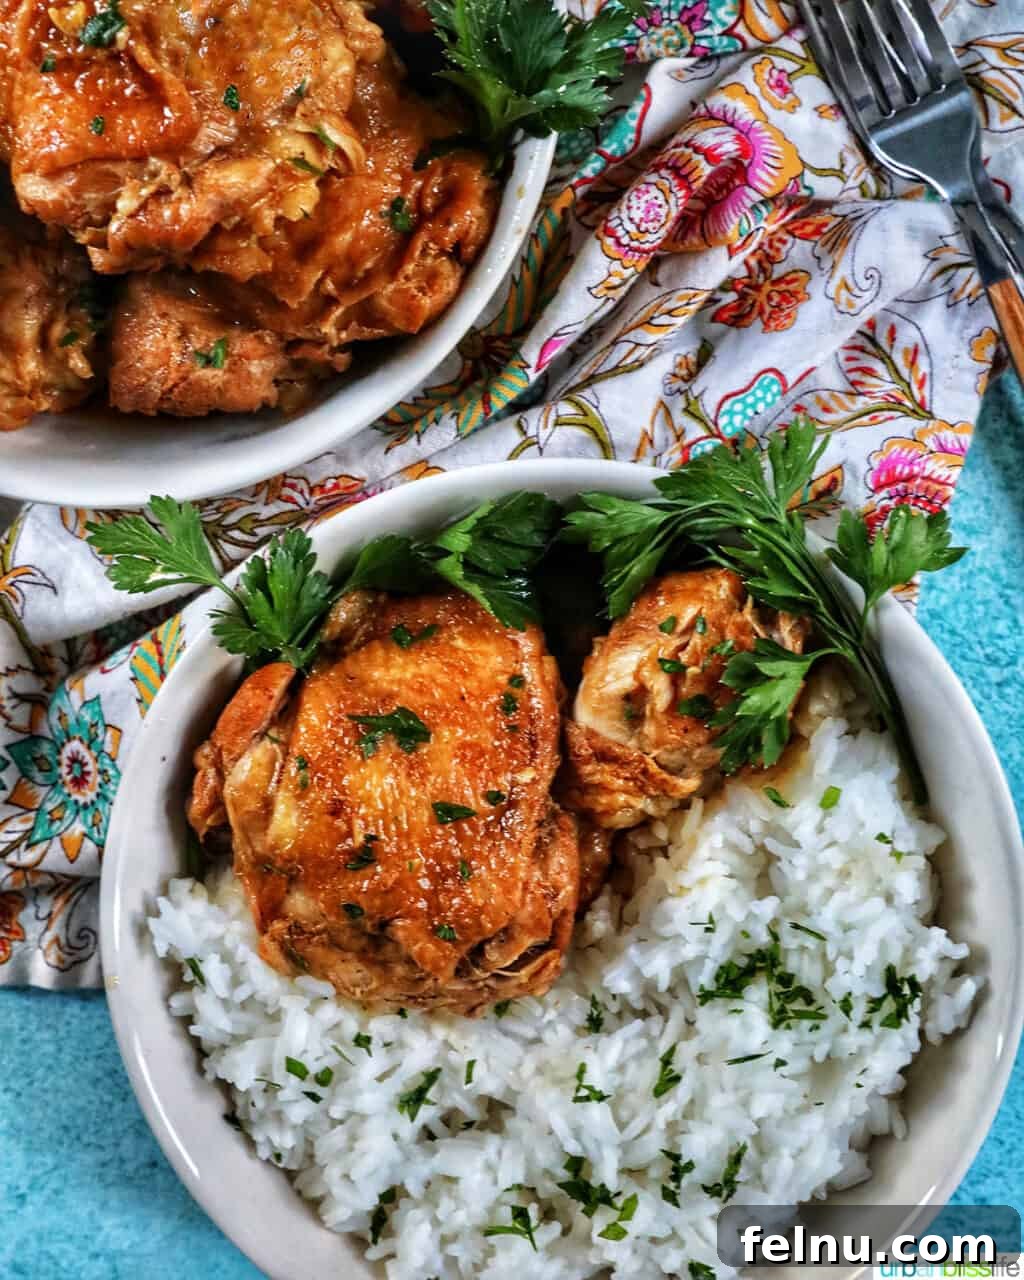
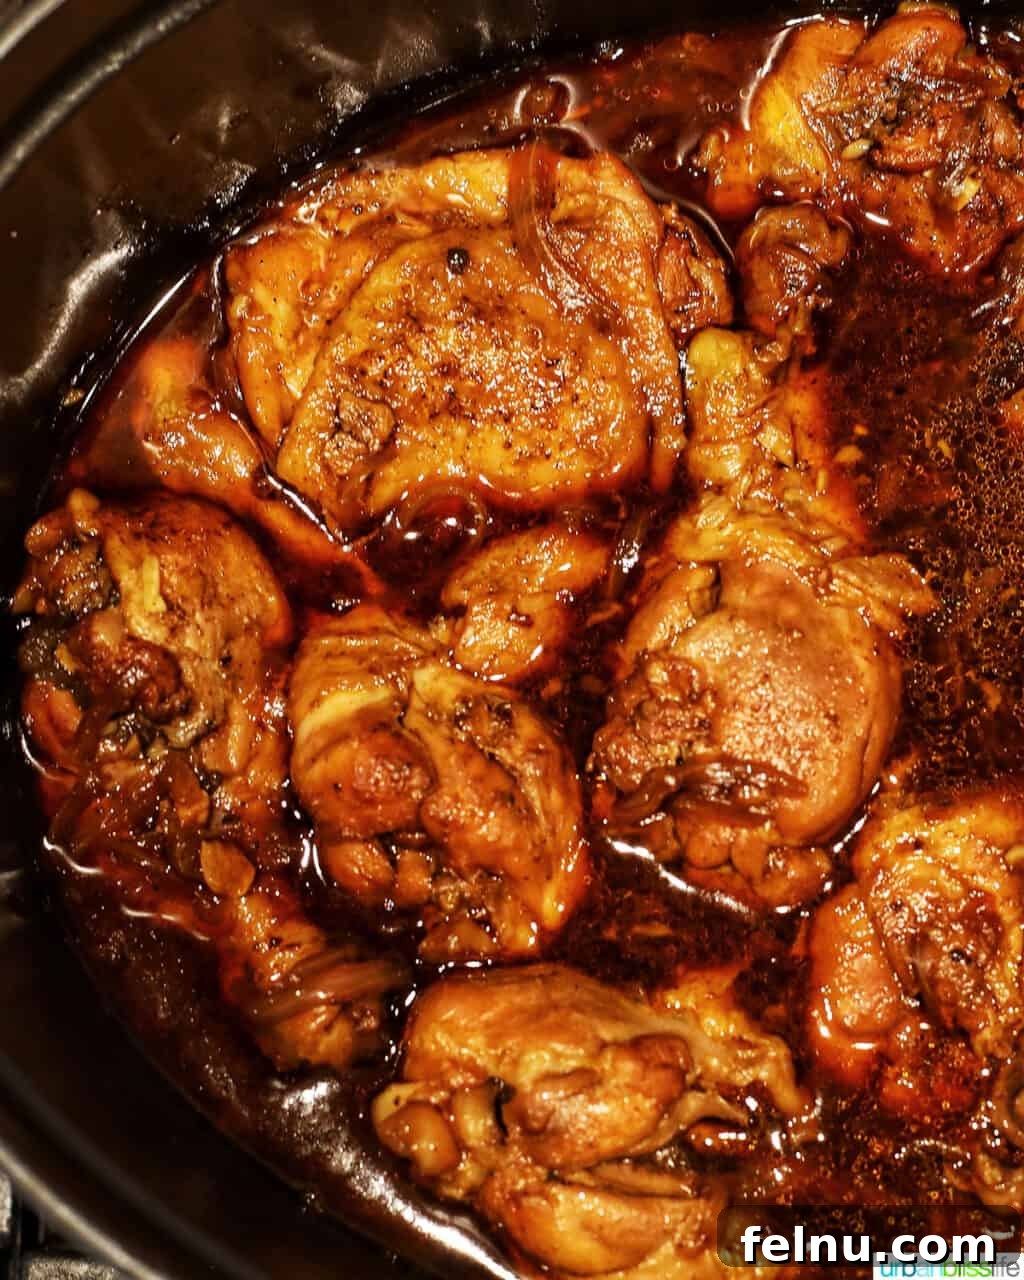
- Classic Rice: The most traditional accompaniment is a generous serving of steaming white rice, which soaks up all the delicious adobo sauce.
- Instant Pot Garlic Rice: For an elevated experience, try my non-fried version of Sinangag, also known as Filipino Garlic Fried Rice. Its aromatic garlic notes perfectly complement the adobo.
- Pancit Noodles: This dish is also incredibly delicious when served alongside pancit, a popular Filipino noodle dish. Explore options like Pancit Canton (stir-fried egg noodles) or Pancit Bihon noodles (thin rice noodles).
- Lumpia (Filipino Egg Rolls): If you’re planning a full Filipino feast, you absolutely cannot forget the lumpia! These crispy, savory Filipino egg rolls are an absolute must-have.
- Leftovers Reinvented: Leftovers are just as fantastic the next day, especially when paired with Filipino Fried Rice for a hearty breakfast or lunch.
Selecting the Perfect Wine Pairing for Adobo
Pairing wine with the complex, bold flavors of Filipino chicken adobo can be a delightful challenge, and you’ll find that wine experts often have diverse recommendations. Personally, I find that the tangy, salty, and subtly sweet vinegar-soy-based sauce harmonizes beautifully with either a light-bodied, youthful red wine or a crisp, vibrant white wine. The key is to choose a wine that can stand up to the acidity and savory depth of the adobo without overpowering it.
- For Red Wine Enthusiasts: Consider pairing this savory chicken dish with a glass of Pinot Noir. Its light body, bright acidity, and earthy notes complement the adobo’s richness without clashing. Other excellent red options include a fruity Gamay or a robust Carignan, both of which offer enough character to balance the dish’s strong flavors.
- For White Wine Lovers: A fantastic choice is a South African Chenin Blanc. The Chenin Blancs from this region tend to exhibit more tropical fruit flavors and a richer texture compared to those from the Loire Valley. Their naturally high acidity provides a refreshing counterpoint to the intensity of the adobo, cleansing the palate with each sip.
Effortless Slow Cooker Chicken Adobo
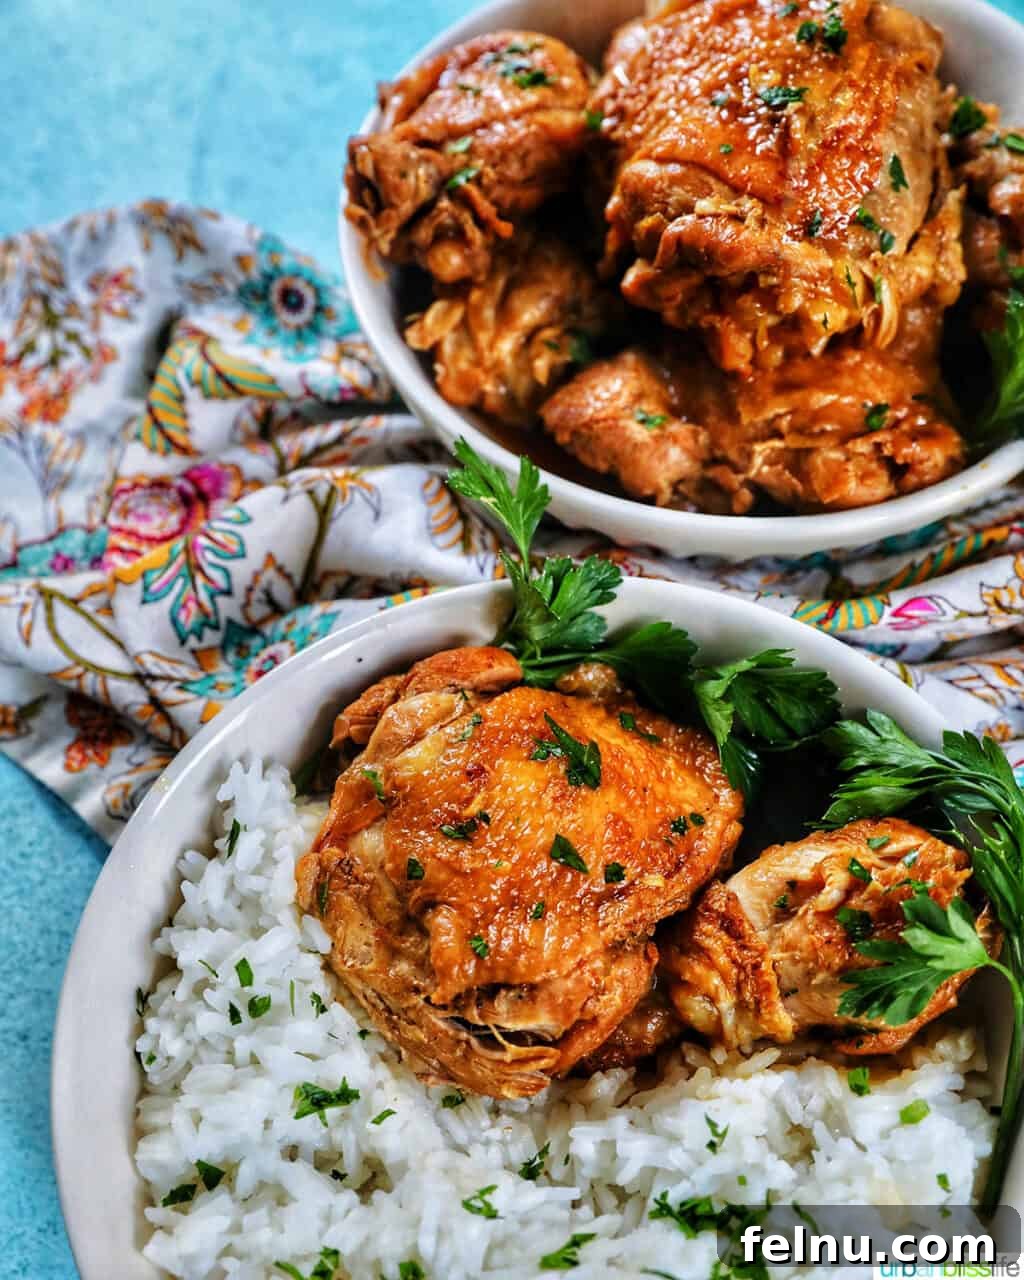
If an electric pressure cooker isn’t available, the slow cooker offers an excellent alternative method to prepare Filipino Chicken Adobo. This approach allows the rich, aromatic adobo flavors and spices to gently infuse throughout the chicken over an extended period. While it requires significantly longer cooking time, the result is consistently juicy and tender chicken. For an extra layer of flavor, you can also opt to sauté and brown the chicken on the stovetop beforehand, though it’s not strictly necessary.
- Season the chicken pieces thoroughly with salt, pepper, and paprika.
- Place the seasoned chicken into your slow cooker. Add the soy sauce, sugar, vinegar, chicken stock or broth, minced garlic, bay leaves, sliced onions, and ½ teaspoon of black pepper. Stir all ingredients gently to combine and ensure the chicken is well coated.
- Cover and cook on high for 2 to 3 hours, or on low for 4 to 6 hours. The adobo is ready when an instant-read thermometer inserted into the thickest part of the chicken registers 165°F (74°C). The longer, slower cooking time truly allows the flavors to meld beautifully.
Traditional Stovetop Chicken Adobo
This is the classic cooking method favored by my mom and grandmothers (Lolas) for preparing this beloved Filipino chicken dish. While it takes longer than using an Instant Pot or Ninja Foodi, the stovetop method yields an exceptionally rich and flavorful Filipino Chicken Adobo, allowing the sauce to slowly reduce and cling to the chicken, intensifying every bite.
- Season the chicken pieces with salt, pepper, and paprika. Heat the olive oil in a large Dutch oven or a heavy-bottomed stockpot over medium-high heat. Carefully add the chicken pieces in batches if necessary, and sauté until deeply browned on all sides. This browning step is crucial for developing robust flavor.
- Once all chicken pieces are evenly browned, return them to the pot if you cooked in batches. Then, add the soy sauce, sugar, vinegar, chicken stock or broth, minced garlic, bay leaves, sliced onions, and ½ teaspoon of black pepper. Stir all the ingredients together to combine.
- Bring the mixture to a low boil, then reduce the heat to low-medium. Cover the pot and allow the chicken adobo to simmer gently in the Dutch oven for 2 to 3 hours, or until the chicken is fork-tender and the sauce has thickened to your liking. The adobo is done when an instant-read thermometer inserted into the thickest part of the chicken reads 165°F (74°C). Serve hot with rice.
Frequently Asked Questions About Filipino Chicken Adobo
Can I use frozen chicken thighs?
Yes, you absolutely can use frozen chicken thighs in your Instant Pot or Ninja Foodi! Simply skip the initial browning step. You’ll need to adjust the pressure cooking time accordingly. A good rule of thumb for frozen thighs is to cook them on high pressure for 20 minutes for boneless, and 25 minutes for bone-in. Always confirm the chicken is fully cooked to an internal temperature of 165°F (74°C) using a meat thermometer.
Can I use chicken breasts?
While you can use chicken breasts, this dish truly shines when prepared with chicken drumsticks and thighs. These cuts offer more fat and connective tissue, which break down during cooking to create a more succulent and flavorful result. Chicken breasts can dry out more easily.
What’s the best way to store leftovers?
Allow the chicken adobo to cool completely at room temperature. Then, transfer the leftovers to an airtight, food-safe container and store it in the refrigerator for up to four days. Adobo often tastes even better the next day as the flavors continue to meld!
How do I make adobo less saucy or thicker?
The thickness of your adobo sauce is a matter of personal preference. After the pressure cooking is complete, you can use the “Sauté” mode to reduce the sauce. The longer you allow it to boil on Sauté mode, stirring constantly to prevent sticking, the thicker your sauce will become. If you prefer more sauce, serve it soon after the pressure cooking is done. For a significantly thicker, reduced sauce or glaze, let it simmer on Sauté mode for up to 10 minutes, stirring frequently until it reaches your desired consistency.
This Instant Pot Filipino Chicken Adobo recipe truly brings back a flood of happy childhood memories for me, and I now cherish cooking it for my own family. I sincerely hope it brings as much joy and deliciousness to your table as it does to ours!
Discover More Authentic Filipino Recipes
If you’ve enjoyed this taste of the Philippines and are eager to explore more Filipino cuisine, you’re in luck! Our blog features dozens more mouthwatering traditional Filipino recipes waiting to be discovered. Here are some of our newest and most popular Filipino dishes:
Did you make this recipe? Don’t forget to leave a 5-Star 🌟🌟🌟🌟🌟 rating in the recipe card below, and if you truly loved it, please leave a comment further down on the page. Thank you!
Instant Pot Filipino Chicken Adobo

Equipment
- Instant Pot, Ninja Foodi, or other electric pressure cooker
Ingredients
- 8-10 pieces chicken (mix of drumsticks and thighs)
- 1 teaspoon kosher salt
- ½ teaspoon ground black pepper
- ½ tablespoon ground paprika
- 2 tablespoons extra-virgin olive oil
- ¾ cup chicken stock or broth
- ¾ cup soy sauce
- ¼ cup granulated sugar
- ½ cup cane vinegar, or white distilled vinegar
- 4-5 cloves garlic, minced
- 1 medium yellow onion, sliced
- 1 bay leaf
- 2 scallions, sliced thinly (for garnish)
Instructions
Instant Pot / Pressure Cooker Method
- Season the chicken pieces evenly on both sides with salt, pepper, and paprika. Adjust seasoning to your preference for all chicken pieces.
- Turn the Instant Pot to SAUTE on HI. Add olive oil and allow it to heat for about one minute. Working in batches if necessary (depending on chicken piece thickness and pot size), add chicken to the Instant Pot and sauté until well browned on both sides. This usually takes about 6-8 minutes.
- Once all chicken pieces are evenly browned, transfer them to a plate and set aside. Pour in the chicken stock and deglaze the bottom of the pot, scraping up any brown bits stuck to the surface to prevent a burn notice.
- Add the soy sauce, sugar, vinegar, garlic, onions, and bay leaf to the pot. Stir the ingredients together. Return the browned chicken to the pot, arranging them in a single layer as much as possible. It’s acceptable if a few pieces overlap slightly.
- Properly secure the pressure cooker lid, ensuring the pressure release valve is set to SEAL. Select PRESSURE COOK (or MANUAL, depending on your model) on HI for 9 minutes. The unit will take a few minutes to build pressure before the countdown begins. Once pressure cooking is complete, carefully use tongs or a thick kitchen towel to turn the valve to QUICK RELEASE. After the float valve is completely down and all steam has escaped (this typically takes 2-3 minutes, but times may vary), carefully unlock and open the lid.
- Press the SAUTE setting and bring the remaining sauce to a boil. Allow it to reduce until it reaches a rich, dark brown color and your preferred thickness, usually 5 to 8 minutes. Stir regularly to prevent sticking.
- Once the sauce is reduced to your liking, remove the bay leaf and press CANCEL or START/STOP to deactivate sauté mode. The adobo is fully cooked when an instant-read thermometer inserted into the chicken reads 165°F (74°C). Transfer the chicken to a serving plate and garnish with thinly sliced scallions. Serve immediately.
Slow Cooker Method
- Season the chicken with salt, pepper, and paprika.
- Place the seasoned chicken in the slow cooker along with soy sauce, sugar, vinegar, chicken stock or broth, garlic, bay leaves, onions, and ½ teaspoon of black pepper. Stir all ingredients together gently.
- Cook on high for 2 to 3 hours or on low for 4 to 6 hours. The adobo is done when an instant-read thermometer inserted into the chicken reads 165°F (74°C).
Stovetop Method (Traditional)
- Season the chicken with salt, pepper, and paprika. Heat a large stockpot or Dutch oven with the olive oil over medium-high heat. Sauté and brown the chicken on all sides.
- Once all chicken pieces are evenly browned, add the soy sauce, sugar, vinegar, chicken stock or broth, garlic, bay leaves, onions, and ½ teaspoon of black pepper. Stir all ingredients together. Bring the mixture to a low boil, then reduce the heat to low-medium. Allow the chicken adobo to cook, covered, in the Dutch oven for 2 to 3 hours, or until the chicken is tender and the sauce has reduced. The adobo is done when an instant-read thermometer inserted into the chicken reads 165°F (74°C).
Notes
I typically make this recipe in my Ninja Foodi 8-quart XL Deluxe 9-in-1 or my 8-quart Instant Pot Duo, but it can also be successfully prepared in a 6-quart pressure cooker. Please do not attempt this recipe in a 3-quart pressure cooker due to volume limitations. If using a 6-quart pressure cooker, you may need to sauté the chicken in two batches to ensure a single layer for proper browning, but you should be able to pressure cook all pieces together. It’s fine if the chicken pieces overlap slightly during the pressure cooking phase.
Chicken Selection: For the best results, I use a mix of 8 to 10 pieces of chicken drumsticks and thighs (both bone-in, skin-on for maximum flavor, and boneless, skinless for convenience). Depending on the size of your pressure cooker, you might need to brown the chicken in two separate batches. However, for the actual pressure cooking, all chicken should fit snugly in the bottom of the pot, even if some pieces overlap slightly.
Flavor Variations: Filipino Chicken Adobo has countless family recipes! Some versions include whole peppercorns instead of ground black pepper. Feel free to use peppercorns if that’s your preference for a more traditional or rustic touch.
Sauce Consistency: How saucy you prefer your adobo is entirely a personal choice, and there’s no right or wrong answer. After pressure cooking, you can reduce the sauce on Sauté mode. I like my adobo to have a decent amount of sauce without being overly watery, so I usually let it boil for about 5 to 8 minutes, stirring regularly, until it reaches a consistency that coats the chicken beautifully.
Storage Tips: Allow the chicken adobo to cool completely to room temperature before storing. Transfer it to an airtight container and refrigerate for up to four days. For longer storage, it can be frozen for up to two months. Thaw in the refrigerator overnight before reheating gently on the stovetop or in the microwave.
Nutrition
Calories: 122 kcal, Carbohydrates: 14g, Protein: 5g, Fat: 5g, Saturated Fat: 1g, Polyunsaturated Fat: 1g, Monounsaturated Fat: 4g, Trans Fat: 1g, Cholesterol: 2mg, Sodium: 1054mg, Potassium: 158mg, Fiber: 1g, Sugar: 10g, Vitamin A: 332IU, Vitamin C: 3mg, Calcium: 21mg, Iron: 1mg
Nutrition information is automatically calculated and should only be used as an approximation.
Please leave a star rating and comment below! Then snap a pic of your dish and share it on social media. Tag @UrbanBlissLife and #UrbanBlissLife!
This post was originally published on March 12, 2018. It was updated with additional cooking methods and helpful information, and republished on December 4, 2022.