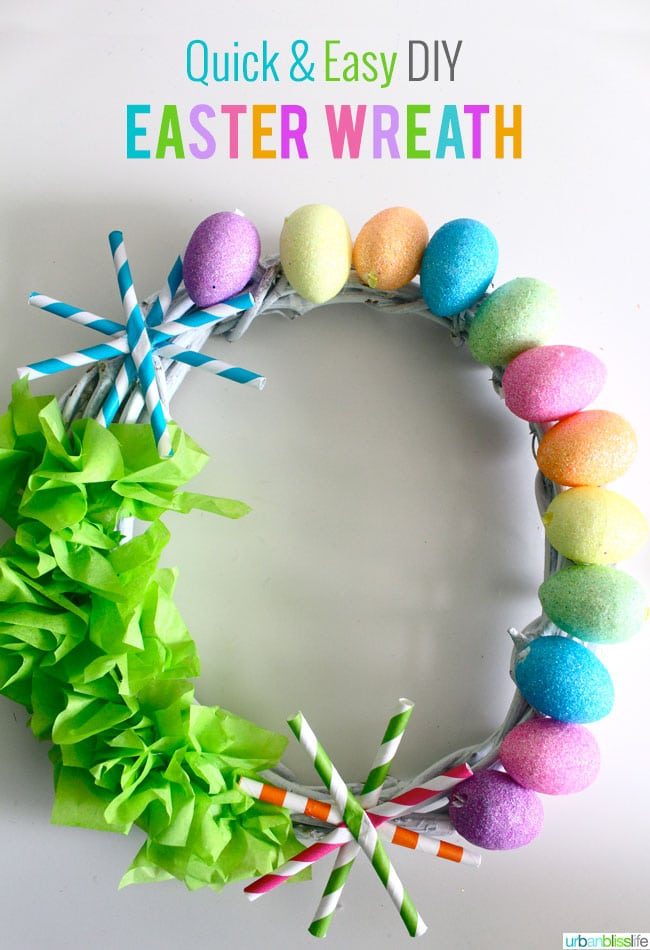
If you're like me, and you can't spare a lot of time and money on Easter crafts, here's a super quick and simple DIY Easter Wreath tutorial.
It's hard for me to believe that Easter is already coming up (and soon!) this Sunday. Do you already have Easter plans? Have you already filled Easter baskets and crafted up a storm?
This tutorial requires simply a few materials that you either already have on hand or can get easily at your local Target or craft store. The entire wreath, from start to finish, only took me about 20 minutes to make. Most of that time was taken up by gluing! And, the best part, is that it doesn't require any special skills whatsoever. ANYBODY can do this craft, truly!
[feast_advanced_jump_to]Simple DIY Easter wreath
Supplies:
– glue gun
– round branch wreath
– tissue paper
– paper straws
– mini eggs
We purchased the wreath you see here at Target for $3 in the One Spot, and We found the "glitter egg ornaments" in packages of 6 for $1 each, also in the dollar bins at Target. You can also purchase the tissue paper, striped straws, and glue gun and extra glue sticks at Target, or you can find them all at your local craft store.
Glitter Easter eggs
The first thing We did was to cut off the hanging string from each egg, since they are sold as ornaments, meant to be hung on decorative displays. We then used a glue gun to glue each egg onto the wreath.
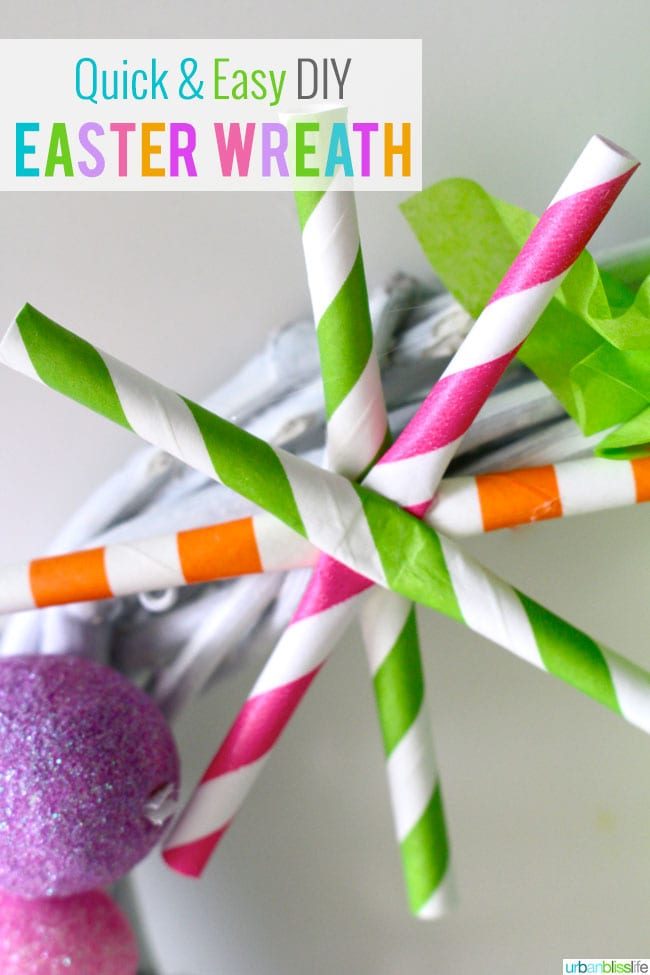
Striped pinwheels
Next, We cut three striped paper straws in half, and layered them on top of each other. We glued the center of each together, pressing firmly in the center to make sure there was a strong bond, fanning them out to create this asterisk-like pattern.
Tissue paper ruffles
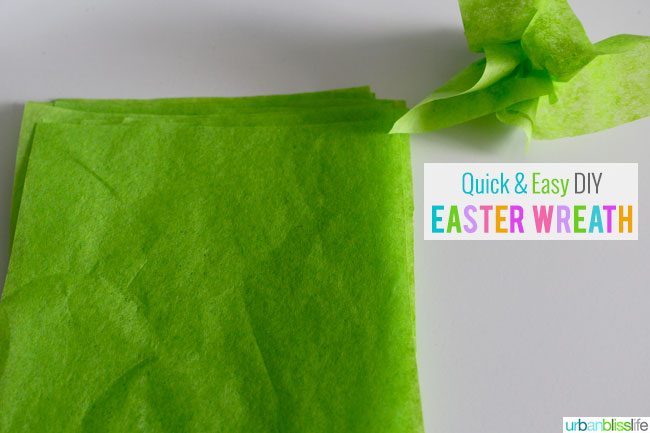
Finally, We cut four long strands of green tissue paper into 3″ x 3″ squares.
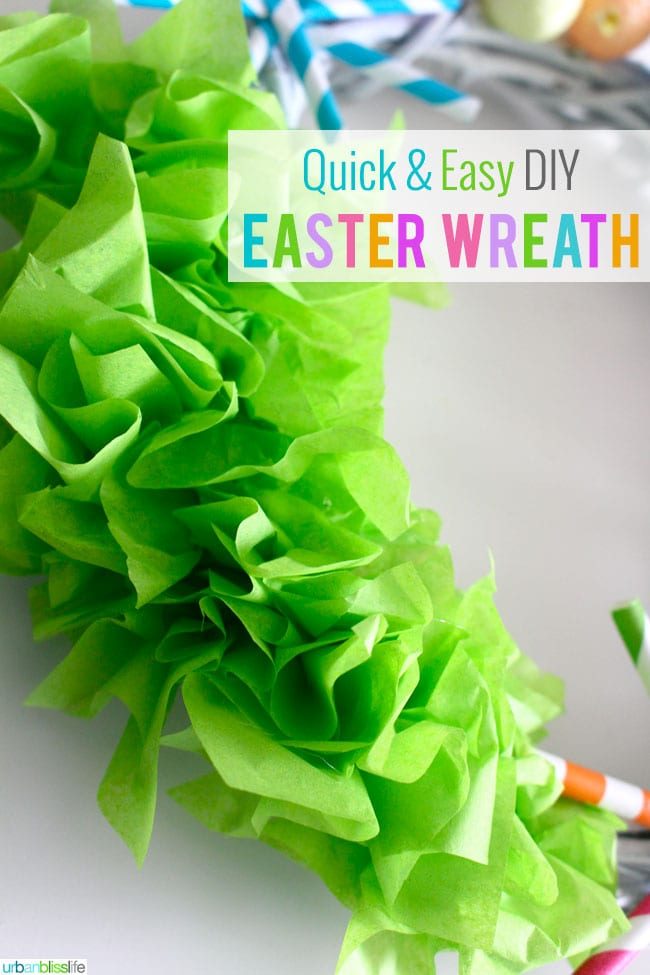
Then, using the thumb and pointer finger, pinched the center of each square together while loosely crinkling and then fanning out the corners, to create a ruffle flower appearance.
We used the glue gun to glue down the center of each tissue paper to the wreath, placing each one simply next to each other so that you would not see any gaps in between.
That's all it takes!
Decoration ideas
The finished product can be used as Easter decor in so many different ways:
- Hang on your front door as an Easter Door Wreath
- Hang on an interior wall as East decor
- Place flat on your dining table and place candles and/or other fresh flowers in the center to create a vibrant Easter centerpiece
- Hang it around your family's Easter photo on a wall as a beautiful and fun picture frame.