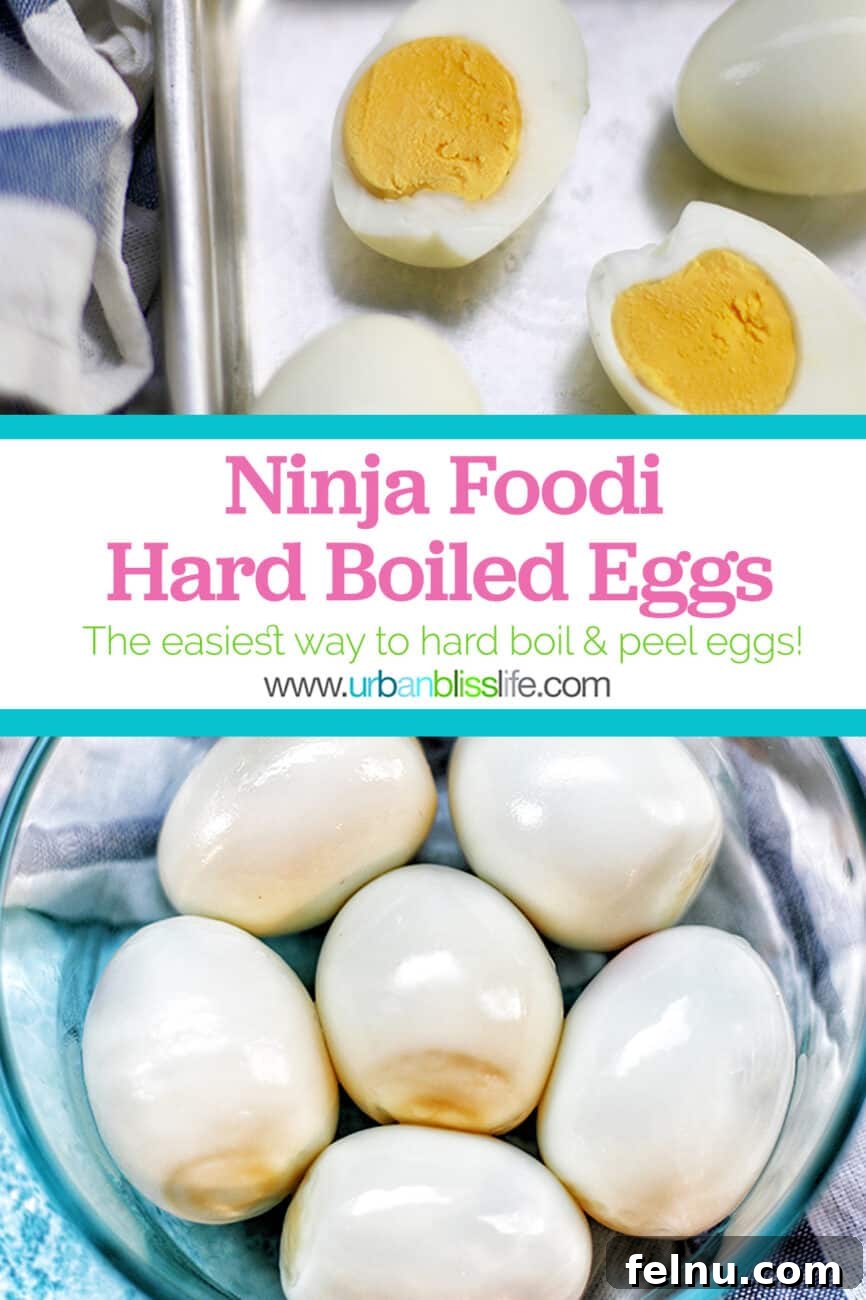
Mastering Perfect Hard-Boiled Eggs in Your Ninja Foodi or Instant Pot
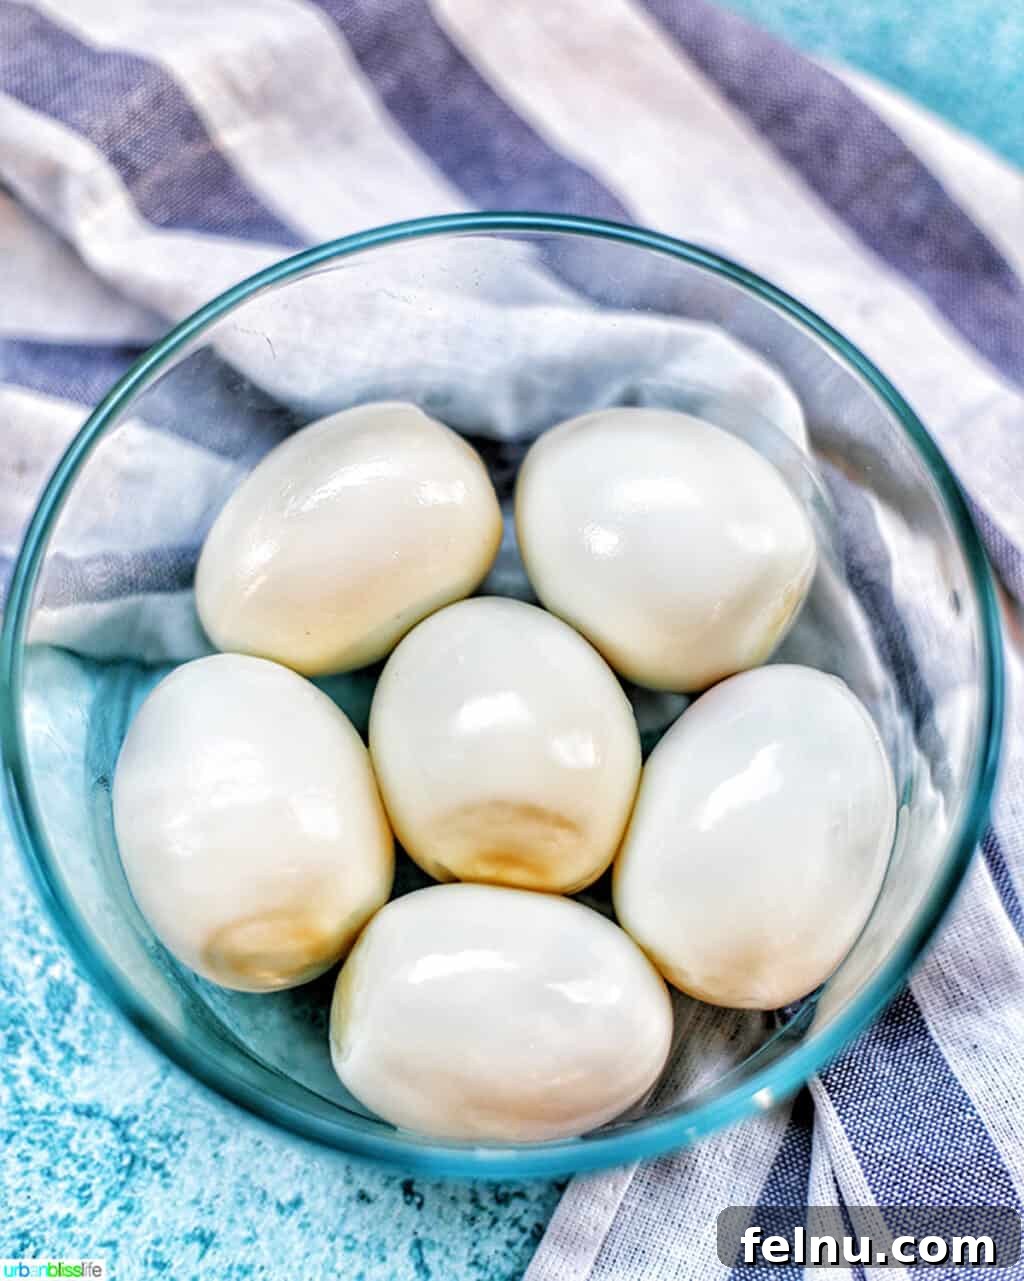
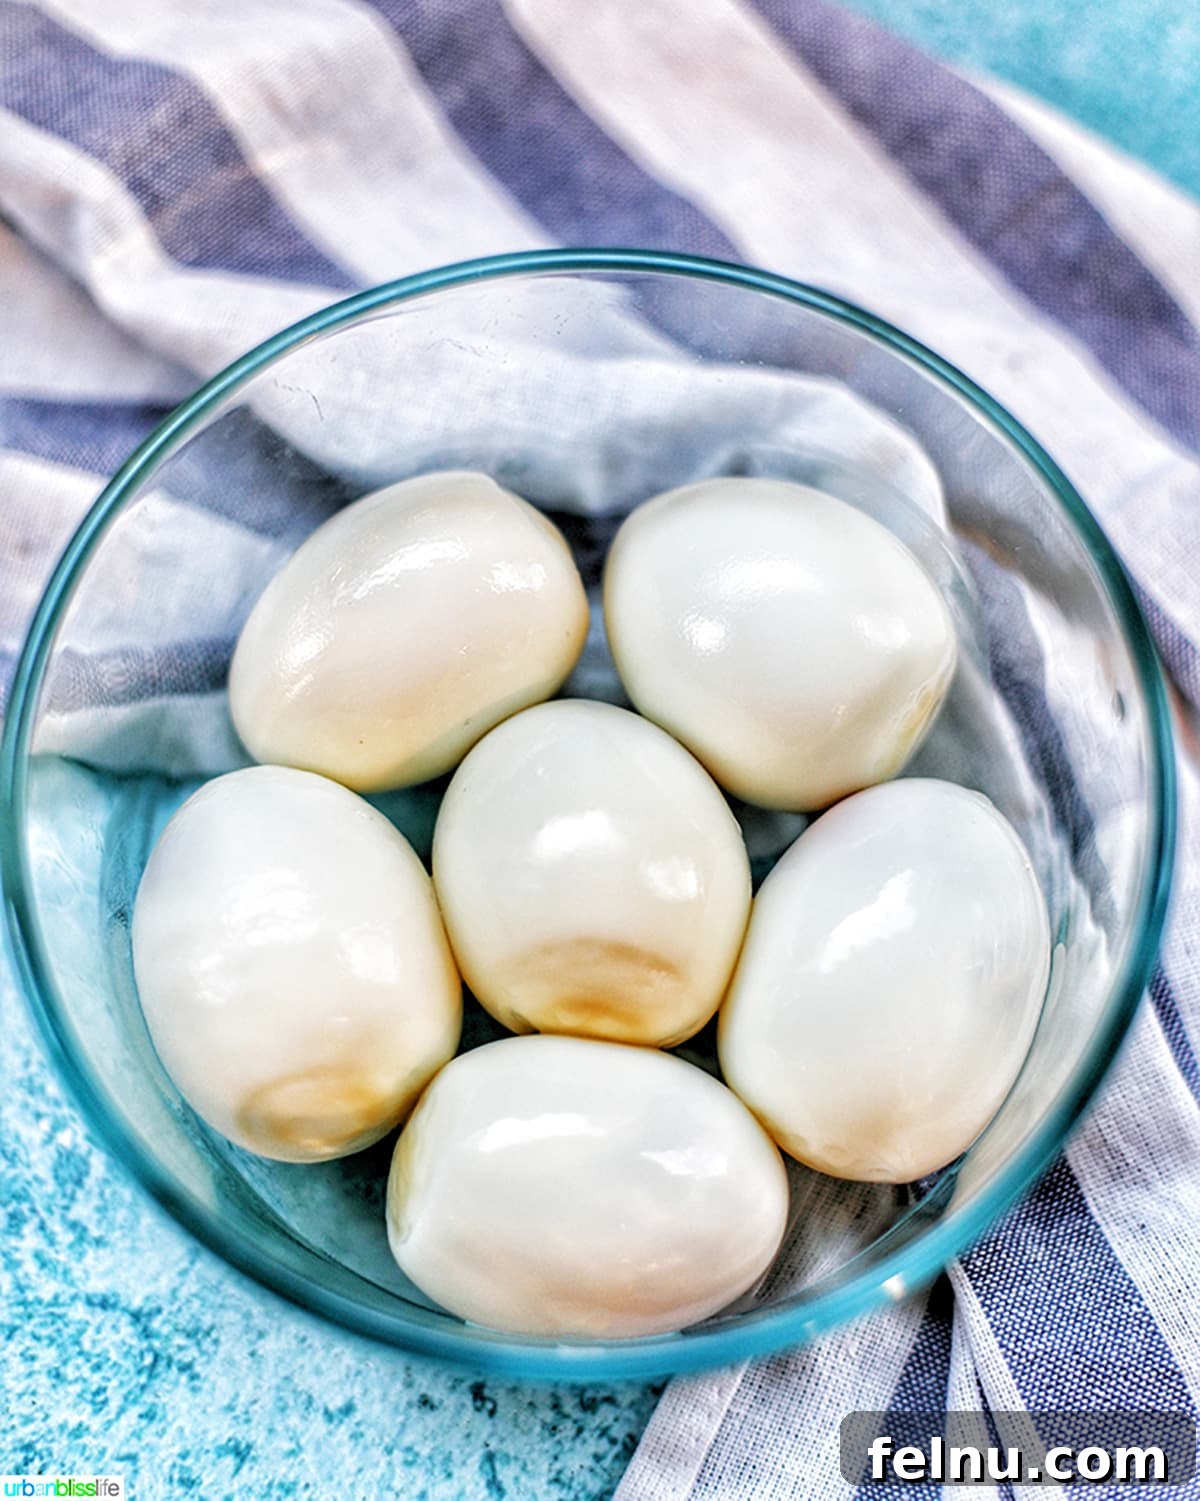
Are you searching for the secret to consistently perfect, easy-to-peel hard-boiled eggs? Look no further than your kitchen’s most versatile appliance: the Ninja Foodi or Instant Pot. Forget the guesswork and frustration of stovetop methods. With the revolutionary 5-5-5 method, you’ll unlock a simple technique that guarantees flawless results every time, making hard-boiled eggs a breeze to prepare and even easier to peel.
This method isn’t just about convenience; it’s about achieving culinary excellence for a kitchen staple. Whether you’re a seasoned pressure cooker enthusiast or new to the world of multi-cookers, the 5-5-5 technique will transform your egg-cooking experience. Not only does it yield beautifully firm yet creamy yolks, but it also virtually eliminates the struggle of sticky shells. Once you master this core method, you’ll discover how easily you can adapt the timings to create everything from perfectly soft-boiled to delightfully jammy eggs, expanding your breakfast and snack repertoire.
Table of Contents
- The Magic of Pressure Cooked Eggs
- Decoding the 5-5-5 Method for Hard-Boiled Eggs
- Step-by-Step: How to Make Perfect Ninja Foodi Hard-Boiled Eggs
- Customizing Your Eggs: Soft-Boiled and Jammy Variations
- Ninja Foodi Hard Boiled Eggs: Frequently Asked Questions
- Delicious Recipes Using Hard-Boiled Eggs
- Explore More Spring-Inspired Recipes
- Expand Your Repertoire with More Ninja Foodi Recipes
- Discover The Ninja Foodi Pressure Cooker Meal Prep Cookbook
- Printable Recipe Card: Pressure Cooker Hard-Boiled Eggs
- Pin This Recipe for Later
The Magic of Pressure Cooked Eggs
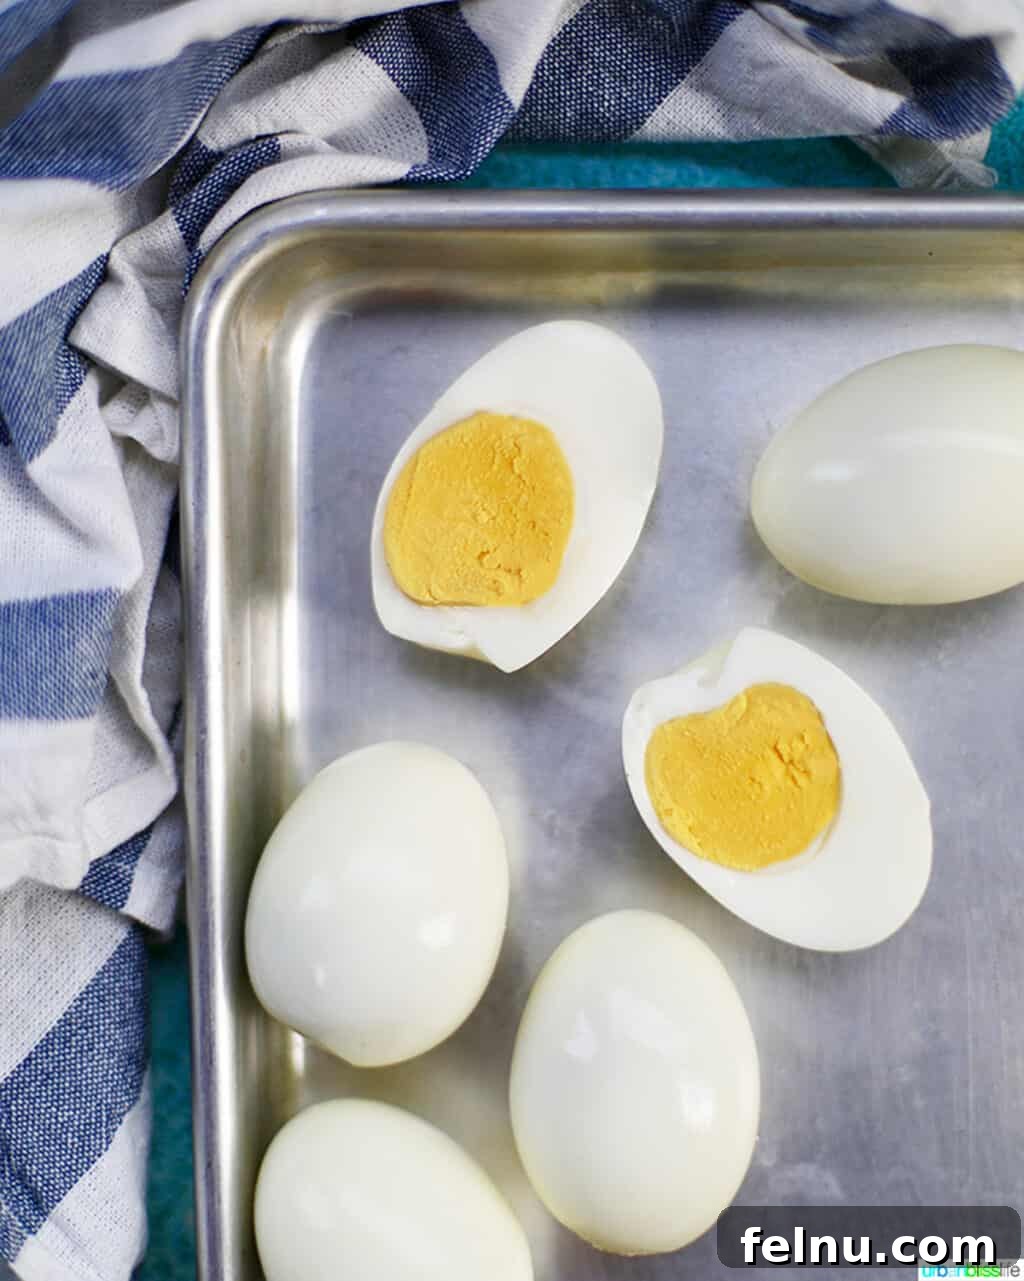
If you’re already an owner of an Instant Pot or Ninja Foodi, you’ve likely heard whispers of the “5-5-5 Method” for hard-boiled eggs. This technique has garnered a devoted following for good reason. Pressure cooking eggs offers several distinct advantages over traditional boiling methods, making it a superior choice for busy kitchens and perfection seekers alike. First, the consistent high-pressure environment cooks eggs evenly and gently, preventing cracks and ensuring a uniformly cooked yolk. Second, and perhaps most celebrated, is the incredible ease of peeling. The pressure cooking process subtly alters the egg’s membrane, causing it to separate effortlessly from the shell, eliminating frustrating bits of egg white clinging to stubborn shells.
Beyond the flawless peel, pressure cooking also helps avoid the dreaded green ring around the yolk – a tell-tale sign of overcooked eggs. The precise timing of the 5-5-5 method, combined with the ice bath, stops the cooking process at the optimal moment, resulting in vibrant, creamy yolks every single time. It’s a hands-off approach that yields reliable, restaurant-quality results, freeing you to focus on other tasks while your multi-cooker does all the work. If you’re new to the world of pressure cooking, preparing hard-boiled eggs is an excellent entry point, demonstrating the incredible efficiency and convenience these appliances bring to your culinary routine.
Decoding the 5-5-5 Method for Hard-Boiled Eggs
The “5-5-5 Method” is ingeniously simple yet incredibly effective. Each “5” in this formula represents a crucial stage in creating perfectly cooked and easily peelable hard-boiled eggs:
- FIVE minutes of pressure cooking: This is the active cooking phase. Under high pressure, the eggs cook thoroughly and consistently without boiling vigorously, which can lead to cracks. This precise duration ensures the whites are firm and the yolks are set, yet still creamy, avoiding any rubbery texture.
- FIVE minutes of natural release: Once the cooking cycle is complete, resist the urge to immediately release the pressure. Allowing the pressure to naturally release for five minutes provides a gentle continuation of cooking. This residual heat helps prevent the yolks from turning green and further aids in the easy separation of the egg from its shell. It’s a critical step for both texture and peelability.
- FIVE minutes in an ice bath: This final step is paramount. Immediately transferring the hot eggs to an ice bath serves multiple vital purposes. Firstly, it rapidly halts the cooking process, preventing overcooking and preserving that beautiful, non-green yolk. Secondly, the sudden temperature change causes the egg to contract, further separating it from the shell membrane, which is the primary reason for those delightfully easy-to-peel results. Lastly, it cools the eggs quickly, making them safe to handle and ready for immediate peeling or storage.
This synchronized three-step process is the key to achieving hard-boiled eggs that are a joy to eat and a breeze to prepare. It’s truly a game-changer for anyone who frequently makes hard-boiled eggs.
Step-by-Step: How to Make Perfect Ninja Foodi Hard-Boiled Eggs
Achieving consistently perfect hard-boiled eggs with minimal effort is entirely possible with your Ninja Foodi or Instant Pot. Here’s a detailed, fool-proof guide to follow the 5-5-5 method, ensuring exceptional results every time:
-

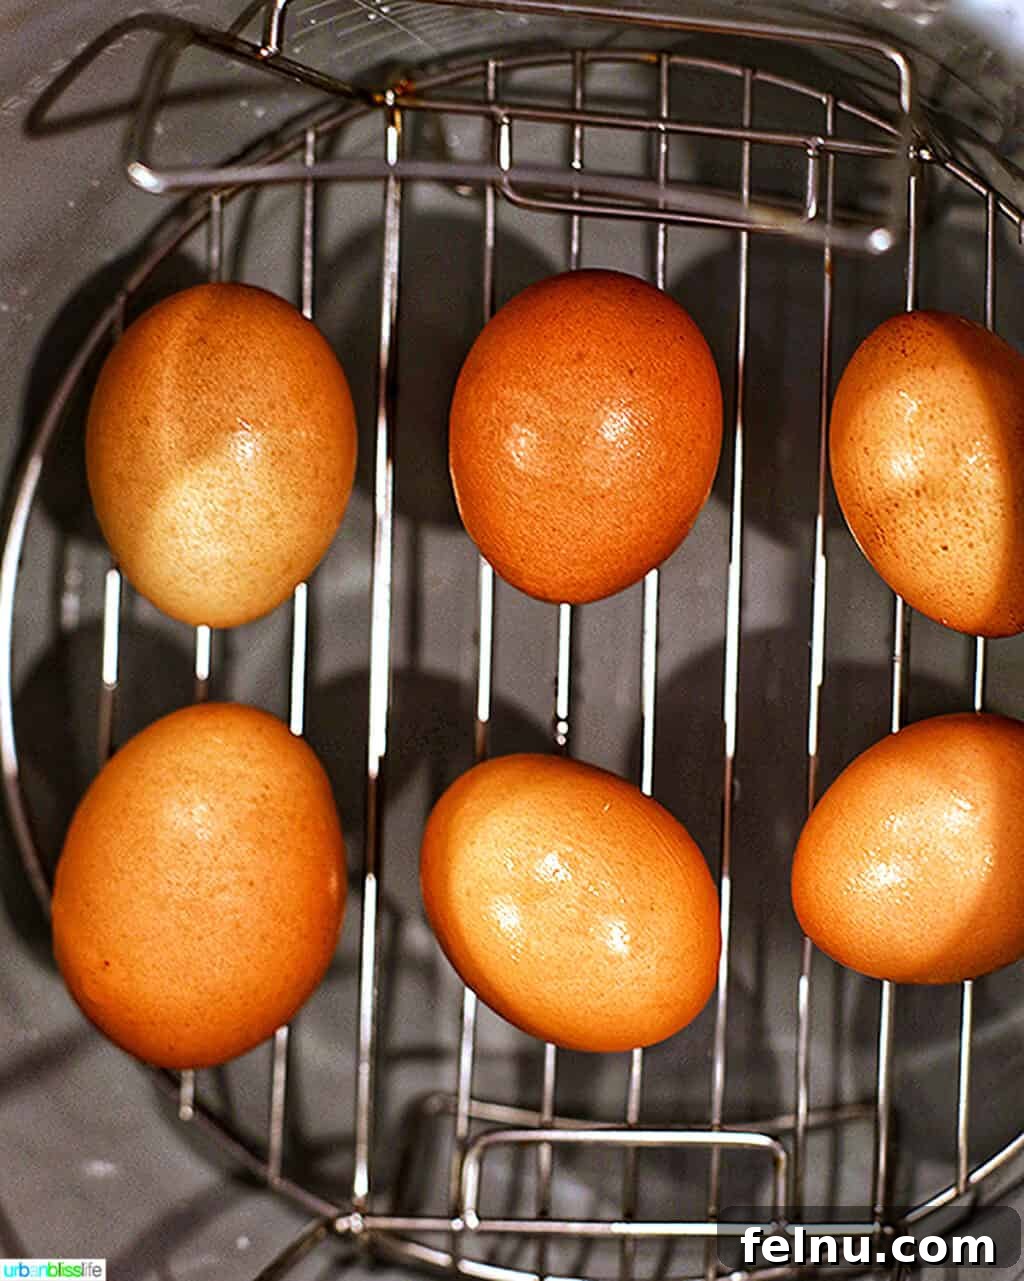
Carefully place eggs on the rack in the Ninja Foodi or Instant Pot. -
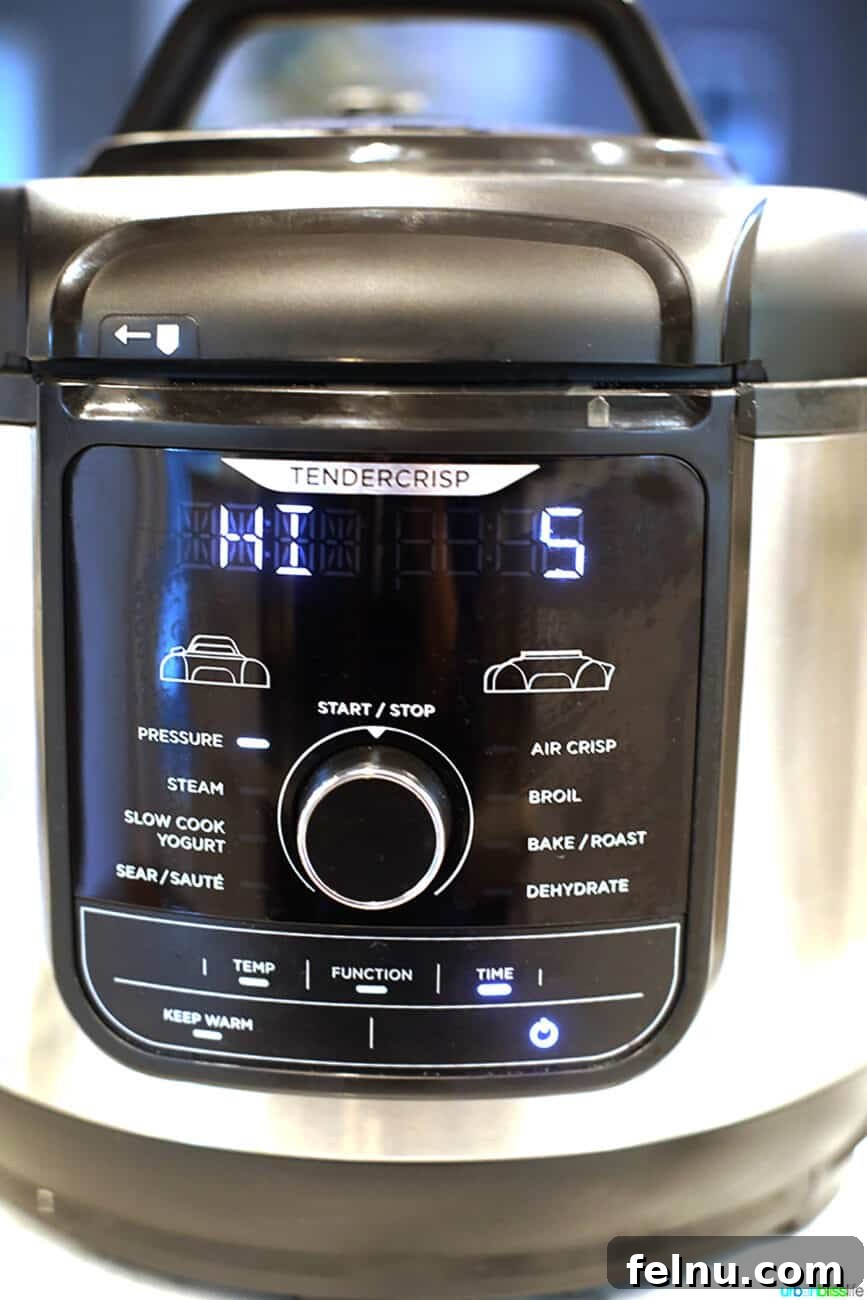
Set to Pressure Cook HI for 5 minutes, then allow 5 minutes natural release.
- Prepare Your Multi-Cooker: Begin by placing the trivet or steamer rack that came with your Ninja Foodi or Instant Pot into the inner pot. Pour exactly one cup of water into the pot. This water creates the steam necessary for the pressure cooking process.
- Arrange the Eggs: Carefully place your eggs (as many as you need, up to a dozen or more, ensuring they don’t touch the water or overcrowd the pot) onto the rack. Try to give them a little space for even cooking. For best results and to minimize cracking, use eggs that are at room temperature or at least not ice-cold straight from the refrigerator.
- Seal and Set: Secure the pressure lid onto your Ninja Foodi or Instant Pot, twisting it until it’s properly sealed. Double-check that the pressure release valve is set to the “Seal” position. This is crucial for building and maintaining pressure.
- Start Pressure Cooking: Select the “Pressure Cook” function (or “Manual” on some Instant Pot models). Set the pressure level to “HI” (high pressure) and the cooking time to 5 minutes. Press “Start/Stop” to begin the cooking cycle. The appliance will take some time to come to pressure before the countdown begins. For a Ninja Foodi 6.5-quart, this typically takes about 7 minutes. For a larger Ninja Foodi 8-quart, expect around 10 minutes for it to reach full pressure.
- Natural Release Phase: Once the 5-minute pressure cooking cycle is complete, your multi-cooker will beep and switch to “Keep Warm” mode. At this point, do NOT release the pressure immediately. Allow the appliance to perform a natural pressure release for precisely 5 minutes. This gentle release helps to finish cooking the eggs perfectly and significantly contributes to easy peeling.
- Prepare the Ice Bath: While the natural release is underway, quickly prepare an ice bath. Fill a large bowl with an equal mixture of ice cubes and cold water. Set this aside, ready for the hot eggs.
-
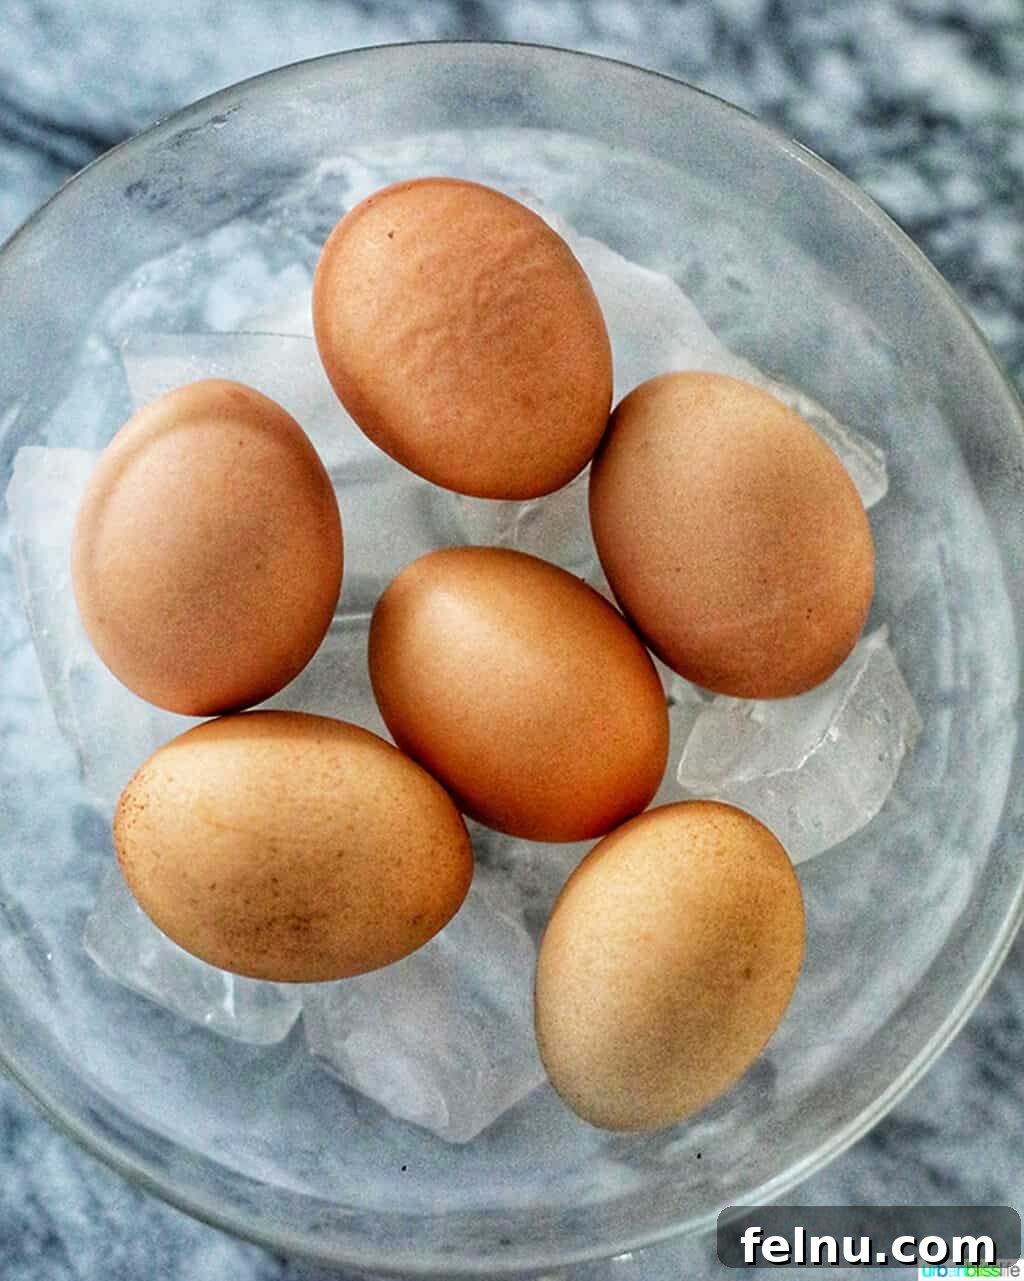
Immediately transfer hot eggs into the ice bath. -
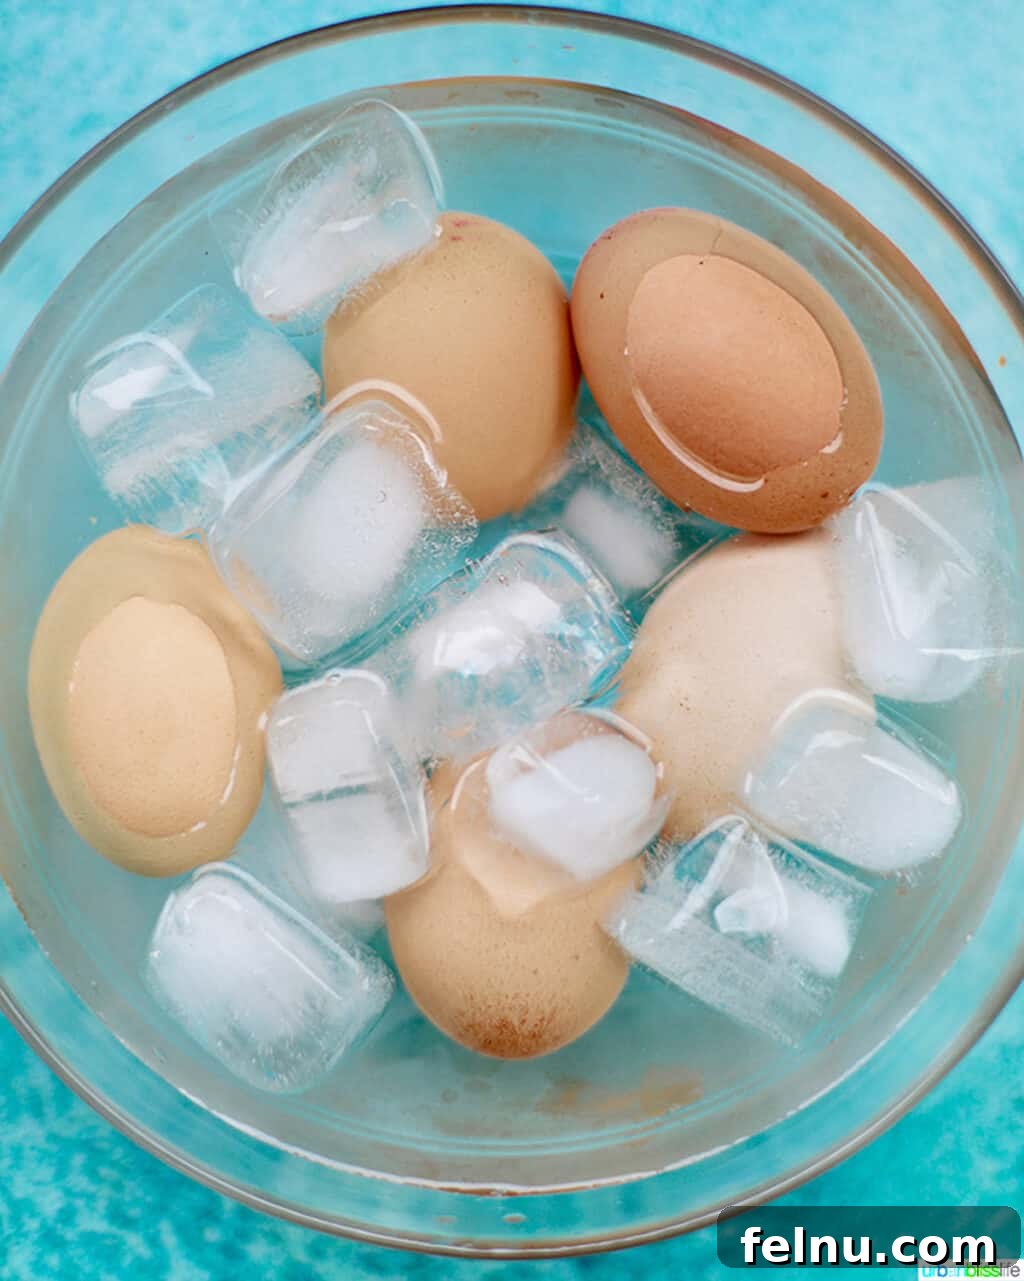
Allow eggs to sit in the ice bath for 5 minutes. -
Peel immediately after the ice bath, then enjoy or store.
- Quick Release and Transfer: After the 5 minutes of natural release, carefully switch the pressure release valve to the “Vent” position for a quick release of any remaining pressure. Once all pressure has fully vented and the float valve has dropped completely, it is safe to carefully twist and open the lid. Use oven mitts to safely lift the rack with the eggs out of the hot pot, or use tongs to transfer the eggs one by one.
- Ice Bath Immersion: Immediately and gently place the hot eggs into the prepared ice bath. Let them sit and cool in the ice bath for a full 5 minutes. This rapid cooling is essential for stopping the cooking process and for achieving that famously easy peel.
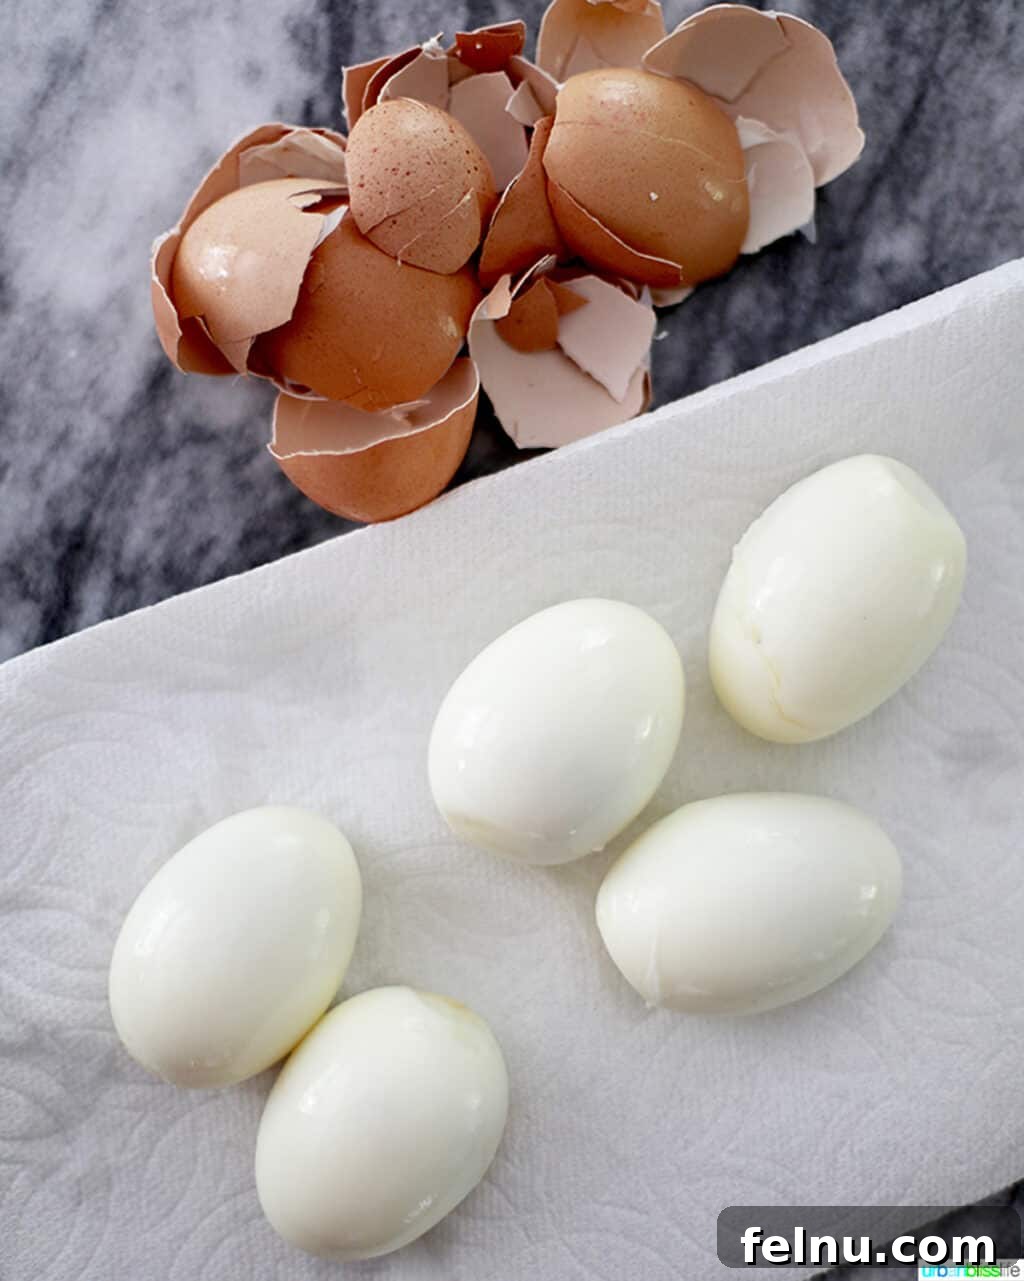
- Peel and Enjoy: Once the 5 minutes in the ice bath are up, your eggs are ready to be peeled! You’ll be amazed at how effortlessly the shells come off. Enjoy them warm, or store them for later use.
Customizing Your Eggs: Soft-Boiled and Jammy Variations
While the 5-5-5 method is perfect for hard-boiled eggs, the beauty of pressure cooking is its adaptability. You can easily adjust the cooking time to achieve different yolk consistencies, from runny soft-boiled to perfectly set yet gooey jammy eggs. The key is to experiment slightly with the initial pressure cooking time, while generally keeping the natural release and ice bath times consistent.
- For Soft-Boiled Eggs (runny yolk): Reduce the initial pressure cooking time to 3 minutes (instead of 5). Keep the natural release at 5 minutes and the ice bath at 5 minutes. This shorter cooking time will result in whites that are set but yolks that are wonderfully warm and runny, ideal for dipping toast or drizzling over salads.
- For Jammy Eggs (creamy, slightly gooey yolk): For that coveted jammy consistency – a yolk that is creamy and soft, but not runny – try a pressure cooking time of 4 minutes. Again, maintain the 5 minutes of natural release and 5 minutes in the ice bath. This variation is perfect for ramen bowls, avocado toast, or as a delightful addition to grain bowls.
Remember that factors like egg size (large vs. extra-large) and your specific multi-cooker model can subtly affect results, so don’t hesitate to fine-tune these timings by a minute or so to discover your personal preference. The 5-5-5 method provides an excellent baseline, and with a little adjustment, you can master any egg consistency you desire.
Ninja Foodi Hard Boiled Eggs: Frequently Asked Questions
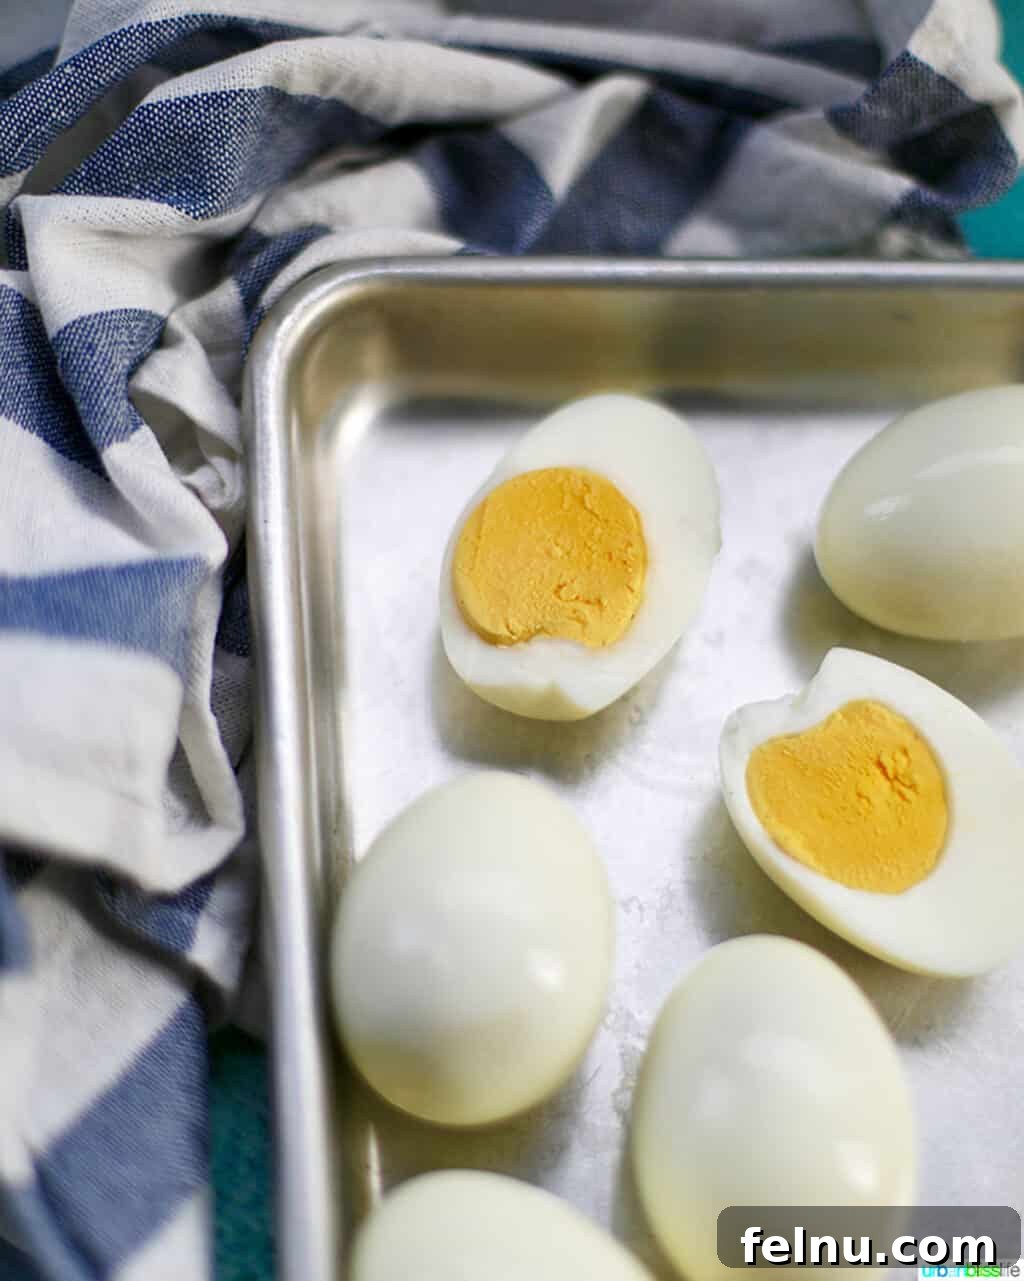
Placing hard-boiled eggs immediately into an ice bath serves three critical functions. Firstly, it rapidly stops the cooking process, ensuring your eggs don’t become overcooked and preventing the unpleasant green ring around the yolk. Secondly, the sudden temperature shock helps separate the cooked egg from its inner membrane and shell, making them incredibly easy to peel. Thirdly, it cools the eggs quickly, making them safe to handle and ready for immediate consumption or storage.
You can cook a surprising number of eggs simultaneously! The pressure cooking method is very efficient regardless of quantity. I’ve successfully cooked anywhere from three to twelve eggs at a time using the exact same 5-5-5 method without any issues. The only limiting factor is how many eggs fit comfortably on your trivet without touching the water or excessively crowding the pot.
No, in my extensive experience, the cooking times (5 minutes pressure cook, 5 minutes natural release, 5 minutes ice bath) remain consistent regardless of the number of eggs you are cooking. The pressure environment ensures even cooking for all eggs within the pot.
Typically, one cup of water is sufficient for most batches of eggs. I’ve successfully cooked up to a dozen eggs with just one cup of water. If you’re cooking a very large batch, say 12 to 18 eggs, you might consider adding an extra half cup of water (totaling 1.5 cups) to ensure enough steam is generated throughout the cooking process.
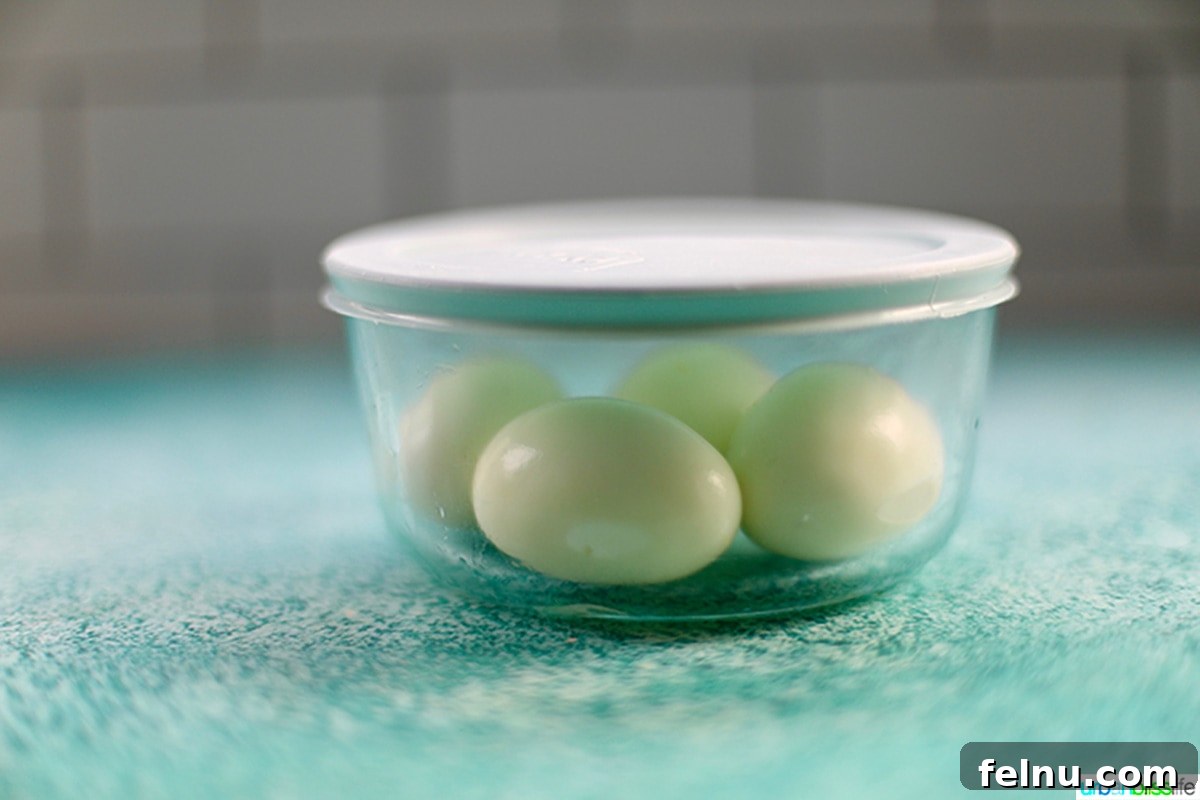
After your hard-boiled eggs have completely cooled in the ice bath, you can store them in an airtight container in the refrigerator. They will remain fresh and delicious for up to 5-7 days. For optimal freshness, it’s best to store them unpeeled until you’re ready to eat them, as the shell provides a natural protective barrier.
While the pressure cooker is gentler than boiling, eggs can sometimes still crack. This is often due to extreme temperature changes. To minimize cracking, try to use eggs that are at room temperature rather than straight from the cold refrigerator. Also, ensure you place them gently on the rack, avoiding any jostling or impact.
After the ice bath, the shells should come off easily. You can gently tap the egg on a hard surface to create small cracks all over, then roll it between your palms to loosen the shell further. Starting from the larger end where the air pocket is, peel the shell under cool running water. The water helps to wash away small shell fragments and slides under the membrane, assisting in a clean peel.
Delicious Recipes Using Hard-Boiled Eggs
-
Spring Hard-Boiled Egg Appetizers -
Spring Veggie & Eggs Toast
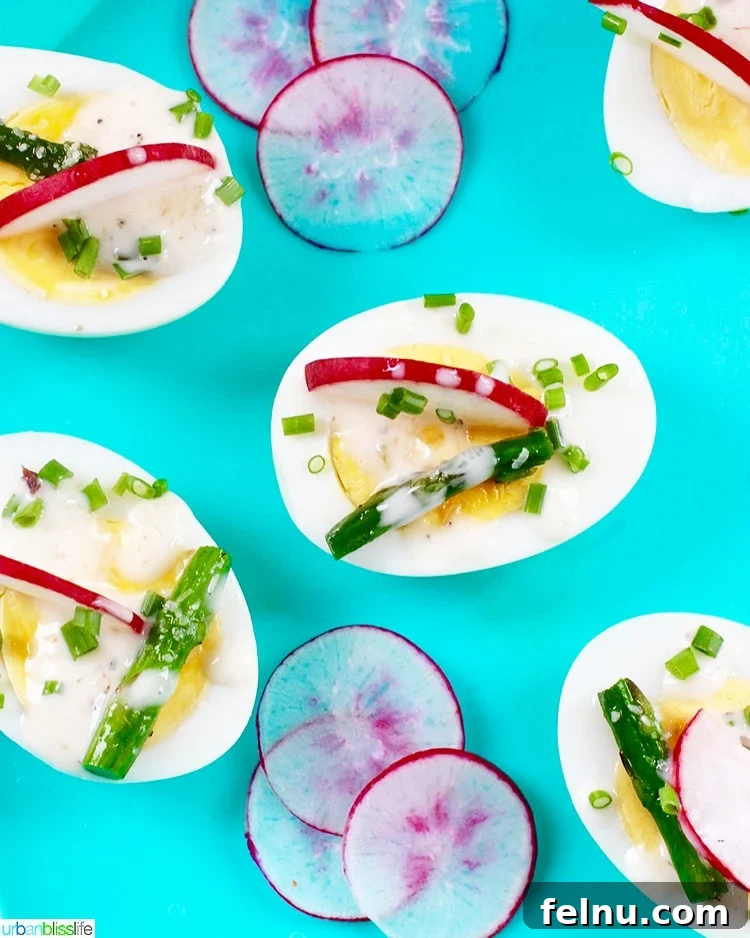
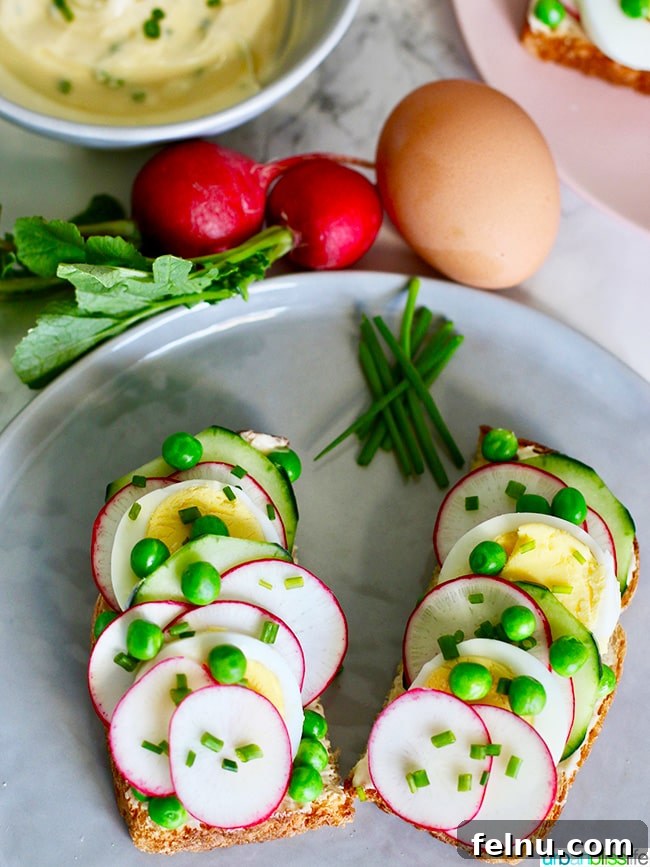
Once you’ve mastered the art of making flawless Ninja Foodi Hard Boiled Eggs, a world of culinary possibilities opens up! I frequently prepare a batch at the beginning of the week as part of my meal prep. This way, my family and I always have a quick, protein-packed snack readily available for busy mornings or afternoon cravings. But beyond simple snacking, these versatile eggs can elevate countless dishes:
- Classic Egg Salad: The quintessential use for hard-boiled eggs! Mash them with mayonnaise, mustard, celery, and seasonings for a delightful sandwich filling or a scoop atop a green salad.
- Deviled Eggs: A timeless appetizer, perfect for parties and potlucks. Halve the eggs, scoop out the yolks, mix with your favorite deviled egg ingredients, and pipe back into the whites.
- Salad Topping: Sliced or chopped hard-boiled eggs are a fantastic addition to almost any salad, from a simple garden salad to a robust Cobb salad or a elegant Salade Niçoise. They add both protein and a creamy texture.
- Avocado Toast Enhancement: Elevate your avocado toast with slices of perfectly cooked hard-boiled egg for extra richness and sustenance.
- Instant Ramen Upgrade: Transform a basic bowl of instant ramen into a gourmet meal by adding a halved jammy egg (or hard-boiled egg if preferred), along with some fresh greens and a sprinkle of chili flakes.
- Potato Salad or Macaroni Salad: Hard-boiled eggs are a traditional and delicious ingredient in many cold pasta and potato salads, adding a rich, savory depth.
- Easy Spring Appetizers using Hard-Boiled Eggs: Get creative with these vibrant Spring Egg Appetizers that are sure to impress.
- Spring Veggie & Eggs Toast: A fresh and nutritious option for breakfast or lunch, try this delightful Spring Veggie & Eggs Toast.
Explore More Spring-Inspired Recipes
As spring approaches, our appetites shift towards lighter, brighter flavors and seasonal produce. These recipes perfectly complement your freshly made hard-boiled eggs and celebrate the freshness of the season:
- Garlic Rosemary Glazed Roasted Carrots
- Roasted Asparagus with Garlic and Lemon
- Radish Carrot Arugula Salad
- Mini Lime Tarts
- Easy Spring Fruit Tarts
Expand Your Repertoire with More Ninja Foodi Recipes
Your Ninja Foodi or Instant Pot is a powerhouse appliance, capable of so much more than just perfect eggs. If you love the ease and efficiency of pressure cooking, you’ll definitely want to explore these other fantastic recipes designed for your multi-cooker:
- Pressure Cooker Wedding Soup (Ninja Foodi/Instant Pot)
- Ninja Foodi Broccoli
- Ninja Foodi Paprika Chicken
- Ninja Foodi Cajun Chicken Pasta
- Ninja Foodi Homemade Pizza Rolls
Discover The Ninja Foodi Pressure Cooker Meal Prep Cookbook
Are you a proud owner of a Ninja Foodi and eager to unlock its full potential for effortless meal planning? I’m thrilled to share the news about my first cookbook: The Ninja Foodi Pressure Cooker Meal Prep Cookbook! This comprehensive guide, set to release in mid-May 2021, is your ultimate resource for simplifying mealtime. It’s packed with invaluable meal prep & planning tips, offers 8 weeks worth of carefully crafted meal plans, and features 75 easy-to-follow recipes—all designed specifically for your Ninja Foodi.
To stay updated on the cookbook’s release, get exclusive sneak peeks, and participate in exciting giveaways, be sure to subscribe to my weekly newsletter. Each Sunday morning, you’ll receive a dose of exclusive food, wine, and travel content to enjoy with your morning coffee. Don’t miss out on making meal prep easier and more delicious than ever before!
Printable Recipe Card: Pressure Cooker Hard-Boiled Eggs
Ninja Foodi Hard Boiled Eggs
By Marlynn Schotland
5 mins
5 mins
7-10 mins
17-20 mins
6 eggs
Print Recipe
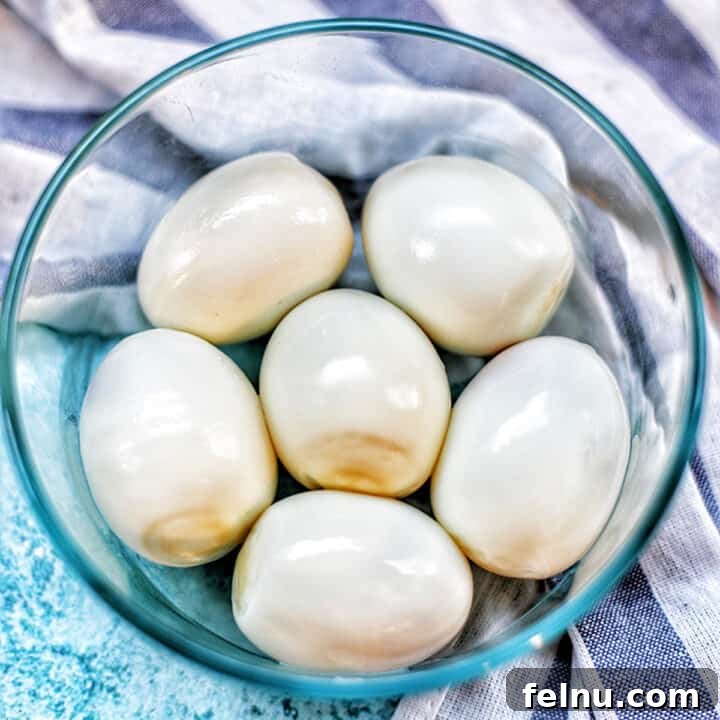
This is the easiest way to achieve perfect hard-boiled eggs and to peel hard-boiled eggs every time using your Ninja Foodi or Instant Pot!
Equipment
- Instant Pot, Ninja Foodi, or other electric pressure cooker
- Trivet or Steamer Rack (usually included with multi-cooker)
- Large Bowl
Ingredients
- 6 large eggs
- 1 cup water (for the multi-cooker pot)
Ice Bath
- Equal parts ice and cold water
Instructions
- Place the trivet or rack into the Ninja Foodi or Instant Pot. Pour in one cup of water.
- Carefully place the eggs onto the rack, giving them some space in-between. Using room temperature eggs can help prevent cracking.
- Secure the pressure lid, making sure the pressure release valve is in the Seal position.
- Select “Pressure Cook” (or “Manual”), set the pressure to “HI,” and the time to 5 minutes. Select “Start/Stop” to begin. Allow the appliance to come to pressure (this takes approximately 7-10 minutes depending on the model).
- When the 5-minute cooking is complete, allow for a natural pressure release for 5 minutes. Do not manually release the pressure before this time.
- While the natural release is happening, prepare the ice bath by adding equal parts ice and cold water to a large bowl.
- After 5 minutes of natural release, switch the valve to “Vent” for a quick release of any remaining pressure. Once the float valve has dropped, carefully open the lid.
- Using oven mitts or tongs, immediately and gently transfer the hot eggs into the prepared ice bath.
- Allow the eggs to sit in the ice bath for 5 minutes.
- When 5 minutes is up, peel the eggs. They should peel effortlessly! Enjoy immediately or store.
Notes
How to store hard-boiled eggs: Allow eggs to cool completely. Store them in an airtight food-safe container in the refrigerator for up to 5-7 days. For best results, store unpeeled.
How to achieve soft-boiled eggs: For a runny yolk, reduce the pressure cooking time to 3 minutes, then follow the 5 minutes natural release and 5 minutes ice bath.
How to achieve jammy eggs: For a creamy, slightly gooey yolk, reduce the pressure cooking time to 4 minutes, then follow the 5 minutes natural release and 5 minutes ice bath.
Nutrition
Carbohydrates: 1g,
Protein: 6g,
Fat: 4g,
Saturated Fat: 1g,
Polyunsaturated Fat: 1g,
Monounsaturated Fat: 2g,
Trans Fat: 1g,
Cholesterol: 164mg,
Sodium: 62mg,
Potassium: 61mg,
Sugar: 1g,
Vitamin A: 238IU,
Calcium: 25mg,
Iron: 1mg
Nutrition information is automatically calculated and should only be used as an approximation.
Tried this recipe?
Please leave a star rating and comment! Then snap a pic of your dish and share it on social media. Tag @UrbanBlissLife and #UrbanBlissLife!
Pin This Recipe for Later