
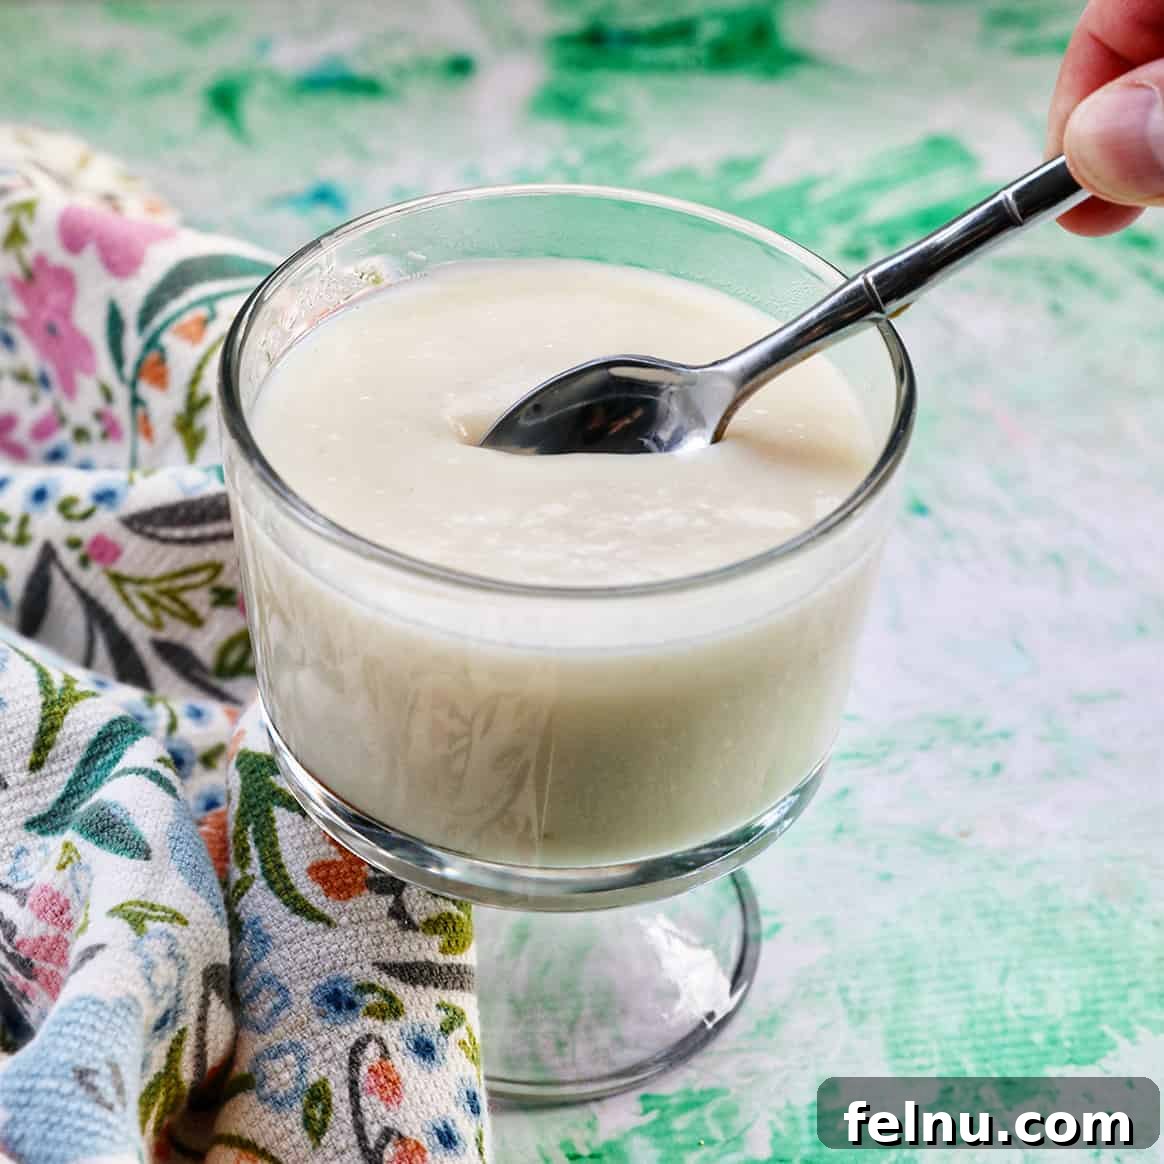
Indulge in the creamy goodness of vanilla pudding made entirely from scratch! This Homemade Vanilla Pudding Recipe is surprisingly simple, requiring just a handful of common ingredients you likely already have.
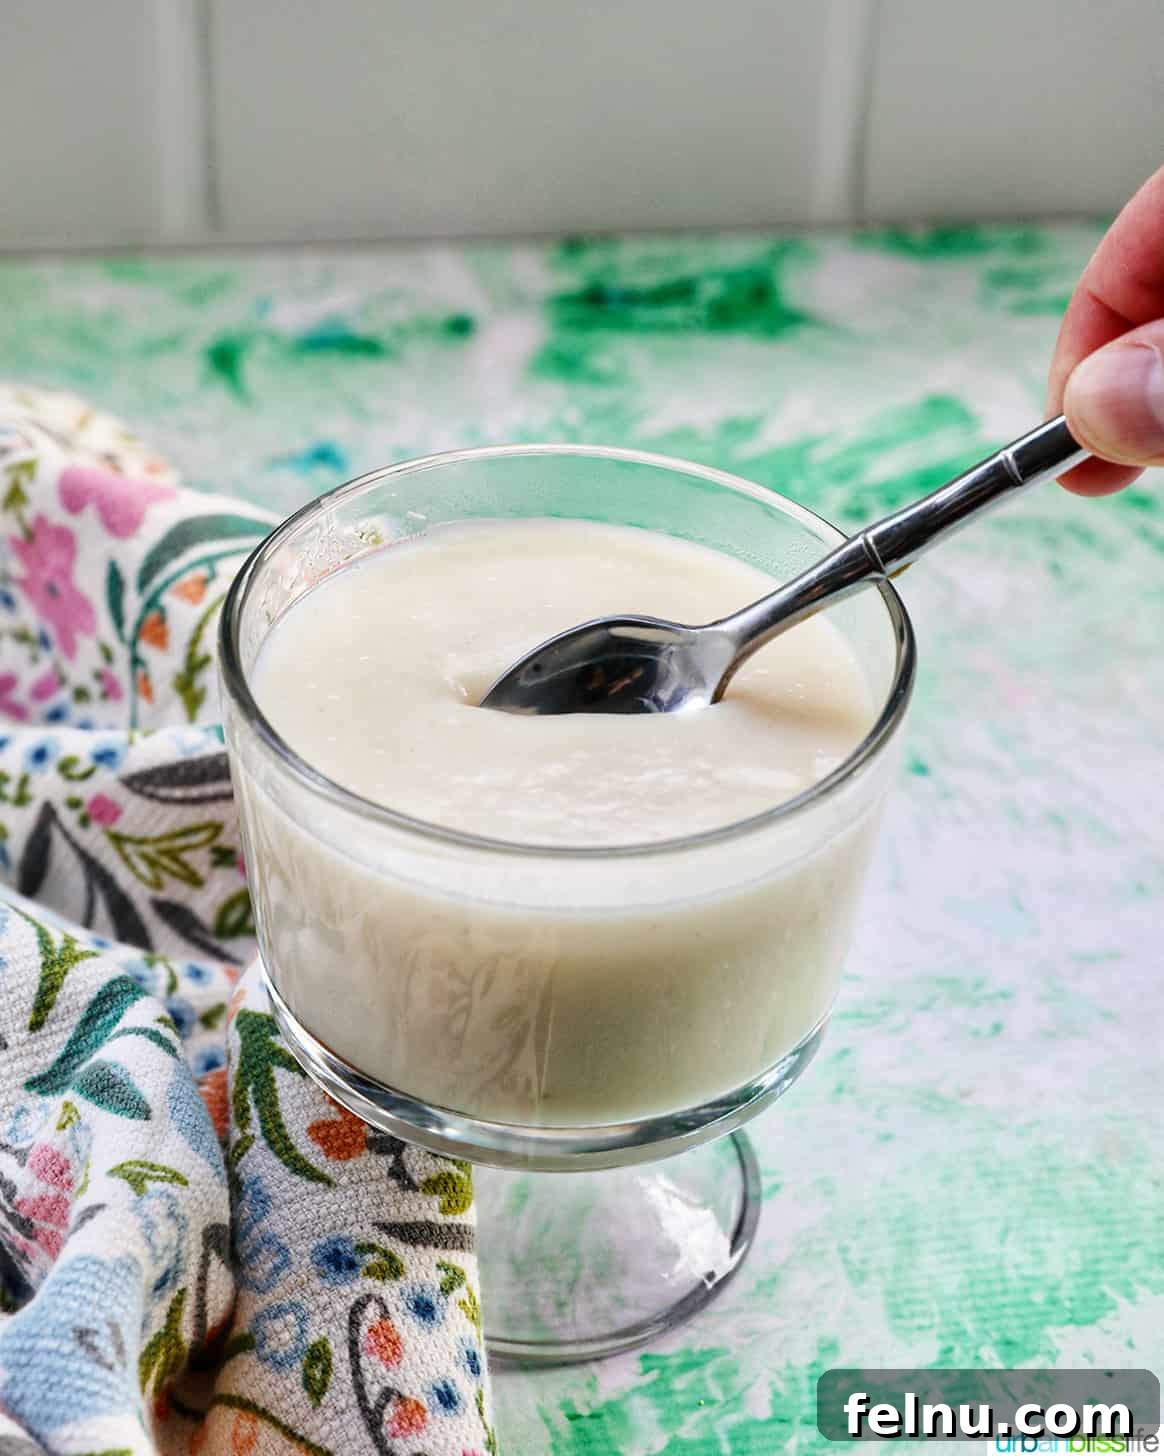
If your vanilla pudding experience is limited to store-bought instant mixes, prepare to be amazed! Making vanilla pudding from scratch is not only easy but also delivers a significantly superior taste.
My journey into homemade vanilla pudding began out of necessity. I frequently used boxed pudding mixes in dessert recipes and usually kept a box or two in my pantry. One day, I found myself without any boxed pudding when I needed it most for a recipe.
Driven by the need for a quick substitute, I embarked on a trial-and-error mission to learn how to make vanilla pudding from scratch. I was astonished by how uncomplicated the process was! More importantly, the taste was far superior to anything I had ever created using store-bought mixes.
Are you ready to experience the delightful difference of homemade vanilla pudding? Let’s begin!
🌟 Why This Homemade Vanilla Pudding Recipe Works
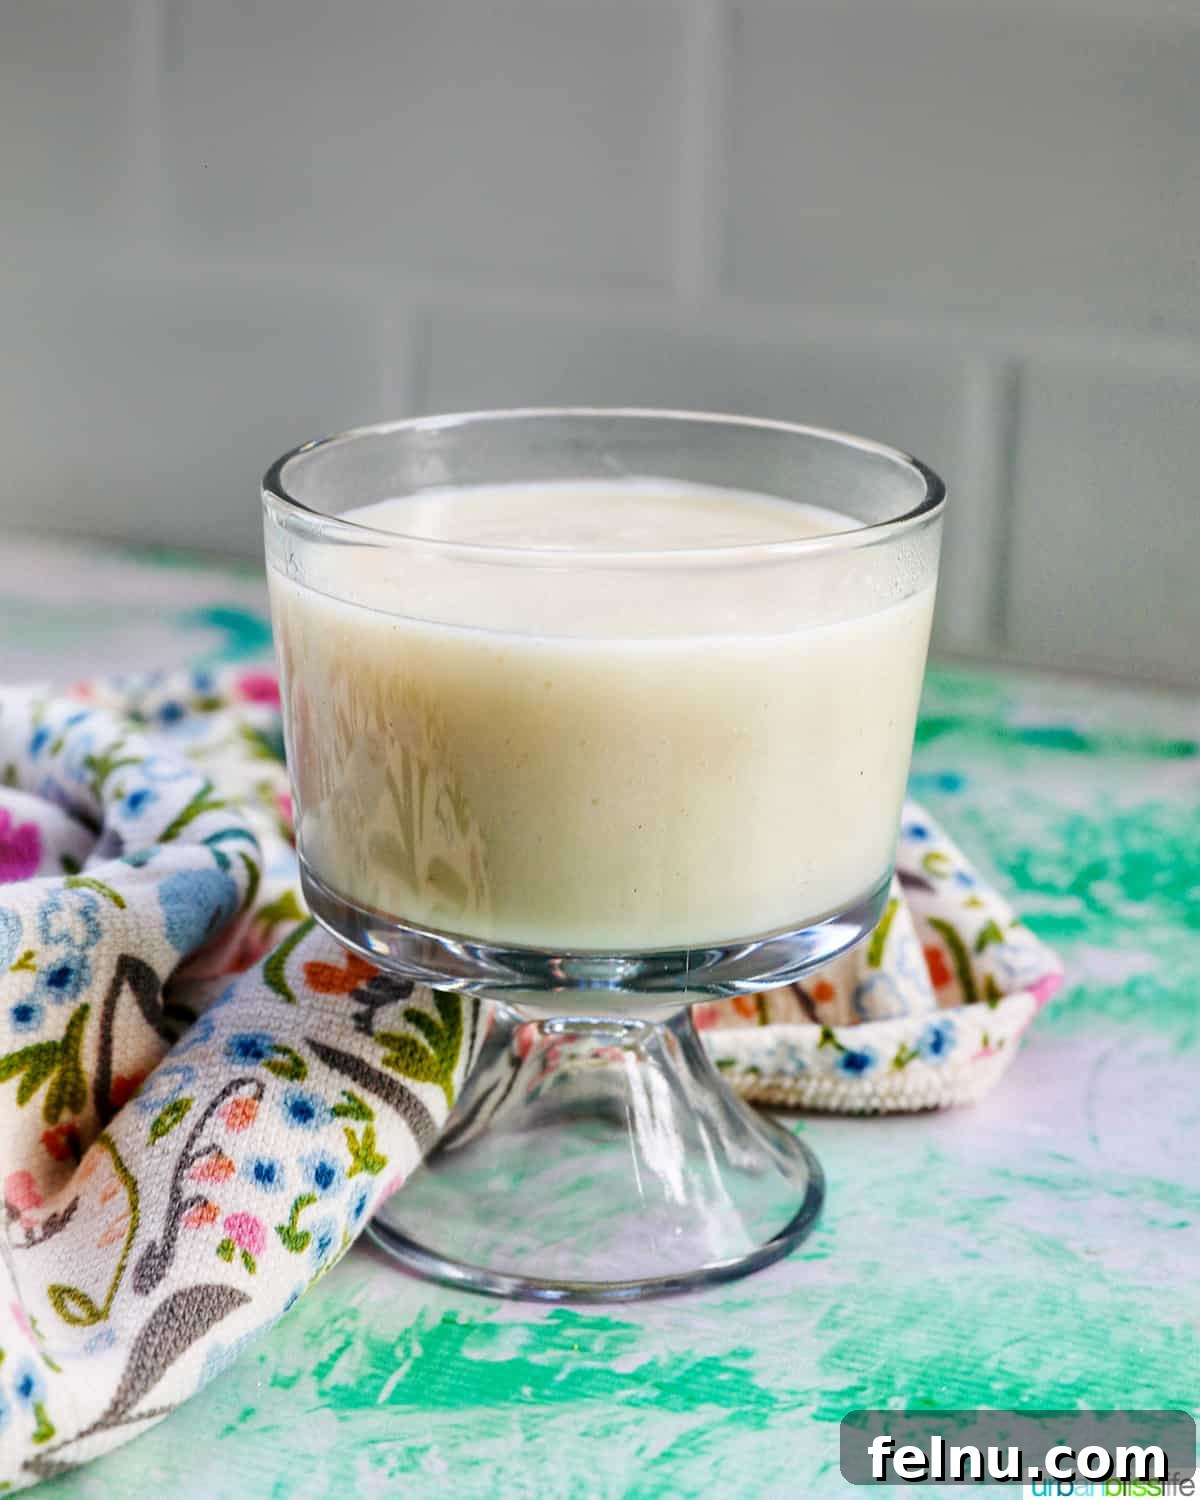
You’re going to fall in love with the experience of making your own vanilla pudding from scratch!
- Simple: This recipe calls for just six readily available ingredients, most of which you probably already have in your pantry and refrigerator.
- Easy: The steps involved in making this pudding are incredibly straightforward and easy to follow. I’ve even included helpful step-by-step photos to guide you through the process.
- Fast: From start to finish, you can whip up a batch of this delicious homemade vanilla pudding in mere minutes!
- Delicious: In my humble opinion, this luscious, creamy pudding is far more flavorful and satisfying than any store-bought version. The taste is simply unmatched!
🛒 Key Ingredients for Vanilla Pudding
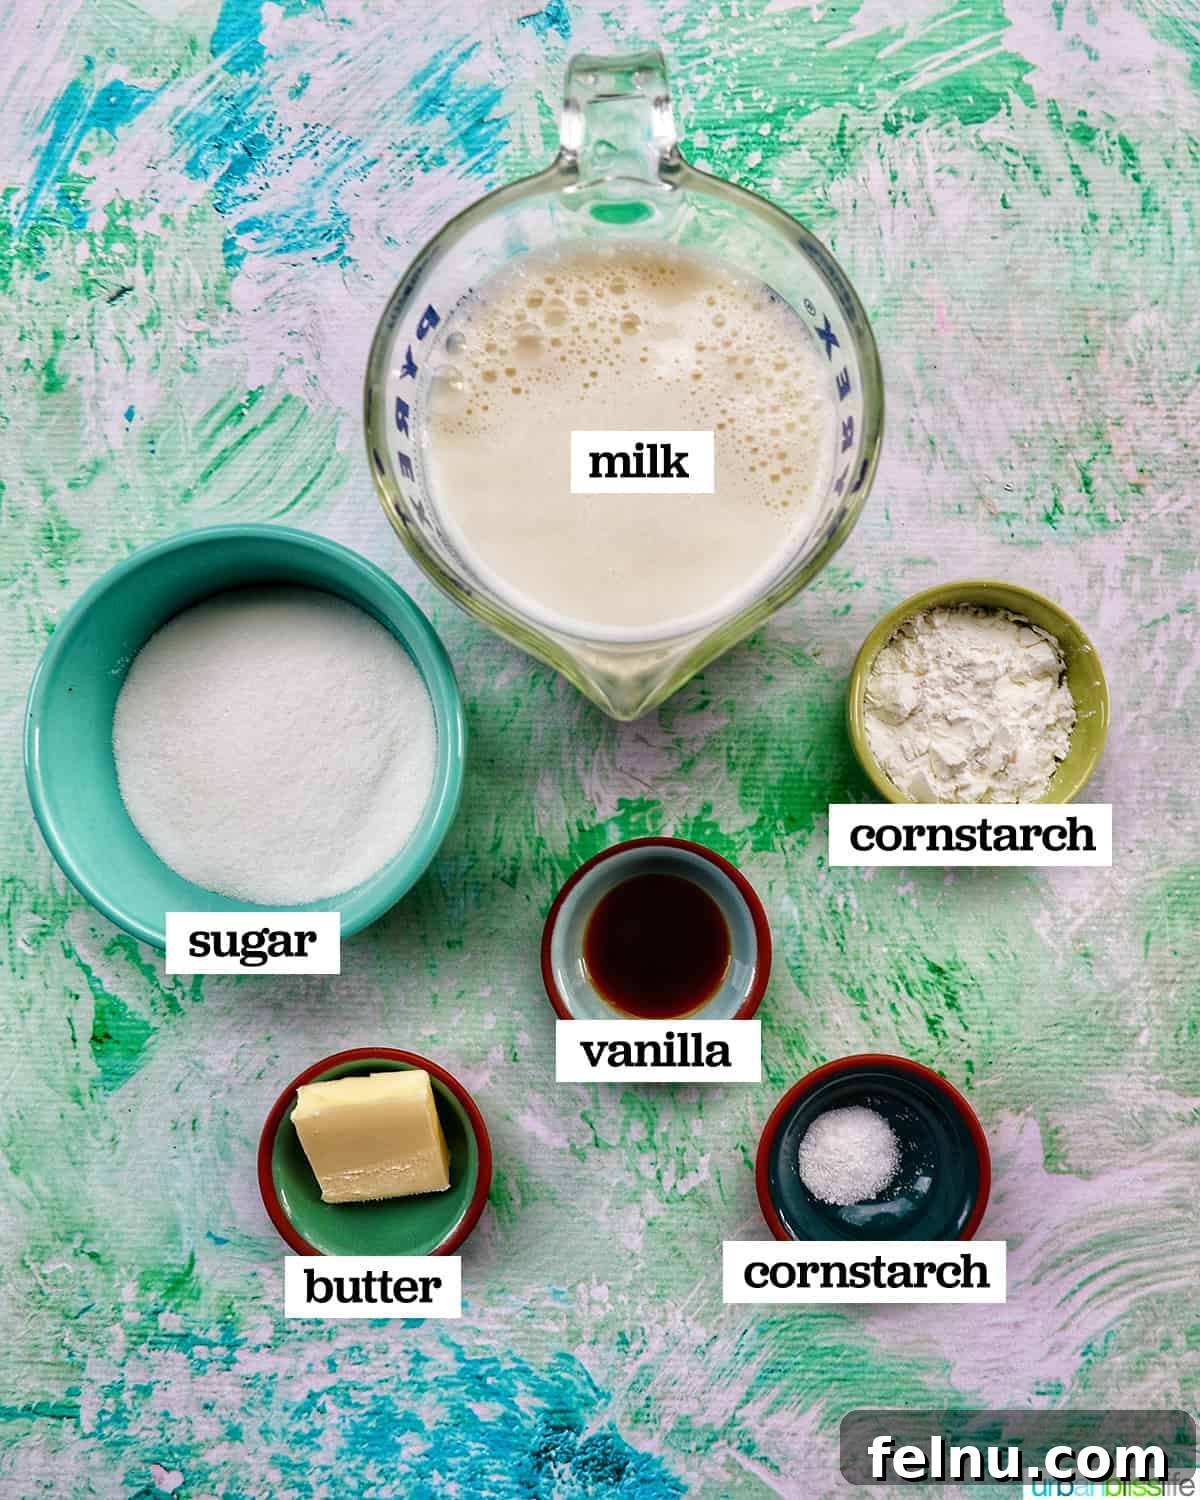
You only need a few basic ingredients to create this simple yet satisfying dessert. All these items are easy to find at any local grocery store.
- Milk: The fat content of the milk you choose will directly influence the creaminess and thickness of the finished pudding. Whole milk or 2% milk are excellent choices for a richer flavor. However, I’ve successfully used 1% milk and even non-dairy alternatives like coconut milk and almond milk. For an incredibly decadent pudding, consider using heavy cream for a truly luxurious experience.
- Cornstarch: This is the essential thickening agent that gives the pudding its characteristic texture. Don’t skip it!
- Sugar: A touch of sugar adds sweetness to the pudding, balancing the other flavors perfectly. Granulated sugar works best for this recipe.
- Salt: A small amount of kosher salt helps to enhance the sweetness and create a more balanced flavor profile.
- Vanilla: For the most authentic and delicious flavor, use pure vanilla extract. Its rich aroma and flavor elevates the pudding to new heights. Imitation vanilla extract will not provide the same depth of flavor.
- Butter: The fat content in unsalted butter contributes to the pudding’s richness and creamy texture, creating a smooth and velvety mouthfeel.
✅ How to Make Vanilla Pudding: A Step-by-Step Guide
A complete list of ingredients with precise measurements and detailed instructions can be found in the printable recipe card at the end of this post. Here are step-by-step photos and instructions to further demonstrate just how easy it is to make this classic vanilla pudding from scratch!
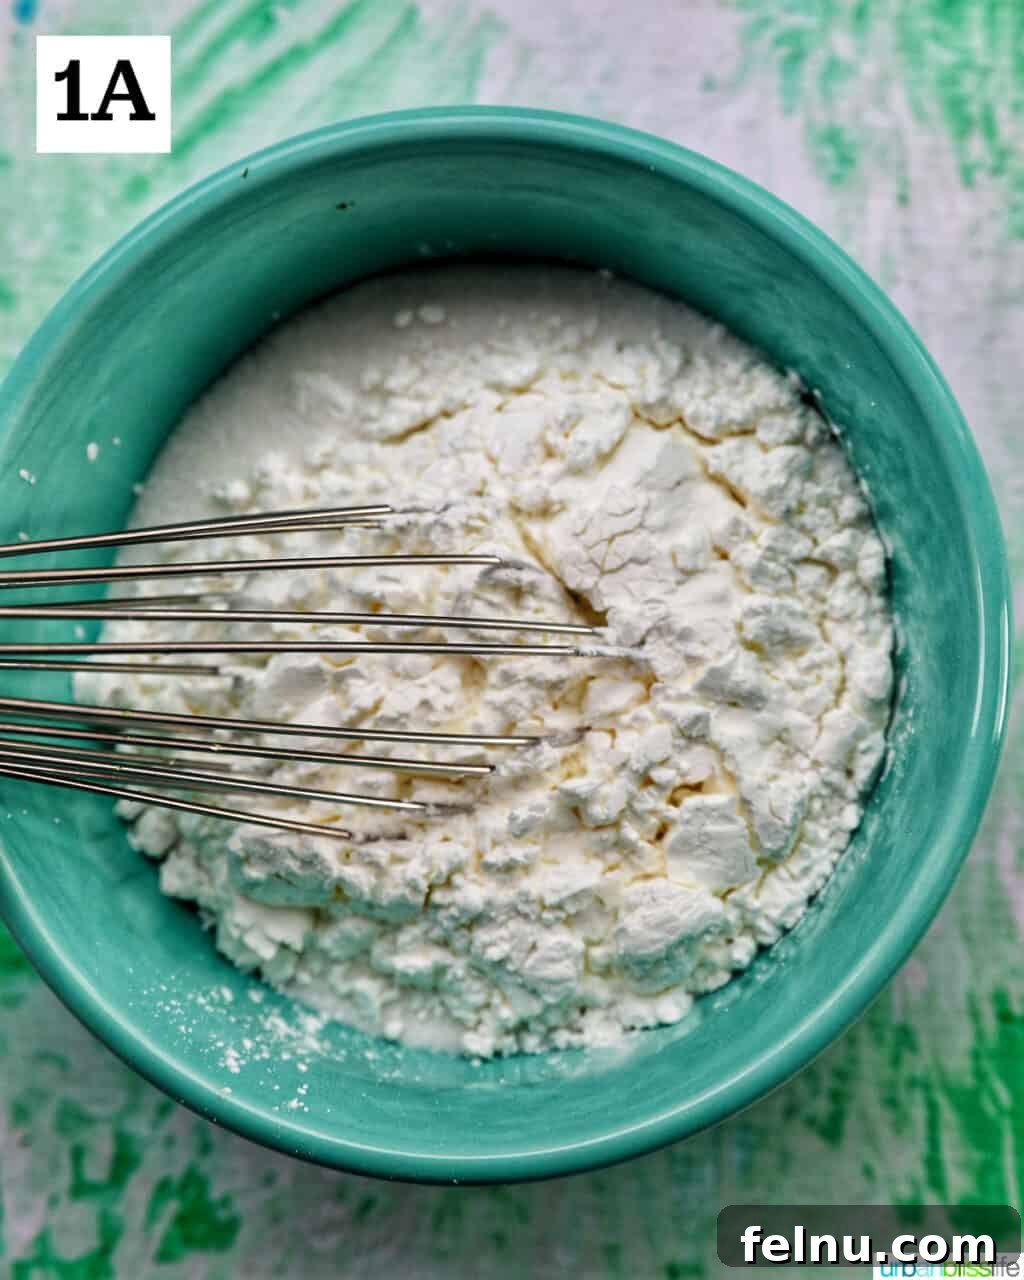
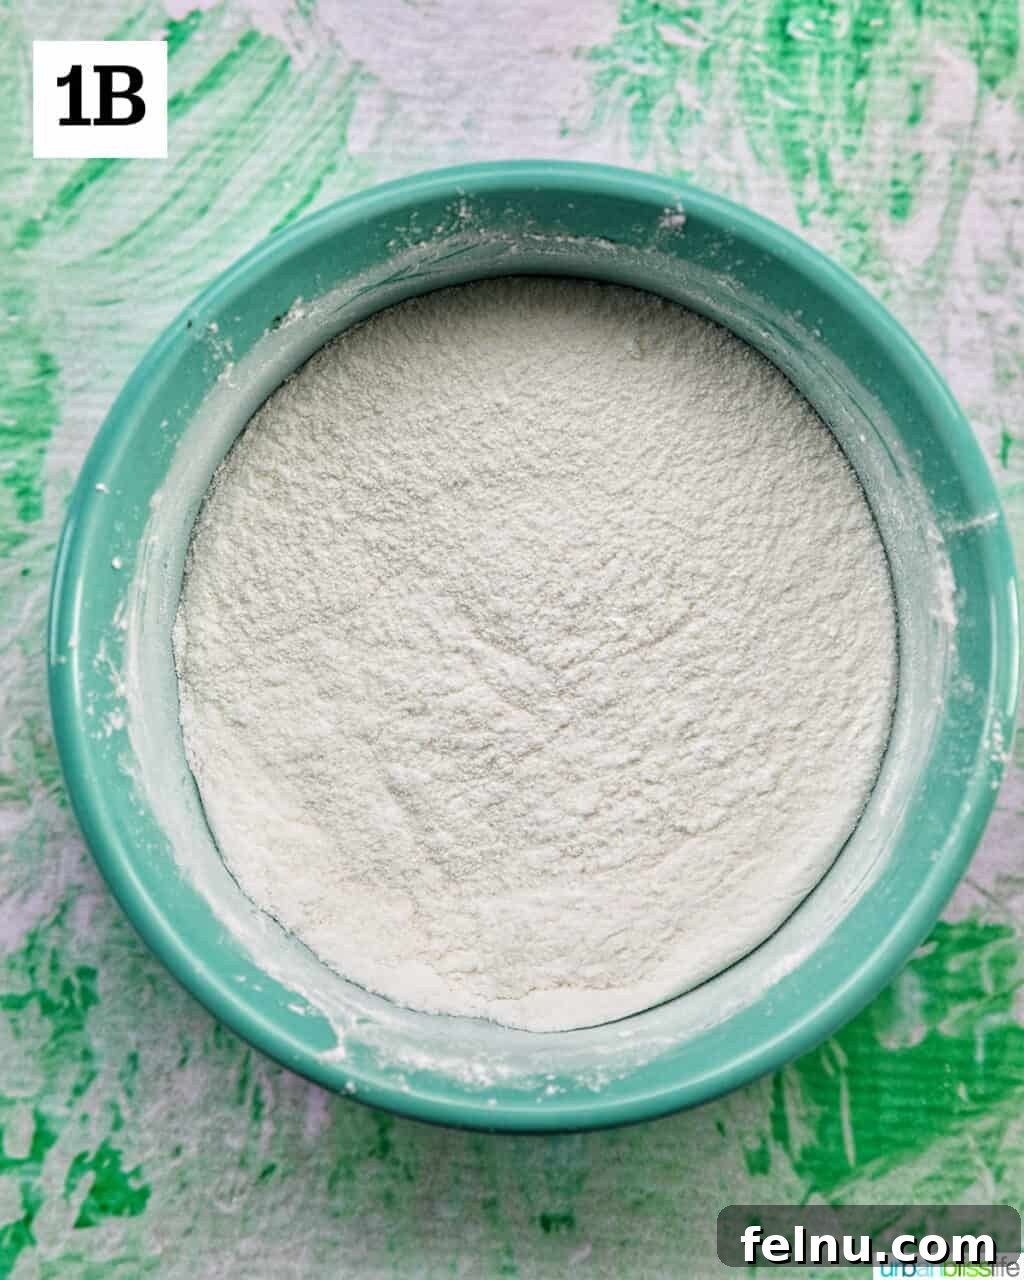
- In a small bowl, thoroughly whisk together the sugar, cornstarch, and salt until well combined. Set this mixture aside.
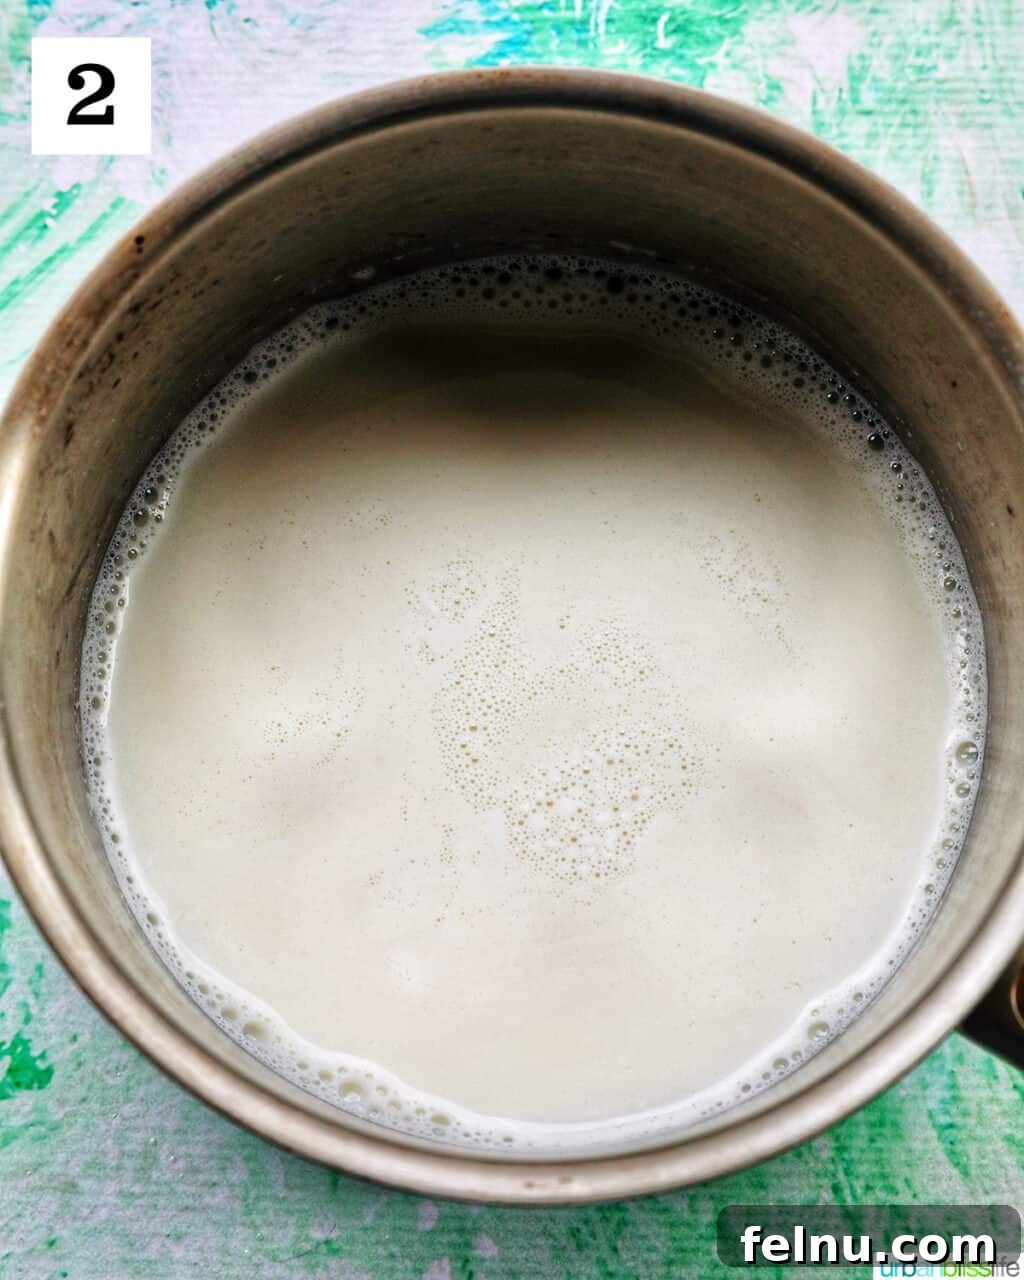
- Pour the cold milk into a small saucepan. Place the saucepan over medium heat and heat the milk until you begin to see small bubbles forming along the edges of the pan. Do not boil the milk.
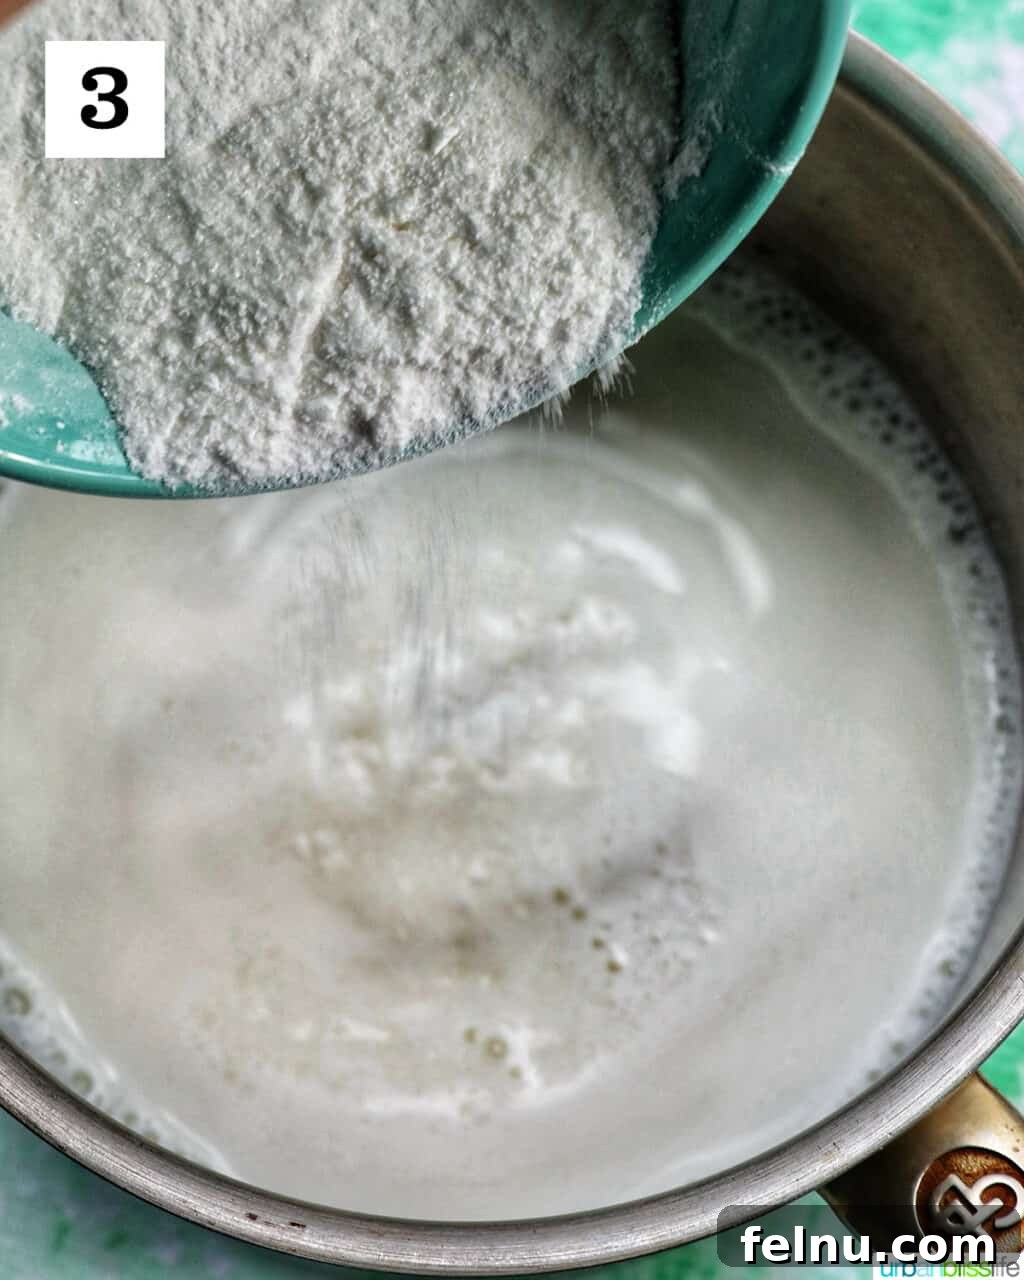
3. Gradually pour the dry ingredients into the hot milk mixture, whisking constantly to ensure a smooth consistency and prevent lumps from forming.
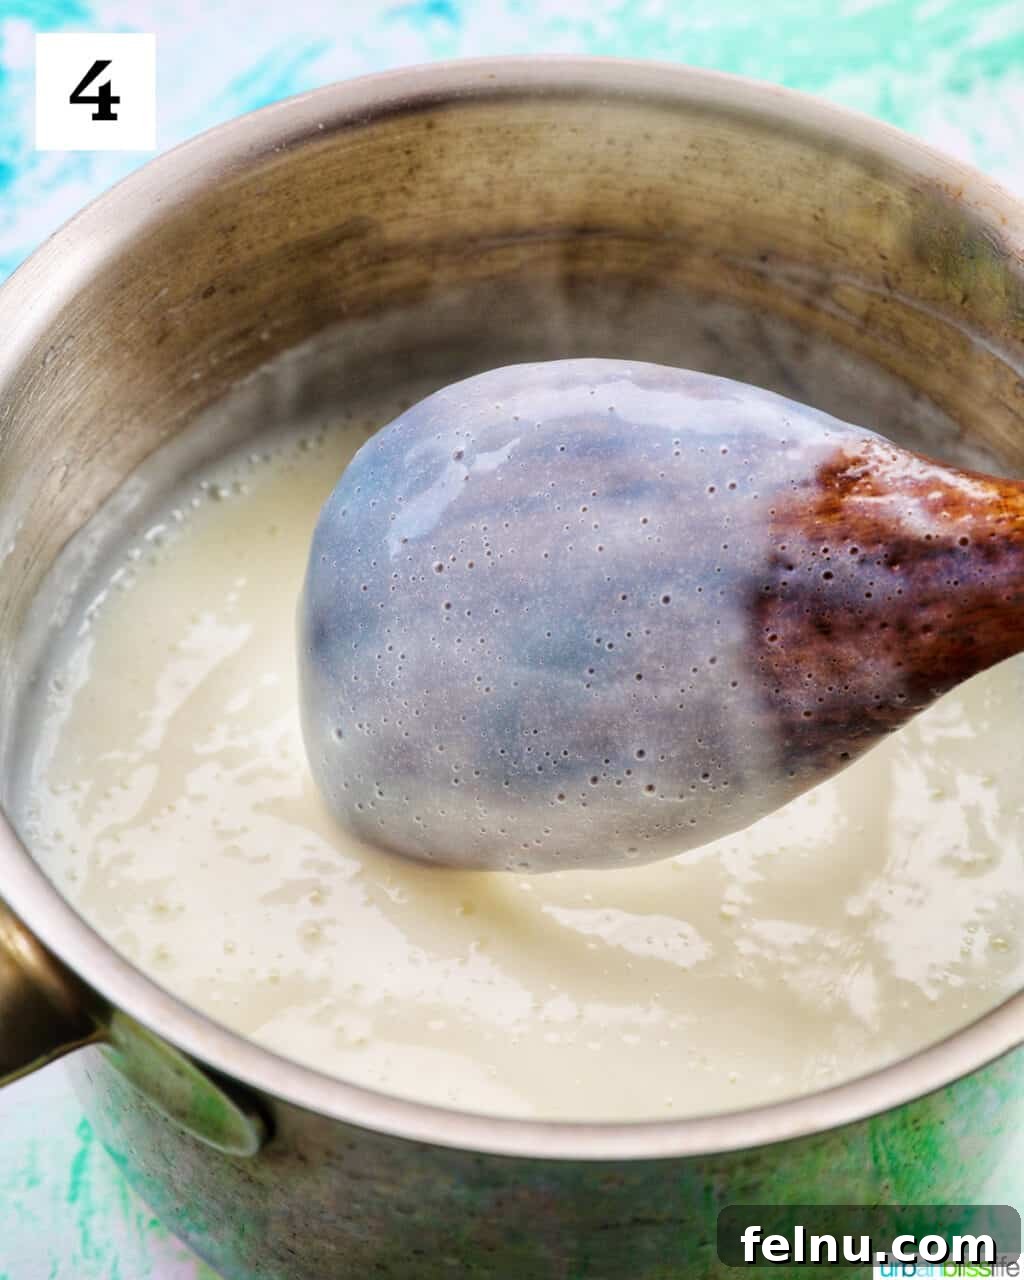
4. Continue stirring the mixture continuously over medium heat until it thickens significantly, reaching a consistency that coats the back of a wooden spoon. This indicates that the cornstarch has fully activated and the pudding is ready.
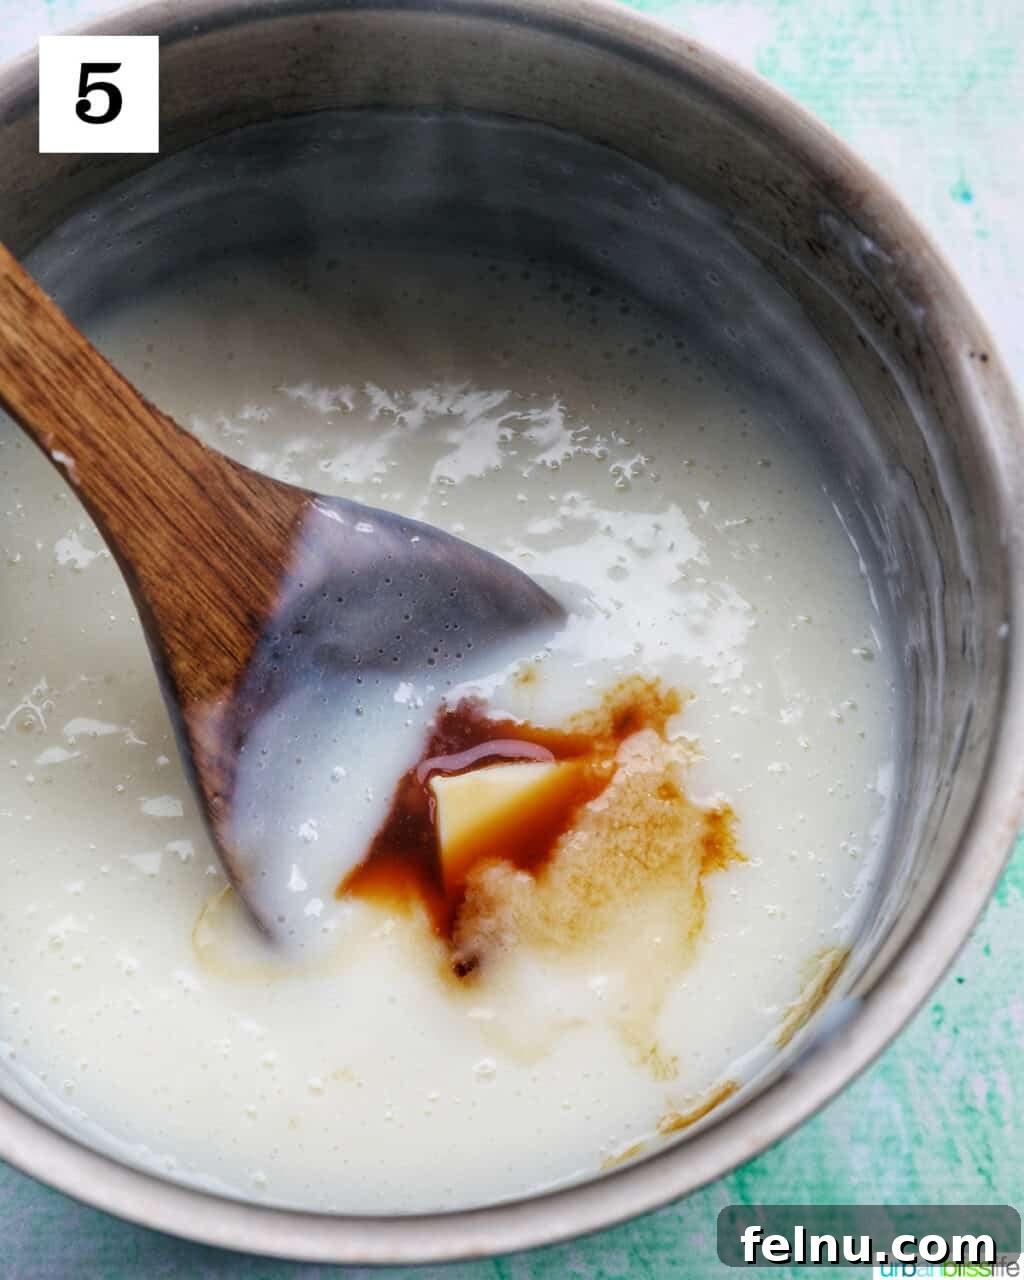
5. Remove the saucepan from the heat. Immediately stir in the vanilla extract and butter until they are completely melted and evenly distributed throughout the pudding.
Transfer the finished pudding to a clean container, cover tightly, and refrigerate for at least 15-30 minutes to allow it to cool and set completely. This chilling period is crucial for achieving the desired thick and creamy texture.
👩🏻🍳 Frequently Asked Questions About Homemade Pudding
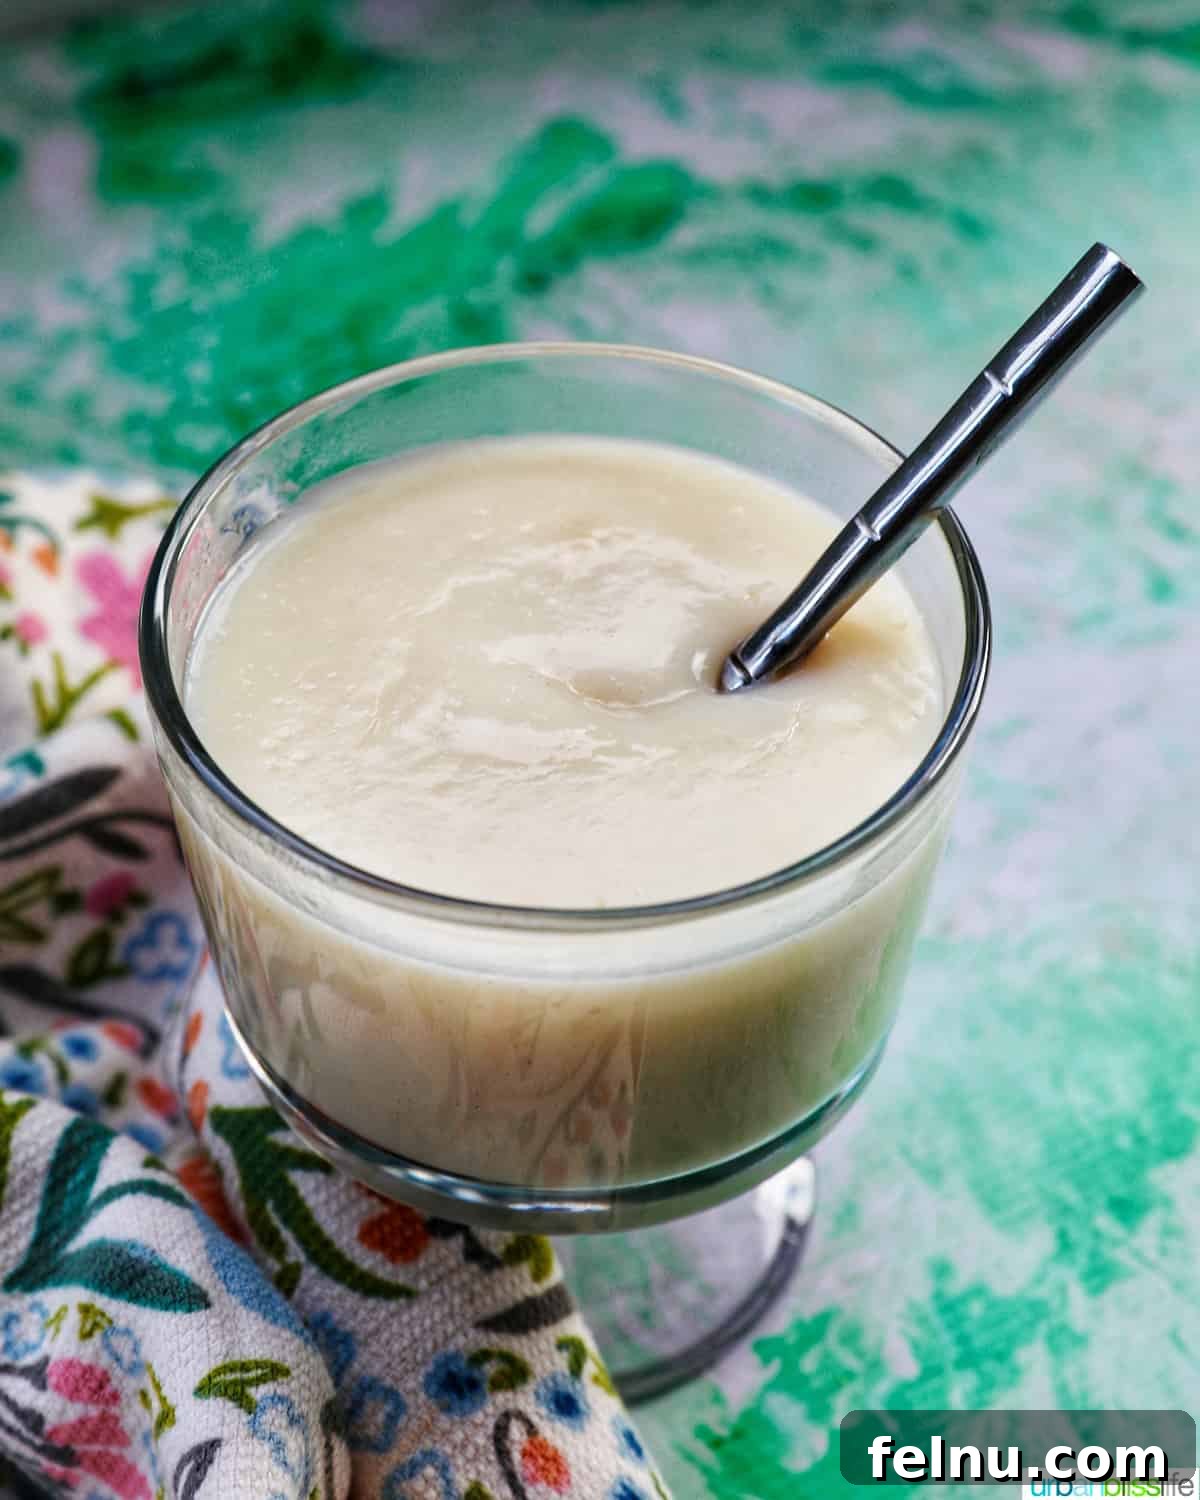
I advise against using brown sugar, as it has a higher tendency to burn or caramelize when heated in the saucepan, potentially affecting the pudding’s flavor and texture.
To maintain its freshness and quality, store the pudding in an airtight container in the refrigerator for up to 3-5 days. Ensure the container is properly sealed to prevent the pudding from absorbing odors from other foods in the refrigerator.
🍽 Creative Serving Ideas for Vanilla Pudding
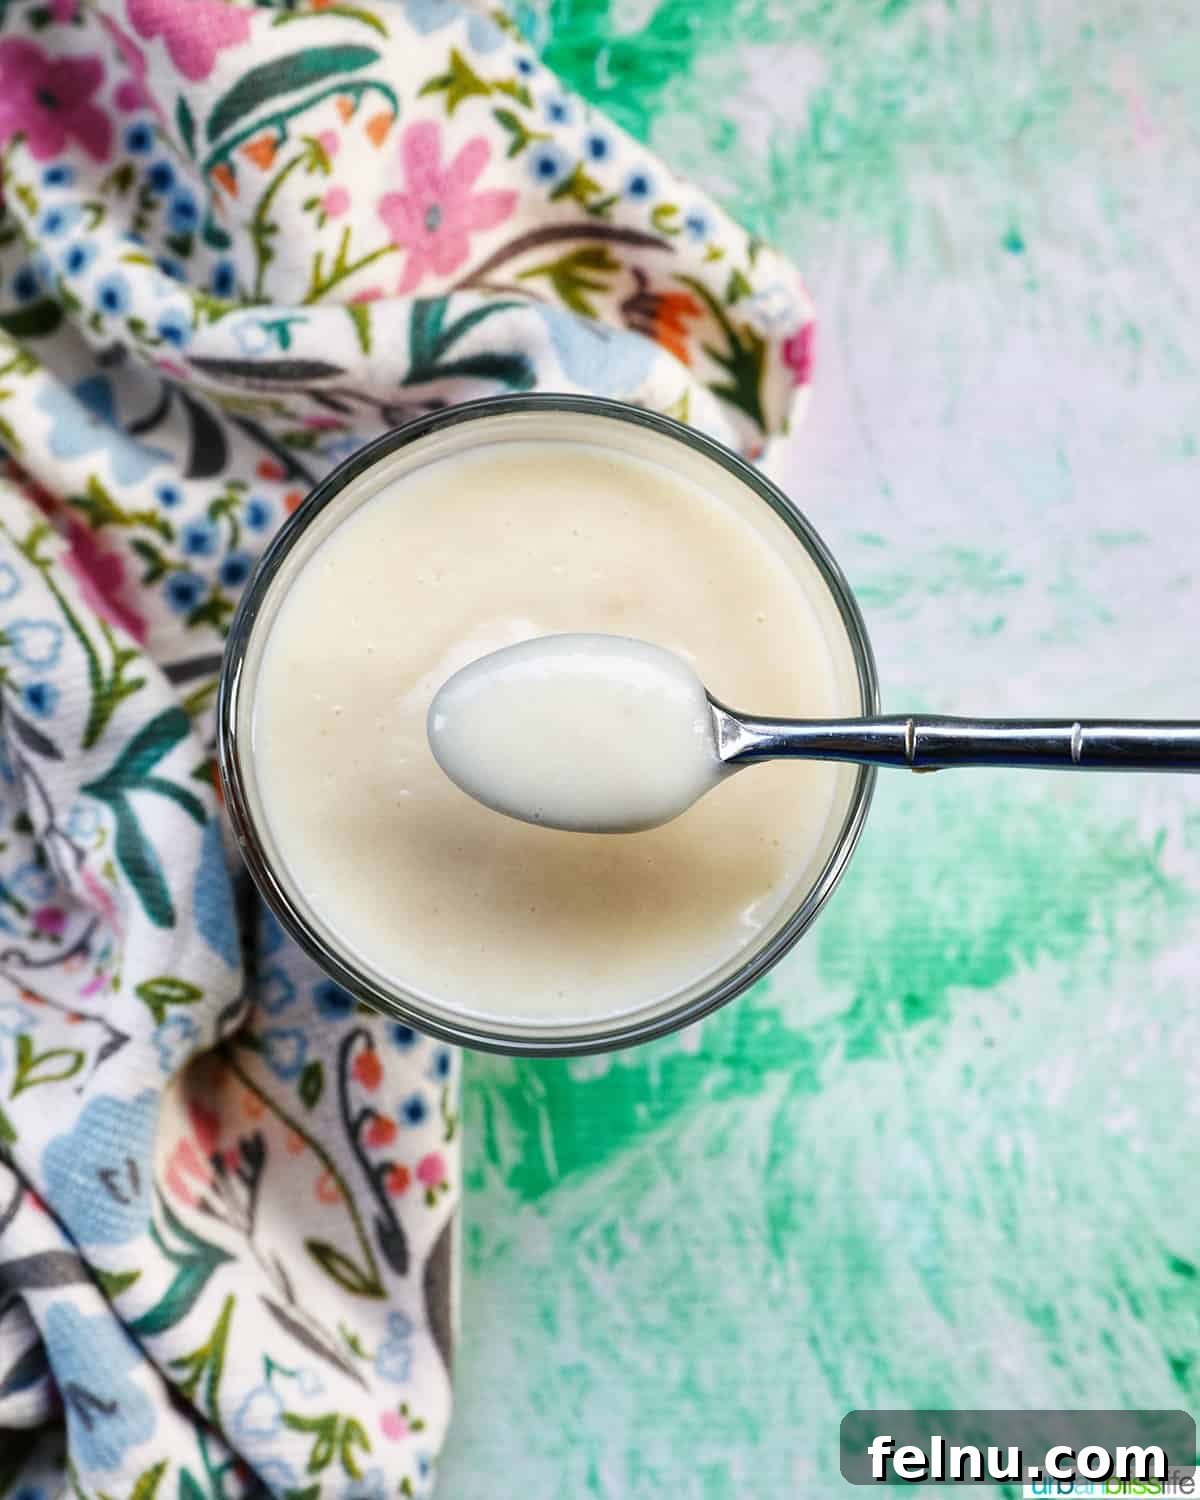
While this homemade vanilla pudding is delicious and satisfying on its own as a classic dessert, there are numerous ways to elevate it and create truly memorable treats:
- Top a bowl of warm pudding with a generous dollop of whipped cream, a scattering of fresh berries, and a light sprinkle of cinnamon or grated chocolate for added flavor and visual appeal.
- Incorporate a layer of vanilla pudding into elaborate trifles and delightful ice cream parfaits, layering it with fresh fruit, delicate pastry cream, crunchy granola, and decadent chocolate for a truly multi-textured experience.
- Utilize the vanilla pudding as a creamy and flavorful pie filling for a classic dessert with a homemade touch. Consider adding a layer of fruit or chocolate shavings for extra flair.
- Get creative and freeze the vanilla pudding in popsicle molds for a refreshing and cooling summer treat. Before freezing, you can add chunks of fruit or crushed cookie crumbles to the mixture for added texture and flavor.
- Surprise your guests by making pudding-filled cupcakes. Using a pastry bag, inject the cooled vanilla pudding into baked cupcakes for a delightful burst of flavor with every bite. Top the cupcakes with your favorite frosting or a swirl of whipped cream.
🍳 Essential Kitchen Tools for Pudding Perfection
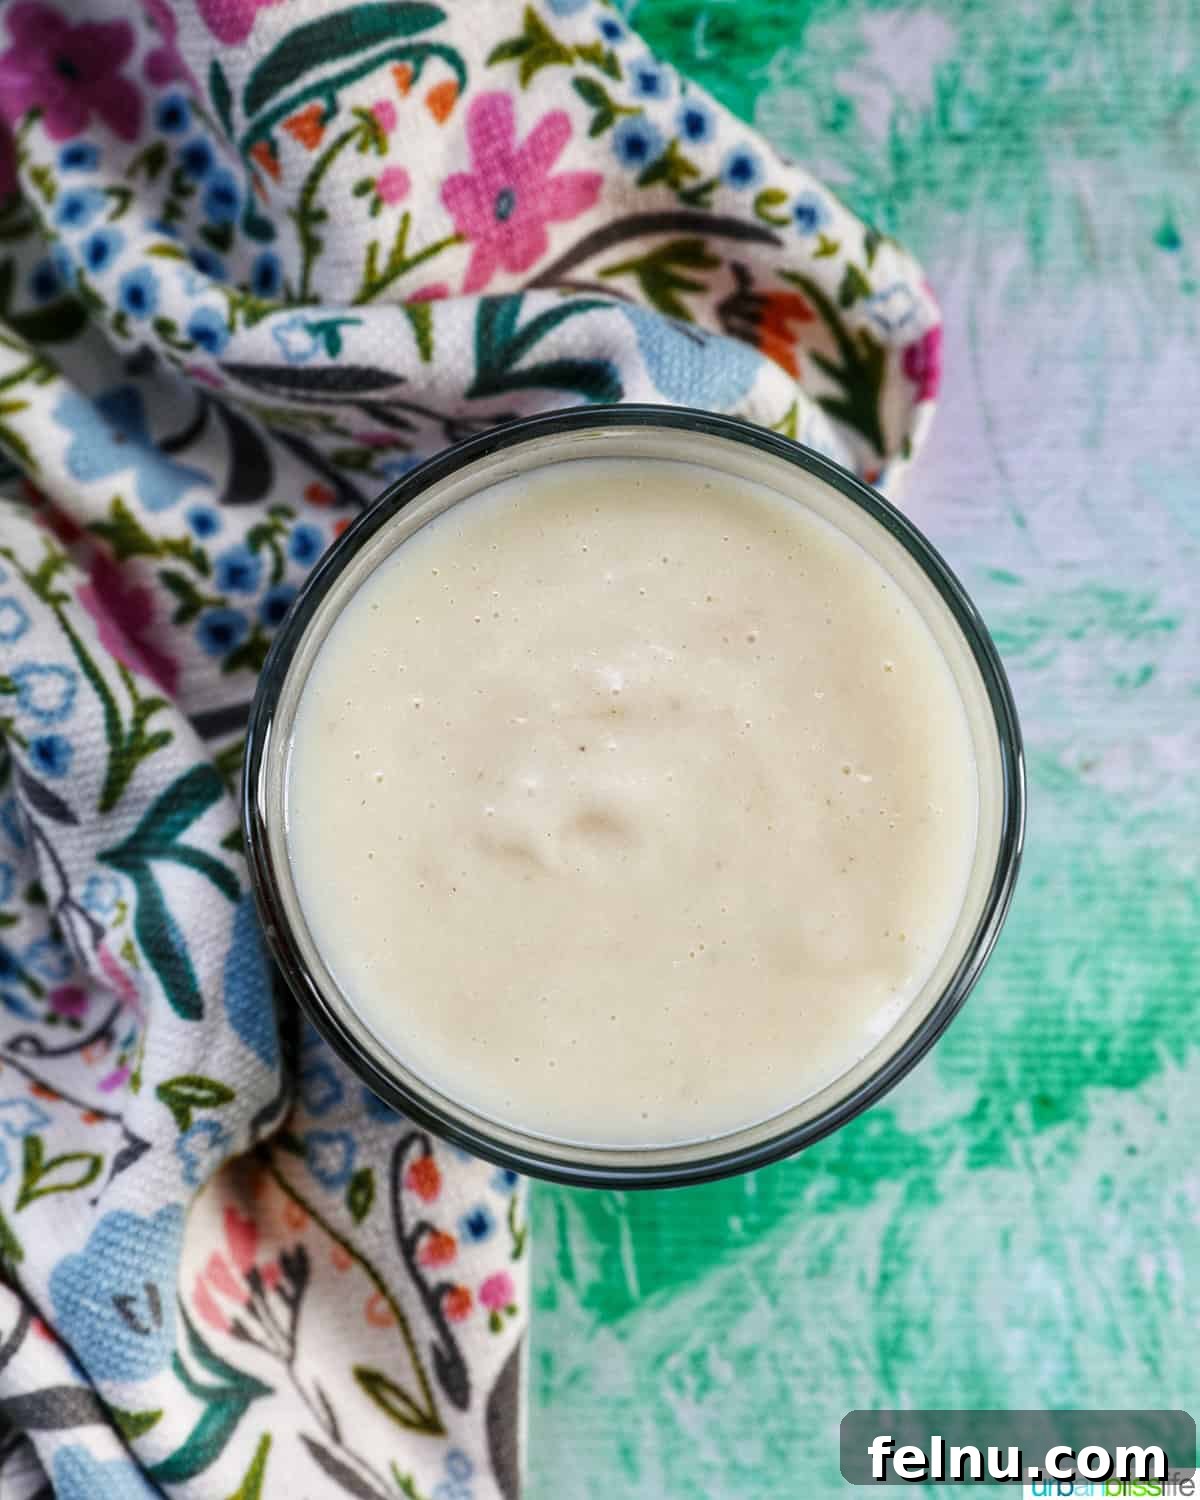
Are you ready to embark on your homemade vanilla pudding adventure? Here’s a list of the essential kitchen tools and equipment you’ll need to ensure a successful outcome:
- Saucepan: You will need a small to medium-sized saucepan to heat the milk and create the pudding. Ensure the saucepan has a heavy bottom to prevent scorching.
- Whisk: A sturdy whisk is essential for evenly combining the dry ingredients with the hot milk, preventing lumps from forming and ensuring a smooth, creamy consistency.
- Spoon: A wooden spoon is the perfect tool for checking the thickness of the pudding as it cooks. It also allows you to stir the pudding gently without scratching the bottom of the saucepan.
Explore More Easy Dessert Recipes
- Pumpkin White Chocolate Chip Cookies
- Apple Cinnamon Loaf
- Cookies and Cream Protein Powder Cookies
- High Protein Chocolate Parfait
Did you try this recipe? Don’t forget to leave a 5-Star 🌟🌟🌟🌟🌟 rating in the recipe card, and if you enjoyed it, please leave a comment further down on the page. Thank you!
Homemade Vanilla Pudding Recipe
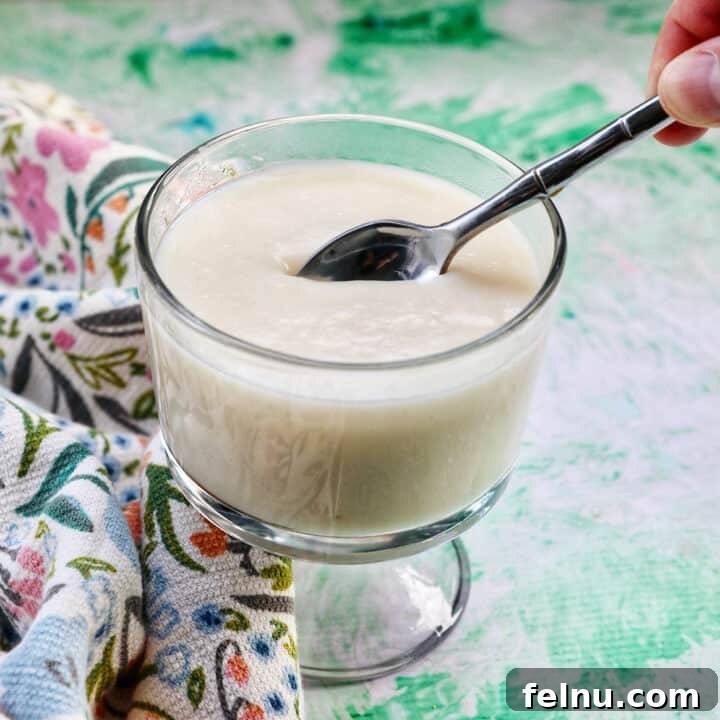
Pin
Equipment
- 1 saucepan
Ingredients
- 2 cups milk
- ½ cup granulated sugar
- 3 Tablespoons cornstarch
- ¼ teaspoon kosher salt
- 1 Tablespoon unsalted butter.
- 1 teaspoon vanilla extract
Instructions
- In a small bowl whisk together the sugar, cornstarch and salt. Set aside.
- In a medium saucepan, heat cold milk over medium heat, until small bubbles form along the sides.
- Whisk in the dry ingredients (the mixture of sugar, cornstarch, and salt). Stir while it’s cooking, and allow it to thicken up enough to coat the back of a wooden spoon.
- When the pudding has thickened up, remove the pan from the heat and immediately stir in the vanilla extract and butter until well combined.
- Chill in the refrigerator for at least 15 minutes before serving.
Notes
Storage: store vanilla pudding in an airtight container in the refrigerator for up to 3-5 days.
Nutrition
Nutrition information is automatically calculated, so should only be used as an approximation.