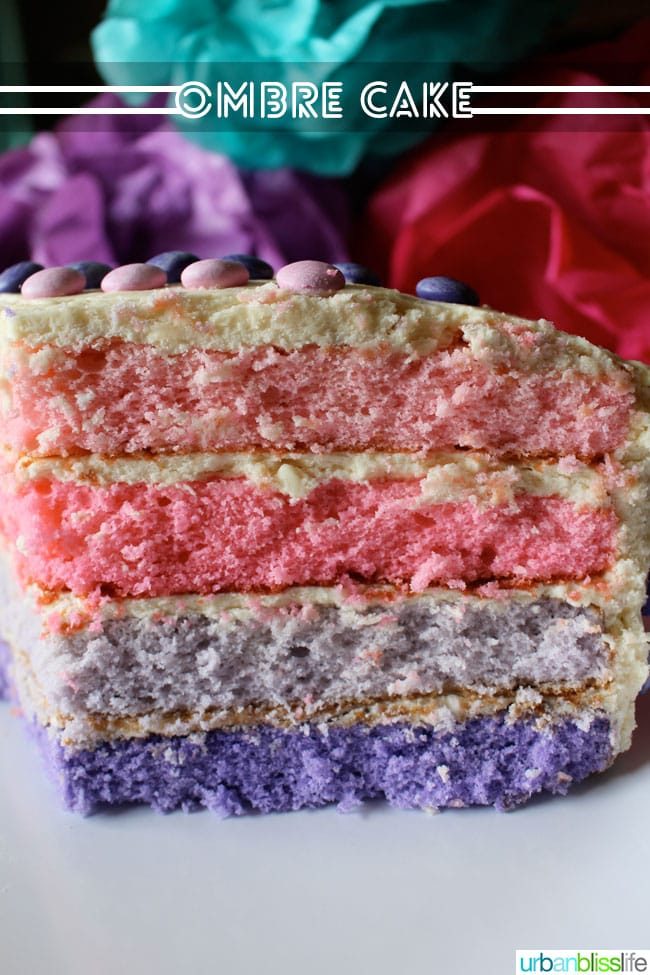
If you've ever wondered how to make an ombre cake, these step-by-step instructions will walk you through how to make one of these colorful, layered cakes of your own.
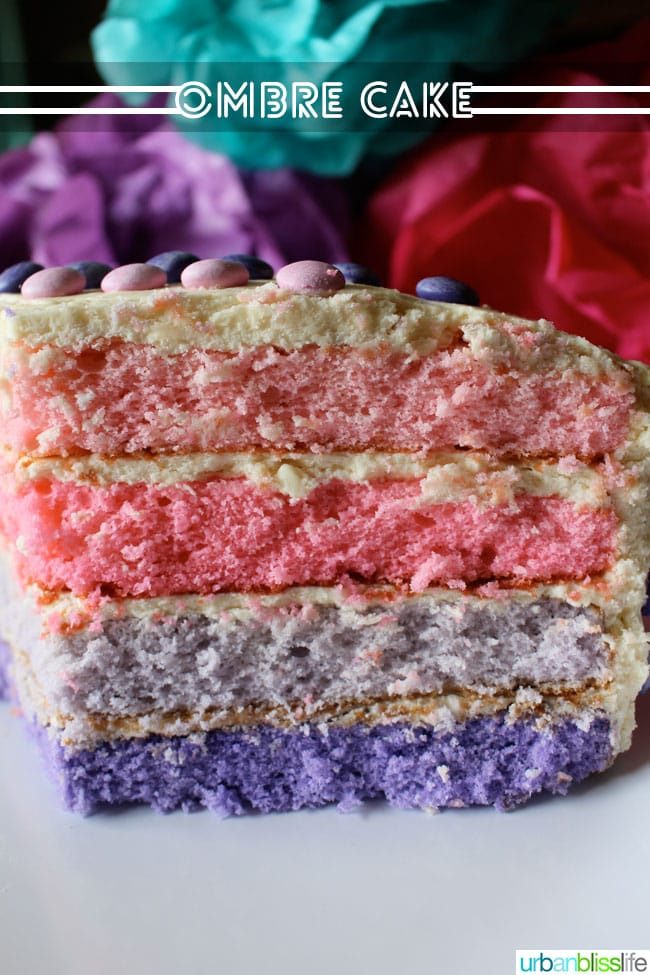
Ombre cakes are SO beautiful. We love the gradual increase and decrease in color from one layer to the next.
They're also easier to make than you might think! We made this cake for the daughter's birthday party, and it was a hit.
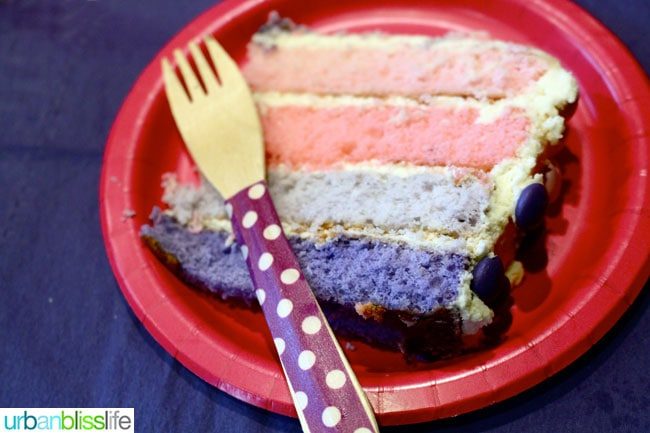
You can create ombre cakes that include subtle shade changes in one color. For example, from quite light pink to bright fuschia. Or, you can create layers of shade of different colors, as We did in the cake that you see in these photos. We did a layer of light pink, a layer of pink, a layer of light purple, and a layer of standard purple.
Ombre cakes are bright, vibrant ways to add even more color to birthdays, anniversaries, work events, and bridal and baby showers. They are also a lovely way to celebrate holidays like Saint Patrick's Day and Valentine's Day.
In this post, We'll walk you through the steps of how to create an ombre cake, using your favorite cake and frosting recipes. You can also use store-bought cake mix and store-bought frosting to make these cakes!
[feast_advanced_jump_to]Ombre cake ingredients
Powdered sugar – this is optional, but We sprinkle a bit of powdered sugar onto the lined cake pans before pouring the batter. This helps further prevent the cakes from sticking.
Cake batter – You can use your favorite vanilla cake recipe, or use store-bought cake mix. Make sure you make or buy enough to make four cake layers.
Food coloring – You can use food gel coloring or food coloring drops to create the ombre colors of your cakes.
Frosting – use your favorite frosting recipe! We have a great Vegan Chocolate Frosting recipe here. Make sure you make or buy enough to frost four cake layers.
Decorations – Get creative! Use sprinkles, M & M candies, and other edible decorations to bump up the style points of your cake!
Step-by-step ombre cake instructions
Here's how to create the layers of graduated color for an ombre cake.
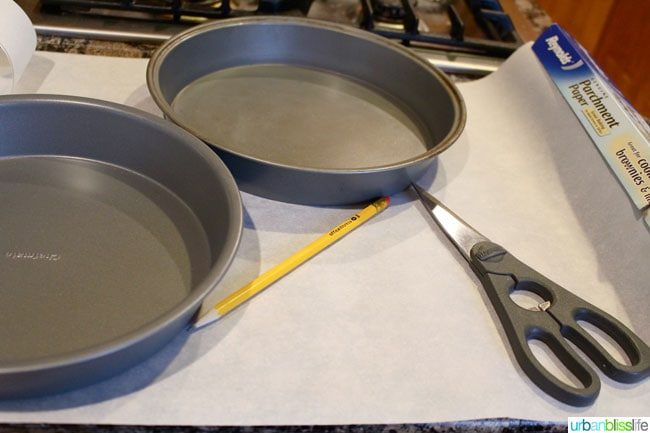
- Place the baking pans onto parchment paper. Using a pencil, trace the outside of the bottom of each pan.
- Place one parchment paper circle onto the bottom of each pan. If you'd like, you can lightly grease the pan with a little butter before adding the parchment paper, to help keep the paper in place.
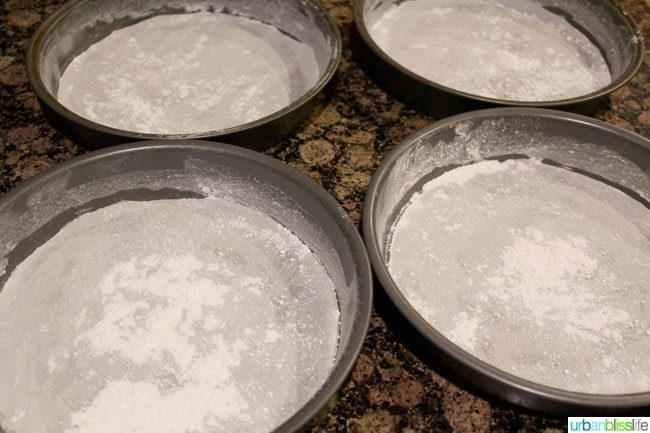
3. Optional step: sprinkle each prepped pan with a light dusting of powdered sugar. This helps ensure that the cake doesn't stick to the pan or the parchment paper. We have found that when We simply use parchment paper on its own, the cakes tend to still stick. Plus: the powdered sugar adds a little extra sweetness to the cake!
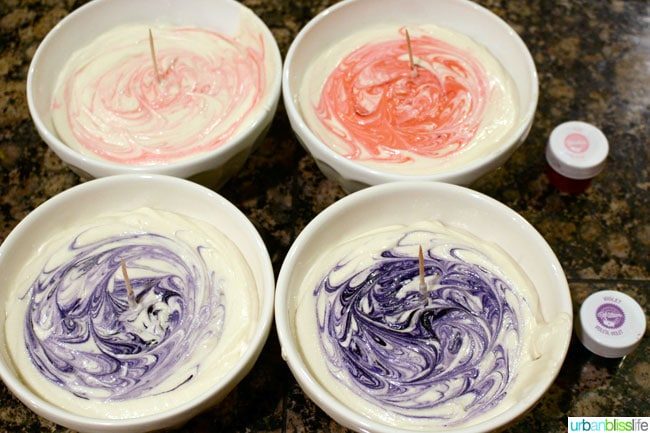
4. Once you've chosen the icing colors you would like to use, place a small toothpick full of color in one bowl. Then in the next, place double that amount of color to make it slightly darker. Continue until you get a noticeable difference in color between the bowls.
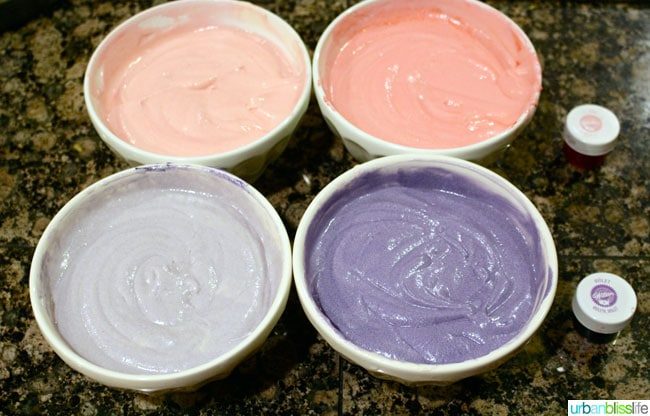
5. Swirl the gel coloring into the batter as evenly as possible. When done, it should look similar to the photo above (except using your colors).
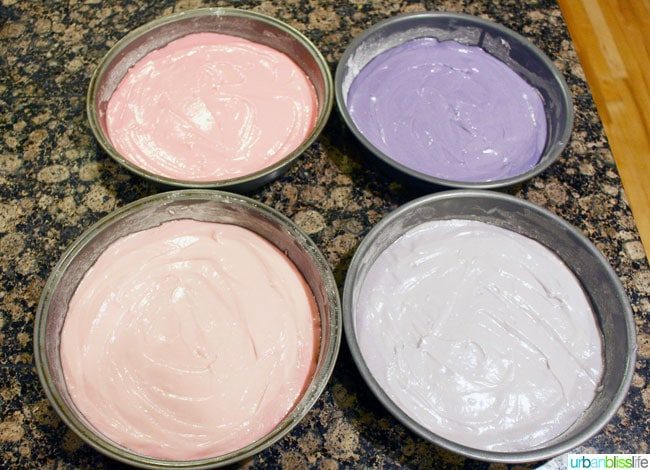
6. Next, simply pour each bowl into a separate prepared baking pan.
7. Bake according to your cake recipe's directions.
Assemble the ombre cake
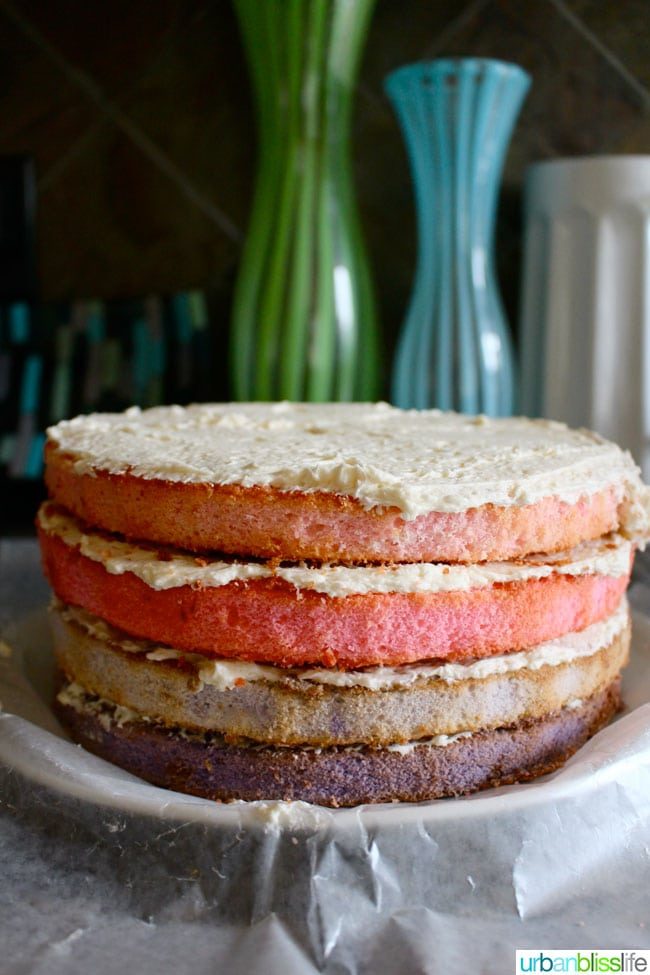
Once each layer is done baking, it's time to assemble the ombre cake!
- Allow the cakes to cool at room temperature until they are no longer hot to the touch.
- Remove the parchment paper.
- Stack the layers from lightest to darkest. You can put the lightest layer at the top and the darkest at the bottom, or do the opposite. It's up to you!
- While stacking, spread a thin layer of frosting between each cake layer. You don't want the cake to be TOO tall.
- Then finish by frosting the outside of the cake. Use a cake turntable to make it simple to decorate your cake. We suggest using an offset spatula to spread the frosting evenly across the cake. Then use a bench scraper to help smooth out the sides of the cake.
Decorate the ombre cake
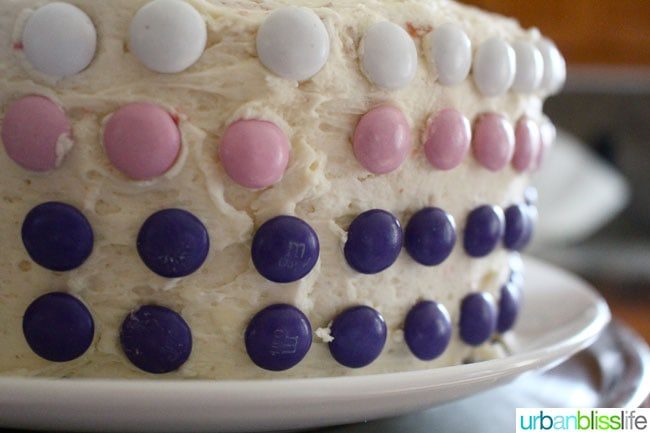
Now it's time to decorate!
If you have a specific theme for your cake, stick to decorations that follow that theme and color scheme to make the most impact.
Some ideas for decorations:
- M & Ms in the same colors and shades as the ombre cake layers.
- Funfetti sprinkles in coordinating cake colors.
- Chocolate chips or white chocolate chips.
- Macarons colored to match your ombre cake.
- Line the bottom of the cake with madeleines decorated in the same color theme as your ombre cake. You can stand them up and have them stick to the outside frosting all around the cake. Or simply place a few on top.
For the The Little Pony Equestria Girls theme cake that We made for the daughter's birthday, We kept the decorations quite simple on the outside. We used with rows of M & M's around the sides to match the interior cake layer coloring.
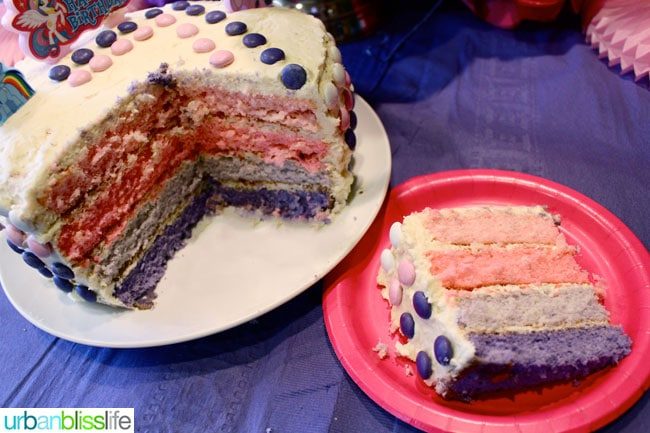
Ombre cakes take a bit more time but they are well worth the effort!
Kitchen tools and equipment
Here's what you need to make an ombre cake:
- Round baking pans. We use four 8-inch round baking pans to make ombre cakes. You can, of course, use more if you want to create more layers of colors. Be sure to adjust your cake and frosting recipe as needed if you want to create more layers.
- Parchment paper– Use parchment paper to prevent the cakes from sticking to the pans.
- Pencil– to trace the circles on parchment paper.
- Scissors – to cut out the parchment paper.
- Offset spatula – Use a large offset icing spatula to frost the cake and a bench scraper to smooth out the frosting.
More cake recipes to try
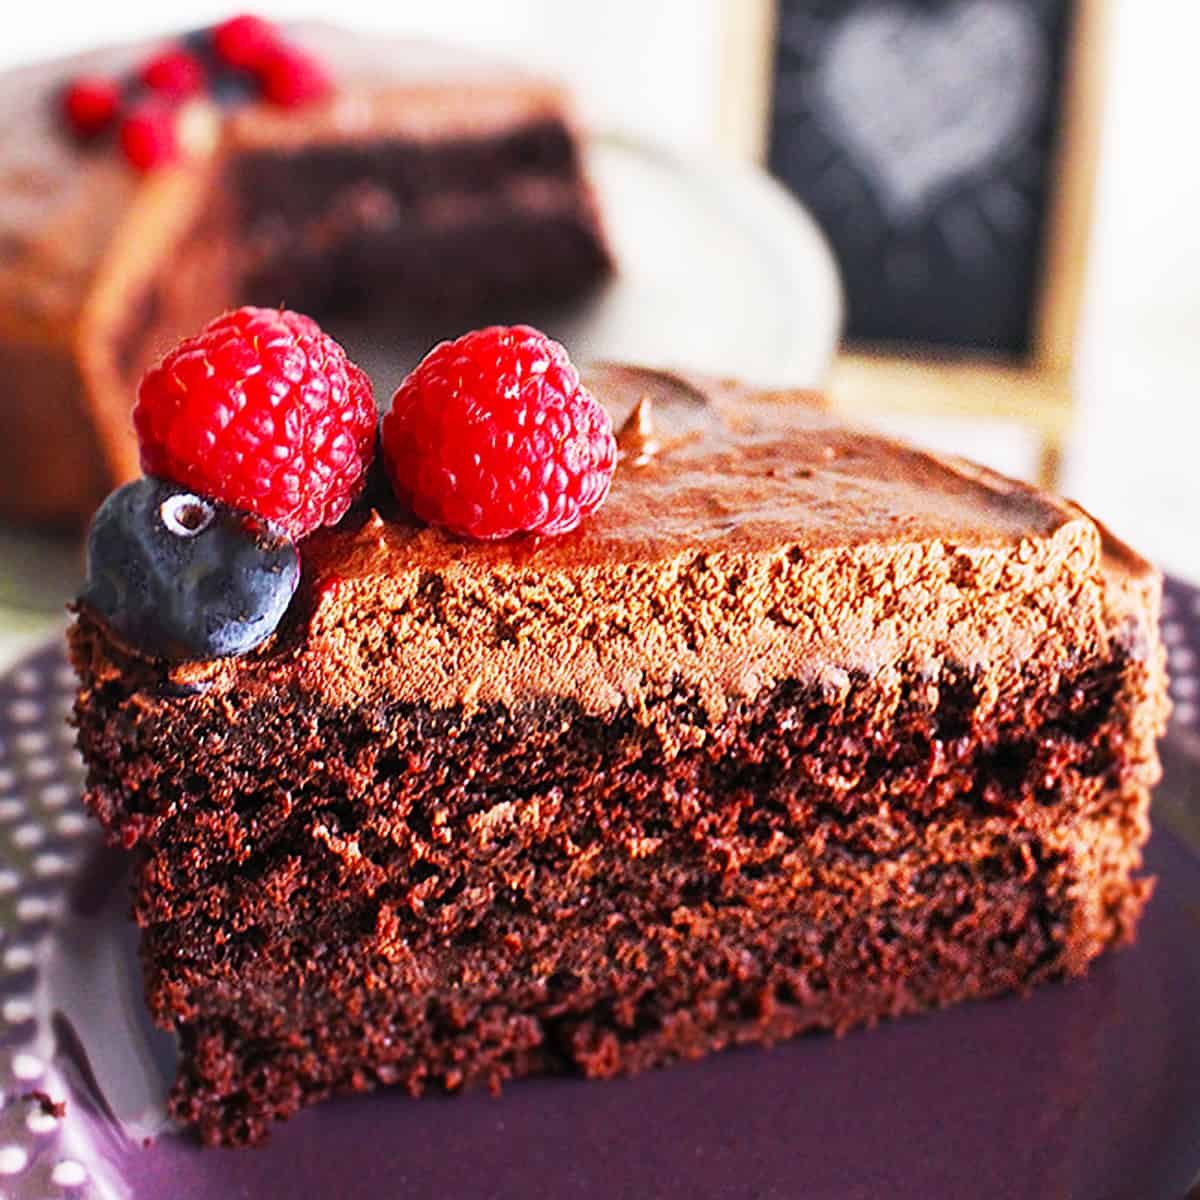 Vegan Chocolate Cake Recipe with Vegan Chocolate Frosting
- Mini Bundt Cakes with Citrus
- Best Cream Cheese Frosting
- Green Velvet Cake with Cream Cheese Frosting
How to Create an Ombre Cake
By Marlynn Schotland Prep Time: 5 mins Cook Time: 20 mins Baking Time: 35 mins Total Time: 1 hr Servings: 10 slices Follow these simple instructions to create your own beautiful layered ombre cake!Equipment
- 4 8-inch Round Baking Pans
- parchment paper
Ingredients
- 2 boxes cake mix
- food coloring
- 2 cups frosting
Instructions
- Make your favorite vanilla cake recipe according to the cake instructions. Divide the batter into four bowls and set aside.
- Place the baking pans onto parchment paper and, using a pencil, trace the outside of the bottom of each pan. We usually wipe the inside bottom of each pan with a little pat of butter, simply to keep the paper in place, then place one parchment paper circles onto the bottom of each pan.
- Sprinkle each with a light dusting of powdered sugar. This helps ensure that the cake doesn't stick to the pan or the parchment paper. We have found that when We simply use parchment paper on its own, the cakes tend to still stick.
- Once you've chosen the icing colors you would like to use, place a small toothpick full of color in one of the bowls containing batter. Then in the next bowl, place double that amount of color. And so on, until you get a noticeable difference in color between the bowls of batter. Completely swirl the gel coloring into the batter as evenly as possible.
- Next, simply pour each bowl into a separate prepared baking pan. Bake according to your cake recipe's directions. While the cakes are baking, make your favorite frosting recipe.
- After each layer is done baking, allow the cakes to cool completely at room temperature. Once the cakes are cool to the touch, remove the parchment paper. Use a cake turntable to make decorating easier. Start by stacking the cake layers from lightest to darkest color, or vice versa. It's up to you what order you stack the colors!
- As you stack, frost the top of each layer with a thin layer of frosting.
- Once the cake is assembled, frost the outside of the cake and decorate as desired.
Notes
Cake: Two boxes of your favorite cake mix should make 4 cake layers (2 layers per box). Frosting: One or two cans of your favorite storebought frosting should work. Or feel free to use the favorite Cream Cheese Frosting recipe!Nutrition
Calories: 574 kcal, Carbohydrates: 115 g, Protein: 4 g, Fat: 11 g, Saturated Fat: 3 g, Polyunsaturated Fat: 4 g, Monounsaturated Fat: 3 g, Trans Fat: 1 g, Sodium: 800 mg, Potassium: 79 mg, Fiber: 1 g, Sugar: 72 g, Calcium: 228 mg, Iron: 2 mgNutrition information is automatically calculated, so should only be used as an approximation.
Want more baking inspiration & ideas?
Check out the latest cookbook: The Super Simple Teen Baking Cookbook!