
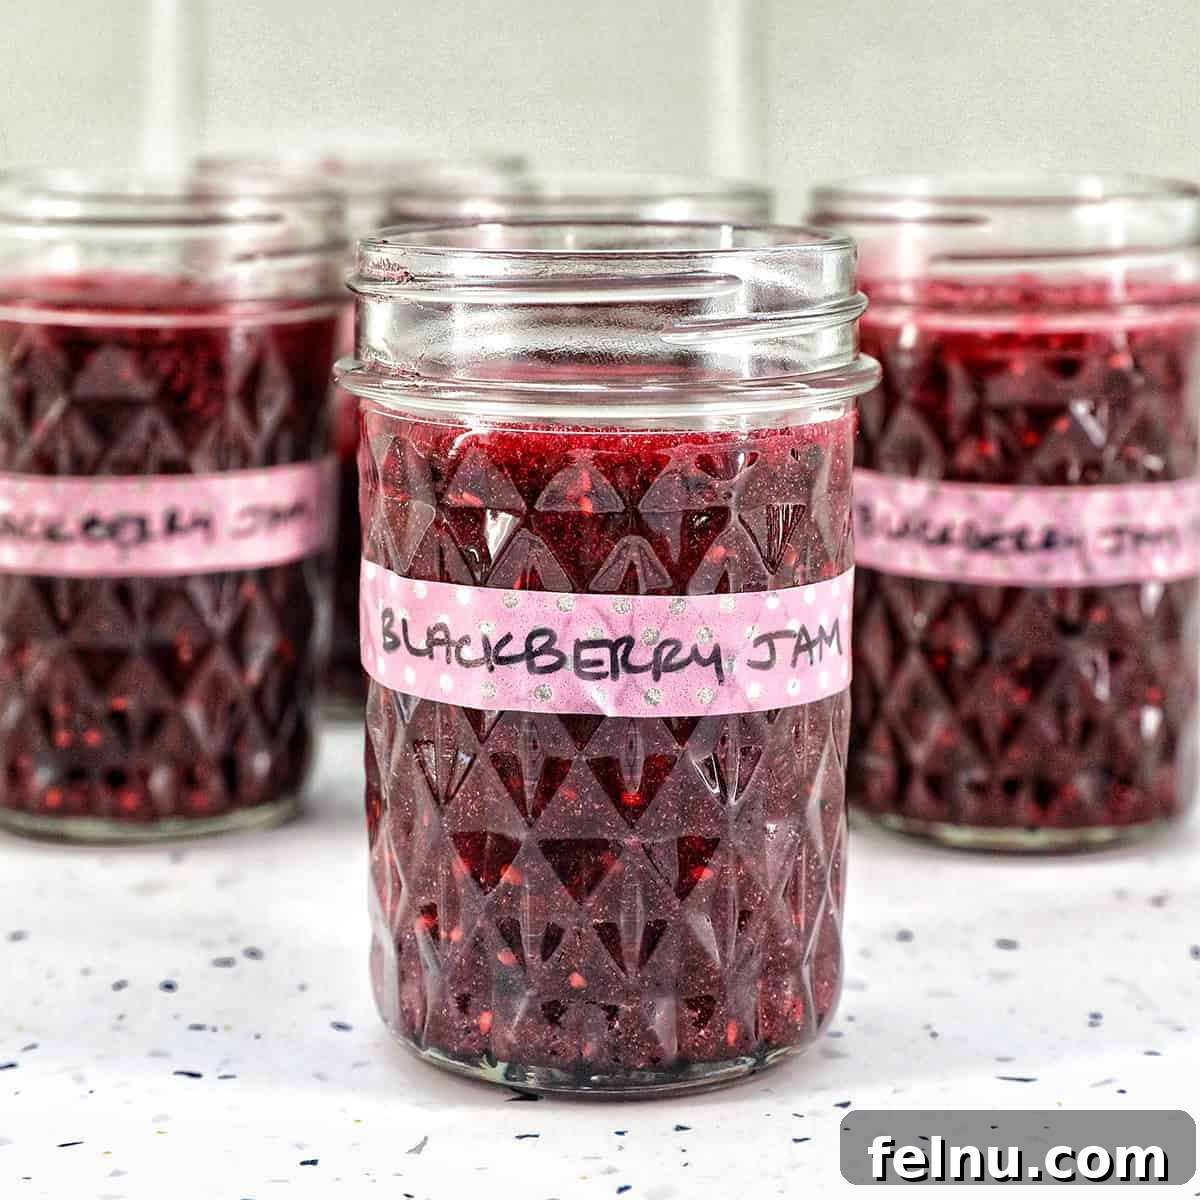
Easy Homemade Blackberry Freezer Jam Recipe: Preserve Summer’s Sweetness Without Canning
There’s nothing quite like the taste of homemade jam, and when it comes to capturing the vibrant flavors of summer berries, blackberry freezer jam stands out as a true delight. This incredible recipe offers the simplest, most delicious way to create luscious, fruit-packed jam without the fuss and extensive equipment of traditional canning methods. Say goodbye to boiling water baths and pressure canners; with freezer jam, you can enjoy the exquisite taste of fresh, ripe blackberries all year long with minimal effort. It’s the perfect project for both seasoned home cooks and beginners eager to dive into the rewarding world of preserves.
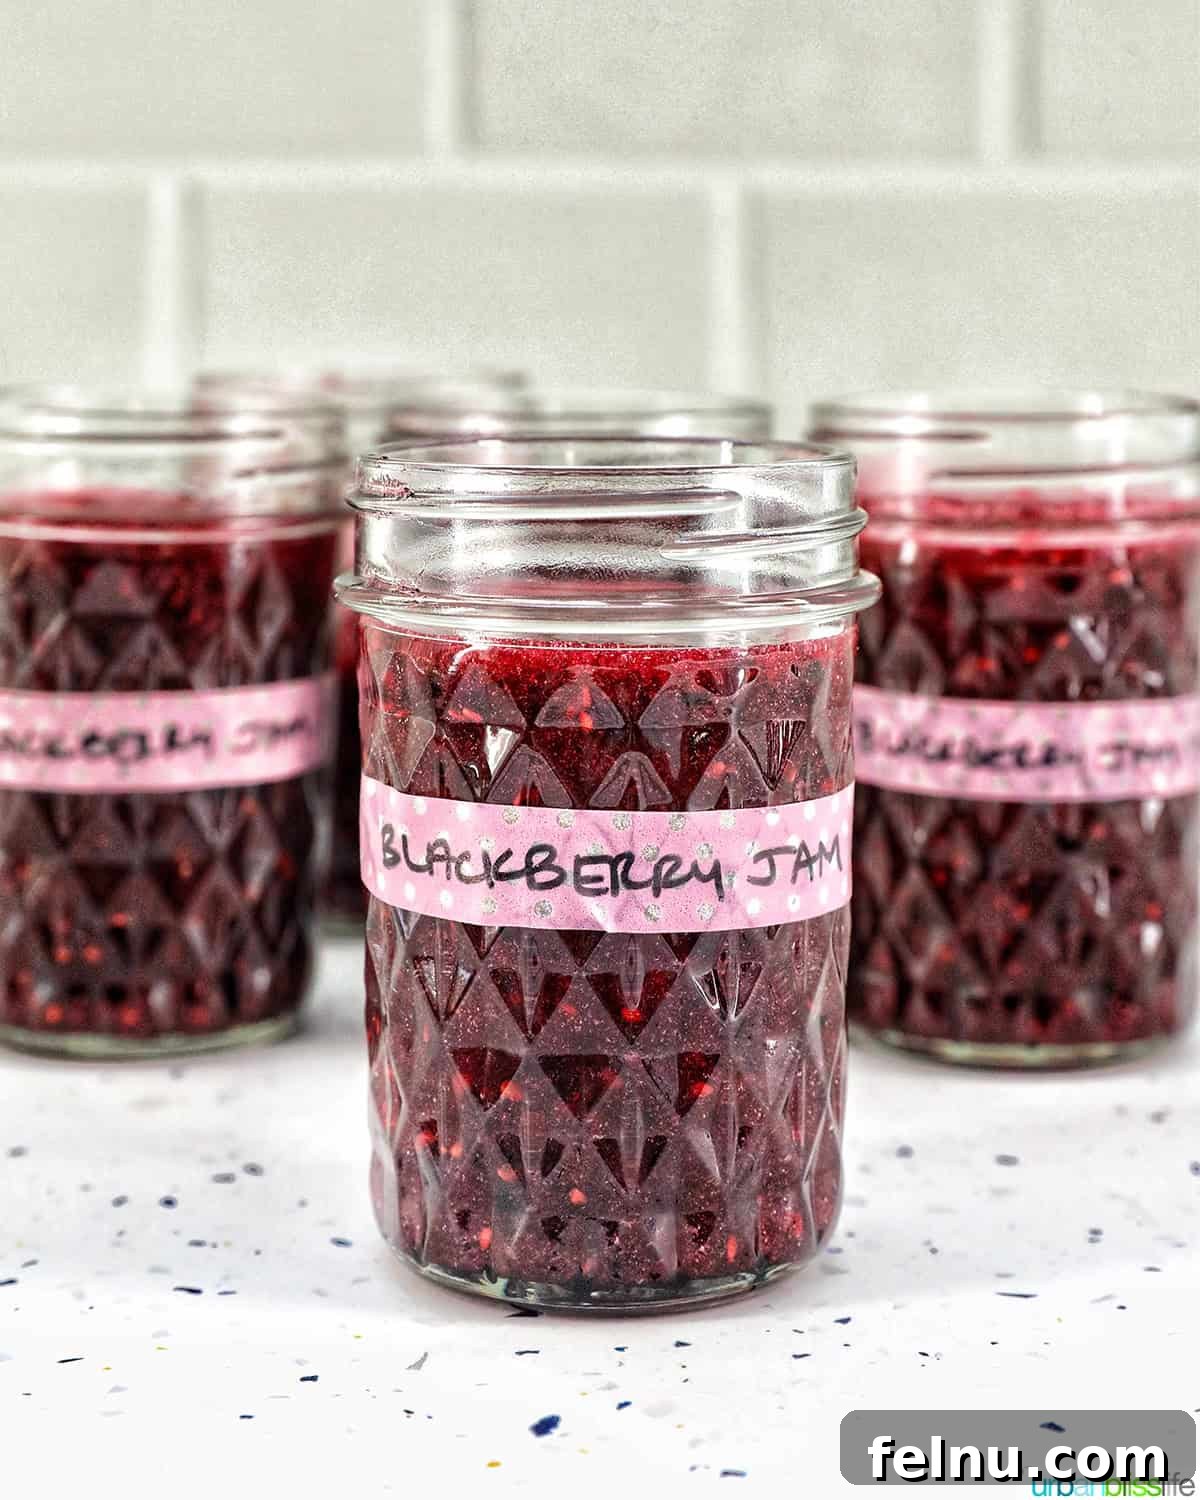
Summer is undeniably one of the most cherished seasons for food lovers, a time when nature’s bounty is at its peak. Farmers’ markets overflow with vibrant, sun-ripened fruits and vegetables, and the opportunity to pick your own berries directly from the farm is a cherished tradition for many families. I fondly recall spending countless summer days with my children, harvesting an abundance of raspberries, strawberries, blueberries, marionberries, and of course, plump blackberries. These freshly picked gems weren’t just for immediate enjoyment; they were carefully frozen to be savored throughout the year in a variety of beloved treats, from Banana Blackberry Oatmeal Muffins to flaky Blackberry Scones.
Among all the delicious uses for fresh summer blackberries, transforming them into freezer jam holds a special place. If the idea of making jam from scratch seems daunting, let me assure you: freezer jam is revolutionary in its simplicity. It requires no specialized canning skills or equipment, making it an ideal recipe for anyone new to homemade preserves. This guide will walk you through every step, ensuring you achieve perfect, flavorful blackberry jam every time.
Jump to Recipe
🫐 What Exactly is Freezer Jam?
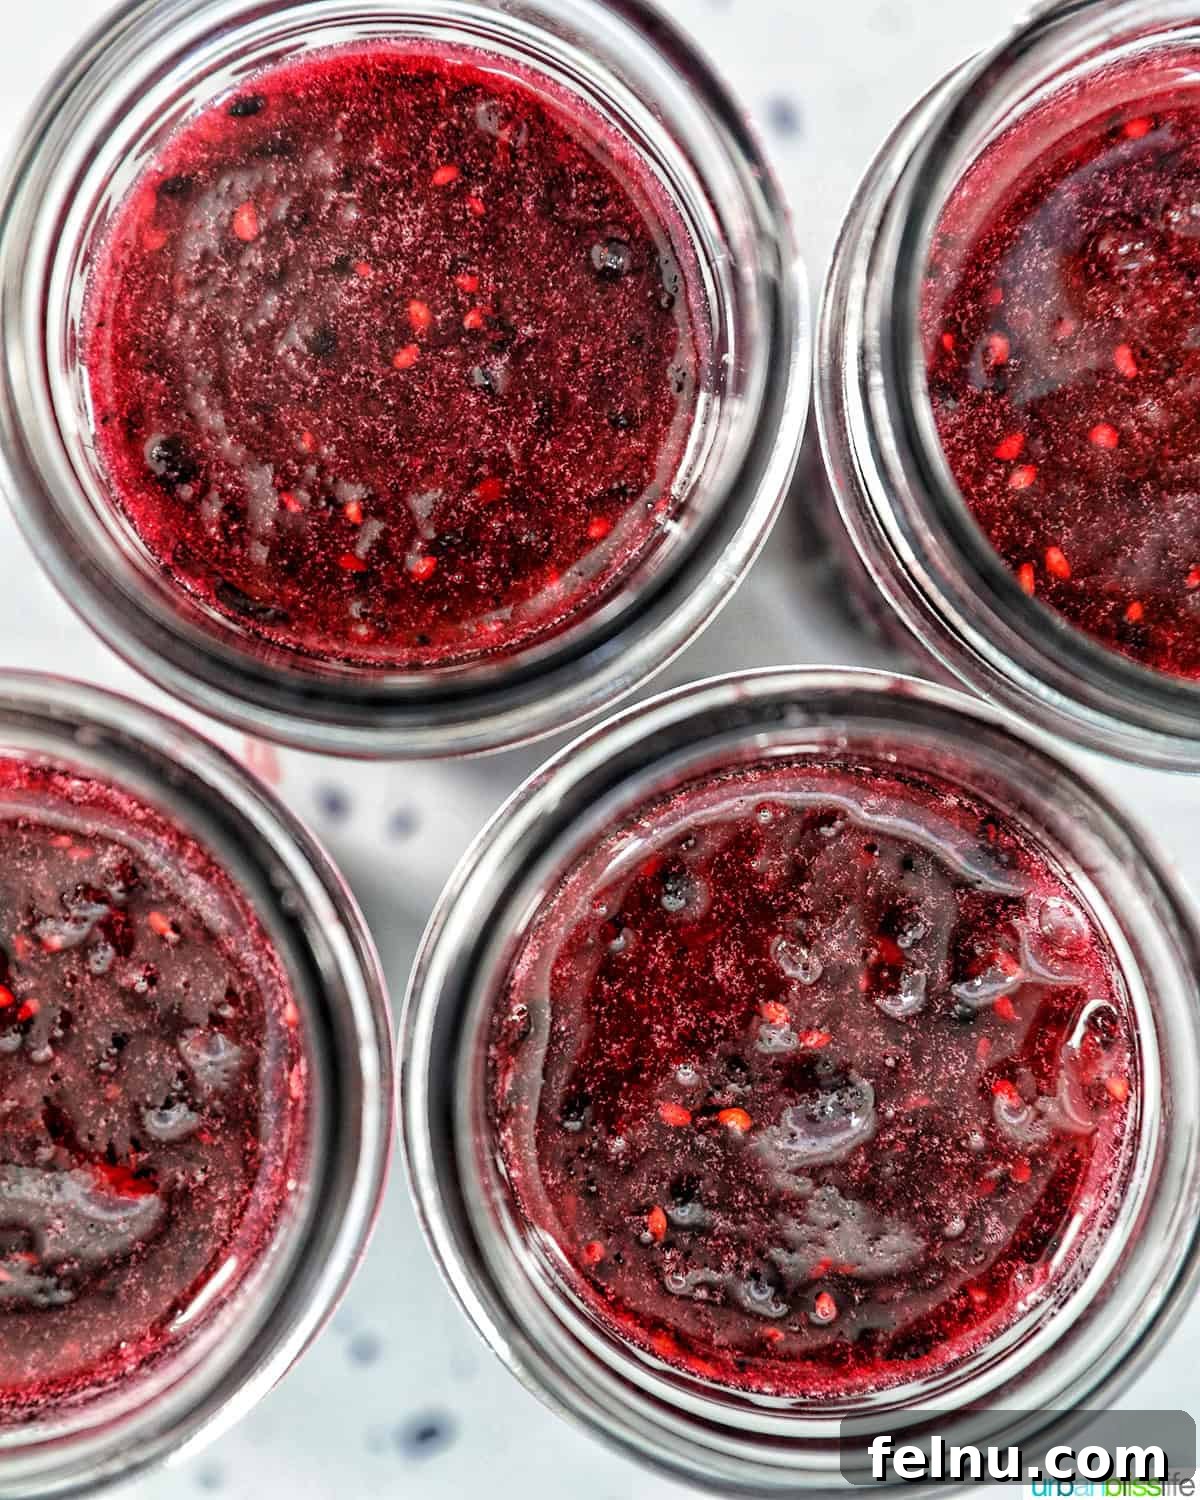
Freezer jam is a unique and incredibly popular method of preserving fruit that bypasses the traditional heat-processing steps of water bath or pressure canning. The name itself gives away its primary distinction: it’s stored in the freezer, not on a pantry shelf. Unlike conventional jams that rely on high heat to create a vacuum seal and ensure shelf stability, freezer jam maintains its integrity and freshness through freezing.
This preservation technique involves a straightforward process: fresh fruit is crushed and combined with sugar and a specific type of pectin designed for freezer use. The mixture is then poured into clean jars and stored in the freezer. The freezing temperature inhibits the growth of bacteria and preserves the jam’s natural flavor, vibrant color, and nutritional content far better than prolonged cooking. This results in a jam that tastes remarkably like fresh fruit, making it a favorite for those who prefer a less cooked, brighter preserve.
❤️ Why You’ll Love This Easy Blackberry Freezer Jam Recipe
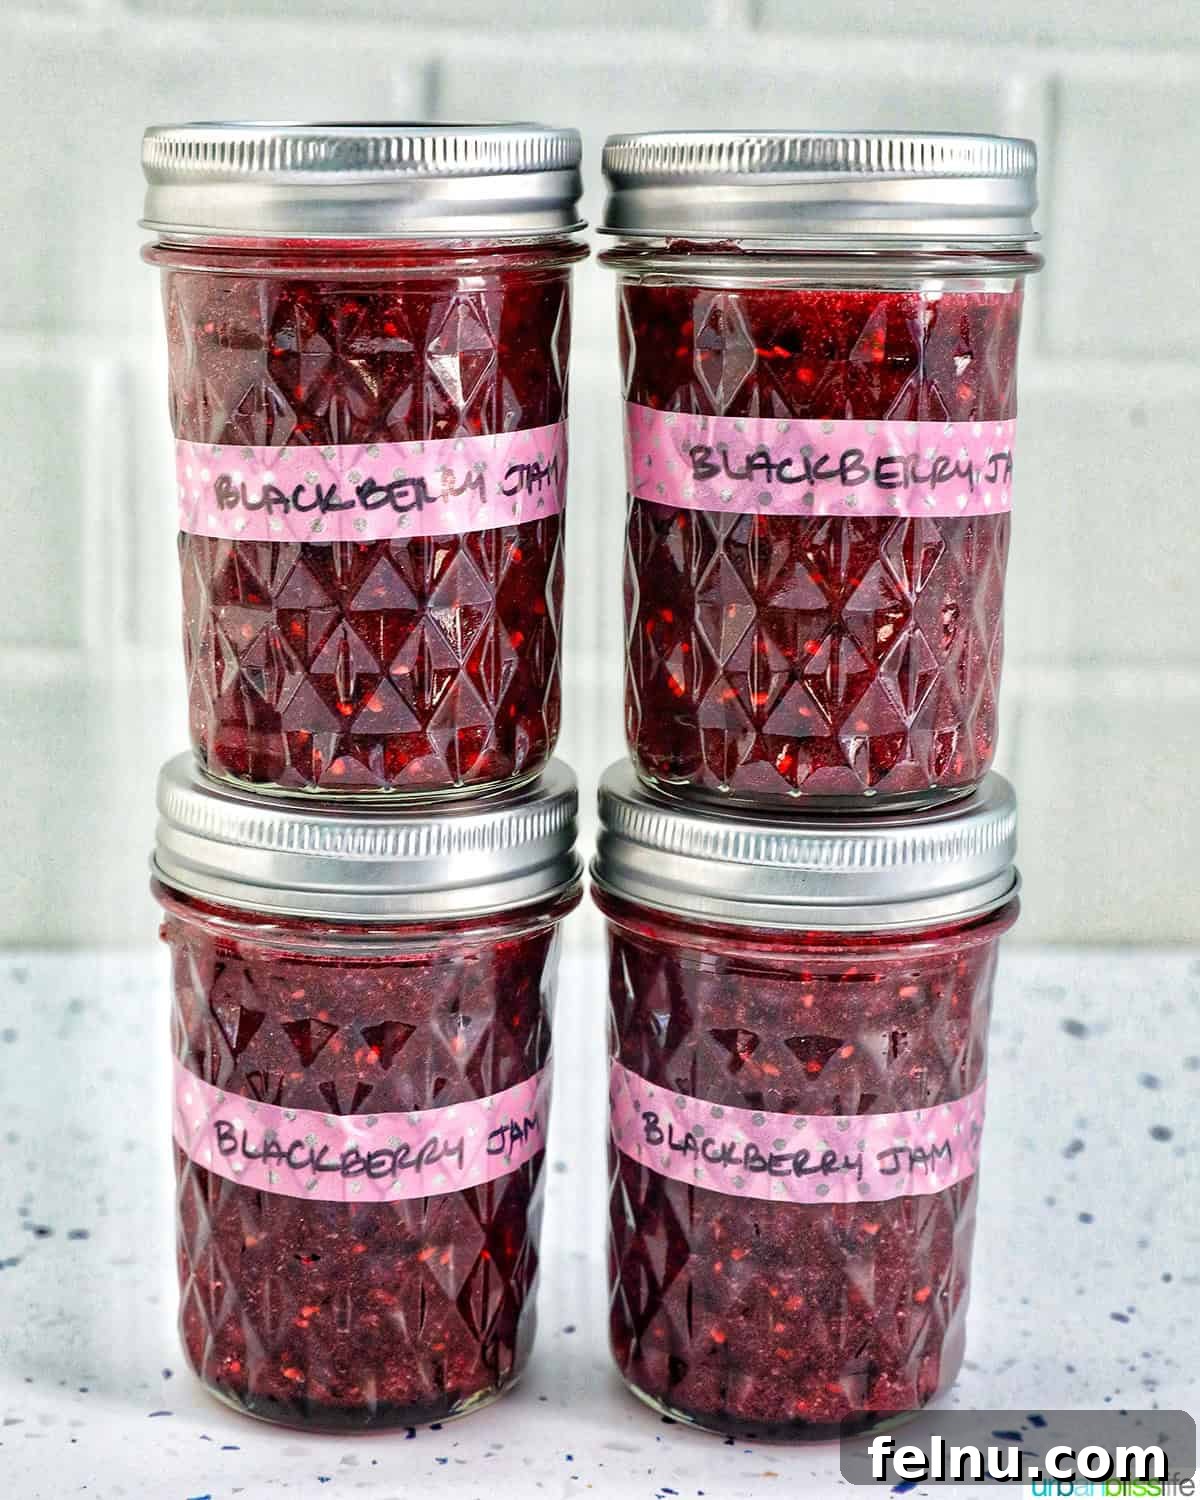
In my opinion, this simple recipe for homemade blackberry freezer jam surpasses traditional canned jam in several key ways. It’s a game-changer for anyone looking to enjoy fresh fruit preserves with minimal fuss and maximum flavor. Here’s why you’ll absolutely adore making and eating this jam:
- Unmatched Fresh Taste and Vibrant Color: One of the most significant advantages of freezer jam is how it preserves the authentic taste and brilliant color of fresh fruit. Because the fruit isn’t subjected to extensive cooking, its natural flavor profile remains bright, bold, and pure. The blackberries retain their deep, jewel-toned hue, making each jar a visual as well as a culinary delight. It’s like tasting summer in every spoonful.
- Remarkably Fast and Easy Preparation: Forget the intimidating steps and specialized equipment associated with traditional canning. Making freezer jam is incredibly straightforward and requires far less time. There’s no need for sterilizing jars in a hot water bath, precise timing for processing, or specialized tools like canning racks and jar lifters. The process largely involves mashing fruit, mixing ingredients, and pouring the jam into containers. This simplicity makes it a fantastic entry point for anyone new to making preserves.
- Retains More Nutrients with Less Heat: Traditional canning involves cooking fruit at high temperatures for extended periods, which can degrade some of the heat-sensitive vitamins and nutrients. With freezer jam, the fruit is cooked minimally, if at all, which helps to preserve more of its natural goodness. You get a healthier spread that’s closer to the raw fruit’s nutritional value.
- Option for Lower Sugar Content: While sugar is essential for both flavor and setting in jam, many freezer jam recipes often allow for a slightly lower sugar content compared to their traditionally canned counterparts. This means you can enjoy a healthier option that still sets beautifully and tastes wonderfully sweet, allowing the natural fruit flavor to shine through even more. Always follow the specific recipe’s sugar recommendations for proper setting when using pectin.
- Incredible Versatility and Customization: Since freezer jam isn’t bound by the stringent preservation rules of canned jam, it offers much more flexibility for experimentation. You can easily adjust flavor profiles, mix different types of berries, or even incorporate subtle additions like a hint of vanilla or a touch of spice. This versatility encourages creativity in the kitchen, allowing you to tailor your jam precisely to your taste preferences.
🛒 Essential Ingredient Notes for Perfect Blackberry Freezer Jam
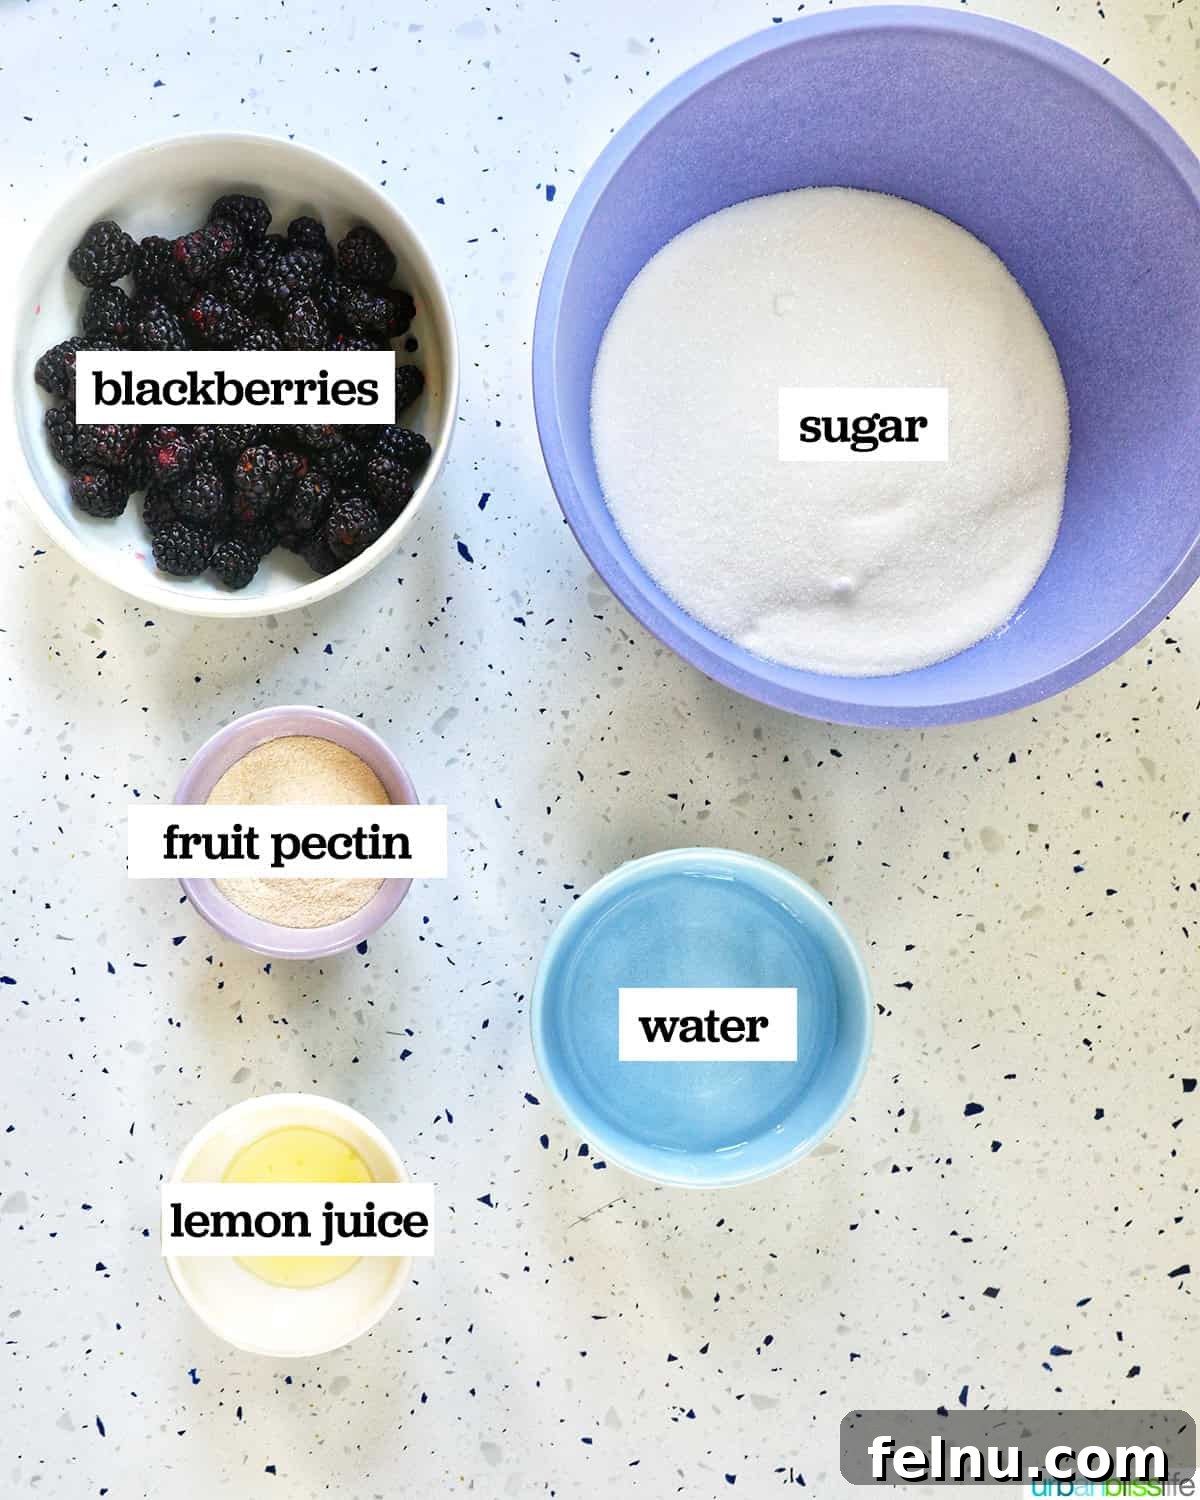
Another fantastic aspect of making blackberry freezer jam is the simplicity of its ingredient list. You only need five basic items, most of which you likely already have in your pantry or can easily find at any local grocery store. Using high-quality ingredients will yield the most delicious results, so pay attention to these notes:
- Fresh Blackberries: The star of our show! Always opt for fresh, ripe blackberries for the best flavor and texture. Look for berries that are plump, dark in color, and soft but not mushy. Before using, wash them gently under cool water and pat them thoroughly dry to remove any excess moisture. If fresh berries are out of season, high-quality frozen blackberries (thawed and drained) can also work, though fresh will always offer the most vibrant taste.
- Granulated Sugar: This recipe specifically calls for granulated sugar. It’s crucial not to substitute it with other sugar types like brown sugar, powdered sugar, or low-sugar sweeteners, as this will significantly alter the jam’s texture and ability to set properly. The precise amount of sugar specified in the recipe is critical for the pectin to activate correctly and ensure your jam reaches the desired consistency. Do not reduce the quantity unless using a pectin specifically designed for low-sugar recipes.
- Powdered Fruit Pectin: Pectin is the gelling agent that gives jam its structure. For this recipe, you must use powdered fruit pectin. Liquid pectin behaves differently and cannot be substituted in equal measure, or your jam will likely not set. Ensure your pectin is fresh and not expired for the best results. Most standard powdered pectin brands found in the baking aisle will work perfectly.
- Fresh Lemon Juice: A splash of fresh lemon juice is more than just a flavor enhancer. It provides essential acidity that helps the pectin activate and contributes to the jam’s overall brightness and balance. Use freshly squeezed lemon juice for the best flavor; bottled lemon juice is a suitable alternative if fresh isn’t available, but fresh will always be superior.
- Water: A small amount of water is used to help dissolve the pectin before it’s combined with the fruit mixture. This ensures even distribution and proper activation of the gelling agent.
✅ Step-by-Step Instructions: Crafting Your Blackberry Freezer Jam
Making homemade blackberry freezer jam is a rewarding experience, and these detailed instructions, accompanied by helpful photos, will guide you through each easy step. You’ll find precise measurements for all ingredients in the comprehensive recipe card located at the bottom of this post.
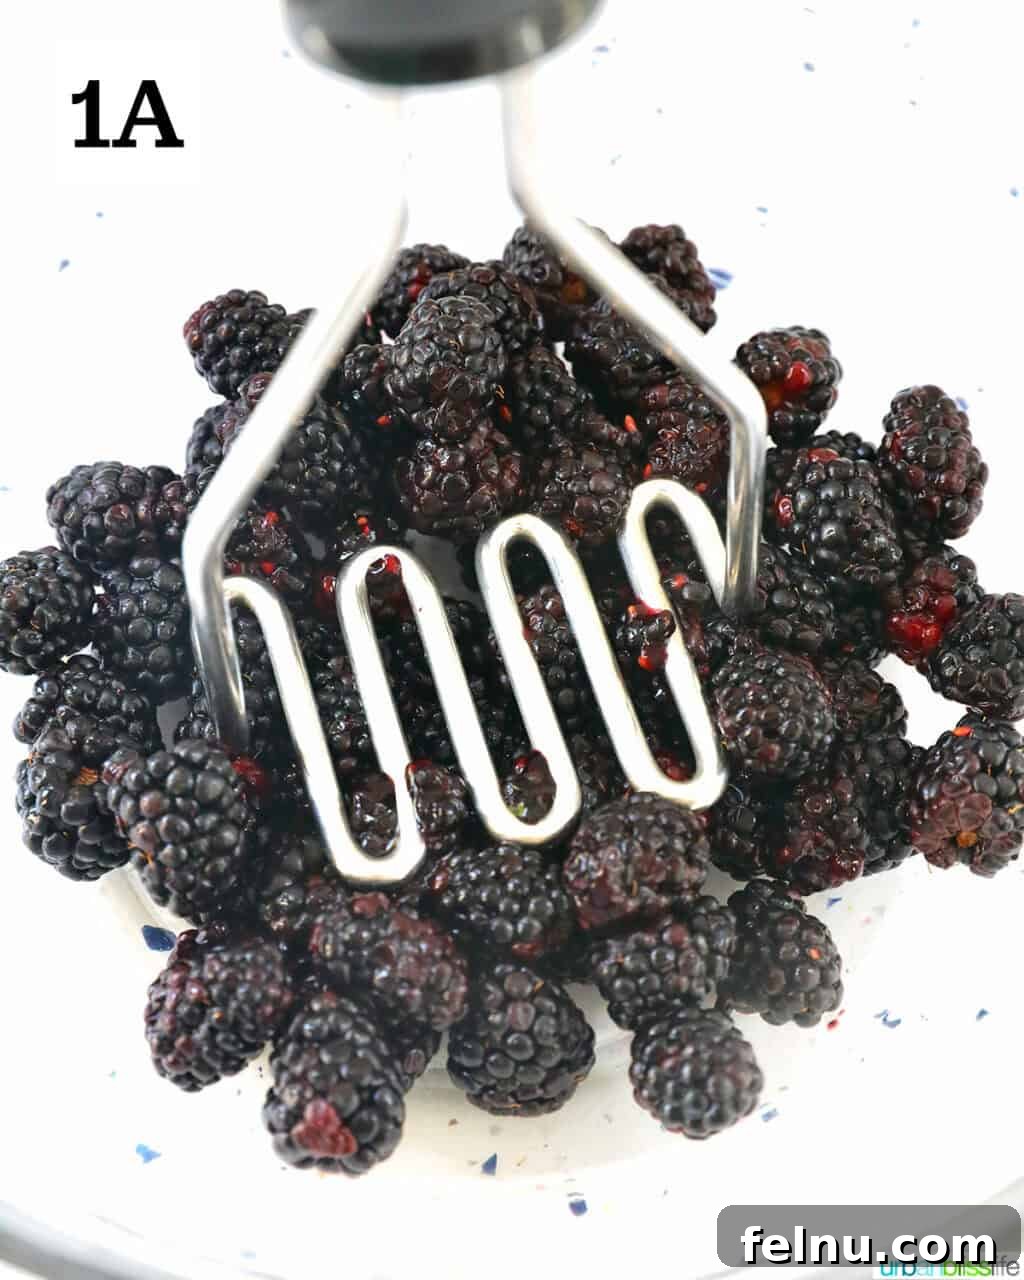
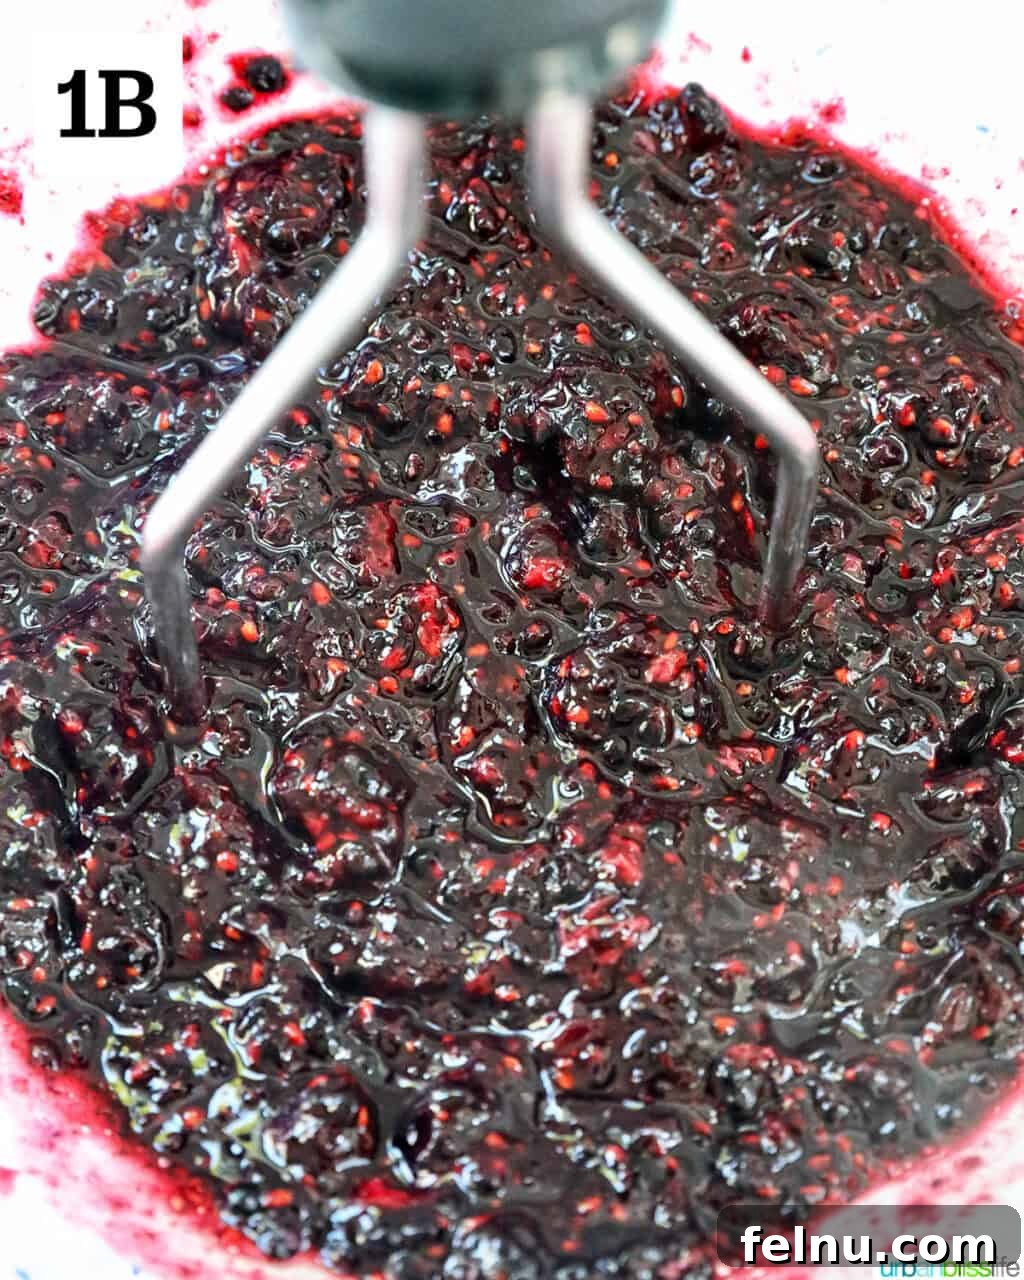
- Prepare the Blackberries: Begin by placing your clean, dry blackberries into a large mixing bowl. Using a potato masher, thoroughly crush the berries until there are no large clumps remaining. Aim for a consistency where most of the berries are broken down, releasing their juices. If you prefer a seedless jam, please refer to the “Recipe FAQs” section below for detailed instructions on how to strain the seeds before this step.
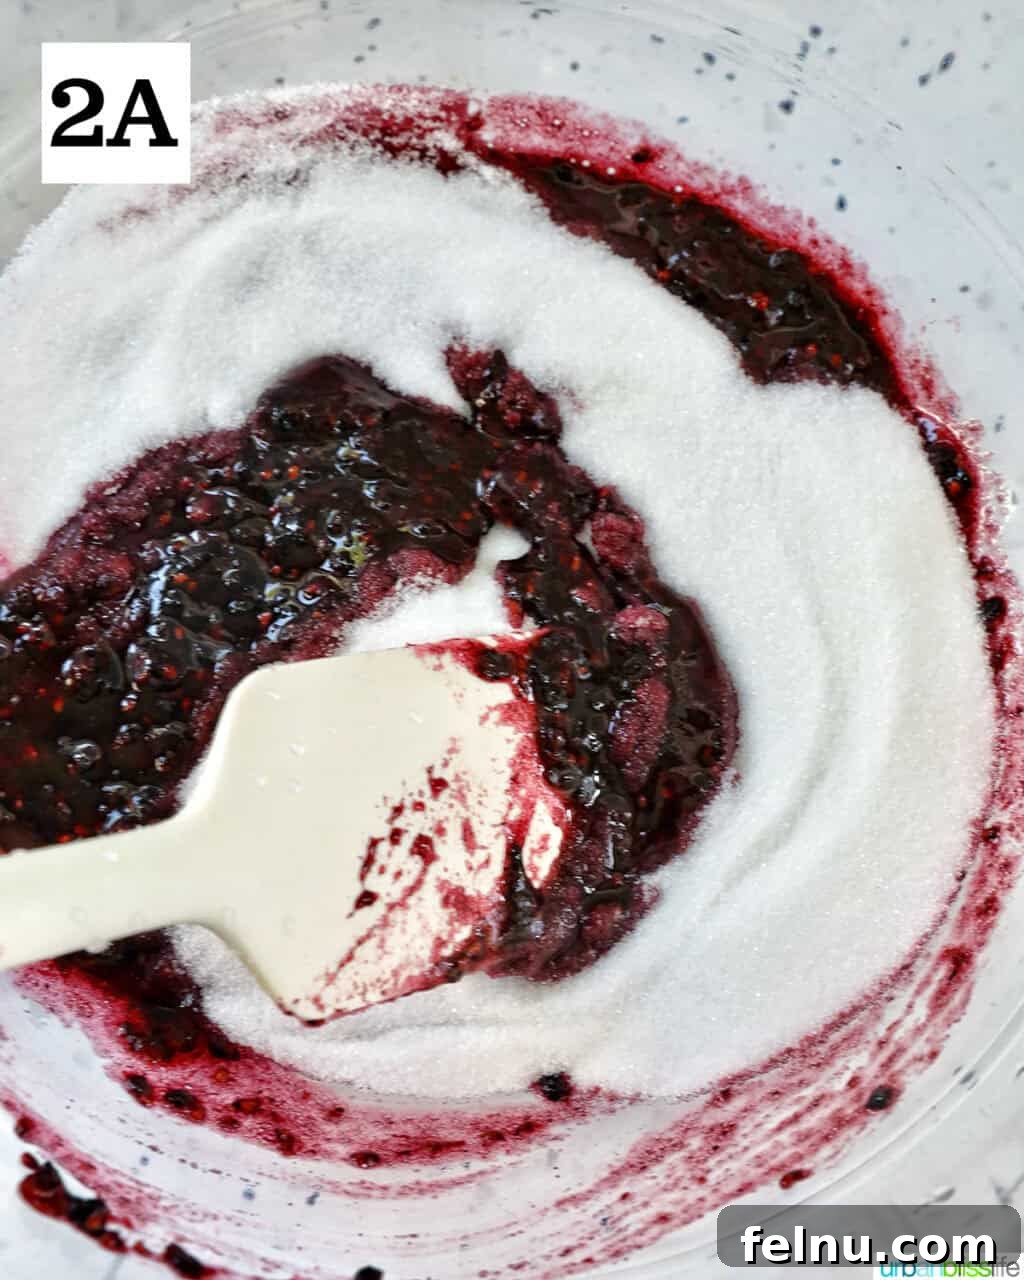
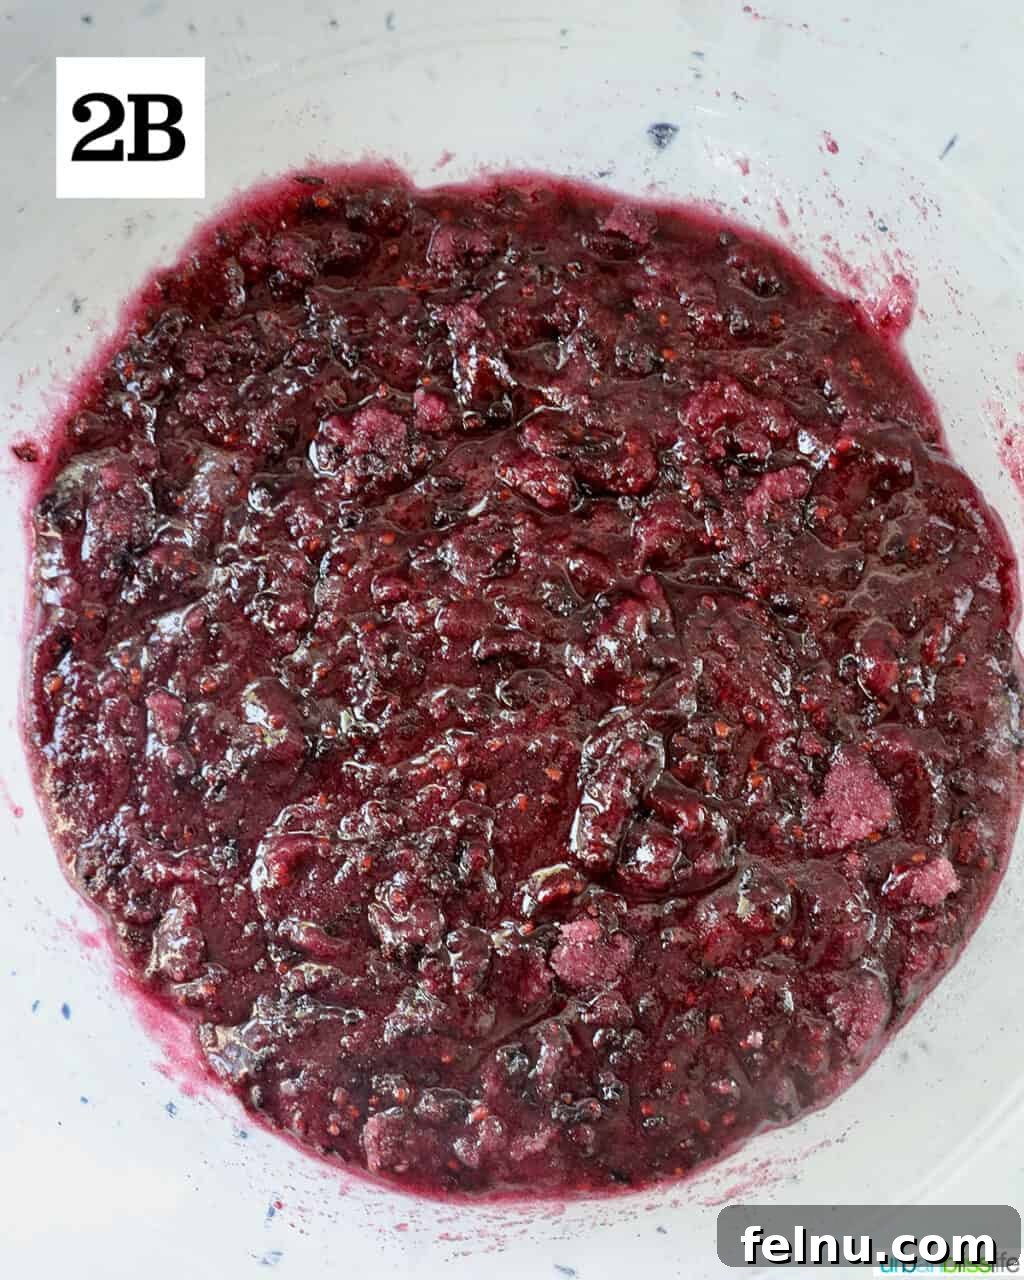
2. Combine with Sugar: Add the granulated sugar to the bowl with the mashed blackberries. Stir vigorously with a spoon or spatula until the sugar is thoroughly incorporated and you no longer see visible white sugar crystals. Once combined, set this mixture aside and let it rest for at least 10 minutes to allow the sugar to begin dissolving and draw out more juice from the berries.
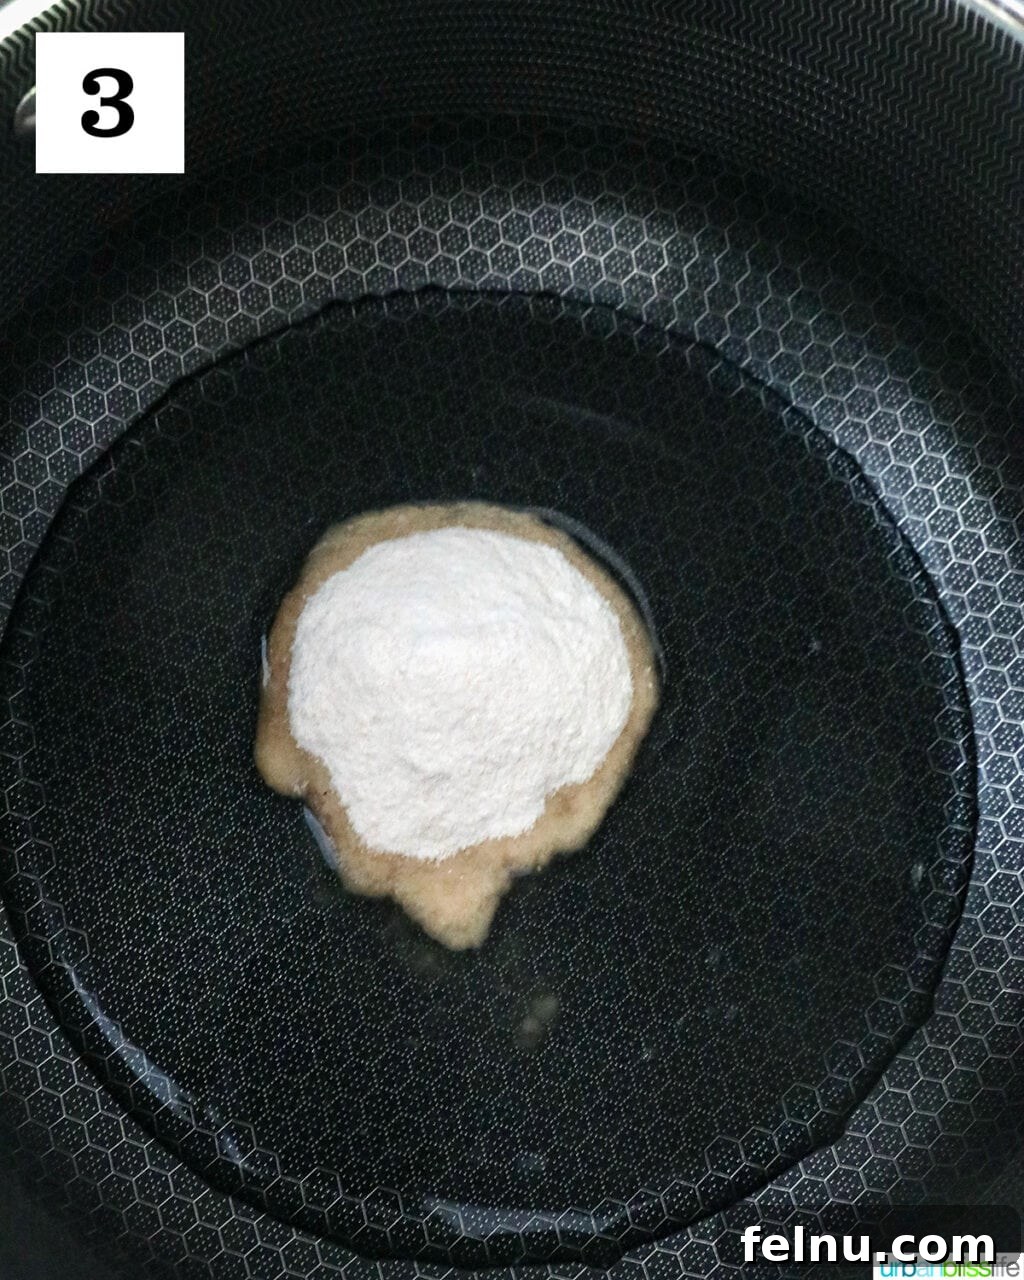
3. Prepare the Pectin Mixture: In a medium-sized saucepan, combine the measured water, fresh lemon juice, and powdered fruit pectin. Whisk these ingredients together until the pectin is well dispersed.
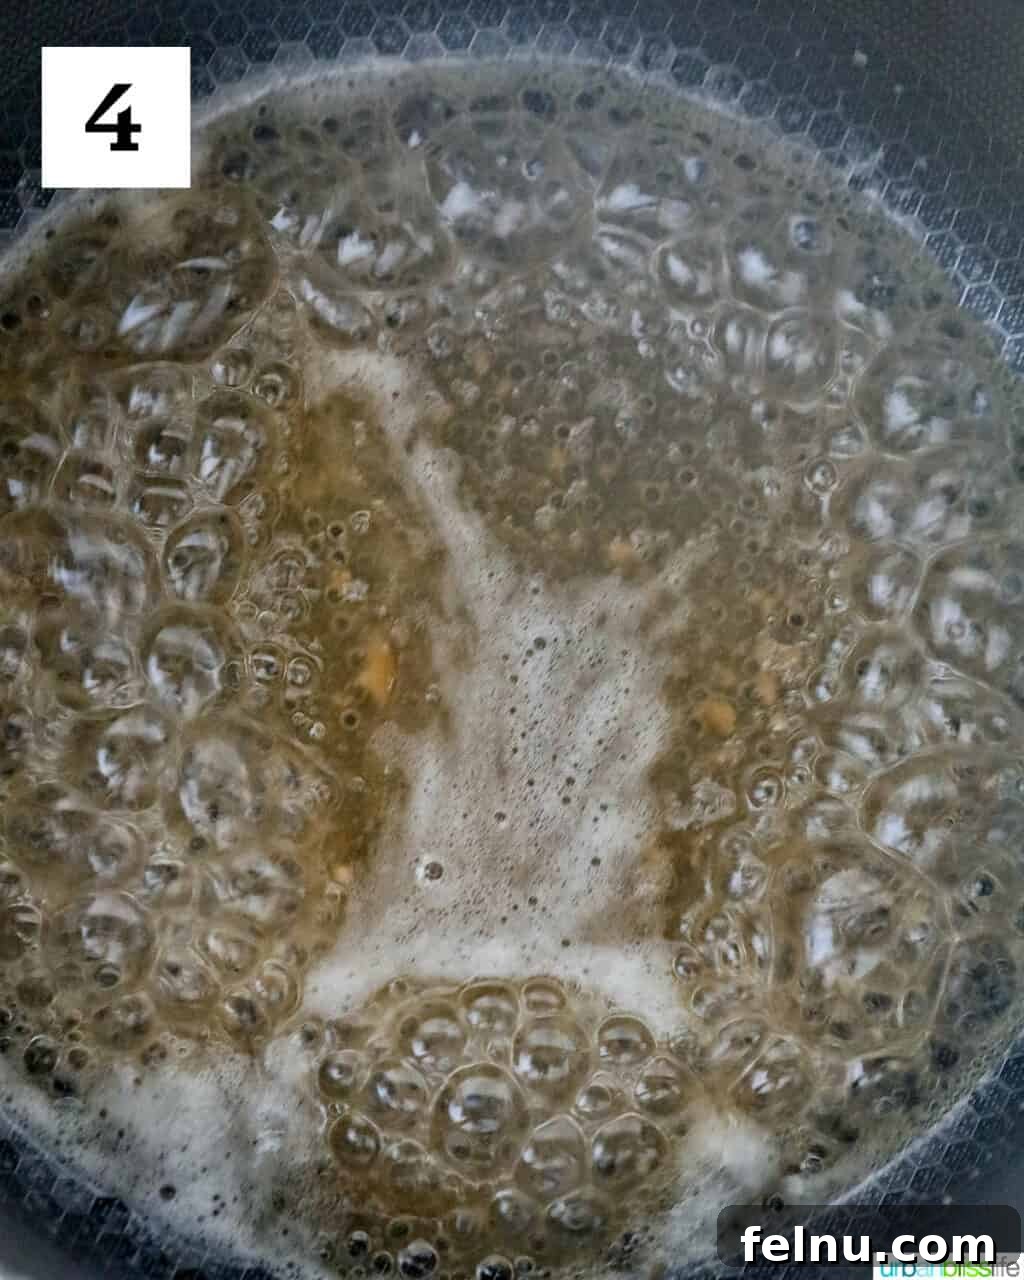
4. Boil the Pectin: Place the saucepan over medium-high heat. Bring the mixture to a full, rolling boil that cannot be stirred down. Continue to whisk vigorously and boil for precisely one minute to ensure the pectin is fully activated and dissolved. Immediately turn off the heat and remove the saucepan from the stove.
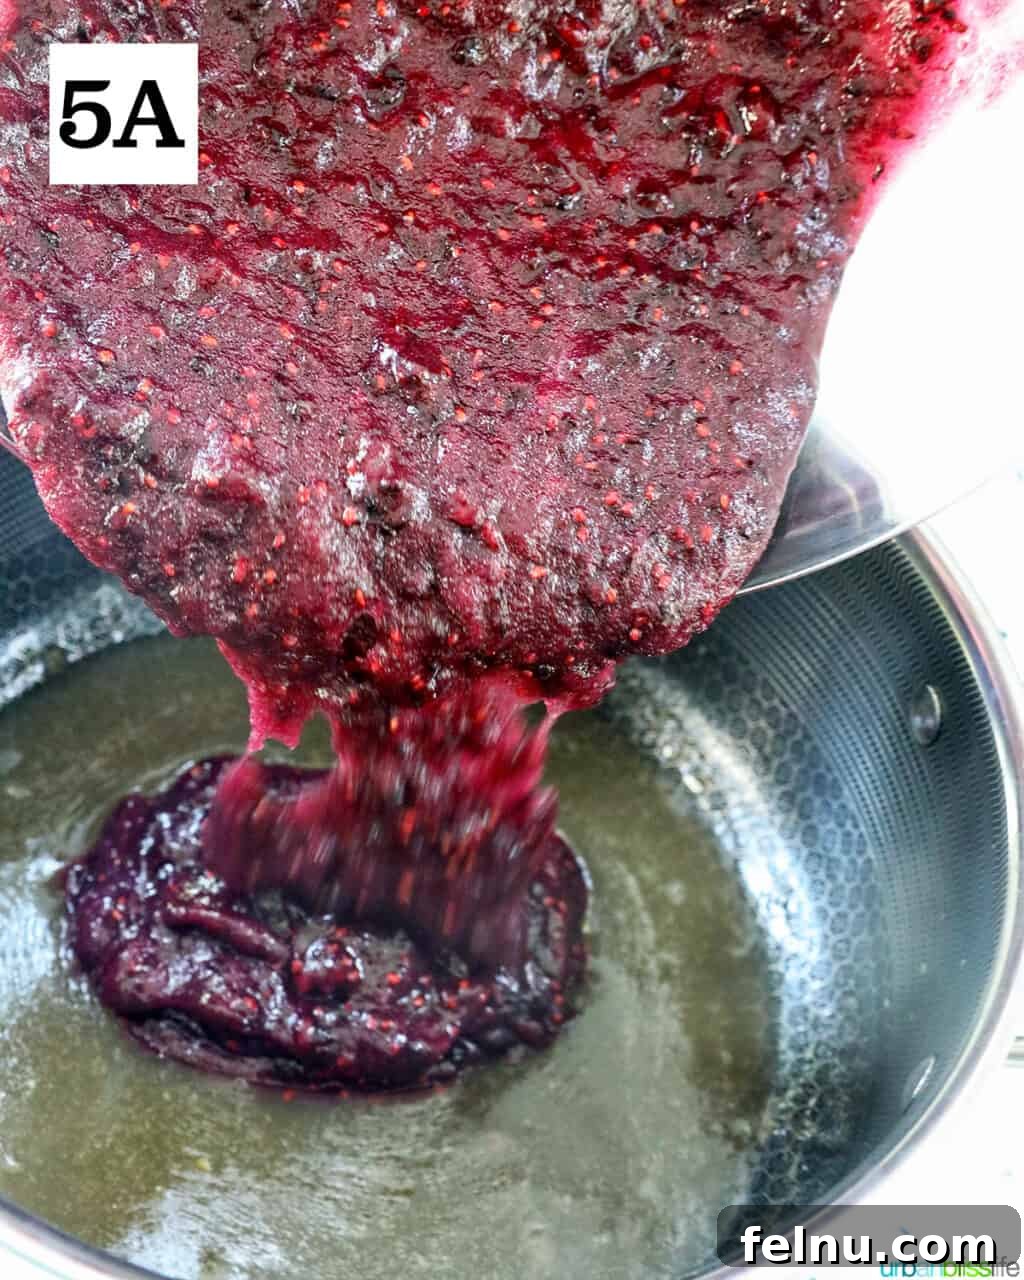
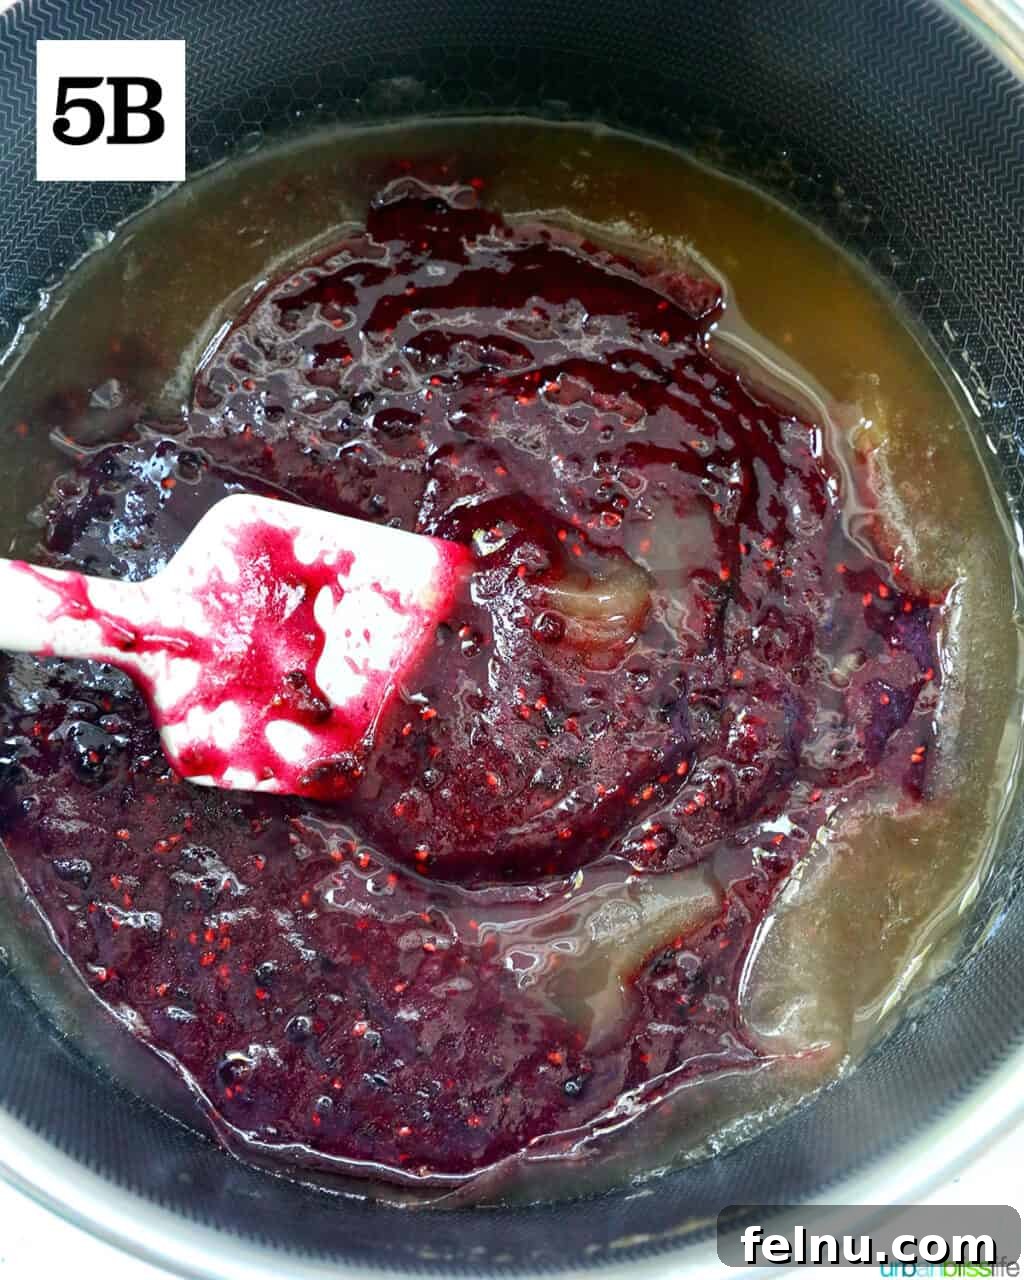
5. Combine Mixtures: Carefully pour the berry-sugar mixture from the large bowl into the saucepan containing the hot pectin mixture. Gently stir everything together. Continue stirring for about 3 minutes, or until all the sugar from the berry mixture has completely dissolved and the jam appears uniform. Avoid overmixing once combined.
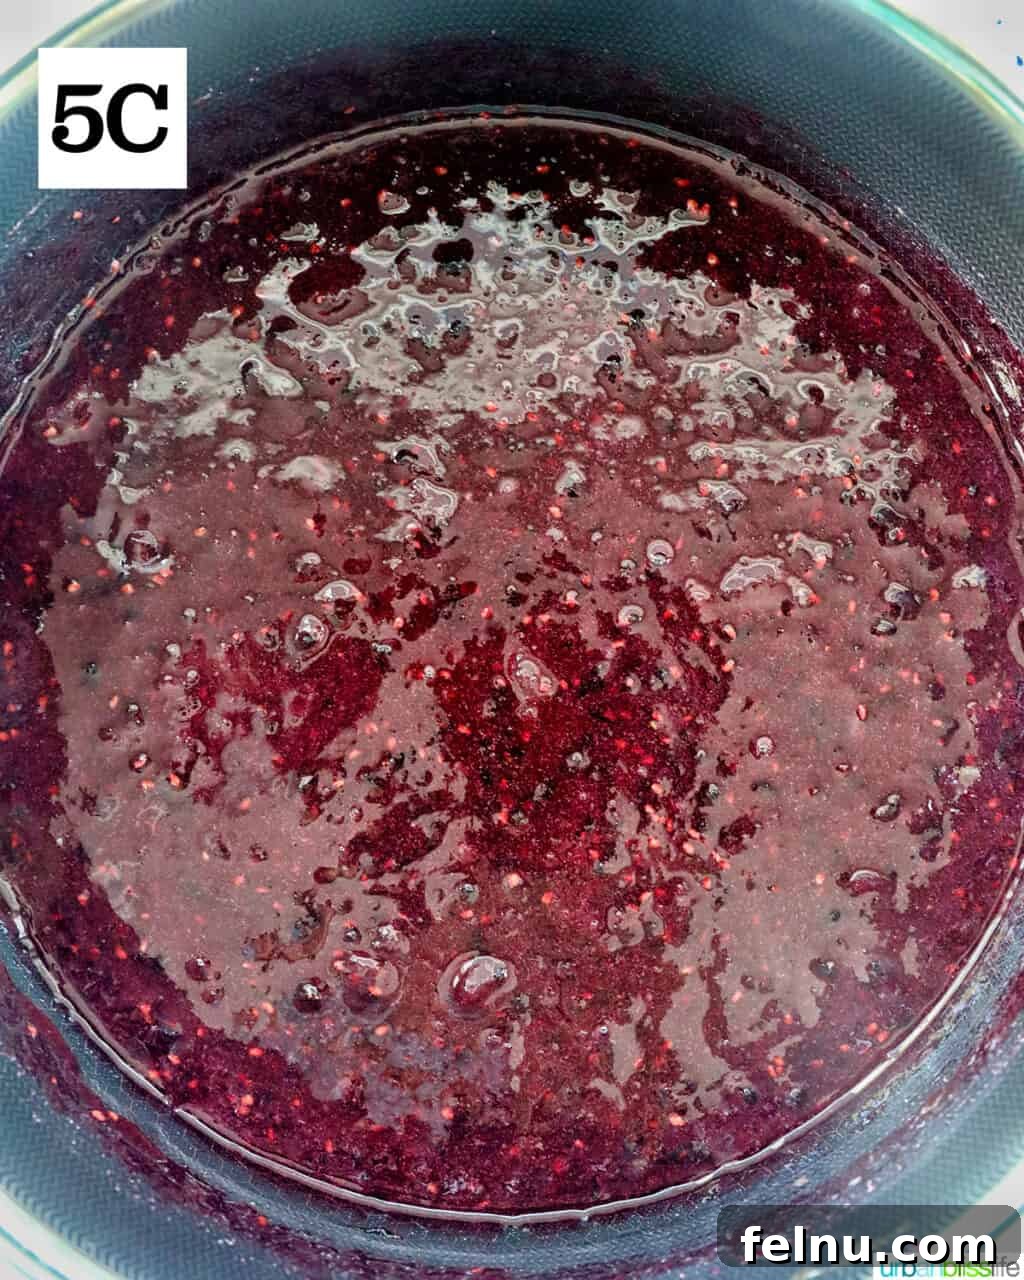
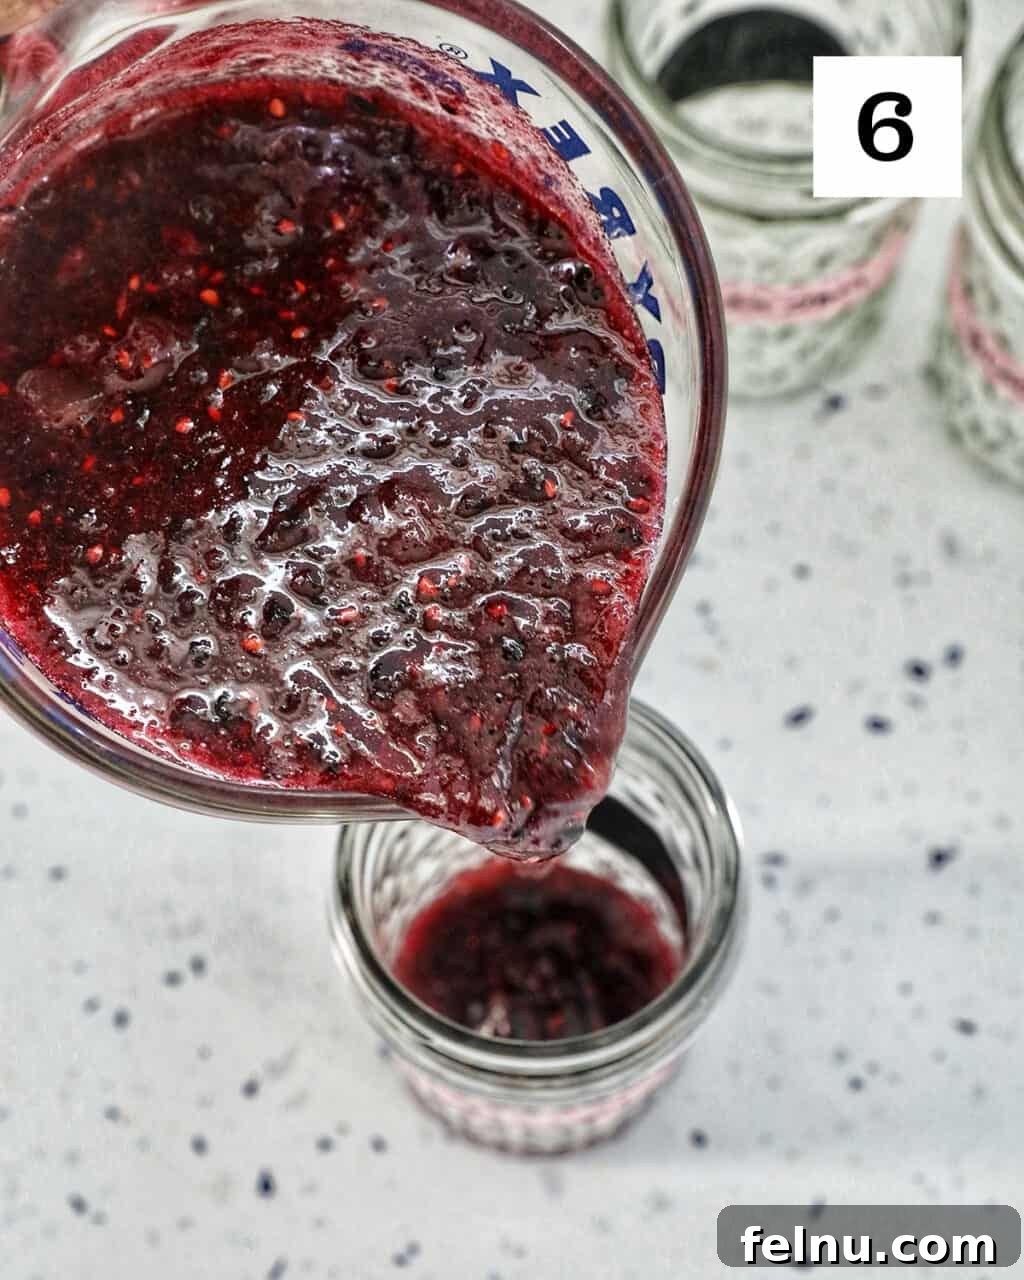
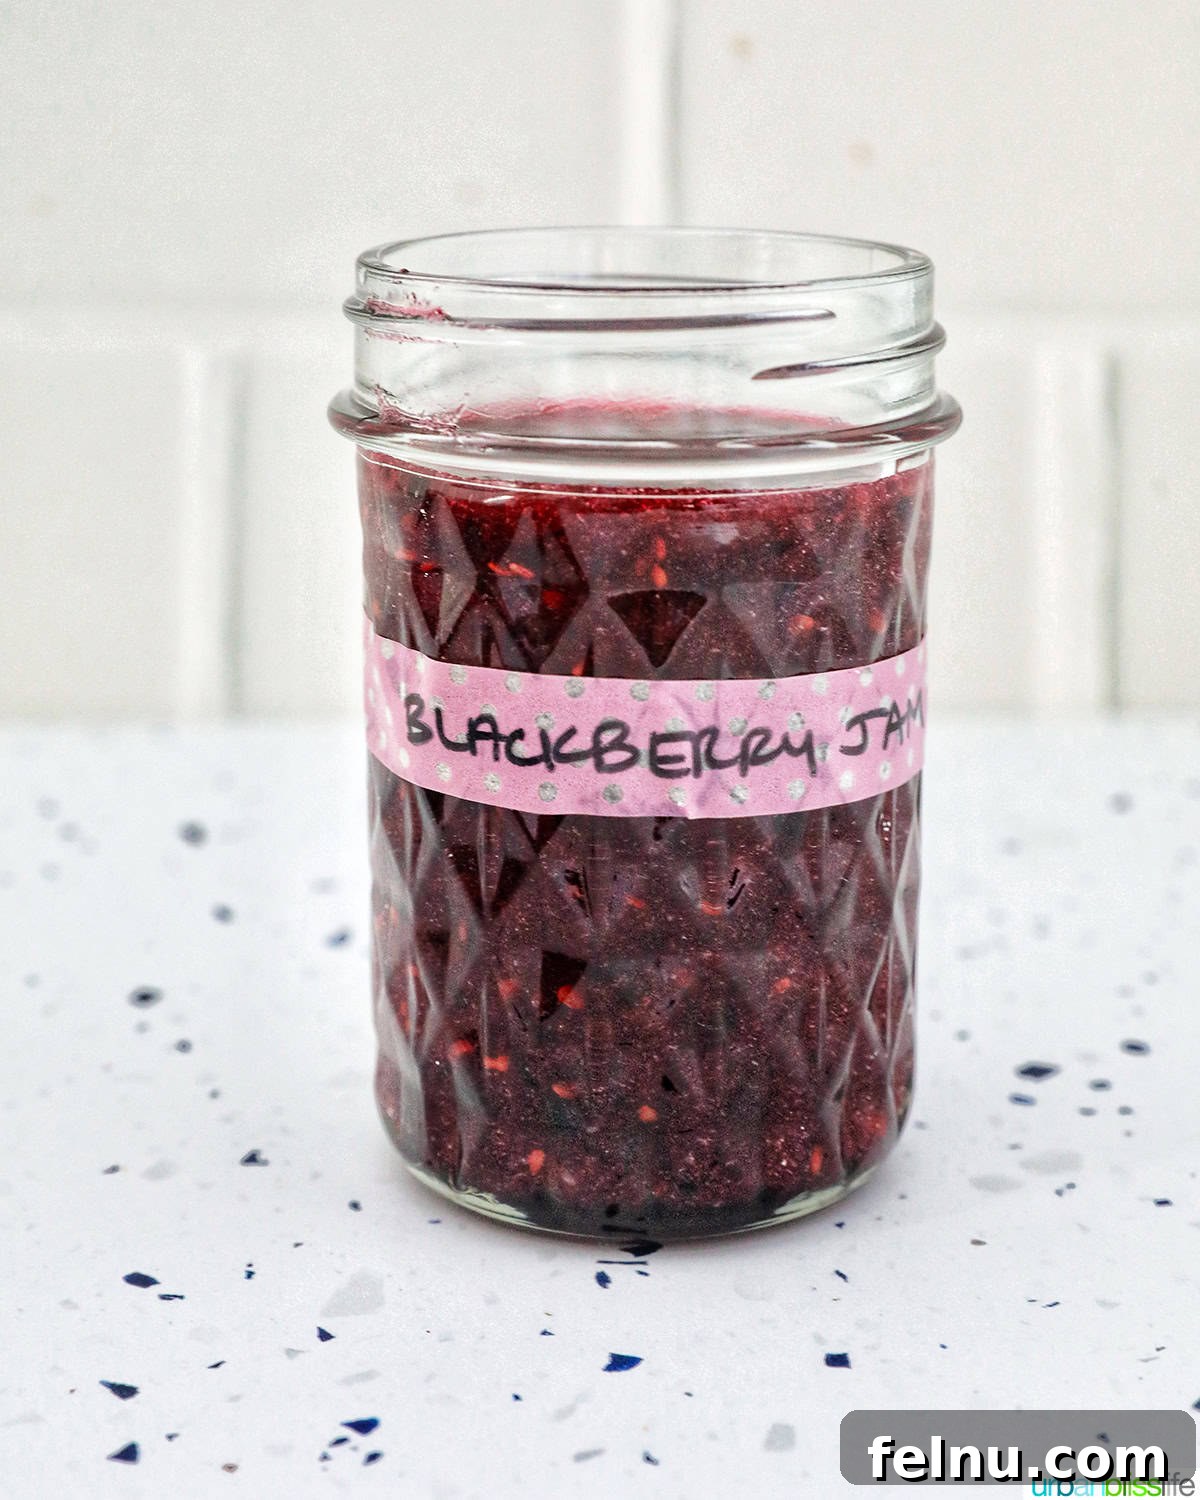
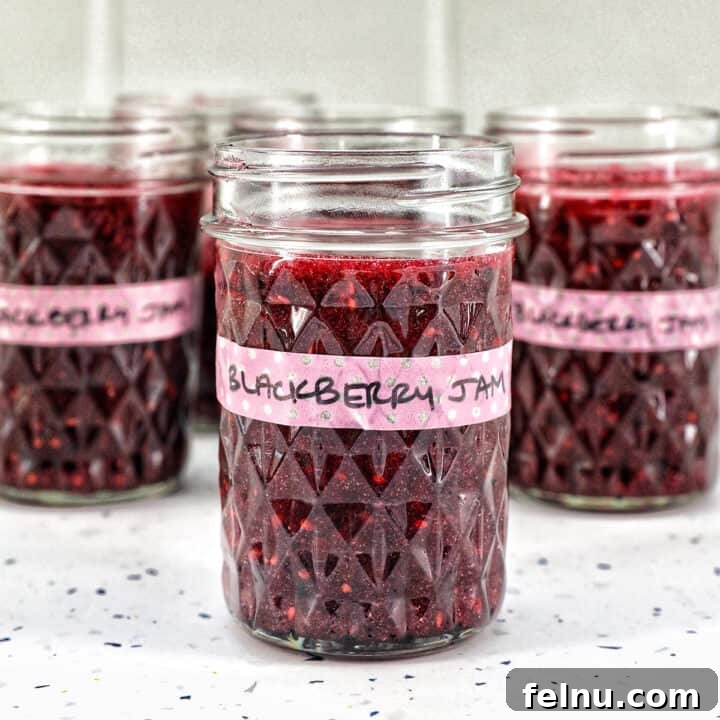
6. Fill and Set: Transfer the freshly made jam into clean glass jars, such as mason jars. A large heatproof measuring cup with a spout can make this process easier and less messy, or you can carefully ladle the jam into each jar. Ensure you leave about ½ inch of headspace from the rim of the jar to allow for expansion during freezing. Securely cover the jars with their lids. Allow the covered jars of jam to sit undisturbed at room temperature for 24 hours. This resting period is crucial for the pectin to fully set the jam. After 24 hours, your delicious blackberry freezer jam is ready to enjoy immediately! Any jars not consumed within three weeks should be transferred to the freezer, where they can be stored for up to one year, preserving that fresh summer taste.
👩🏻🍳 Recipe FAQs: Expert Tips for Your Freezer Jam
No, unlike traditional water bath canning, sterilizing jars is not required for freezer jam. Since the jam is preserved by freezing, a simple hot wash with soap and water followed by thorough drying is sufficient to ensure your jars are clean and ready for filling.
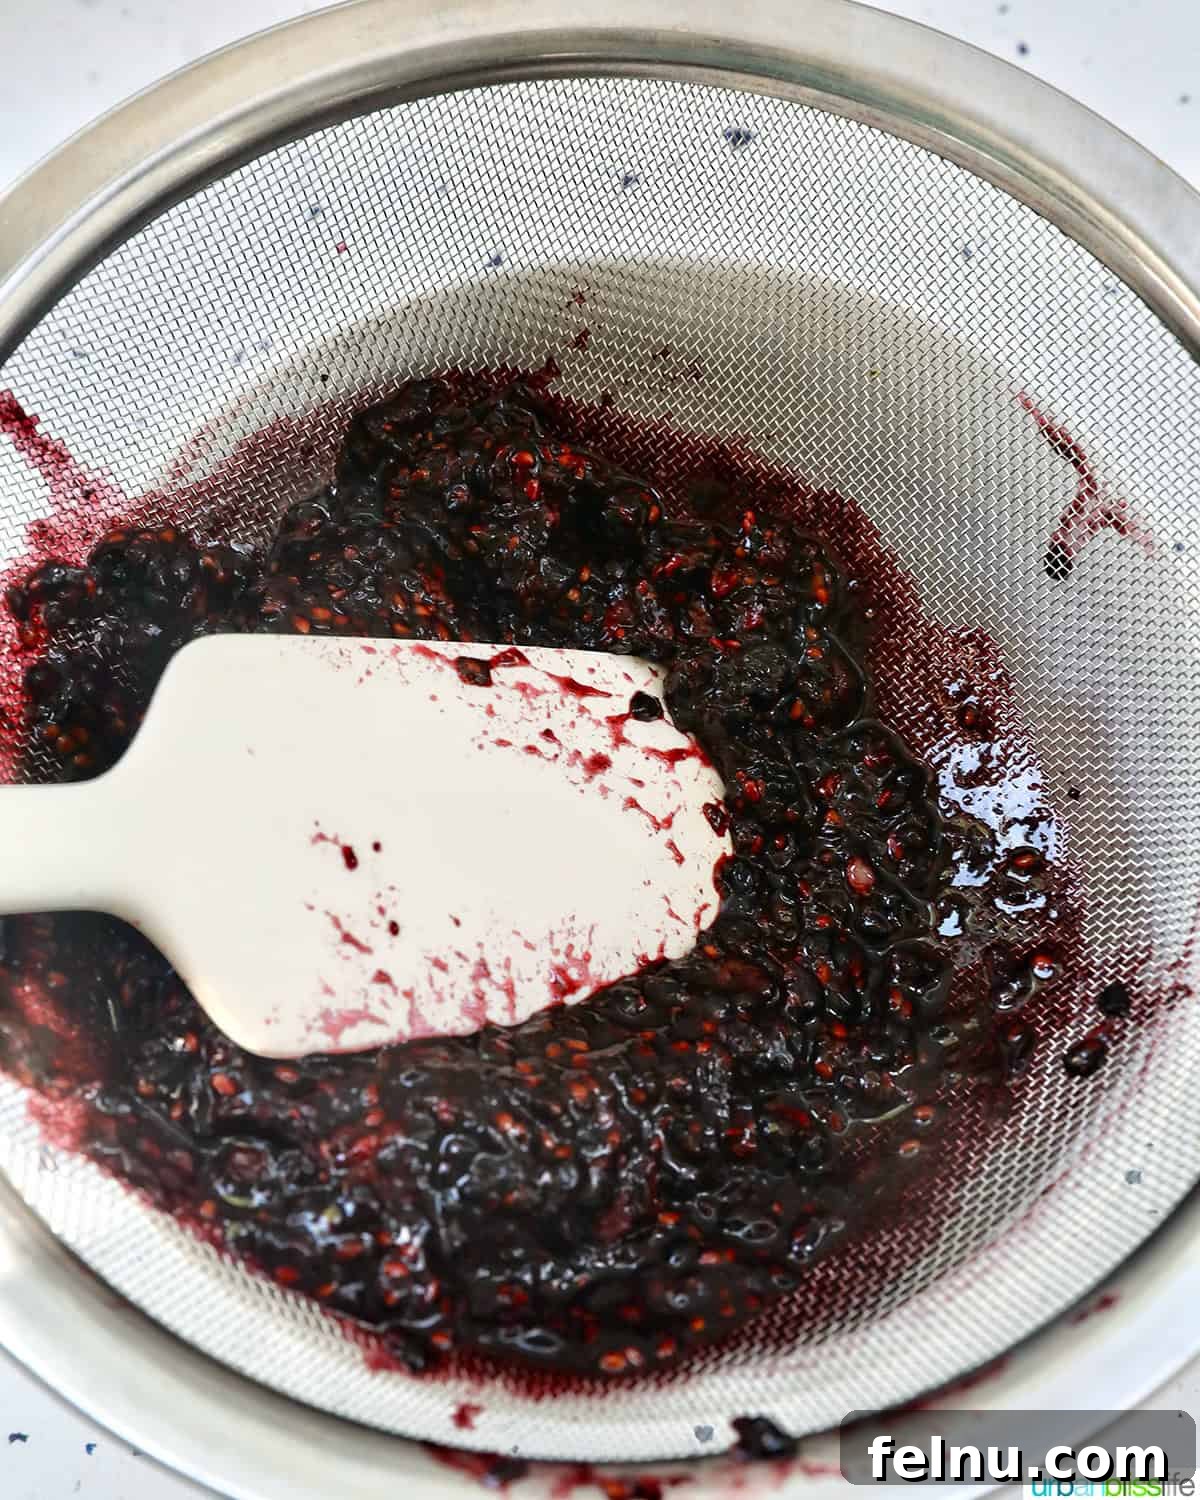
Blackberries are known for their numerous small seeds, which some people prefer to remove for a smoother jam. To make seedless jam, you’ll need to start with at least twice the amount of blackberries specified in the recipe. After mashing the berries in a bowl, transfer them to a fine-mesh sieve placed over a separate large bowl. Use a silicone spatula or the back of a spoon to press down firmly on the berries, pushing all the liquid and pulp through the sieve and leaving the seeds behind. Continue pressing until you’ve extracted as much berry liquid as possible. You will then need to measure out 2 cups of this strained, seedless blackberry liquid to proceed with the recipe. This extra step ensures a silky-smooth jam texture.
Most fruits with naturally high pectin levels or those that respond well to added pectin are excellent candidates for freezer jam. Popular choices include strawberries, raspberries, blueberries, marionberries, peaches, apricots, and even cherries. Some fruits may require specific pectin types or adjusted sugar ratios to set correctly, so always refer to a trusted recipe designed for your chosen fruit.
Freezer jam offers excellent storage flexibility. Once prepared and set, it can be kept in an airtight container (like a mason jar) in the refrigerator for up to three weeks. For longer preservation, transfer the jam to the freezer, where it will maintain its quality and fresh flavor for up to one year. Always ensure jars are filled with adequate headspace before freezing to prevent cracking.
It is generally not recommended to refreeze thawed jam. The freezing and thawing process can significantly alter the jam’s texture, making it watery or grainy. To avoid waste, it’s best to portion your jam into smaller containers before initial freezing, so you can thaw only the amount you intend to use.
If your freezer jam doesn’t achieve the desired set, don’t despair! It can still be enjoyed as a delicious fruit sauce or topping for ice cream, pancakes, yogurt, or even as a glaze. Common reasons for improper setting include incorrect fruit measurement, insufficient sugar (which affects pectin activation), or pectin not being fully dissolved or brought to a full boil for the correct time. Precision in measurements and careful adherence to the recipe steps are key to a perfectly set jam.
🍽 Delightful Serving Ideas for Your Blackberry Freezer Jam
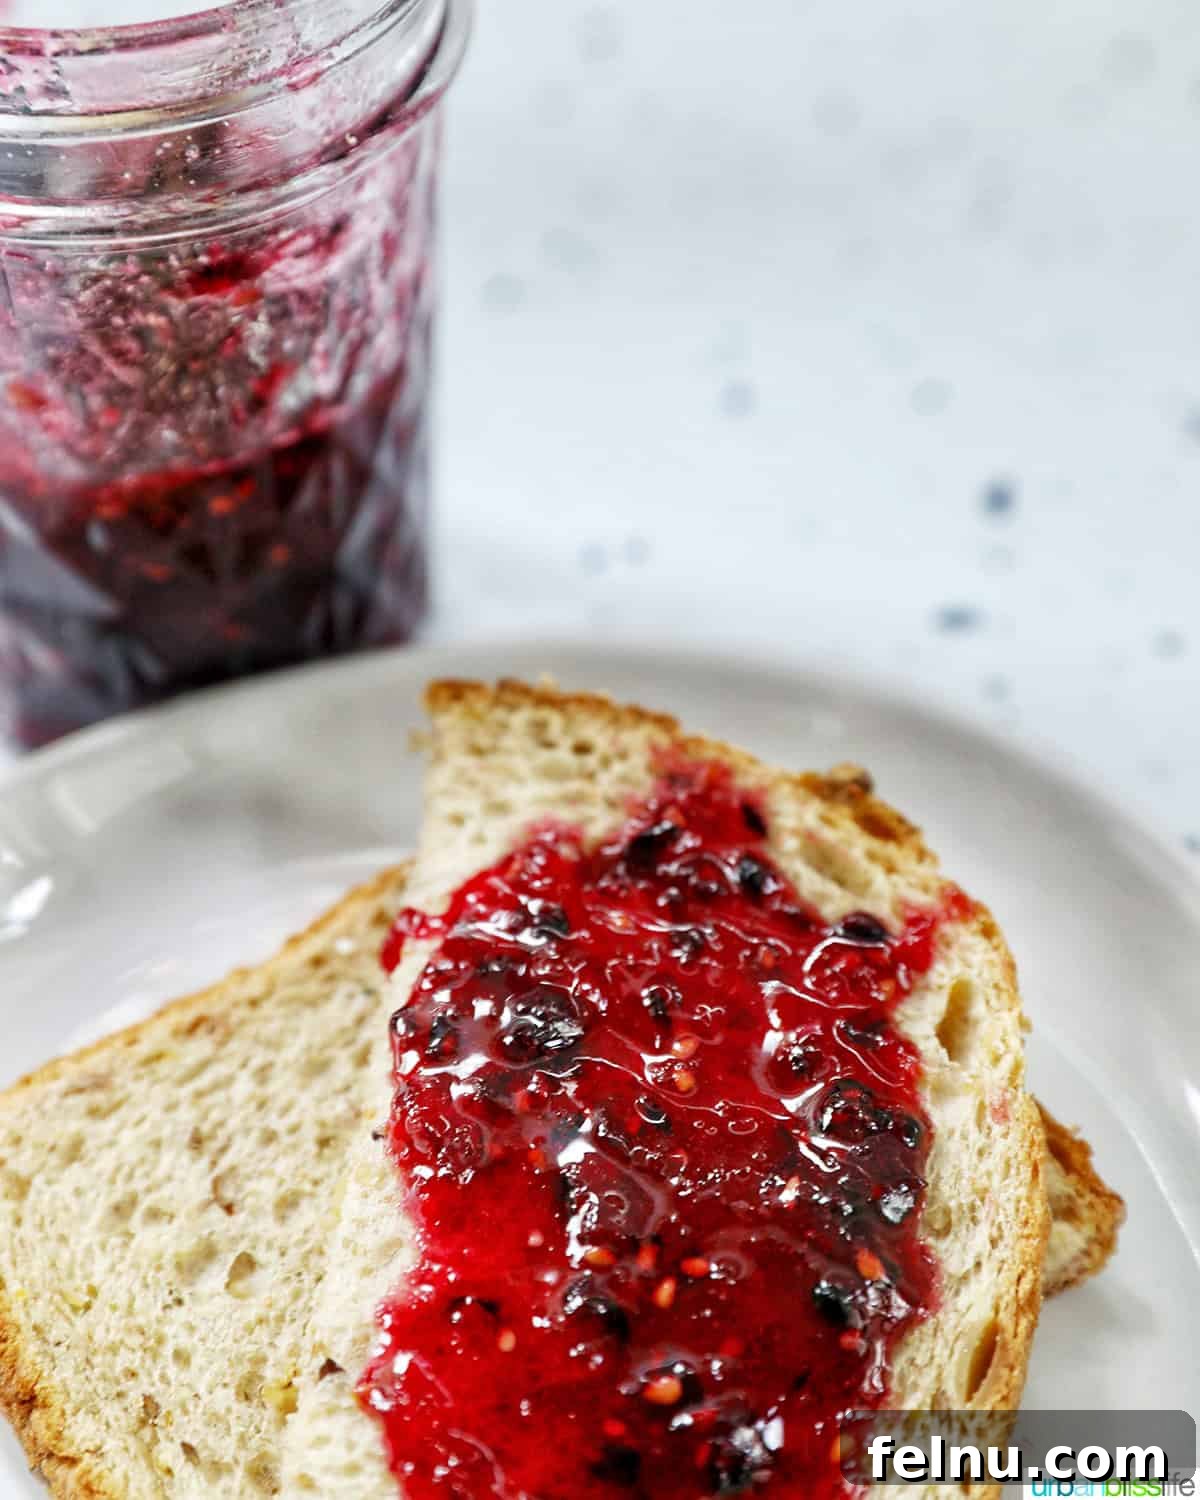
This easy homemade blackberry freezer jam is incredibly versatile and can elevate a wide range of dishes, from simple breakfast staples to elegant desserts. Its fresh, bright flavor makes it a fantastic addition to almost any meal. Here are some delightful ways to enjoy your homemade creation:
- Classic Breakfast Spreads: The most obvious and beloved use! Spread generously on warm toast, fluffy bagels, English muffins, or flaky croissants. It’s also the quintessential filling for a classic peanut butter and jelly sandwich, offering a burst of fresh berry flavor.
- Elegant Breakfast Pastries: Pair this exquisite jam with a variety of breakfast pastries. It’s exceptional with homemade Blackberry Scones, adds a delightful fruitiness to Almond Croissants, or can be served alongside warm Air Fryer Biscuits.
- Dessert Enhancer: Drizzle over vanilla ice cream, plain yogurt, or panna cotta for a quick and elegant dessert. Use it as a filling for tarts, thumbprint cookies, or layer cakes. It can also be warmed slightly and served over cheesecake or brownies.
- Savory Pairings: Don’t limit jam to sweet dishes! Blackberry jam pairs wonderfully with certain savory items. Serve it with a cheese board, especially alongside creamy brie or sharp cheddar. A dollop can also complement roasted meats like pork loin or turkey, offering a sweet and tangy counterpoint.
- Brunch Boards & Charcuterie: Place small jars of this delicious jam onto a Brunch Charcuterie Board or include it in individual Charcuterie Cones. Its vibrant color and fresh taste make it an attractive and flavorful component.
- Beverage Sweetener: Stir a spoonful into sparkling water for a refreshing blackberry spritzer, or swirl it into iced tea for a fruity twist.
🍳 Essential Kitchen Tools and Equipment
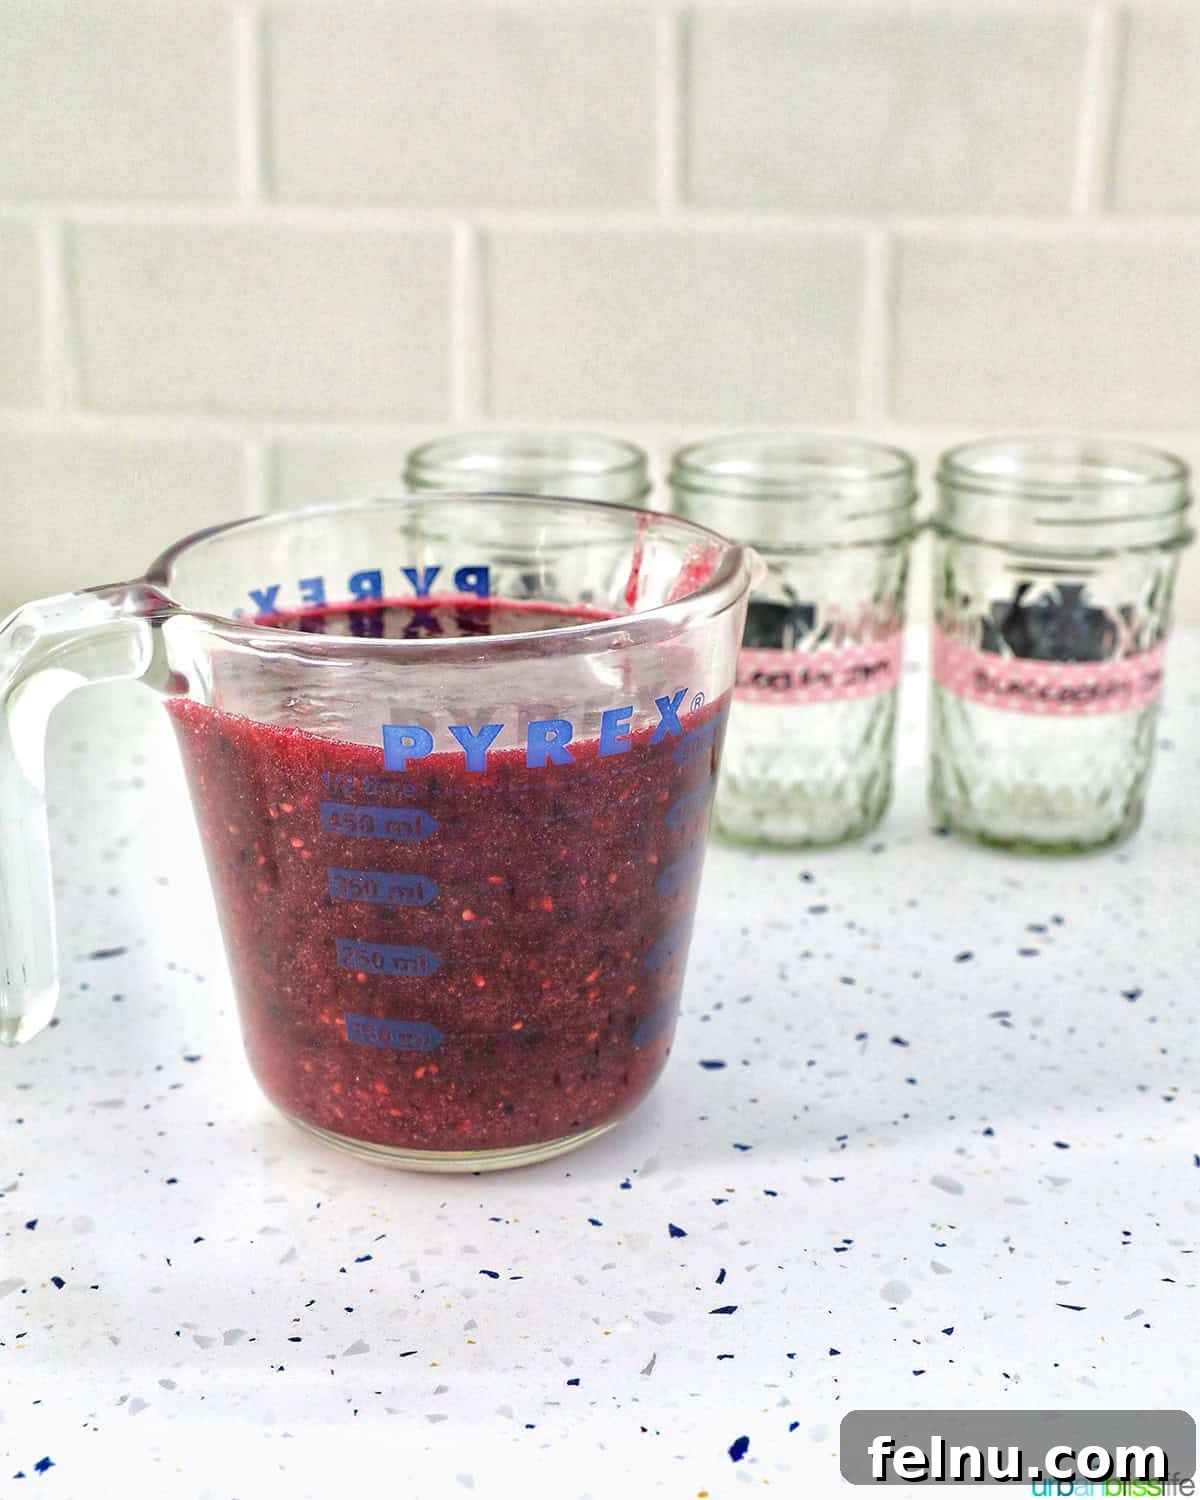
Ready to embark on your journey to making this delightfully easy homemade jam recipe? Gathering your tools beforehand will make the process smooth and enjoyable. Here’s a list of the kitchen essentials you’ll need:
- Large Mixing Bowl: Essential for combining and mashing your fresh blackberries with the sugar. Choose one that gives you ample space to work without spillage.
- Potato Masher: The perfect tool for crushing the berries and achieving the desired jam consistency. A fork can work in a pinch, but a masher is far more efficient.
- Medium Saucepan: Used for heating the water, lemon juice, and pectin mixture. A non-stick or heavy-bottomed pan is ideal for even heat distribution.
- Whisk: Crucial for thoroughly dissolving the pectin in the water and lemon juice, ensuring a smooth, lump-free mixture.
- Measuring Cup with Spout or Mixing Bowl with Pouring Spout: This makes transferring the finished jam into jars incredibly easy and minimizes mess.
- Mason Jars (12-ounce): The perfect containers for your freezer jam. Ensure they are clean and dry. While standard canning jars work, any freezer-safe airtight container will do.
- Fine Mesh Sieve (Optional, for Seedless Jam): If you opt for seedless jam, a sturdy fine mesh sieve will be indispensable for straining out the blackberry seeds.
Discover More Delicious Blackberry Recipes
- Blackberry Scones with Blackberry Glaze
- Banana Blackberry Oatmeal Muffins
- Ricotta Toast with Blackberry Citrus
- Triple Berry Chia Whole30 Smoothie (Dairy-Free, Vegan, Paleo)
Did you make this recipe? We’d love to hear your thoughts! Don’t forget to leave a 5-Star 🌟🌟🌟🌟🌟 rating in the recipe card below, and if you truly enjoyed it, please share your comments and experiences further down on the page. Thank you for cooking with us!
Blackberry Freezer Jam
Equipment
-
1 fine mesh sieve (optional, for seedless jam)
-
1 medium saucepan
-
5 12-ounce mason jars or freezer-safe containers
-
Large mixing bowl
-
Potato masher
-
Whisk
-
Measuring cup with spout
Ingredients
- 2 cups fresh blackberries
- 4 cups granulated sugar
- 1.75 ounces (1 package) powdered fruit pectin, about 4 tablespoons
- ¾ cup water
- 2 Tablespoons fresh squeezed lemon juice
Instructions
-
Wash and thoroughly dry the mason jars or freezer-safe containers you plan to use. Set them aside.
-
Rinse the fresh blackberries under cool water, then gently pat them dry with paper towels to remove any excess moisture. Place the berries in a large bowl and use a potato masher to thoroughly crush them until no large clumps remain.
-
In the same large bowl, add the 4 cups of granulated sugar to the 2 cups of crushed blackberries. Stir well until the sugar is fully combined with the berries. Let this mixture sit undisturbed on the counter for 10 minutes to allow the sugar to begin dissolving.
-
Meanwhile, in a medium saucepan, combine the ¾ cup of water, 2 tablespoons of fresh lemon juice, and the 1.75 ounces of powdered pectin. Stir these ingredients together until the pectin is well dispersed.
-
Place the saucepan over medium-high heat. Bring the mixture to a full, rolling boil that cannot be stirred down. Continue to whisk vigorously and boil for exactly 1 minute to ensure the pectin is fully activated. Turn off the heat and remove the saucepan from the stove.
-
Carefully pour the berry-sugar mixture into the saucepan with the hot pectin mixture. Stir gently for about 3 minutes, or until all the sugar crystals have completely dissolved and the jam has a uniform consistency.
-
Ladle the warm jam into your prepared jars, leaving approximately ½-inch of headspace at the top of each jar. Alternatively, you can transfer the jam to a measuring cup with a pouring spout for easier filling.
-
Securely cover the filled jars with their lids. Allow them to sit at room temperature for 24 hours. This crucial resting period allows the jam to fully set.
-
After 24 hours, your delicious homemade blackberry freezer jam is ready to enjoy! Store any immediate-use jars in the refrigerator for up to 3 weeks. For longer preservation, transfer the remaining jars to the freezer, where they will keep well for up to 1 year.
Notes
Important notes for optimal results:
- Accurate Berry Measurement: It is essential to measure the crushed blackberries precisely to 2 cups. The pectin-to-fruit ratio is critical for the jam to set correctly.
- Removing Seeds for Smooth Jam: Blackberries naturally contain many seeds. If you prefer a smoother, less grainy texture, you can strain the mashed berries through a fine mesh sieve. Press the mashed berries vigorously with a silicone spatula to extract as much liquid as possible, leaving the seeds behind. Remember, you will still need exactly 2 cups of this strained blackberry liquid for the recipe, so you will likely need to start with a greater quantity of fresh blackberries (often double) if you choose this method.
- Pectin Type is Key: This recipe is formulated specifically for powdered pectin. Do not attempt to substitute liquid pectin, as the required amounts and activation methods are entirely different. If you have liquid pectin on hand, please follow the instructions provided on its packaging, as those recipes will be tailored to its specific properties.
Nutrition
Nutrition information is automatically calculated, so should only be used as an approximation.