
This beloved freezer apple pie filling recipe was originally shared in 2013 and has been a fall favorite ever since. We’ve refreshed this post with new photos and a slightly updated recipe in October 2020 to bring you the best version yet.
There’s nothing quite like the comforting aroma of apple pie baking in the oven. But imagine having that delicious experience without all the fuss of peeling, slicing, and cooking apples on the day you crave it. Our **Freezer Apple Pie Filling** recipe offers exactly that: a simple, make-ahead solution to stock your freezer with ready-to-bake apple pie goodness!

As autumn leaves begin to turn and a crispness fills the air, it signals the arrival of apple season – and for many of us, that means glorious APPLE PIE season! Beyond traditional pies, this time of year calls for a bounty of apple-infused treats: think hearty apple crisps, sweet apple crumbles, fluffy apple cinnamon muffins, and virtually every apple dessert imaginable. With so many tempting possibilities, having a ready supply of pre-prepared apple pie filling becomes an absolute game-changer.
This freezer-friendly recipe is one of my go-to make-ahead secrets, prepared in large batches every fall. It simplifies my holiday baking, makes spontaneous dessert cravings manageable, and allows me to enjoy the taste of fresh apples long after the season ends. This isn’t just a recipe; it’s a passport to effortless baking, ensuring you always have the foundation for a warm, comforting apple dessert at your fingertips.
While I’ve been making this recipe for years, its enduring popularity prompted this recent update. The core remains the same – incredibly easy and delicious – but with improved visuals and minor refinements, it’s now more accessible and appealing than ever. Get ready to embrace the convenience and flavor of homemade freezer apple pie filling!
Essential Tools and Ingredients for Your Freezer Apple Pie Filling
Before you dive into making this wonderful apple pie filling, let’s ensure you have all the necessary equipment and a fresh selection of ingredients. Proper tools make the process smooth and enjoyable, while quality ingredients guarantee the best flavor.
Kitchen Equipment:
For this recipe, you’ll need standard kitchen items that make apple preparation and cooking a breeze:
- Cutting board: A sturdy surface for peeling and slicing your apples.
- Sharp knife: Essential for precise and safe apple preparation. Alternatively, an apple peeler/corer/slicer can significantly speed up the process if you plan to make large batches frequently.
- Dutch Oven with lid: A heavy-bottomed pot is ideal for even cooking and preventing scorching.
- Measuring cups & spoons: For accurate ingredient quantities, crucial for the perfect consistency.
- Mixing bowls: You’ll need at least two: one large for tossing apples with lemon juice and a medium one for whisking dry ingredients.
- Whisk: For smoothly combining the dry ingredients and ensuring they dissolve well in the liquid.
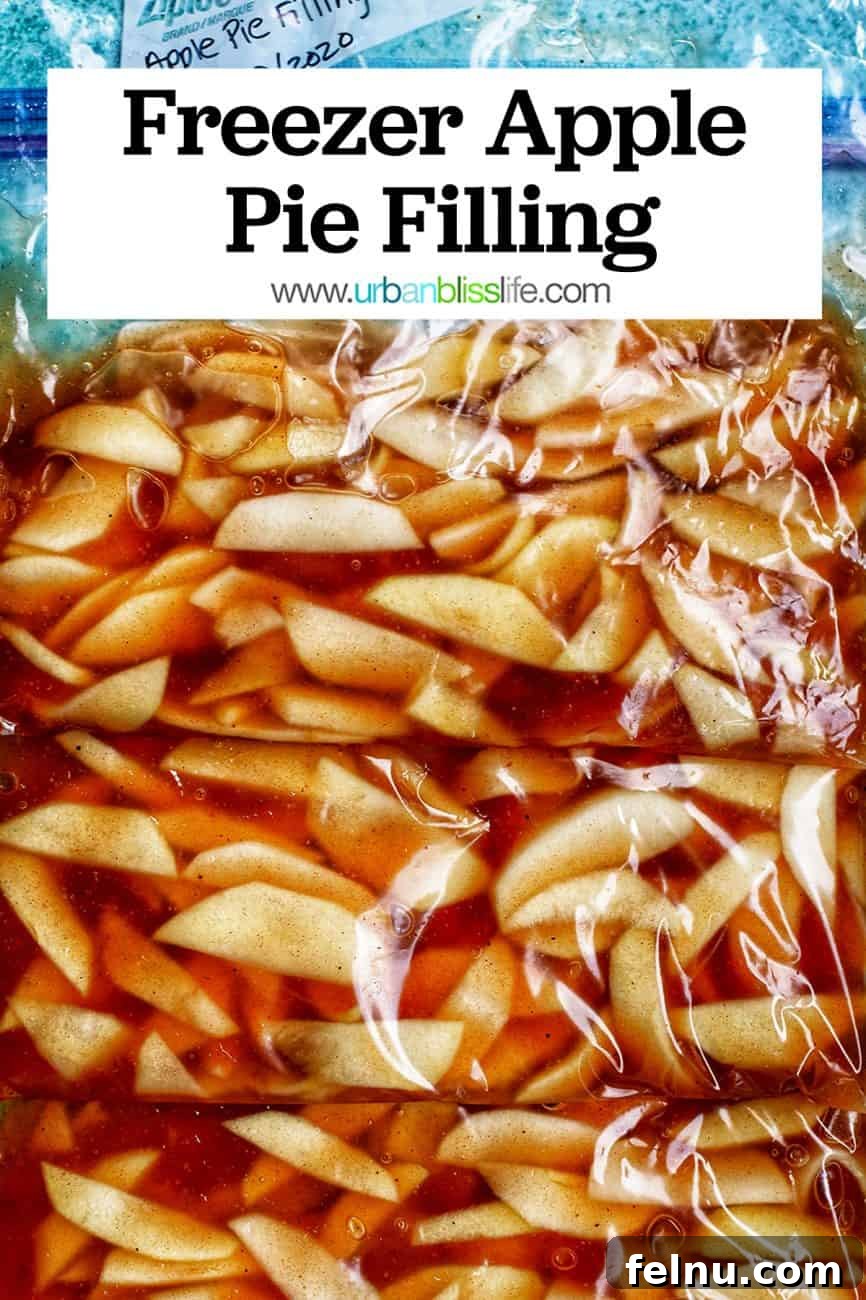
- Freezer-safe zip-lock bags: Quart-sized bags work well for individual pie portions, but gallon-sized bags (like these, seen in the photos) are excellent for larger batches or multiple pies. Always opt for freezer-specific bags to prevent freezer burn.
Having these tools ready will streamline your cooking experience, allowing you to focus on the delicious process of making this filling.
Fresh Ingredients:
The heart of any great apple pie filling lies in its ingredients. Gather these simple yet essential items:
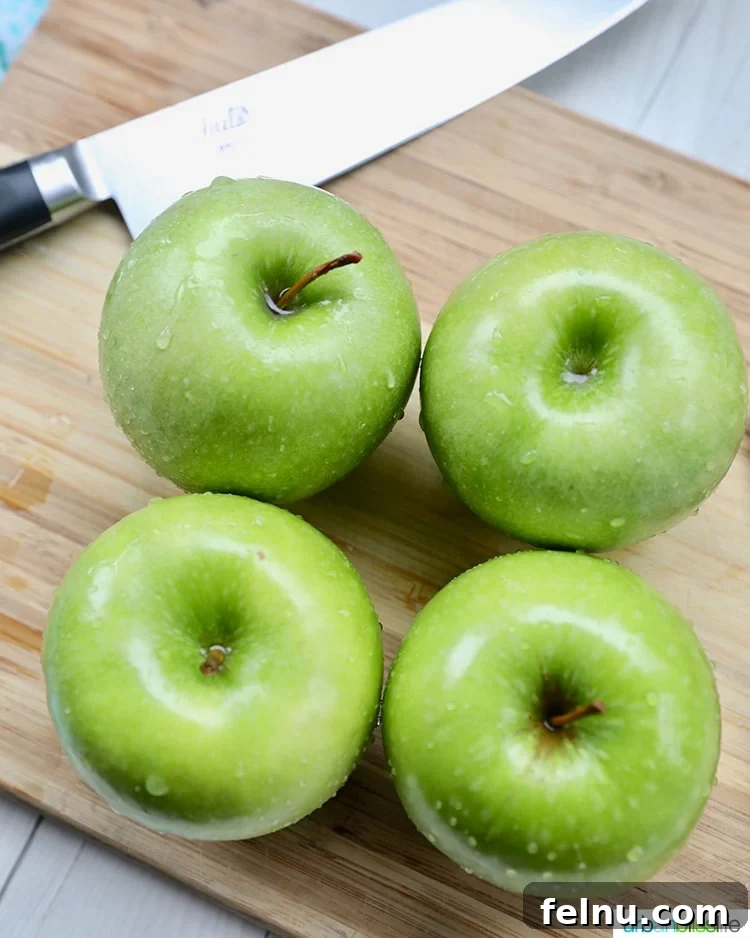
- **Green apples:** For this recipe, I highly recommend **Granny Smith** apples. Their firm texture holds up beautifully during baking, preventing a mushy filling. They also offer a delightful balance of sweet and tart, which is crucial for a well-rounded apple pie flavor. Other great baking apple choices include Honeycrisp, Braeburn, Fuji, Golden Delicious, and Rome Beauty, often used in combination for complex flavor profiles.
- **Lemon juice:** A splash of lemon juice not only prevents the apples from browning but also brightens the flavor and adds a necessary zing to balance the sweetness.
- **Granulated sugar:** The primary sweetener, which also helps create the syrupy consistency of the filling.
- **Cornstarch:** This is your thickening agent. It helps achieve that perfect, glossy, and spoonable consistency without making the filling cloudy.
- **Ground cinnamon:** The quintessential apple pie spice, providing warmth and depth.
- **Ground nutmeg:** A subtle hint of nutmeg complements the cinnamon and enhances the overall autumnal flavor.
- **Salt:** Just a pinch of salt is vital to balance and amplify all the sweet and spicy flavors, making them truly pop.
Crafting Your Homemade Freezer Apple Pie Filling: A Step-by-Step Guide
Making this freezer apple pie filling is a straightforward process that yields incredibly rewarding results. Follow these steps to create a versatile base for all your future apple desserts. Remember, while this section provides a helpful narrative, **the precise measurements and detailed instructions are available in the dedicated recipe card below**.
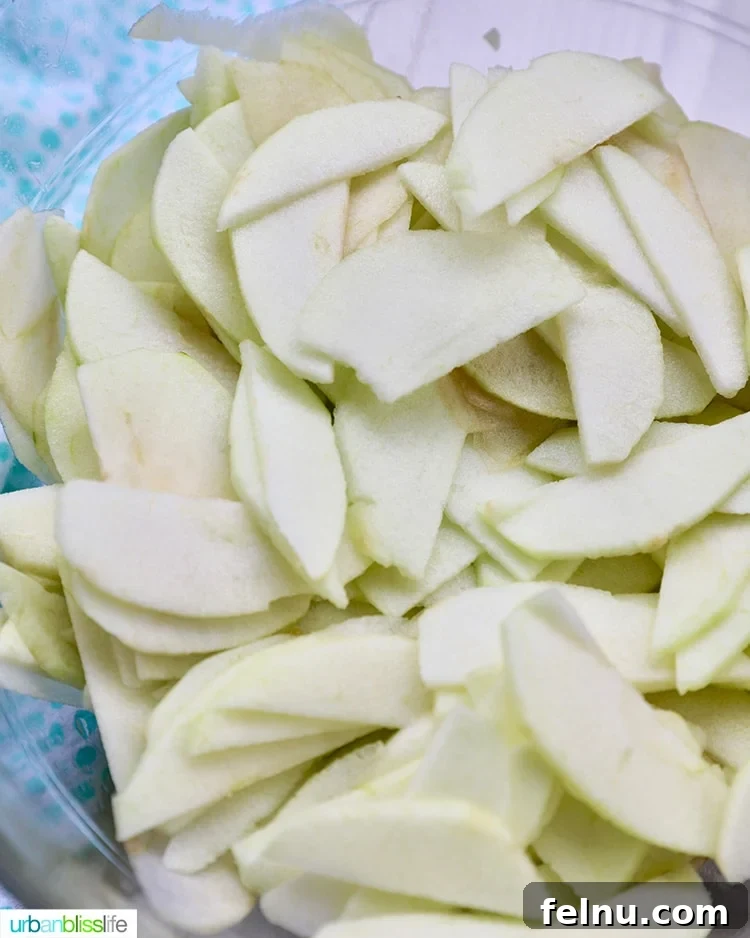
Begin by preparing your apples. Peel them carefully, then slice them to your preferred thickness. I typically aim for slices that are not paper-thin, but also not overly thick, ensuring they soften nicely but retain some texture. If you prefer larger, more substantial apple pieces in your pie, feel free to cut them into chunks instead. The key is consistency in size so they cook evenly. Once sliced, transfer the apples to a large mixing bowl and gently toss them with lemon juice. This step is crucial for preventing discoloration and adding a bright, fresh note.
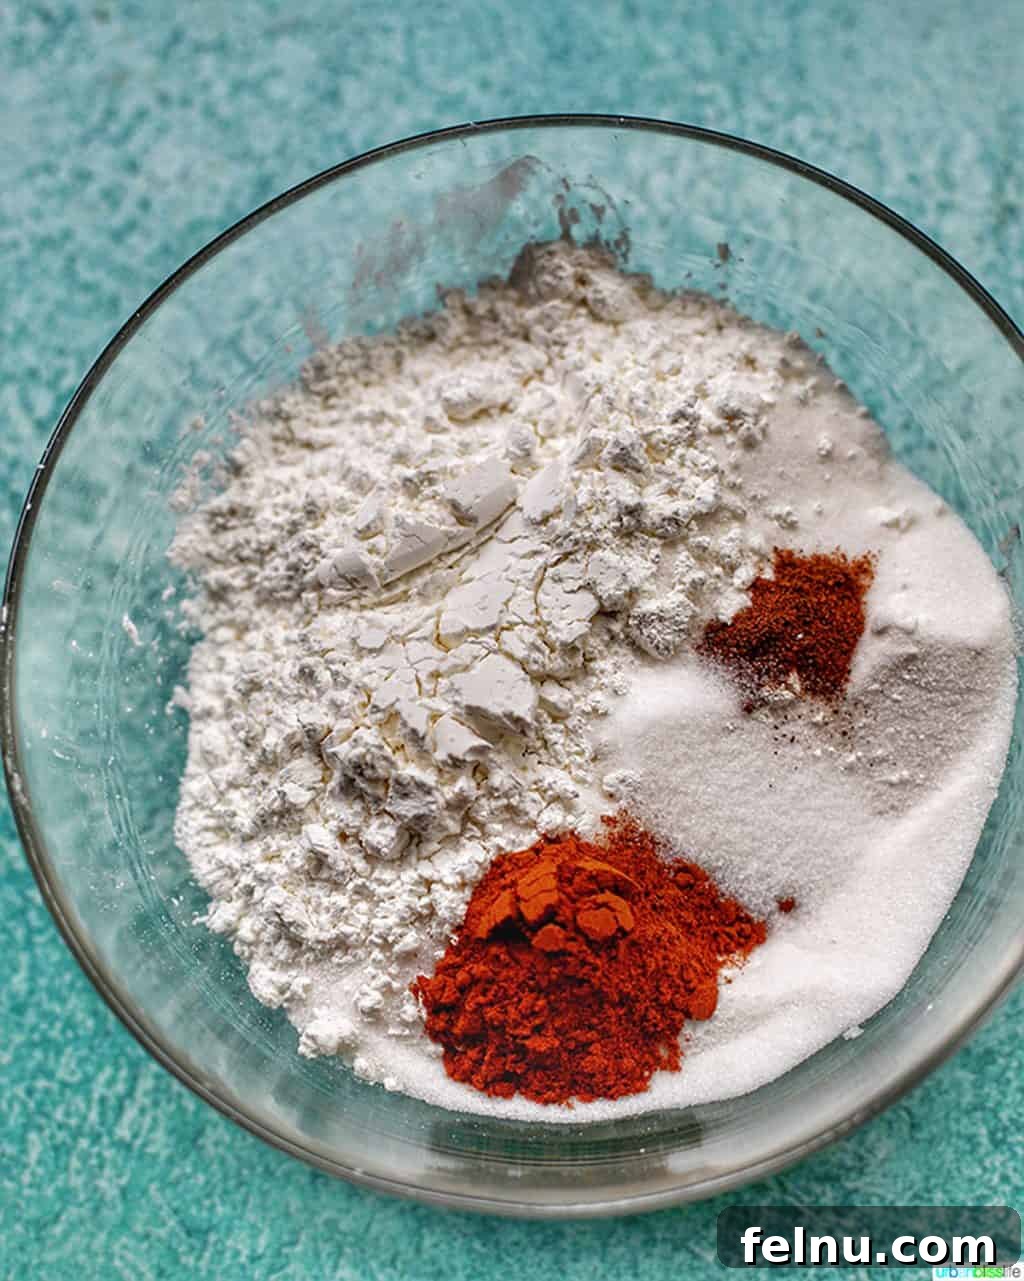
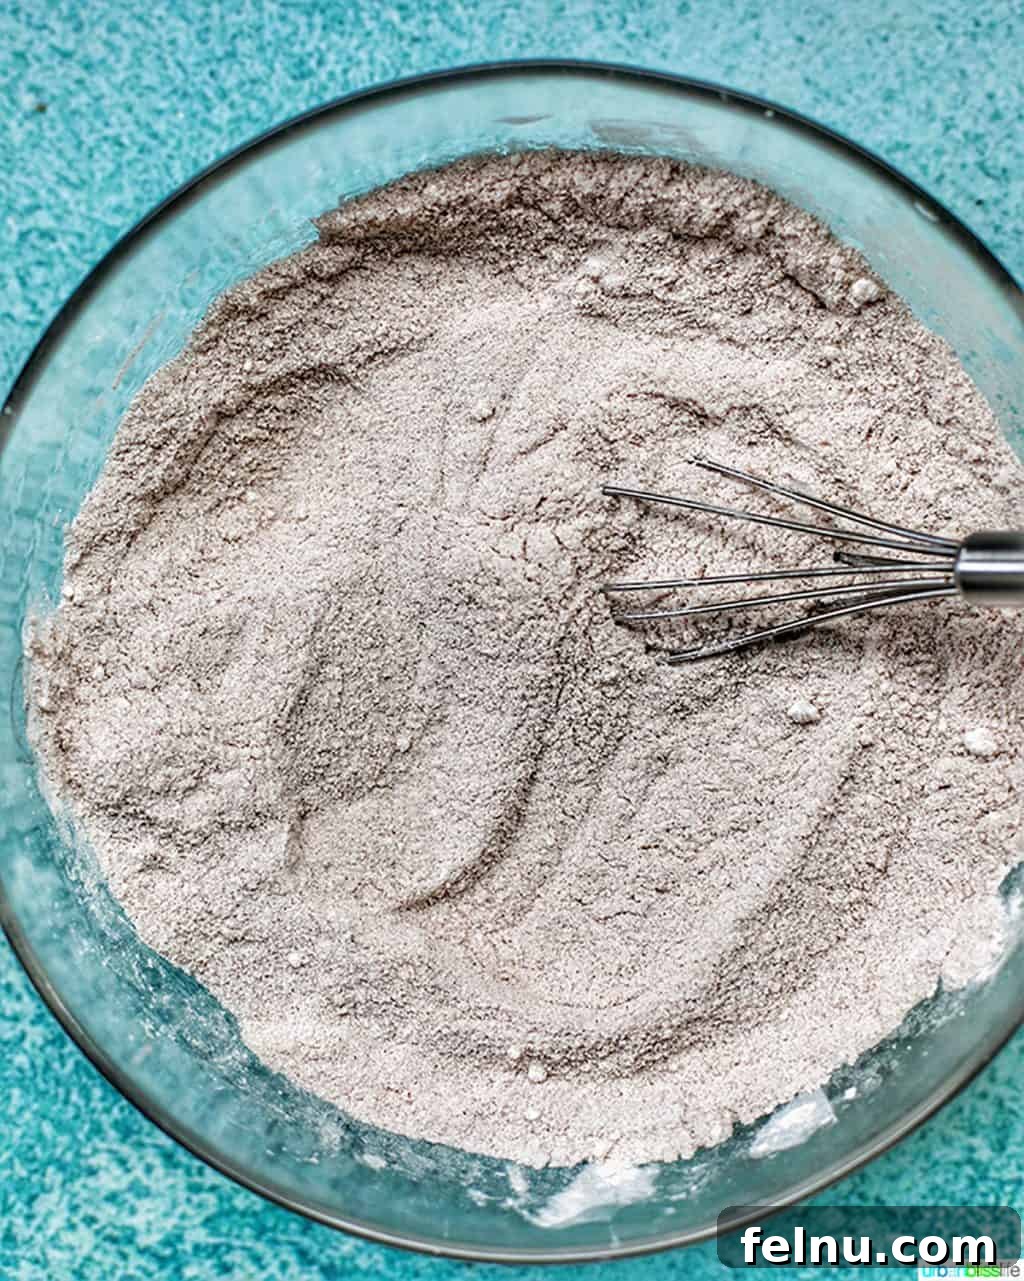
In a separate, medium-sized bowl, prepare your dry mixture. Whisk together the granulated sugar, cornstarch, ground cinnamon, ground nutmeg, and salt until they are thoroughly combined. This ensures the spices and thickener are evenly distributed throughout the filling, preventing clumps and creating a consistent flavor.
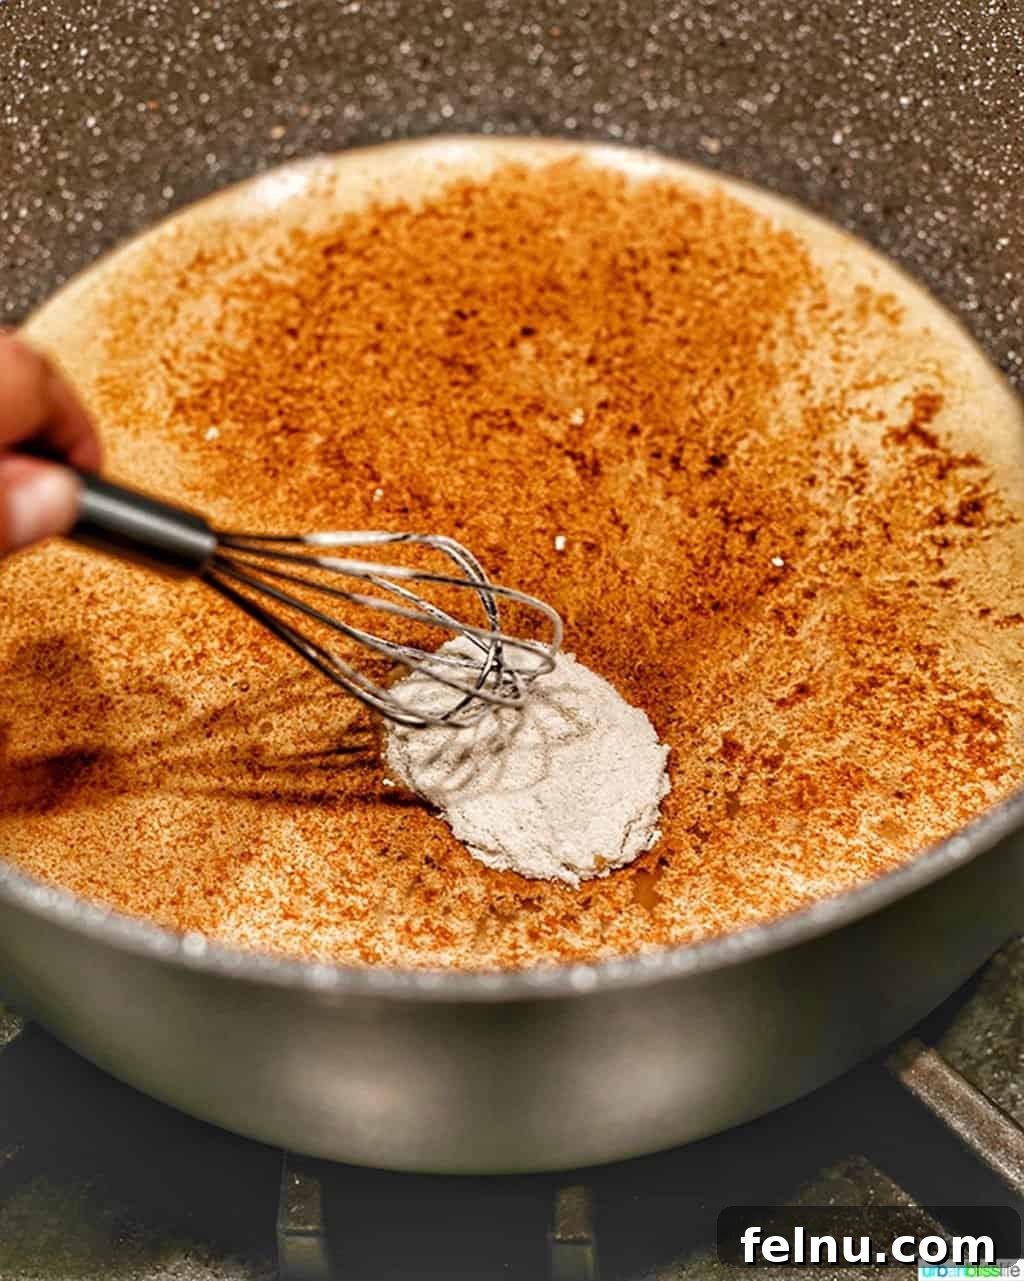
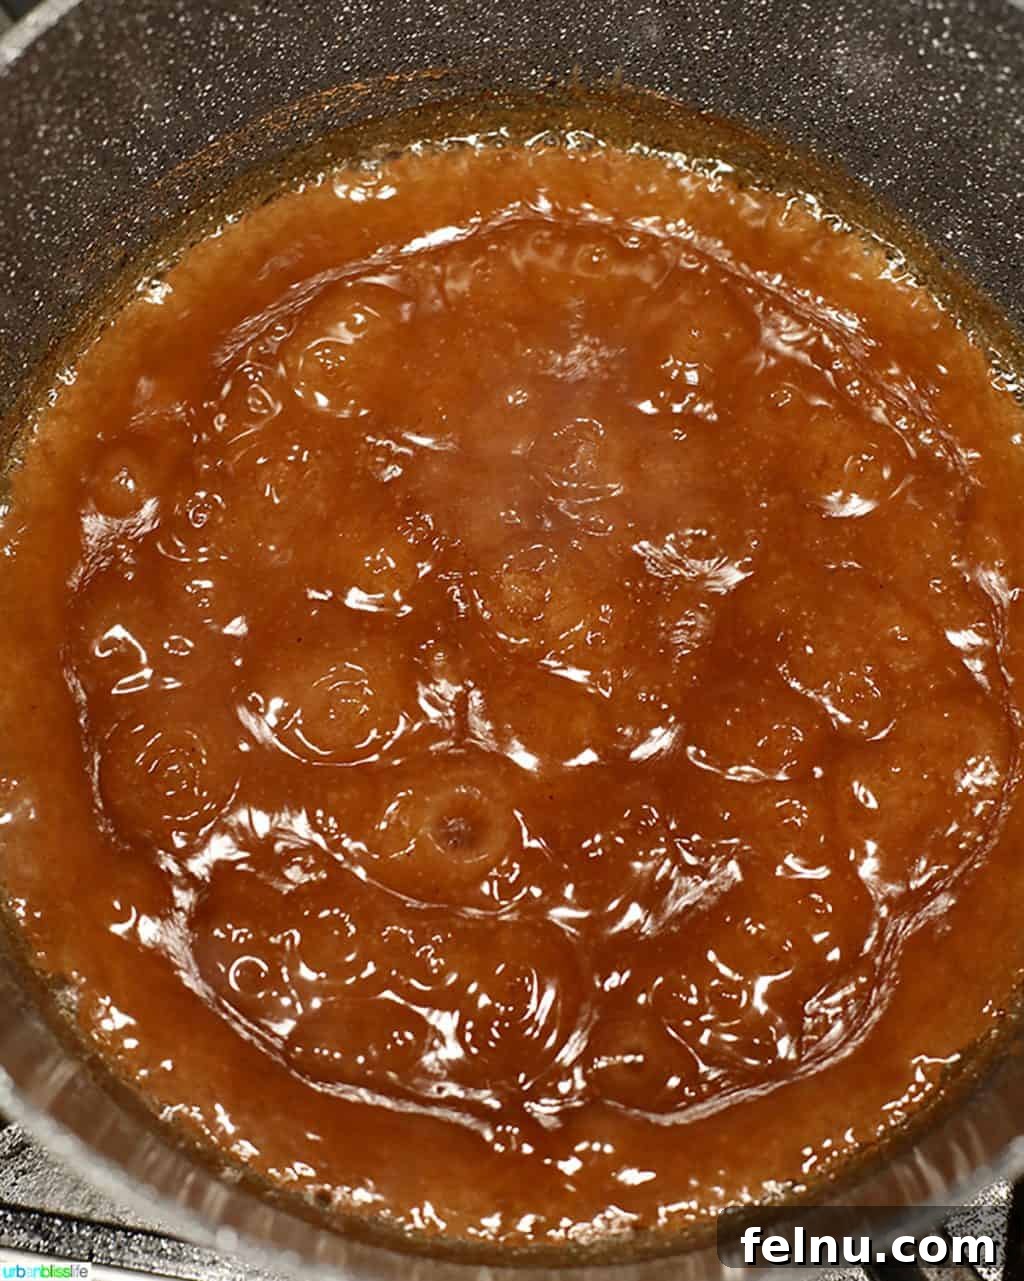
Now, it’s time to bring everything together on the stovetop. Pour the specified amount of water into your Dutch Oven and set the heat to medium-high. Gradually add the whisked sugar and spice mixture to the water, stirring constantly with a whisk until it comes to a low boil. Continue stirring to ensure the cornstarch fully dissolves and begins to thicken the liquid smoothly.
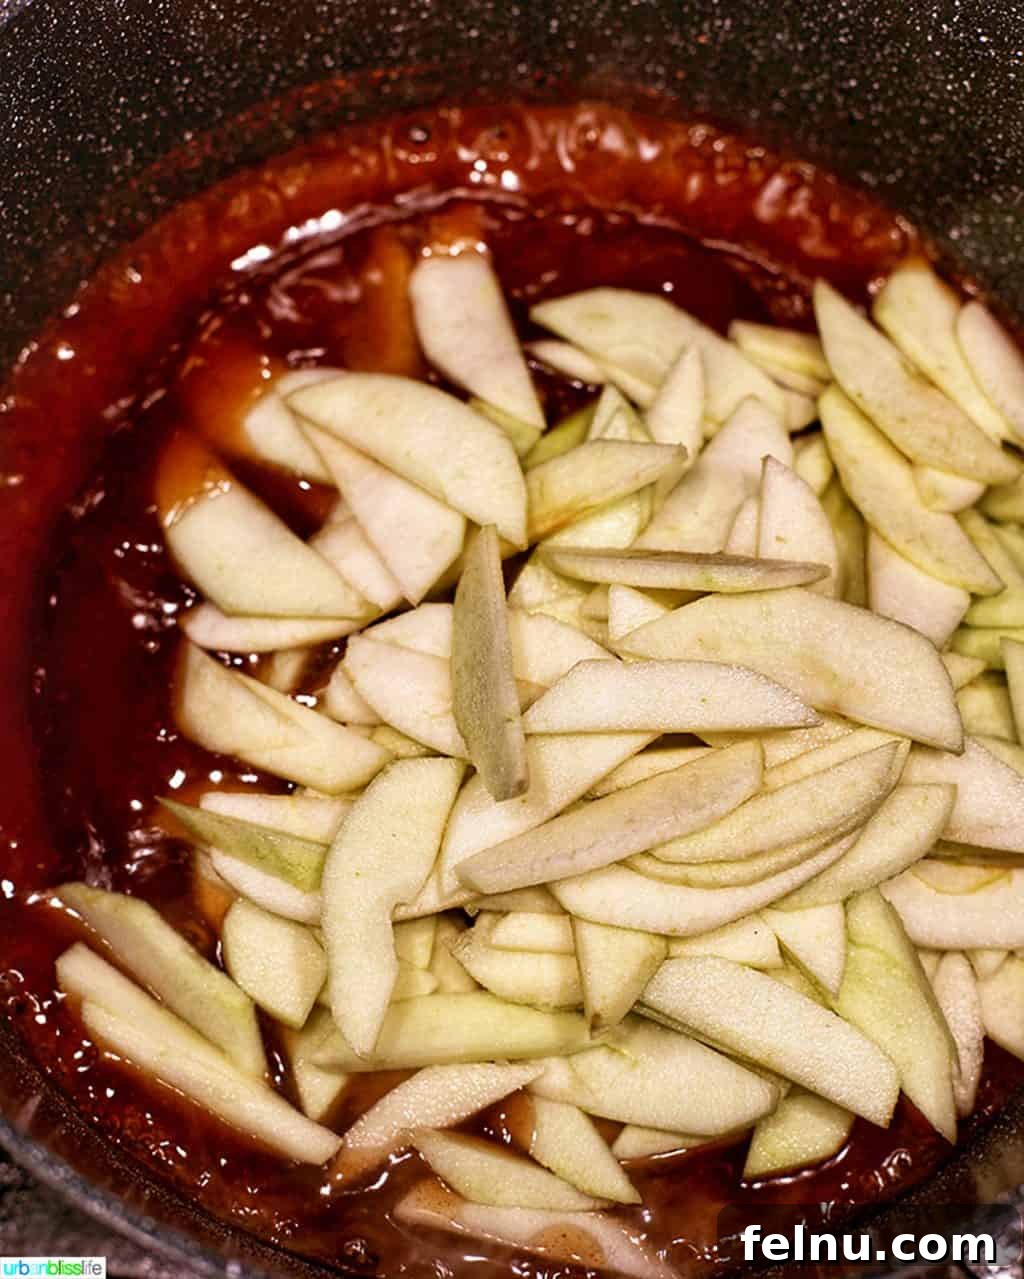
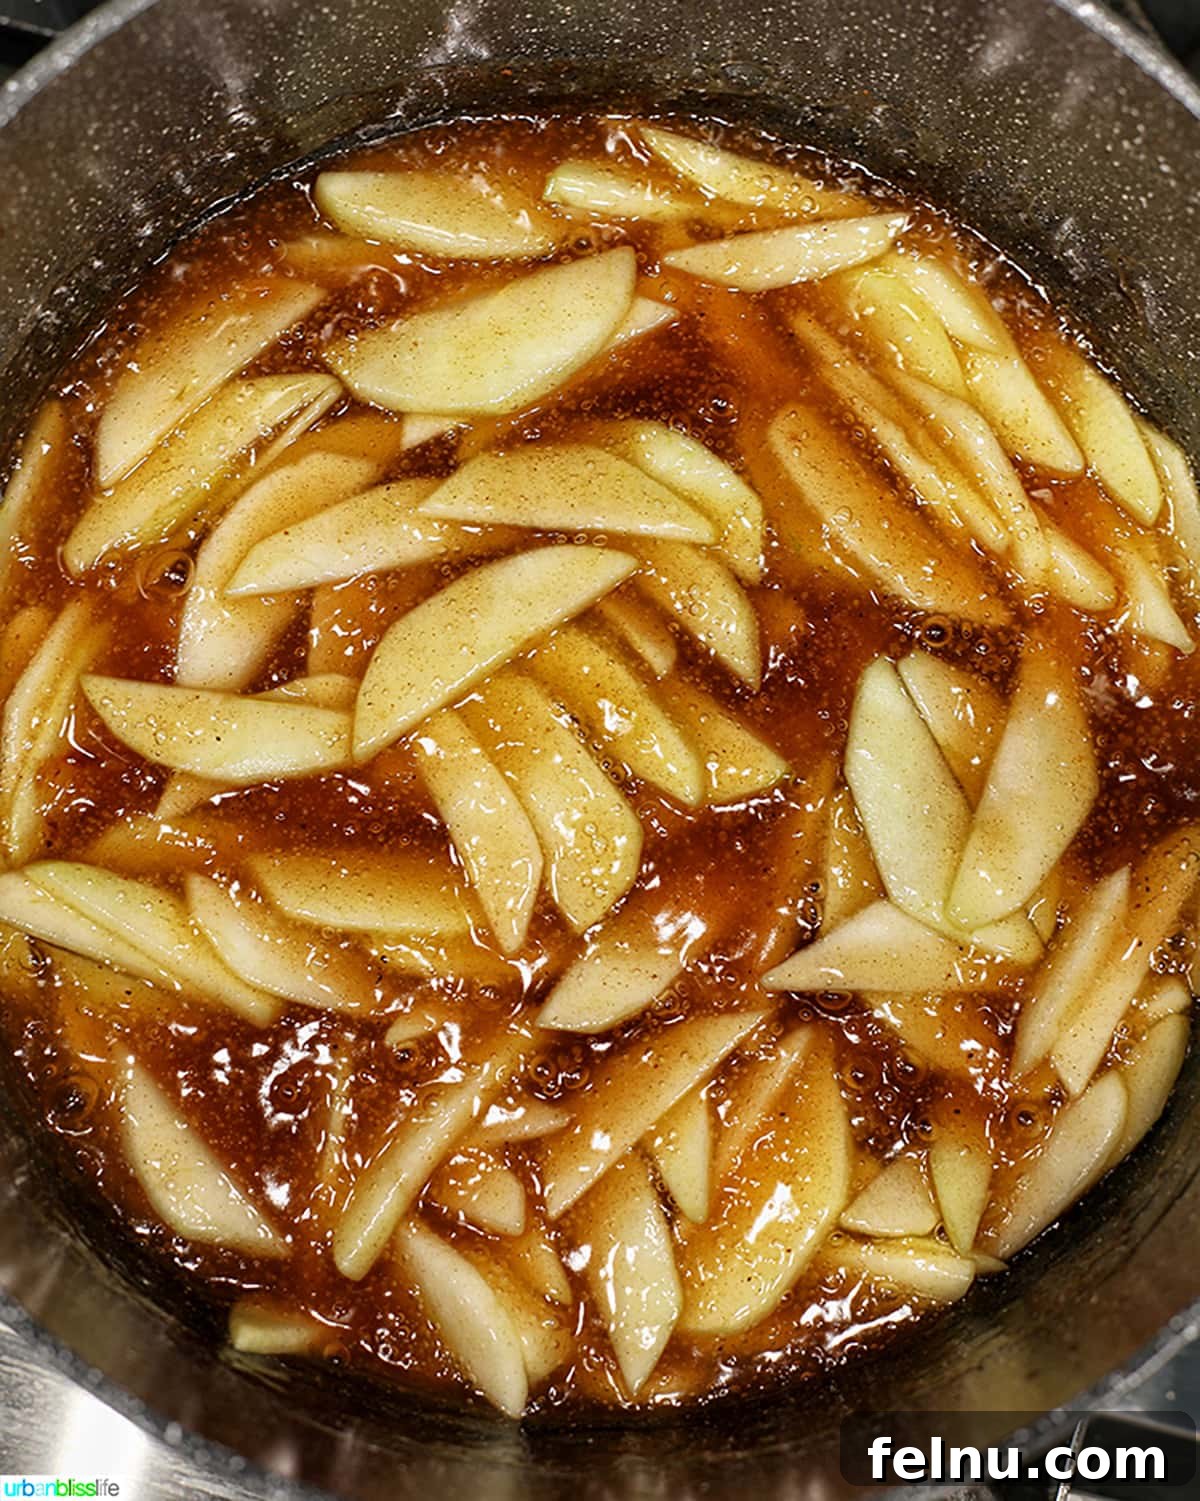
Once the liquid is simmering and slightly thickened, carefully add the lemon-tossed apple slices to the Dutch Oven. Increase the heat to high and bring the entire mixture to a full boil. Continue to stir constantly for 4-6 minutes. This initial high-heat cooking helps the apples absorb the flavors and begins the softening process. Afterward, reduce the heat to a low simmer, cover the pot with its lid, and let it cook gently for another 6-8 minutes, or until the apples have softened to your liking but still retain a slight bite. You don’t want them completely mushy at this stage, as they will cook further when baked in a pie.
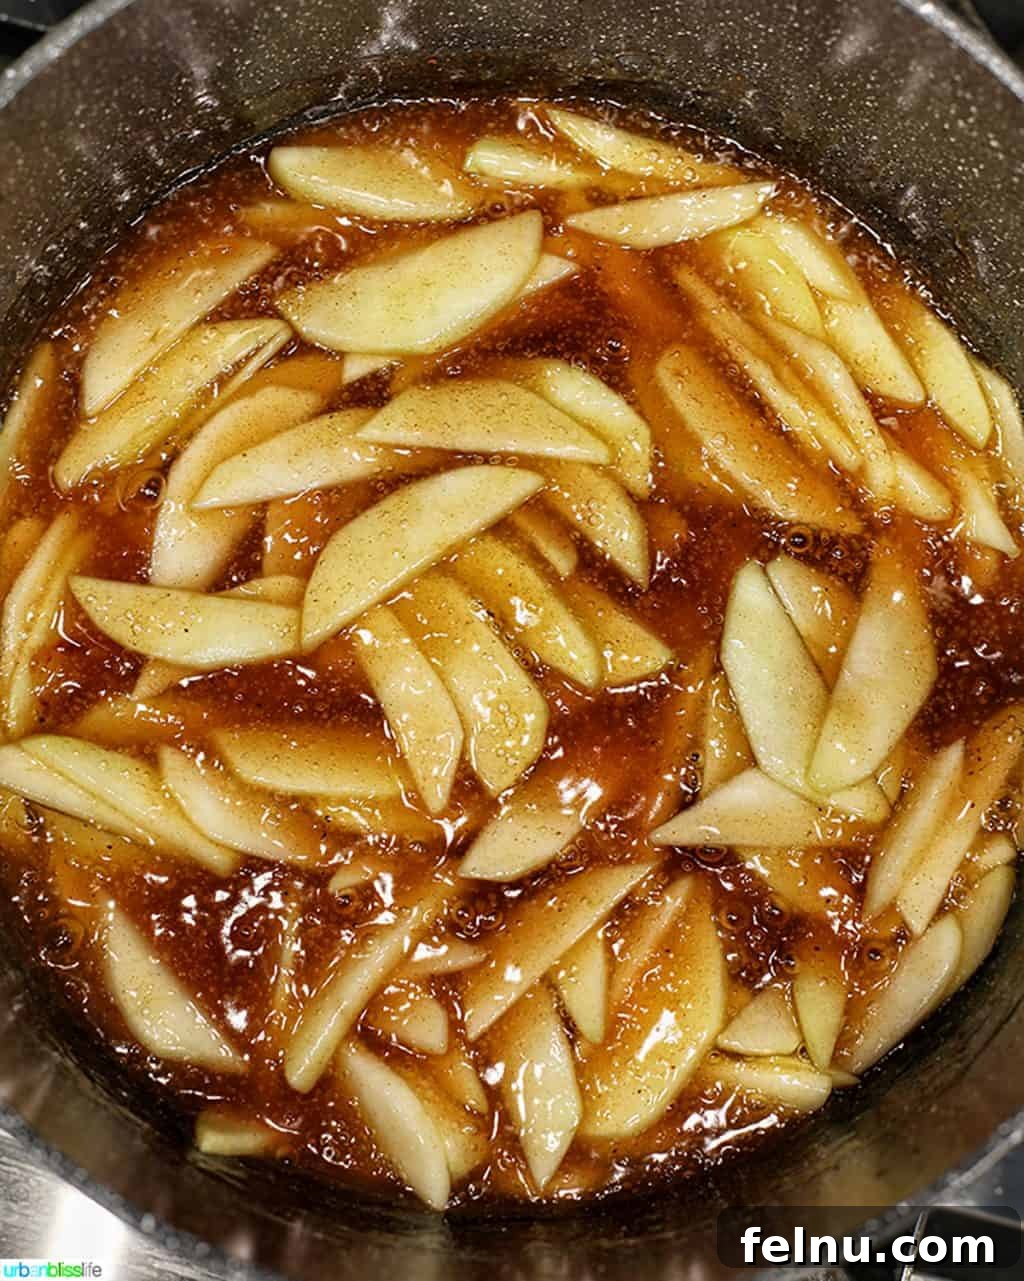
Once the apples are perfectly tender, turn off the heat and remove the lid from the Dutch Oven. It’s crucial to allow the filling to cool completely to room temperature before freezing. This can take approximately 30 minutes, or longer depending on your kitchen’s ambient temperature. Rushing this step can lead to condensation and ice crystals forming in your freezer bags, which can affect the quality of the filling.
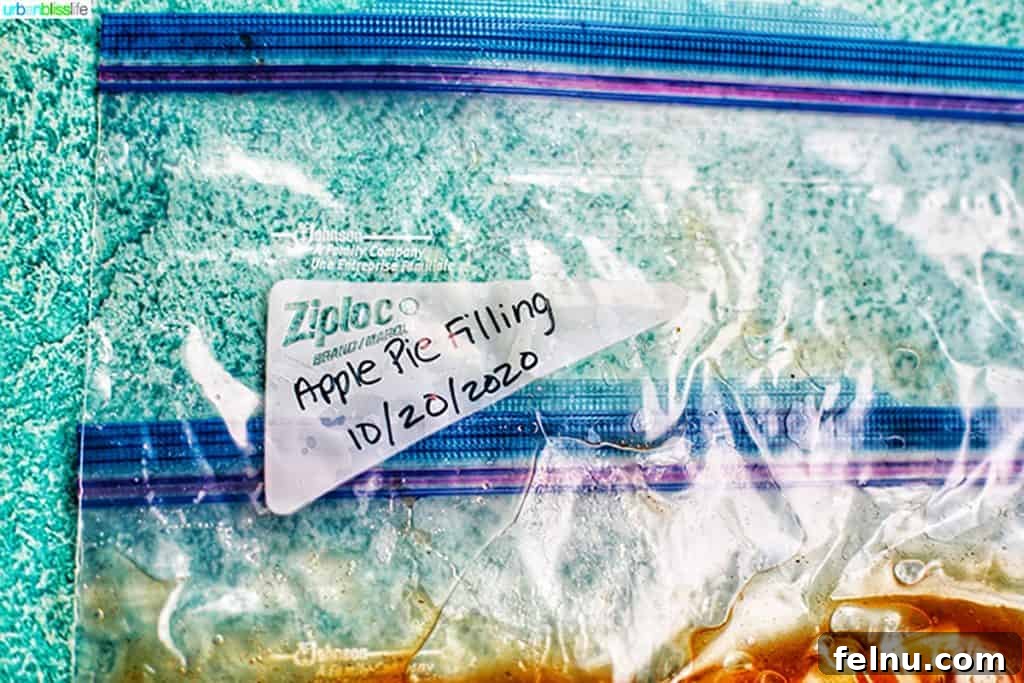
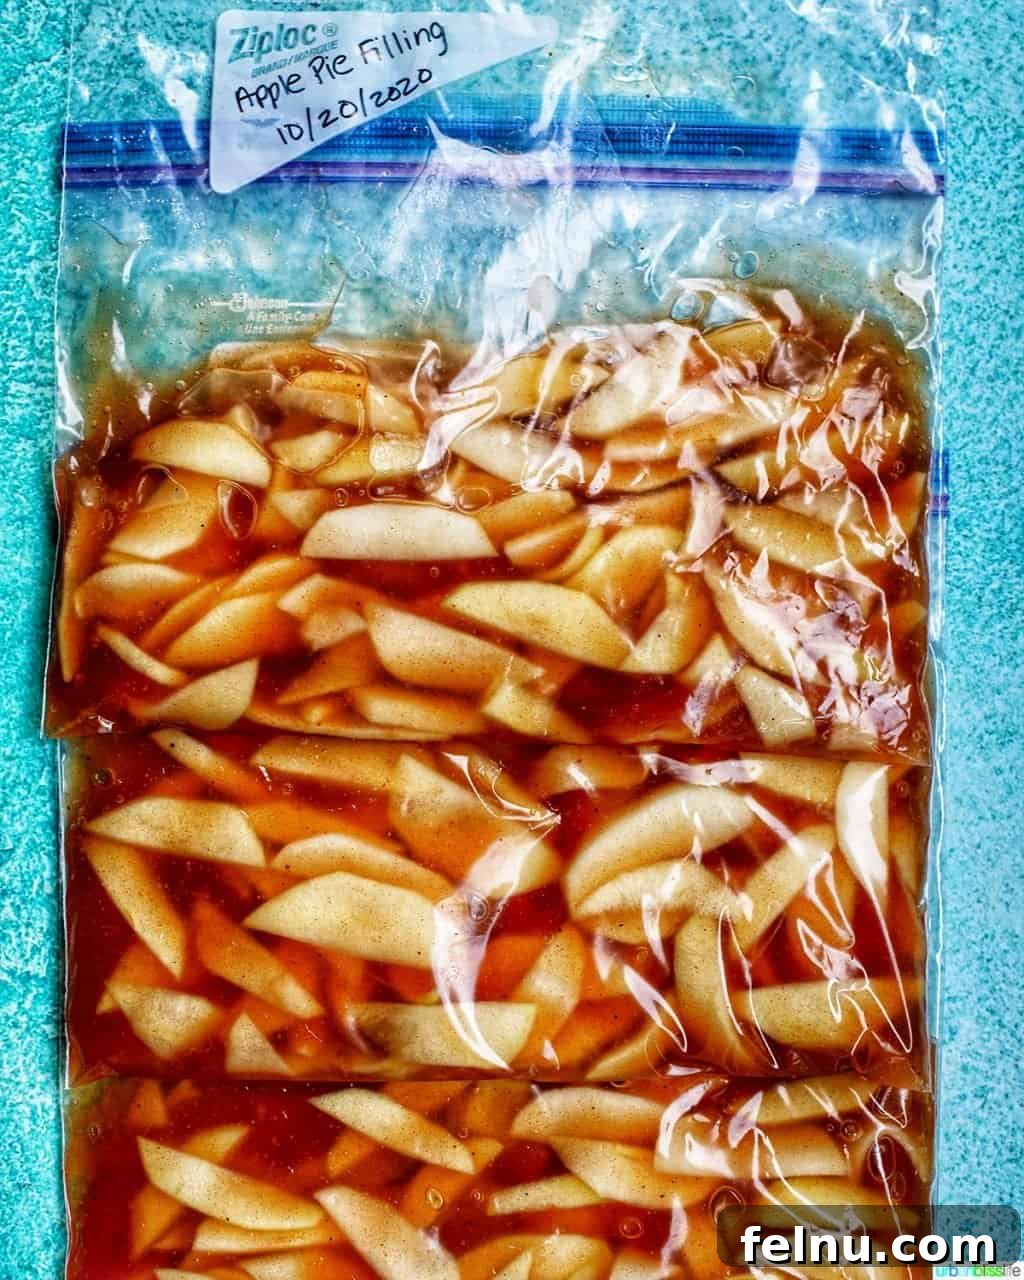
Once cooled, the filling is ready for freezing. Carefully ladle even portions into your pre-labeled large ziplock freezer bags. Labeling ahead of time is a small step that makes a big difference when you’re rummaging through your freezer later! Remove as much air as possible from the bags before sealing them tightly. Lay the filled bags flat in your freezer for efficient storage and quicker freezing. This method helps prevent freezer burn and maintains the fresh taste of your filling for up to 12 months, ready for whenever a craving strikes.
Understanding the Yield: How Much Filling Does This Recipe Produce?
One of the most common questions when preparing a make-ahead recipe like this is about its yield. The amount of apple pie filling needed for various dessert recipes can differ significantly. A single pie, for instance, might call for anywhere from 4 to 6 cups of filling, depending on its size and how generously it’s packed. Therefore, providing an exact, universal answer can be a bit tricky.
In general, this particular recipe is designed to yield enough filling for approximately two standard 8-inch pies. However, from my personal experience, I often manage to get enough for three standard pies out of a single batch. This is largely because I tend to prefer a higher crust-to-filling ratio in my pies – more of those delicious, cinnamon-spiced carbs for me! If you, like me, enjoy a pie where the fruit is well-distributed but not overwhelmingly thick, you’ll likely find this recipe provides ample quantities.
Should you be a fan of really deep, generously filled pies, or if you’re planning to bake for a larger gathering or multiple events, you can easily adjust this recipe. It scales up beautifully, so don’t hesitate to double or even triple the ingredients to produce more filling. Just ensure you have a sufficiently large Dutch oven or cook in batches, and plenty of freezer-safe bags on hand. Preparing a larger batch now will save you even more time in the long run, ensuring you always have a delightful apple dessert ready to go.
Maximizing Your Freezer Apple Pie Filling: Tips & Serving Suggestions
This freezer apple pie filling is a true culinary multitasker. While its primary purpose is pies, its versatility extends far beyond that. Here are some ideas to help you get the most out of your frozen bounty:
Thawing and Usage Tips:
- **Thawing:** When you’re ready to use your frozen filling, simply transfer a bag from the freezer to the refrigerator a day or two before you plan to bake. For quicker thawing, you can place the sealed bag in a bowl of cold water, changing the water every 30 minutes until thawed.
- **Consistency Check:** After thawing, the filling should be ready to use directly in your recipe. If it seems a little watery (perhaps from a slight amount of ice crystals), you can drain off a small amount of liquid, but generally, it bakes up perfectly.
- **Baking from Frozen (Optional):** While not recommended for traditional pies, if you’re making a crisp or crumble, you can sometimes use the filling directly from frozen, adding a few extra minutes to the bake time.
Creative Serving Suggestions:
Beyond the classic apple pie, this filling shines in numerous other applications:
- **Apple Crisps and Crumbles:** A perennial favorite! Simply pour the thawed filling into a baking dish, top with your favorite oat-based crumble topping, and bake until golden and bubbly.
- **Turnovers and Hand Pies:** Roll out puff pastry or pie crust dough, spoon in some filling, fold, seal, and bake for individual, portable treats.
- **Apple Tarts:** Ideal for elegant individual desserts or a rustic large tart.
- **Muffins and Scones:** Swirl a bit of filling into muffin batter or scone dough before baking for a delightful apple twist.
- **Pancakes and Waffles:** Warm up a spoonful and use it as a decadent topping for your breakfast or brunch.
- **Ice Cream Topping:** A warm scoop of this filling over vanilla ice cream is pure bliss.
- **Oatmeal or Yogurt Parfaits:** Layer with granola, yogurt, and warm apple filling for a wholesome and flavorful start to your day.
By preparing this filling in advance, you’re not just making pie; you’re creating a foundation for endless delicious possibilities!
More Delightful Fall Dessert Recipes
If you love the warm, spiced flavors of autumn, you’re in for a treat! This apple pie filling is just the beginning. Explore these other fantastic fall dessert recipes that capture the essence of the season:
- Irresistible Apple Pie Bars
- Comforting Skillet Apple Cranberry Crisp
- A Collection of the Best Fall Dessert Recipes
- Adorable Mini Apple Pies
- Elegant Pear Tartlets
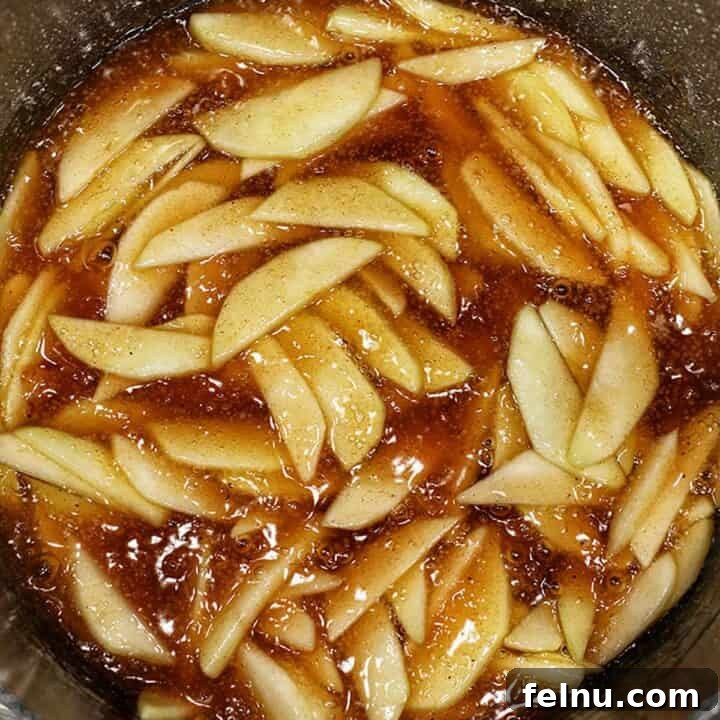
Freezer Apple Pie Filling
Print Recipe
This make-ahead apple pie filling is perfect for fall and winter baking!
Equipment
- Dutch Oven
- Cutting Board
- Sharp Knife
- Measuring Cups & Spoons
- Mixing Bowls
- Whisk
- Freezer-Safe Ziplock Bags
Ingredients
- 4 cups water
- 8 cups thinly sliced apples (Granny Smith recommended)
- 3 tablespoons lemon juice
- 1½ cups granulated sugar
- ¾ cup cornstarch
- 2 teaspoons ground cinnamon
- ¼ teaspoon ground nutmeg
- ½ teaspoon kosher salt
Instructions
- Start by peeling and slicing the apples. Aim for somewhat thin slices; not paper-thin, but not too thick either. Alternatively, you can cut apples into chunks if you prefer a different texture in your pie.
- Add the apple slices to a large mixing bowl and gently toss them with lemon juice to prevent browning and add flavor.
- In a medium bowl, whisk together the granulated sugar, cornstarch, cinnamon, nutmeg, and salt until well combined.
- Pour water into the Dutch Oven. Turn the heat to medium-high and gradually add the dry sugar and spice mixture. Gently whisk or stir constantly as the water comes to a low boil, ensuring the mixture thickens smoothly.
- Add the lemon-tossed apple slices to the Dutch Oven. Increase the heat to high and bring the mixture to a boil. Stirring constantly, allow the apples and mixture to boil for 4-6 minutes.
- Then, lower the heat to a simmer, cover the pot, and continue to cook for 6-8 minutes, or until the apples are softened but still hold their shape.
- Turn the heat off, uncover the Dutch Oven, and allow the apple pie filling to cool completely to room temperature. This cooling process typically takes around 30 minutes.
- Once cooled, carefully ladle even portions of the filling into prepared, labeled large ziplock freezer bags. Ensure you remove as much air as possible before sealing. Place the bags flat into the freezer and freeze for up to 12 months.
Notes
This recipe makes enough filling for approximately 3 standard pies, or several mini pies and tartlets.
For the best results, use Granny Smith apples. Their firm texture helps them hold their shape well during the cooking and baking processes.
Store this homemade apple pie filling in freezer-safe ziplock bags for up to 12 months for optimal freshness and convenience.
Nutrition
Calories: 1032kcal, Carbohydrates: 266g, Protein: 2g, Fat: 2g, Saturated Fat: 0.2g, Polyunsaturated Fat: 0.3g, Monounsaturated Fat: 0.1g, Sodium: 616mg, Potassium: 572mg, Fiber: 14g, Sugar: 202g, Vitamin A: 278IU, Vitamin C: 32mg, Calcium: 69mg, Iron: 1mg
Nutrition information is automatically calculated, so should only be used as an approximation.
Tried this recipe?
Please leave a star rating and comment! Then snap a pic of your dish and share it on social media. Tag @UrbanBlissLife and #UrbanBlissLife!
PIN IT: Save This Recipe for Later!
Don’t let apple season pass you by without making a batch (or two!) of this incredibly convenient and delicious freezer apple pie filling. It’s the perfect way to enjoy homemade apple desserts all year round with minimal effort. Happy baking!