
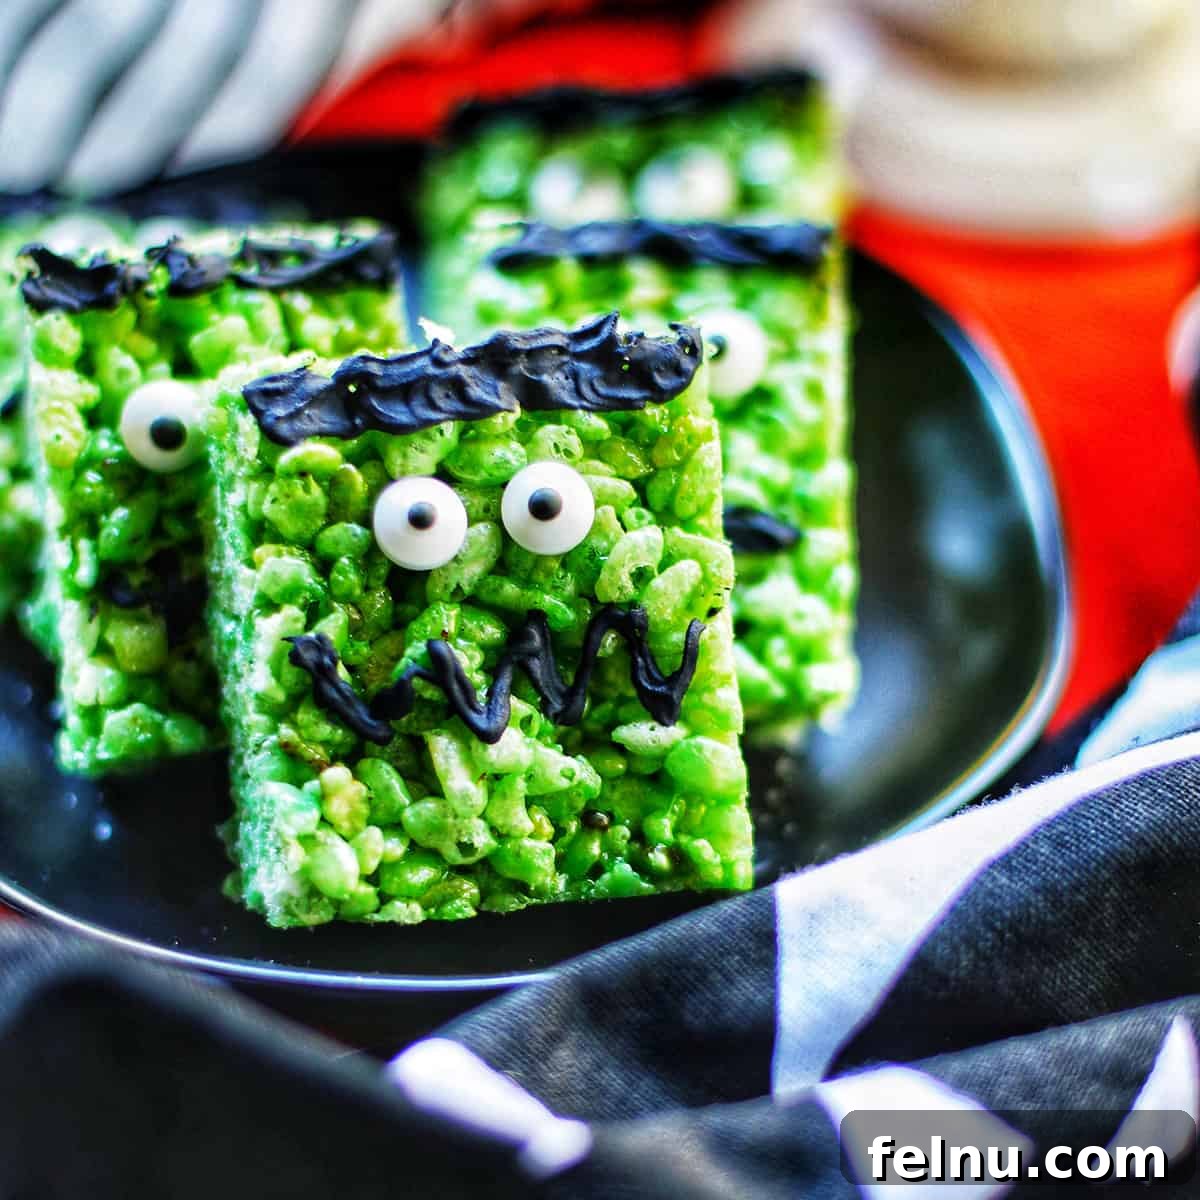
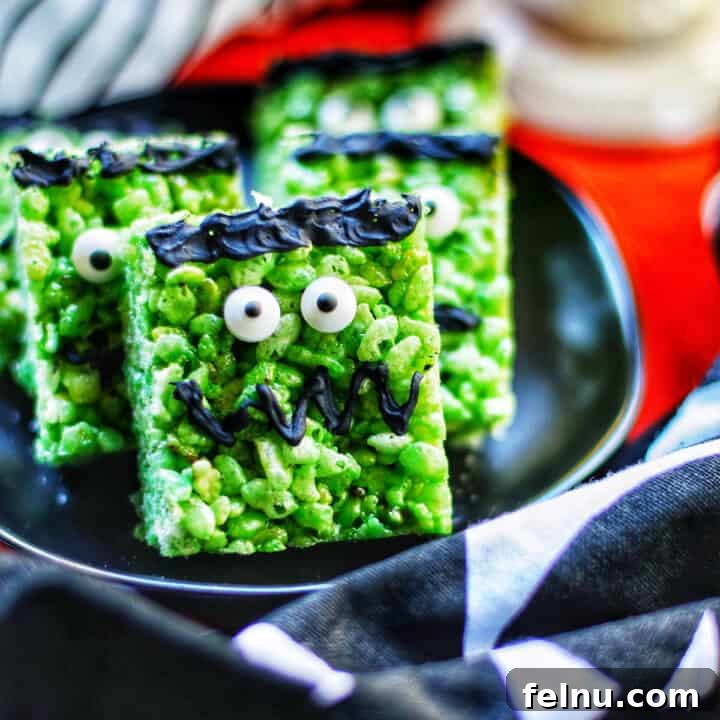
Are you searching for a monstrously delicious and incredibly simple Halloween treat that will bring smiles to every face? Look no further! These easy Frankenstein Rice Krispies Treats are not only a breeze to make but also incredibly fun to eat, making them the ultimate festive dessert for the spooky season. With just a few basic ingredients and a dash of creativity, you can whip up a batch of these vibrant, homemade cereal treats that are perfect for any Halloween gathering.
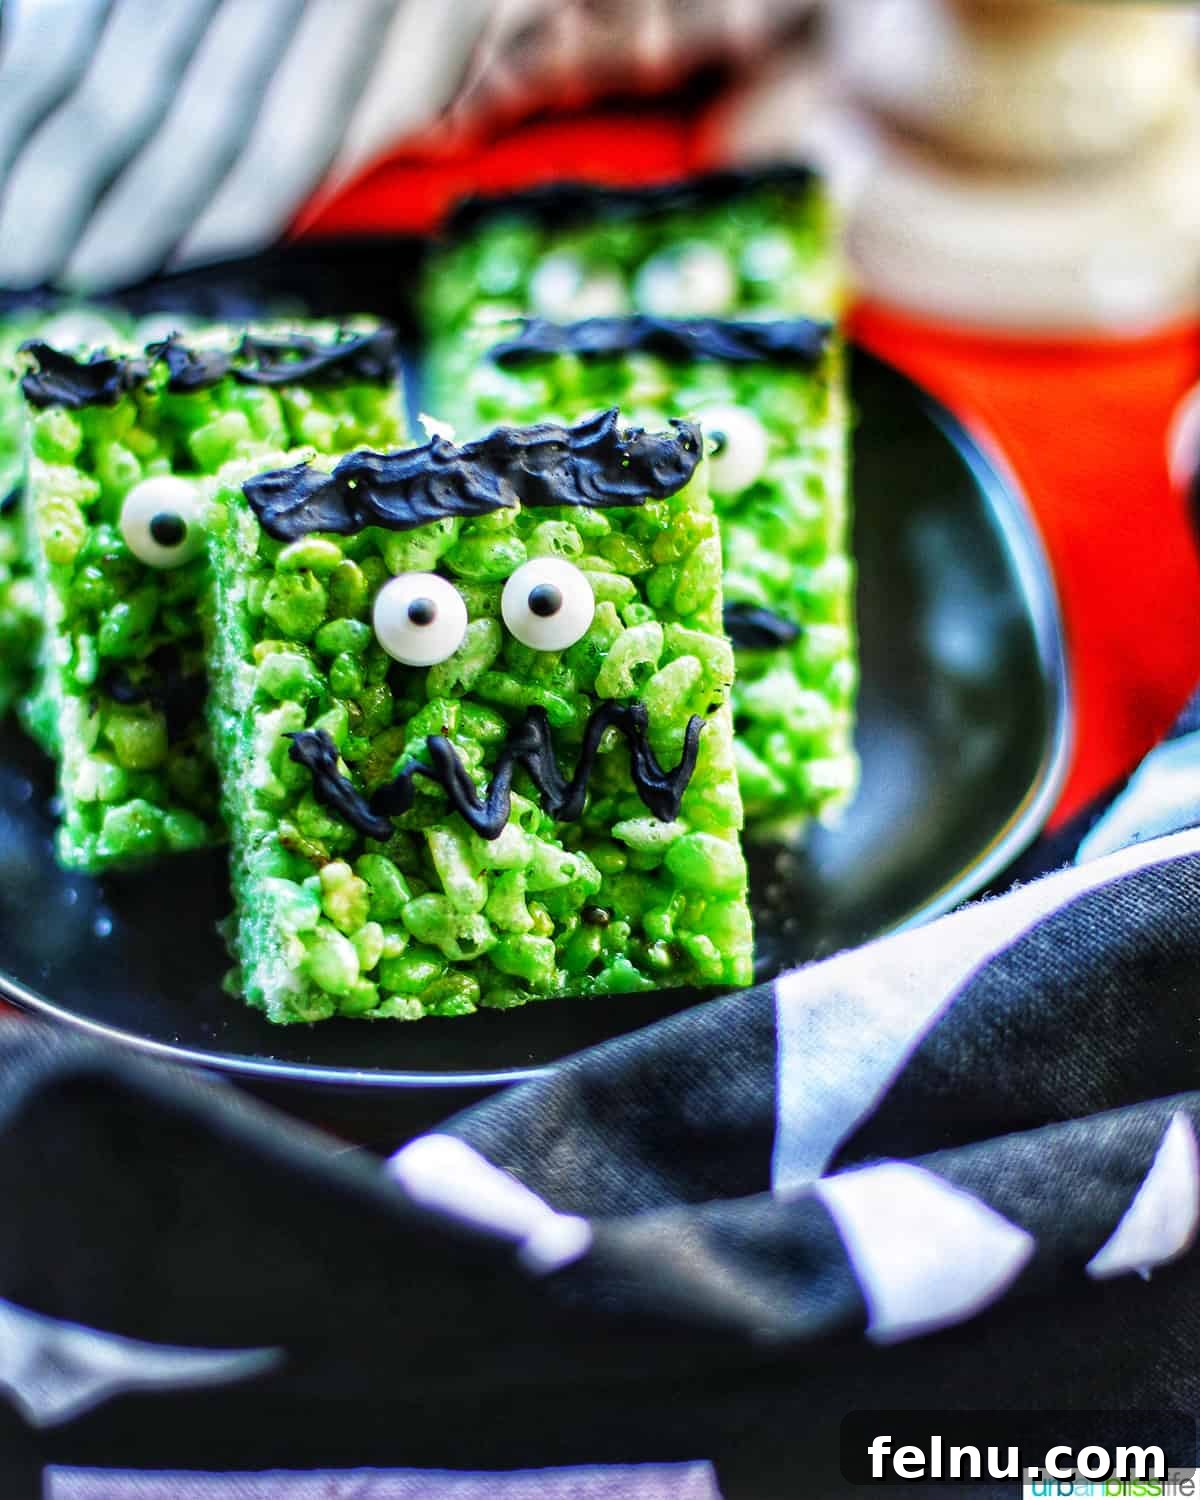
Get ready to embrace the Halloween spirit with a delightful no-bake dessert that promises both ease and excitement for your upcoming Halloween party! Whether you’re hosting a ghoulish gala, preparing snacks for a school event, or simply looking for a fun family kitchen project, these homemade Frankenstein Rice Krispies Treats are an absolute winner. They transform a classic, beloved snack into adorable little monsters that are sure to be the star of your Halloween dessert table.
Making these monster-themed treats is a fantastic activity to enjoy with your children. Kids love getting involved in the kitchen, especially when it involves colorful ingredients and spooky decorations. From mixing the bright green marshmallow mixture to adding the whimsical candy eyeballs and drawing quirky expressions with black icing, every step is an opportunity for laughter and creative expression. These vibrant green squares with their goofy faces are not just food; they’re an experience that will help everyone, young and old, get into the joyous and spooky mood of Halloween!
Why You’ll Adore These Spooky Treats
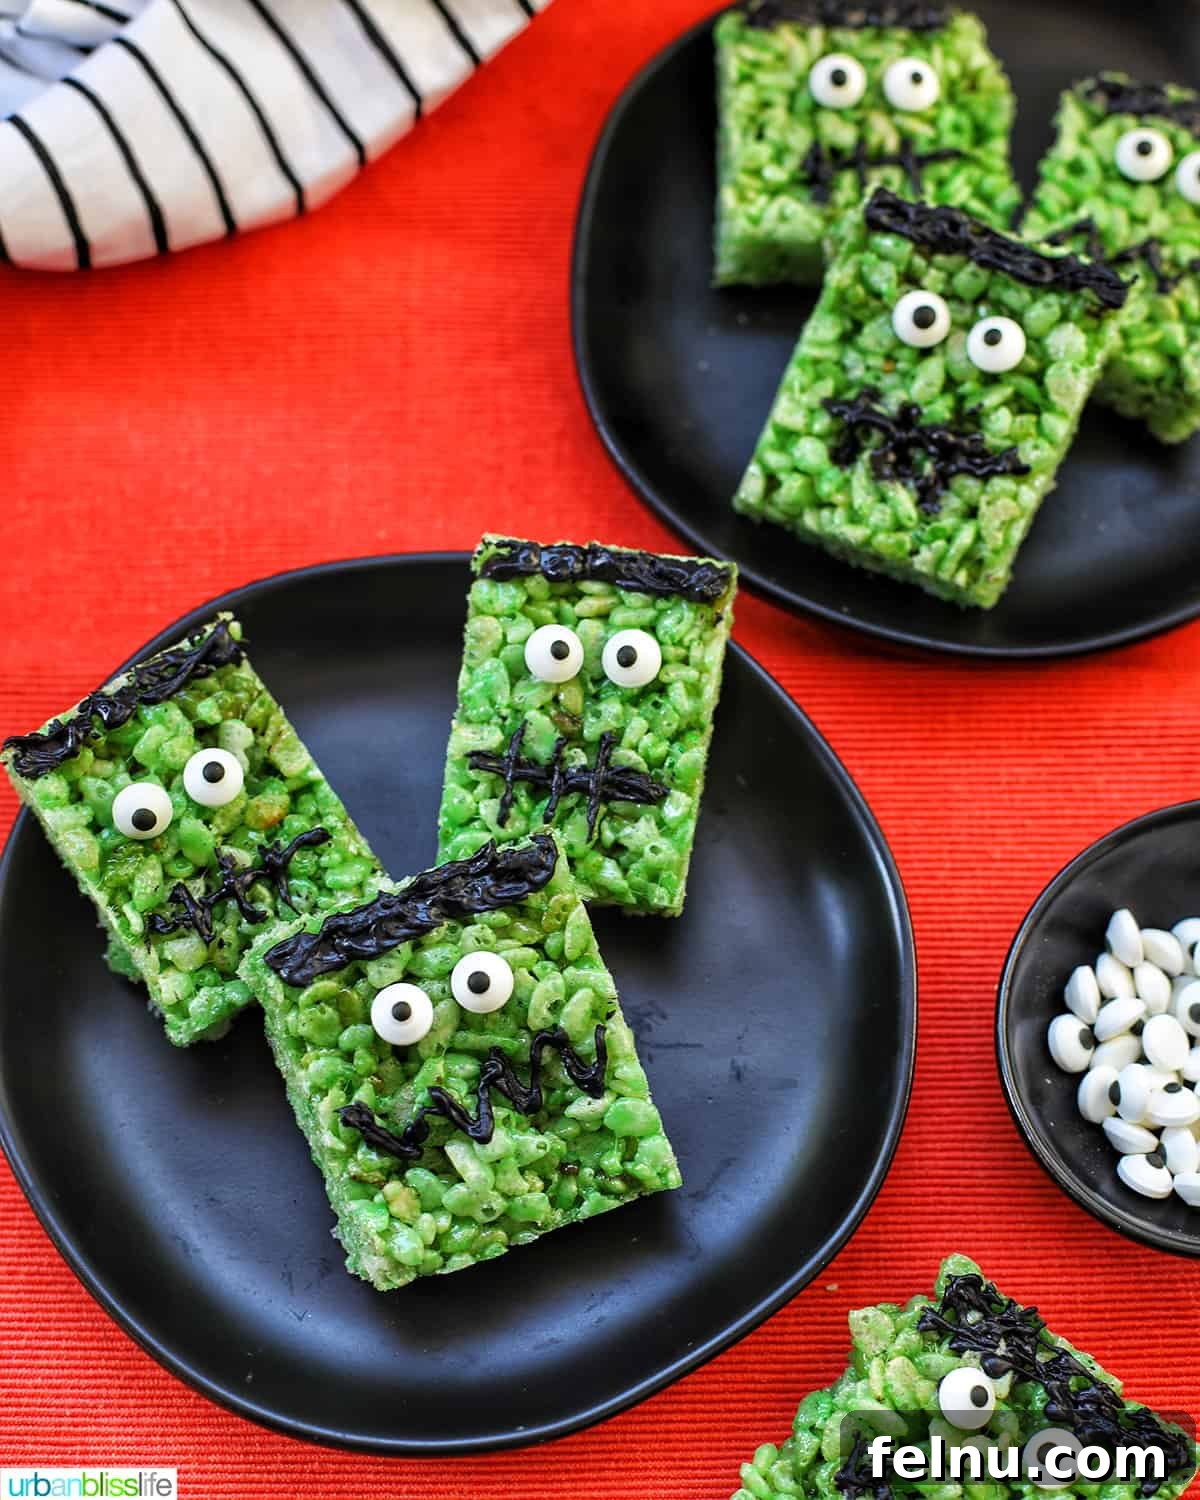
These homemade Rice Krispies treats are truly the perfect addition to your Halloween season celebrations. Their charm and simplicity make them irresistible, and here’s why they’ll quickly become a cherished part of your annual traditions:
- Effortlessly Fun & Family-Friendly: This recipe is designed for maximum fun with minimal effort. It’s an ideal baking project to tackle with your kids, allowing them to participate in every step from mixing to decorating. The hands-on experience of creating these cute monsters fosters creativity and creates lasting family memories.
- Quick & Convenient: In today’s busy world, finding recipes that deliver big on flavor and fun without consuming hours in the kitchen is a goldmine. These Frankenstein Rice Krispies Treats are truly a 30-minute wonder, ready from start to finish in less than half an hour. This makes them perfect for last-minute party preparations or spontaneous spooky treat cravings.
- A Festive & Whimsical Twist: While classic Rice Krispies Treats are always a hit, these Frankenstein versions add a delightfully spooky and whimsical twist. The vibrant green color and playful monster faces instantly elevate them beyond an everyday snack, transforming them into a themed dessert that perfectly captures the essence of Halloween.
- Perfect for Any Occasion: These easy Halloween treats are incredibly versatile. They are absolutely ideal for bringing to Halloween parties, serving as charming class treats, or packaging up as thoughtful, homemade gifts for friends and neighbors. Their sturdy nature makes them easy to transport, and their adorable appearance ensures they’ll be a conversation starter.
One of the greatest appeals of these Frankenstein treats is that they take a beloved snack that most kids already adore and infuse it with exciting Halloween magic. Children are naturally drawn to the vibrant colors and playful monster designs, and they will undoubtedly jump at the opportunity to help create (and then devour) these homemade delights with you. This shared activity in the kitchen builds anticipation for Halloween and makes the treats even more special.
These monster Rice Krispies treats complement a wide array of other Halloween desserts beautifully. For a truly impressive spread, we love serving them alongside other spooky favorites like our Halloween Pinwheel Cookies, the wonderfully colorful Halloween Monster Bark, and the adorable Nutter Butter Ghost Cookies. Creating a diverse dessert table with various textures and flavors ensures there’s something for everyone to enjoy.
If you’re eager to explore more festive cereal treats, be sure to try our Pumpkin Rice Krispies Treats recipe for another seasonal favorite that’s equally simple and delicious!
🎃 Ingredient Notes for Your Monster Treats
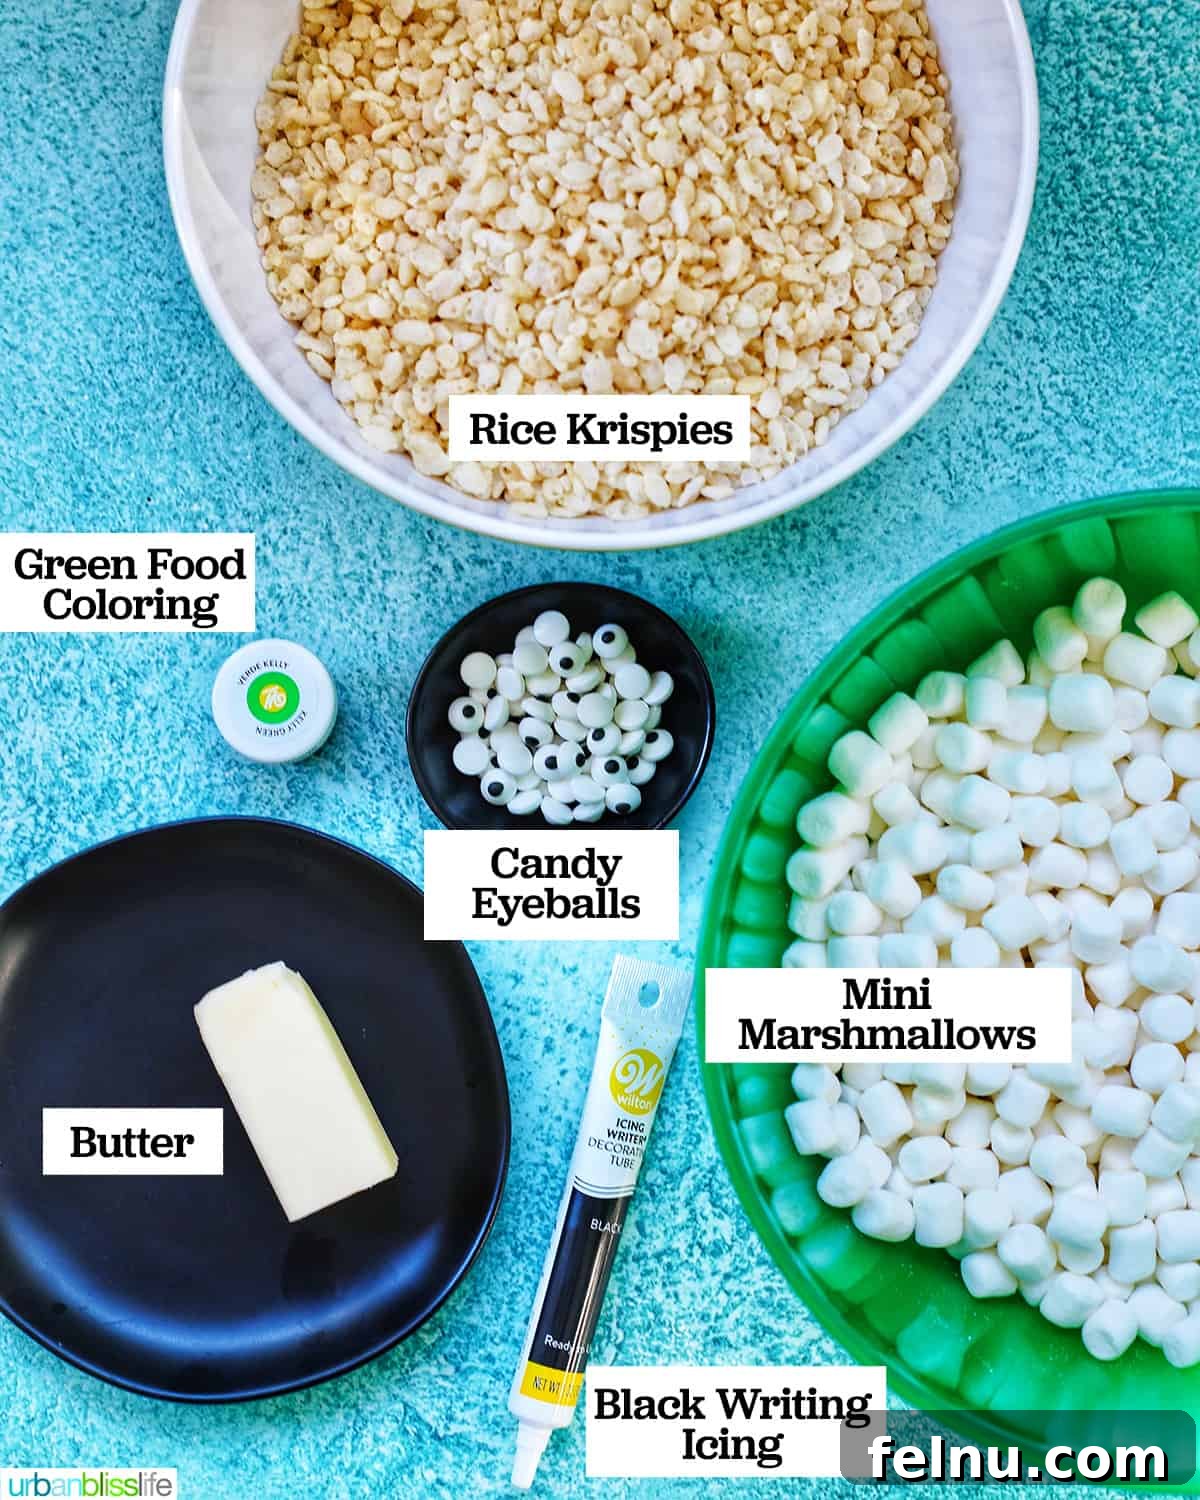
You’ll love how straightforward this Halloween treat recipe is, requiring only six simple ingredients or even fewer! Each component plays a crucial role in creating the perfect texture and visual appeal for your Frankenstein monsters. Here’s a closer look at what you’ll need and why:
- Unsalted Butter: We recommend using unsalted butter for this recipe. This allows you to control the overall saltiness of your treats, ensuring they are sweet and not overly savory. If you’re looking for a dairy-free or vegan option, many high-quality plant-based butters work wonderfully and yield equally delicious results.
- Mini Marshmallows: While large puffy marshmallows can work in a pinch, mini marshmallows are truly superior for this recipe. Their smaller size means they melt much faster and more evenly, ensuring a smoother, more consistent marshmallow coating for your cereal. This quick melting also helps you move through the steps before the mixture begins to set.
- Green Food Coloring: This is where your Frankenstein treats get their signature hue! You can use traditional green food coloring drops, but for a more concentrated color without adding extra liquid, we highly recommend using green icing coloring (gel food coloring). Gel colors are much more potent, allowing you to achieve a vibrant green with just a small amount, without affecting the consistency of your marshmallow mixture.
- Rice Krispies Cereal: For the best texture and classic taste that truly defines a “Rice Krispies Treat,” we strongly advise using the original Kellogg’s Rice Krispies brand. Generic store-brand rice cereals can sometimes be less crisp or absorb moisture differently, which might alter the desired chewiness and crunch of your finished treats.
- Candy Eyeballs: These whimsical candy eyeballs are essential for bringing your Frankenstein monsters to life! They instantly add character and a touch of silliness that kids adore. We always keep a stash of candy eyeballs in our pantry because they are a quick and easy way to add fun and personality to any baked good or treat, transforming them into something truly special.
- Black Writing Icing: To draw on the iconic stitches, mouths, and hair, you’ll need black writing icing. Look for the kind that comes in a thin tube with a fine tip, as it allows for more precise decorating than thicker tubes of frosting. Alternatively, you can melt black candy melts and use a small piping bag with a fine tip for even more control over your designs.
✅ Easy Step-by-Step Guide to Monster Creation
Crafting these adorable Frankenstein Rice Krispies Treats is a straightforward process, and to ensure your success, we’ve provided a visual, step-by-step guide with photos. You’ll find a complete list of ingredients and detailed instructions in the printable recipe card at the very end of this post. But for now, let’s walk through how to make these cute Halloween delights!
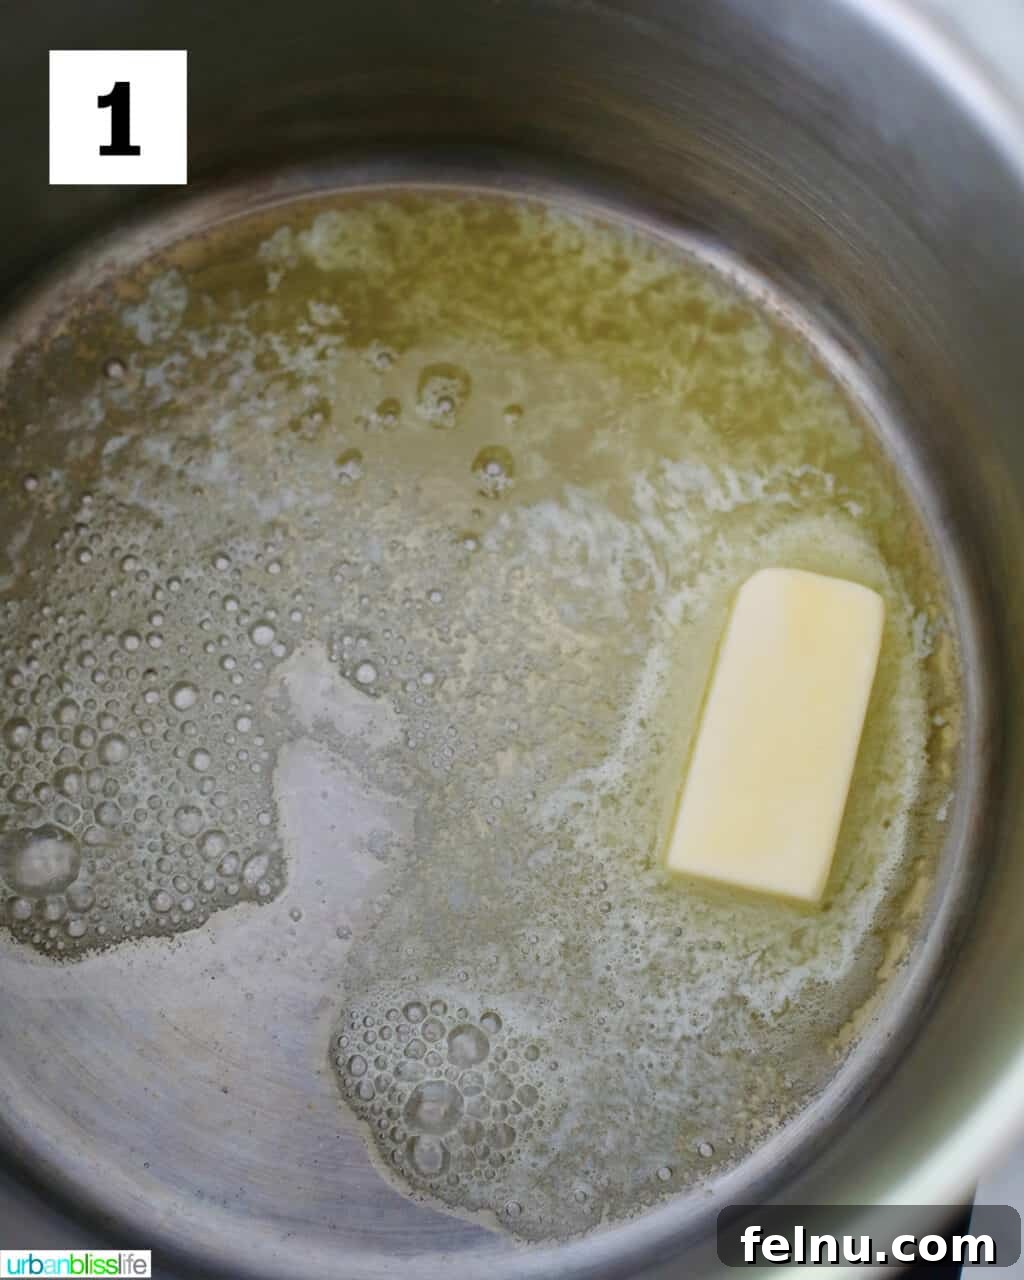
- Melt the Butter: Begin by melting the unsalted butter in a large stockpot or a spacious Dutch oven over medium heat. Keep a close eye on it to ensure it melts smoothly without browning or burning, which can affect the flavor of your treats.
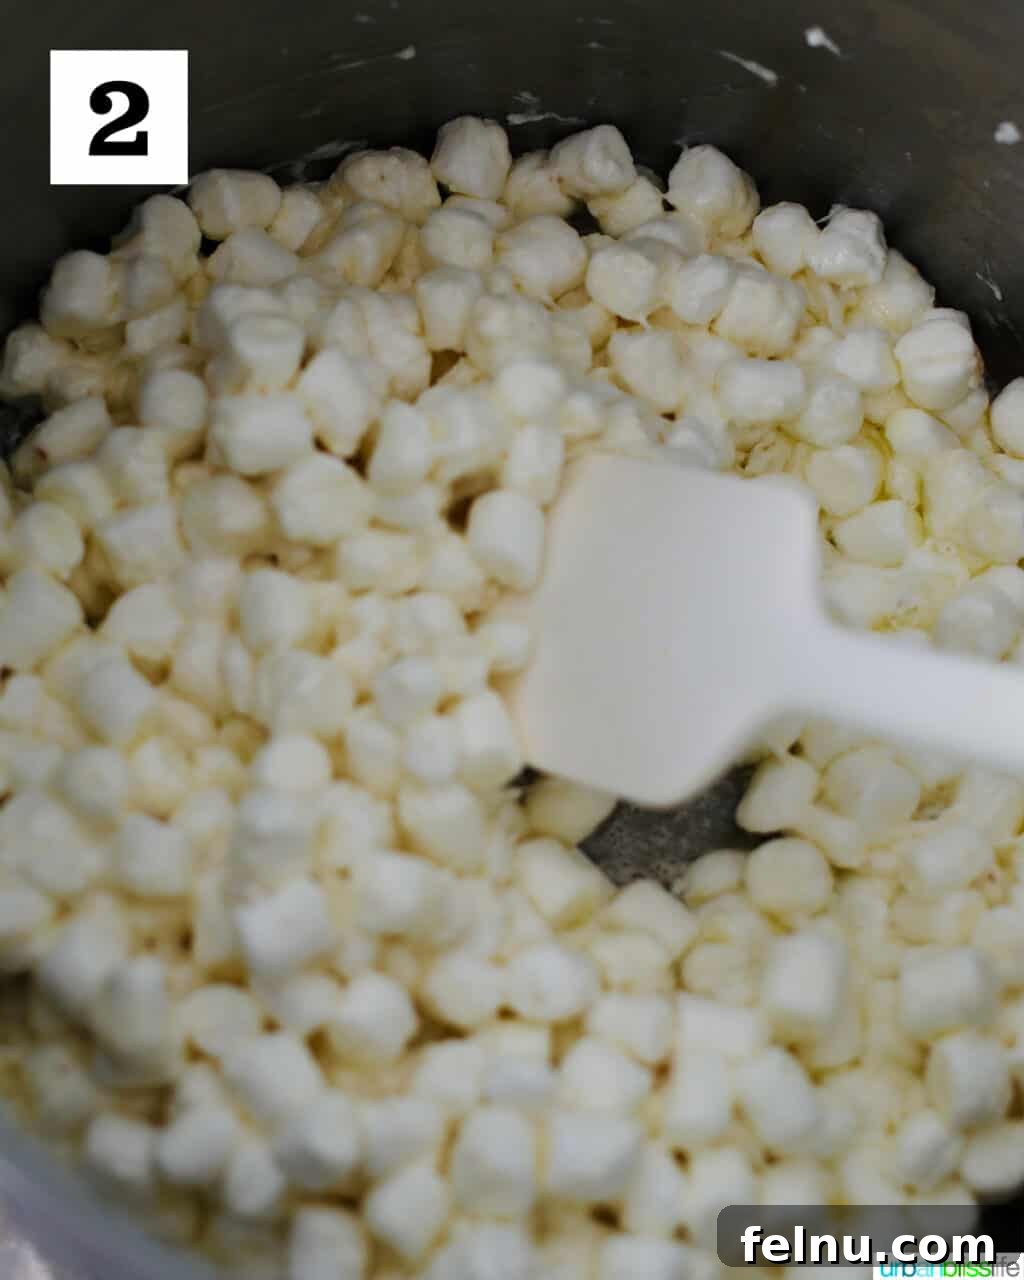
- Combine with Marshmallows: As soon as the butter has fully melted, immediately add all the mini marshmallows to the pot. Stir the marshmallows and melted butter together very quickly and continuously. The goal is to melt the marshmallows into a smooth, gooey mixture without letting them overcook or stick to the bottom of the pot.
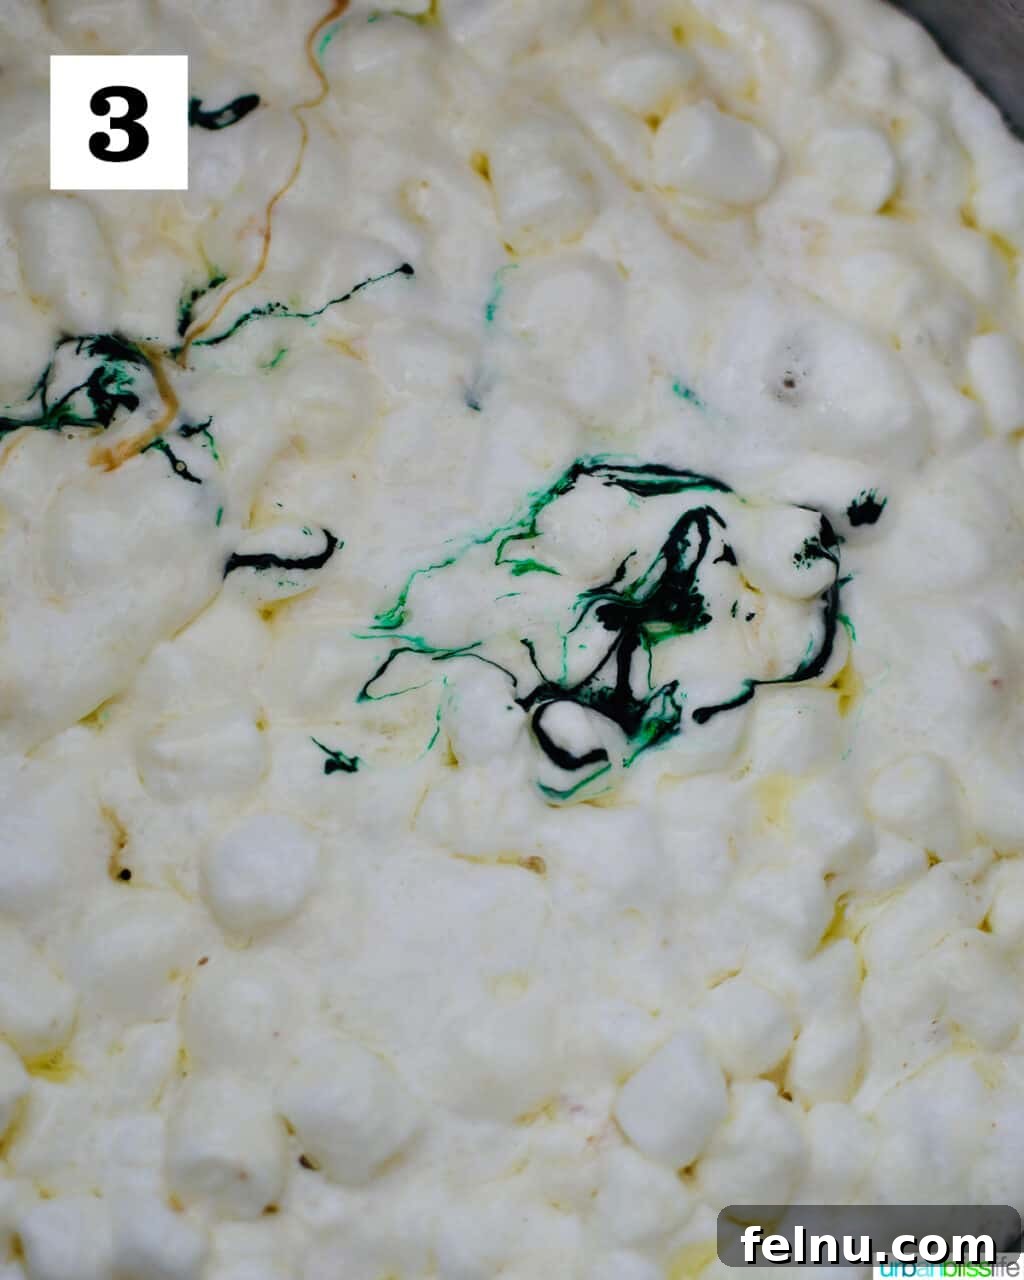
3. Add Green Food Coloring: Once the marshmallows are mostly melted, it’s time to introduce the green food coloring. Start with just a few drops or a small toothpick swipe of gel coloring. Remember, it’s easier to add more color than to take it away!
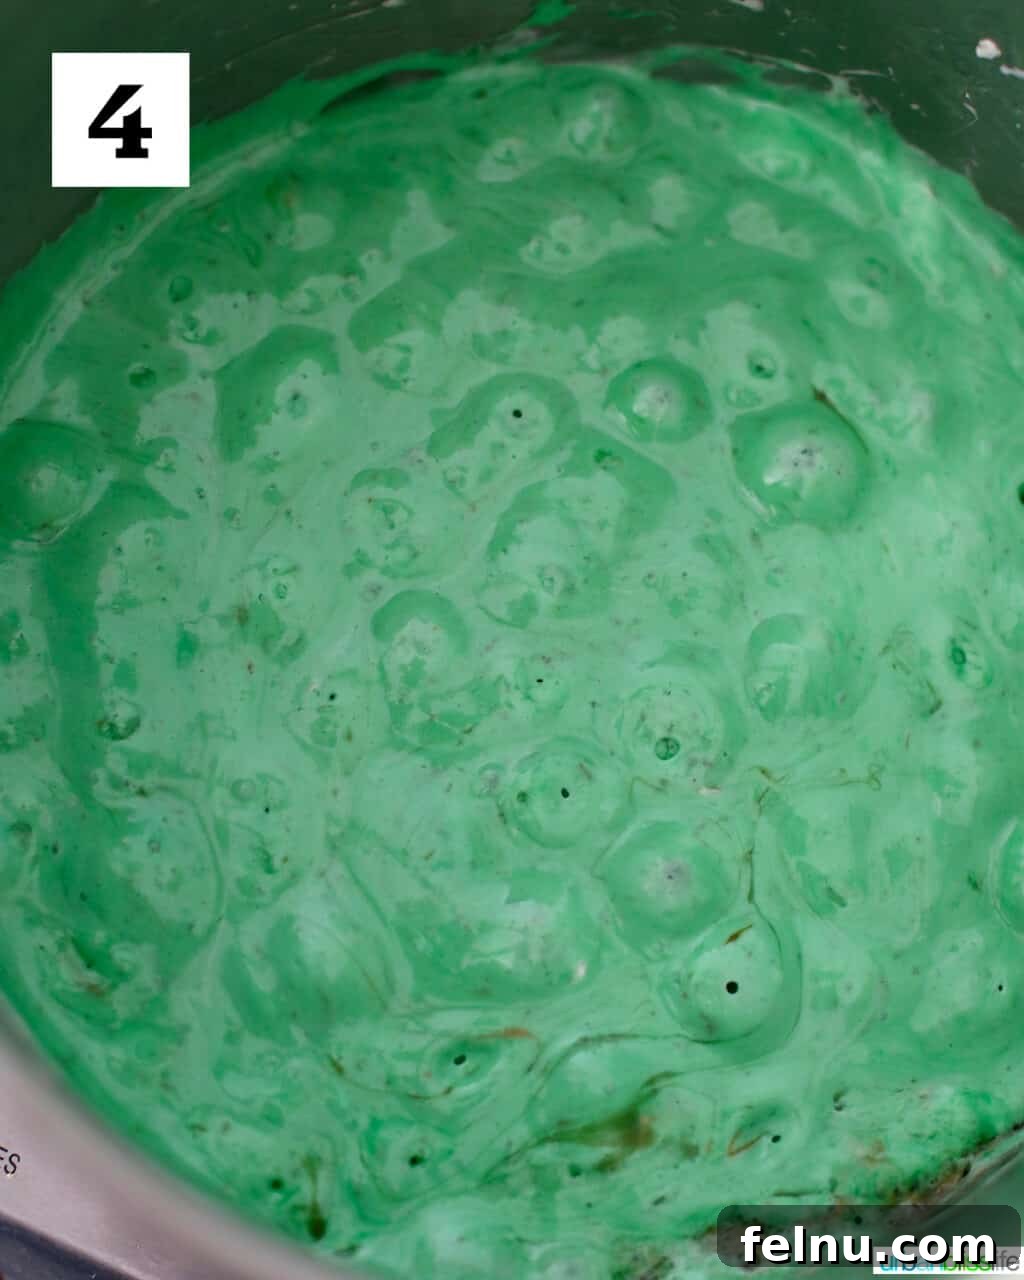
4. Mix for Even Color: Immediately and briskly mix the green food coloring into the buttered marshmallows. Continue stirring until the green color is perfectly and evenly distributed throughout the entire mixture. You want a consistent, vibrant Frankenstein green!
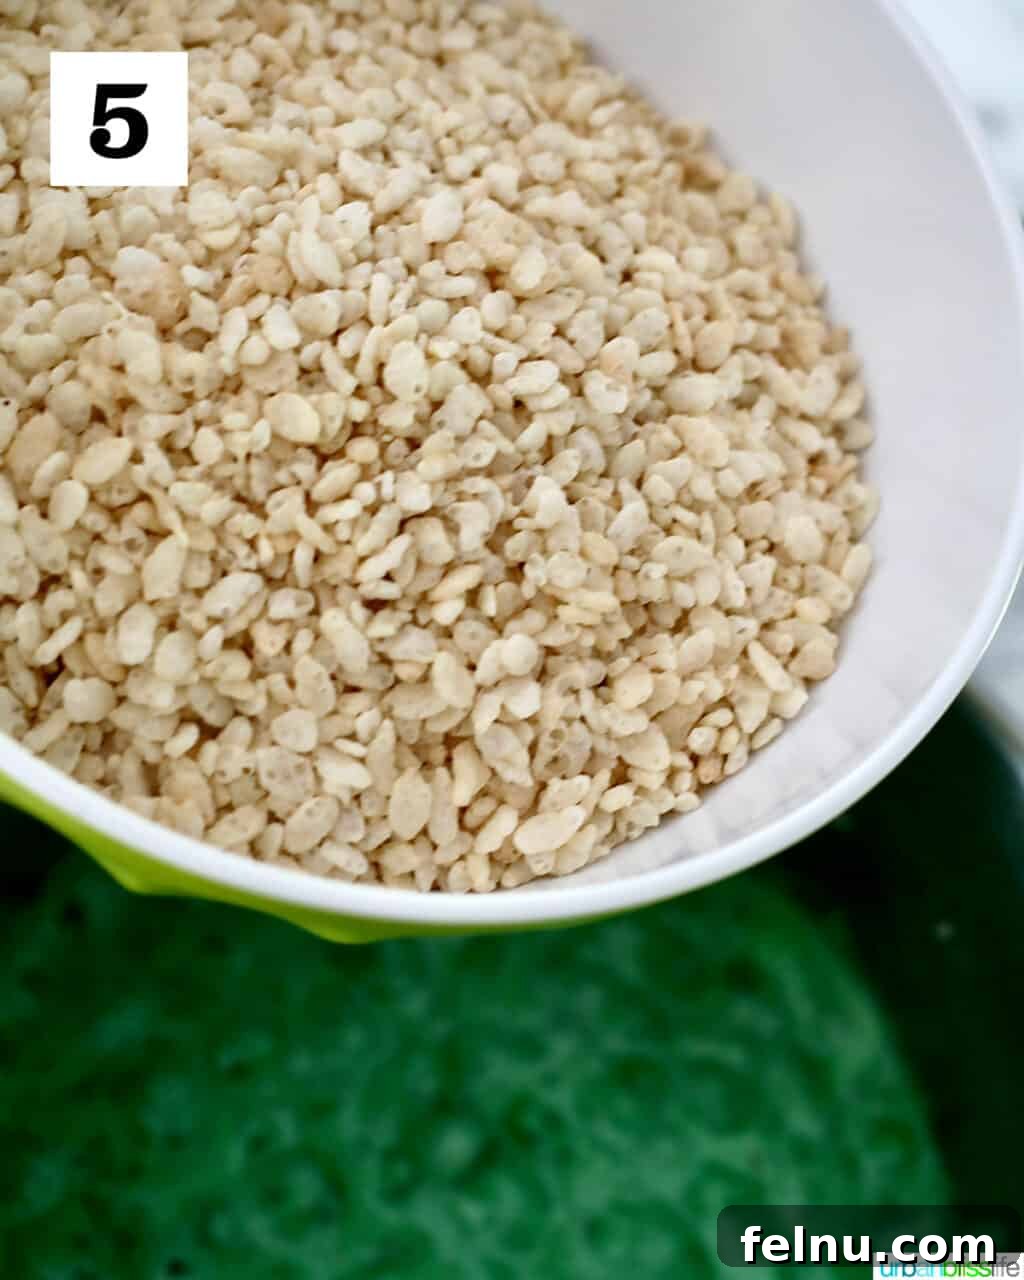
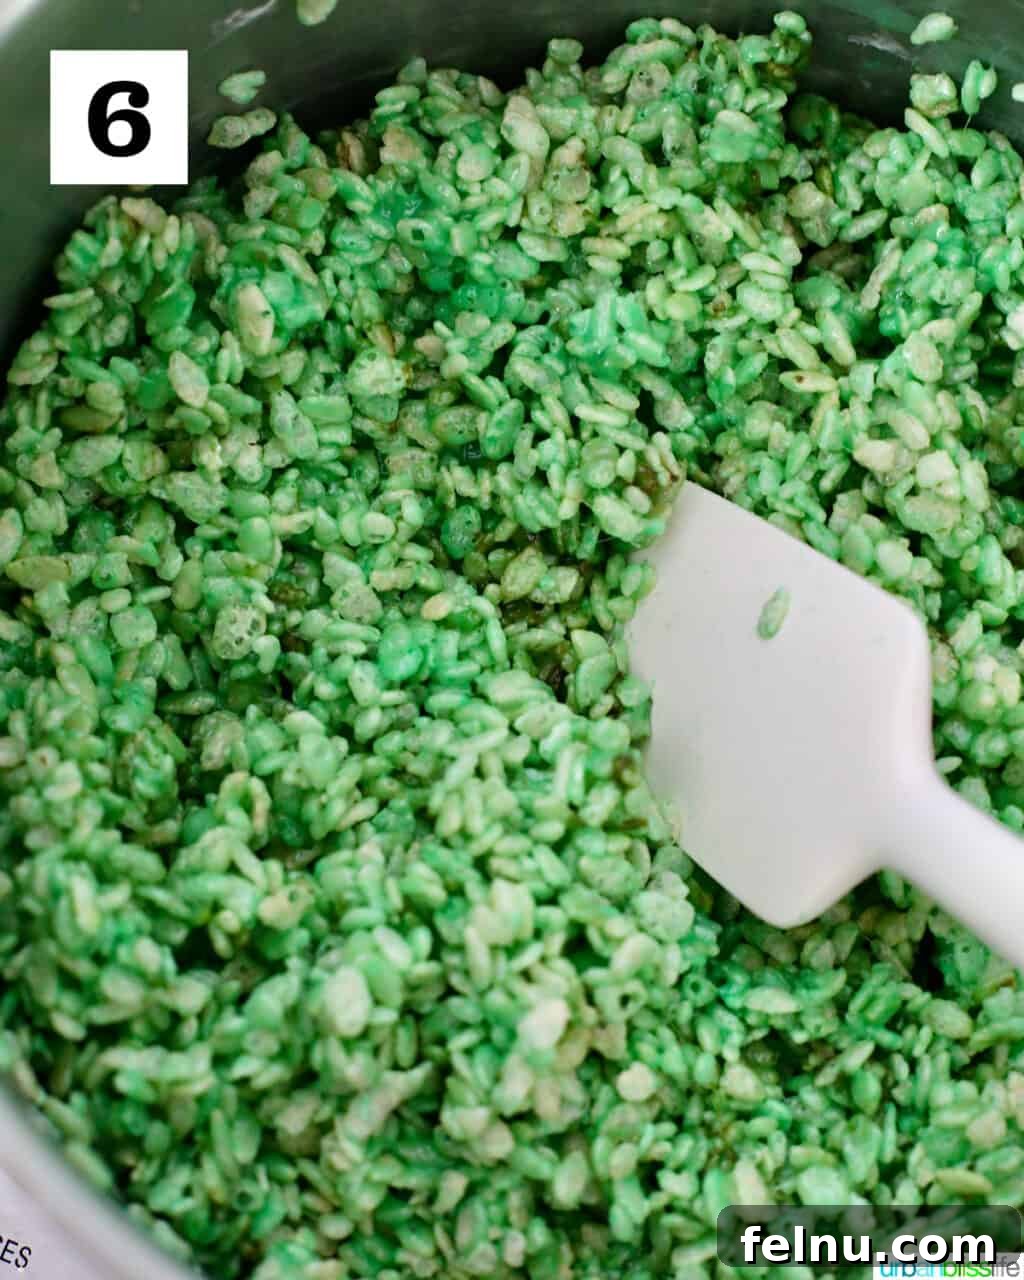
5. Incorporate Rice Krispies: As soon as the color is uniform, remove the pot from the heat and pour in the Rice Krispies cereal immediately. Time is of the essence here, as the marshmallow mixture begins to set quickly.
6. Coat Evenly: Work swiftly to stir everything together, ensuring that every single flake of Rice Krispies cereal is thoroughly coated with the gooey green marshmallow mixture. Continue until no dry cereal remains. The quicker you are, the more uniformly coated and delicious your treats will be.
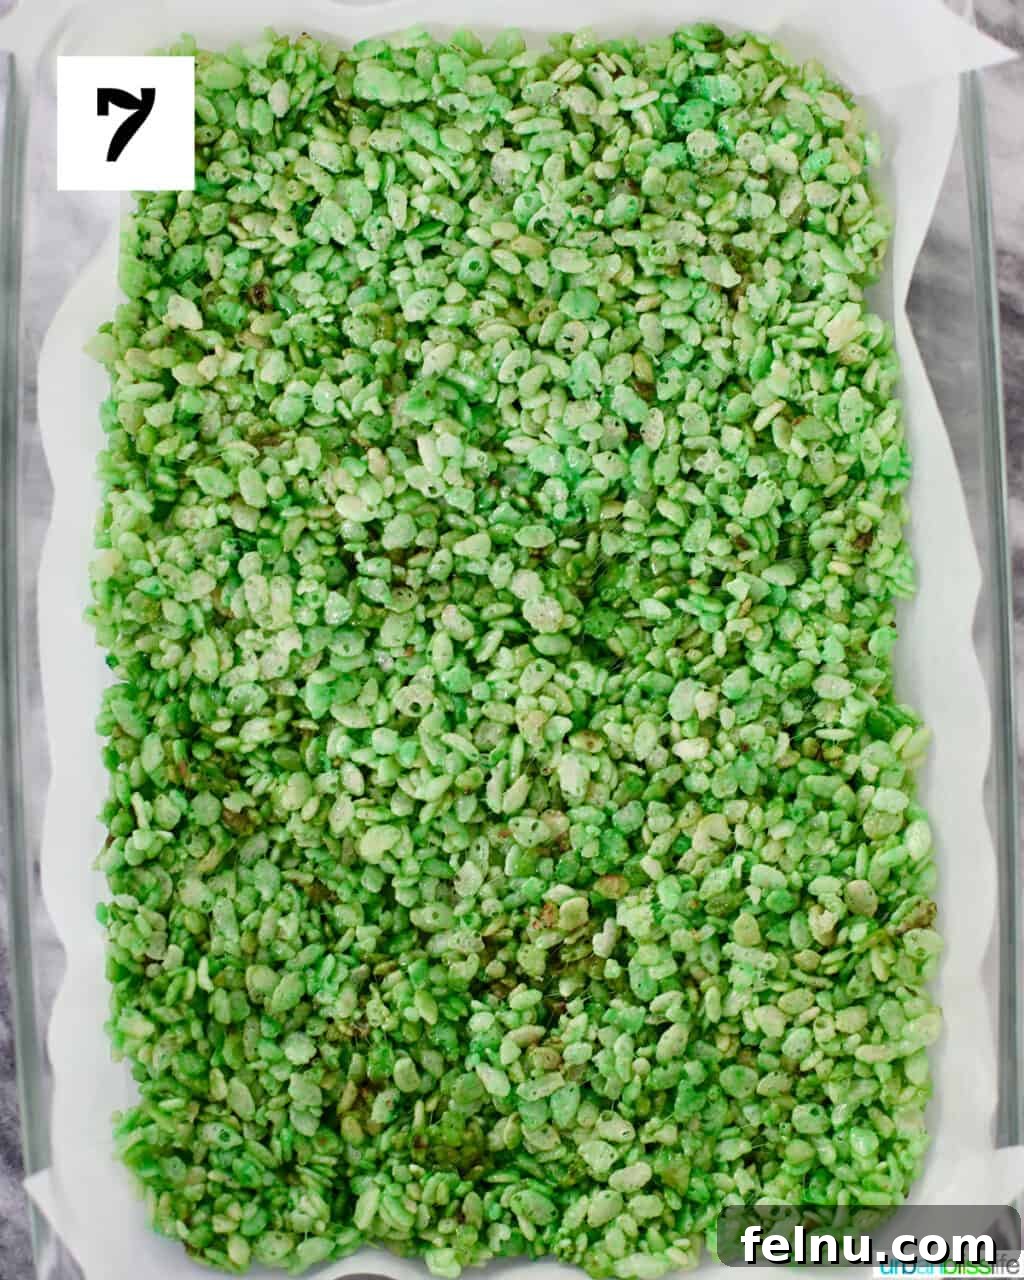
7. Press & Chill: Immediately pour or scoop the green Rice Krispies mixture into your prepared baking dish. Using a piece of parchment paper or a buttered spatula, gently but firmly press the mixture evenly into the pan. Avoid compacting it too much, as this can make your treats overly dense. Refrigerate the dish for at least 20 minutes, or until the treats are completely cool and set. This cooling step is crucial for easy slicing and handling.
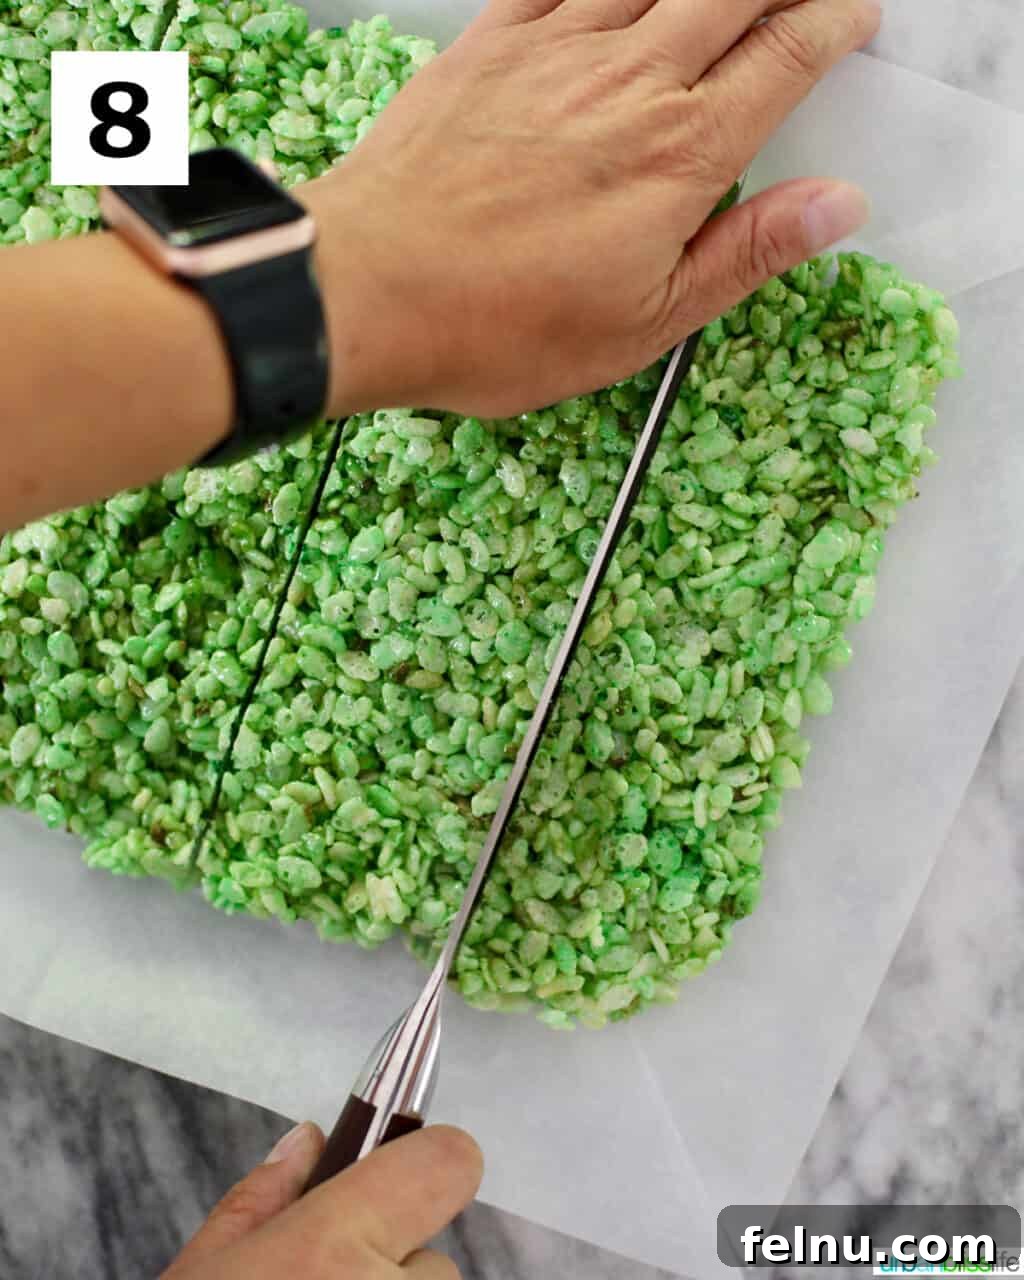
8. Slice into Squares: Once chilled, use a large, sharp knife or a sharp pastry cutter to slice the slab of treats into 16 to 20 even squares, depending on your desired treat size. For a more traditional Frankenstein look, aim for slightly rectangular shapes if preferred, but squares are perfectly charming.
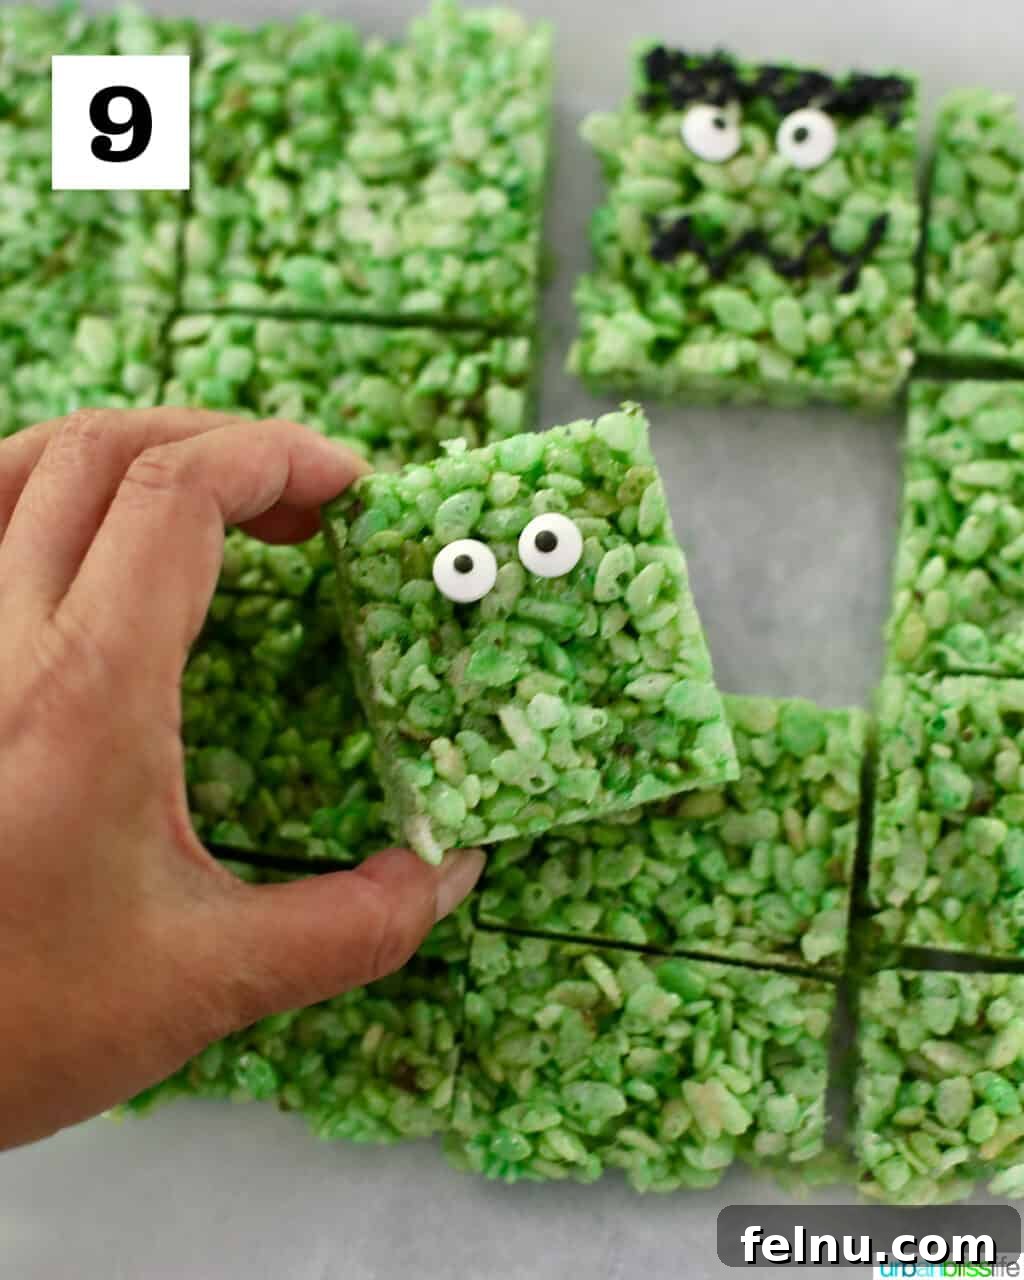
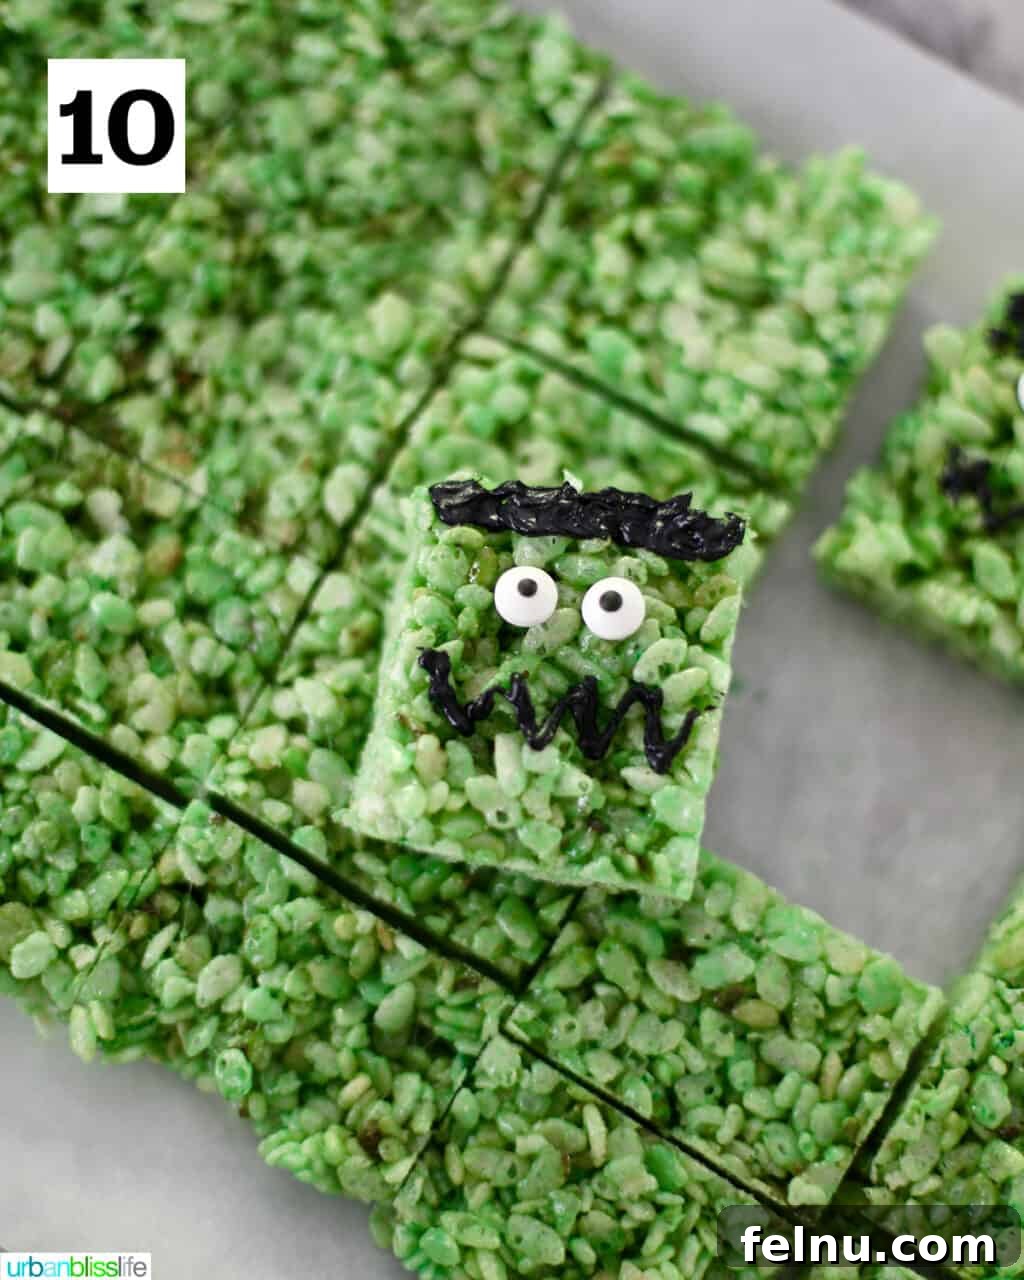
9. Decorate with Eyes & Icing: Now for the most fun part! Decorate each green square with a pair of candy eyeballs. A tiny dab of melted marshmallow or icing on the back of the eyes will help them stick. Then, grab your black writing icing and let your creativity shine.
10. Create Unique Expressions: Don’t just stick to one design! Make a variety of expressions by drawing different mouth shapes – happy, surprised, silly, or even a little grumpy. Add zig-zag hair, forehead stitches, or neck bolts for extra monster detail. Each Frankenstein treat can have its own unique personality, adding to the charm of your Halloween spread. Enjoy watching your little monsters come to life!
👩🏻🍳 Frequently Asked Questions About These Treats
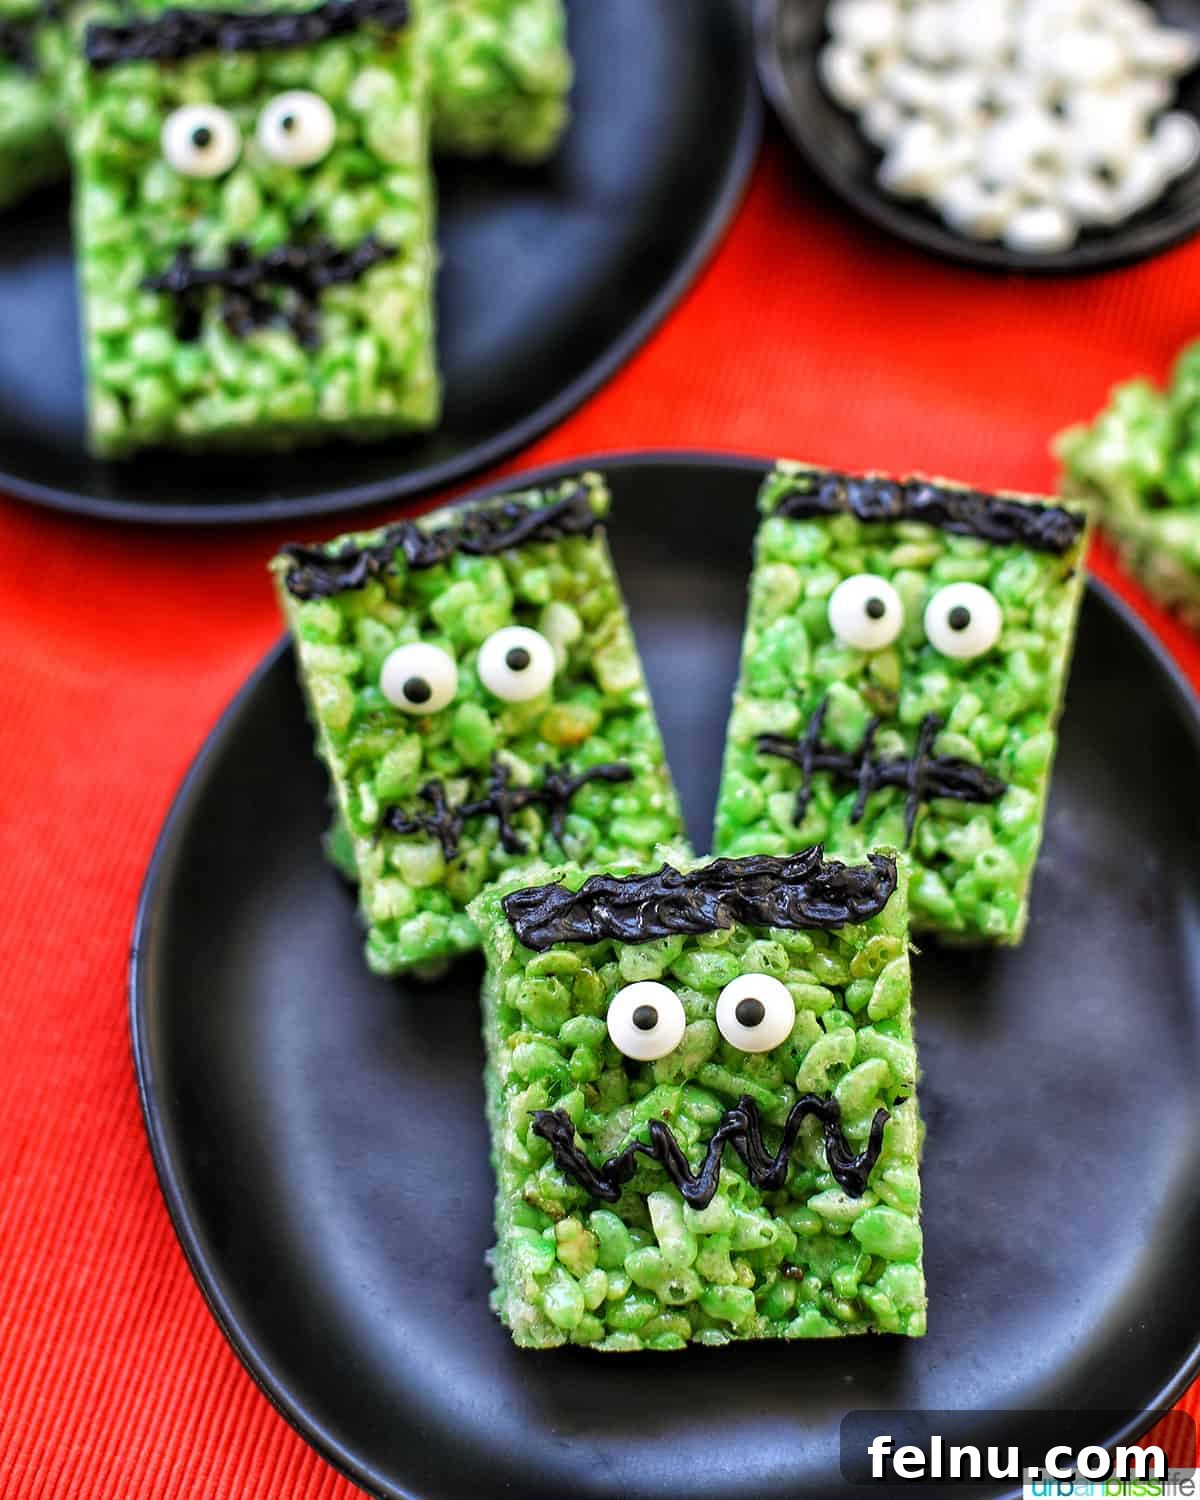
For optimal freshness and chewiness, these delightful treats are best enjoyed within 2 to 3 days of making them. To ensure they stay soft and delicious for as long as possible, store them in an airtight container at room temperature. Make sure the lid is securely fastened to keep out air, which is the primary culprit behind staleness. Avoid refrigerating them for too long, as this can make them hard and chewy.
Don’t despair if your treats have lost a bit of their softness! There’s a clever old kitchen trick you can try. Place the stale Rice Krispies Treats into a plastic resealable bag alongside a fresh slice of bread. Seal the bag tightly and let it rest overnight on your kitchen counter. The moisture from the bread will gradually transfer to the treats, helping to restore some of their original softness and chewiness. This method works best for a few treats at a time and is most effective if they haven’t become rock-hard yet.
Absolutely! According to the experts at Kellogg’s Rice Krispies, these treats freeze surprisingly well. To freeze them, arrange the cooled and decorated treats in layers separated by wax paper within a sturdy, airtight freezer-safe container. They can be safely frozen for up to 6 weeks. When you’re ready to enjoy them, simply remove them from the freezer and let them stand at room temperature for about 15-20 minutes to thaw completely before serving. This is a fantastic tip for making them ahead of a big party!
Yes, you can! While traditional Rice Krispies cereal contains malt flavoring (derived from barley), there are many certified gluten-free rice crisp cereals available on the market. Simply substitute the standard Rice Krispies with a gluten-free version, and ensure all other ingredients (marshmallows, butter, food coloring, and decorations) are also certified gluten-free. Always double-check ingredient labels to be safe.
While green food coloring gives them their iconic Frankenstein look, you can certainly get creative! Without green coloring, they’ll still be delicious classic Rice Krispies Treats. You could also try other colors for different monsters, like purple for a spooky alien or orange for a pumpkin monster. For the green, if you’re out of pure green, sometimes combining blue and yellow food coloring drops can achieve a decent green hue.
🔪 Essential Kitchen Tools for Monster Making
You don’t need a professional kitchen to whip up these fun Frankenstein treats. Just a few basic and readily available kitchen tools will make the process smooth and enjoyable:
- Large Stockpot or Dutch Oven: A large pot is essential. It provides ample space to comfortably melt the butter and marshmallows, and then to fold in the Rice Krispies cereal without crowding. A wide base helps ensure even melting.
- Heatproof Silicone Spatula: This tool is your best friend when working with sticky marshmallow mixtures. A heatproof silicone spatula is perfect for stirring the melting butter and marshmallows, and crucially, for mixing the cereal into the gooey marshmallow base without sticking. Its flexibility allows you to scrape the sides of the pot efficiently.
- 9 x 13-inch Baking Dish: This standard size pan is ideal for creating a batch of treats that can be easily cut into perfect squares. We often use a freezer-to-oven safe glass baking dish, which is durable and versatile for many recipes.
- Parchment Paper: While you can grease your baking pan with butter, using a piece of parchment paper is a game-changer. Simply line the pan with parchment paper, leaving an overhang on the sides. This creates “handles” that make it incredibly easy to lift the entire slab of festive treats out of the dish once cooled, making slicing into squares much cleaner and simpler.
🍽 How to Serve Your Spooky Halloween Treats
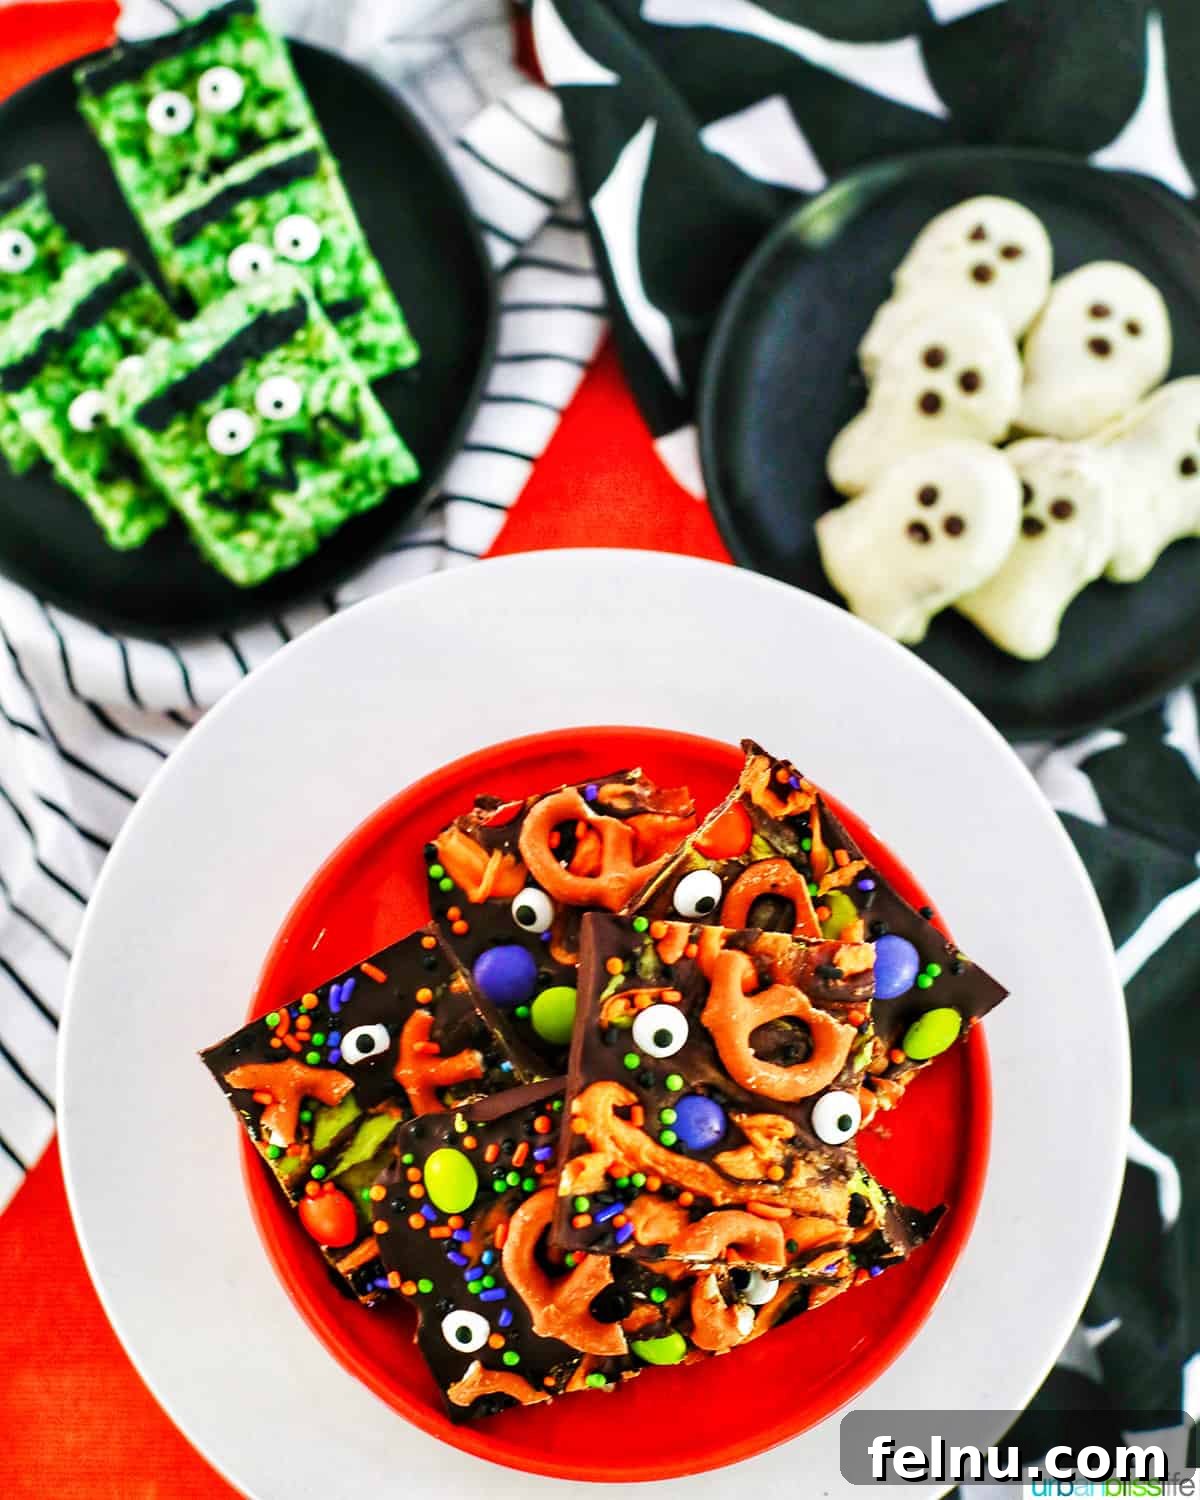
Presenting your Frankenstein Rice Krispies Treats creatively can make them even more appealing at your Halloween celebration. Their vibrant green color naturally stands out, but thoughtful plating can truly enhance their spooky charm. For a striking contrast, these treats look absolutely fantastic when placed on all-black or crisp all-white plates. You can arrange them all together on one large serving platter for a cohesive display, or divide them onto multiple plates and strategically place them at different corners of your table to encourage guests to circulate.
To craft a truly fun and festive Halloween treat table, start by surveying what you already own before purchasing new decorations. Layering your treat displays using various cake pedestals or risers of different heights adds visual interest and allows each treat to shine. Think about how you can incorporate common household items into your spooky decor:
- Colorful Plates: Utilize orange, black, or white plates that can stack on top of one another. This creates a multi-layered effect, showing off both colors and adding depth to your display.
- Table Linens: Drape your table with tablecloths, placemats, or napkins in classic Halloween colors like orange, black, white, purple, or green. These instantly set the mood and provide a festive backdrop for your treats.
- Pumpkin Accents: Small pumpkin decorations, whether real or artificial, are quintessential Halloween decor. Scatter them around your treat table for a touch of autumnal charm.
- DIY Bat Silhouettes: If you have black construction paper, get the kids involved in cutting out various bat shapes. Sprinkle these around the table or even tape them to the wall behind your display for an easy, impactful decoration.
- Googly Eye Fun: Extend the monster theme by making fun Halloween decorations using googly eyes. Stick them on jars, cups, or even other small decorative items to give everything a playful, spooky vibe.
By using these simple tips, you can transform your serving area into an enchanting Halloween wonderland, making your Frankenstein Rice Krispies Treats even more memorable.
👻 More Spooktacular Halloween Recipes
Ready to complete your Halloween feast with more delicious and easy-to-make treats? Here are some other frightfully good recipes that are perfect for the season:
- Nutter Butter Halloween Ghost Cookies
- Monster Halloween Bark
- Pumpkin Cream Cheese Muffins
- Ube Donuts
Did you make this recipe? We’d love to hear from you! Don’t forget to leave a 5-Star 🌟🌟🌟🌟🌟 rating in the recipe card below, and if you truly enjoyed making these, please share your thoughts and comments further down on the page. Your feedback is greatly appreciated!
Frankenstein Rice Krispie Treats
Ingredients
- 4 Tablespoons unsalted butter
- 6 cups Rice Krispie cereal
- 1 package (10 ounces) mini marshmallows, equals about 6 cups
- 4 to 6 drops green food coloring*
- 32-40 candy eyeballs
- 1 tube (4.25 ounce) black writing icing
Instructions
-
Melt the butter in a large stockpot over medium heat. Once the butter has just melted, add the mini marshmallows. Stir marshmallows and melted butter together quickly until mostly melted and smooth.
-
Add the green food coloring. Start with just one to two drops of green food coloring or a couple of small toothpick swipes of green icing coloring (gel). Then add just enough until to get your desired vibrant green color; this amount will vary. Then quickly mix together with the buttered marshmallows until the green color is evenly distributed throughout.
-
Remove from heat and immediately pour in the Rice Krispies cereal. Working quickly, stir everything together using a heatproof silicone spatula to thoroughly coat all the cereal with the green marshmallow mixture.
-
Immediately pour or scoop the green rice krispies mixture into the prepared 9×13-inch baking dish lined with parchment paper. Gently press the mixture evenly into the pan. Refrigerate for at least 20 minutes, or until completely cool and set.
-
Use a large, sharp knife or a pastry cutter to slice out 16 to 20 even squares, depending on your preferred size. Decorate each square with a pair of candy eyeballs (a tiny bit of marshmallow mixture can help them stick) and black writing icing. Get creative here! Make a variety of expressions by drawing different mouth shapes and creating unique hair designs for each Frankenstein treat.
Notes
Nutrition
Nutrition information is automatically calculated, so should only be used as an approximation.
🎃 Fun Halloween Printables to Enhance Your Party
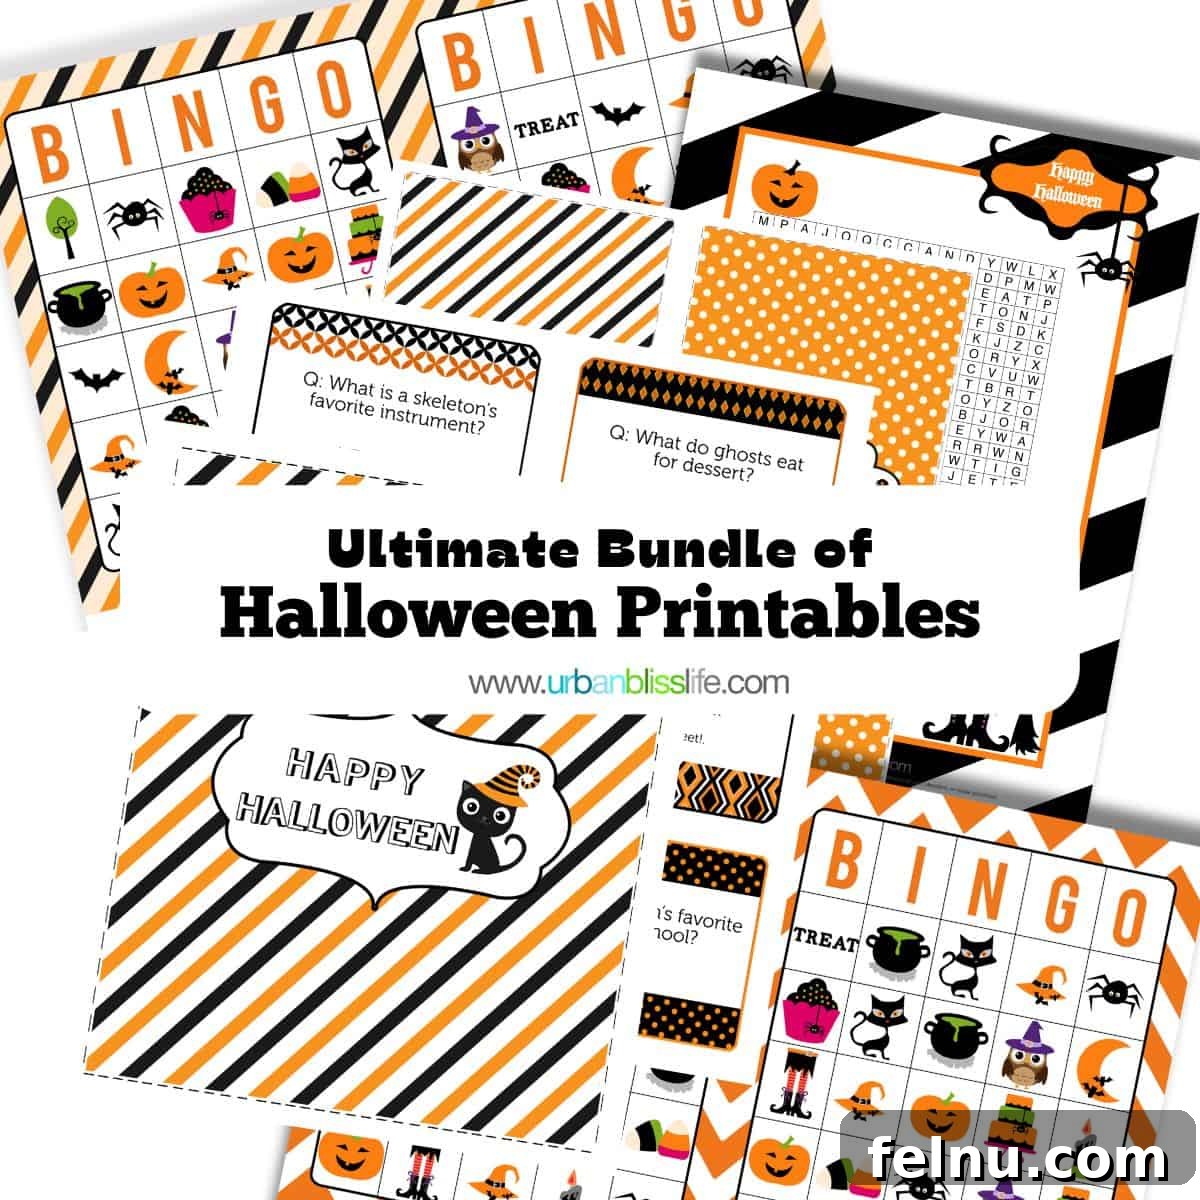
Planning a Halloween party, a classroom celebration, or just a festive family night? Don’t let the planning stress you out! Our Ultimate Bundle of Halloween Printables is packed with everything you need to make your event extra special and memorable. These easy-to-use printables will add a touch of professional fun to any spooky occasion.
The comprehensive Halloween printables bundle includes a variety of engaging and decorative items:
- Halloween Party Invitation Design: A customizable invitation to set the perfect spooky tone for your gathering.
- Halloween Bingo Cards + Call-Out Cards: A classic party game that’s fun for all ages, perfect for breaking the ice and entertaining guests.
- Lunchbox Laughs with Halloween-Themed Jokes: Delight your kids with a daily dose of spooky humor tucked into their lunchboxes.
- Halloween Word Search: A brain-teasing activity that’s both fun and educational, keeping little (and big) minds engaged.
- Halloween Favor Bag Fold-Over Tags: Personalize your party favors with these adorable tags, making your thank-you gifts extra special.
- Trick-or-Treating Scavenger Hunt: Turn traditional trick-or-treating into an exciting adventure with this engaging hunt.
- Halloween Candy Wrappers: Dress up your favorite candies in festive wrappers for a truly customized look.
Make your Halloween celebration truly unforgettable with these convenient and charming printables. They’re designed to save you time and add an extra layer of magic to your festivities!