

Experience the exquisite fusion of two beloved desserts in a single, irresistible treat! These Tiramisu Macarons masterfully combine the rich, coffee-infused flavors of classic tiramisu with the delicate, elegant form of French macarons, creating a truly unforgettable indulgence.

If your family, like mine, adores the decadent layers and robust coffee essence of tiramisu, then prepare to fall in love with these remarkable Tiramisu Macarons! This recipe elevates the classic Italian dessert to new heights, presenting it in the charming, bite-sized elegance of a French macaron.
Our household has always been an avid fan of tiramisu, a timeless dessert celebrated for its harmonious blend of coffee-soaked ladyfingers, velvety mascarpone cream, and a dusting of cocoa. We also harbor a deep appreciation for the delicate artistry of macarons, with their crisp almond shells and luscious fillings. This innovative Tiramisu Macarons recipe ingeniously merges these two culinary stars into one delectable cookie, offering the perfect treat for any occasion.
The beauty of this creation lies in its ability to encapsulate the complex, comforting flavors of tiramisu within the delicate structure of a macaron. Each bite delivers a symphony of textures and tastes: the gentle crunch of the almond shell gives way to a smooth, rich filling that echoes the mascarpone and coffee notes of its inspiration. It’s a testament to the delicious magic that unfolds when two iconic desserts unite.
For those new to the world of macaron making, the process might seem daunting at first glance. Indeed, crafting macarons demands a touch more patience and precision than baking, say, a straightforward classic butterscotch cookie. However, I assure you, the reward—these stunning, flavorful Tiramisu Macarons—is absolutely worth every moment of effort. The journey of making them is as satisfying as the final taste, transforming seemingly simple ingredients into edible works of art.
🌟 Why These Tiramisu Macarons Are a Must-Try

While macaron recipes often call for meticulous attention to detail, the extraordinary results distinguish them from your average baked good. These Tiramisu Macarons, in particular, stand out as a truly special dessert, offering an unparalleled sensory experience that captivates from the first glance to the last lingering taste.
Each heavenly bite of a Tiramisu macaron delivers an exquisite combination of flavors and textures. The journey begins with the subtle crunch of the delicate almond shell, immediately followed by the creamy embrace of the mascarpone-infused filling. This luscious cream, gently permeated with the bold, aromatic essence of espresso (or Kahlua), takes center stage, reminiscent of the traditional tiramisu experience. The delicate almond shell, with its signature “feet,” provides a satisfying textural contrast, giving way to a melt-in-your-mouth interior that truly defines the macaron’s allure.
The beauty of this recipe isn’t just in its delicious outcome but also in its surprising accessibility. Many aspiring bakers are intimidated by the reputation of macarons as a difficult dessert. However, here’s the sweet secret: crafting these divine Tiramisu Macarons is often much easier and more rewarding than one might imagine. Despite their intricate appearance and sophisticated flavor profile, mastering the art of macaron-making is entirely within reach for dedicated home bakers.
With a bit of patience, a dash of precision, and our comprehensive, foolproof recipe, you can confidently create these mini masterpieces right in your own kitchen. This recipe is designed to guide you through each stage with clarity, ensuring that even first-time macaron makers can achieve stunning results. We have included detailed step-by-step photos below to assist you visually throughout the process. I highly recommend reviewing all the steps thoroughly before you begin to ensure a smooth and enjoyable baking experience. The satisfaction of biting into a homemade Tiramisu Macaron, knowing you crafted it yourself, is an incredibly rewarding feeling.
🛒 Essential Ingredient Notes for Perfect Tiramisu Macarons
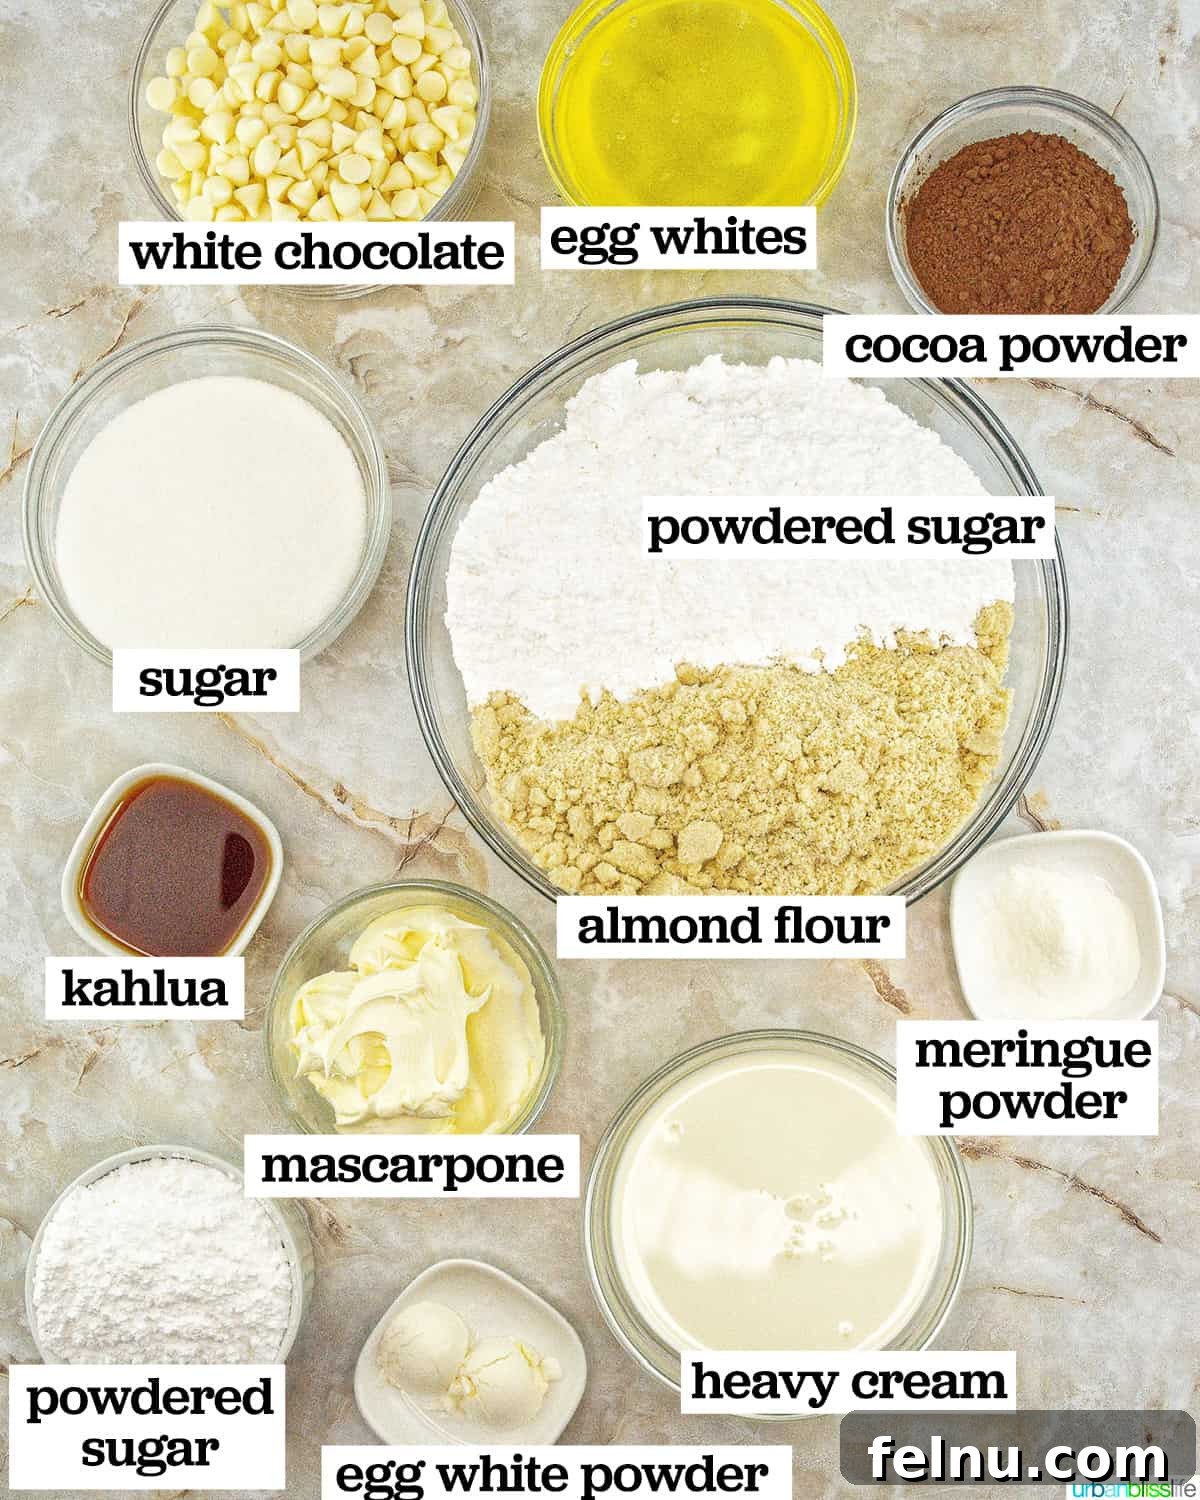
Achieving perfect macarons hinges on the quality and preparation of your ingredients. While most items can be easily sourced from your local grocery store or online, paying attention to a few key details will make all the difference in your Tiramisu Macarons.
- Egg Whites: This is arguably the most crucial ingredient for macaron shells. It is absolutely imperative that your egg whites contain no traces of yolk or any other fat, as even a tiny speck can prevent them from whipping up correctly into the stiff peaks required for a stable meringue. Using room-temperature egg whites is highly recommended, as they whip more quickly and achieve greater volume, contributing to the airy texture of the macaron shells. Some bakers even prefer to “age” their egg whites by separating them a day or two in advance and storing them in the refrigerator, covered loosely, to allow some moisture to evaporate. This can lead to a more stable meringue.
- Meringue Powder: This ingredient acts as a stabilizer for your egg whites, helping them reach and maintain those crucial stiff peaks. While it’s technically possible to make macarons without it, meringue powder significantly increases the chances of success, especially for beginners. It aids in creating a strong, stable meringue that holds its shape and contributes to the macaron’s characteristic “feet” during baking.
- Granulated Sugar: Beyond simply adding sweetness, granulated sugar plays a vital role in providing structure and stability to the macaron shells. It integrates with the egg whites to form a sturdy meringue, and its fine crystals help control the moisture content, contributing to the crisp yet chewy texture that defines a perfect macaron.
- Almond Flour: This is the star ingredient that gives macarons their distinctive chewy shells and delicate flavor. For the best results, always use blanched, super-fine almond flour. Do not substitute all-purpose flour or any other type of flour, as the texture and fat content are entirely different and will not yield true macarons. Sifting your almond flour (and powdered sugar) meticulously is key to preventing lumps and ensuring a smooth, uniform shell.
- Powdered Sugar (Confectioners’ Sugar): Similar to almond flour, powdered sugar must be sifted through a fine mesh sieve. This removes any lumps and ensures a smooth batter, which translates to smooth macaron shells. It also contributes to the sweetness and structure.
- Egg White Powder: While optional, I highly recommend incorporating egg white powder into your dry ingredients. It acts as an additional stabilizer and helps create fuller macaron shells, minimizing hollows and contributing to a more consistent internal structure. You can easily find egg white powder online or at specialty baking stores.
- White Chocolate Chips: The quality of your white chocolate chips directly impacts the richness and flavor of your tiramisu filling. Opt for high-quality white chocolate chips or a finely chopped white chocolate bar for the best results. Good quality chocolate melts smoothly and blends seamlessly into the ganache.
- Heavy Cream: Also known as heavy whipping cream, this provides the necessary fat content and richness for our luscious filling. For dietary preferences, you can successfully substitute your favorite dairy-free whipping cream, ensuring the filling remains creamy and decadent.
- Kahlua: This coffee liqueur is key to infusing the classic tiramisu flavor into your macarons. Its rich coffee and rum notes provide depth and complexity. For a non-alcoholic alternative, you can use strong brewed coffee, a concentrated instant coffee solution, or espresso powder dissolved in a small amount of water. Experiment with the amount to achieve your desired intensity.
- Mascarpone Cheese: This rich, luxurious Italian cream cheese is softer and significantly creamier than typical American cream cheese, with a higher fat content that gives it its distinct velvety texture. It is essential for achieving the authentic creaminess of a tiramisu filling. Ensure it is at room temperature for easier mixing, but be careful not to overmix, as it can separate.
- Cocoa Powder: A light dusting of unsweetened cocoa powder is the traditional finishing touch for tiramisu, and it’s perfect for decorating these macarons. It adds a subtle bitterness that perfectly balances the sweetness of the cookies and provides an attractive visual contrast.
By understanding the role of each ingredient and preparing them meticulously, you set yourself up for success in creating these delightful Tiramisu Macarons.
✅ Step-by-Step Instructions: Crafting Tiramisu Macarons
Creating these delicate Tiramisu Macarons involves two main stages: baking the perfect macaron shells and preparing the rich, flavorful tiramisu filling. Detailed instructions and a complete list of ingredients are provided in the printable recipe card at the bottom of this post. Here, you’ll find step-by-step photos and quick, abbreviated instructions to guide you in baking these delicious treats with confidence.
Making the Macaron Shells
Precision is paramount when baking macarons. Begin by preheating your oven to 300°F (150°C). Prepare two baking sheets by lining them with high-quality silicone mats featuring macaron cookie outlines or with parchment paper. Using mats with outlines can be incredibly helpful for achieving uniformly sized macarons. Set these prepared sheets aside.
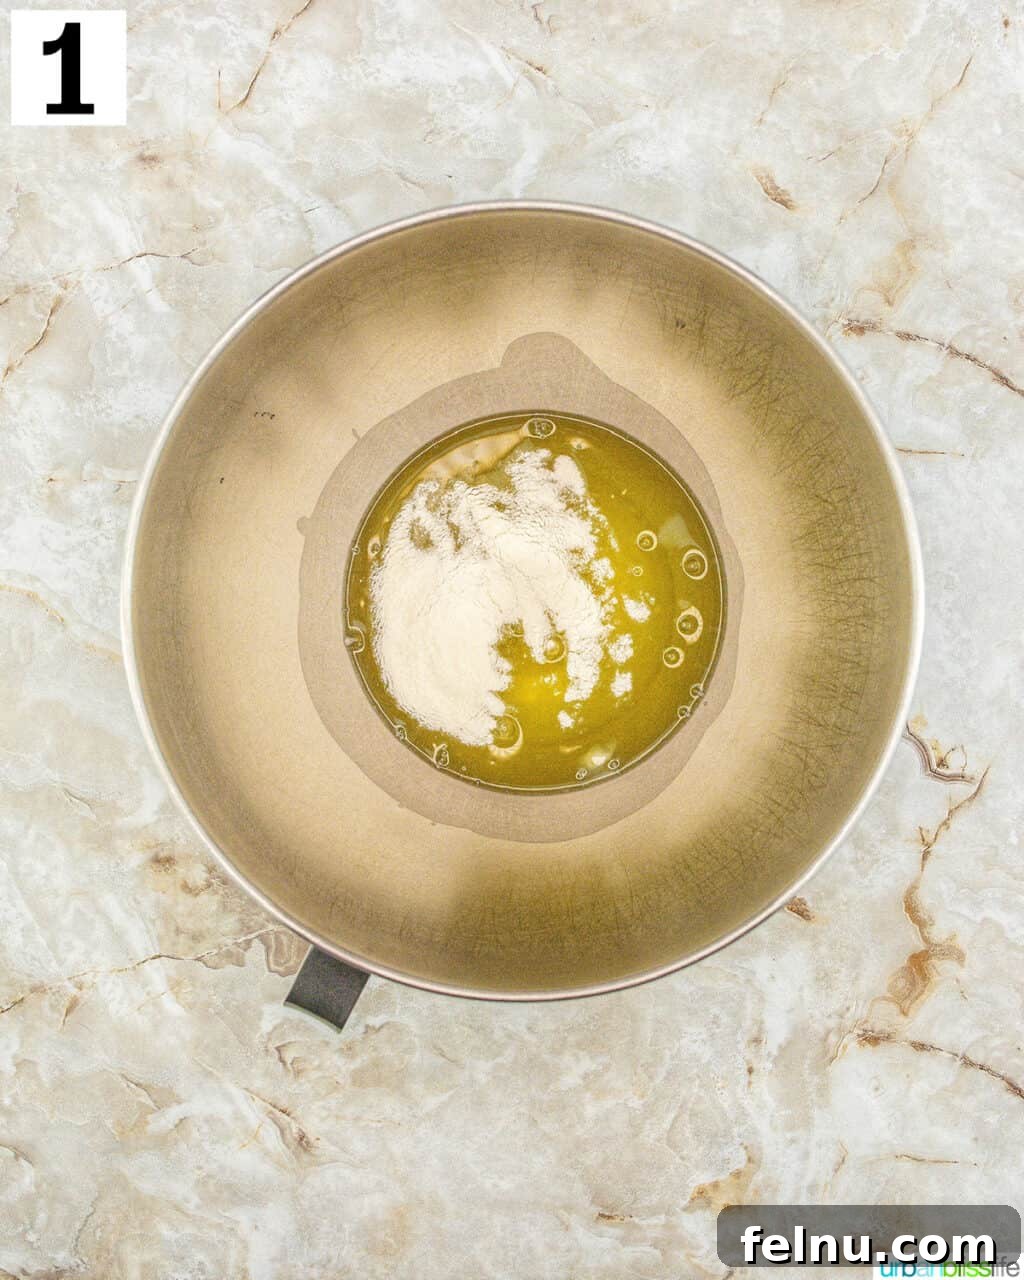
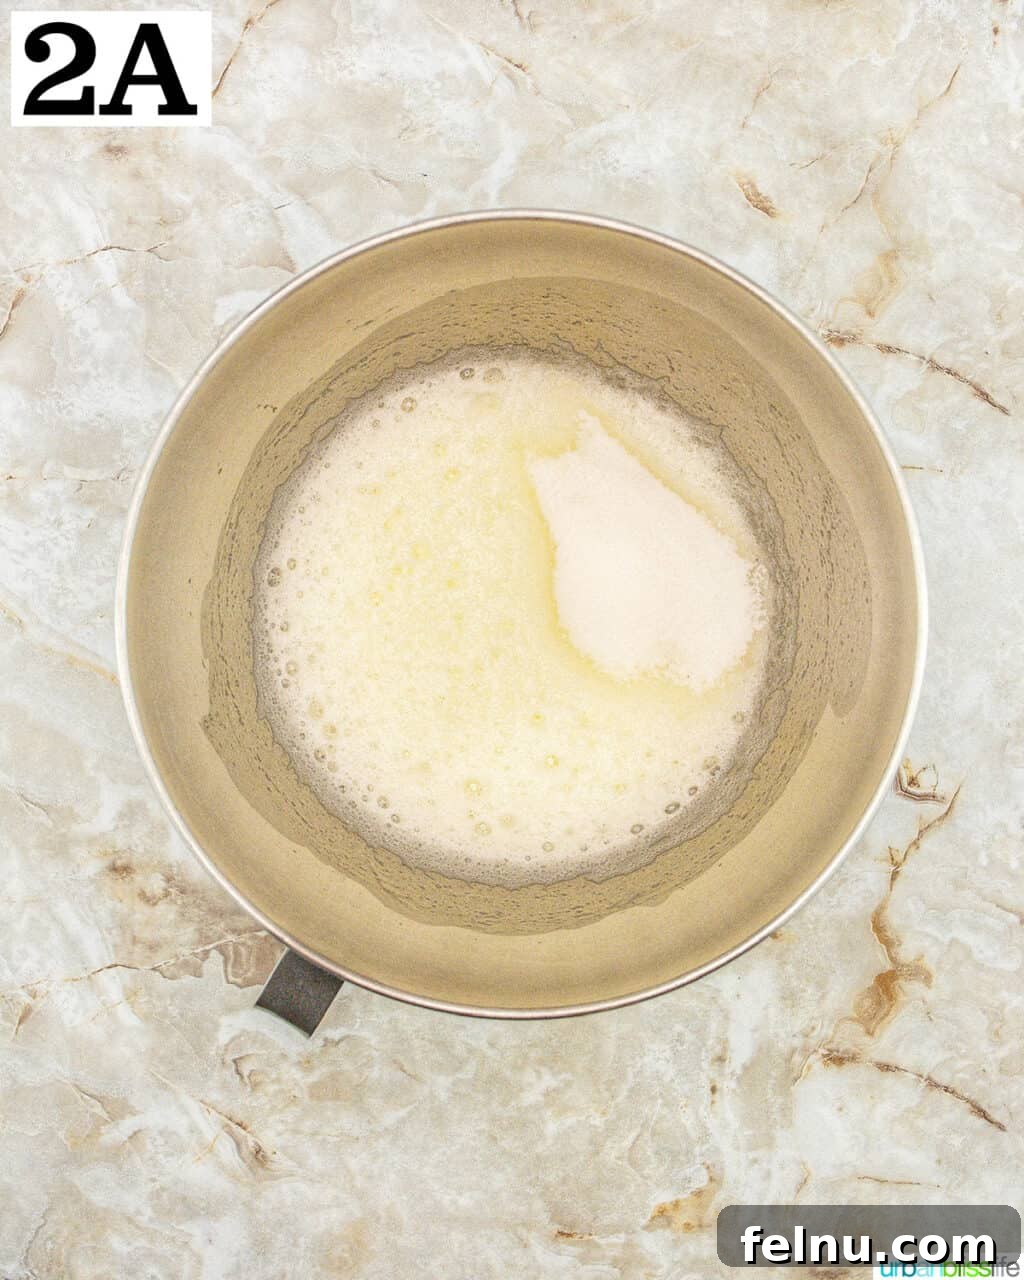
- In the clean, dry bowl of a stand mixer fitted with the whisk attachment, begin beating the egg whites on medium speed until they become foamy, which typically takes about one minute. At this point, add in the meringue powder. Continue beating until soft peaks begin to form.
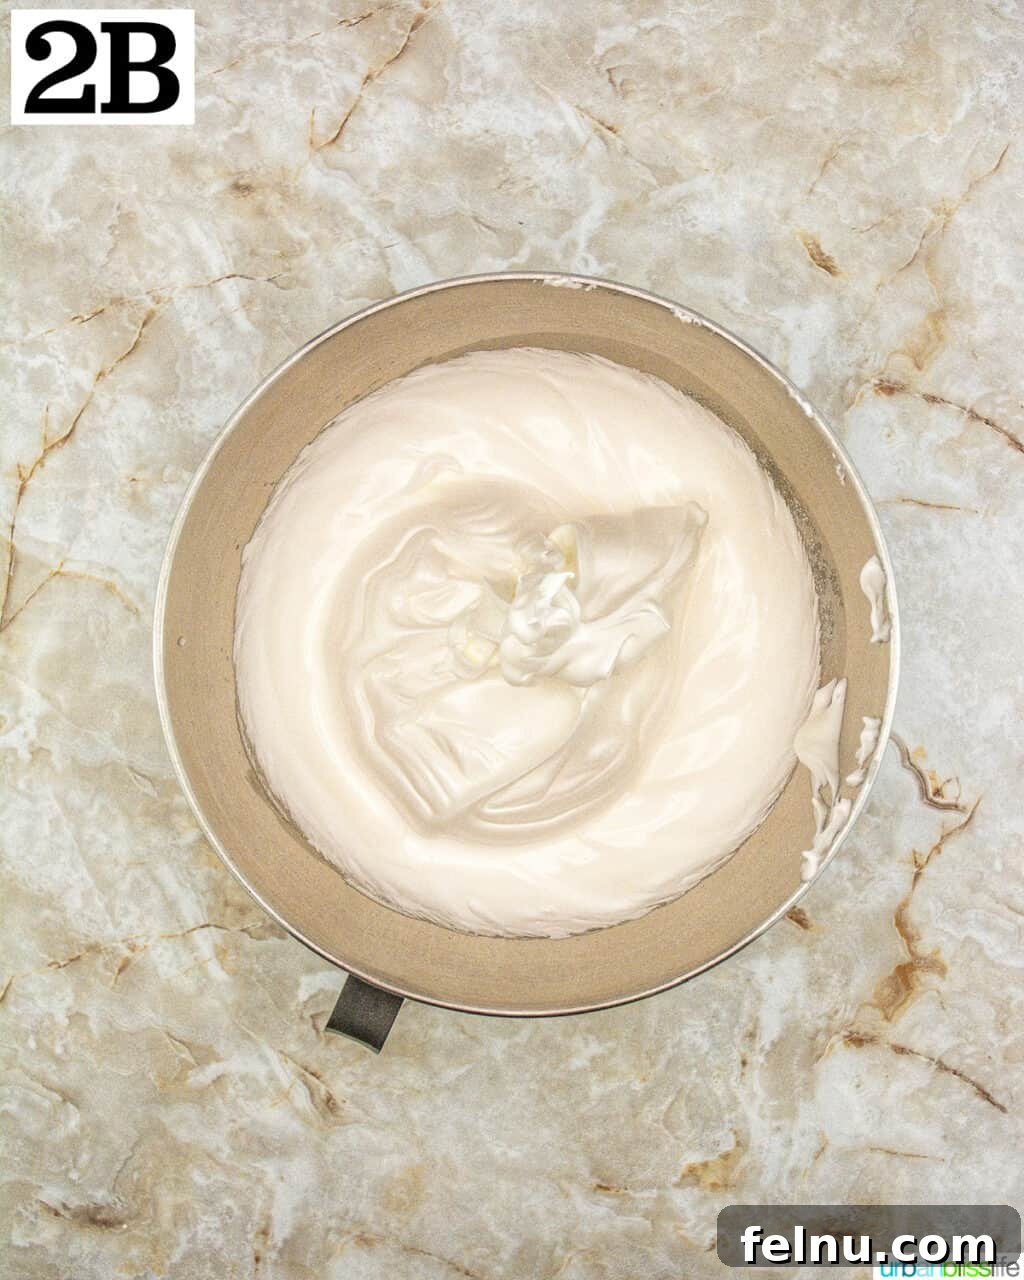
- Gradually incorporate the granulated sugar into the egg white mixture, adding it about one-third at a time while the mixer continues to run at medium speed. Ensure each addition is well combined before adding the next. Once all the sugar has been incorporated, increase the mixer speed to medium-high and continue beating for approximately five minutes. The mixture should transform into a glossy, stable meringue, forming very stiff peaks that hold their shape firmly and gather within the whisk attachment, pulling away cleanly from the sides of the bowl (as shown in Pic 2B). This stable meringue is the foundation of perfect macaron shells.
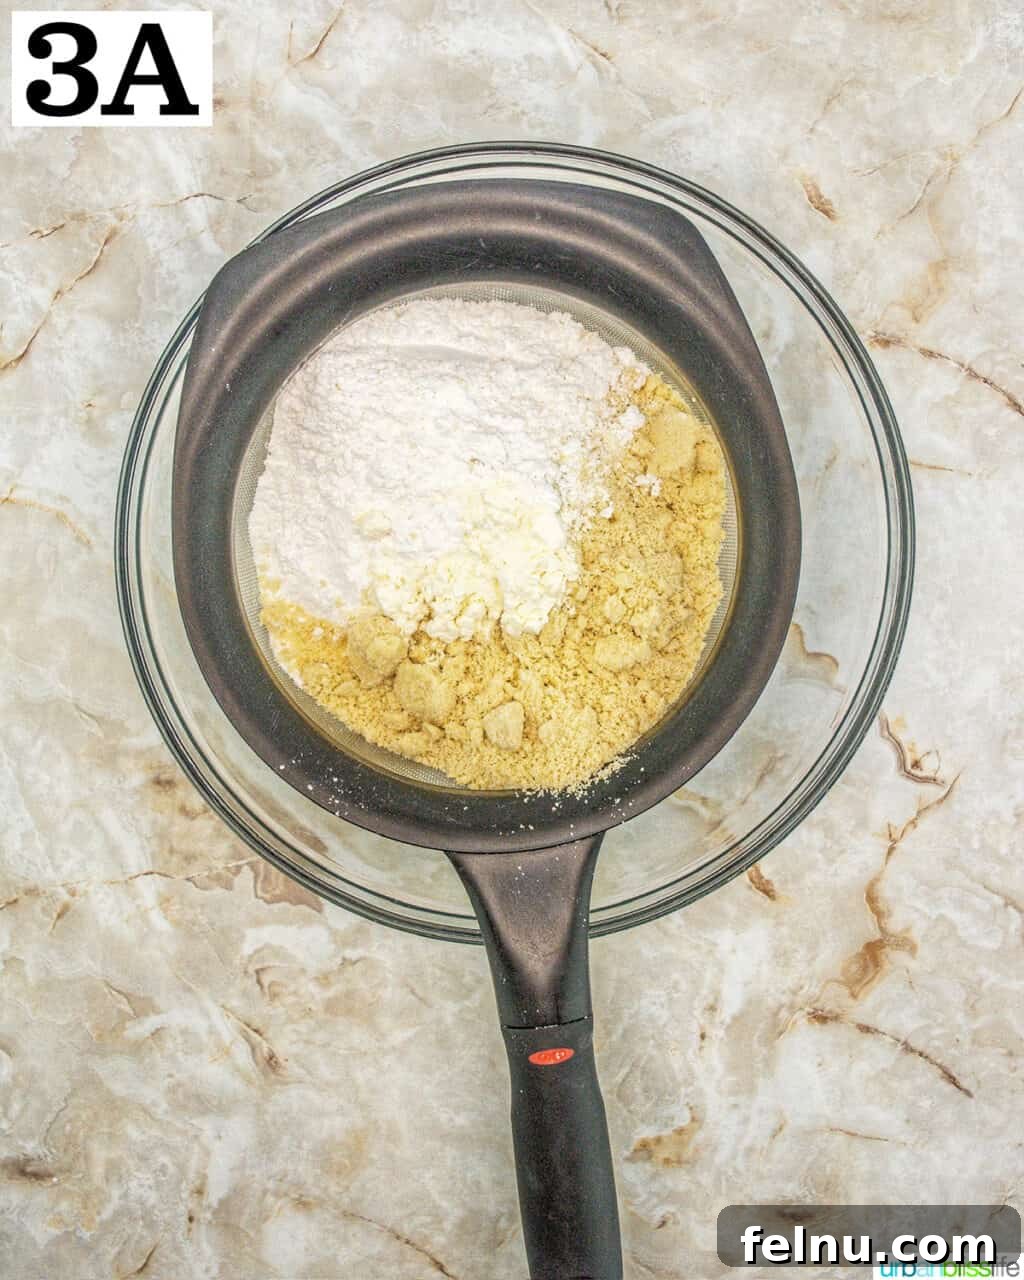
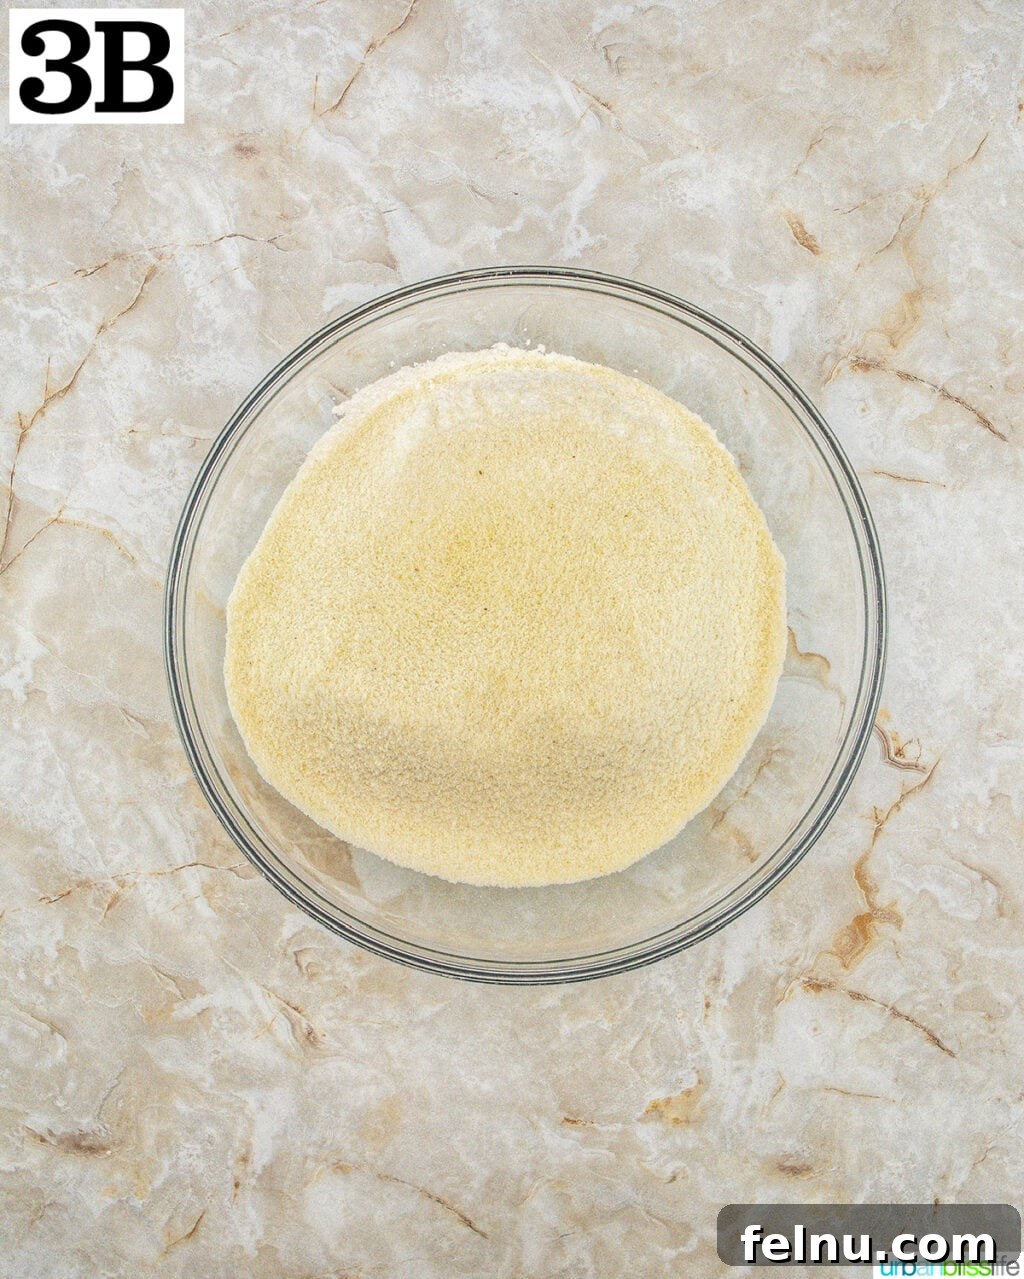
- In a separate large bowl, suspend a fine mesh sieve and carefully sift together the dry ingredients: almond flour, powdered sugar, and egg white powder. Sifting is crucial to remove any larger particles and ensure a smooth, uniform texture for your macaron shells. Discard any stubborn larger chunks that do not pass through the sieve easily.
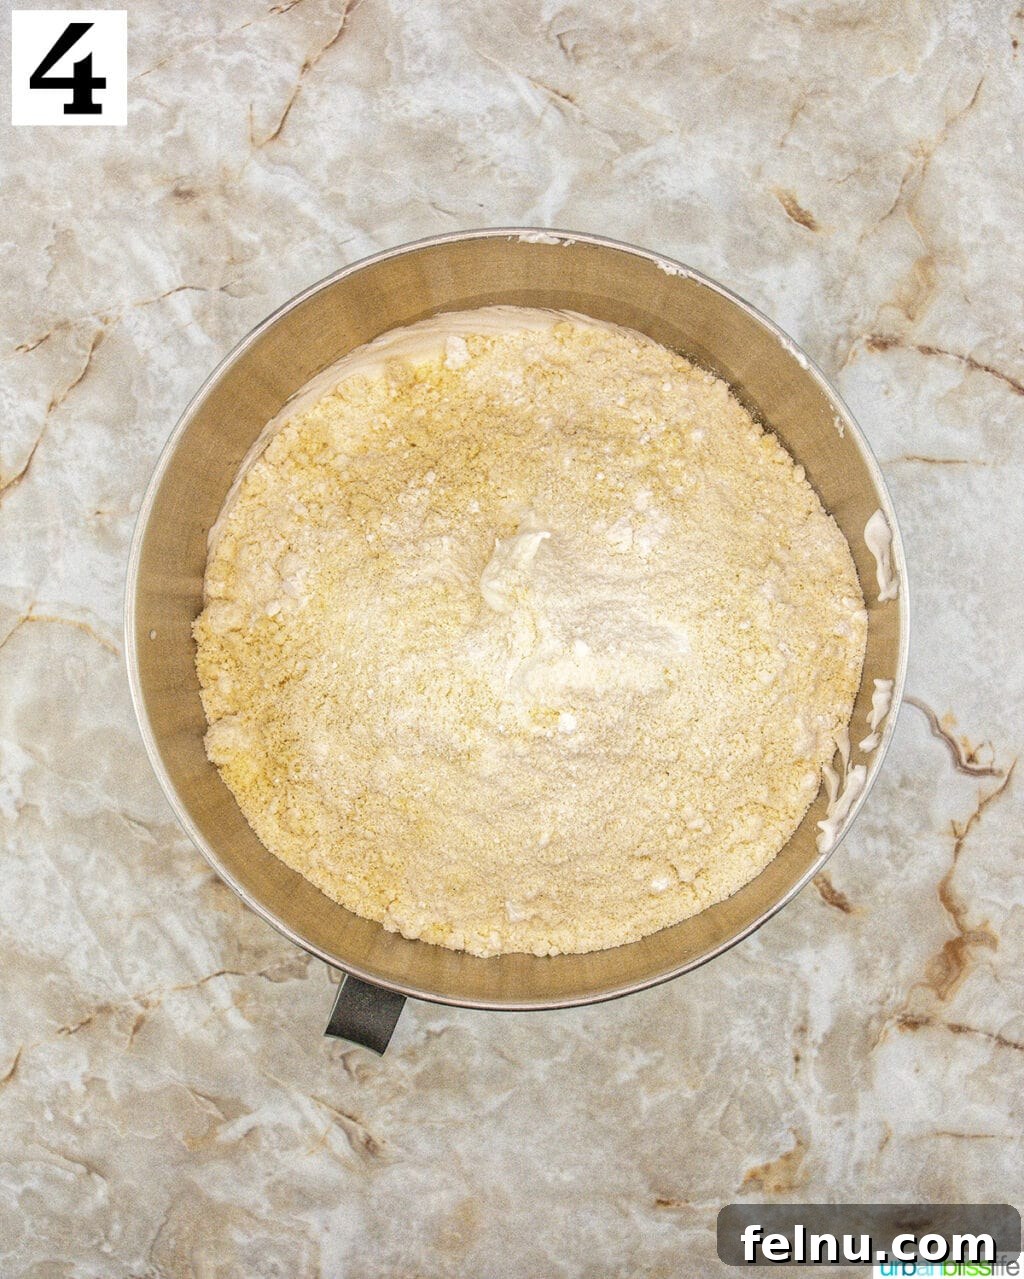
- Gently pour the thoroughly sifted dry mixture into the whipped meringue. Mix on the lowest speed of your stand mixer, just until the dry ingredients are fully incorporated into the meringue, creating a somewhat thick batter. Be careful not to overmix at this stage, as the “macaronage” process is done manually.
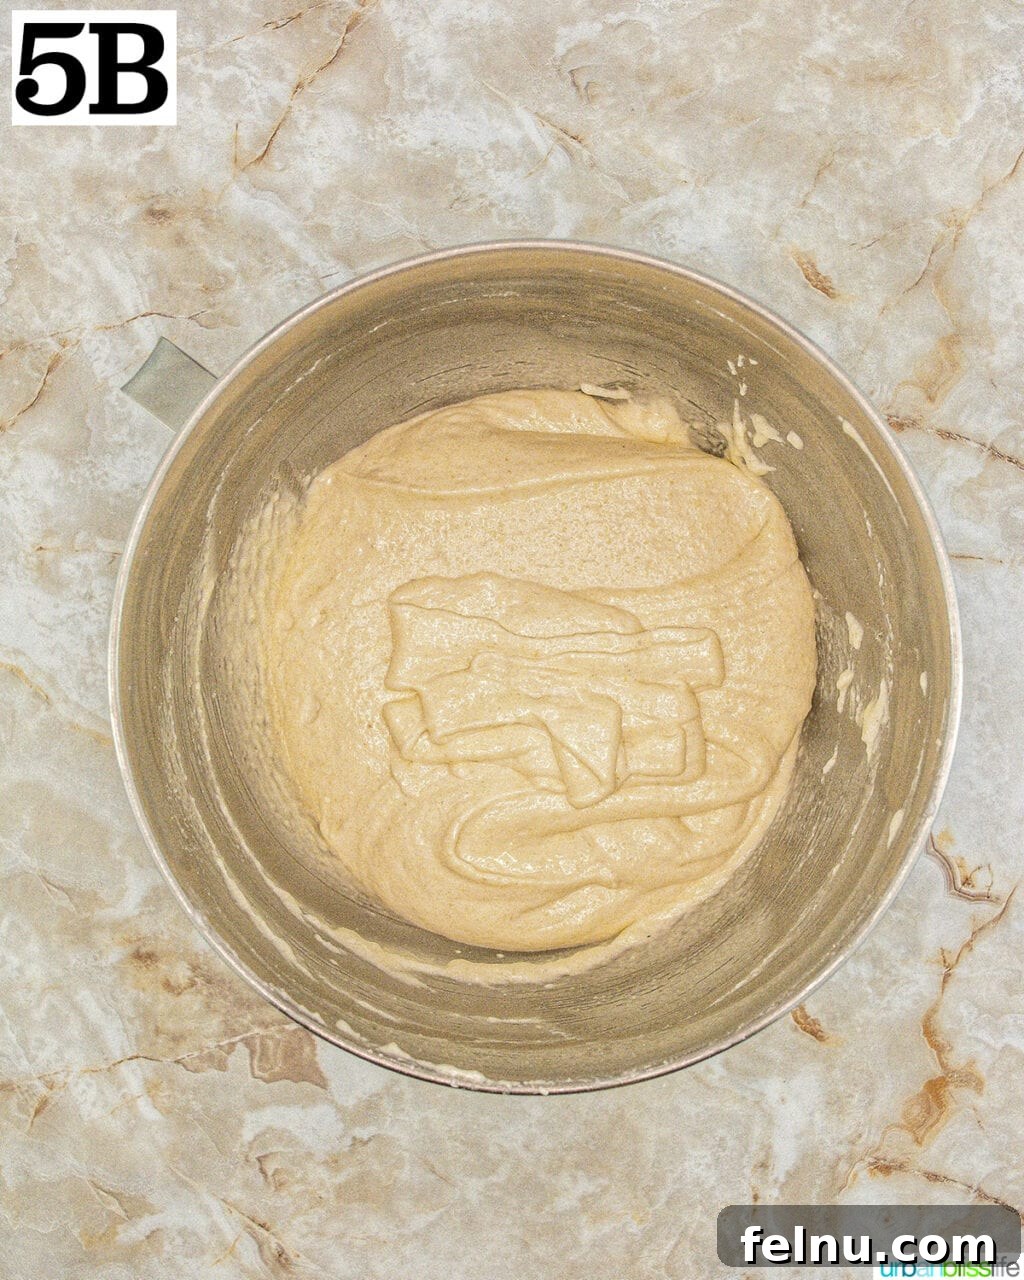
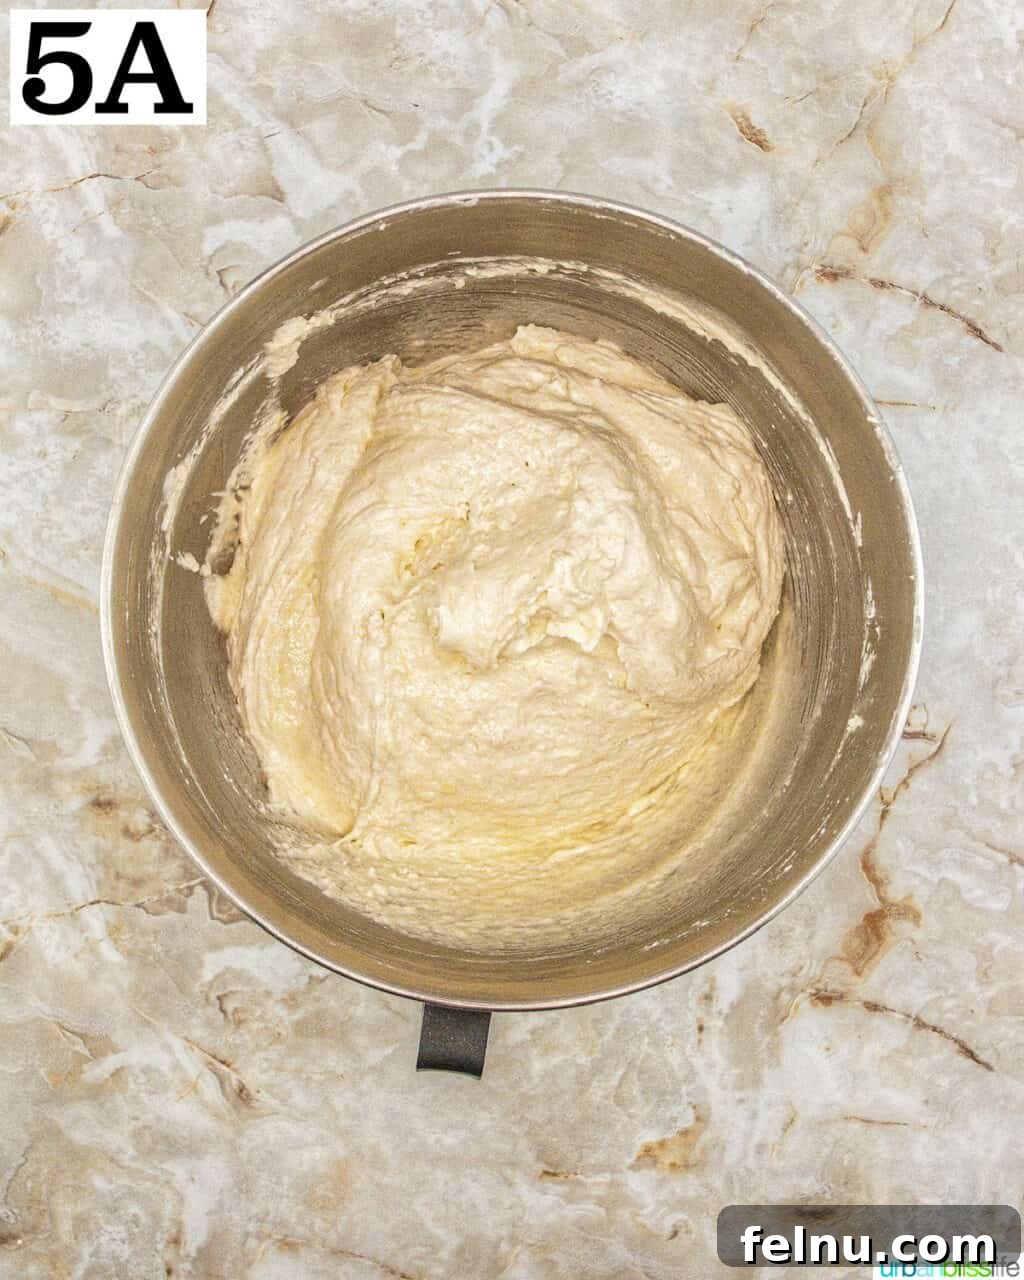
- Now comes the “macaronage” – the art of folding the batter to the perfect consistency. Using a silicone spatula, gently fold the batter, scraping the bottoms and sides of the bowl as you go, to ensure all dry ingredients are fully incorporated. The goal is to achieve a lava-like consistency that flows slowly and continuously off the spatula in a “ribbon” when lifted. To test, scoop some batter with your spatula and let it drop back into the bowl; it should flow smoothly, forming a ribbon that re-incorporates into the main batter within a count of about 15-20 seconds. This is often referred to as the “ribbon stage” or “lava stage.” Be careful not to under-mix (which results in lumpy, cracked shells) or over-mix (which yields flat, spreading shells).
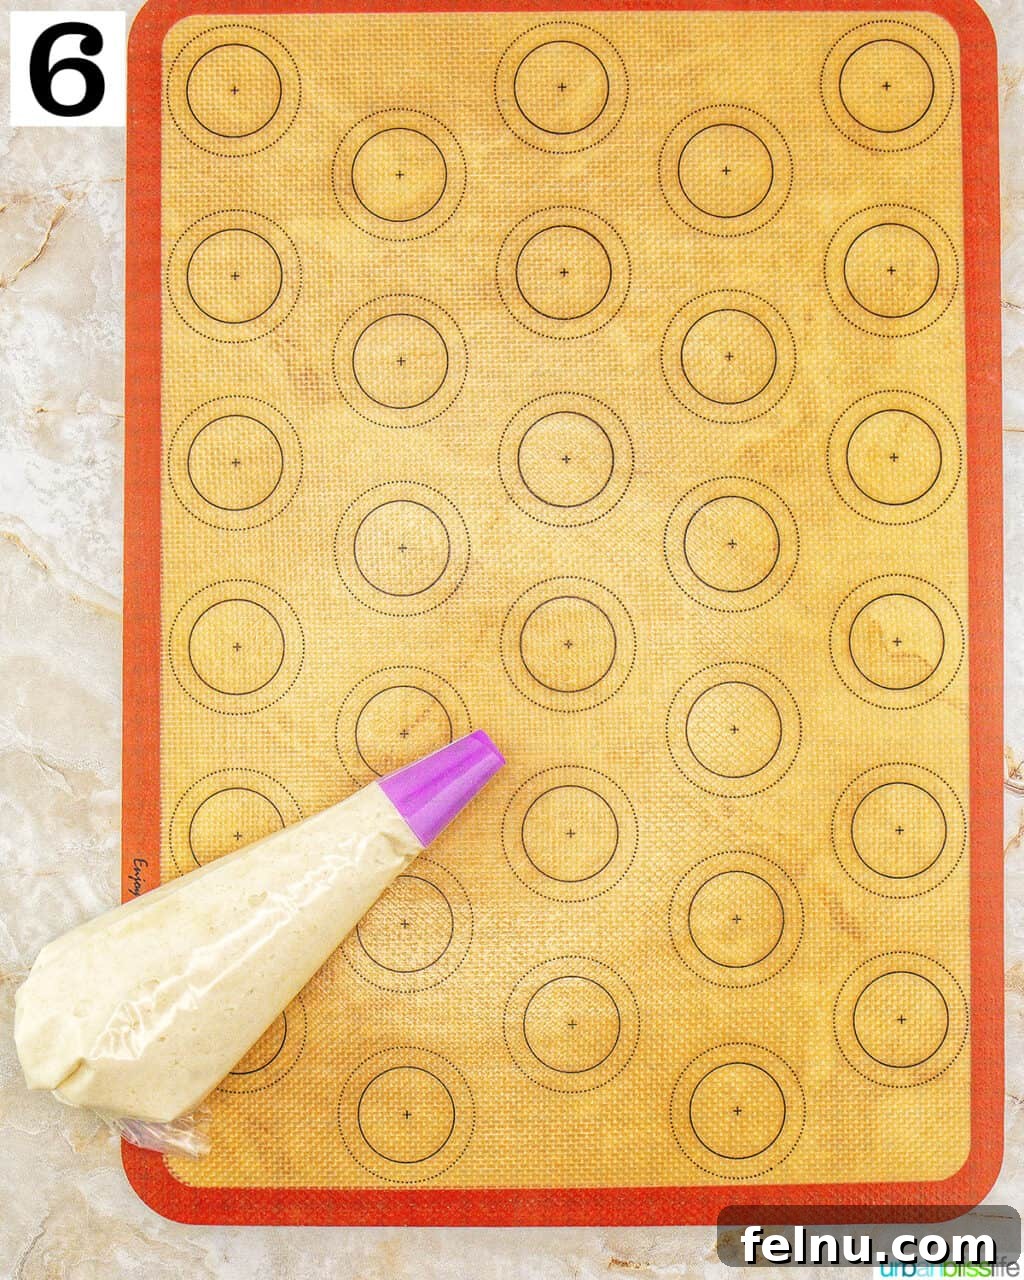
- Once the batter reaches the ideal consistency, transfer it to a pastry bag fitted with a large round metal tip (such as a Wilton 1A or Ateco 809). If you don’t have a specific tip, you can carefully snip a small, straight opening at the end of the pastry bag with scissors. Pipe uniform rounds onto your prepared baking sheets, using the macaron outlines on your silicone mat as a guide. Hold the bag perpendicular to the tray, about ½ inch above it, squeezing evenly until the batter fills the inner circle of the template. The batter should self-level to the outer edge.
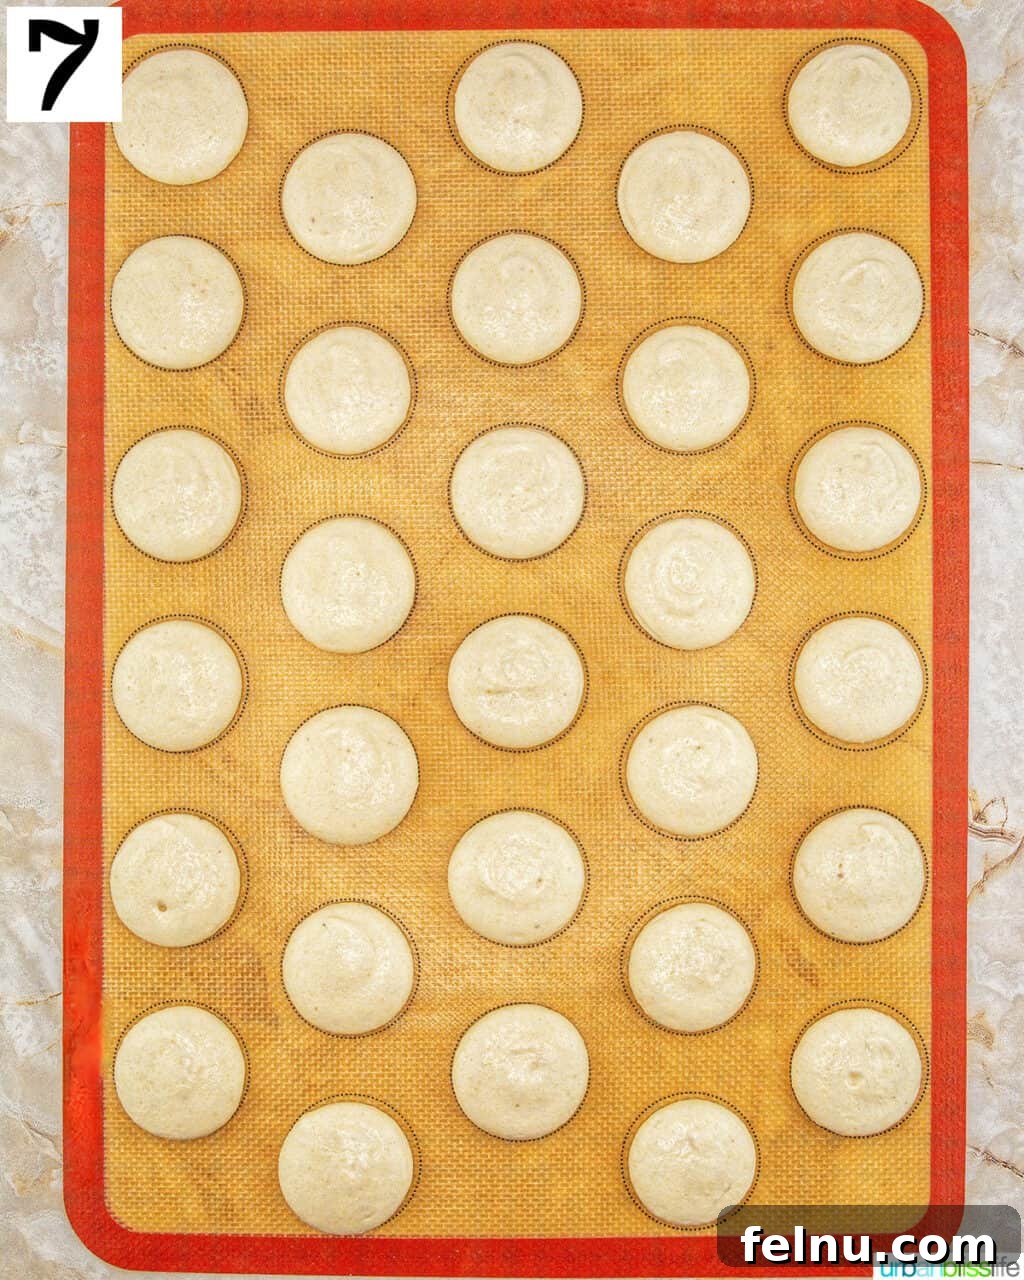
Pro tip for Perfect Shells: After piping all the rounds, firmly bang each baking sheet on the counter several times. This crucial step helps release any trapped air bubbles within the batter, which can cause cracks during baking, and encourages the batter to settle evenly. If you observe any persistent air bubbles after banging, you can carefully pop them with a toothpick.
- Allow the piped macaron rounds to rest at room temperature for at least 30 minutes, or even longer depending on your climate’s humidity. This resting period is vital for a “skin” or “pellicle” to form on the surface of the shells. This pellicle is what allows the signature “feet” to develop during baking. To check if they are ready, gently touch the surface of a shell; it should feel dry and not sticky to the touch. If it still feels tacky, let them rest for another 10-15 minutes and recheck. Once they have rested sufficiently and are no longer sticky, they are ready for the oven. Bake them for 12 minutes. For best results and even baking, bake one baking sheet at a time. If you must bake multiple sheets, remember to rotate the pans halfway through the cooking time. While they bake, this is an excellent opportunity to clean your stand mixer bowl and whisk attachment, as you’ll need them again for the filling.
- Once the macaron shells are fully baked, remove them from the oven and allow them to cool completely on the baking pan. Resist the urge to peel them off while warm, as they will likely stick and break. Once completely cooled, very gently remove them from the silicone mat or parchment paper. Store the cooled, unfilled macaron shells in an airtight container, stacked on their sides, until you are ready to add the filling. This prevents them from drying out too quickly.
Remember: For the most successful macarons, always refer to the detailed instructions in the printable recipe card at the end of this post!
Crafting the Tiramisu Filling
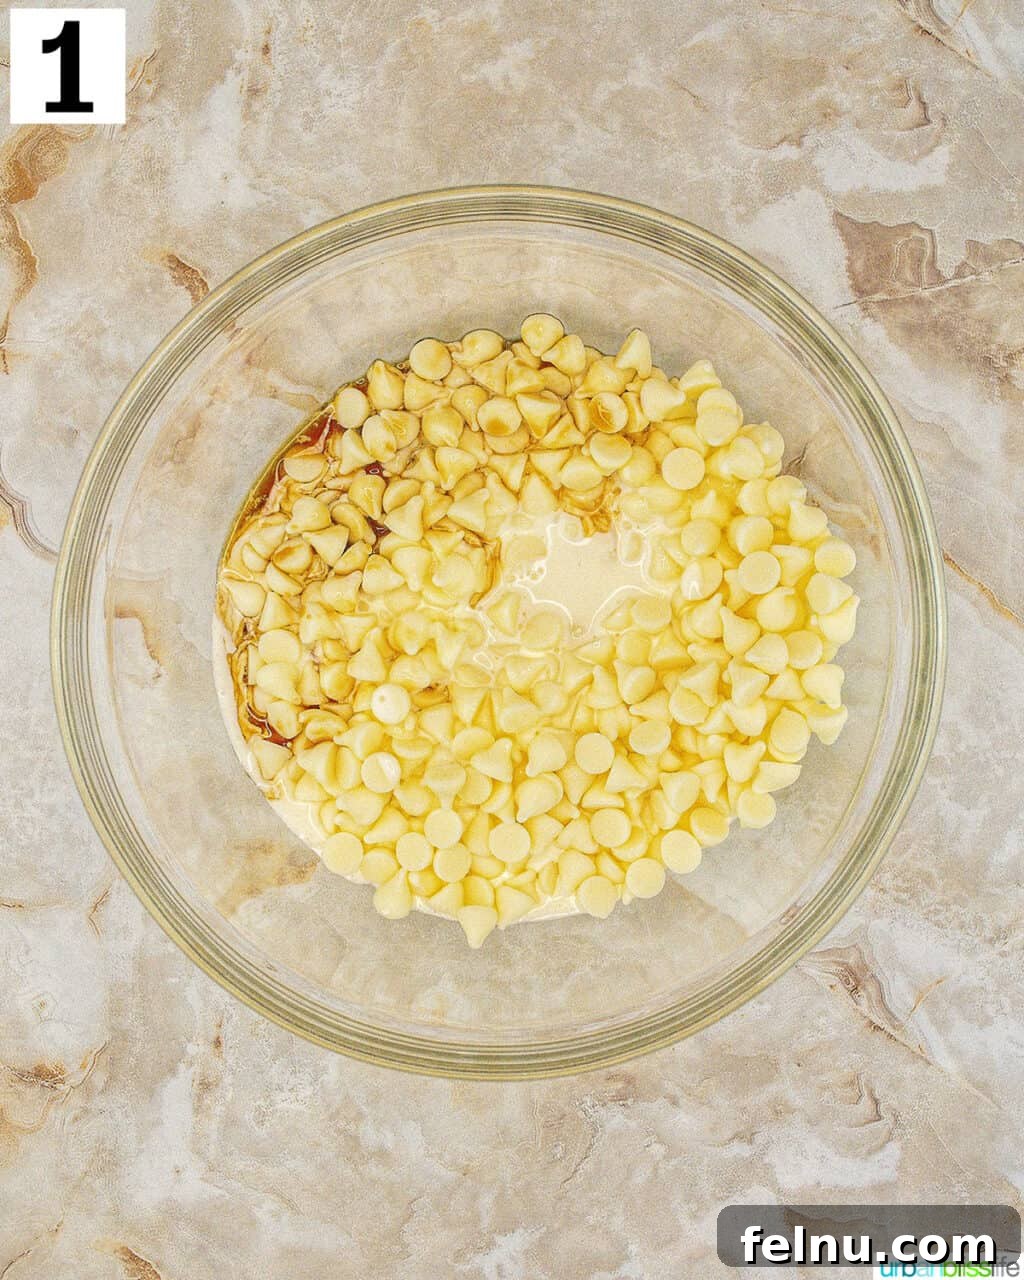
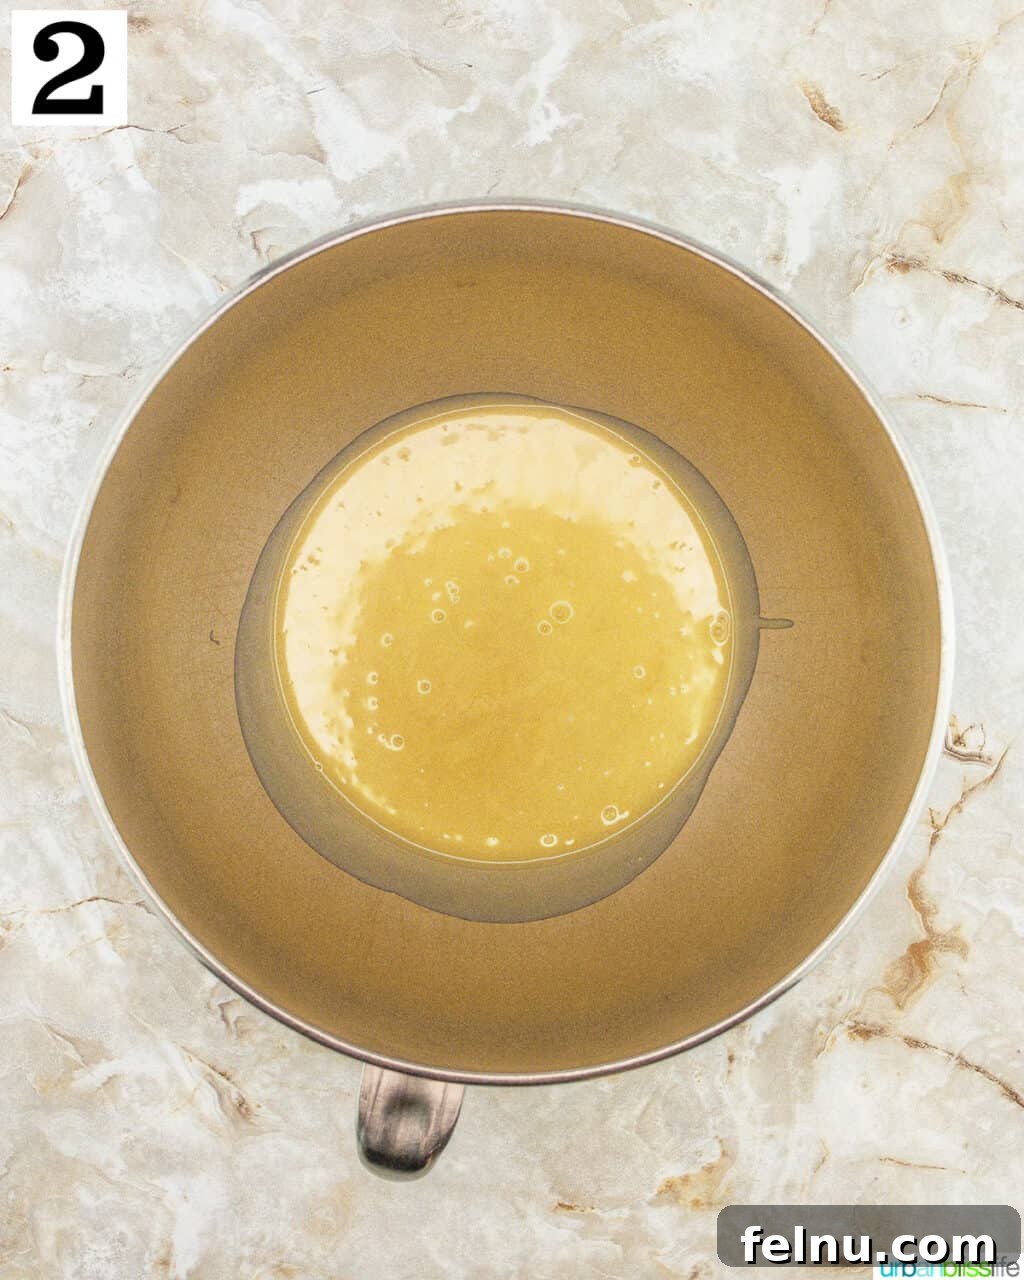
- In a large microwave-safe bowl, combine the white chocolate chips, heavy cream, and Kahlua. Microwave the mixture in 30-second intervals, stirring thoroughly between each interval, until the white chocolate is completely melted and the mixture is smooth and well combined. Be careful not to overheat the chocolate, as it can seize. Alternatively, you can melt the ingredients together in a double boiler for more controlled heating.
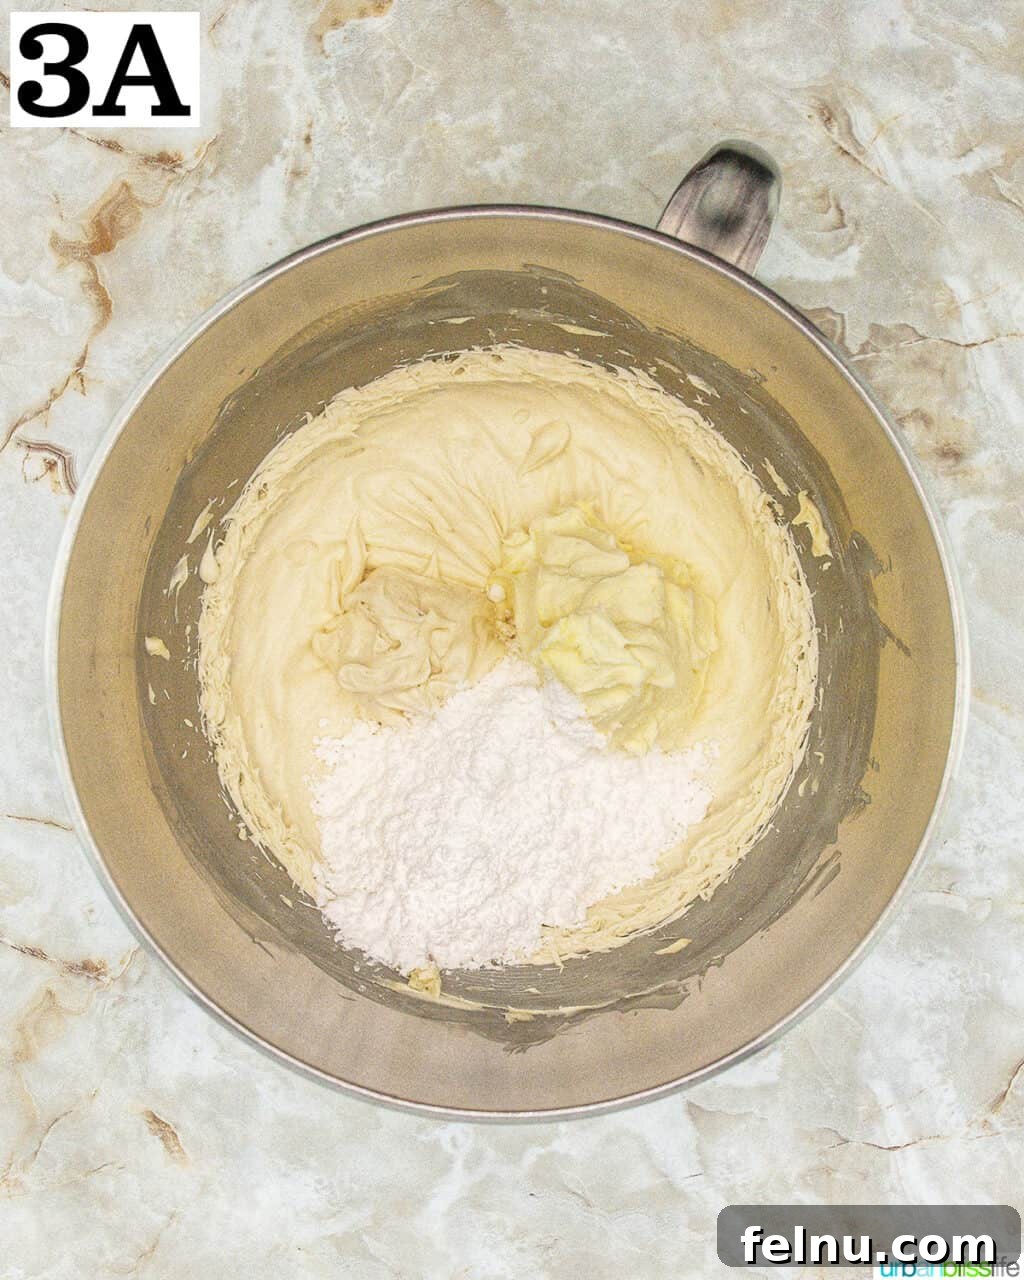
- Transfer the smooth white chocolate mixture (now a ganache) to the clean bowl of your stand mixer. Allow it to cool completely to room temperature. This cooling step is essential to ensure the ganache whips properly and doesn’t melt the mascarpone. Once cool to the touch, attach the whisk attachment and whip the ganache on medium speed for about one to two minutes, until it lightens in color and becomes slightly fluffy.
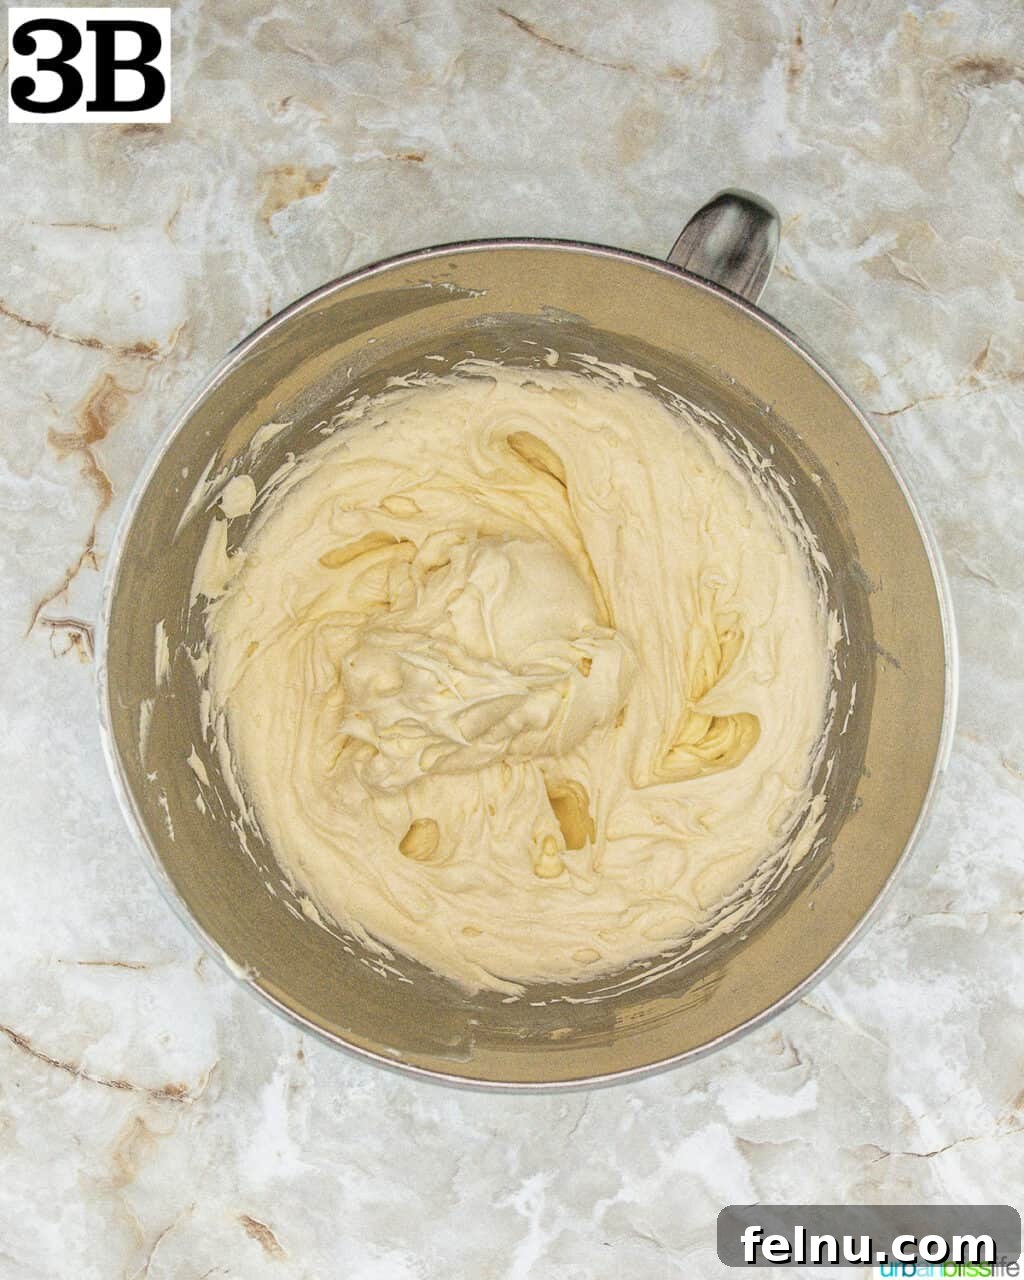
- Add the room-temperature mascarpone cheese and powdered sugar to the whipped ganache. Mix on low speed just until all ingredients are combined and the mixture is smooth and creamy. It is crucial not to over-mix at this stage, as mascarpone can curdle or separate if beaten for too long, resulting in a grainy rather than velvety filling. Stop as soon as it’s homogenous.
Assembling the Tiramisu Macarons
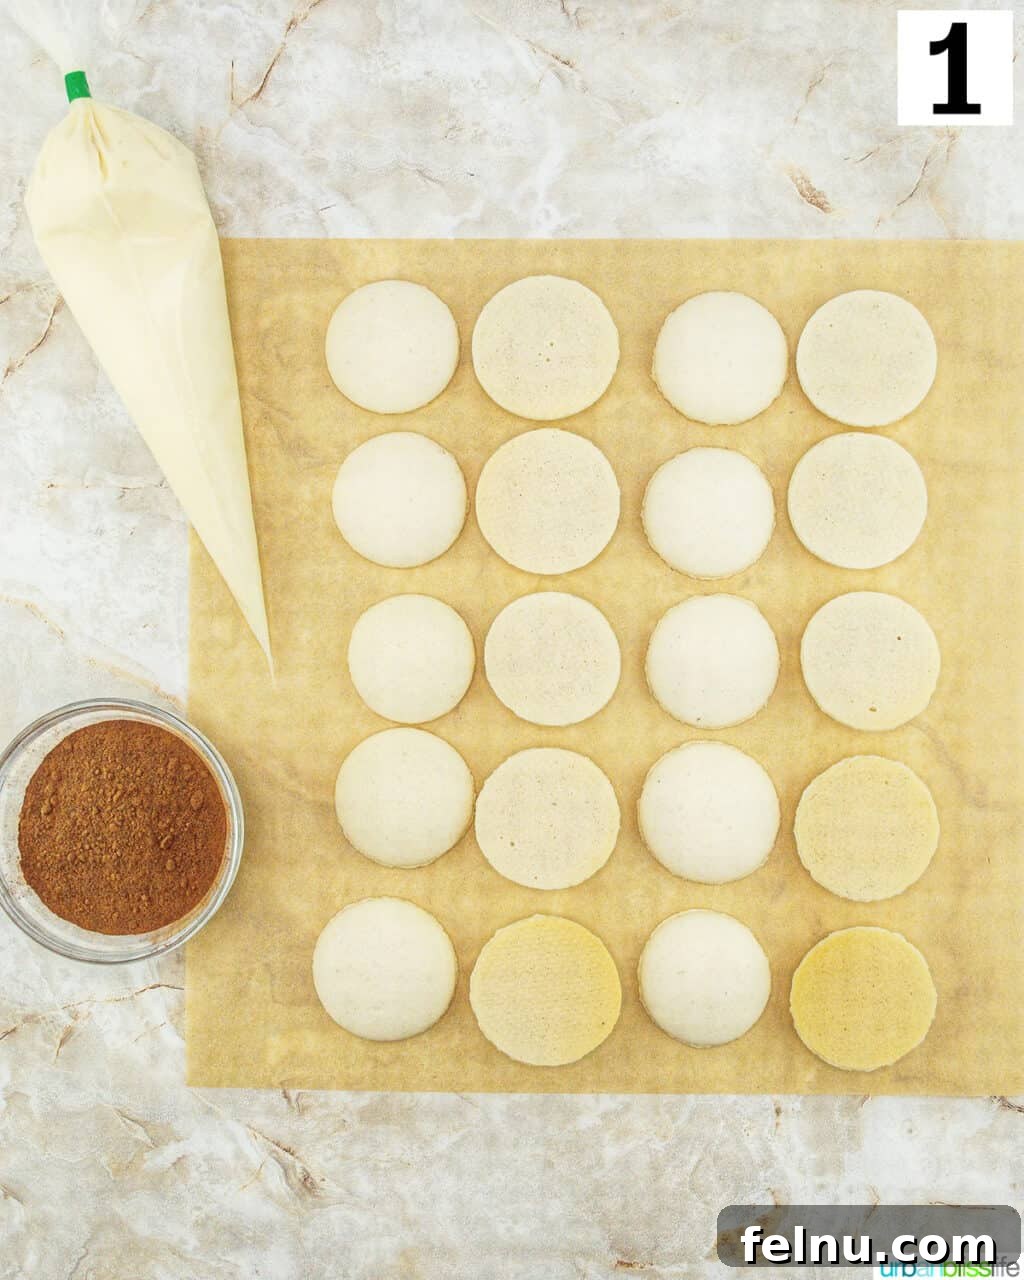
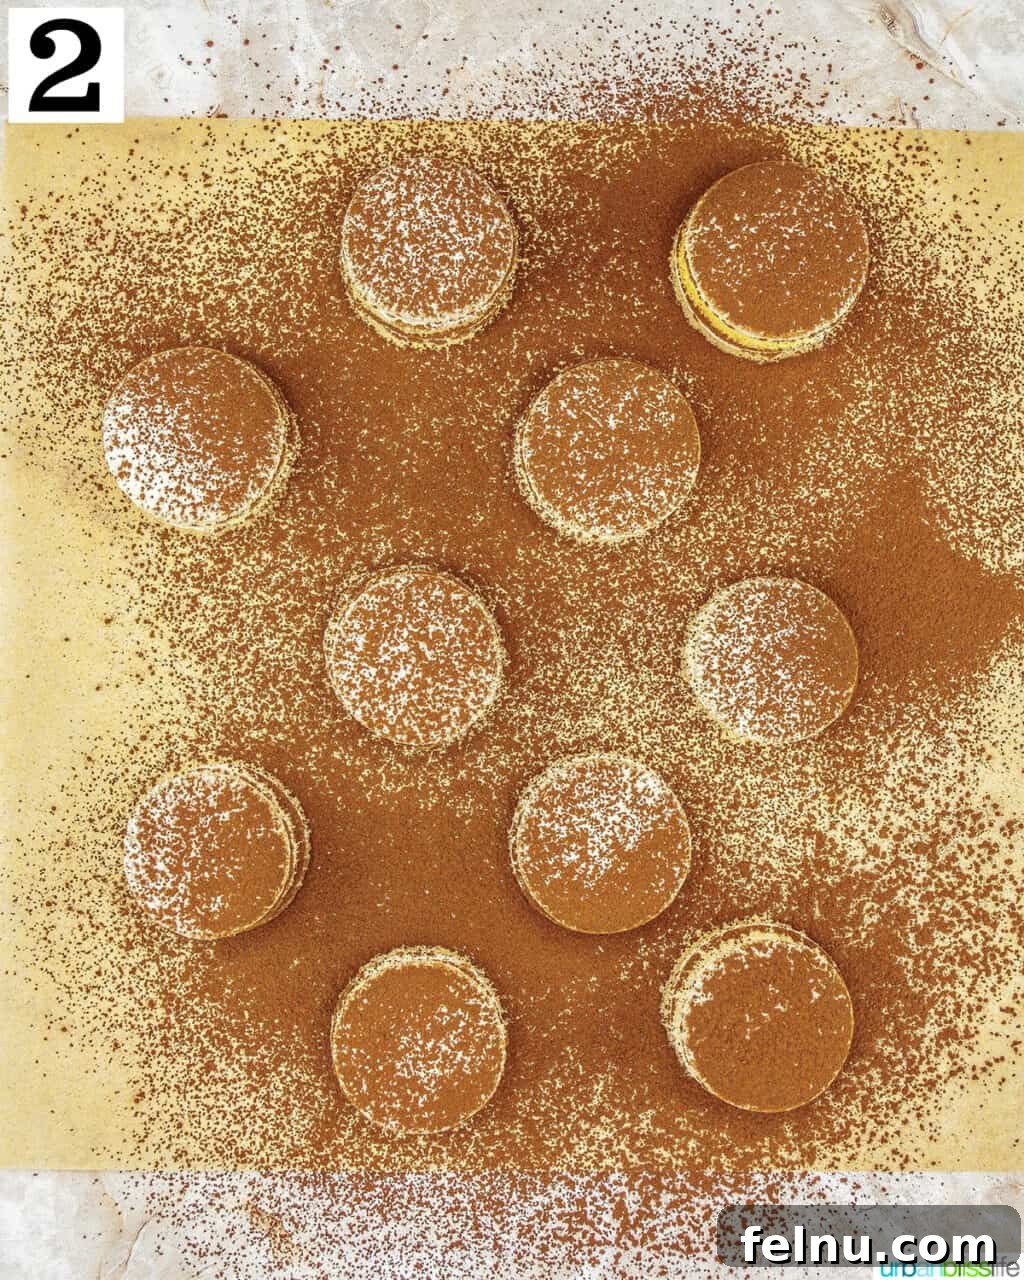
- When you’re ready to assemble your macarons, transfer the prepared mascarpone filling to a pastry bag fitted with a large round tip. Select macaron shells that are similar in size and shape. Pipe a generous dollop of the creamy filling onto the flat side of one macaron shell. Then, gently place another macaron shell on top of the cream filling, twisting slightly to create a neat cookie sandwich. Repeat this process until you have filled and topped all of your macaron shells.
- For the quintessential tiramisu finish, dust the tops of the assembled macaron cookies with a light coating of unsweetened cocoa powder just before serving. This not only enhances their visual appeal but also adds a subtle hint of bitterness that perfectly complements the sweetness and richness of the filling.
👩🏻🍳 Macaron Baking Tips and FAQs for Success

Macaron baking can be a precise art, but with these tips and answers to common questions, you’ll be well on your way to creating stunning Tiramisu Macarons every time.
Top Macaron Baking Tips:
- Egg White Perfection: For the most consistent results, it’s often best to use freshly separated egg whites. While carton egg whites can be a convenient substitute, they sometimes contain additives that can affect meringue stability. Whichever you choose, ensure they are free of any yolk.
- Room Temperature Eggs are Key: Always use room temperature egg whites. Cold egg whites are denser and will not whip up as quickly or achieve the same volume and smooth texture as those at room temperature. This difference is critical for a stable meringue.
- Don’t Skip the Meringue Powder: This ingredient is a macaron baker’s best friend. Meringue powder significantly helps stabilize the egg whites as they whip, ensuring a strong and consistent meringue. While it’s technically possible to bake tiramisu macarons without it, especially for experienced bakers, it adds a layer of assurance and structural integrity that is invaluable, particularly for beginners.
- Embrace Egg White Powder: I enthusiastically recommend adding egg white powder to your dry ingredients. This optional but highly beneficial ingredient helps to create fuller macaron shells and minimizes the dreaded hollows, leading to a more consistently filled and satisfying cookie. It truly helps make the best possible macarons! You can easily find egg white powder online or in specialized baking supply stores.
- Achieving the “Pellicle”: The resting period after piping is crucial. It allows a thin, dry “skin” (pellicle) to form on the surface of the macaron shells. This pellicle prevents the macarons from cracking in the oven and is essential for the formation of the characteristic “feet” at the base of the shells. Humidity can significantly impact this drying time; in humid climates, you may need to extend the resting period. Test for readiness by gently touching a shell; if it’s no longer sticky, it’s ready to bake.
- Oven Temperature is Critical: Macaron success often boils down to oven calibration. Ovens can vary widely, so investing in an oven thermometer is highly recommended to ensure your oven maintains the precise temperature needed. Too hot, and your macarons may crack or brown too quickly; too cool, and they won’t develop feet or will spread.
- Cooling Completely: Always allow your macaron shells to cool completely on the baking mat before attempting to remove them. Warm shells are fragile and prone to breaking or sticking. Patience during this step ensures perfectly intact shells ready for filling.
- Proper Shell Storage: Once baked and completely cooled, store unfilled macaron shells in an airtight container at room temperature. They can dry out quickly and lose their delicate chewiness if exposed to air for too long.
Mascarpone is celebrated for its incredibly luscious and creamy texture. If you’re unable to find it at your local grocery store or simply don’t have any on hand, you can create a decent substitute by whipping together regular cream cheese with some heavy cream. For every 8 ounces of cream cheese, you might start with 2-3 tablespoons of heavy cream, adding more if needed until you achieve a softer, smoother consistency closer to that of mascarpone. I also recommend adding about a half teaspoon of vanilla extract to the substitution to enhance its flavor profile.
Once assembled with the filling, store your Tiramisu Macarons in an airtight container in the refrigerator. They will maintain their freshness, flavor, and delightful chewy texture for up to two weeks. The flavors also tend to meld beautifully over time, often tasting even better after a day or two of chilling.
Absolutely! Macarons freeze exceptionally well, allowing you to enjoy them long after baking. Stored in an airtight container, they should keep beautifully in the freezer for up to three months. To serve, simply remove the macarons from the freezer and allow them to come to room temperature for about 15-30 minutes before enjoying. This ensures the filling softens and the shells regain their perfect chewiness.
🍽 Delightful Serving Ideas for Tiramisu Macarons
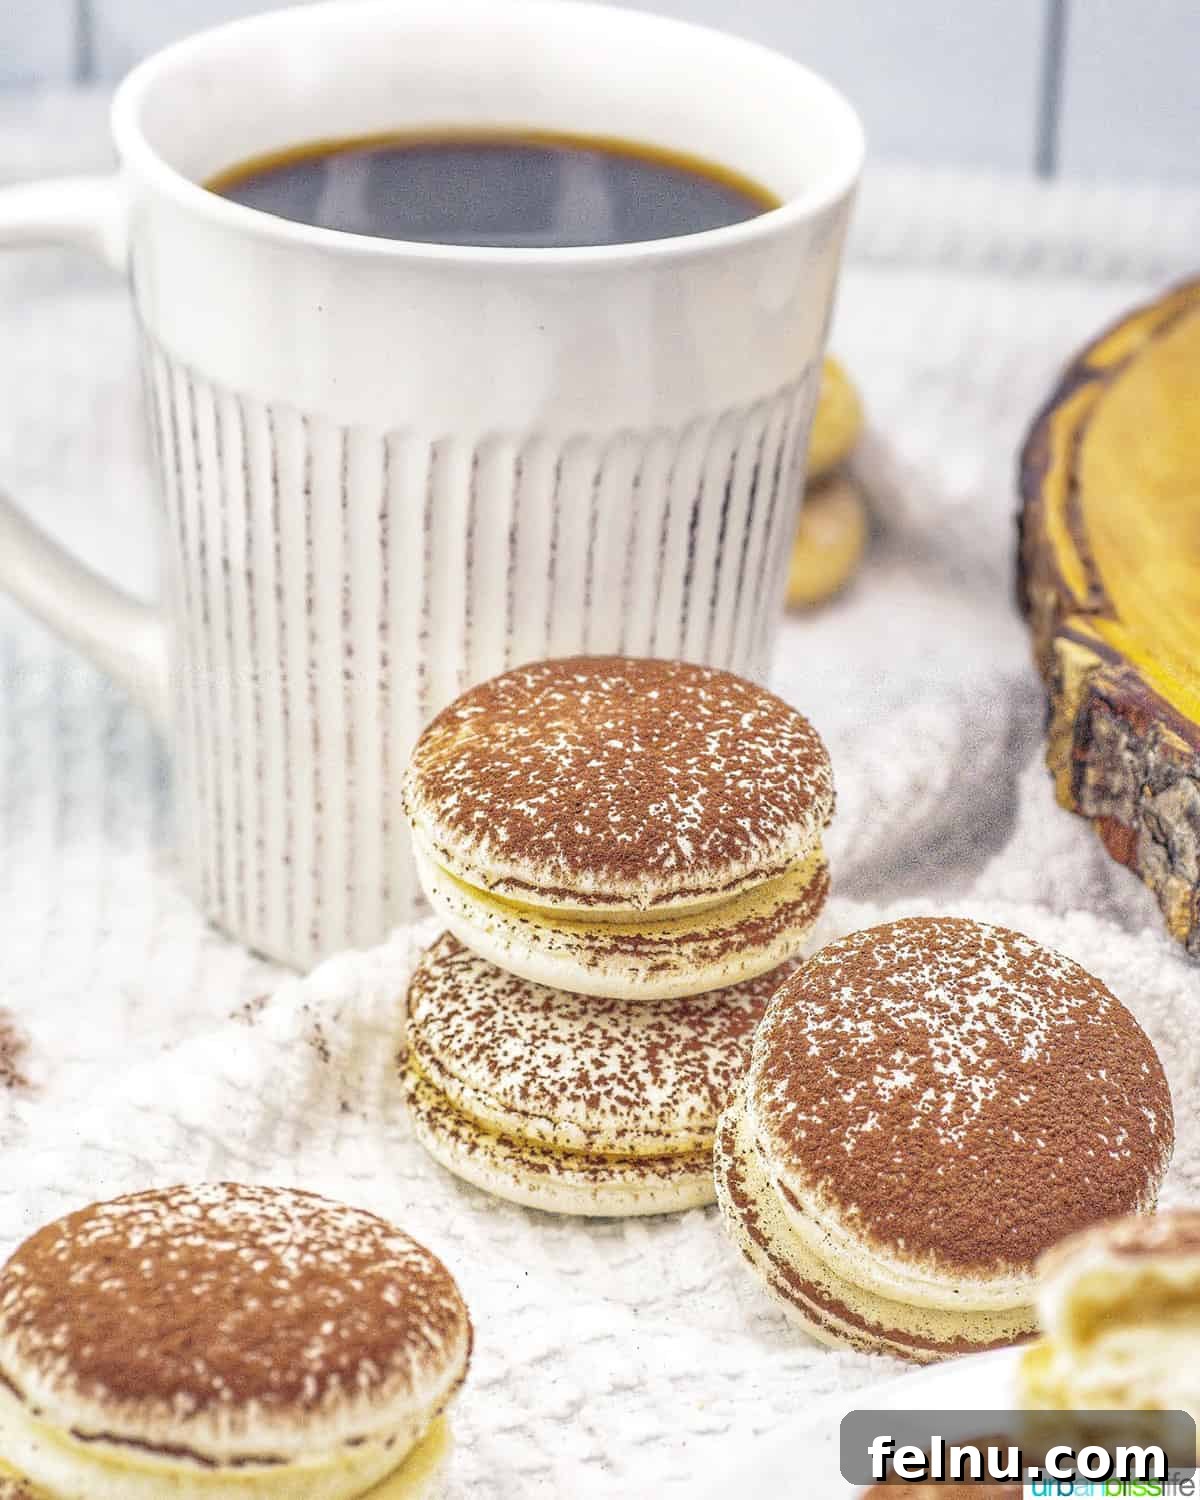
The name “Tiramisu” literally translates to “pick me up” in Italian, and these little cookies live up to that promise! Their rich coffee and creamy notes make them an ideal companion for a fresh cup of coffee, a soothing hot cocoa, or a delightful espresso. But the versatility of these Tiramisu Macarons extends far beyond a simple coffee pairing. Here are more creative ways to serve and enjoy them:
- Elegant Dessert Platter: Arrange a variety of Tiramisu Macarons on a beautiful dessert platter alongside other mini pastries or fresh berries for a sophisticated presentation that’s perfect for dinner parties or special gatherings.
- Cake Embellishment: Elevate your celebration cakes with these gorgeous macarons! Our Chocolate Coffee Cake, for instance, would be the perfect canvas. You can artfully stack a few macarons on top of the cake, or create a stunning edible border by lining the bottom edge of the cake with these delicate cookies. They add both beauty and an extra layer of flavor.
- Pie Decoration: For a unique and impressive presentation, use these macaron morsels to decorate your favorite pies. Imagine them lining the outer ring of a rich chocolate bourbon pie or a comforting sweet potato pie, adding an unexpected touch of French elegance.
- Thoughtful Edible Gifts: Macarons are inherently decadent and visually appealing, making them an excellent choice for homemade gifts. Arrange them beautifully in small cookie boxes, tie them with a coordinating ribbon and bow, and present them to friends, family, or colleagues. They are always a cherished and appreciated gesture.
- High Tea or Brunch Treat: Serve Tiramisu Macarons as part of a luxurious high tea spread or a special brunch buffet. Their bite-sized nature and exquisite flavor make them a perfect addition to a spread of small, delightful edibles.
- Single-Serve Delights: For a more intimate setting, serve individual macarons on small dessert plates, perhaps with a drizzle of chocolate sauce or a sprinkle of extra cocoa for a touch of flair.
No matter how you choose to serve them, these Tiramisu Macarons are sure to impress and delight, offering a sophisticated twist on two classic desserts.
🍳 Essential Kitchen Tools and Equipment for Macaron Baking
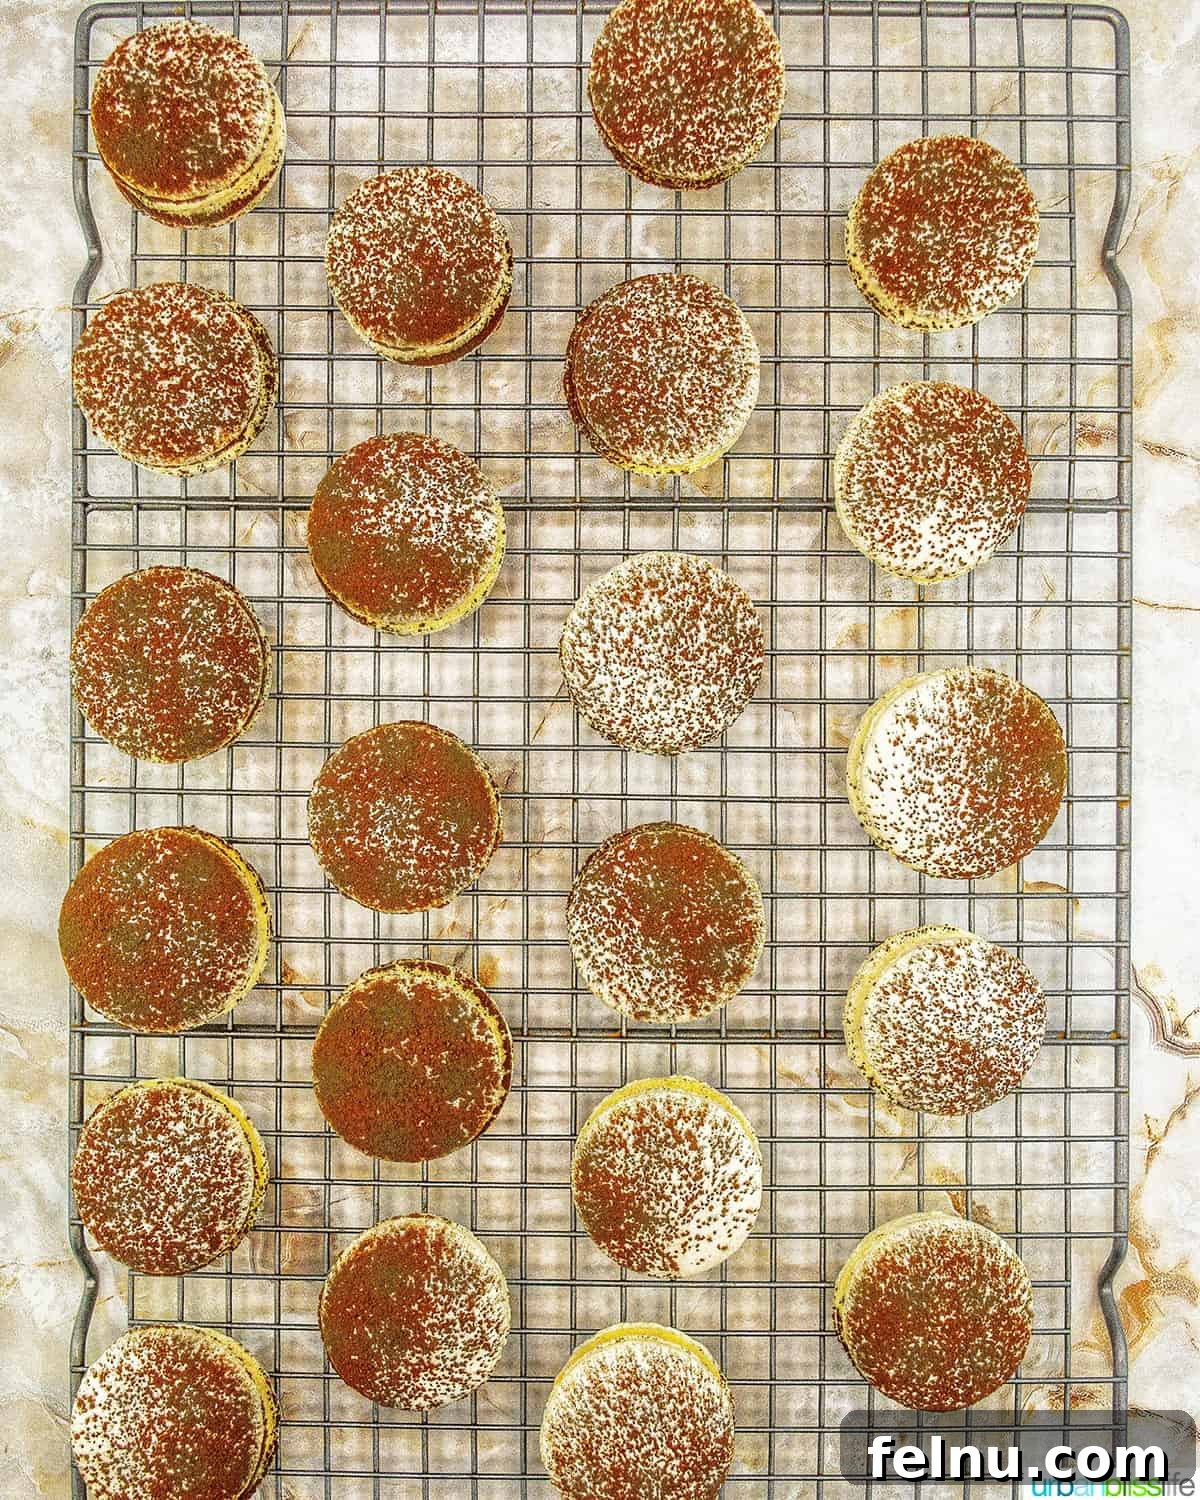
Having the right tools is key to successful macaron baking. While some items are indispensable, others offer convenience that can greatly enhance your baking experience. Here’s a rundown of the kitchen tools and equipment you’ll need to create these delicious Tiramisu Macarons:
- Stand Mixer: A sturdy kitchen electric stand mixer with a whisk attachment is highly recommended. It provides consistent, hands-free beating for the meringue, which is crucial for achieving the correct consistency and volume. While a large mixing bowl with a good quality hand mixer can work, a stand mixer offers superior stability and power.
- Mixing Bowls: You’ll need at least two large mixing bowls. One for sifting your dry ingredients and another (or the stand mixer bowl) for the meringue and macaron batter. Glass or metal bowls are ideal as they are non-porous and ensure no grease residue, which can interfere with meringue formation.
- Fine Mesh Sieve: An absolute necessity for macaron making. A fine mesh sieve ensures that your almond flour and powdered sugar are free of lumps, leading to perfectly smooth macaron shells. Do not skip this step!
- Digital Kitchen Scale: While not listed in the original, a digital kitchen scale is **highly recommended** for macaron baking. Measuring ingredients by weight (grams) rather than volume (cups) provides far greater accuracy, which is critical for macaron success. Even small deviations in flour or sugar can impact the delicate balance of the batter.
- Baking Sheets: You will need at least one, preferably two, sturdy, light-colored baking sheets. Light-colored sheets prevent the bottom of the macarons from browning too quickly, ensuring even baking.
- Silicone Mats: These are invaluable for consistent macaron production. Specifically, silicone macaron mats with pre-printed circles help you pipe uniform cookies, which is aesthetically pleasing and aids in even baking. Parchment paper can also be used, but mats offer better heat distribution and easier release.
- Piping Bags and Tips: You’ll need durable piping bags and a large round piping tip (such as a Wilton 1A or Ateco 809) for piping the macaron batter. The large opening allows for smooth, even piping without clogging. You’ll also need a separate piping bag and tip for the tiramisu filling.
- Silicone Spatula: Essential for the “macaronage” process, where you gently fold the batter. A flexible yet sturdy silicone spatula allows you to scrape the bowl effectively and achieve the perfect consistency without deflating the meringue.
- Oven Thermometer: As mentioned in the tips, an oven thermometer helps you verify and calibrate your oven’s true temperature, which can differ significantly from its dial setting. This small investment can save you from many macaron baking frustrations.
Equipping your kitchen with these tools will set you up for success and make the process of creating beautiful Tiramisu Macarons a joy!
More Delicious Cookie Recipes to Explore
- Pumpkin White Chocolate Chip Cookies
- Cookies and Cream Protein Powder Cookies
- Chocolate Chip Pistachio Cookies
- Almond Christmas Cookies with Sprinkles
Did you make this recipe? Don’t forget to leave a 5-Star 🌟🌟🌟🌟🌟 rating in the recipe card below, and if you truly loved it, please leave a comment further down on the page. Your feedback is greatly appreciated!
Tiramisu Macarons

Print Recipe
Equipment
-
1 Stand Mixer with whisk attachment
-
2 Baking Sheets
-
2 Silicone baking mats
-
Pastry bags
-
Fine mesh sieve
-
Silicone spatula
-
Oven thermometer (optional but recommended)
Sign up for our newsletter to save this recipe and receive weekly new recipes straight to your inbox!
Ingredients
For the Macaron Shells
- 1⅓ cup almond flour (130 grams), loosely packed and sifted
- 1 cup powdered sugar (130 grams), sifted
- ⅓ cup granulated sugar (90 grams)
- 3 large egg whites (100 grams), at room temperature
- ½ teaspoon meringue powder
- 1 teaspoon egg white powder
For the Tiramisu Filling
- 10 ounces white chocolate chips, high quality
- ½ cup heavy whipping cream
- 4 ounces mascarpone cheese, at room temperature
- 2 Tablespoons Kahlua, or strong brewed coffee for non-alcoholic option
- ¼ cup powdered sugar
- cocoa powder, for dusting
Instructions
Making the Macaron Shells
-
Preheat your oven to 300°F (150°C). Line two baking sheets with silicone mats designed for macarons or with parchment paper. Set them aside.
-
In the bowl of a stand mixer fitted with the whisk attachment, beat the egg whites until they become foamy, about 1 minute. Add in the meringue powder and continue beating until soft peaks form.
-
Slowly add the granulated sugar, about one-third at a time, mixing well at medium speed after each addition. Once all the sugar is combined, increase the speed to medium-high and mix for another five minutes until the meringue forms very stiff, glossy peaks. The mixture should gather in the whisk attachment and pull cleanly away from the sides of the bowl.
-
In a fine mesh sieve placed over a large bowl, sift together the almond flour, powdered sugar, and egg white powder. Discard any large chunks that do not sift easily.
-
Pour the sifted dry ingredients into the whipped meringue and mix on low speed, just until they are barely incorporated.
-
Using a silicone spatula, gently fold the batter (macaronage), scraping the bottoms and sides of the bowl as you fold, to ensure there are no dry ingredients left unmixed. To check for the correct consistency, lift some of the mixture with your spatula and let it drop back into the bowl. When ready, it should flow nicely off the spatula, forming a thick ribbon that slowly re-incorporates into the mixture within approximately 15-20 seconds. Continue gently folding just until this desired consistency is achieved.
-
Transfer the macaron batter to a pastry bag fitted with a large round metal tip (e.g., Wilton 1A or Ateco 809). If you don’t have a tip, cut a small, straight opening at the end of the pastry bag.
-
Hold the bag about ½ inch above the prepared baking sheet, perpendicular to the pan. Slowly squeeze the bag, keeping it in one place until the mixture reaches the inner circle of your template. The batter should naturally settle to the outer line. Repeat this process, piping out all the rounds until you’ve used all the batter.
-
Firmly bang the baking sheet on the counter several times. This helps release any trapped air bubbles, which can cause cracking, and helps the batter settle evenly. If any stubborn air bubbles remain, carefully pop them with a toothpick.
-
Allow the piped rounds to rest at room temperature for at least 30 minutes, or longer in humid climates, until a skin (pellicle) forms and the tops are no longer sticky to the touch. Test by gently touching a shell; if it sticks to your finger, it needs more resting time.
-
Once the shells have rested for about 30 minutes (or longer, until dry to the touch), bake them for 12 minutes. For best results, bake one baking sheet at a time. If baking more than one, rotate the pans halfway through. While baking, clean your stand mixer bowl and whisk for the filling.
-
After baking, allow the macaron shells to cool completely on the pan before very gently removing them from the baking sheet.
-
Store the cooled, unfilled macaron shells in an airtight container, stacked on their sides, until you’re ready to add the filling.
Making the Tiramisu Filling
-
In a large microwave-safe bowl, combine the white chocolate chips, heavy cream, and Kahlua. Microwave in 30-second intervals, stirring well after each, until the mixture is completely smooth.
-
Transfer the warm ganache to the stand mixer bowl and allow it to cool completely to room temperature. Once cool, use the whisk attachment to whip the ganache on medium speed for 1-2 minutes, until it becomes lighter and slightly fluffy.
-
Add the room-temperature mascarpone cheese and powdered sugar to the whipped ganache. Mix on low speed just until combined and smooth. Be careful not to overmix, as mascarpone can curdle.
Assembling the Macarons
-
When ready to assemble, transfer the tiramisu filling to a pastry bag fitted with a large round tip. Pipe a generous dollop of filling onto the flat side of one macaron shell, then gently place another shell on top to create a cookie sandwich. Repeat until all shells are filled.
-
Just before serving, dust the assembled macarons with a light coating of cocoa powder for the classic tiramisu finish.
Notes
While you can enjoy these Tiramisu Macarons right away, for the best texture and flavor development, it’s highly recommended to wait 24 hours. This “maturation” period allows the filling to soften the macaron shells slightly, creating that desirable chewy goodness we all love.
Storage: Store your assembled Tiramisu Macarons in an airtight container in the refrigerator for up to two weeks. The flavors often deepen and become even more harmonious after a day or two. You may also freeze macarons for up to three months. If storing in the freezer, ensure they are in an airtight container. When ready to enjoy, take the macarons out of the freezer and allow them to come to room temperature for about 15-30 minutes before serving.
Nutrition Information
Nutrition information is automatically calculated, so should only be used as an approximation.