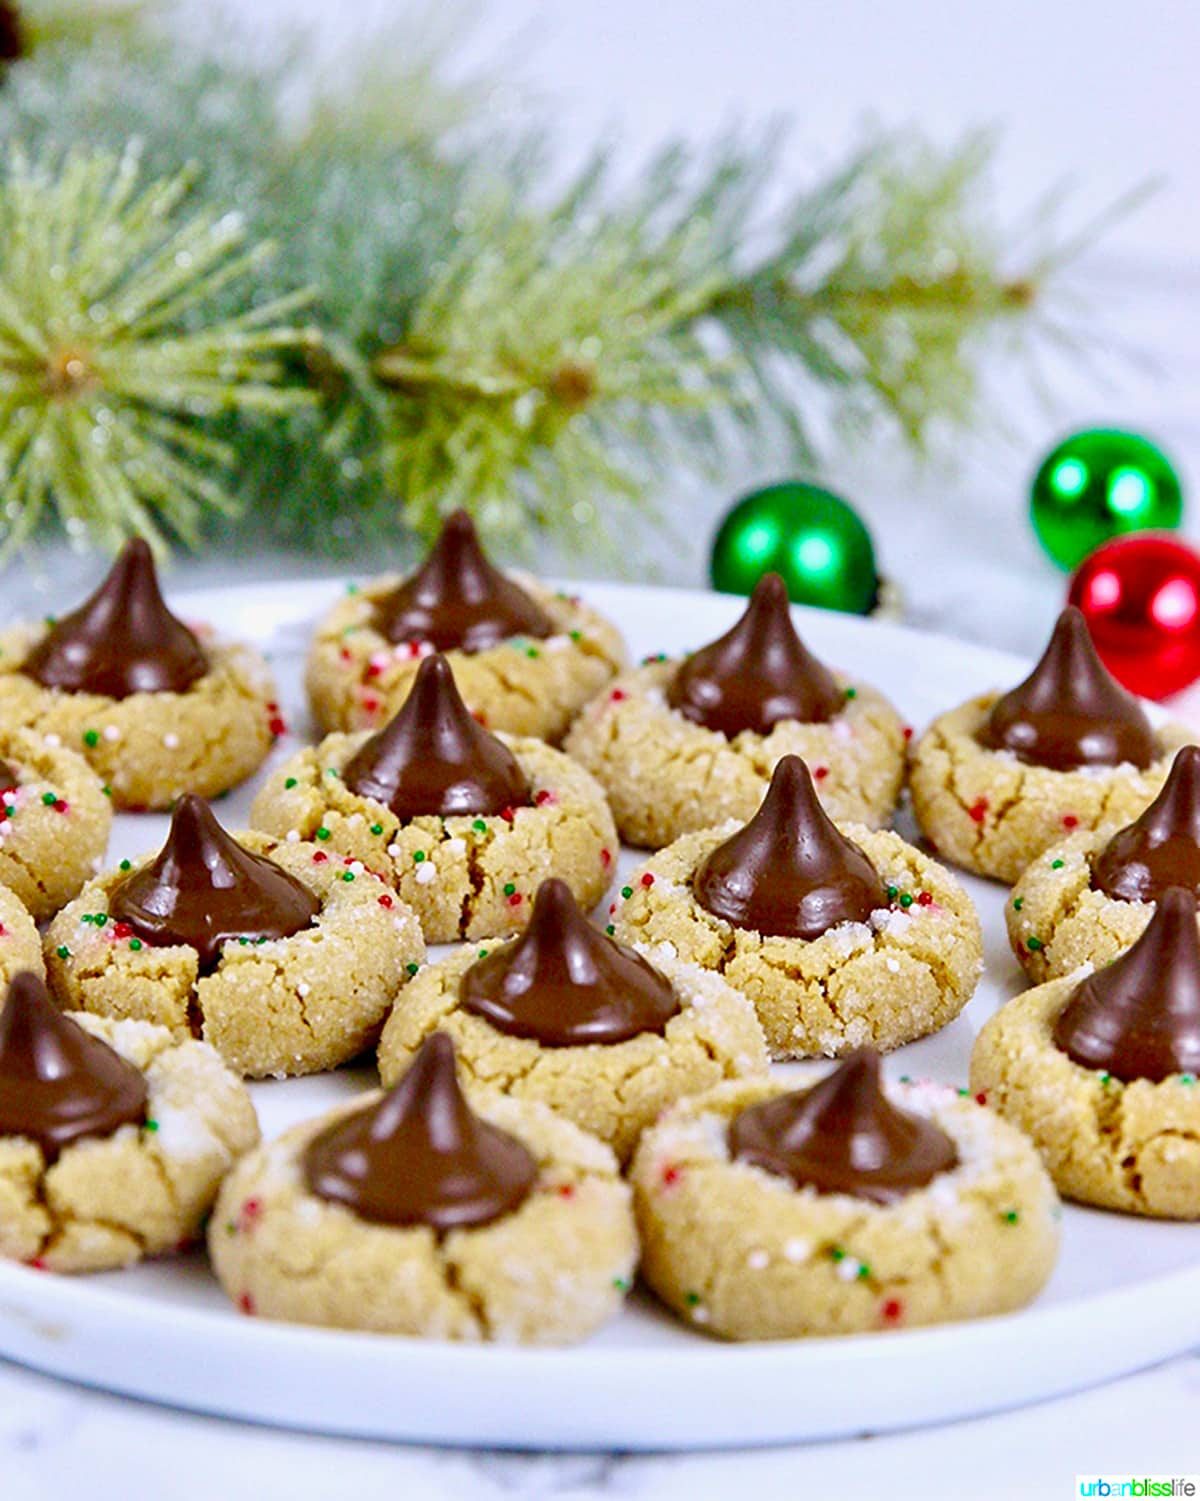
Peanut Butter Blossom cookies are classic. They're a baking tradition handed down from generation to generation, for good reason. These peanut butter and chocolate kiss cookies are perfect for so many occasions!
We all need a few classic cookie recipes that stand the test of time. The recipes that get handed down from generation to generation for cookies like Butterscotch Cookies and Chocolate Chip M & M Cookies. Tasty cookies with popular flavor combos like peanut butter and chocolate.
[feast_advanced_jump_to]🌟 What makes these cookies special?
These peanut butter blossoms are ideal for the holiday season.
- These cookies use simple ingredients with classic flavors, and a truly EASY recipe.
- The everyday ingredients mean you can whip them up at the last minute if you need to!
- This recipe makes 36-48 cookies, enough for cookie exchanges or holiday parties.
- Most importantly, they are melt-in-your-mouth tasty!
🧈 Ingredient notes
You probably already have everything you need in your pantry and refrigerator to make these cookies.
Butter – use unsalted butter softened at room temperature.
Peanut butter – you'll need creamy peanut butter to make these cookies
Sugar – use granulated sugar
Brown sugar – use light brown sugar
Baking powder and baking soda
Kosher salt – if you use regular table salt, be sure to adjust your measurements
Milk – We use 1% milk but you can use whole milk, 2% milk or any dairy-free milk alternative.
Egg– We use one large brown cage free egg. Be sure to take the egg out about 30 minutes before you start baking so it comes up to room temperature.
Vanilla – use pure vanilla extract if you can, instead of imitation vanilla extract. It makes a big difference in taste.
Flour – you'll need all-purpose flour. We haven't used any other type of flour to test if others work as well with this recipe or not. If you do, please let me know how it goes.
Hershey's chocolate kiss candies – use your favorite flavor of Hershey's chocolate kisses. We usually use the milk chocolate Hershey's kisses but the holiday candy cane Hershey's kisses are tasty during the holidays!
✅ Step-by-step instructions
- Start by placing some sugar in a bowl and setting it aside to use simply before baking.
2. Then mix together the unsalted butter and peanut butter until smooth.
3. Add the granulated sugar, brown sugar, baking powder, and baking soda. Mix on low until all ingredients are fully combined.
4. Next, add in the egg, milk, and vanilla, until combined, scraping the sides of the bowl occasionally.
5. Gradually add in the flour and beat until combined.
6. The next step is one that is fun for kids to help with! Shape the dough into little balls (about 1-inch each).
7. Roll each ball into the bowl of sugar that you've set aside, until the entire dough is covered. Place the balls about 2 inches apart from each other on an ungreased cookie sheet.
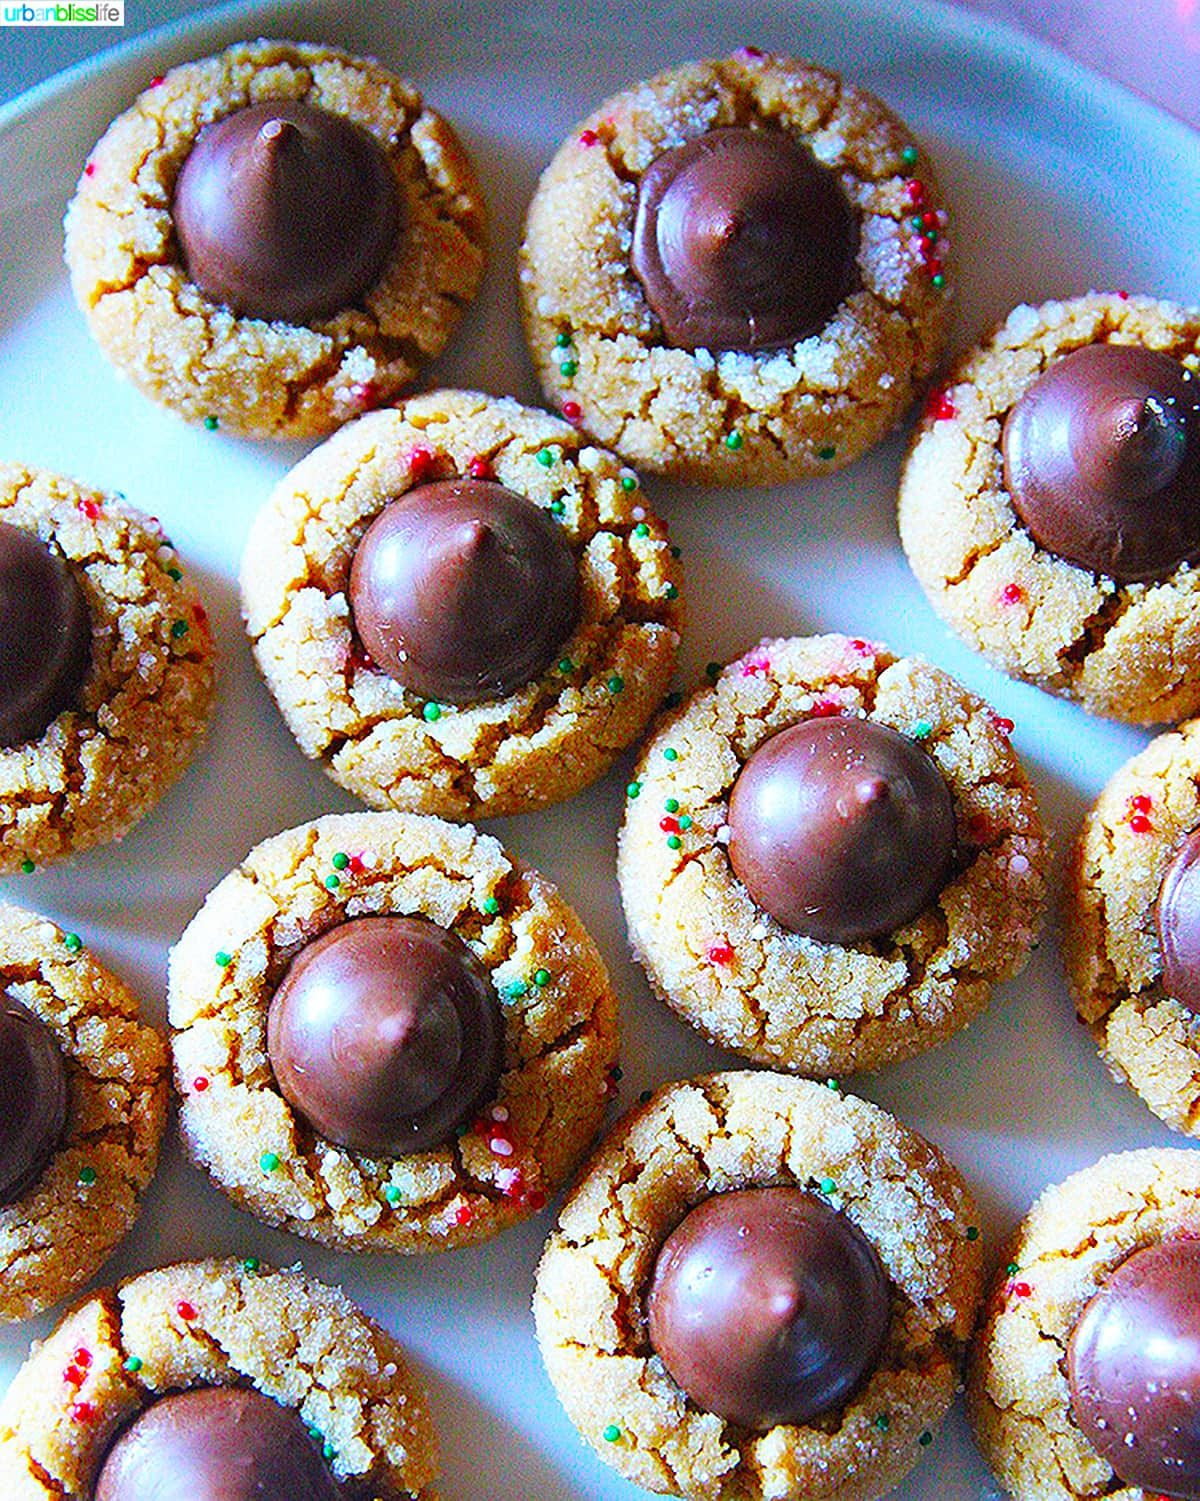
8. Bake and then once done, immediately press a milk chocolate candy kiss into the center. Make sure you let the cookies cool before eating.
9. As soon as they are out of the oven, immediately press a milk chocolate candy kiss or 2-3 chocolate chips in the center of each cookie. Then using a wide spatula, gently lift each cookie and transfer to a wire rack to cool.
👩🏻🍳 Recipe FAQs
If you are dairy-free like me, We have included some DF options, such as substituting coconut milk for 1% milk, and using Enjoy Life dairy-free, soy-free chocolate chips instead of the standard milk chocolate candy kisses. Though they won't look the same, they will truly taste simply as tasty!
How do We make these cookies gluten-free and grain-free?We have not yet made these with gluten-free flour or grain-free flour, but will try to soon. The favorite GF flours are Bob's Red Mill 1-to-1 Gluten-Free Baking Flour and Bob's Red Mill Almond Flour and Coconut Flour.
💡Cookie baking tips
Use unsalted butter that has softened to room temperature. Take the butter out of the refrigerator 30 minutes to one hour before you start baking. The butter will soften faster if you cut it into smaller pieces. You want the butter to be slightly soft to the touch, but not so soft that you can easily press your fingers through it. And not so soft that it's melty. Unsalted butter helps create super creamy, velvety batter. This helps the cookies stay fluffy and prevents them from going flat.
Use a room temperature egg. When you take the butter out of the fridge, also take out an egg to allow it to come to room temperature. Eggs at room temperature will blend seamlessly and thoroughly into the batter than cold eggs simply taken out of the refrigerator.
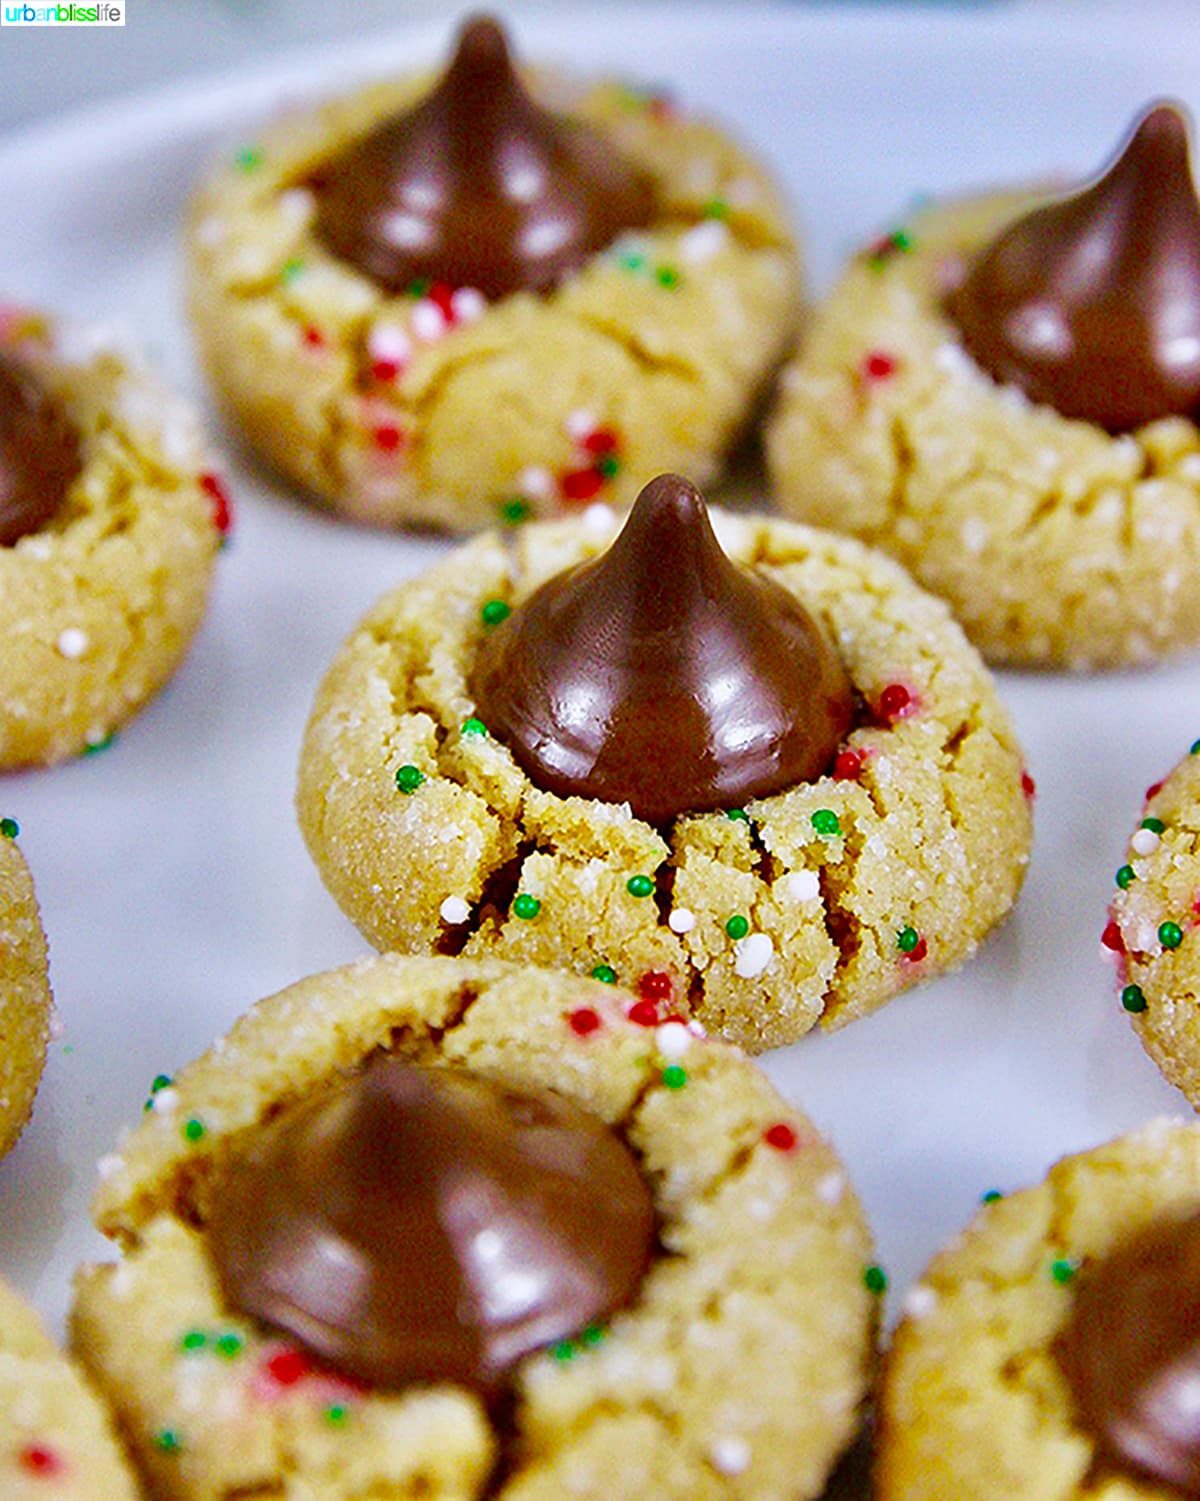
Add fun sprinkles(like in these photos) before baking the cookies for a festive Christmas spin.
⏲Kitchen tools and equipment
You simply need a few kitchen tools to make these tasty classic cookies.
- Mixer – you'll need either a stand mixer or a hand mixer with large mixing bowl.
- Baking sheet – use two half sheet baking sheets
- Parchment paper – line your baking sheets with parchment paper to keep them from sticking to the pan and making them easier to release from the pan.
More Christmas dessert recipes
- Chocolate Dipped Peppermint Shortbread Cookies
- Red Velvet Crinkle Cookies
- The Best Soft Gingerbread Cookies
- Gingerbread Cake Roll
Did you make this recipe? Don't forget to leave a 5-Star 🌟🌟🌟🌟🌟 rating in the recipe card, and if you truly loved it, please leave a comment further down on the page. Thank you!
Simple Peanut Butter Blossoms
By Marlynn Schotland Prep Time: 15 mins Cook Time: 10 mins Total Time: 25 mins Servings: 48 cookies A classic peanut butter chocolate cookie recipe that is great for holidays, birthdays, and after school snacks!Ingredients
- ½ cup + 1 tbsp unsalted butter, softened to room temperature
- ½ cup creamy peanut butter
- ½ cup granulated sugar
- ½ cup packed brown sugar
- 1 teaspoon baking powder
- ¼ teaspoon baking soda
- 1 large egg
- 2 tablespoons 1% milk
- 1 teaspoon vanilla extract
- 2 cups all-purpose flour
- ½ cup granulated sugar
- milk chocolate candy kisses, or dairy-free chocolate chips
Instructions
- Preheat oven to 350°F degrees.
- Place 1/2 cup granulated sugar in a medium bowl and set aside.
- In a kitchen stand mixer, beat butter and peanut butter on low speed for at least 1 full minute, until smooth and combined.
- Add 1/2 cup of granulated sugar, brown sugar, baking powder, and baking soda. Mix on low until all ingredients are fully combined.
- Slowly add in the egg, milk, and vanilla, until combined, scraping the sides of the bowl occasionally.
- Gradually add in the flour and beat until combined.
- Shape the dough into little balls (about 1-inch each). Roll each ball into the bowl of sugar that you've set aside, until the entire dough is covered. Place the balls about 2 inches apart from each other on an ungreased
- Bake at 350°F degrees for about 9-12 minutes. Remove once the bottoms are simply slightly browned.
- As soon as they are out of the oven, immediately press a milk chocolate candy kiss or 2-3 chocolate chips in the center of each cookie. Then using a wide spatula, gently lift each cookie and transfer to a wire rack to cool.
Notes
Makes: 3 to 4 dozen cookies Dairy-Free variation: use almond milk instead of 2% milk, dairy-free butter instead of regular butter, and dairy-free chocolate chips or chunks instead of milk chocolate kisses. Gluten-free variation: use gluten-free flourNutrition
Calories: 81 kcal, Carbohydrates: 11 g, Protein: 1 g, Fat: 4 g, Saturated Fat: 2 g, Polyunsaturated Fat: 0.5 g, Monounsaturated Fat: 1 g, Trans Fat: 0.1 g, Cholesterol: 9 mg, Sodium: 29 mg, Potassium: 27 mg, Fiber: 0.3 g, Sugar: 7 g, Vitamin A: 75 IU, Calcium: 11 mg, Iron: 0.3 mgNutrition information is automatically calculated, so should only be used as an approximation.
This post was originally published February 13, 2015. It was updated and republished on December 23, 2020 and then again on Monday, November 8, 2021, with new photos, more helpful details in the recipe, and more helpful baking tips.