
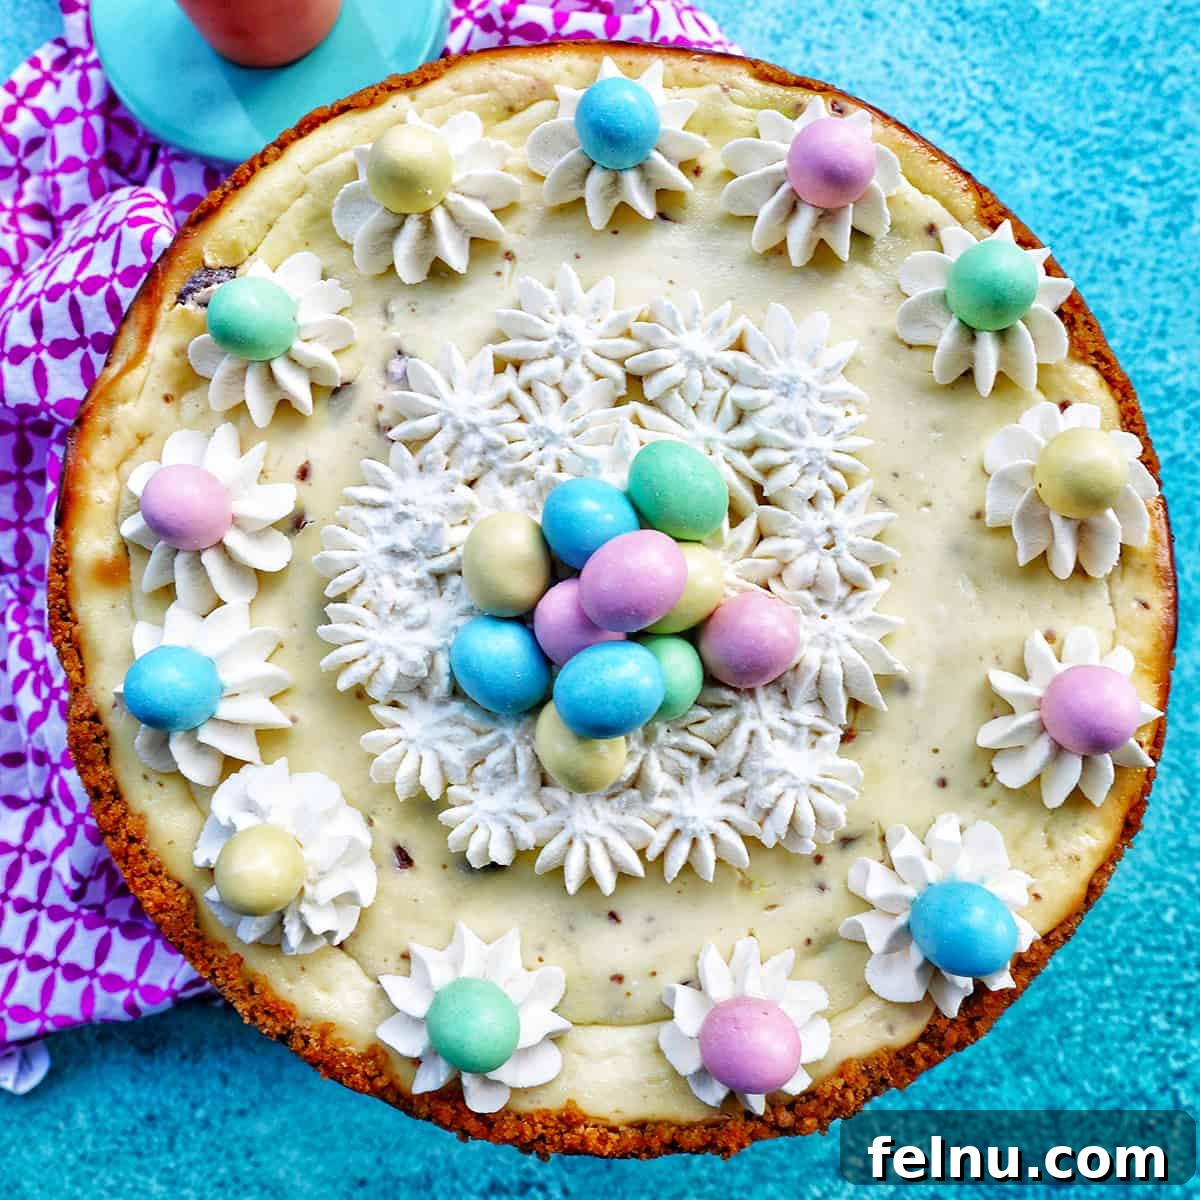
Easter Egg Cheesecake: The Ultimate Spring Dessert Recipe
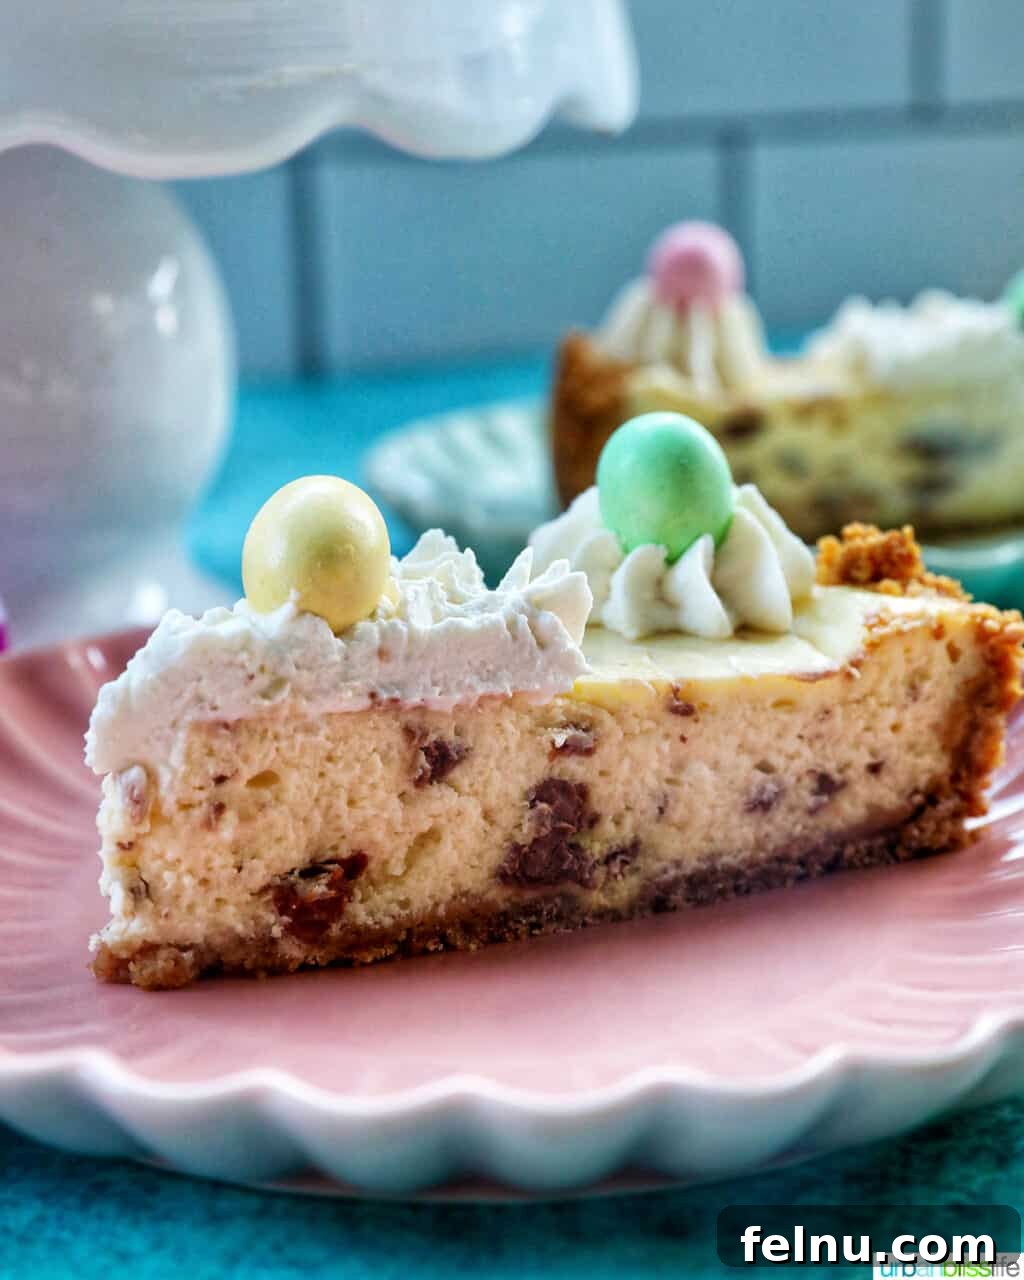
Looking for a dessert that will steal the show this Easter? This Easter Egg Cheesecake is the answer! It’s a stunning creation with layers of buttery cookie crust, unbelievably creamy cheesecake, and a generous topping of colorful mini chocolate eggs. While it looks like a professional masterpiece, this recipe is surprisingly easy to make in your own kitchen.
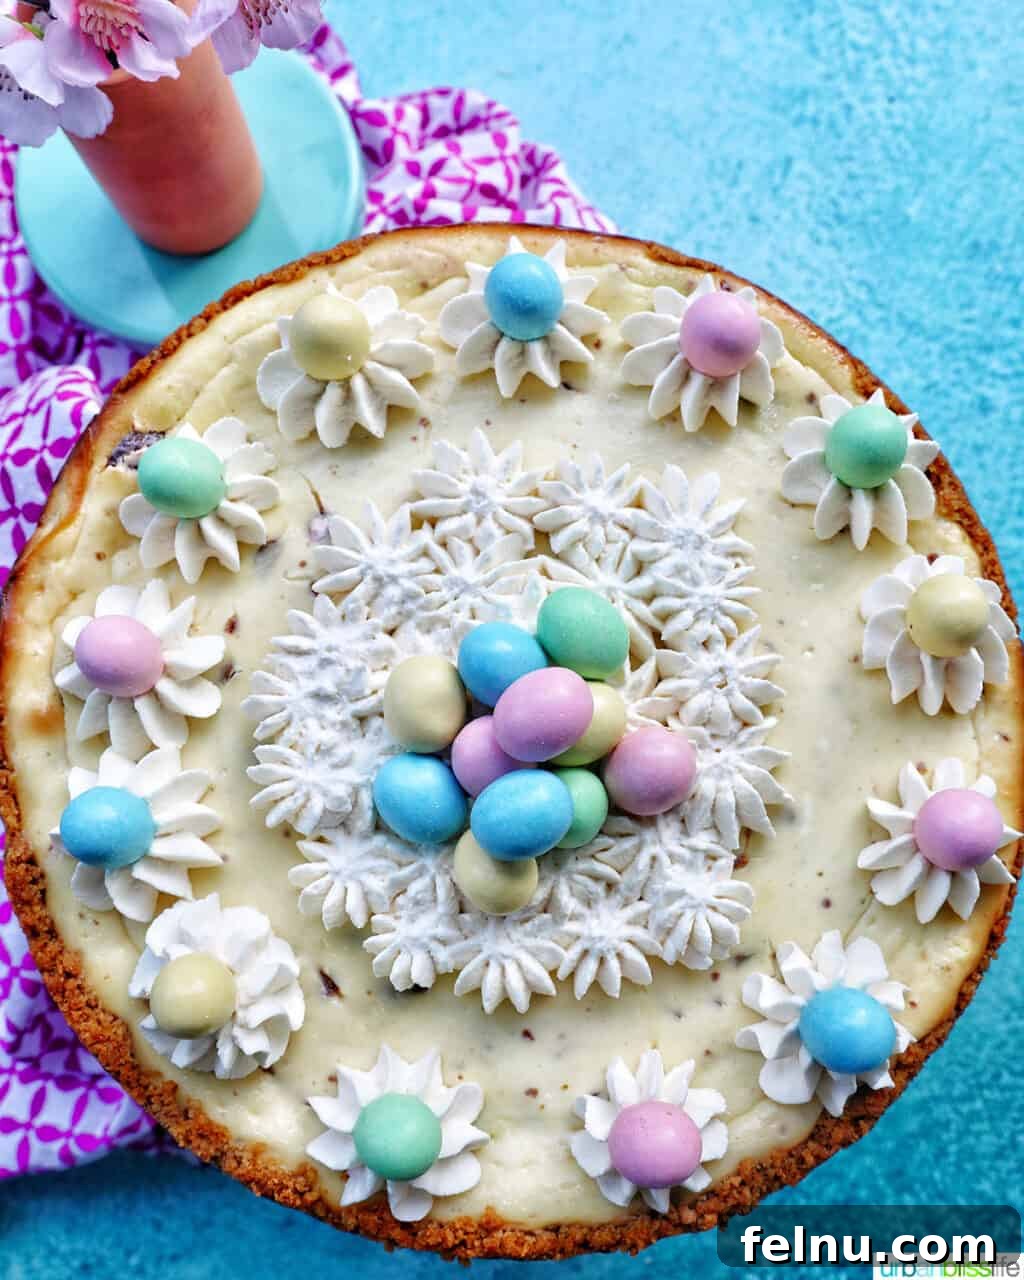
Spring is the perfect time to indulge in baking! I personally adore creating vibrant, seasonal desserts, and this cheesecake is the star of the show. It’s the ideal centerpiece for your Easter celebration.
Don’t let the idea of making a cheesecake intimidate you. This is genuinely one of the most straightforward cheesecake recipes you’ll find. It’s perfect for bakers of all skill levels, from complete beginners to seasoned pros.
Why This Easter Egg Cheesecake Recipe Works
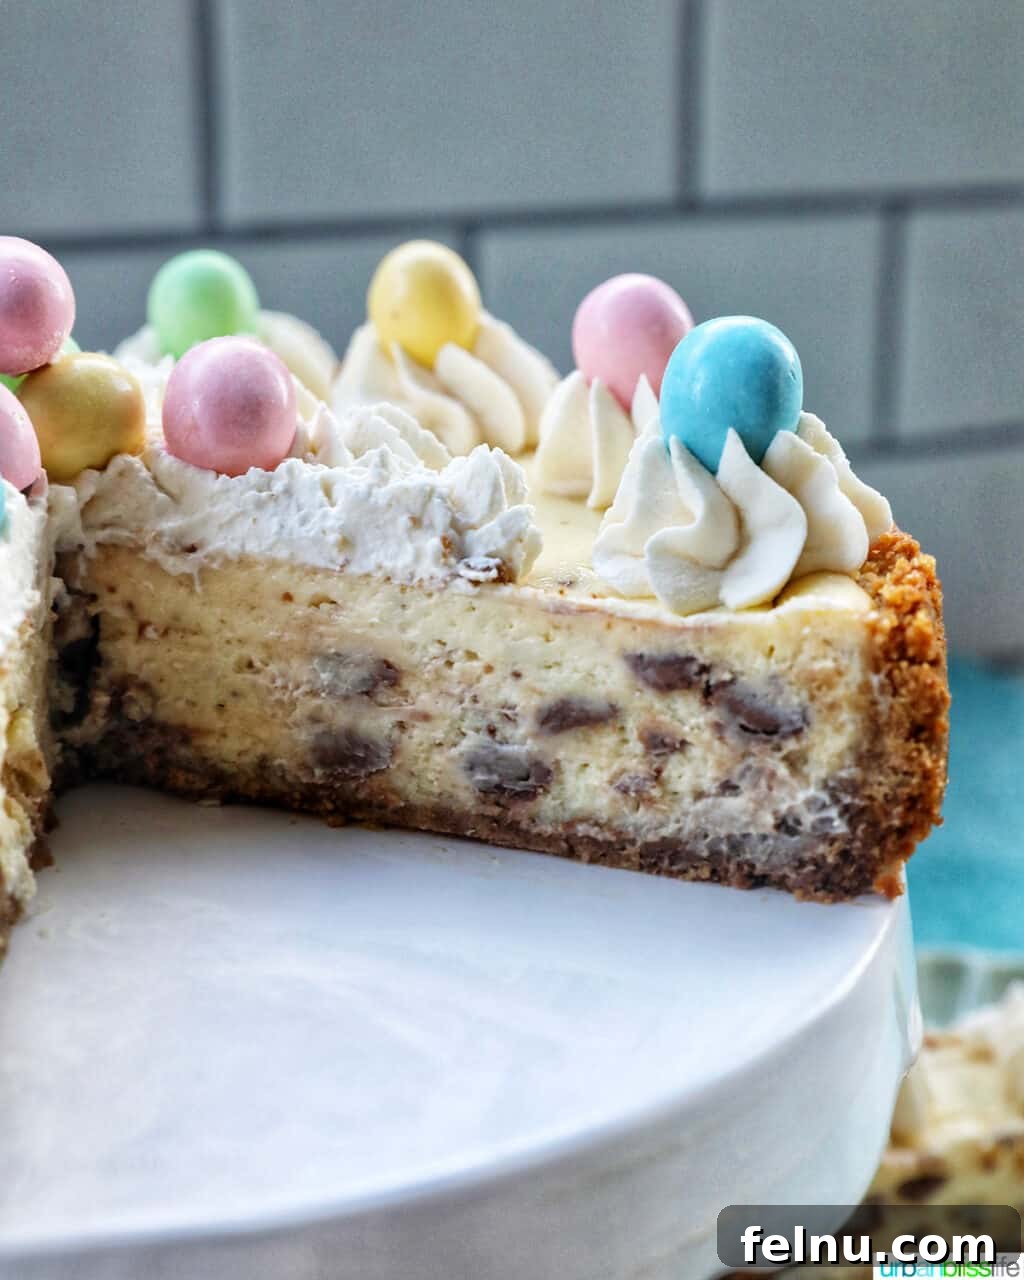
This Easter Egg Cheesecake isn’t just pretty; it’s incredibly delicious. Here’s why it’s a winner:
- Simple Ingredients: This recipe uses common baking ingredients you can easily find at your local grocery store or online. No need to hunt down obscure items!
- Easy to Follow: Cheesecake recipes might seem complicated, but they all break down into three core steps. This recipe guides you through each step with clear, concise instructions. It’s perfect whether you’re a first-time cheesecake baker or a seasoned veteran.
- Incredibly Delicious: The combination of the crisp cookie crust, the rich and creamy cheesecake filling, and the delightful burst of chocolate from the mini eggs is simply irresistible. Every bite is a flavor explosion!
- Perfect Make-Ahead Dessert: For optimal flavor and texture, this cheesecake is best made the day before you plan to serve it. However, you can prepare the crust and filling up to two days in advance and store them in the refrigerator. You can even freeze the crust and filling for up to two months!
Ingredient Spotlight
Let’s take a closer look at the key ingredients that make this cheesecake so special. I’ve divided them into the three main components of the recipe for easy reference.
For the Cookie Crust
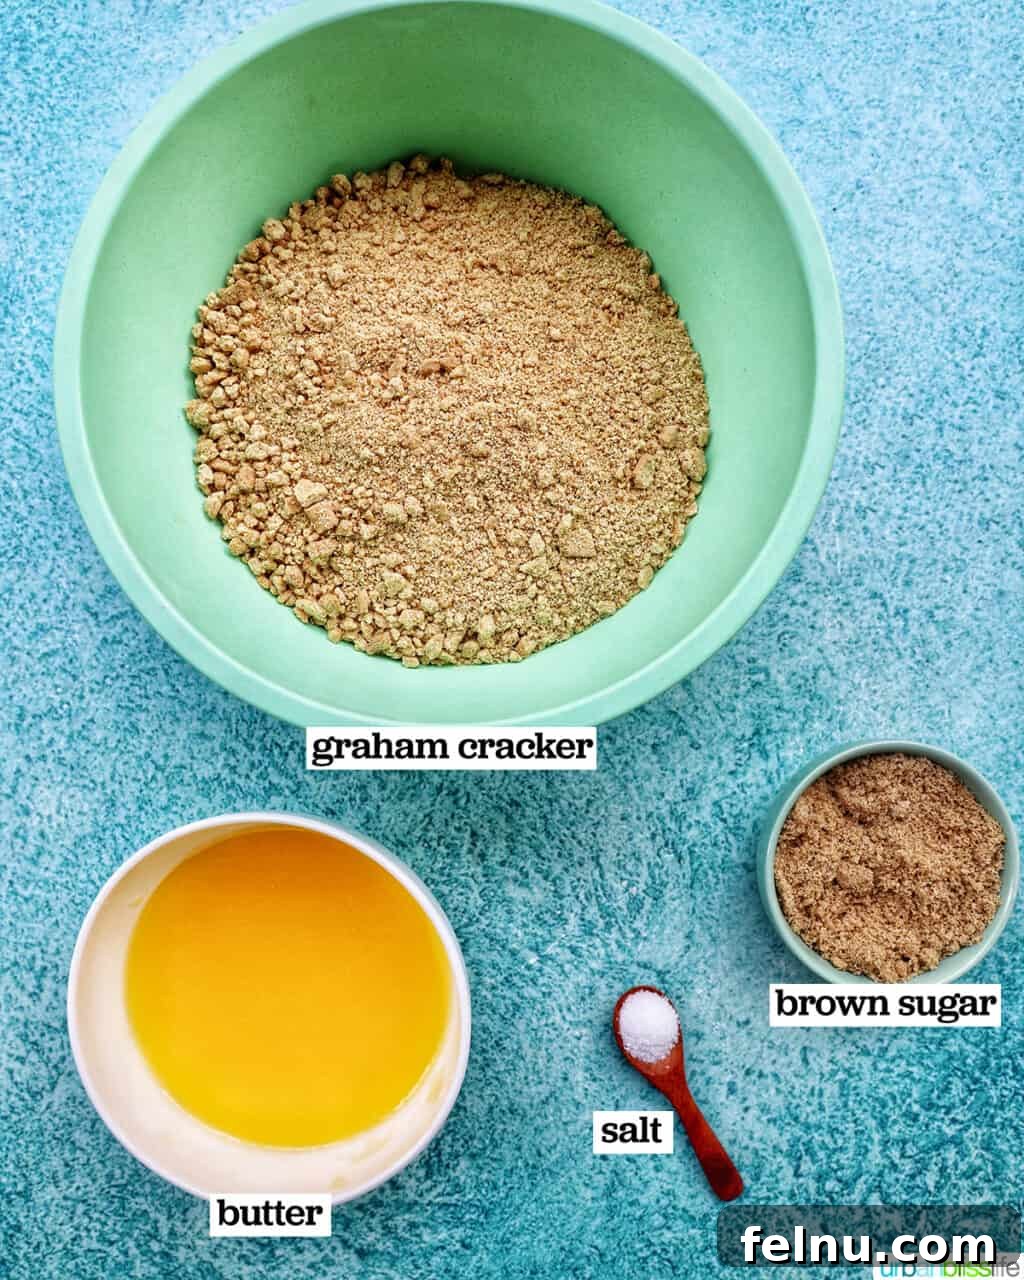
- Graham Crackers: A classic graham cracker crust provides the perfect buttery, slightly sweet base for this dessert. You’ll need about 18 graham cracker sheets (two sleeves). Crush them into fine crumbs using a rolling pin in a zip-top bag or a food processor.
- Butter: Use one stick (1/2 cup) of unsalted melted butter to bind the crust together. Allow the melted butter to cool slightly before mixing it with the other ingredients.
- Sugar: I prefer the depth of flavor that brown sugar adds to the cookie crust, but you can easily substitute granulated sugar if you prefer a lighter sweetness.
For the Cheesecake Filling
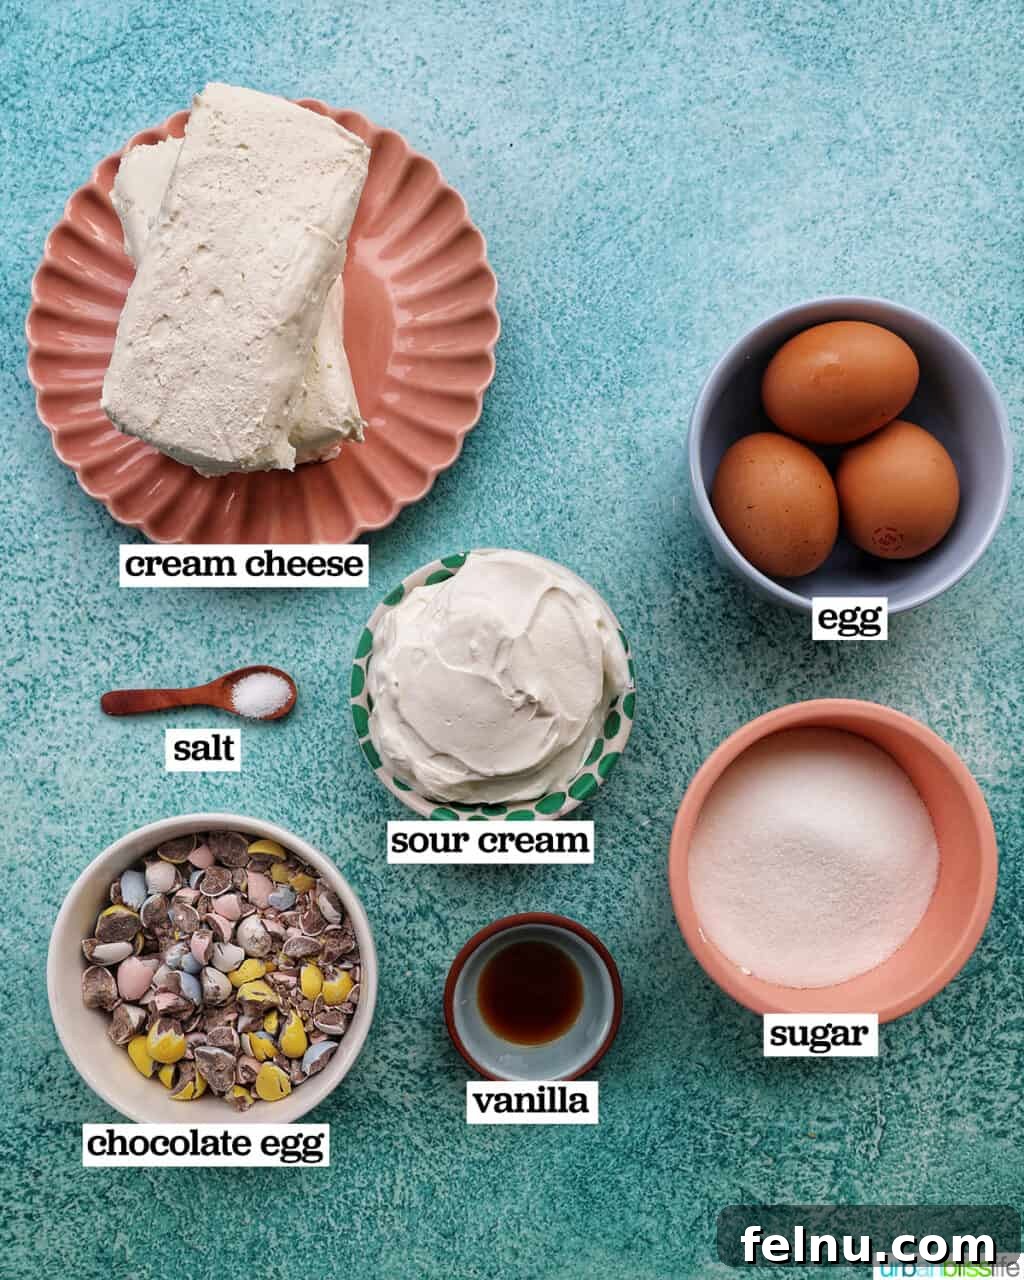
- Cream Cheese: This is the star of the cheesecake! Be sure to take your three blocks (24 ounces) of cream cheese out of the refrigerator about an hour before you start baking. Softened cream cheese will blend smoothly, preventing lumps in your filling.
- Eggs: Like the cream cheese, let your three eggs come to room temperature. This will help them incorporate evenly into the batter, resulting in a smoother cheesecake.
- Sour Cream: Sour cream adds tanginess and moisture to the cheesecake filling. To ensure a smooth consistency, take the sour cream out of the refrigerator about 30 minutes before you begin baking.
- Mini Chocolate Eggs: The iconic Easter candy! You can find mini chocolate eggs at most grocery stores around Easter. Cadbury mini eggs and Hershey mini eggs are both excellent choices. Roughly chop them for the perfect texture and distribution throughout the filling.
For the Whipped Topping
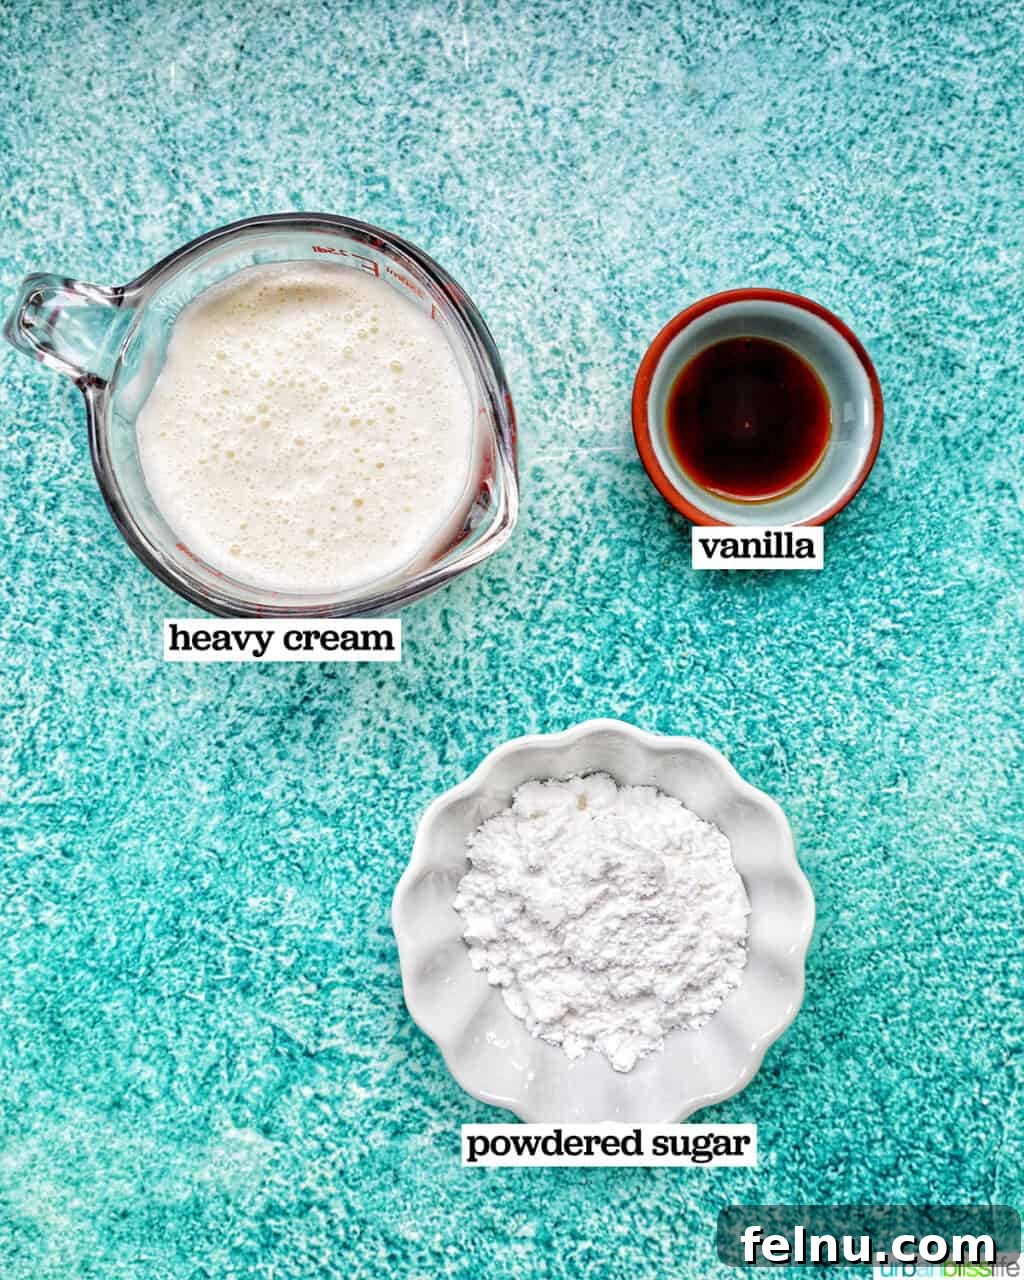
- Heavy Cream: It’s crucial that your heavy cream is very cold for optimal whipping. Keep it refrigerated until you’re ready to make the topping.
- Powdered Sugar: I’ve provided a starting measurement, but feel free to add more powdered sugar in small increments to achieve your desired whipped cream consistency.
Step-by-Step Baking Instructions
Making this Mini Egg Cheesecake is easier than you might think. Here’s a breakdown of the process:
- Prepare the cookie crust.
- Mix the creamy cheesecake filling.
- Make the whipped topping (optional, but highly recommended!).
Here’s a visual guide to help you along the way:
Prep Work
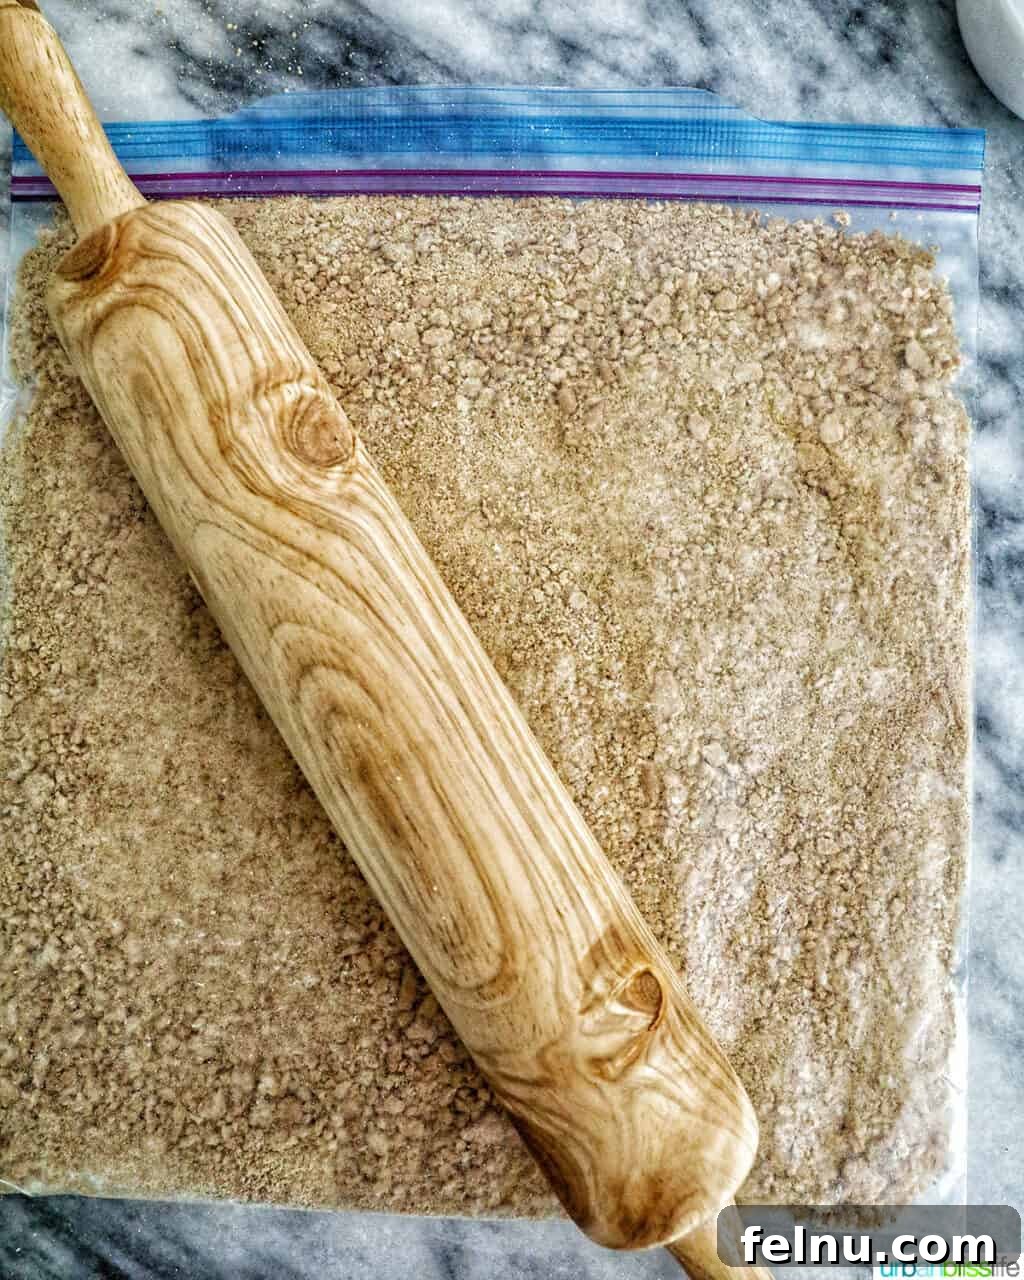
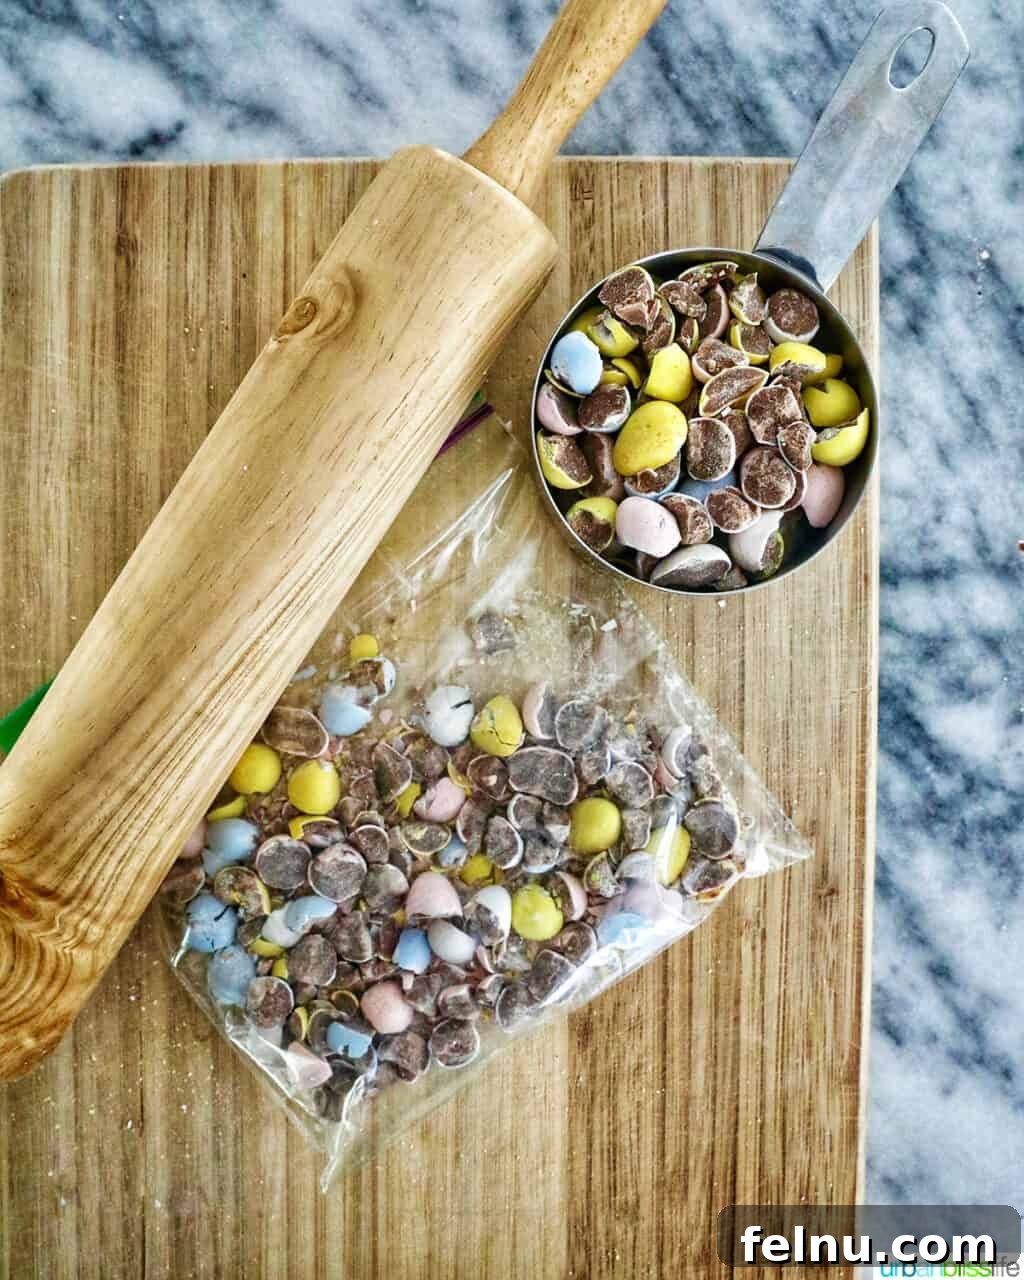
Start by crushing the graham crackers and chopping the mini chocolate eggs. For the eggs, I find that the easiest way to chop them is to place them in a large plastic bag, seal it, and gently bash them with a rolling pin. Turn the bag over and crush from each side for the best results.
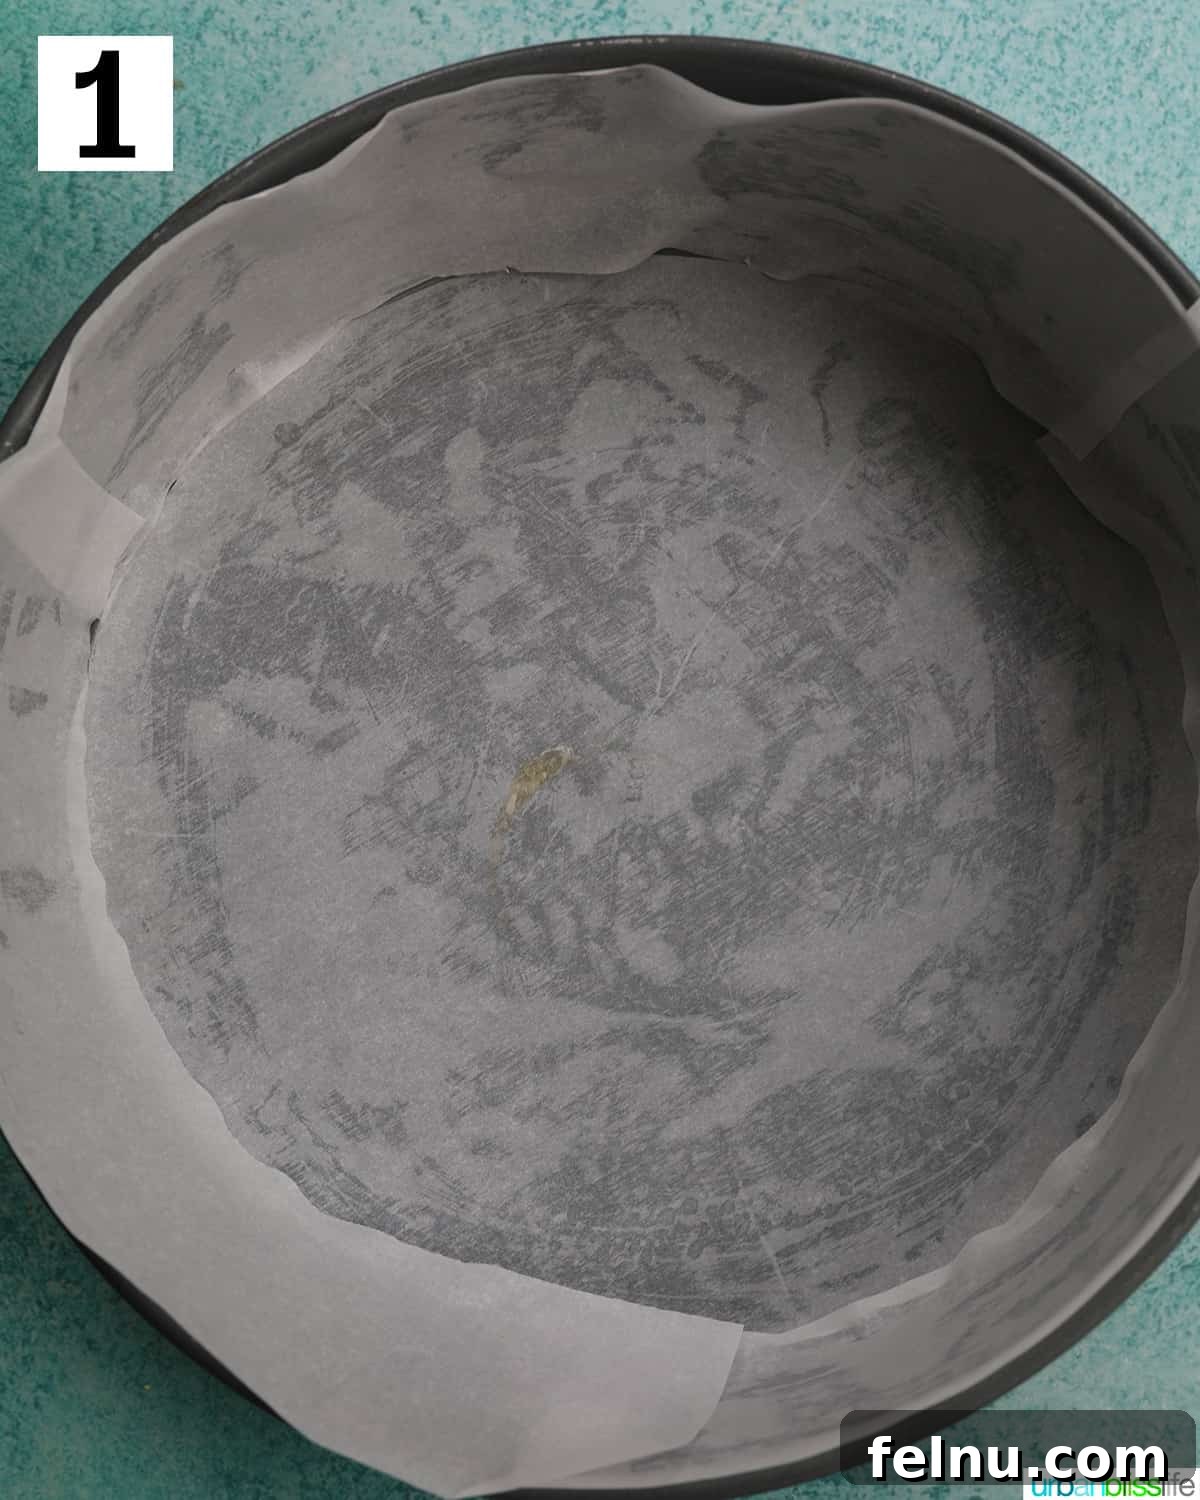
Next, lightly grease your springform pan. I also like to line it with parchment paper to ensure easy removal of the cheesecake later.
Making the Cookie Crust
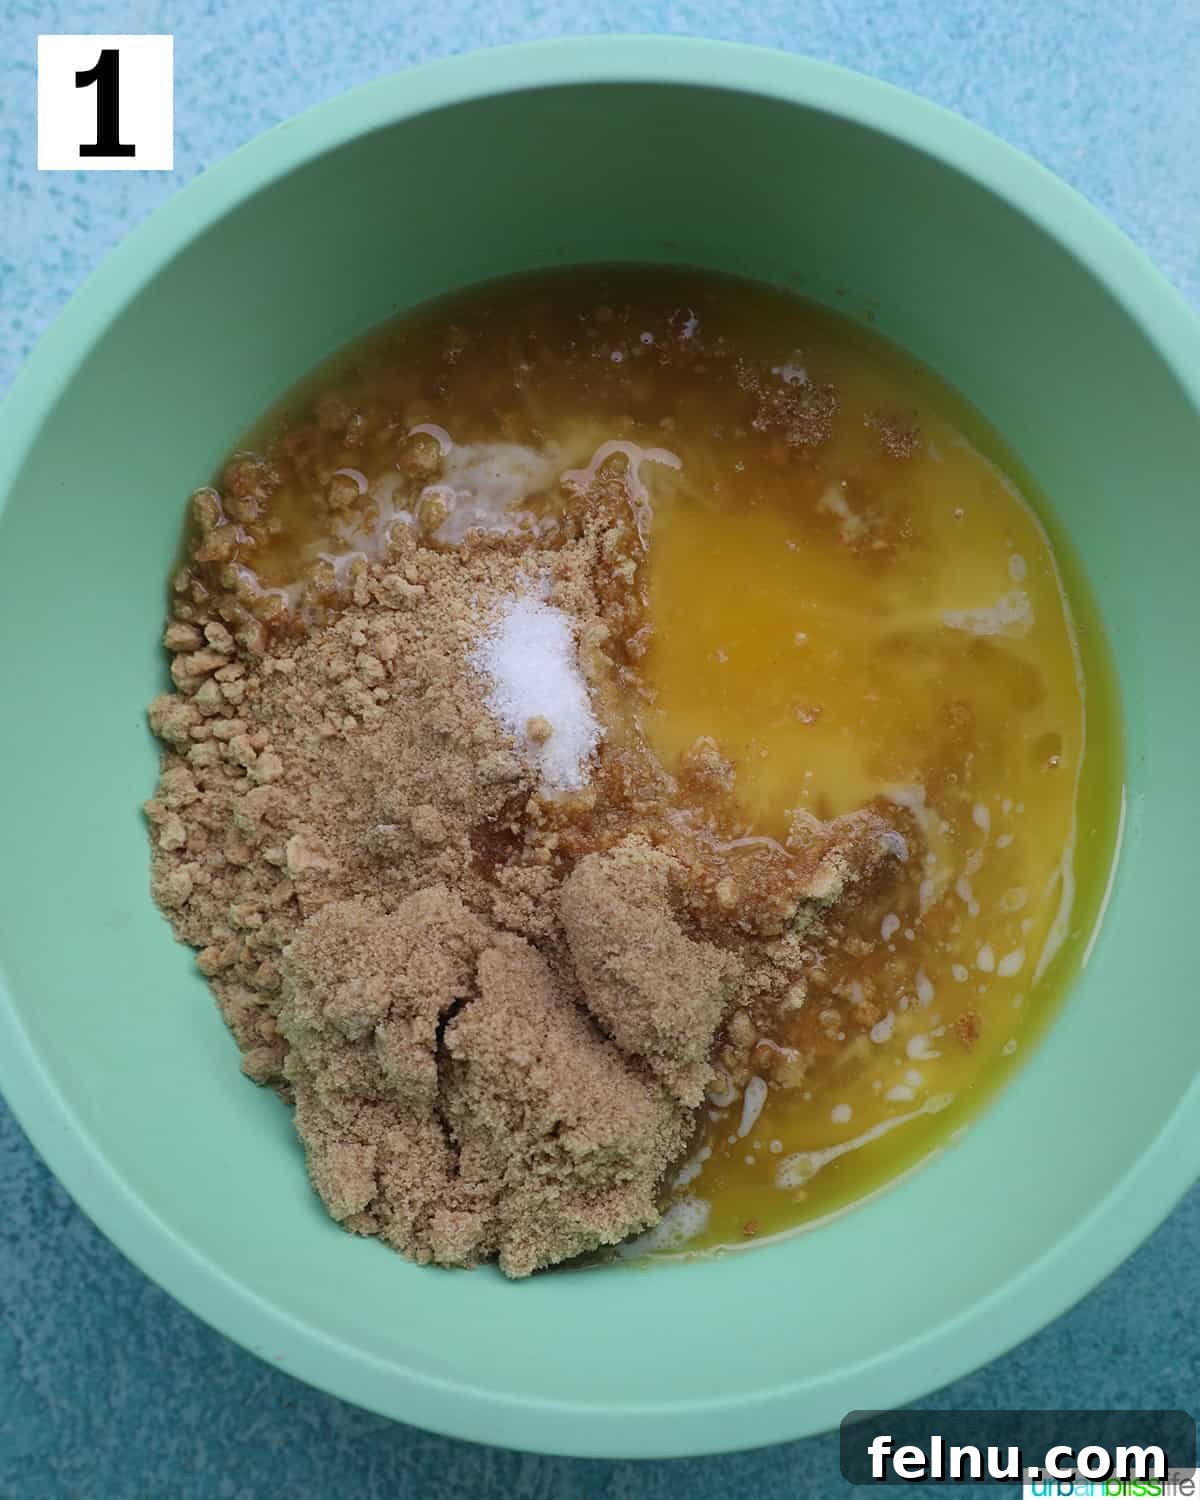
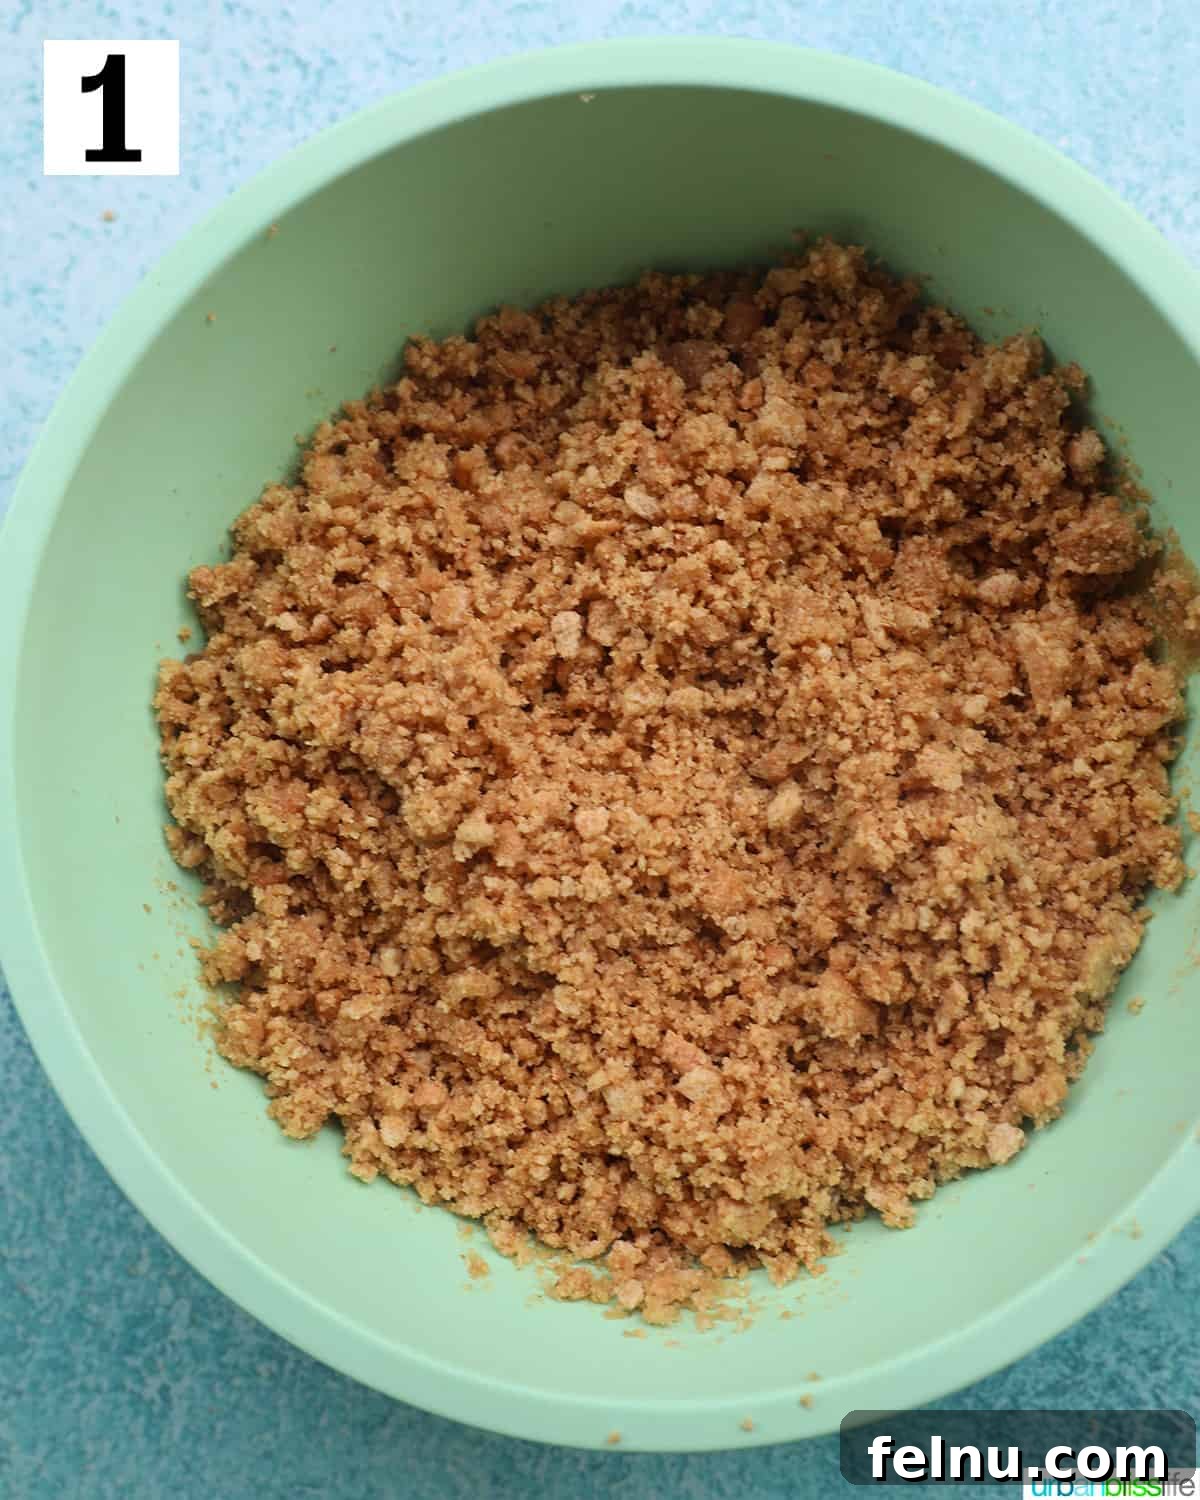
- In a large bowl, combine all of the crust ingredients and mix thoroughly.
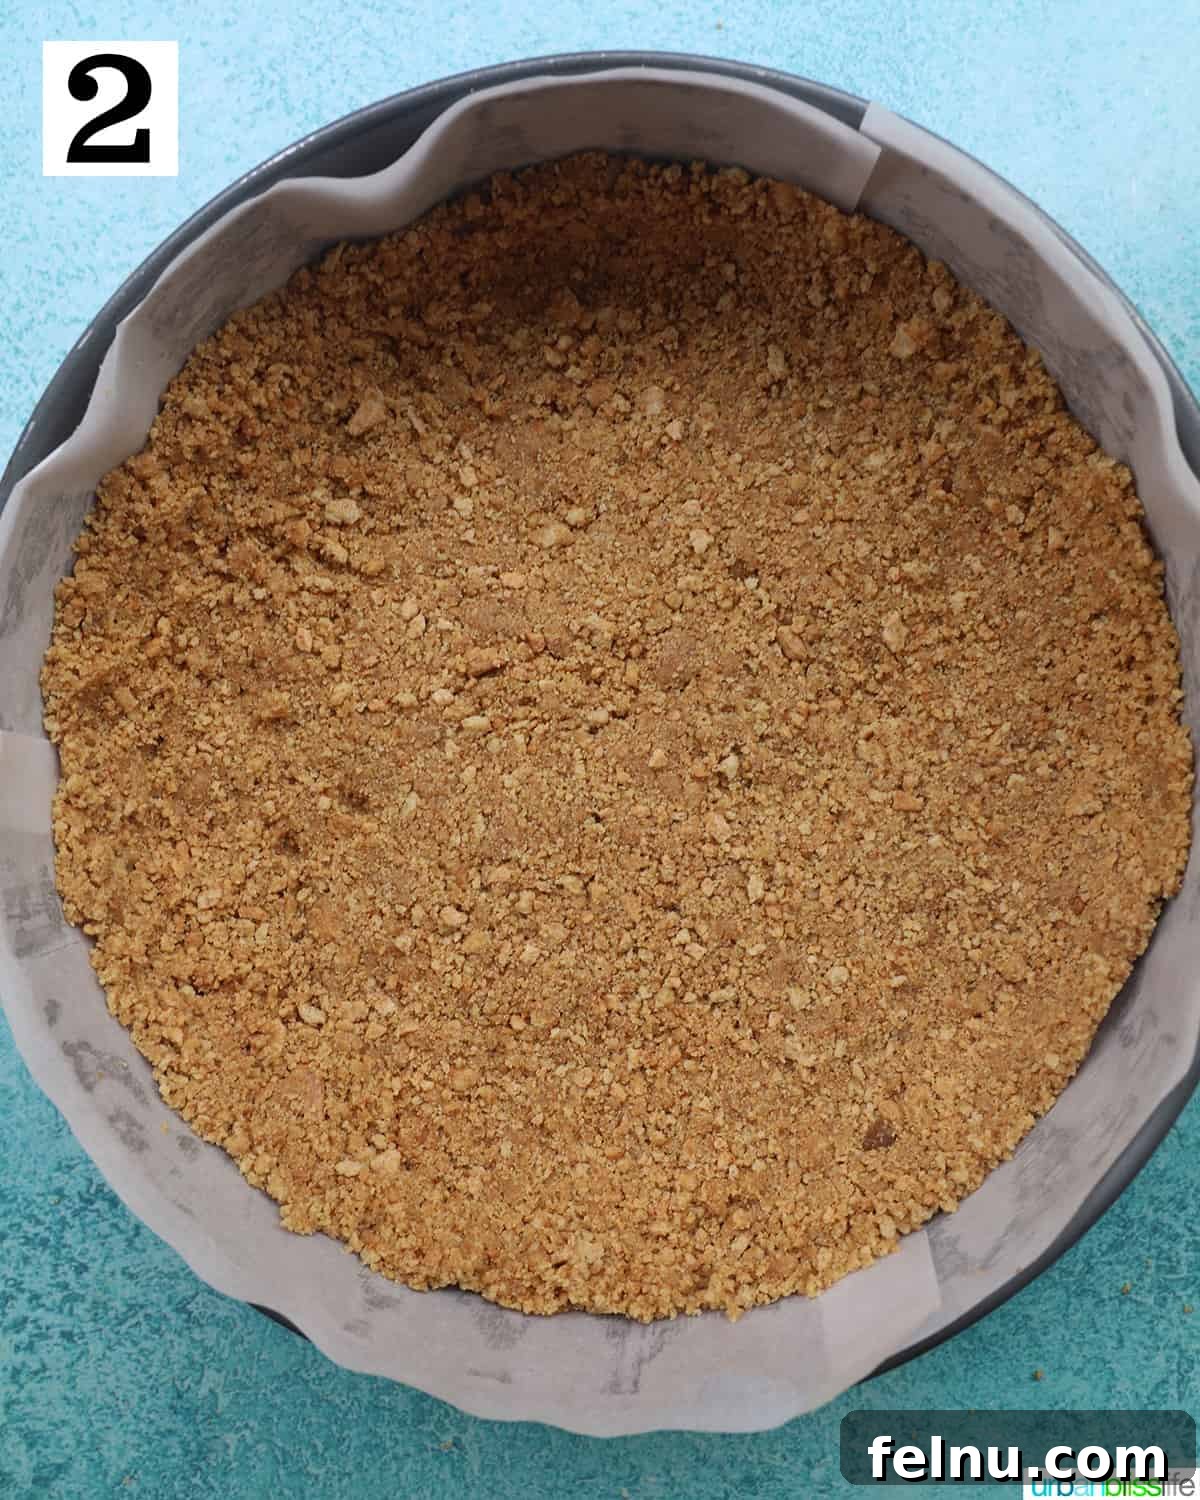
- Pour the mixture into your prepared springform pan and use your fingers to gently press the crumbs evenly across the bottom and up the sides of the pan.
- Place the pan in the freezer while you prepare the cheesecake filling. This helps the crust set.
Making the Cheesecake Filling
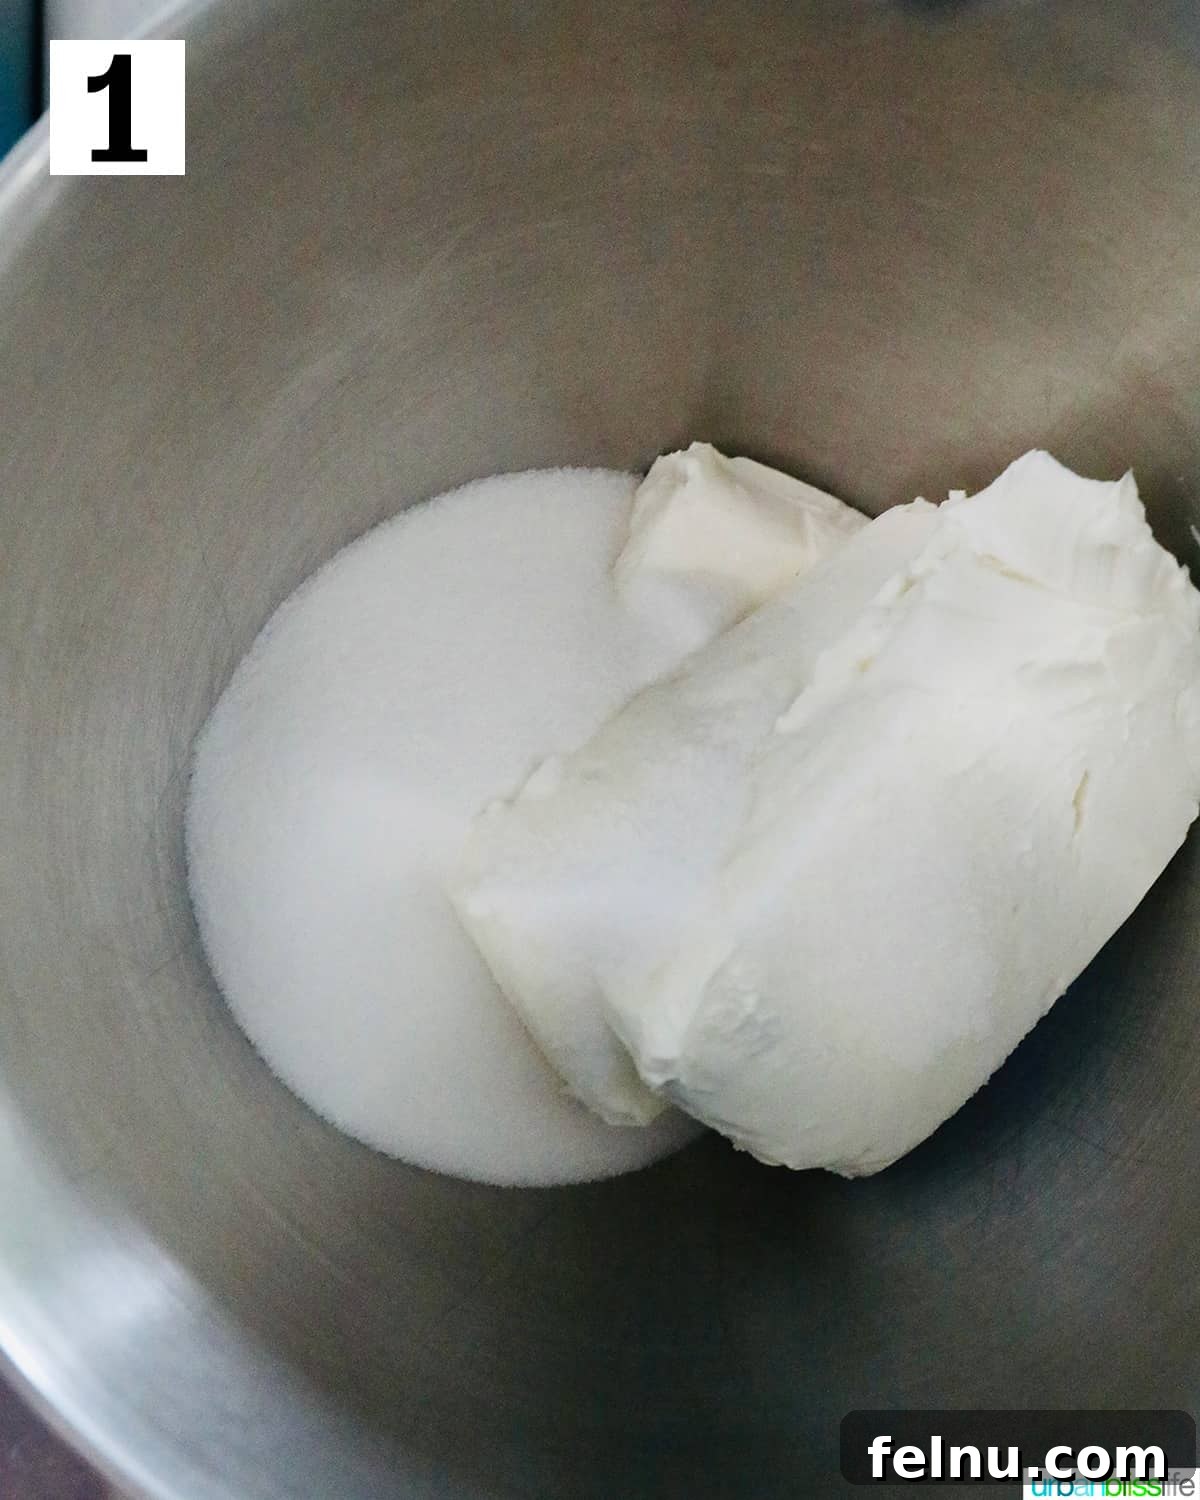
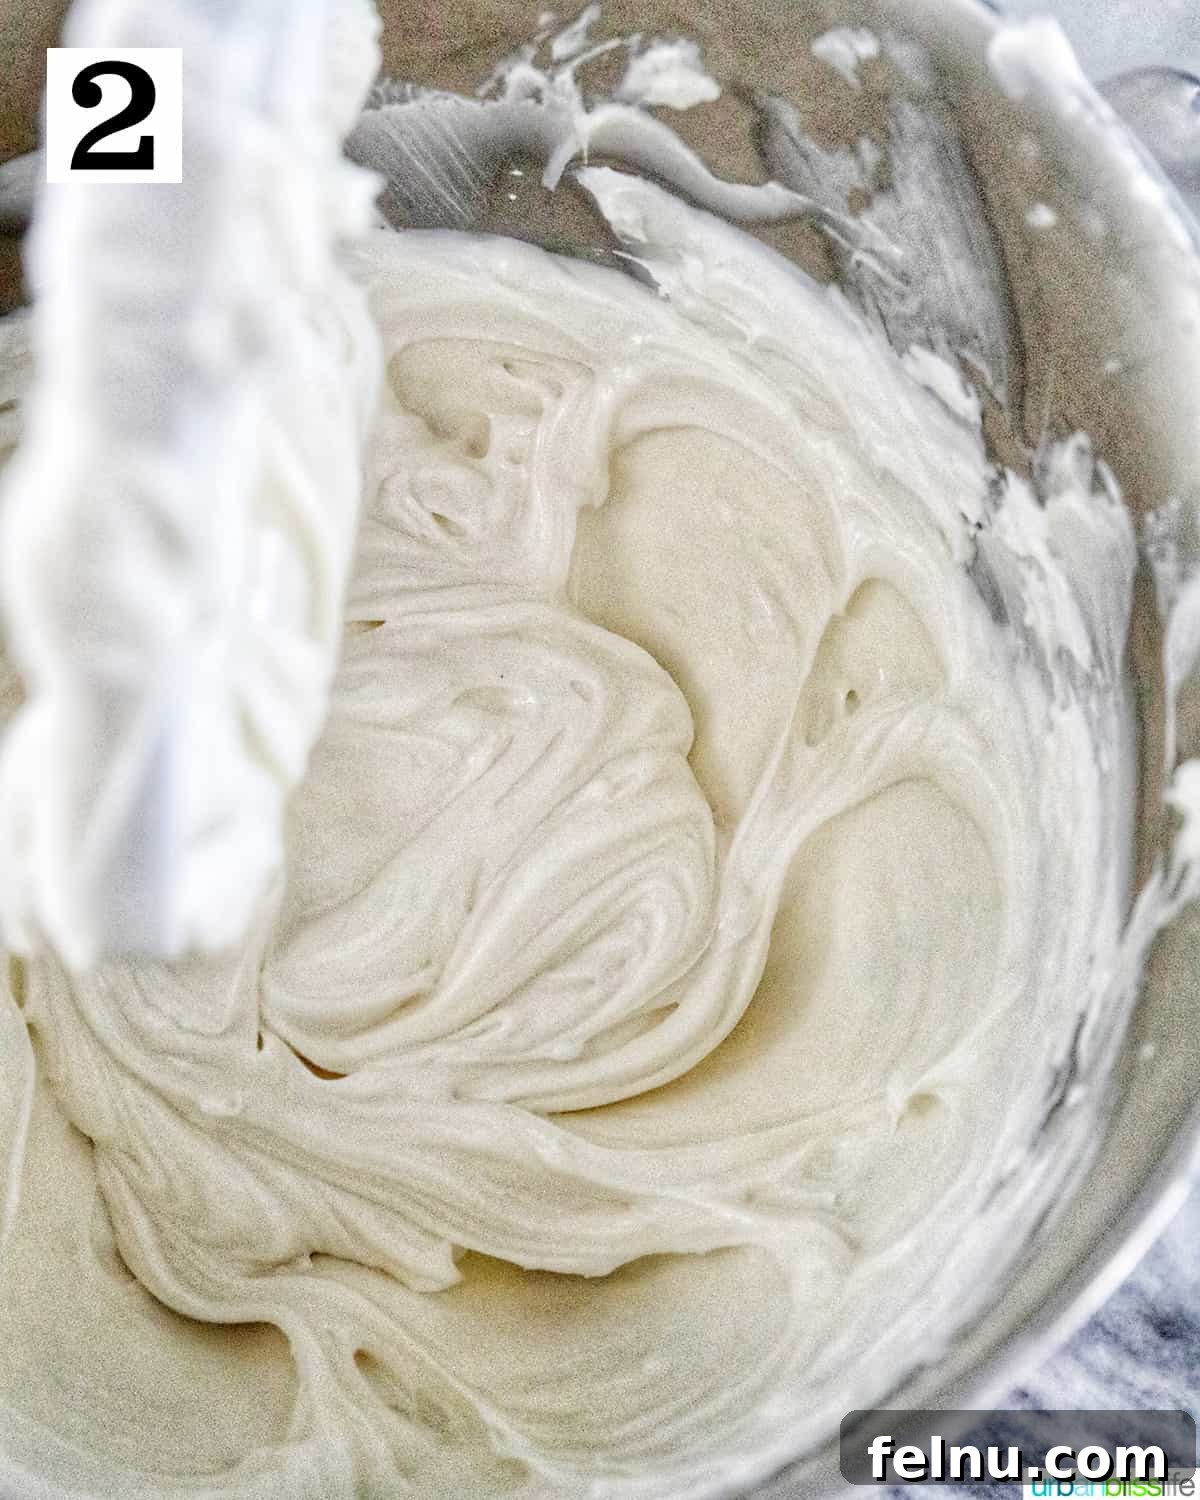
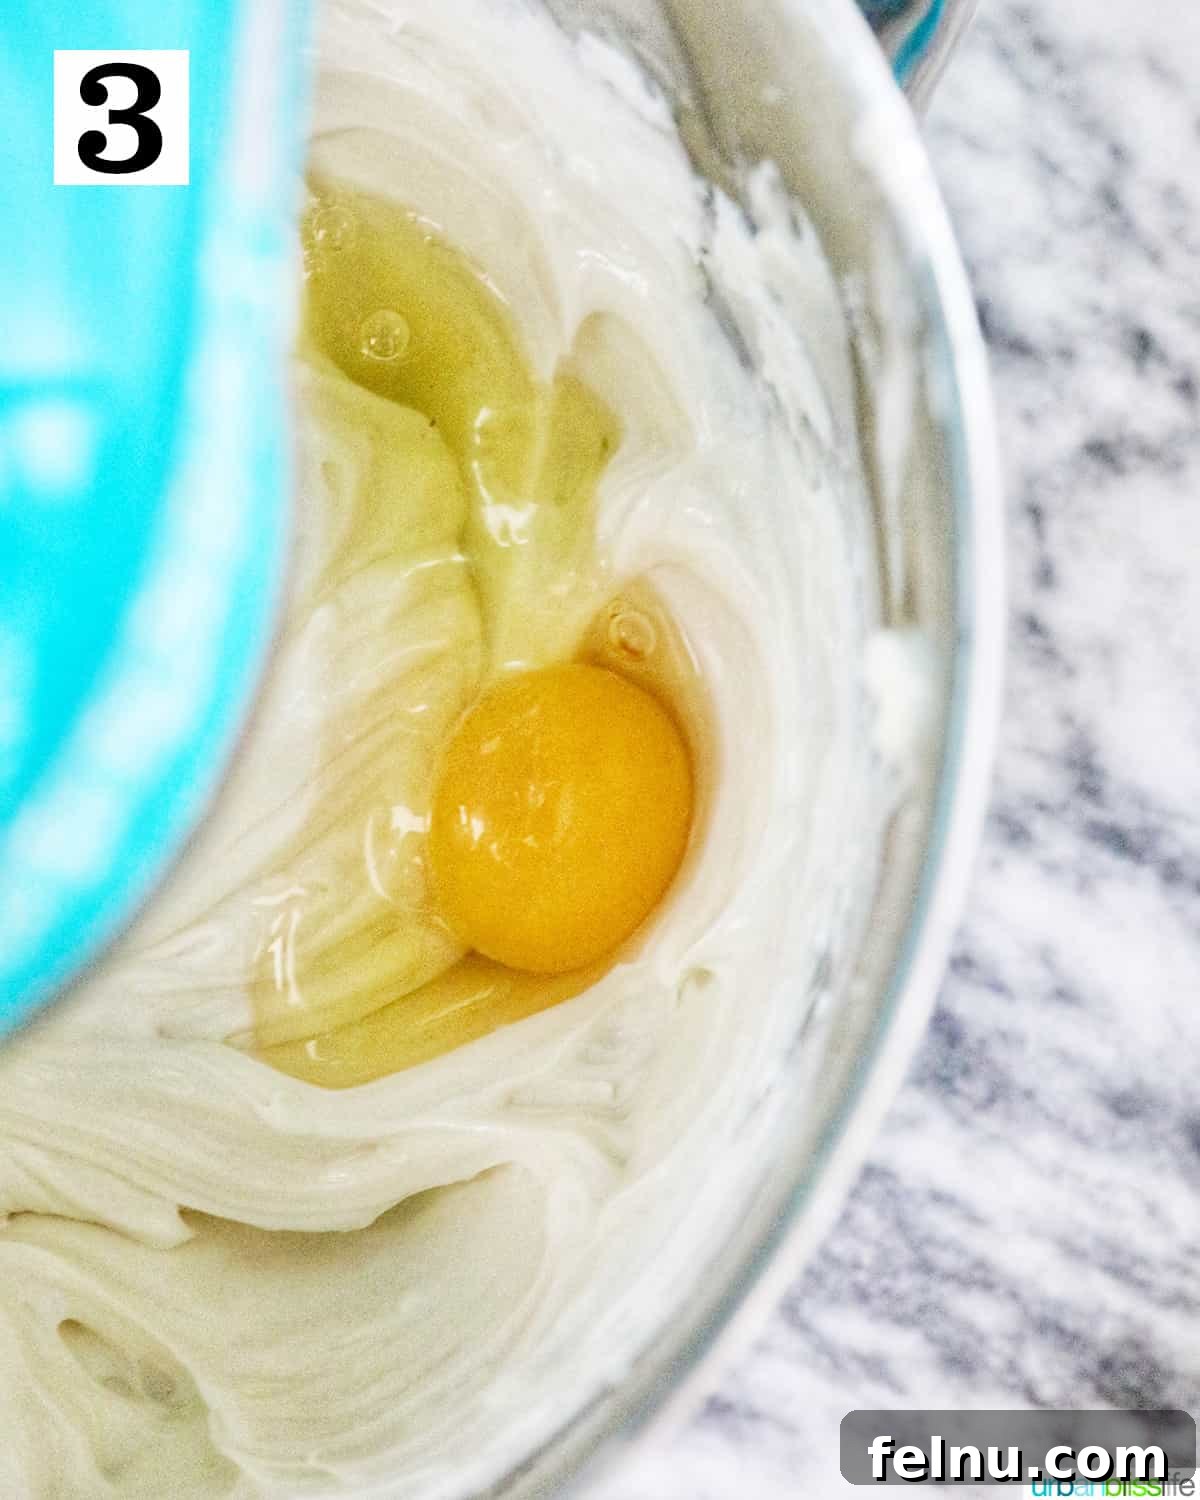
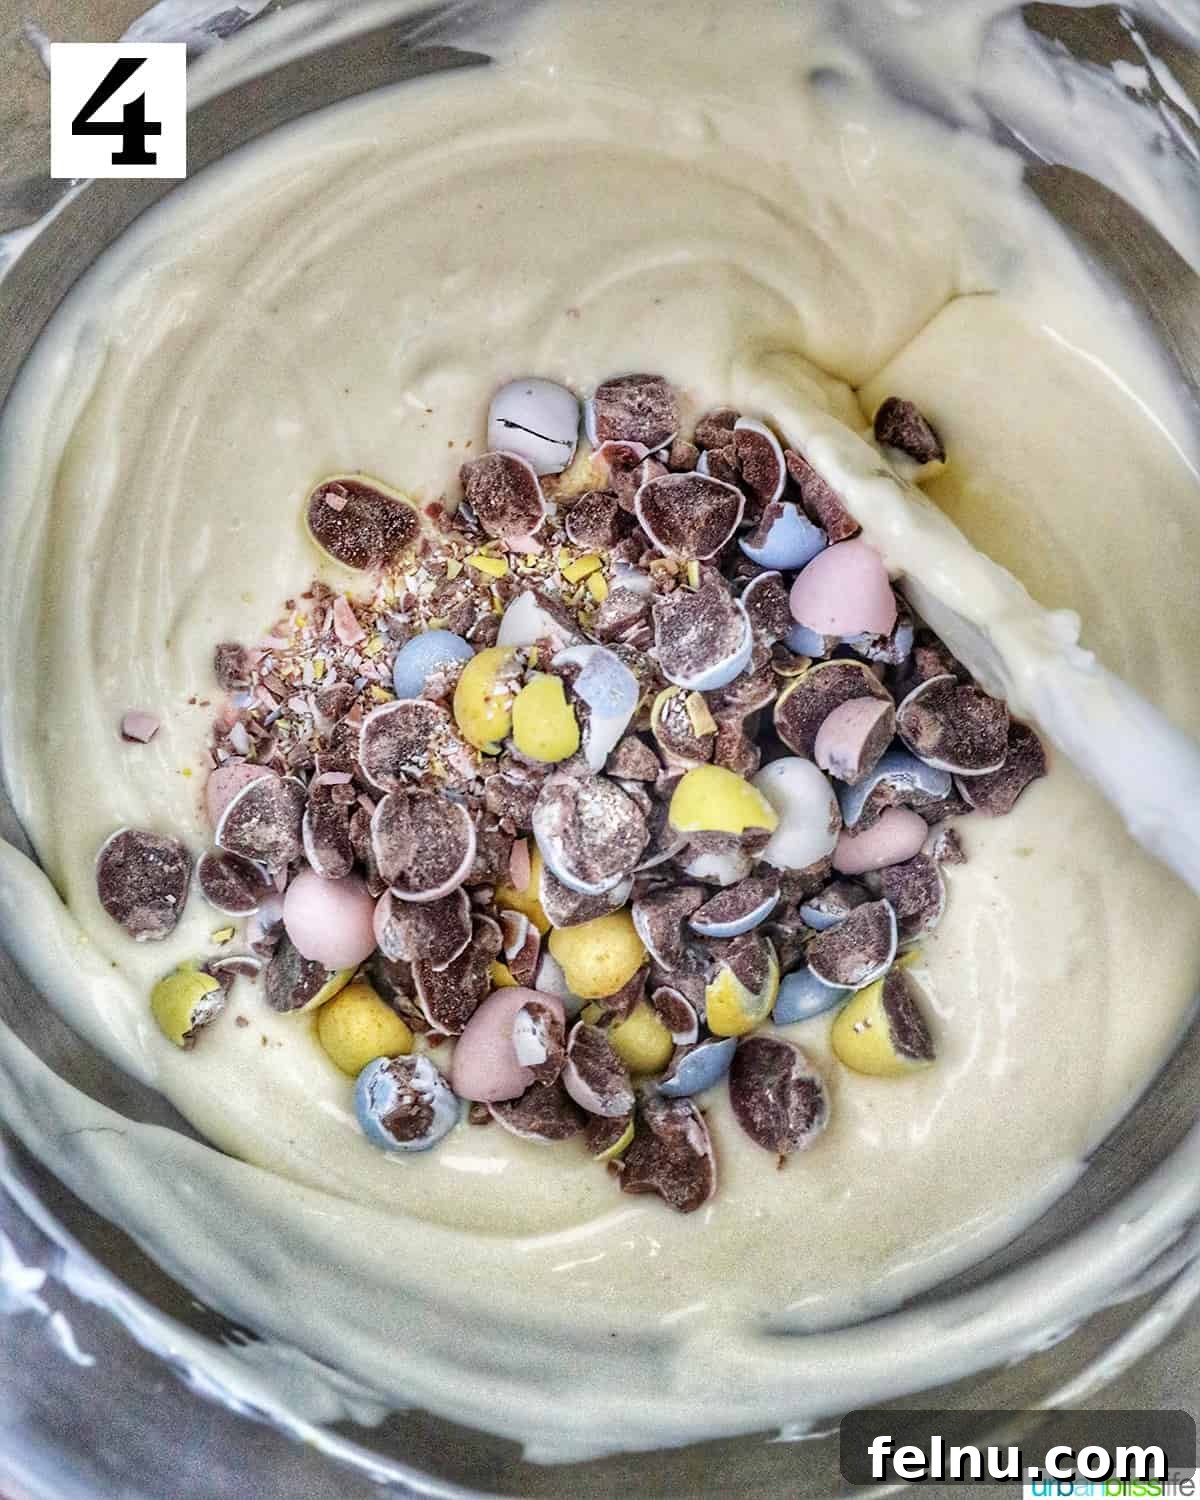
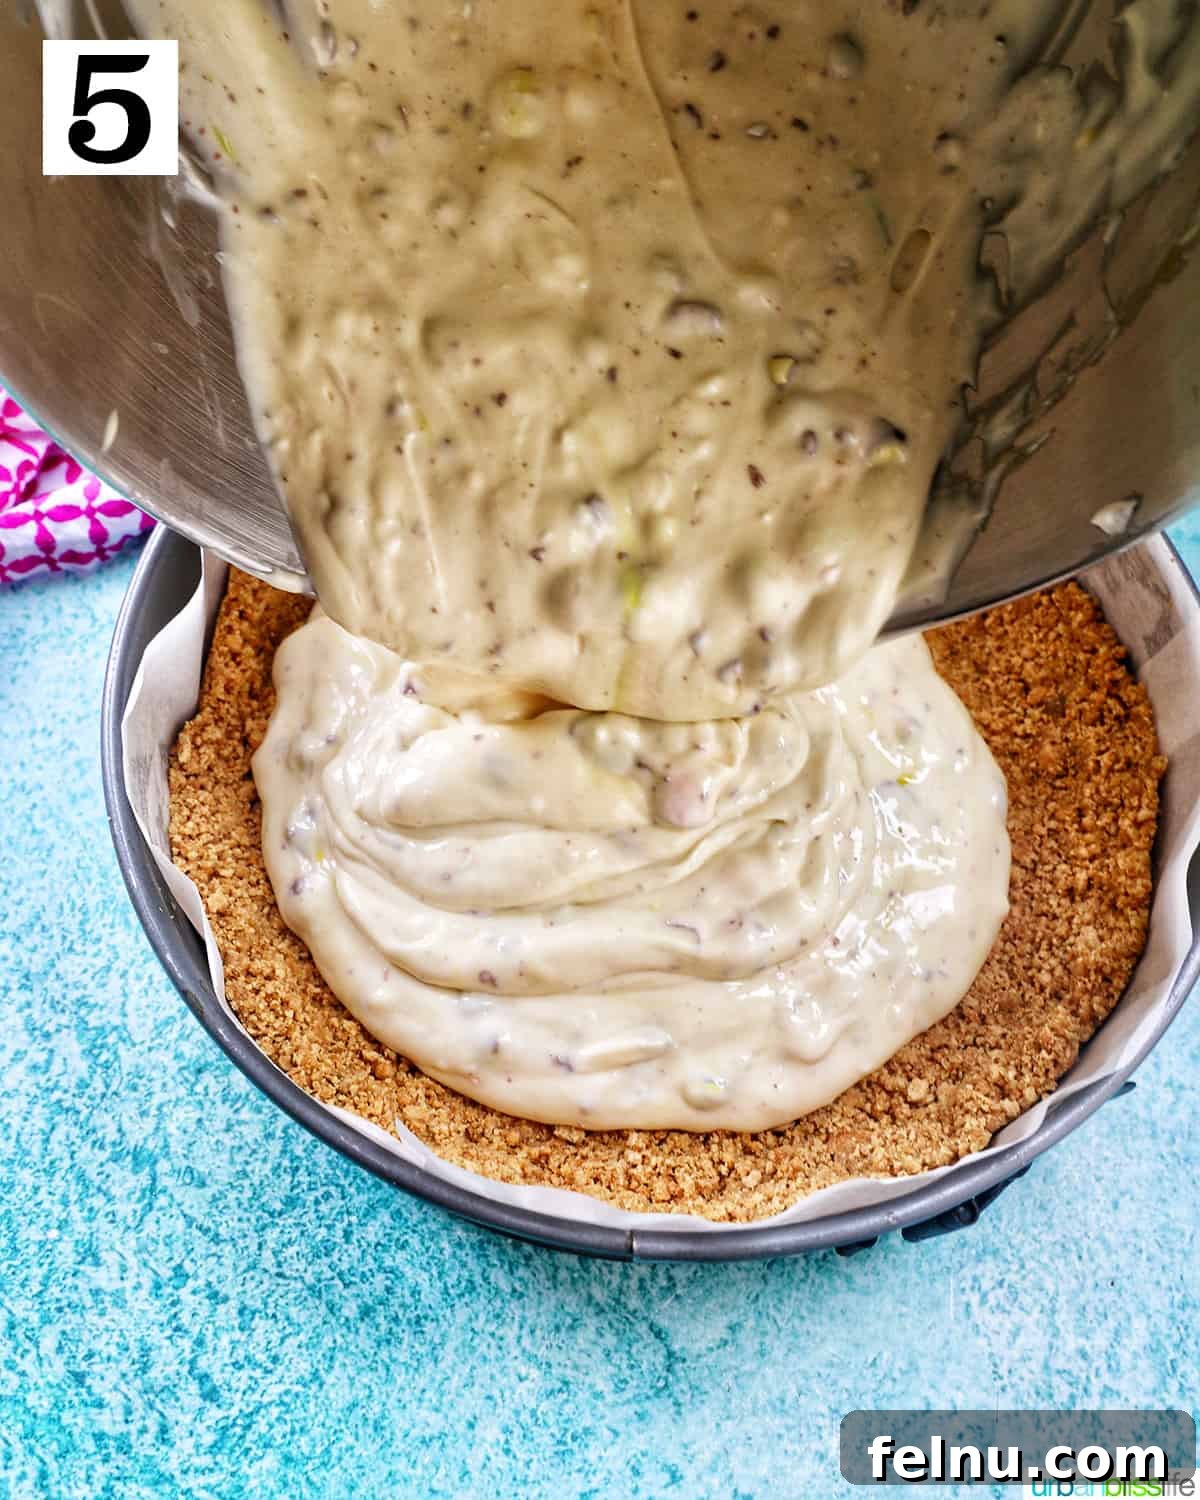
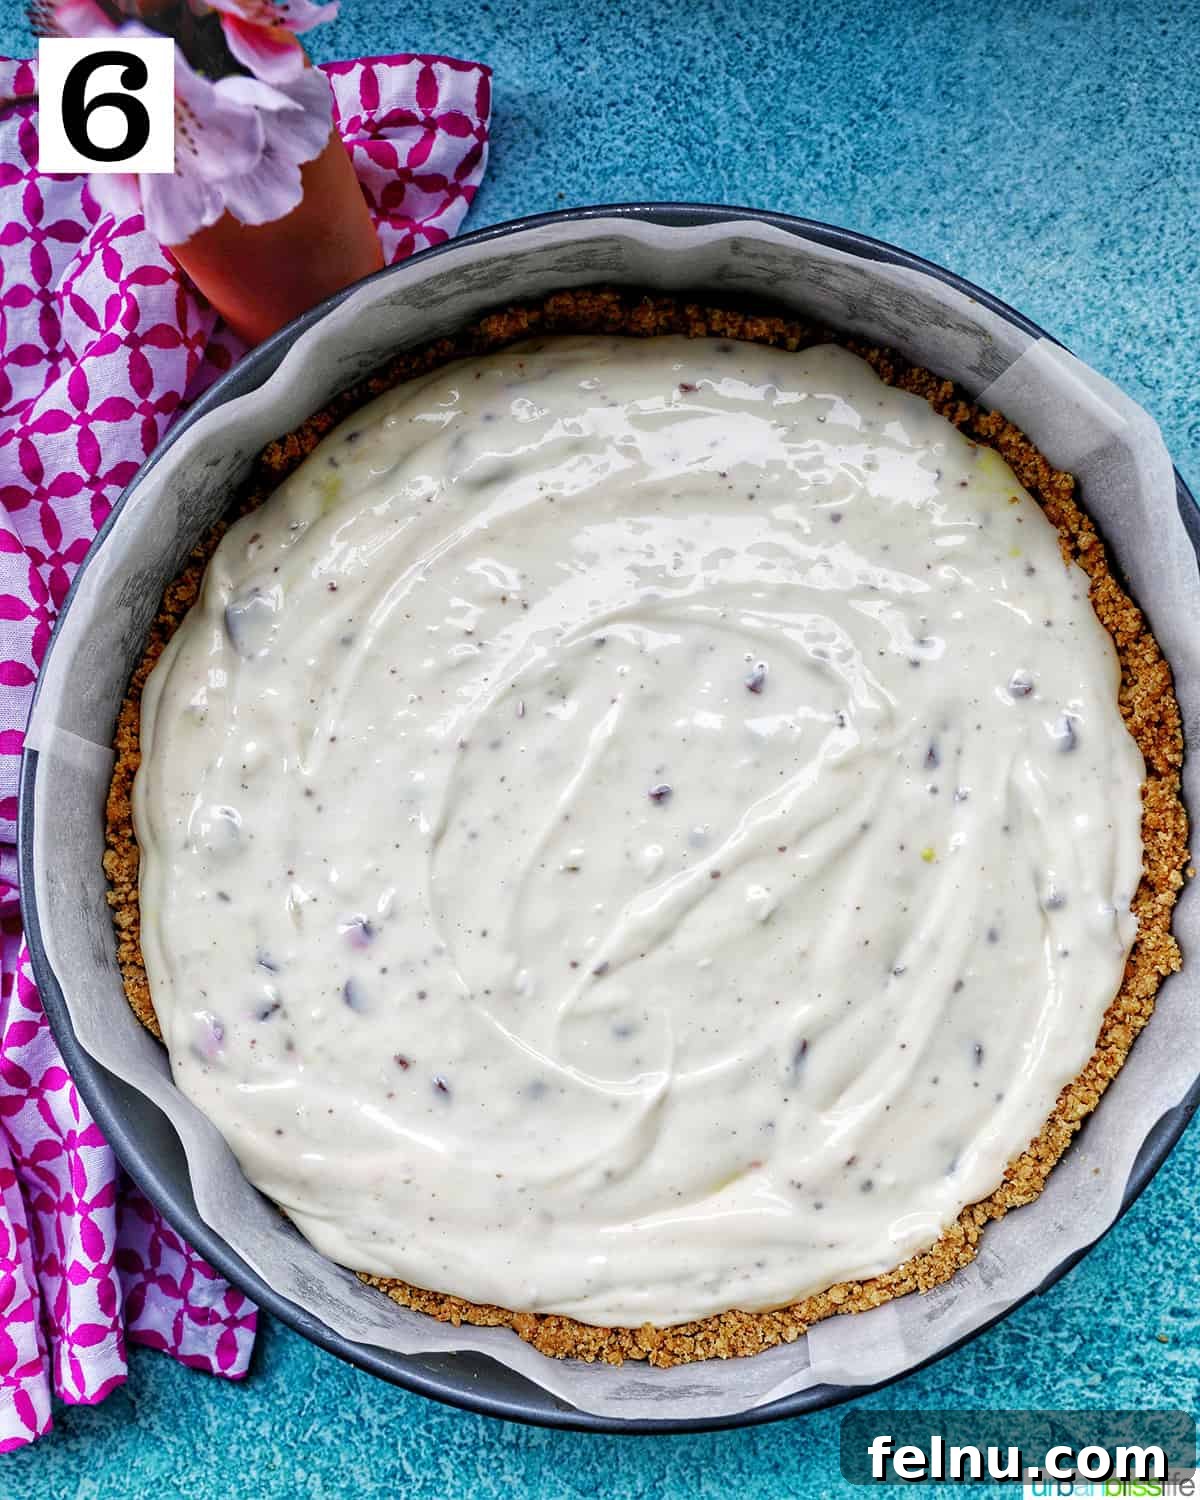
1 – 4. Combine all cheesecake filling
5 -6. Pour the cream cheese mix into the pre made pan.
7. Bake at 350°F for 55 to 70 minutes
Making the Whipped Topping
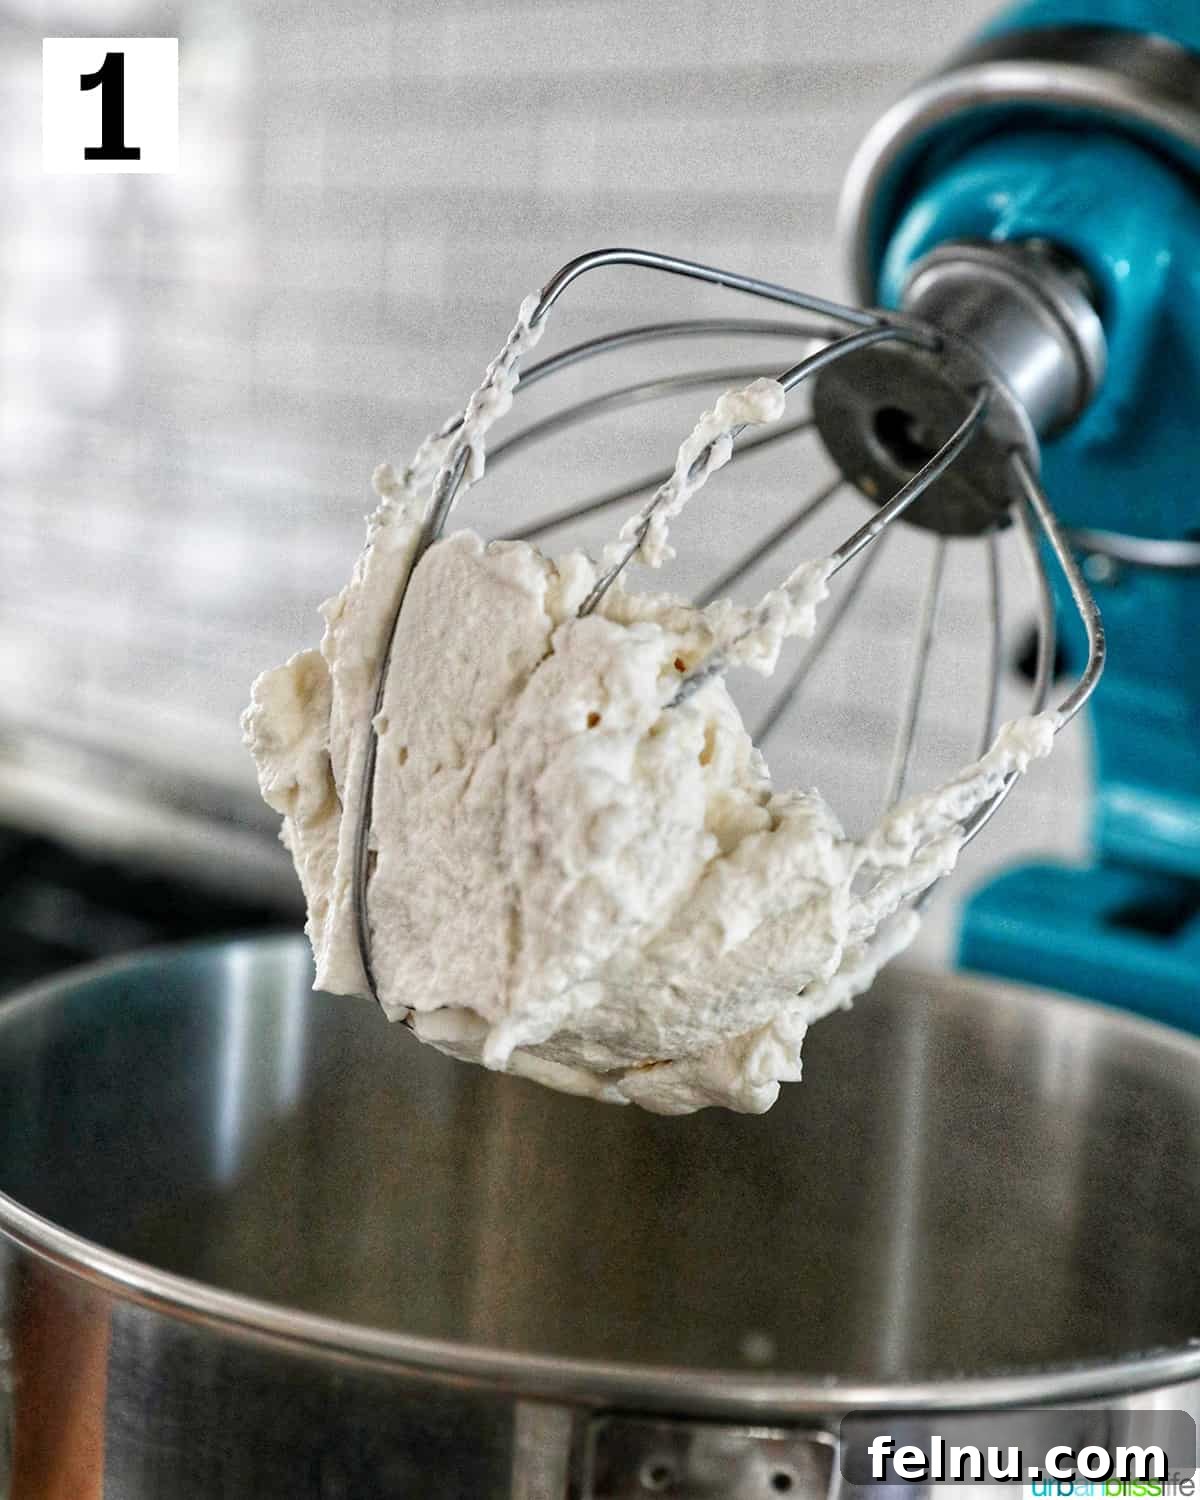
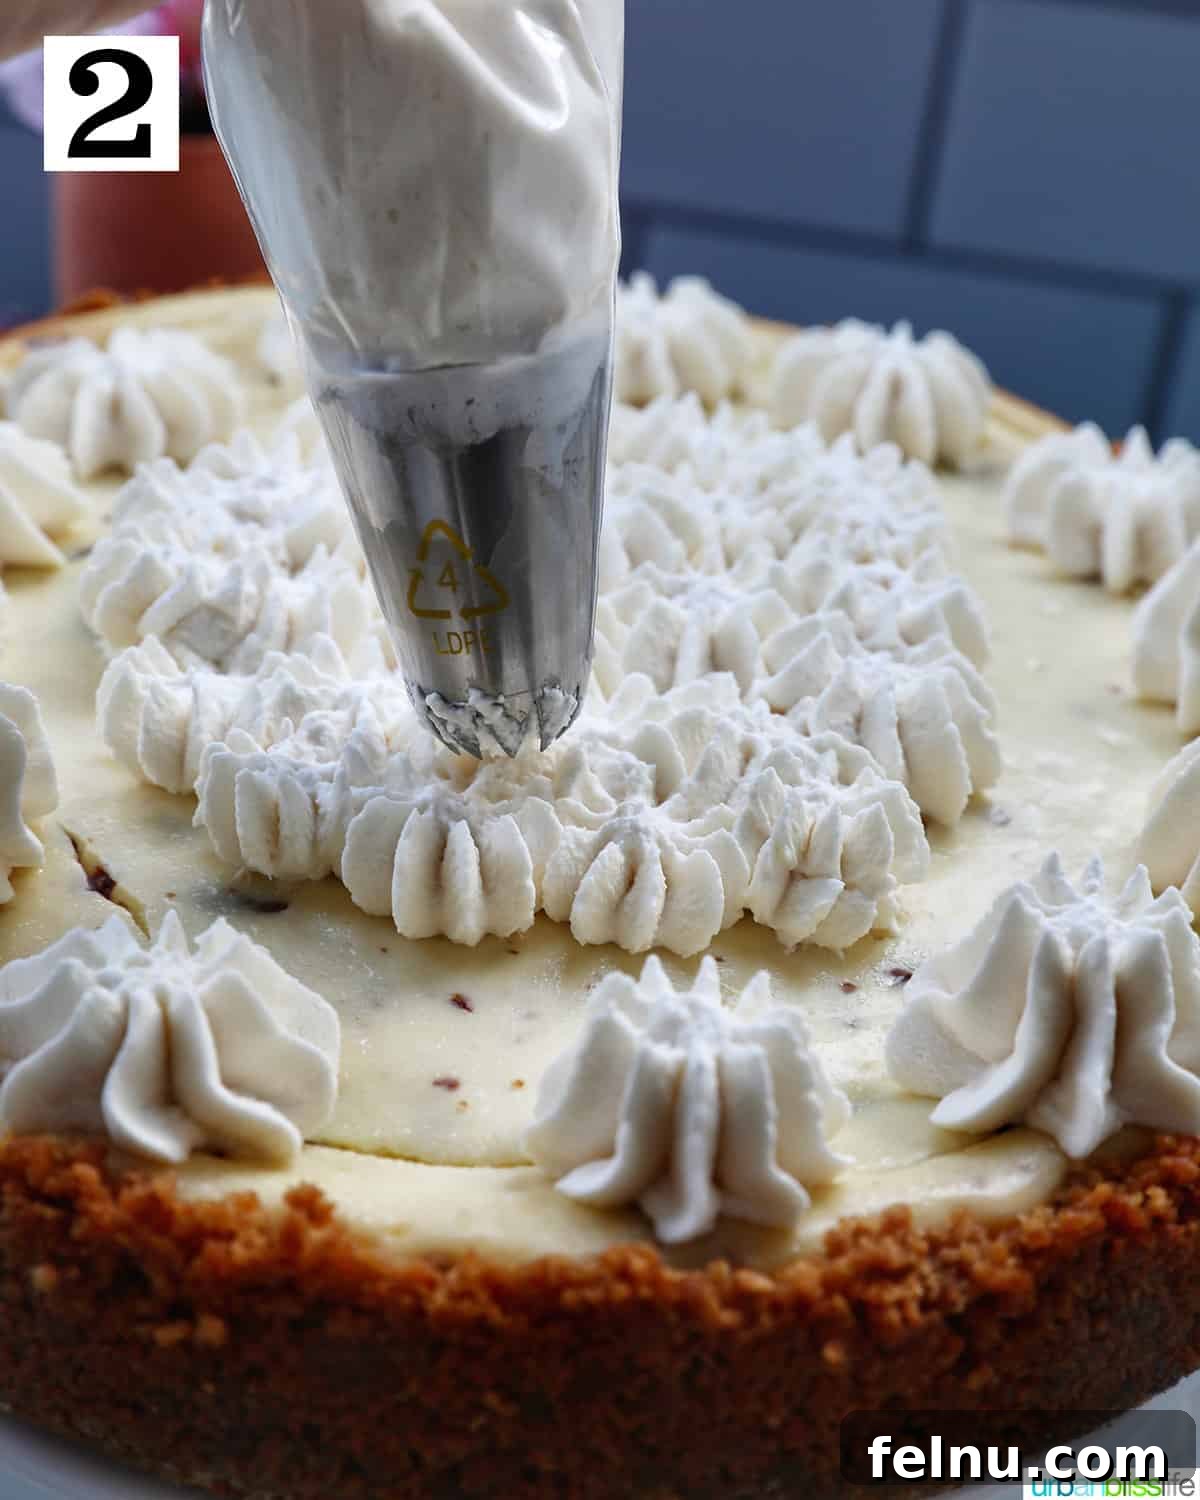
This step is optional, but highly recommended. It adds a beautiful finishing touch and extra layer of flavor.
- Whip together the cold heavy cream, powdered sugar, and vanilla extract until stiff peaks form.
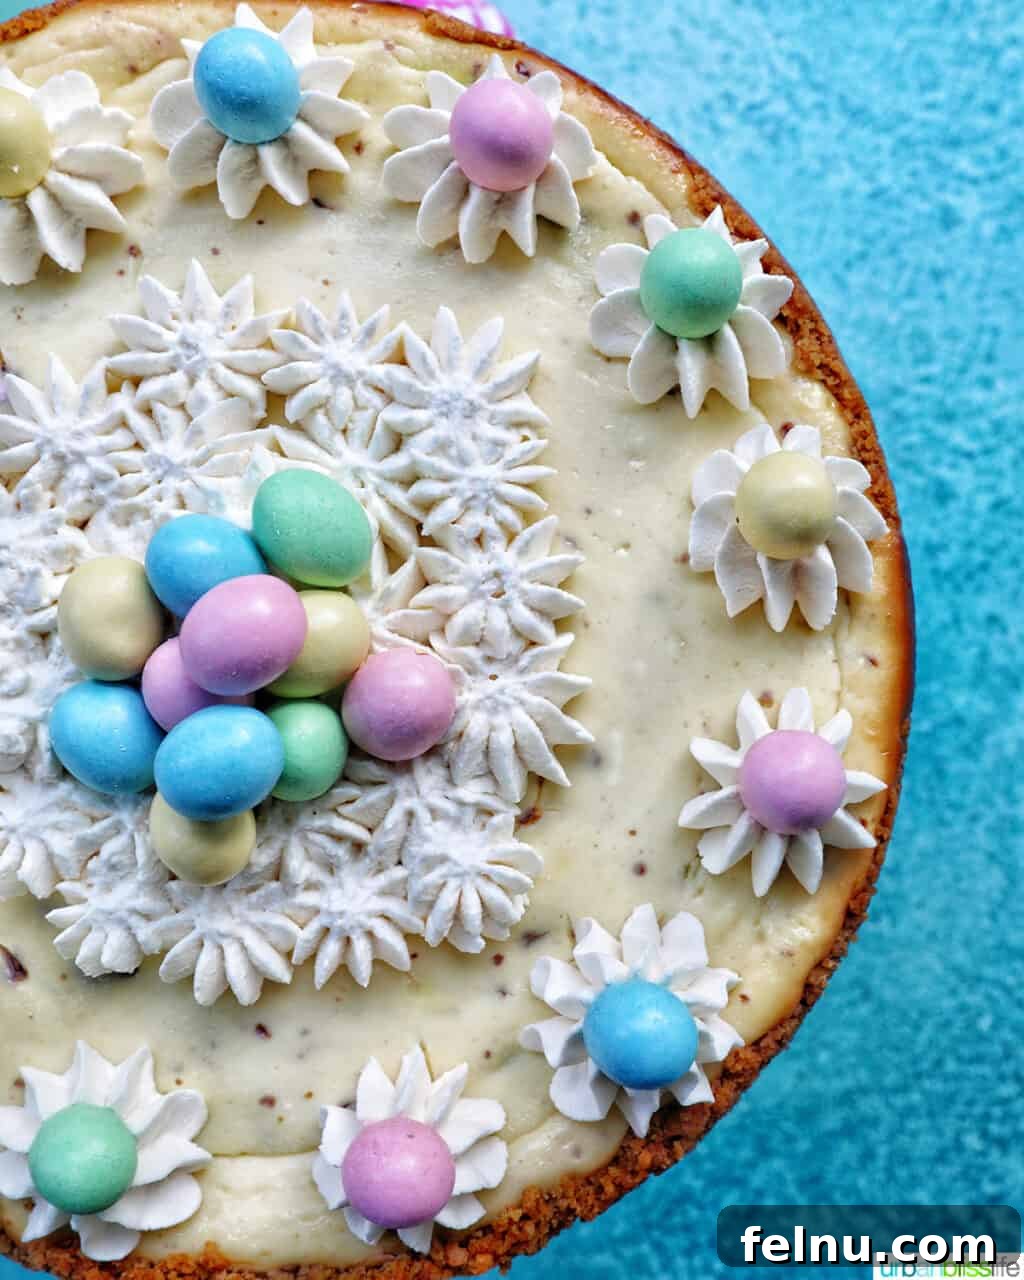
- Spread the whipped cream evenly over the cheesecake or pipe it on top using a piping bag for a more decorative look. Garnish with additional mini chocolate eggs or other Easter candies.
Tips and FAQs
How do I prevent the top of my cheesecake from cracking?
Cracking can occur when the cheesecake is overbaked or when the batter is overmixed. Using room-temperature cream cheese helps prevent overmixing. Some bakers use a water bath (placing the springform pan inside a larger pan filled with water) during baking to provide gentle, even heat.
How do I know when the cheesecake is done?
The cheesecake is done when the edges are set and only a slight jiggle remains in the center.
What’s the best way to store an Easter egg cheesecake?
Store the cheesecake (without the whipped topping) tightly wrapped in plastic wrap in the refrigerator for up to four days, or in the freezer for up to two months. Add the whipped topping just before serving.
Serving Suggestions
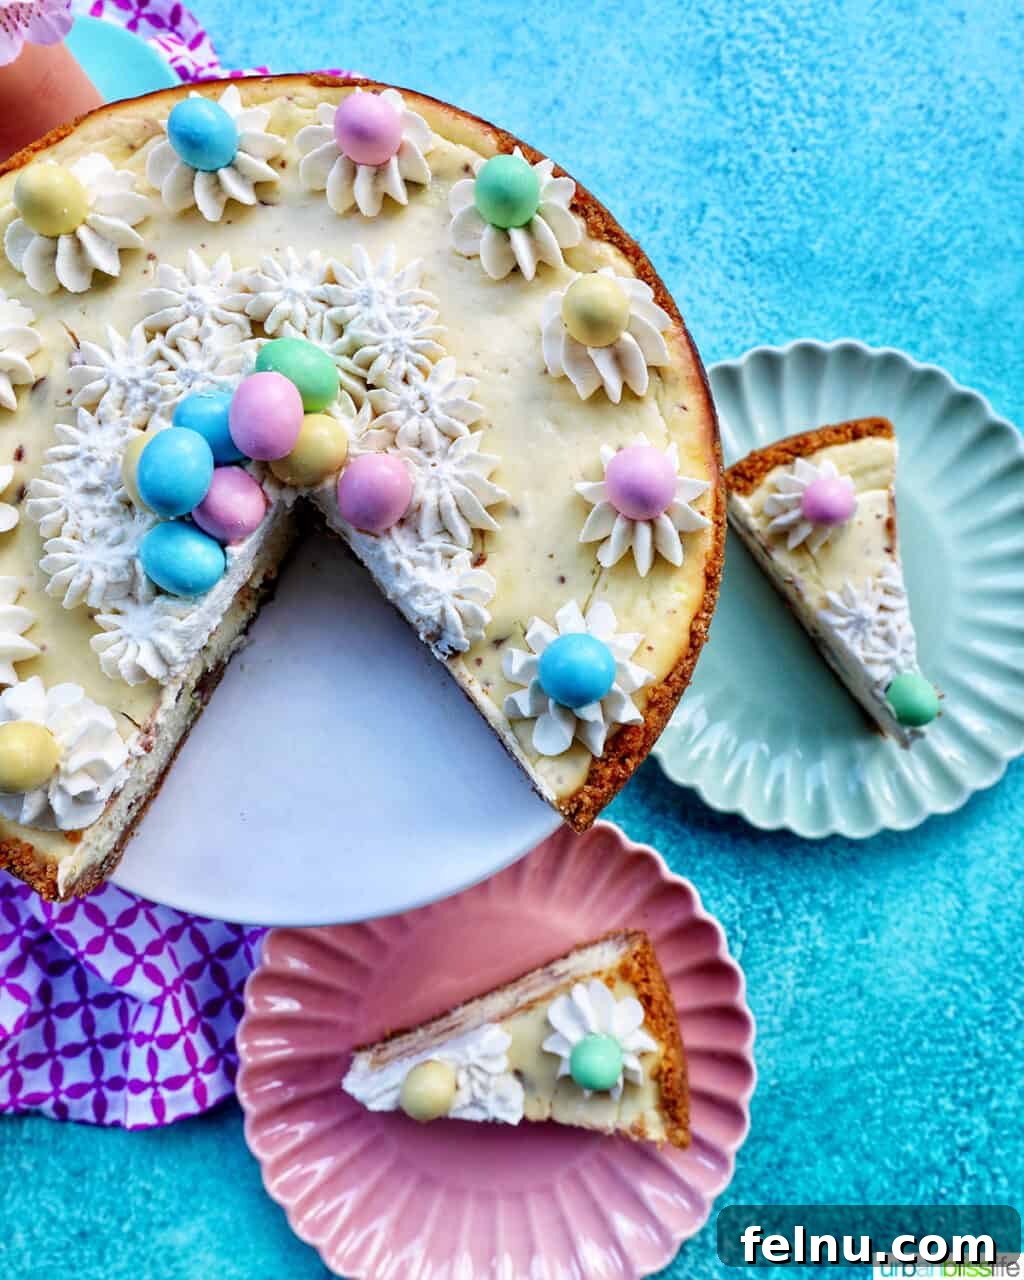
This cheesecake is the perfect ending to your Easter dinner. Consider serving it after one of these main courses:
- Herb Crusted Rack of Lamb
- Instant Pot Irish Lamb Stew
- Instant Pot Garlic Mashed Potatoes
- Green Beans with Bacon and Shallots
- Roasted Garlic Lemon Asparagus
It’s also a fantastic addition to an Easter brunch, served alongside a beautiful brunch charcuterie board.
For an even sweeter Easter spread, add some Mini Egg Cookies, Funfetti Cookie Bars, and Easy Bunny Pretzels.
Kitchen Essentials
Ready to bake? Here are the tools you’ll need:
- Springform pan: A 9-inch springform pan is essential for baking cheesecakes.
- Mixer: A stand mixer or a hand mixer with a large mixing bowl will make mixing the cheesecake filling and whipped topping much easier.
- Spatula: A silicone spatula is perfect for scraping the sides of the bowl and folding in the mini chocolate eggs.
- Ziplock bags: You’ll need plastic bags for crushing the graham crackers and chopping the chocolate eggs.
- Cutting board: A sturdy cutting board is a must for chopping.
- Rolling pin: A rolling pin is perfect for crushing the graham crackers.
More Easter Dessert Ideas
Looking for more Easter baking inspiration? Check out these recipes:
- White Chocolate Raspberry Bundt Cake
- Green Velvet Cake with Cream Cheese Frosting
- Mini Bundt Cakes with Citrus
- Chocolate-Covered Peanut Butter Ritz Cracker Cookies
Did you try this recipe? Leave a 5-Star rating and a comment below! I love hearing from you.
Easter Egg Cheesecake Recipe
A detailed recipe card will go here.