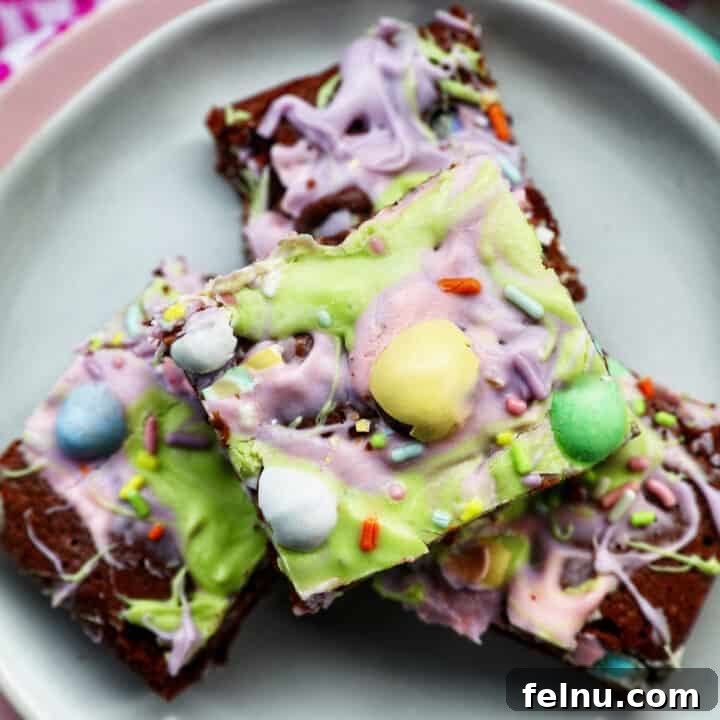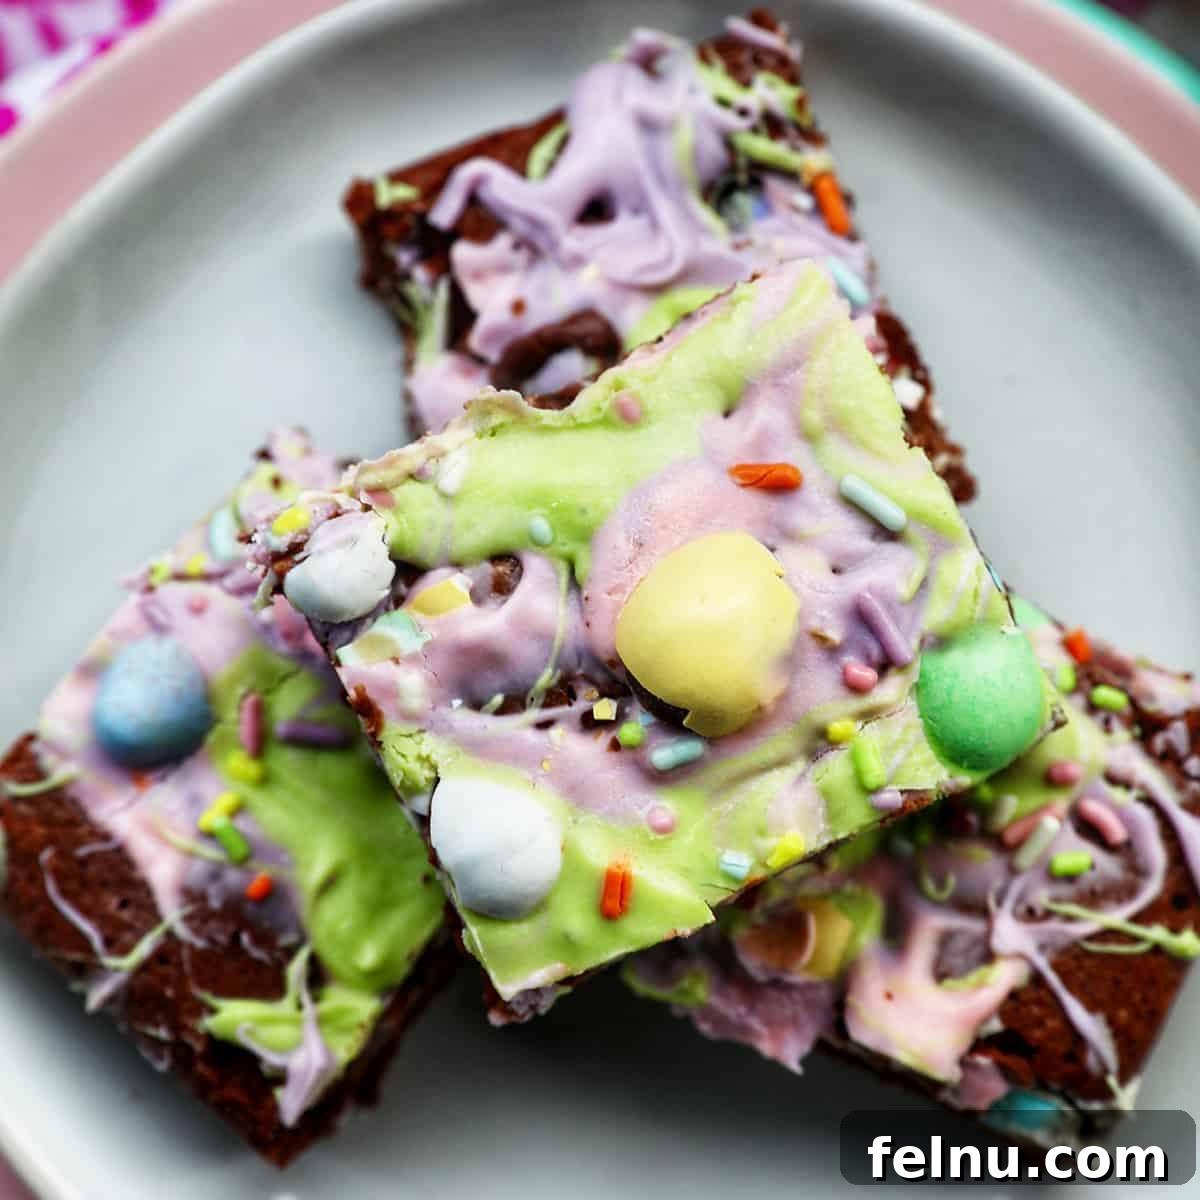
Looking for a crowd-pleasing and incredibly easy Easter dessert? These Easter Brownies are the perfect choice! Simple to make and boasting a decadent chocolate flavor, they’re sure to be a hit!
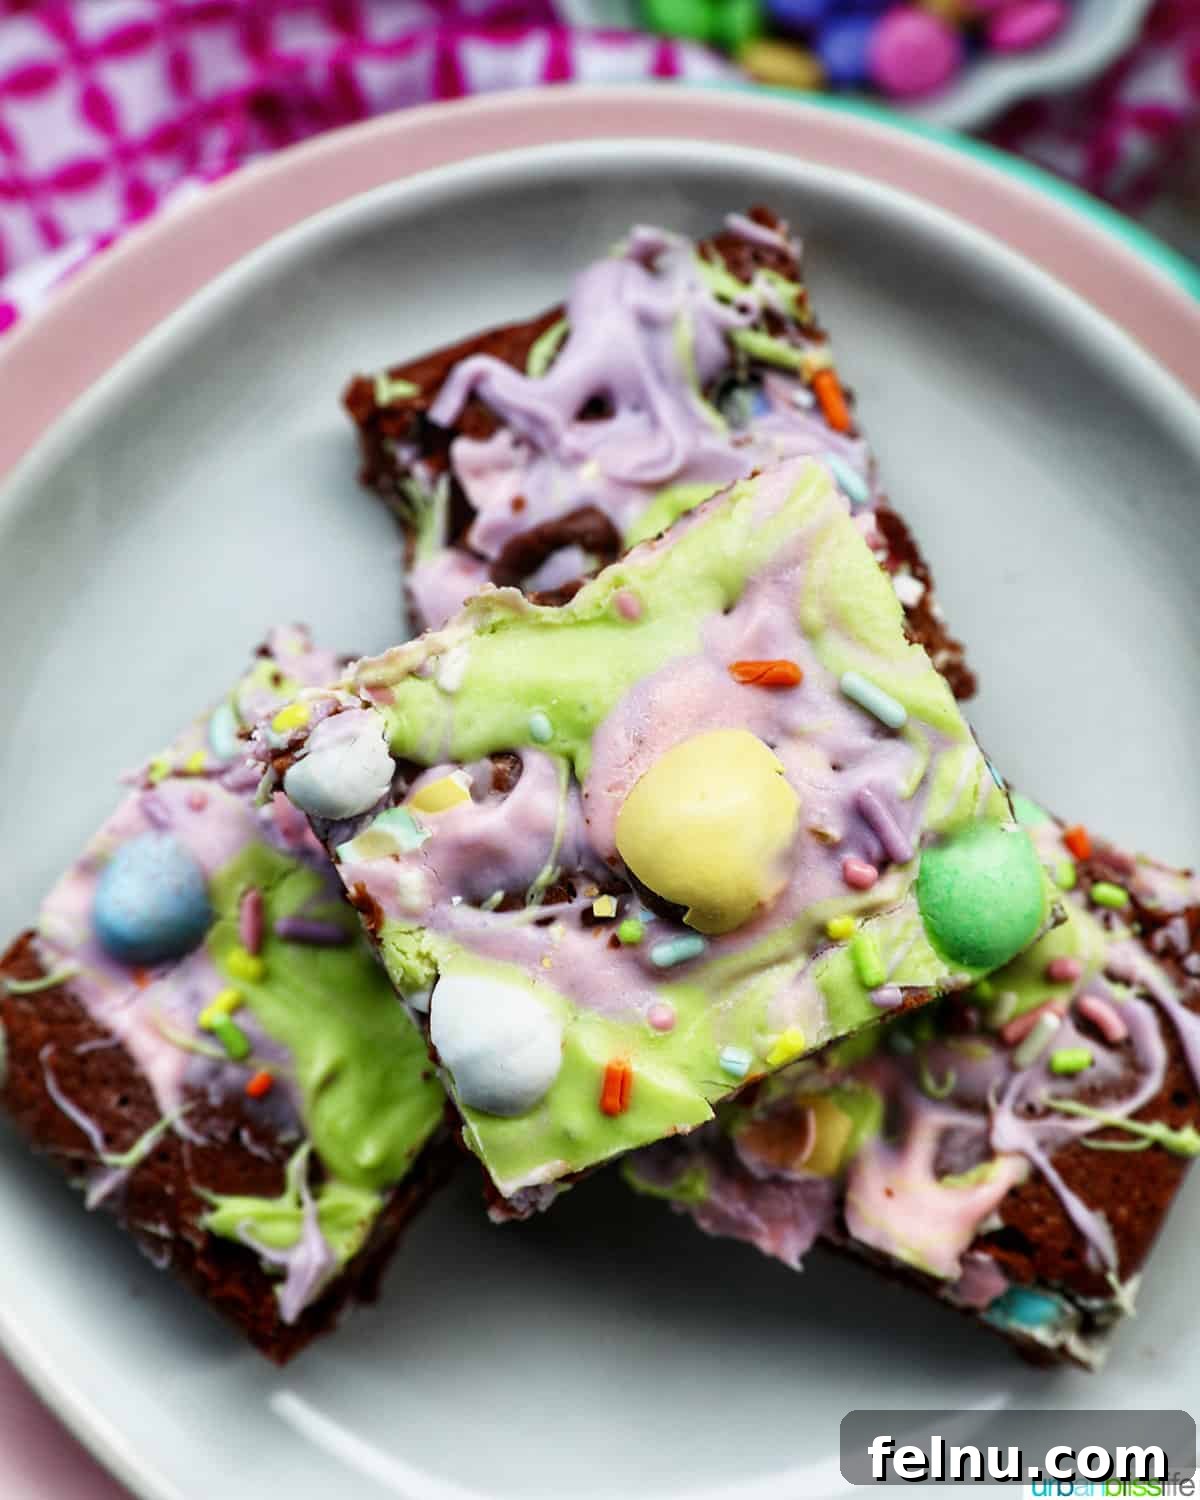
Brownies are a universal favorite for a reason – they’re the ultimate dessert, delivering pure chocolate bliss to anyone who takes a bite. Their rich flavor and satisfying texture make them an irresistible treat.
In our household, we’re brownie fanatics! From classic chocolate brownies to creative variations like our Chocolate Chip Brownies and Mint Chocolate Brownies, we love exploring the endless possibilities of this iconic dessert. These Easter Brownies are particularly special because they’re festive and perfect for Easter celebrations!
Why This Easter Brownies Recipe Works So Well
This Easter brownie recipe is a guaranteed success for several key reasons, making it a winner for bakers of all skill levels. Here’s why you’ll love it:
- Effortless to Make: The steps are straightforward and easy to follow, making it an ideal recipe for involving the whole family in the baking fun! Even novice bakers will find it a breeze.
- Readily Available Ingredients: You won’t need any fancy or hard-to-find ingredients. These brownies are made with simple ingredients that are readily available in most grocery stores. In fact, you probably have most of them in your pantry already!
- Utterly Delicious: These brownies are incredibly delicious! They are perfectly chewy and loaded with chocolate candies, which add delightful textures and an extra layer of chocolatey goodness. The combination of flavors and textures is simply irresistible.
Key Ingredients for Perfect Easter Brownies
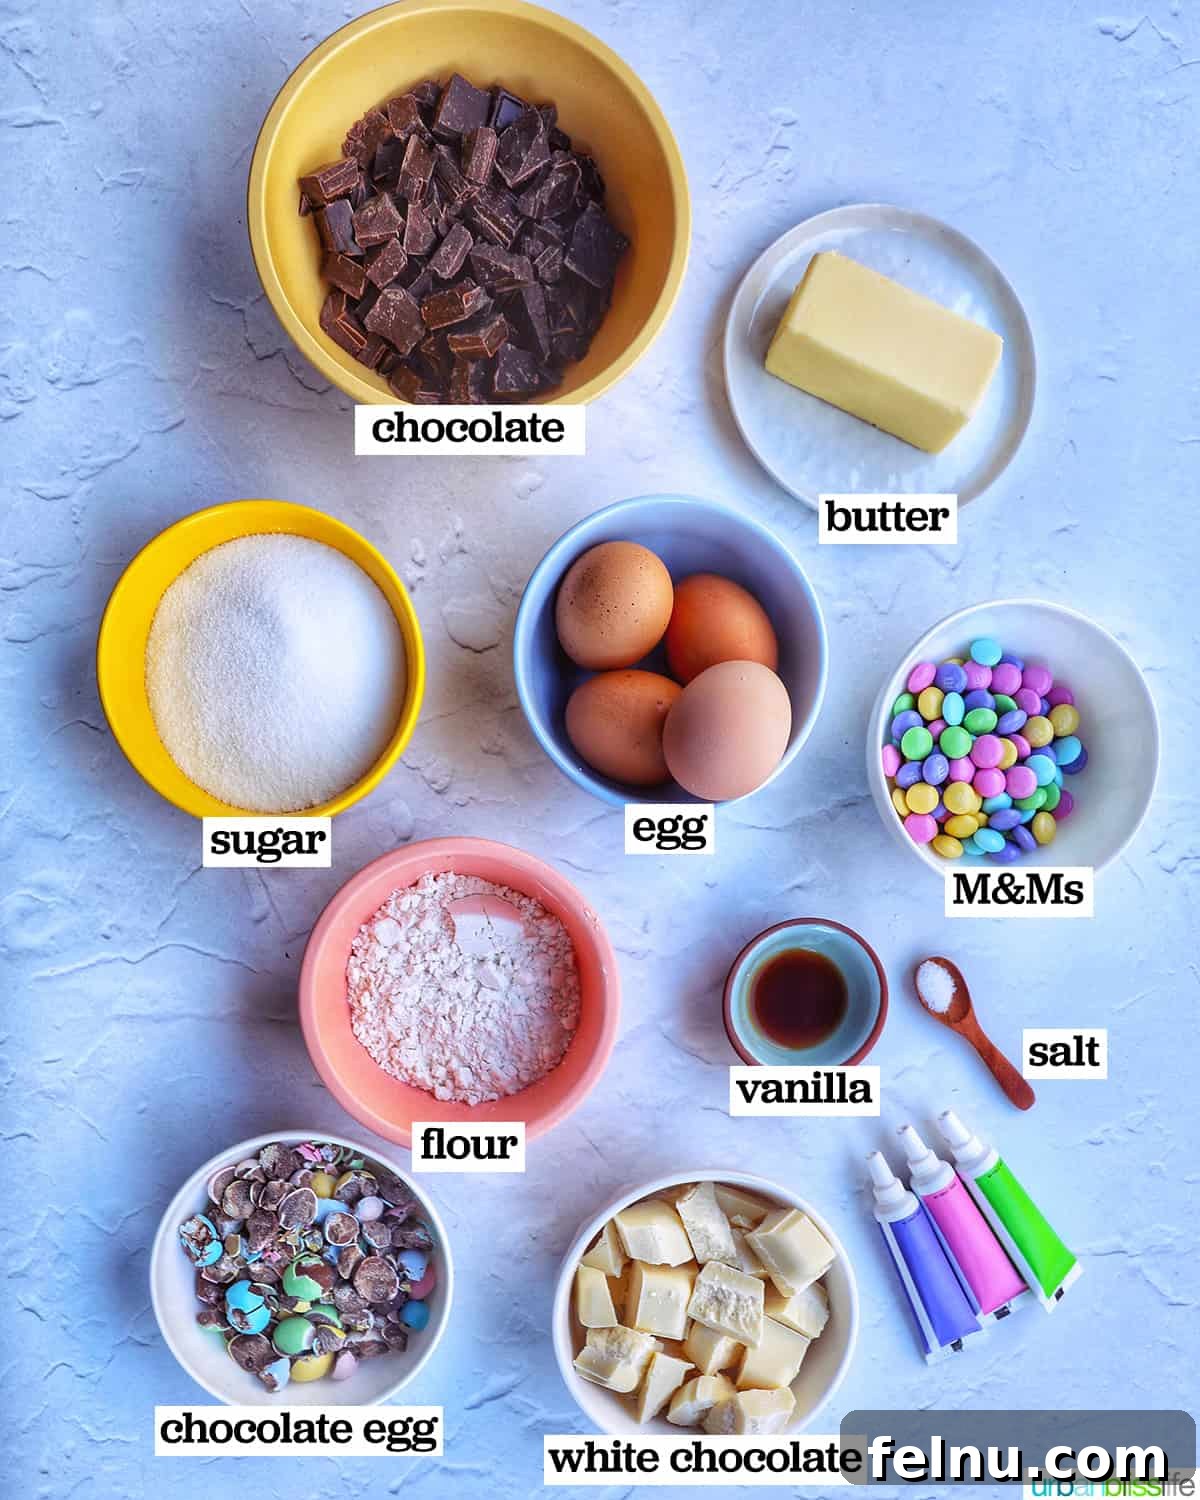
Let’s delve into the key ingredients that make these Easter brownies so special. Using the right ingredients is crucial for achieving the perfect texture and flavor.
Chocolate: Many brownie recipes rely on cocoa powder, which can sometimes result in cakey brownies. But for this recipe, we use only melted semisweet baking chocolate for the brownie batter. This simple switch makes the brownies incredibly fudgy and rich. Feel free to use dark chocolate baking bars or dark chocolate chips if you prefer a slightly more intense chocolate flavor.
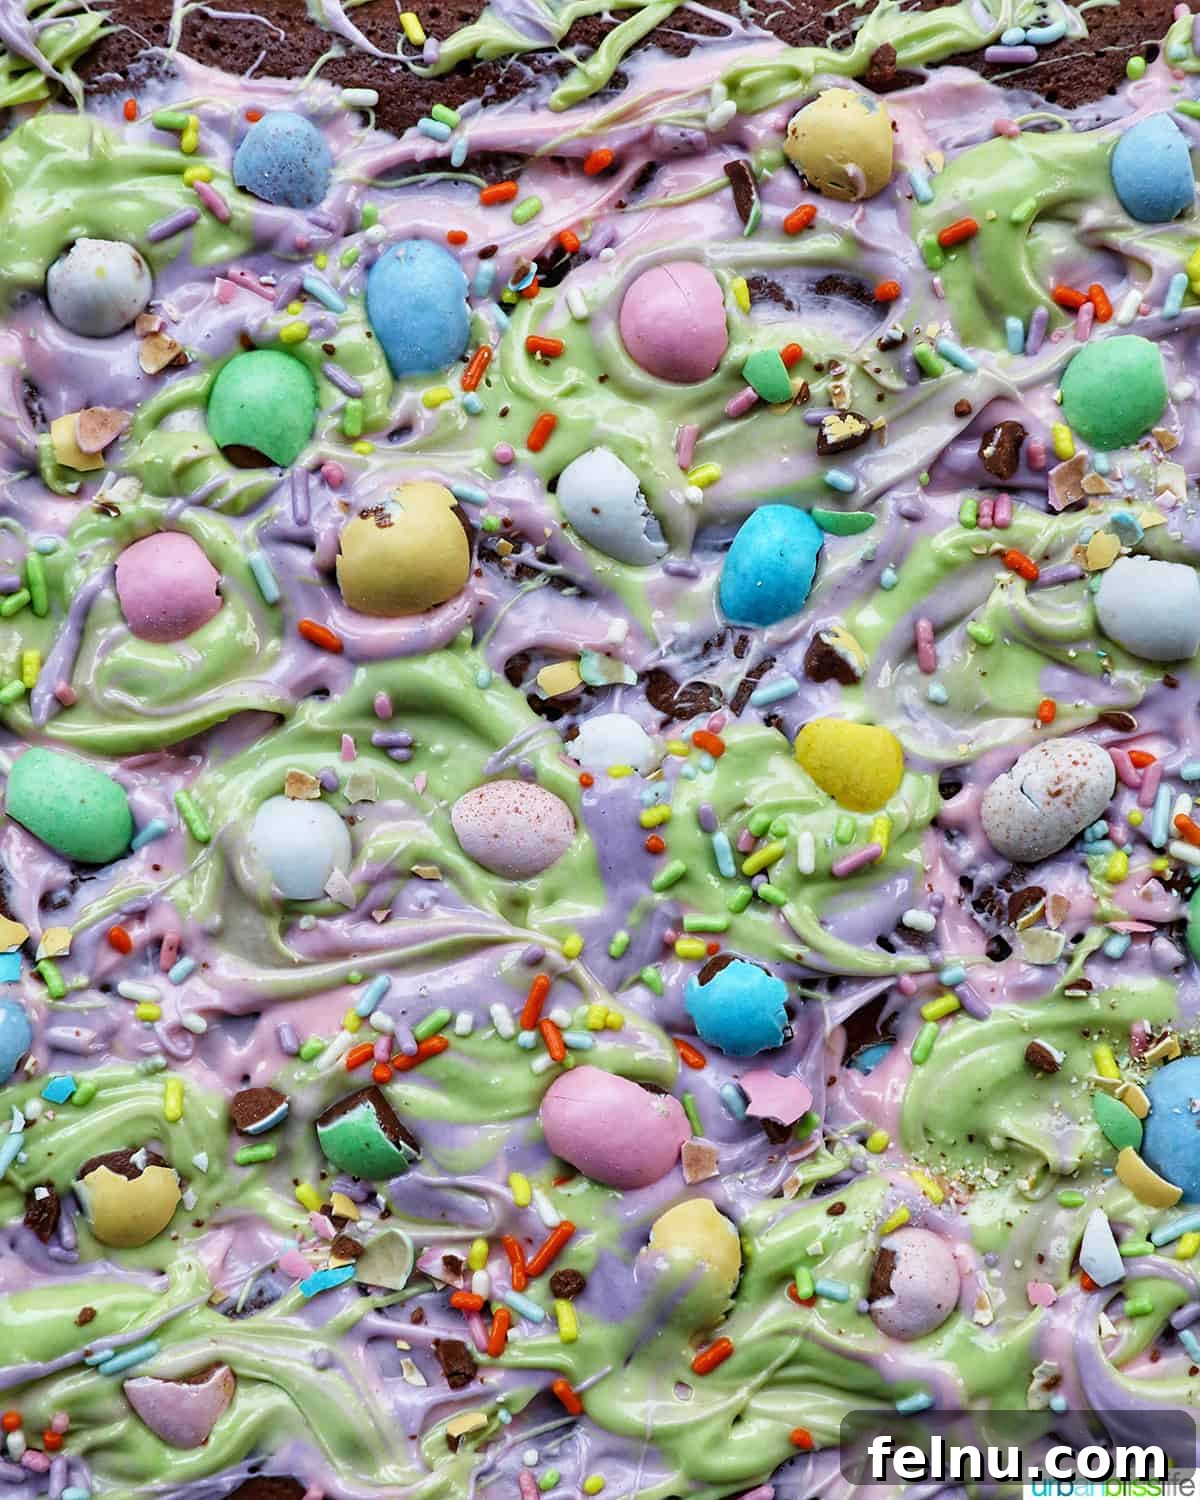
For the delightful chocolate swirls on top, we use melted and chopped white chocolate bars (or white chocolate chips). To make them even more festive, you can add food coloring to the melted white chocolate, creating fun and vibrant Easter colors!
Butter: We use melted unsalted butter in this brownie recipe. This is key to creating a fudgey, chewy texture that will keep you coming back for more. Melted butter helps to create a denser, moister brownie.
Eggs: Ensure your eggs are at room temperature before mixing them into the batter. Room temperature eggs incorporate more evenly, resulting in a smoother and more delicious brownie. You can take the eggs out of the refrigerator about 30 minutes to one hour before you start making the batter to allow them to reach room temperature.
Chocolate Candies: For a festive Easter touch, we use pastel-colored chocolate Easter M&Ms and chopped mini chocolate eggs. Cadbury mini eggs and Hershey mini eggs are excellent choices, adding both flavor and visual appeal to the brownies.
Step-by-Step Guide to Baking Easter Brownies
Below is a step-by-step guide with photos to help you bake Easter brownies. You can find the full instructions in the printable recipe card at the bottom of this post. This visual guide will help ensure your brownies turn out perfectly.
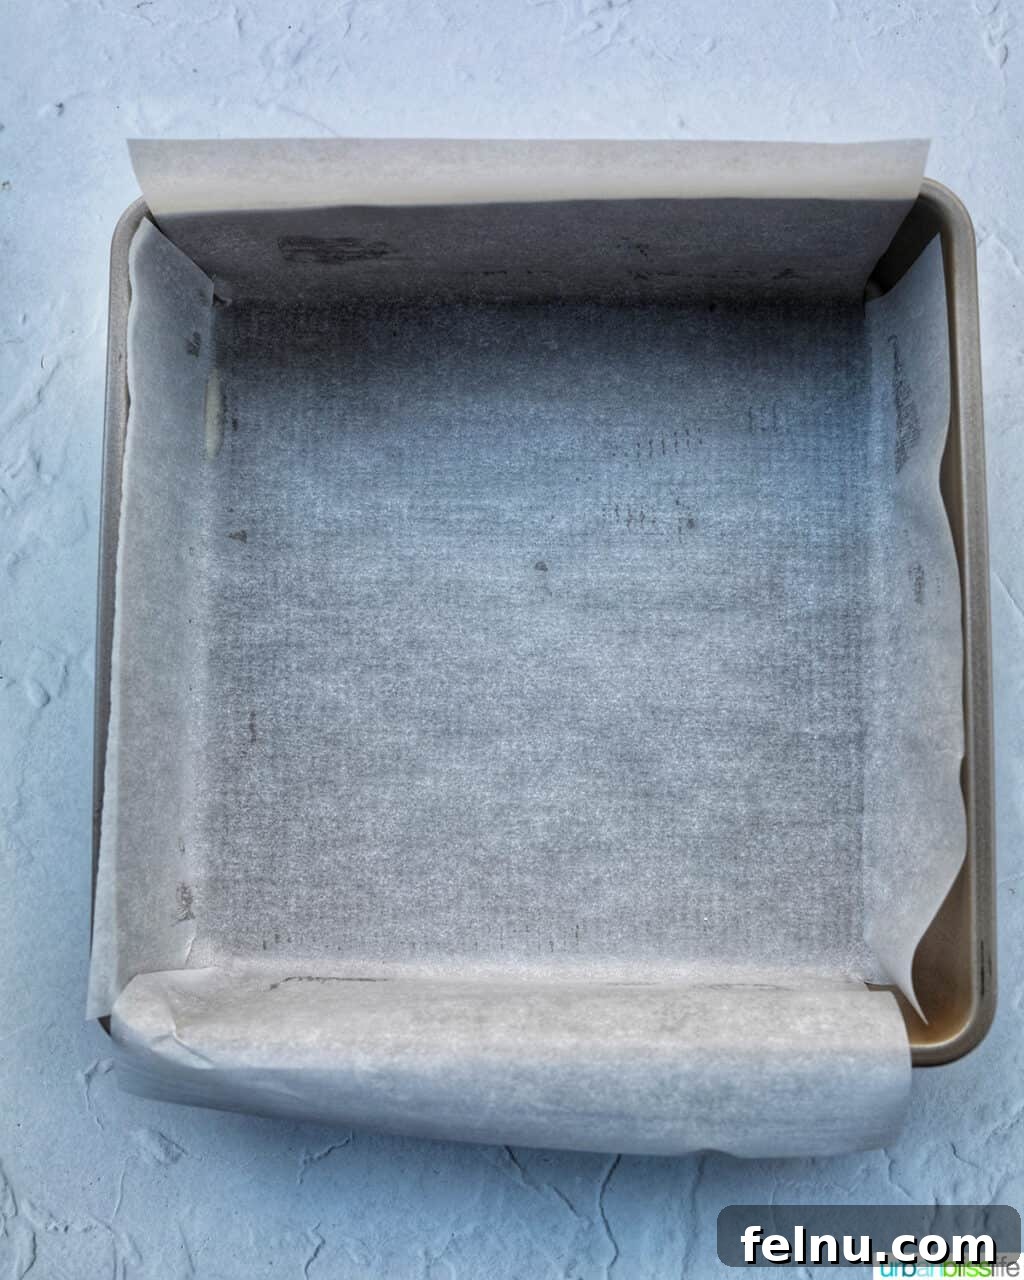
Preparation: Begin by lightly greasing a 9″ x 9″ square baking pan. Then, line the pan with parchment paper, making sure some of the parchment hangs over the sides. This overhang will act as handles, making it easier to lift the brownies out of the pan once they’ve cooled. This simple step prevents the brownies from sticking and makes for a clean release.
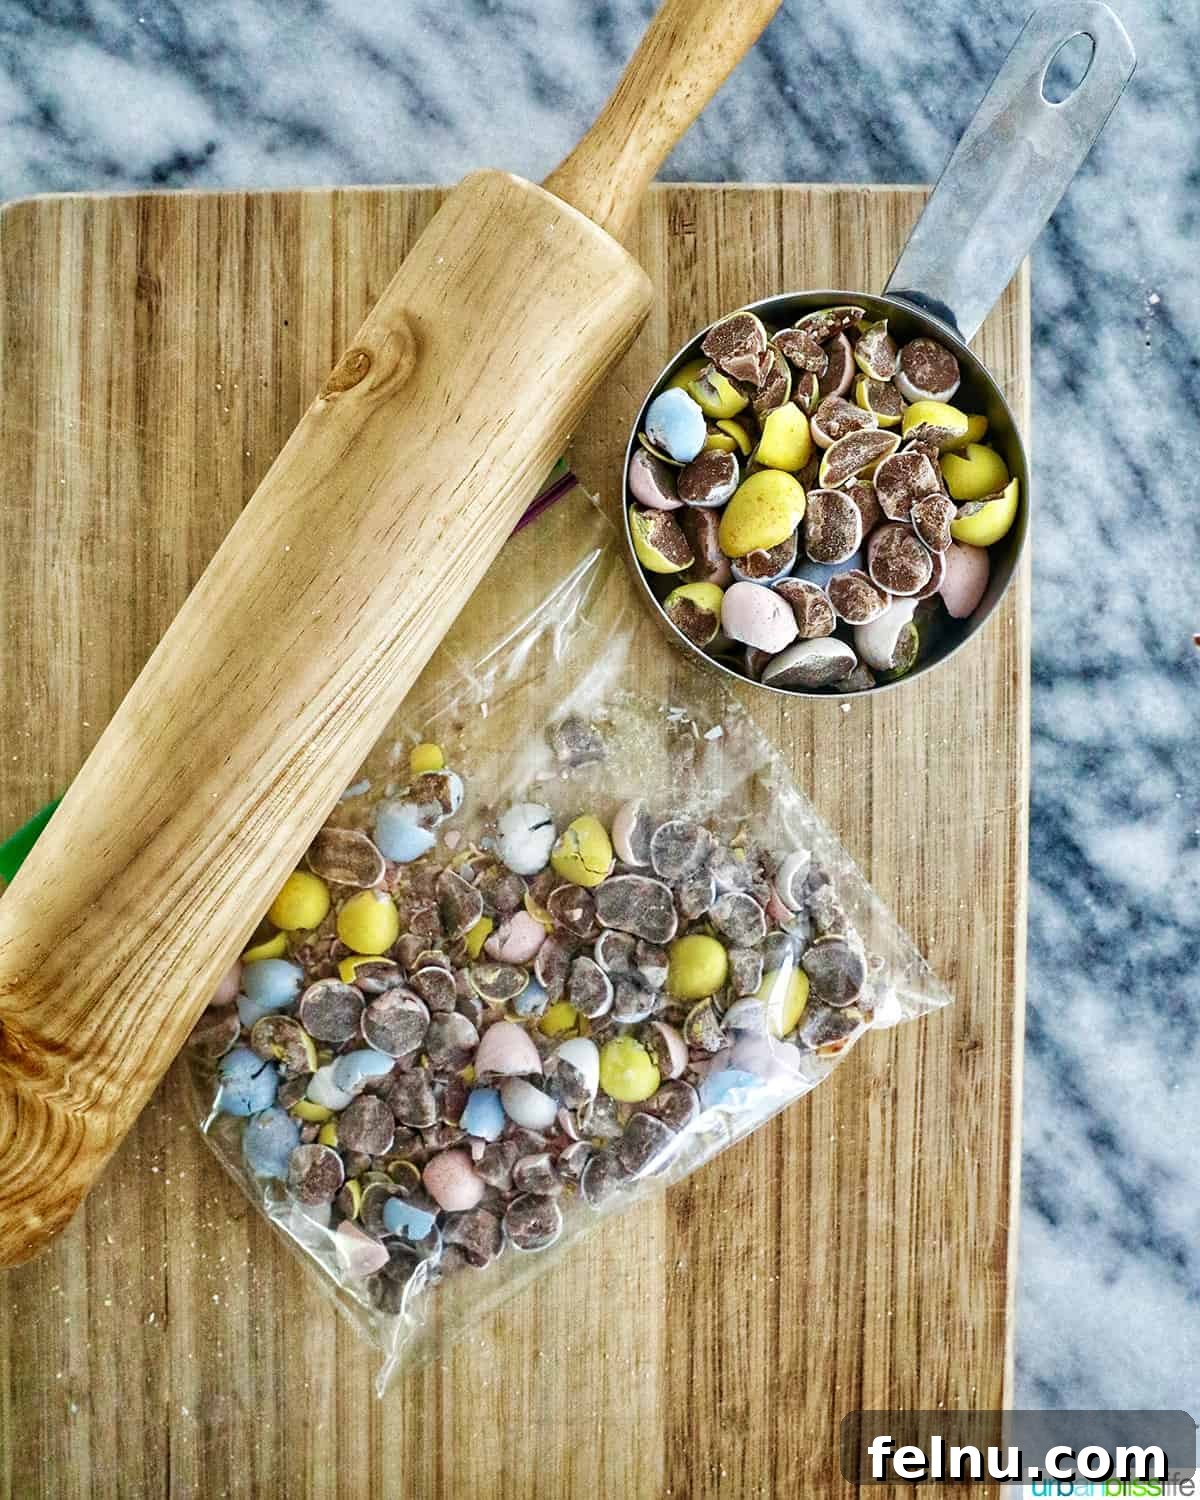
Next, chop the mini chocolate eggs. The best way to do this is to place the candies in a ziplock bag, squeeze out the air, seal it tightly, and then gently bash the bag with a rolling pin. This method provides the best results without completely crushing the eggs. The chocolate eggs should be split in almost half; they don’t need to be smashed into tiny pieces. This ensures that they retain some texture and visual appeal in the brownies.
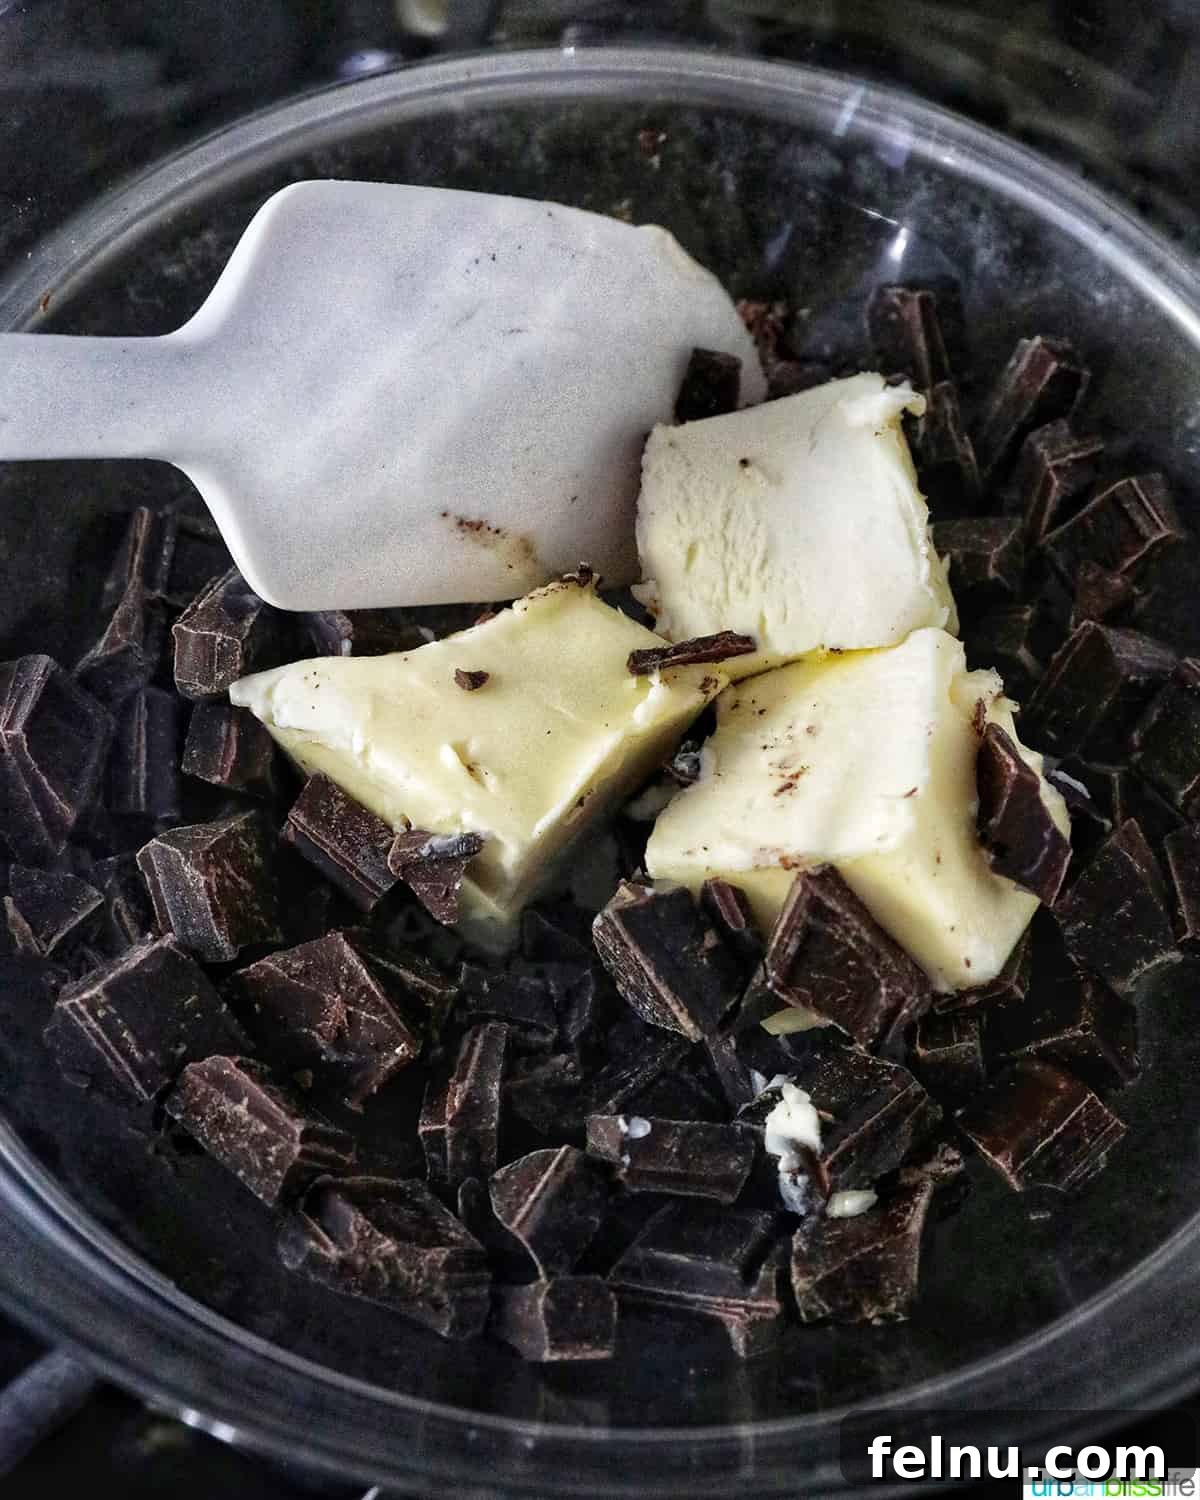
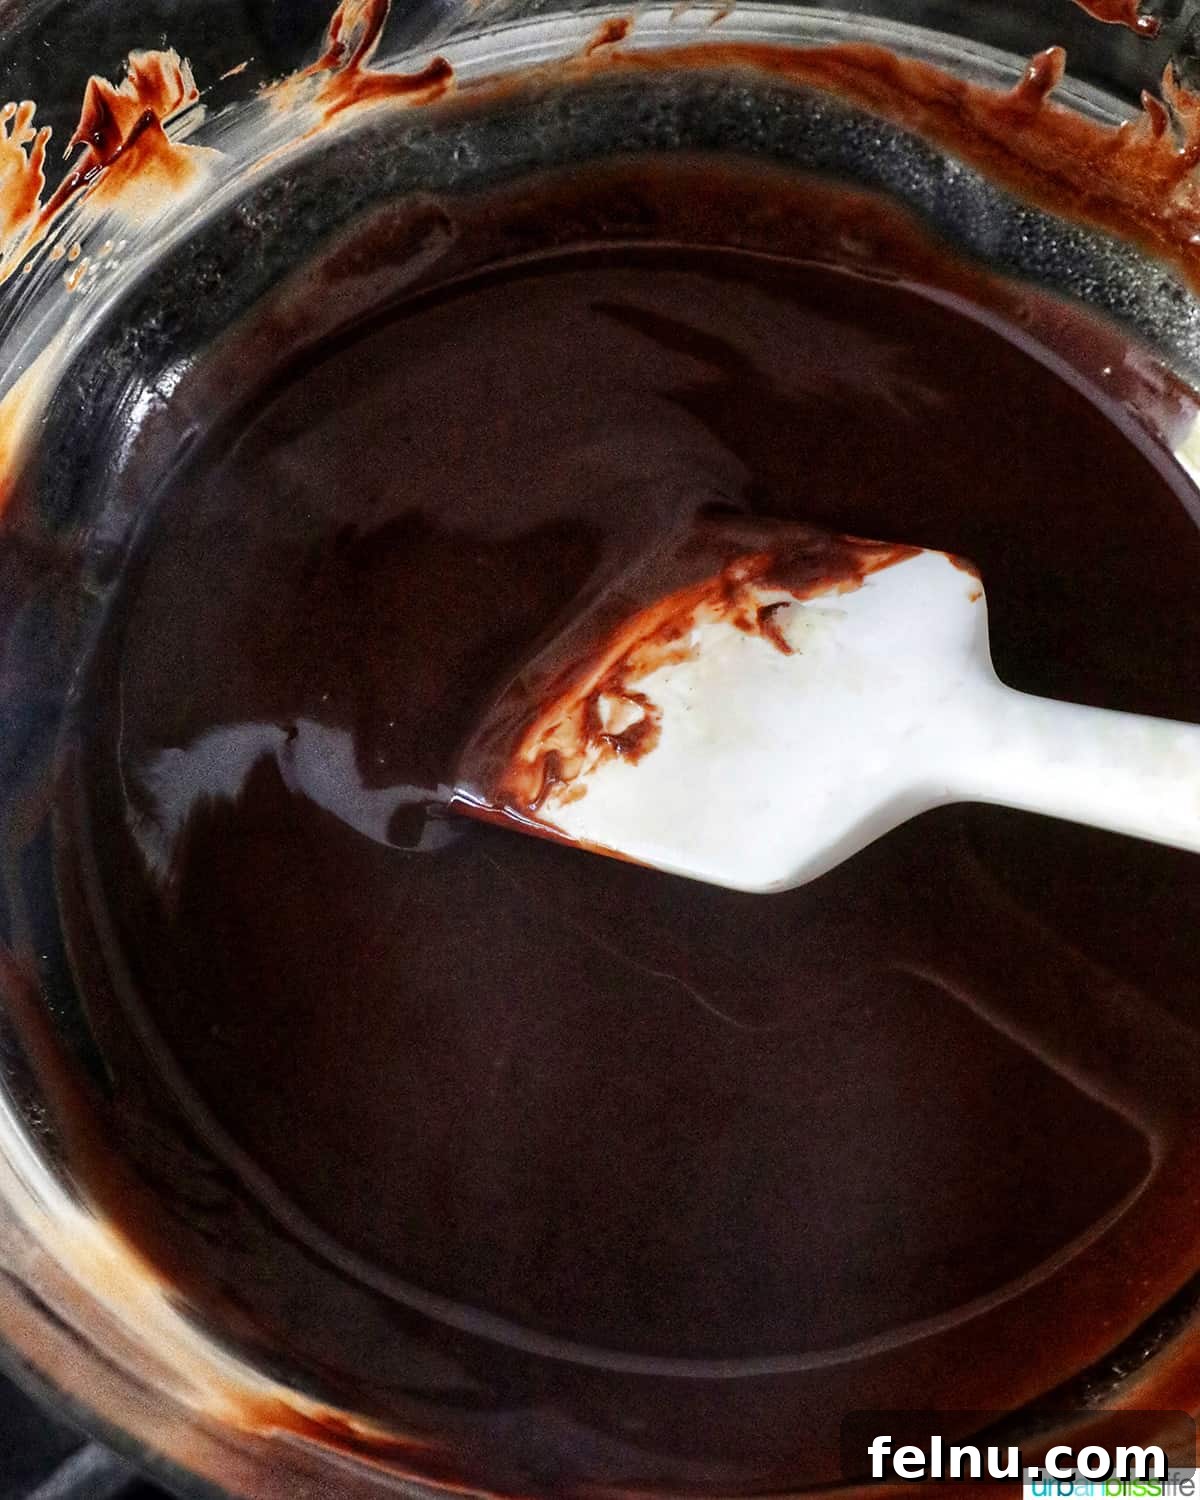
Melt the Chocolate: In a double boiler, or a heatproof large bowl fitted over a saucepan with simmering water, melt the chopped chocolate with the butter over low heat. Be sure the bottom of the bowl doesn’t touch the water. Keep stirring gently with either a heatproof silicone spatula (as shown in the picture) or a whisk until the chocolate and butter are completely melted and the mixture is smooth. Once melted, turn off the heat, carefully remove the bowl of chocolate from the saucepan, and let it cool slightly before proceeding. Allowing the chocolate to cool prevents it from cooking the eggs when added to the batter.
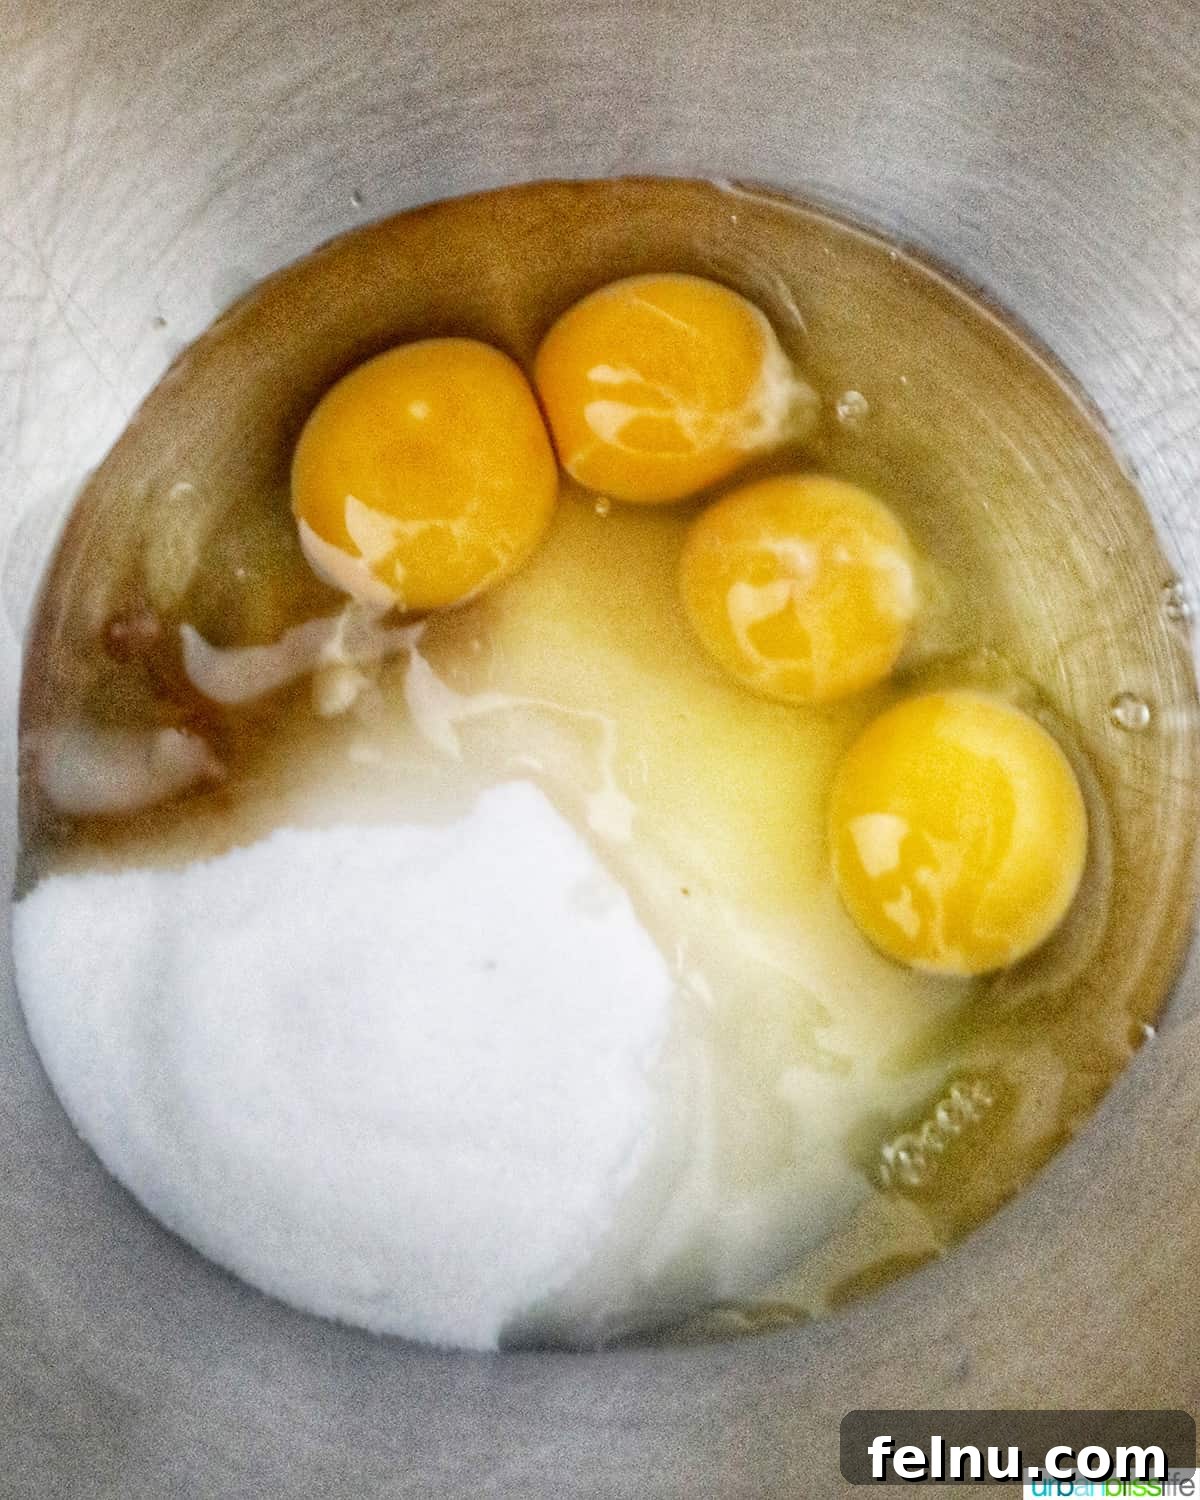
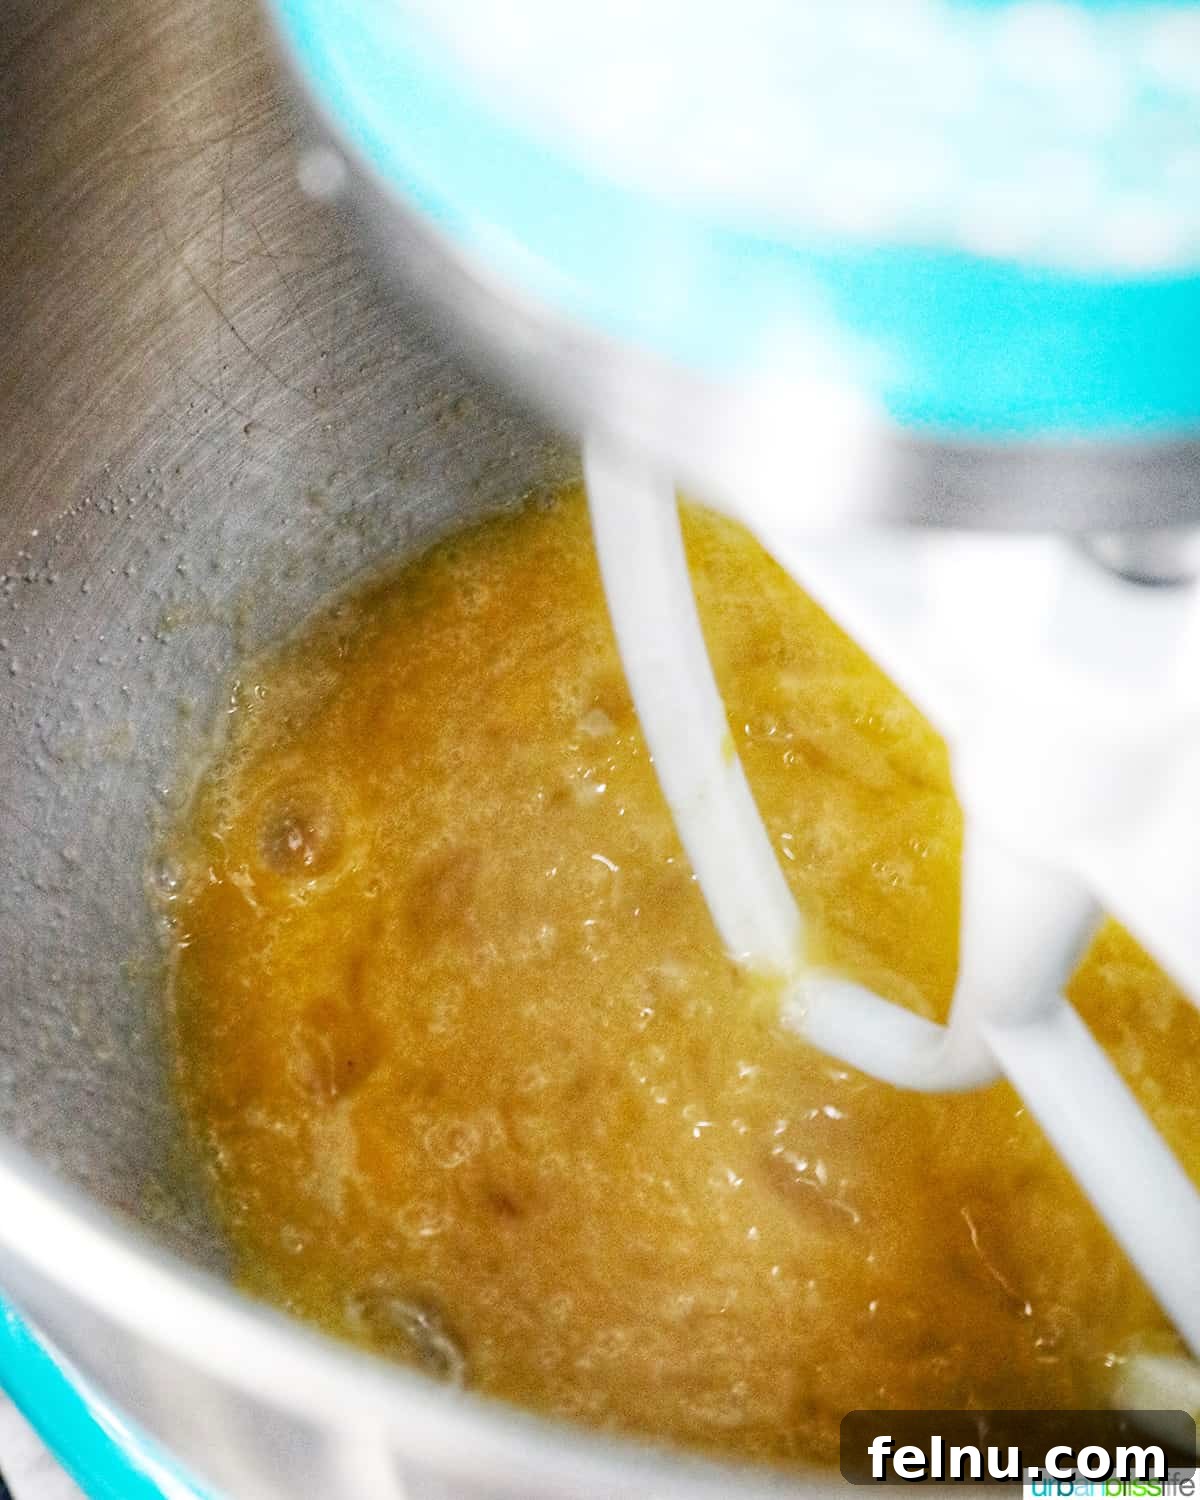
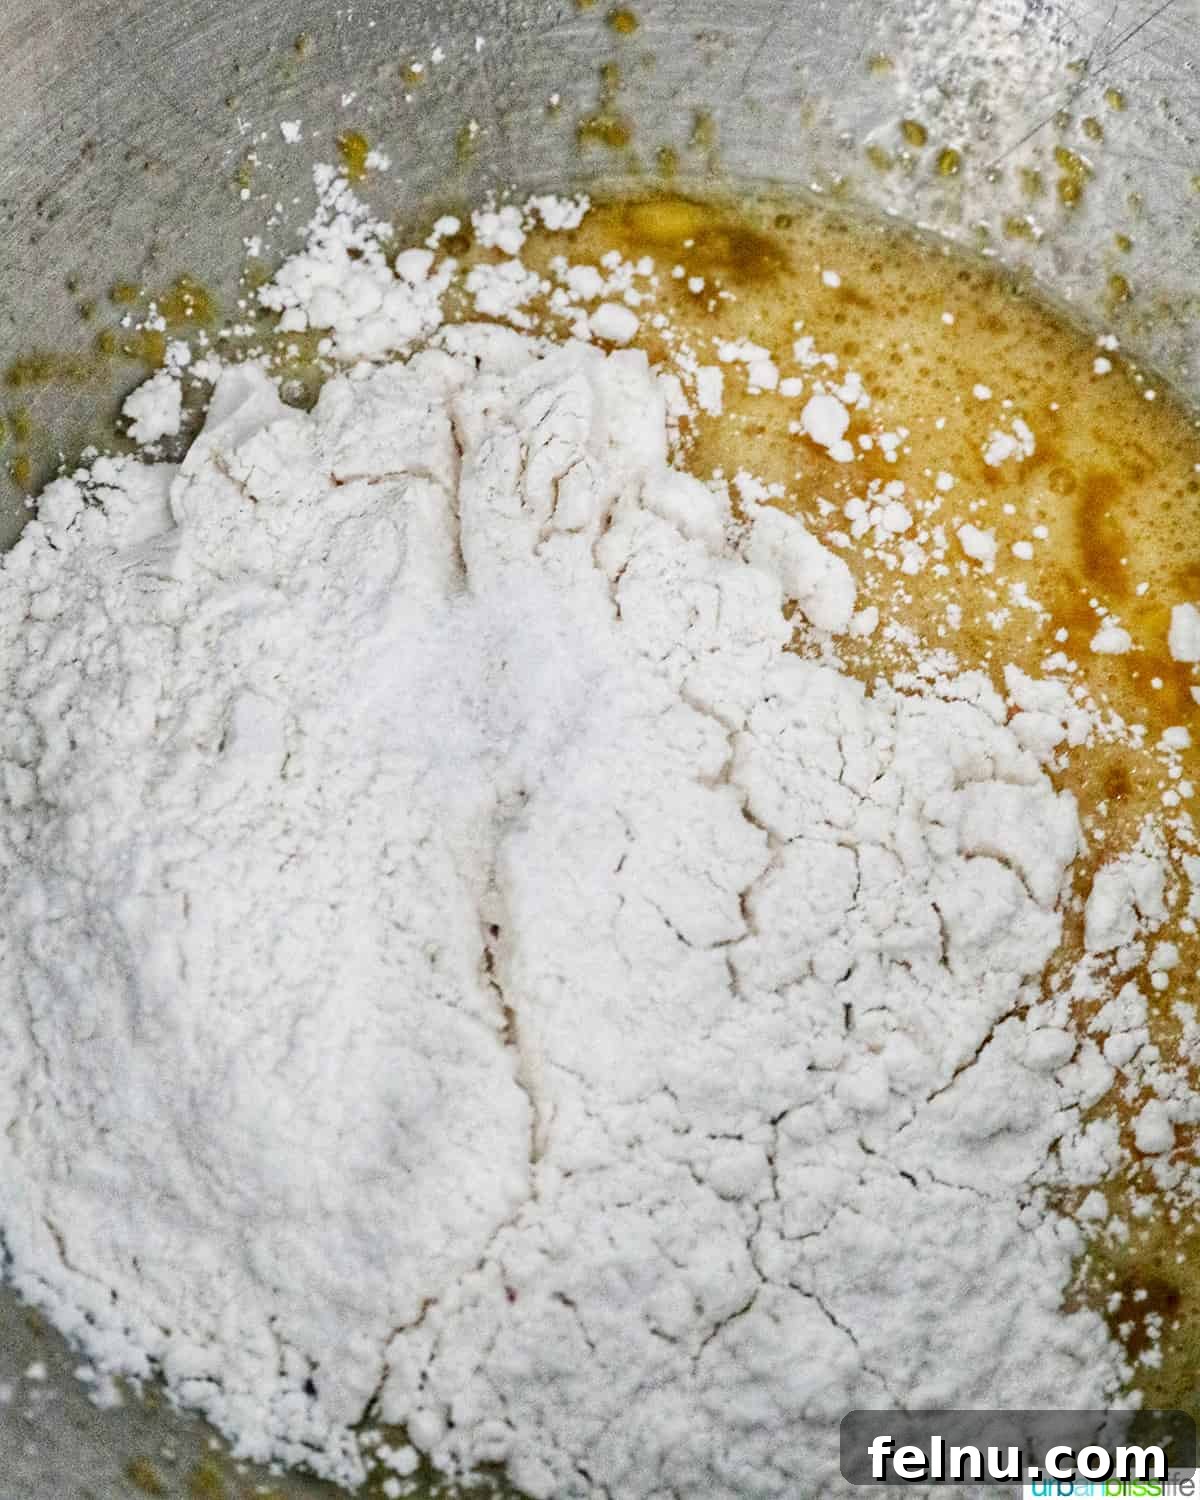
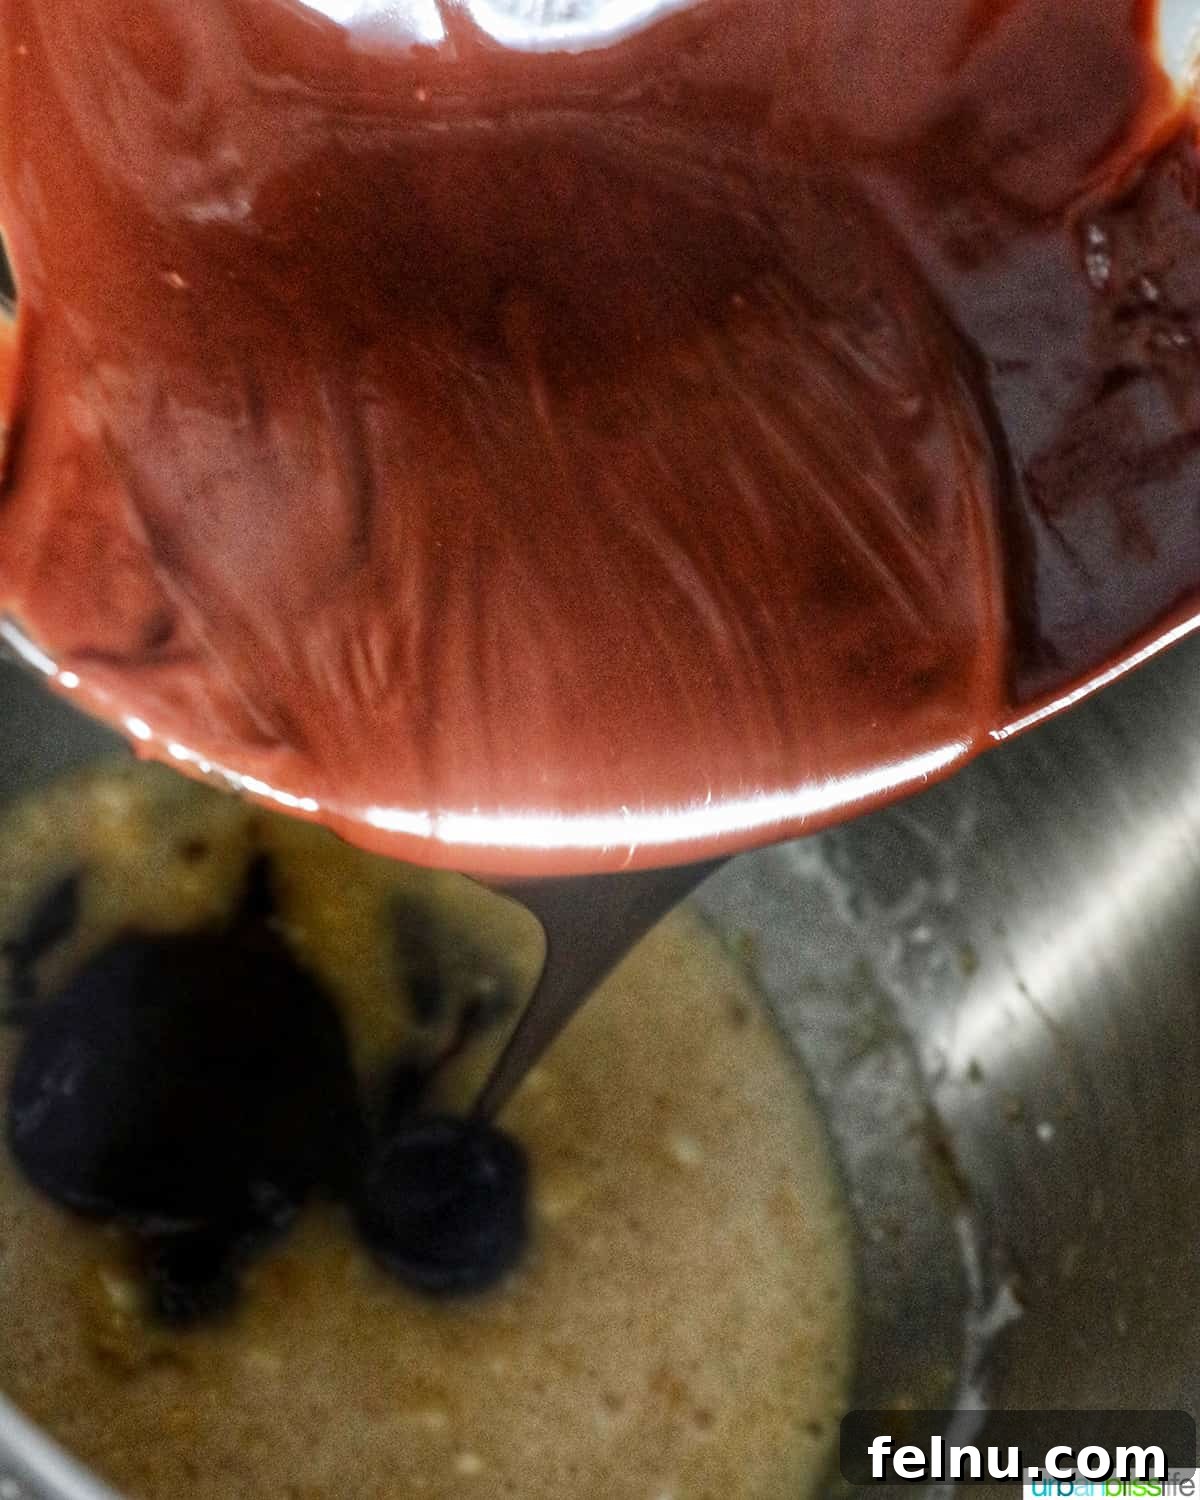
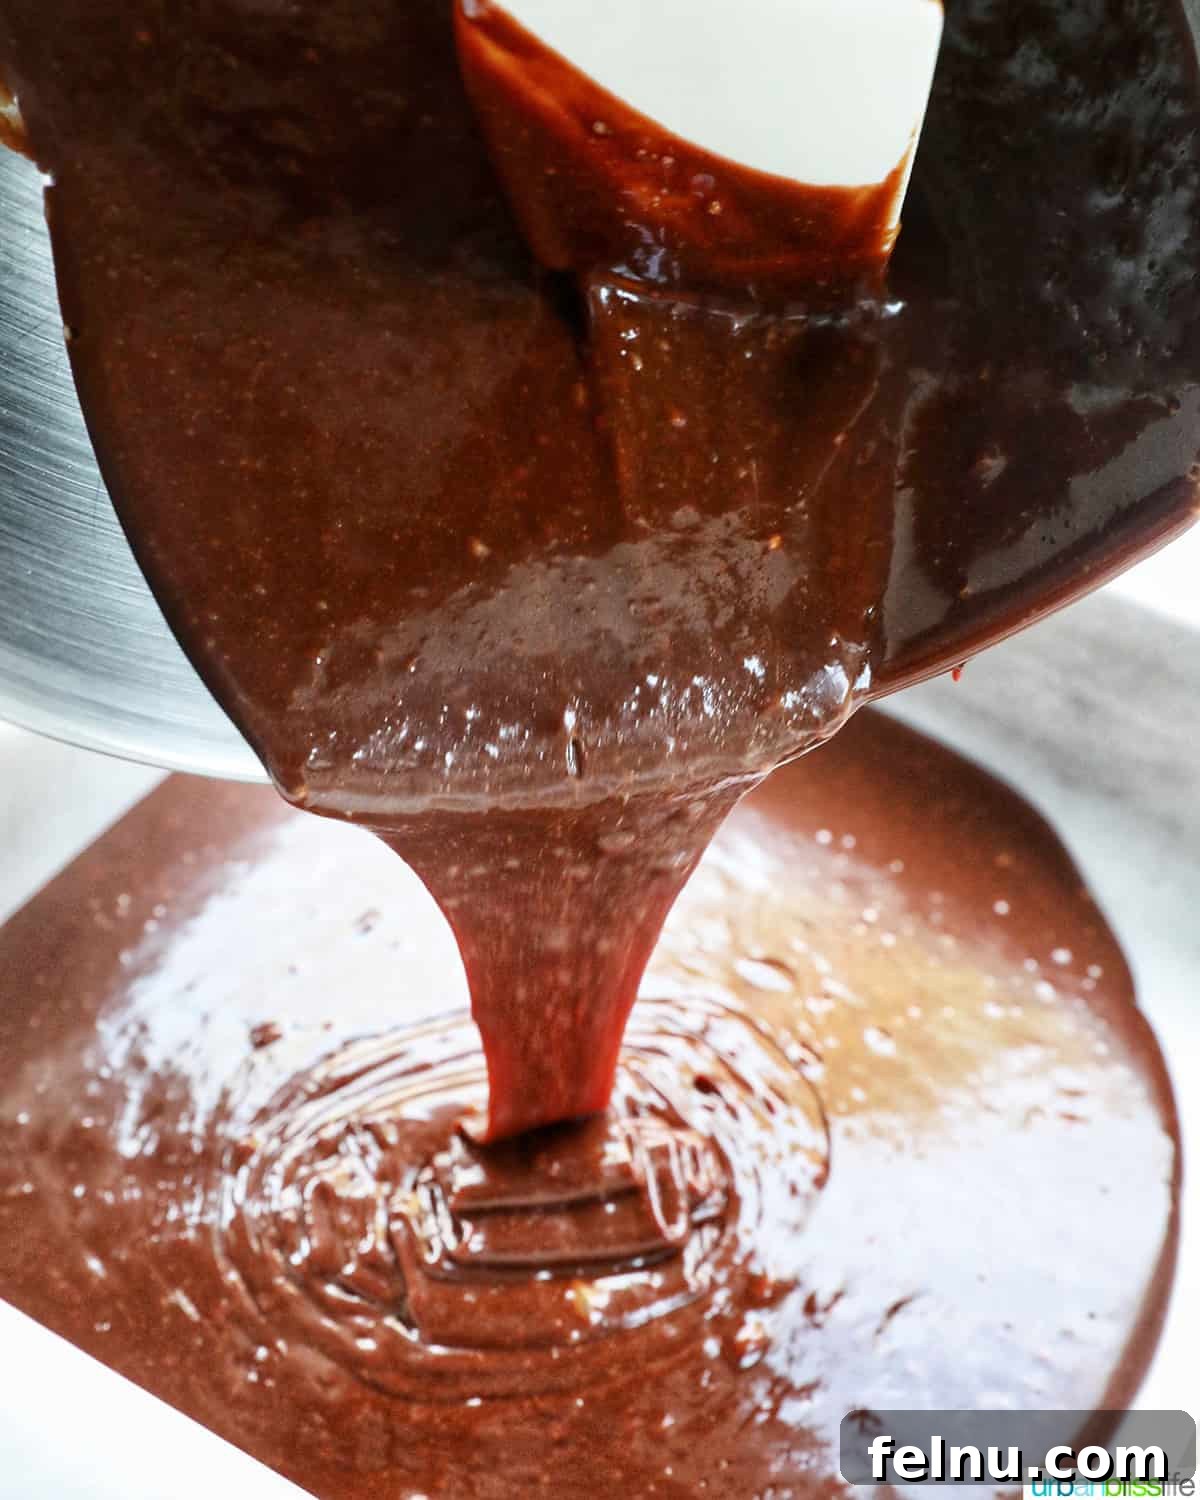
Make the Batter: In a stand mixer or another large bowl, using a hand mixer, beat together the sugar, vanilla extract, and eggs until well combined. This step is crucial for creating a smooth and light batter. Continue mixing until the mixture is light and fluffy. Then, slowly add in the salt and flour, mixing until just combined. Be careful not to overmix, as this can lead to tough brownies.
Add the slightly cooled melted chocolate mixture to the egg mixture and mix again, just until everything is combined and the batter is smooth. Avoid overmixing at this stage to keep the brownies tender.
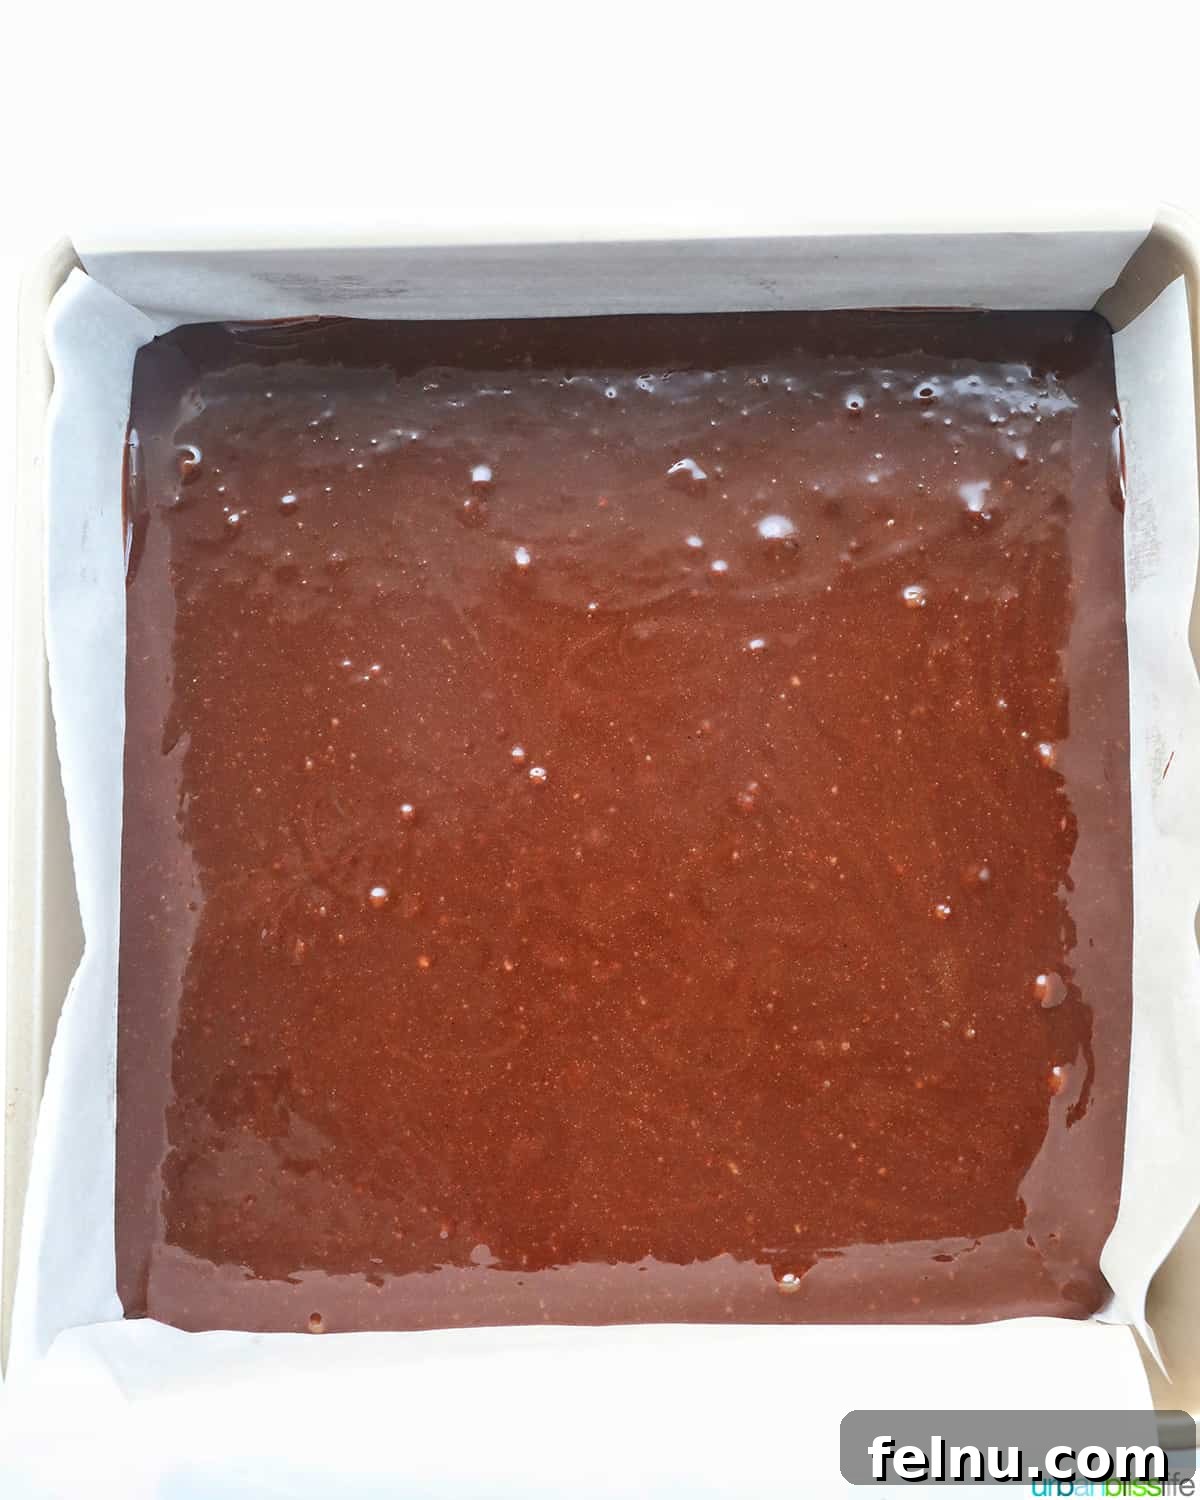
Carefully pour the brownie batter into the prepared pan, spreading it evenly.
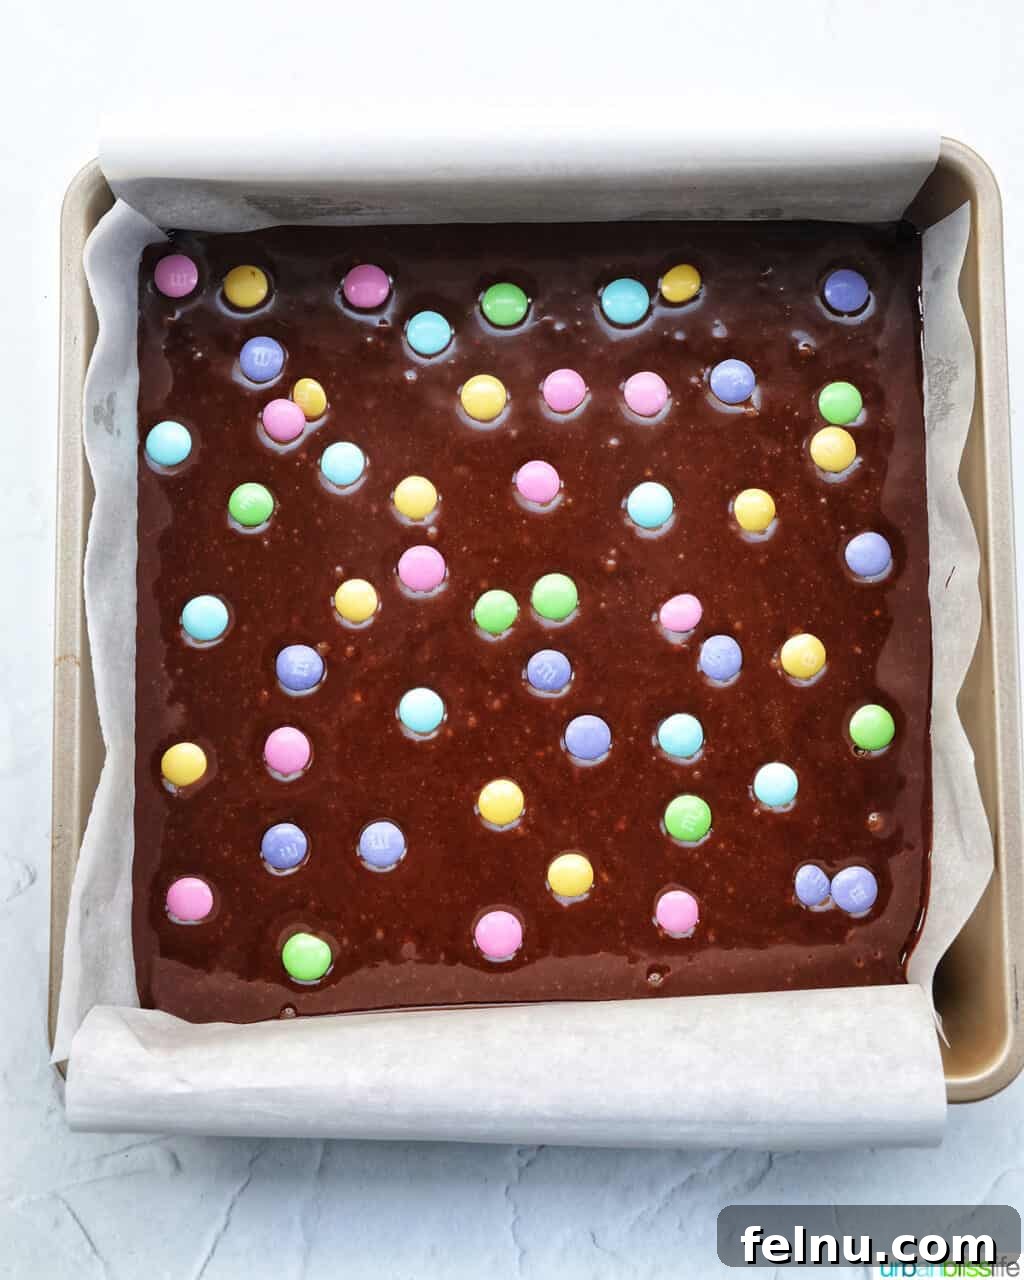
Sprinkle a generous amount of chocolate M&Ms evenly over the top of the batter in the pan. These M&Ms will slowly sink into the batter during baking, adding pockets of chocolatey goodness throughout the brownies. Adding them to the top instead of mixing them into the batter helps prevent them from sinking to the bottom during baking.
You can also add some chocolate candy eggs to the top of the batter if you wish, but be careful not to overload the top with too many chocolate candies. Too many candies can weigh down the brownies and prevent them from baking evenly.
Bake: Bake the brownies at 350°F (175°C) for 22 to 27 minutes, or until a toothpick inserted into the center of the brownies comes out with moist crumbs. The toothpick test is essential for determining the doneness of the brownies. If the toothpick comes out clean, it means you’ve overbaked the brownies. If it comes out with wet batter, the brownies are not done baking. The ideal outcome is moist crumbs clinging to the toothpick.
Once the brownies are done baking, remove them from the oven and allow them to cool in the pan for 10-15 minutes before carefully lifting them out of the pan using the parchment paper overhang. Place the brownies on a wire rack to continue cooling completely. Allowing the brownies to cool slightly in the pan before transferring them to a wire rack prevents them from breaking.
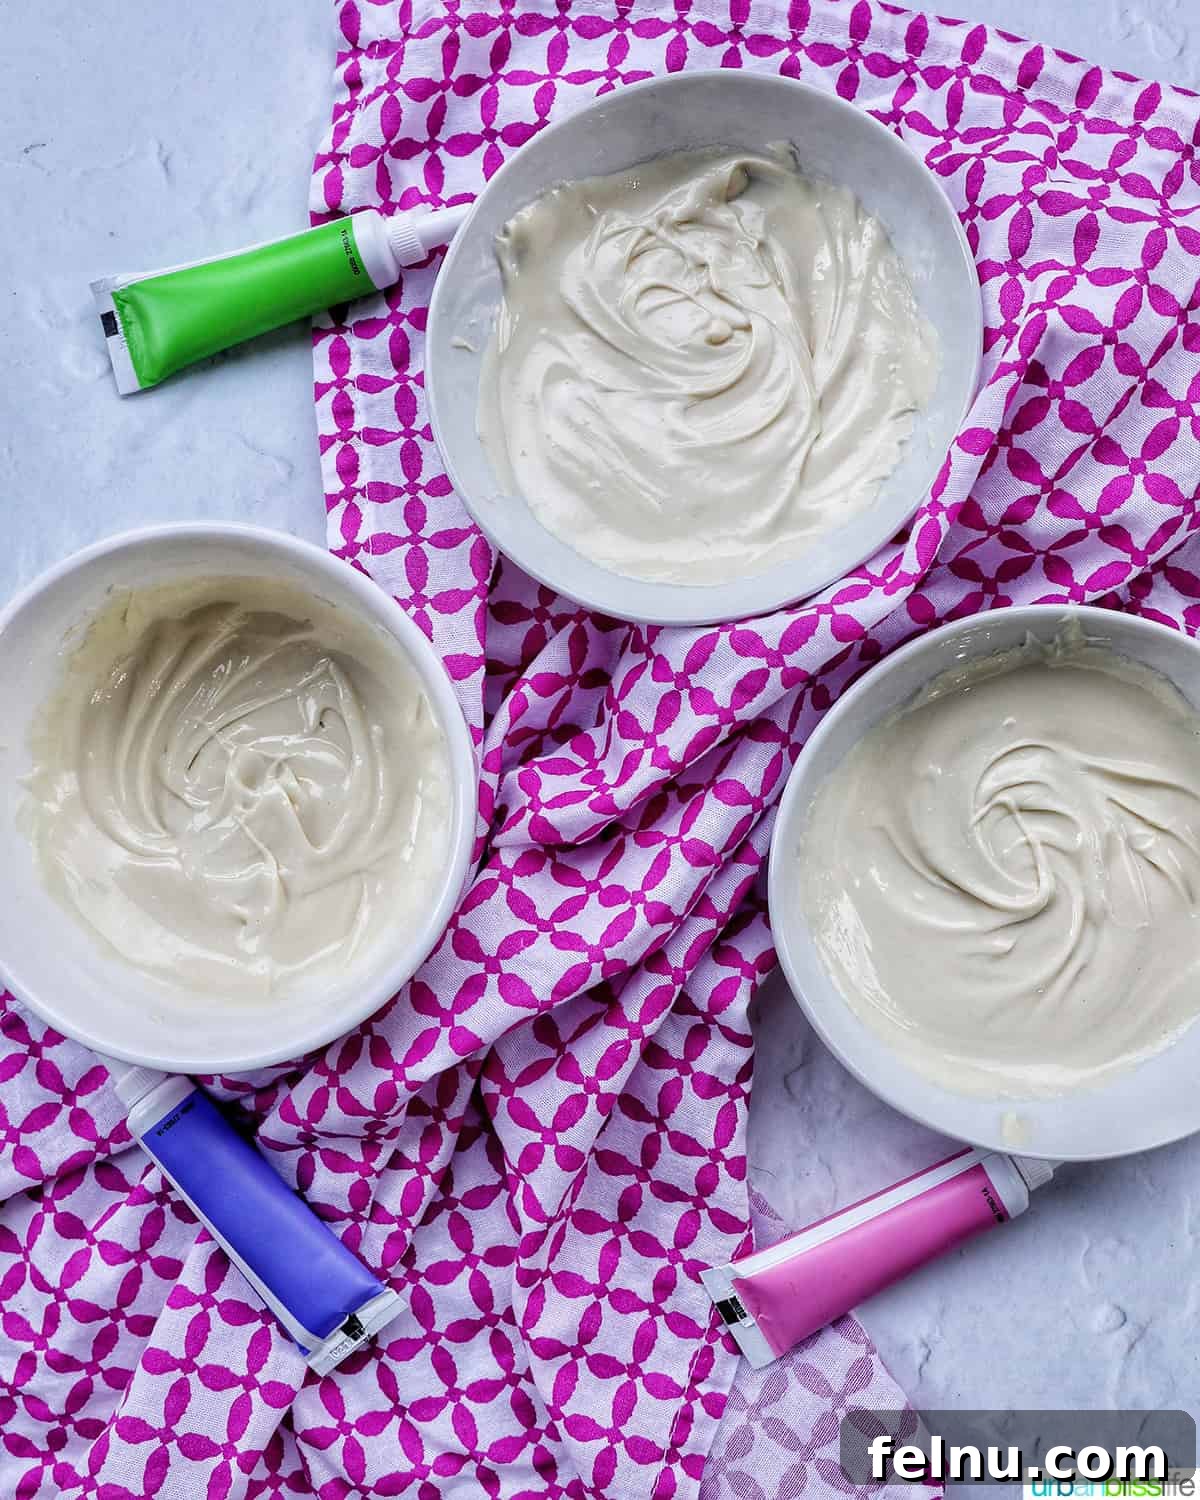
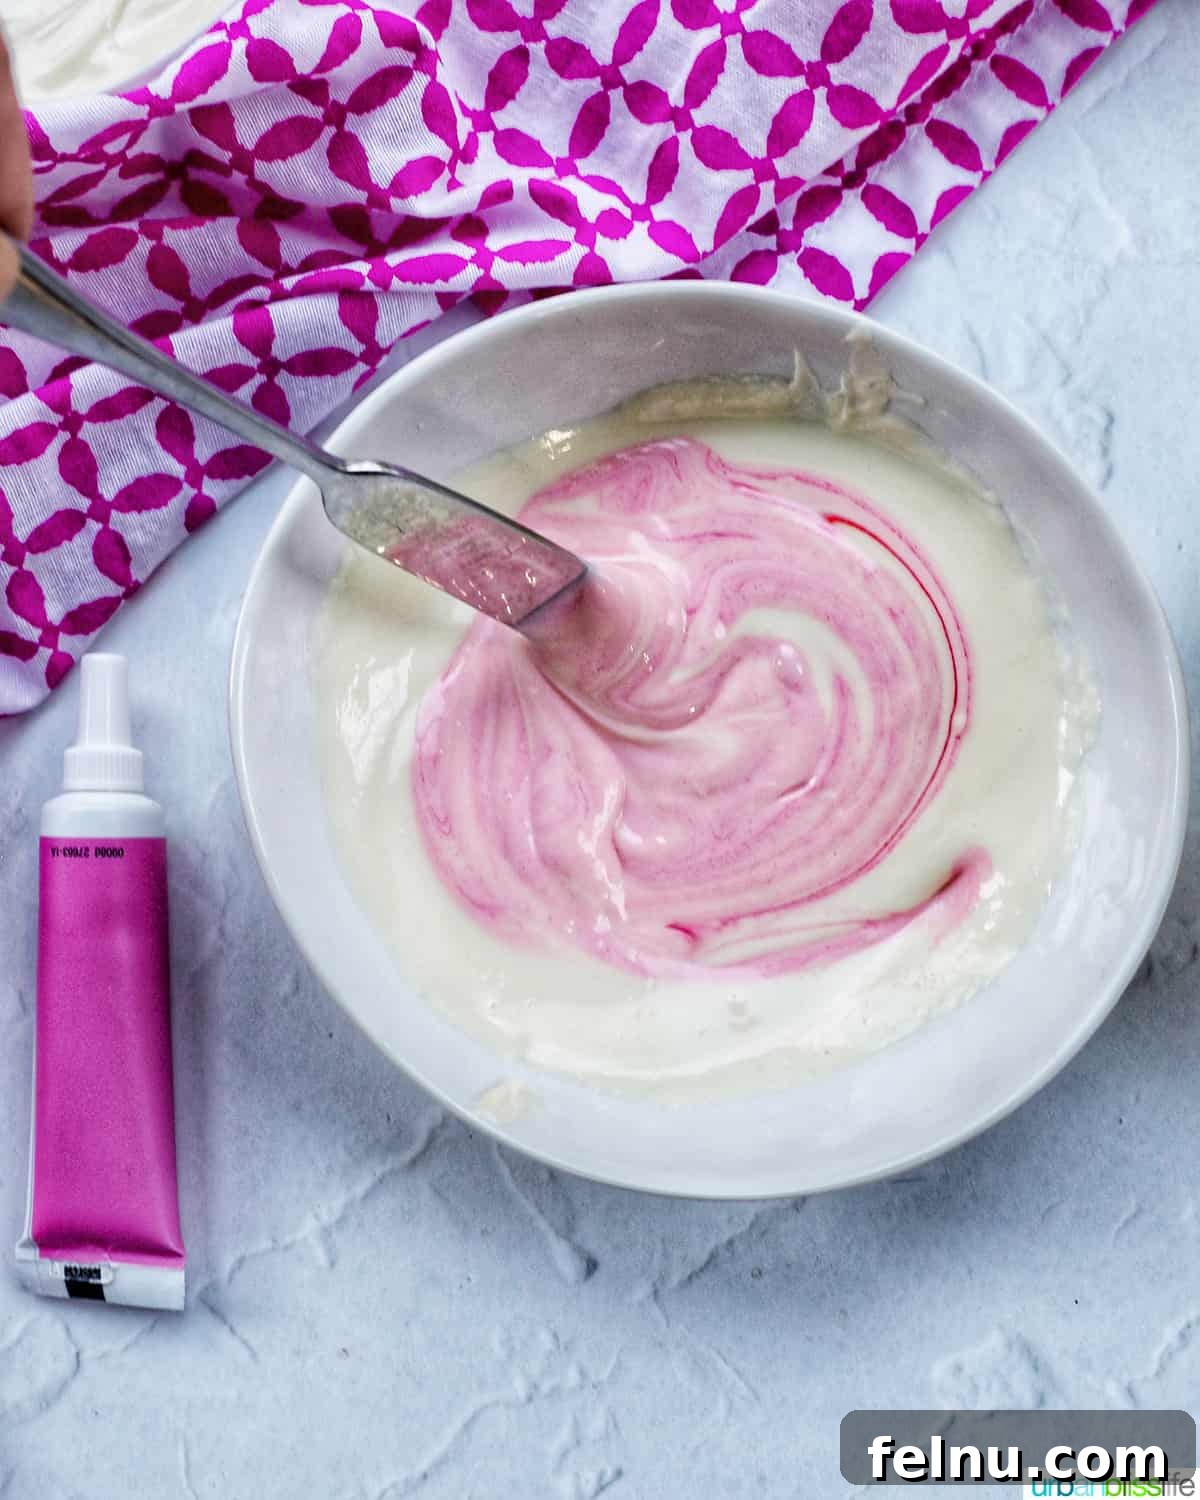
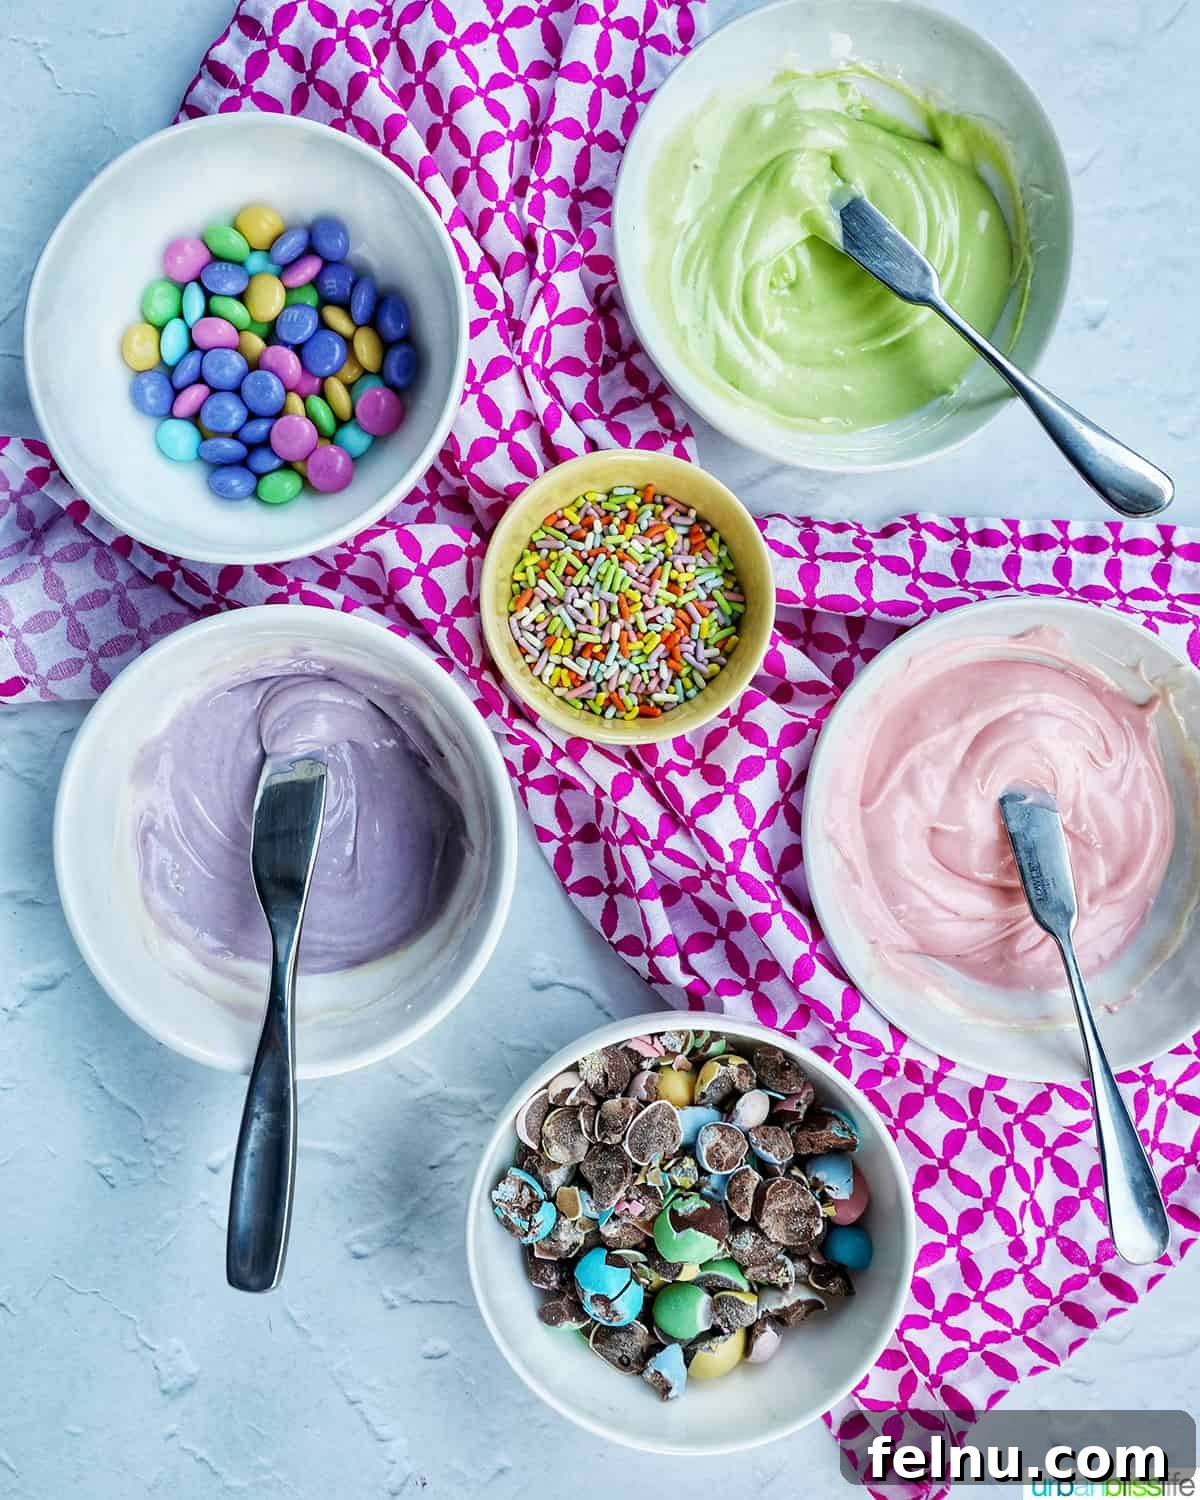
Make the White Chocolate Decorations: While the brownies are baking, melt the white chocolate in a microwave-safe bowl in 30-second increments, stirring well between each increment to prevent burning. Add food coloring to the melted white chocolate, if desired, creating festive Easter hues.
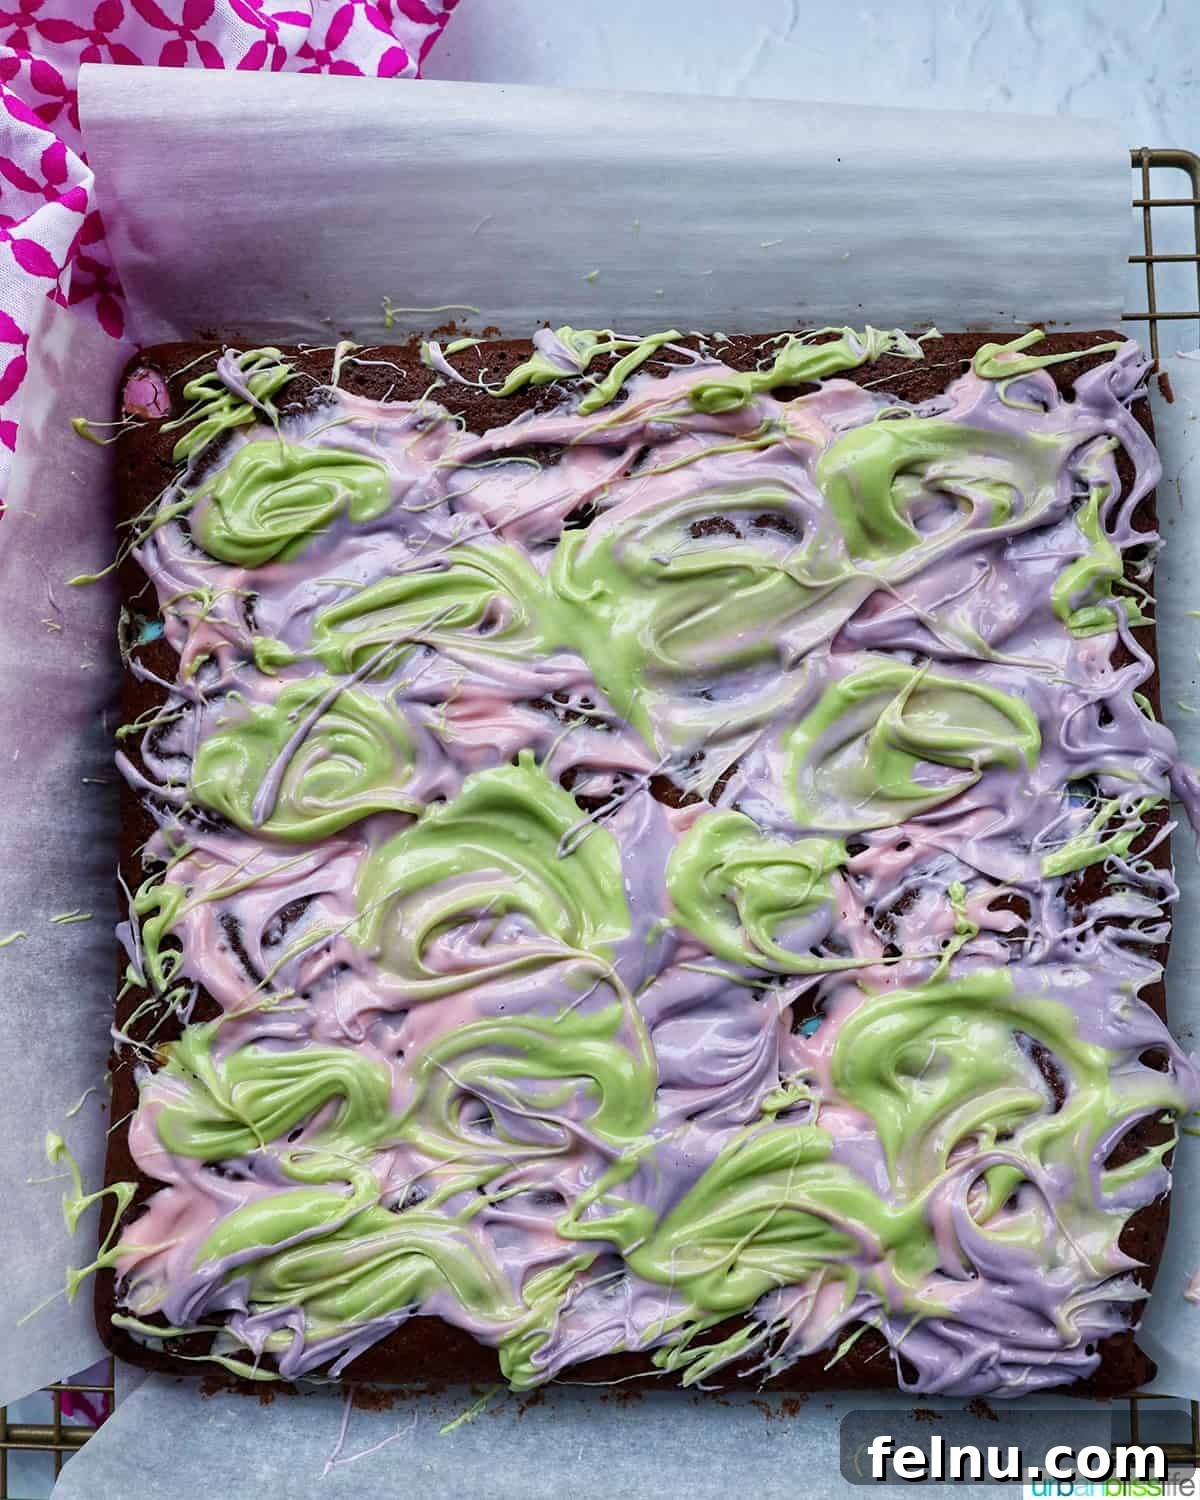
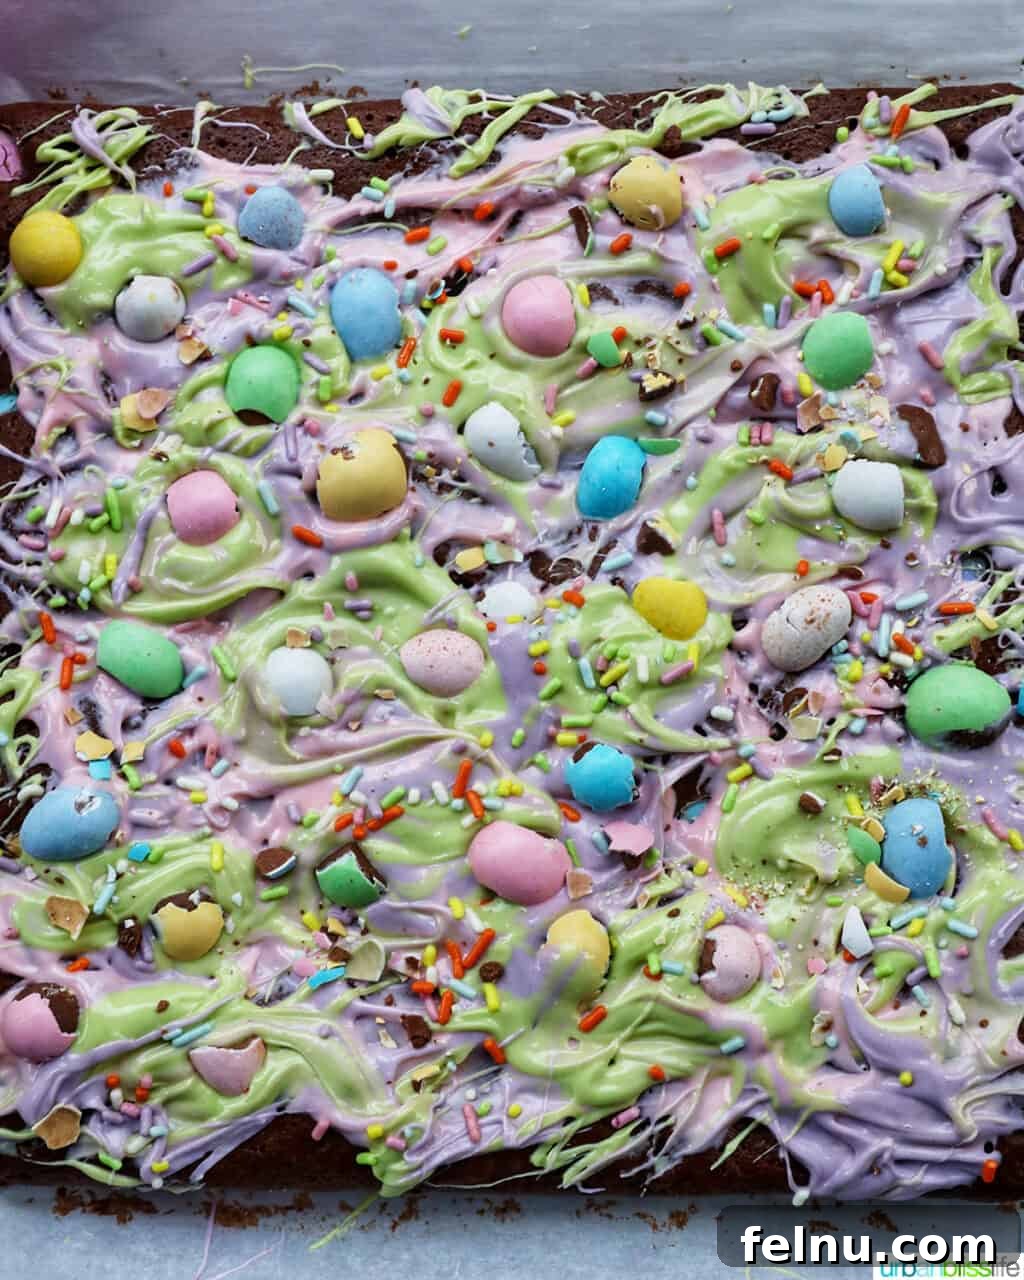
Decorate: After the brownies have cooled a bit, use a spoon or butter knife to swirl the colored white chocolate on top, creating a beautiful marbled effect. Then, sprinkle Easter M&Ms, chopped mini chocolate eggs, and any other candies you like over the white chocolate. The more decorations, the merrier! Allow the chocolate to set completely before slicing the brownies into squares and serving.
Frequently Asked Questions About Easter Brownies
The key to achieving moist, chewy, and fudgey brownies lies in using melted butter and chocolate in the batter. These ingredients contribute to a denser and richer texture, resulting in an irresistible brownie.
If you prefer brownies with a thicker and cakier texture, simply add a little more flour to the batter. This will create a lighter and more airy brownie.
To maintain their freshness, store brownies in an airtight container at room temperature for up to five days. For longer storage, you can also store brownies in a freezer-safe container or freezer bag in the freezer for up to two months. Thaw the brownies at room temperature before serving.
Serving Suggestions for Easter Brownies
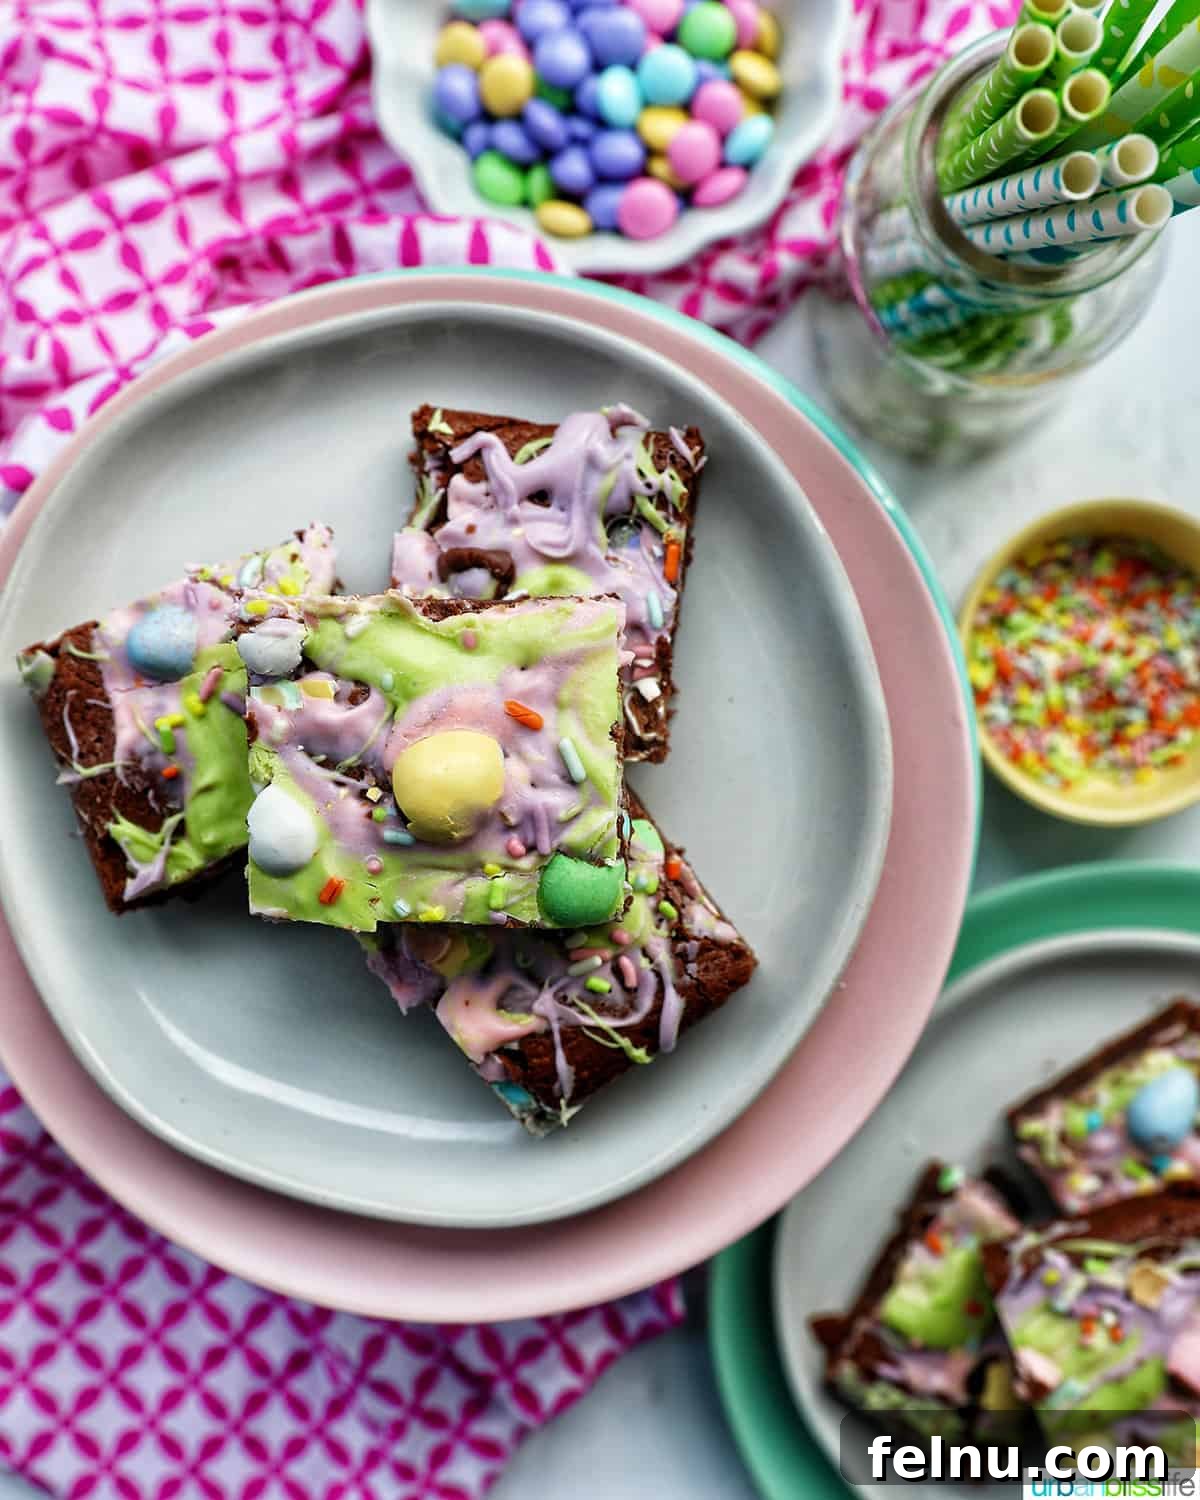
These Easter mini egg brownies are a fantastic way to end your Easter feast on a sweet note. For a memorable main course, consider serving Herb Crusted Rack of Lamb or Instant Pot Stuffed Pork Tenderloin. Complement these dishes with delicious sides like Green Beans with Bacon and Shallots or Roasted Asparagus.
If you’re planning a dessert table for your Easter gathering, serve these brownies alongside other festive treats like Easter Egg Cheesecake, Mini Egg Cookies, and Matcha Crinkle Cookies.
Essential Kitchen Tools and Equipment for Easter Brownies
Ready to make this Easter egg brownie recipe? Here are the essential kitchen tools and equipment you’ll need to ensure a smooth baking experience:
- Mixer: Use a stand mixer for ease and efficiency, or a large mixing bowl combined with a hand mixer for a more hands-on approach to making the batter.
- Pot and Bowl: To melt the chocolate and butter, you’ll need either a double boiler or a large heatproof bowl that can be nestled on top of a saucepan. A whisk or a heatproof silicone spatula is essential for stirring the mixture as it melts.
- Pan: You’ll need a 9″ x 9″ square baking pan for baking the brownies.
- Cutting Board: Use a sturdy cutting board and a sharp knife to chop the semi-sweet chocolate. A rolling pin is also helpful for crushing the mini chocolate eggs in a plastic bag on the cutting board.
More Easter Recipes to Try
- Giant Chocolate Chip M&M Cookies
- Strawberry Crinkle Cookies
- Cute, Easy Easter Bunny Pretzels
- Funfetti Cookie Bars
Did you try this recipe? Don’t forget to leave a 5-Star 🌟🌟🌟🌟🌟 rating in the recipe card, and if you really loved it, please leave a comment further down on the page. Thank you!
Easter Brownies Recipe
Marlynn Schotland
15
25
40
15
brownies