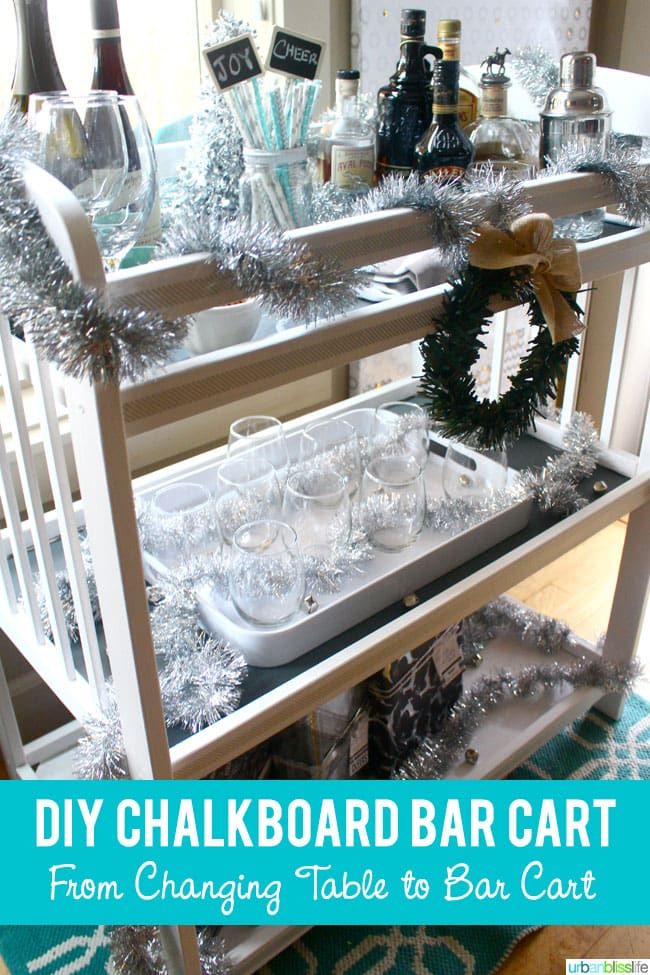
Today We've got a fun and EASY DIY project to share. It transforms a baby changing table into a DIY Bar Cart!
Have you ever looked at something and thought, "YES. We can make something of that."
That's what We thought as soon as a friend posted a photo of this, saying it was up for grabs for free:
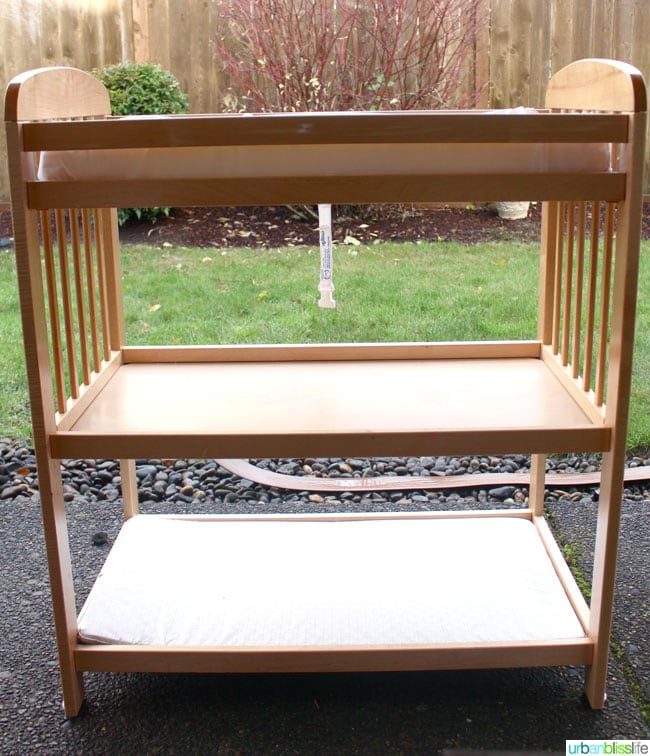
It looks like a standard baby changing table, right? Standard pine wood, thin side slats, top shelf with a foam changing mattress, bottom shelf with an additional thin mattress, middle shelf for baby wipes and diapers.
It is. But We saw more. We saw a bookshelf, then a craft cart, and then a bar cart.
And since it's the holidays, a bar cart it became.
Chalkboard Paint
We knew We wanted to use chalkboard paint because We wanted to make a cart that was easily multi-purpose and also fun to customize.
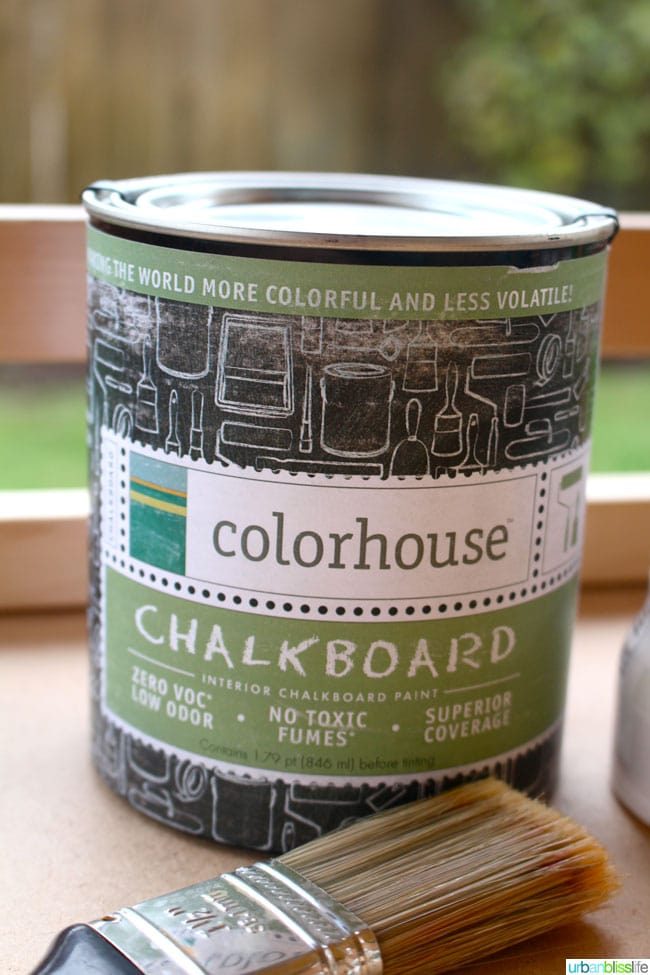
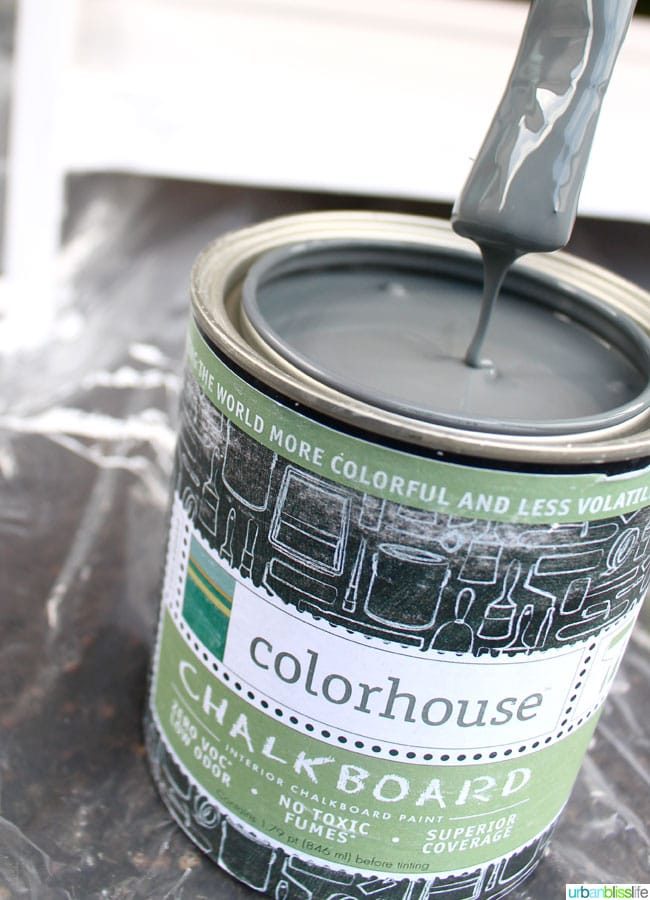
With great timing, Colorhouse, formerly known as YOLO, generously offered the opportunity for me to try their new Chalkboard Paints. Perfect for the DIY chalkboard bar cart project!
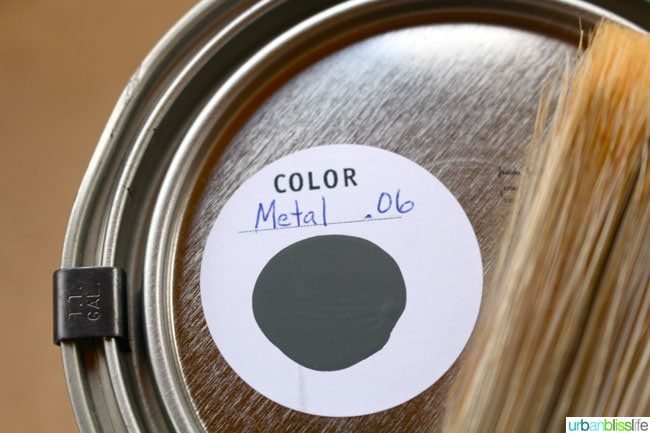
After letting them know about the project and the kind of color We was looking for, they suggested Metal .06. It turned out to be a fantastic color choice for this project.
If you are going to do your own transformation of a changing table to bar cart, however, there is some prep work that needs to be done before the painting begins.
From Baby Changing Table to Bar Cart
The changing table We inherited had the traditional safety straps on the top of the table. You simply need to use a Phillips head screwdriver to remove each of the side safety straps.
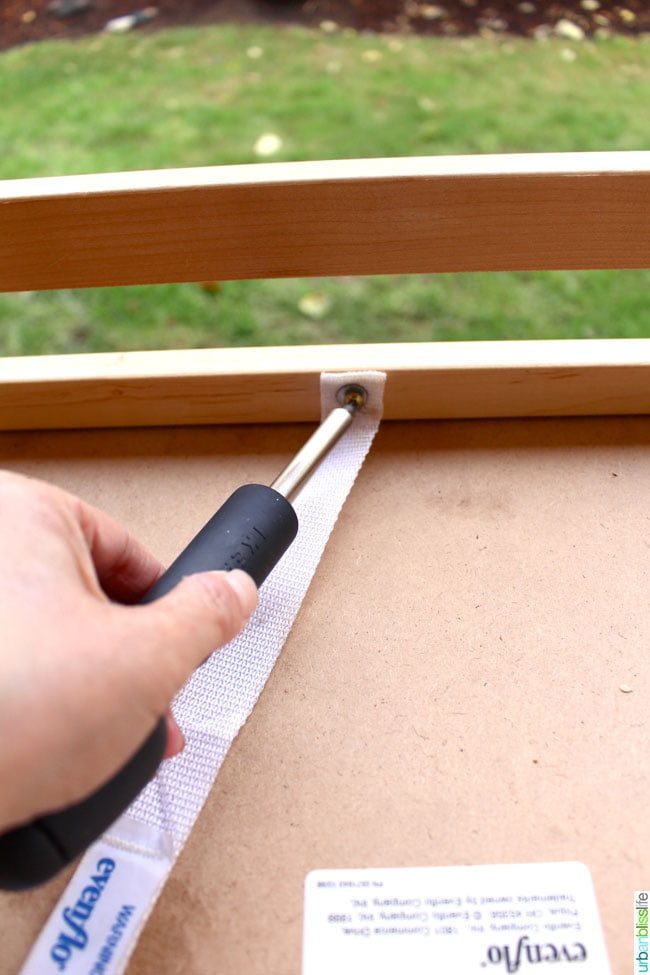
Then, if your changing table is like this one and had the brand sticker on the top side of the first shelf, you will also want to gently remove the screws off each top side and flip the top shelf over.
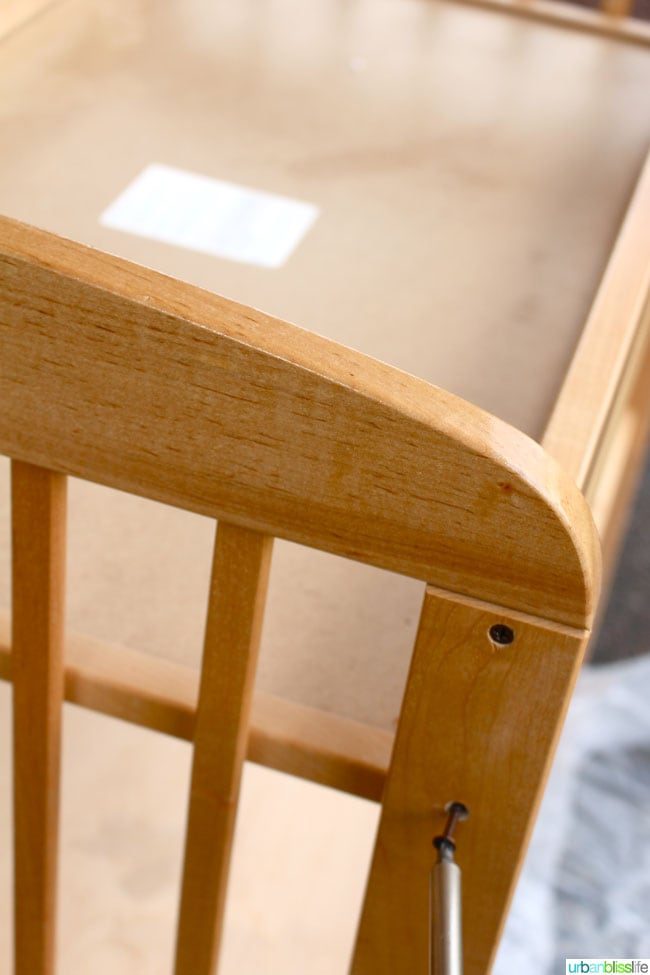
This way, you have a flat, clean surface for your paint.
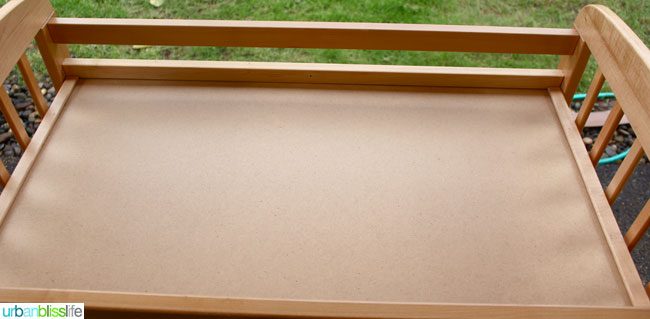
Once We cleaned the entire changing table with a damp cloth, it was time to paint. We decided to paint the tops of each of the shelves with the Colorhouse Chalkboard paint, and the sides in a soft white.
Here's what We LOVE about Colorhouse paints: they are zero VOC (volatile organic compounds), which means they have no toxic fumes, have low or no odor, and are safer for our family compared to most other traditional paints. These are excellent paints to use on surfaces that may come into contact with food or beverages in any way.
Colorhouse also has a great selection of colors for various parts of your house, and since we have previously used YOLO/Colorhouse paints in the daughter's room, We knew we would love the paint for our DIY chalkboard bar cart transformation.
DIY Bar Cart
After a couple of coats of paint, the old pine changing table is transformed into a modern chalkboard paint bar cart. 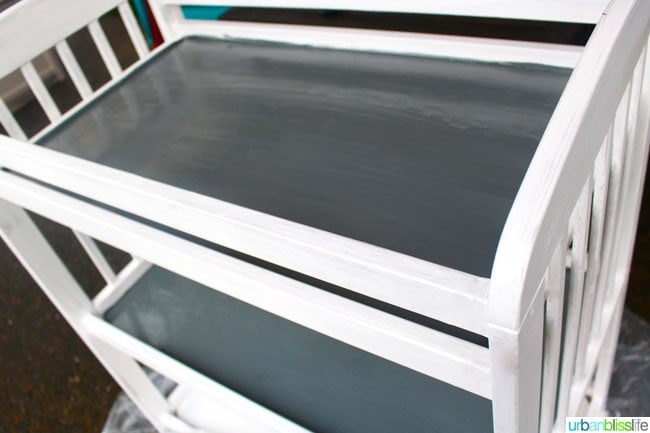
We love it! It is exactly as We thought it would look like, with one exception: We had intended to place castors on the bottom of the cart to make a rolling cart. However, the feet of this particular bar cart were much thinner and didn't accommodate the IKEA casters We had on hand; We always keep casters on hand because We am constantly changing furniture layout and our furniture needs to be easily mobile for different occasions. We may decide to saw off the bottom feet that came with the original changing table and attached casters to the bottom of the base shelf, making the bar cart more mobile. For now, it's a pretty simple bar cart to move around throughout the house without them.
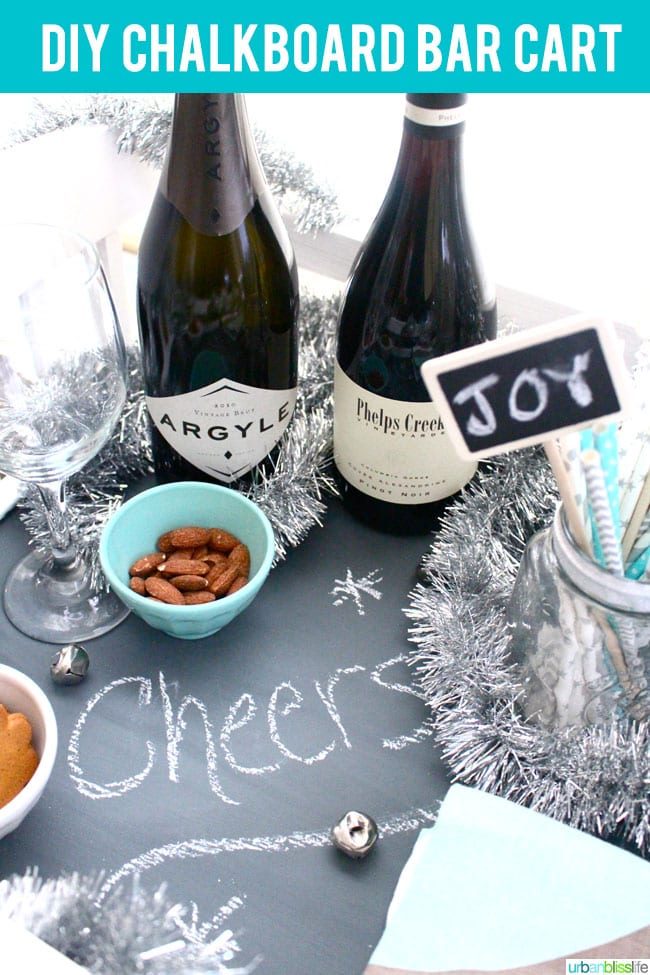
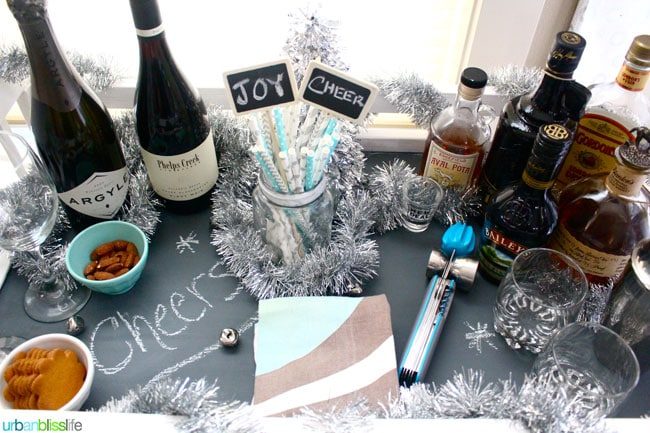
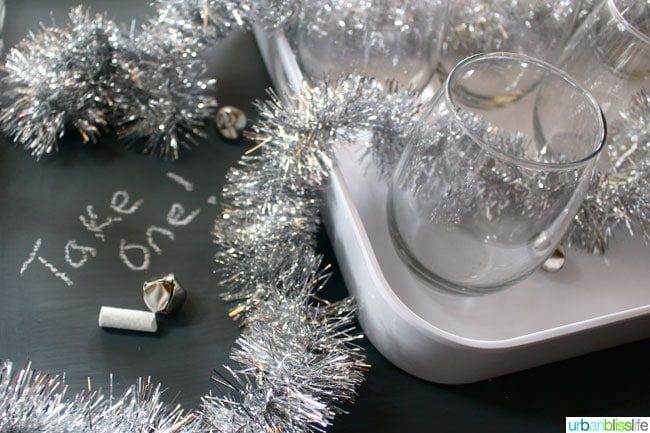
We LOVE being able to write decorative notes on the chalkboard shelves.
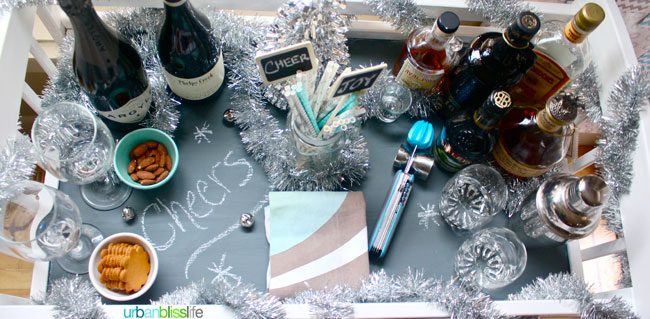
Using chalkboard paint on your DIY projects makes them SO versatile. For this cart alone, you could use the chalkboard tops for writing out:
- the names of different appetizers next to the dishes
- recipes for theme cocktail drinks
- party guest names
- the names of appetizers next to the bowls/plates of food.
If you follow this blog, you know how much We am in LOVE with washi tape (as seen here, here, and here) and use it for so many projects. For this DIY Changing Table Converted Into Bar Cart project, We used silver and white striped washi tape to decorate the sides of each shelf of the bar cart.
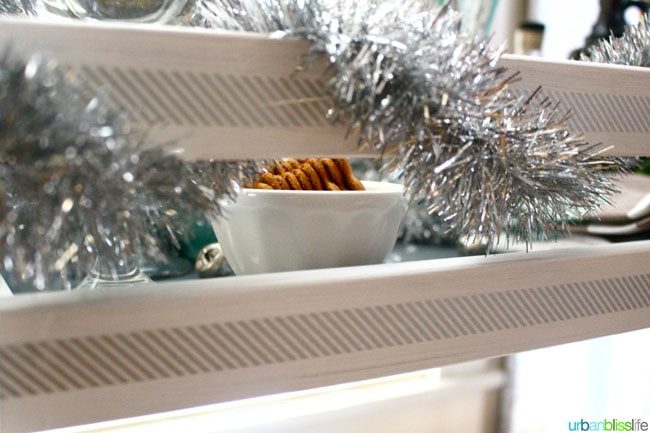
Tinsel and jingle bells are always in style when it comes to dressing up holiday bar carts.
You can set up your bar cart however you see fit, but in general, We like to use the top shelf for the alcohol, tonic water, small apps, plus decorative accessories like patterned straws and toothpicks. The middle shelf We like to use for glasses, and the last shelf you can use for extra bar towels, glasses, or simply make it a pretty decorative shelf with wrapped gifts, as We did here.
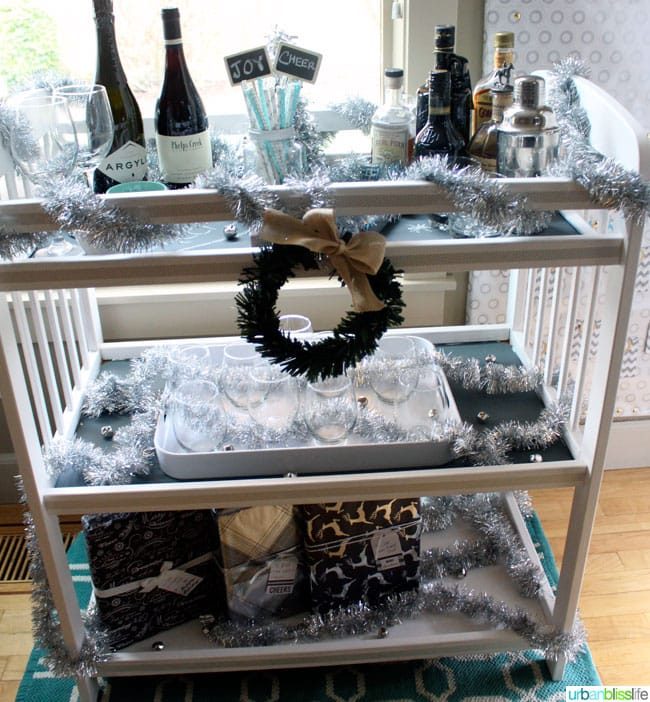
We love our new DIY Chalkboard Bar Cart!