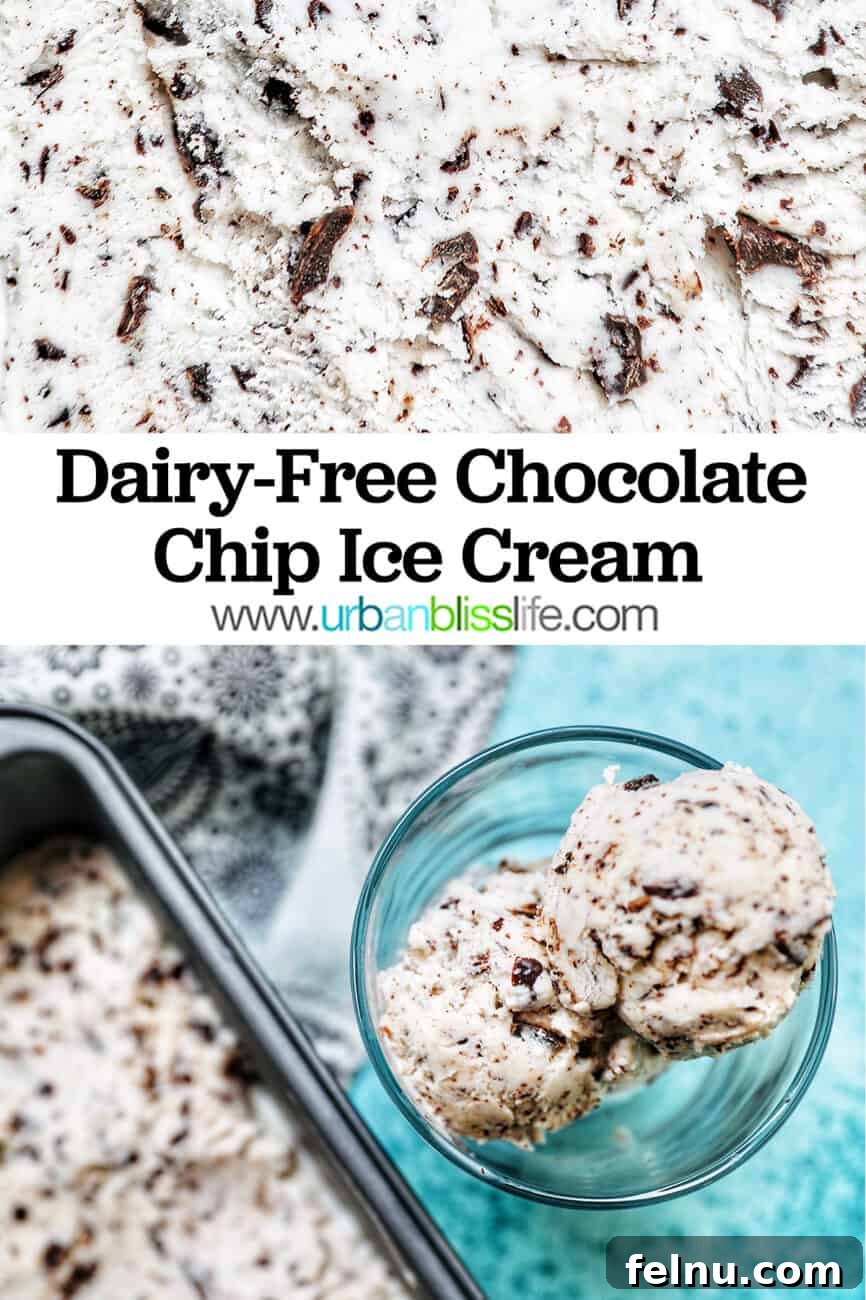
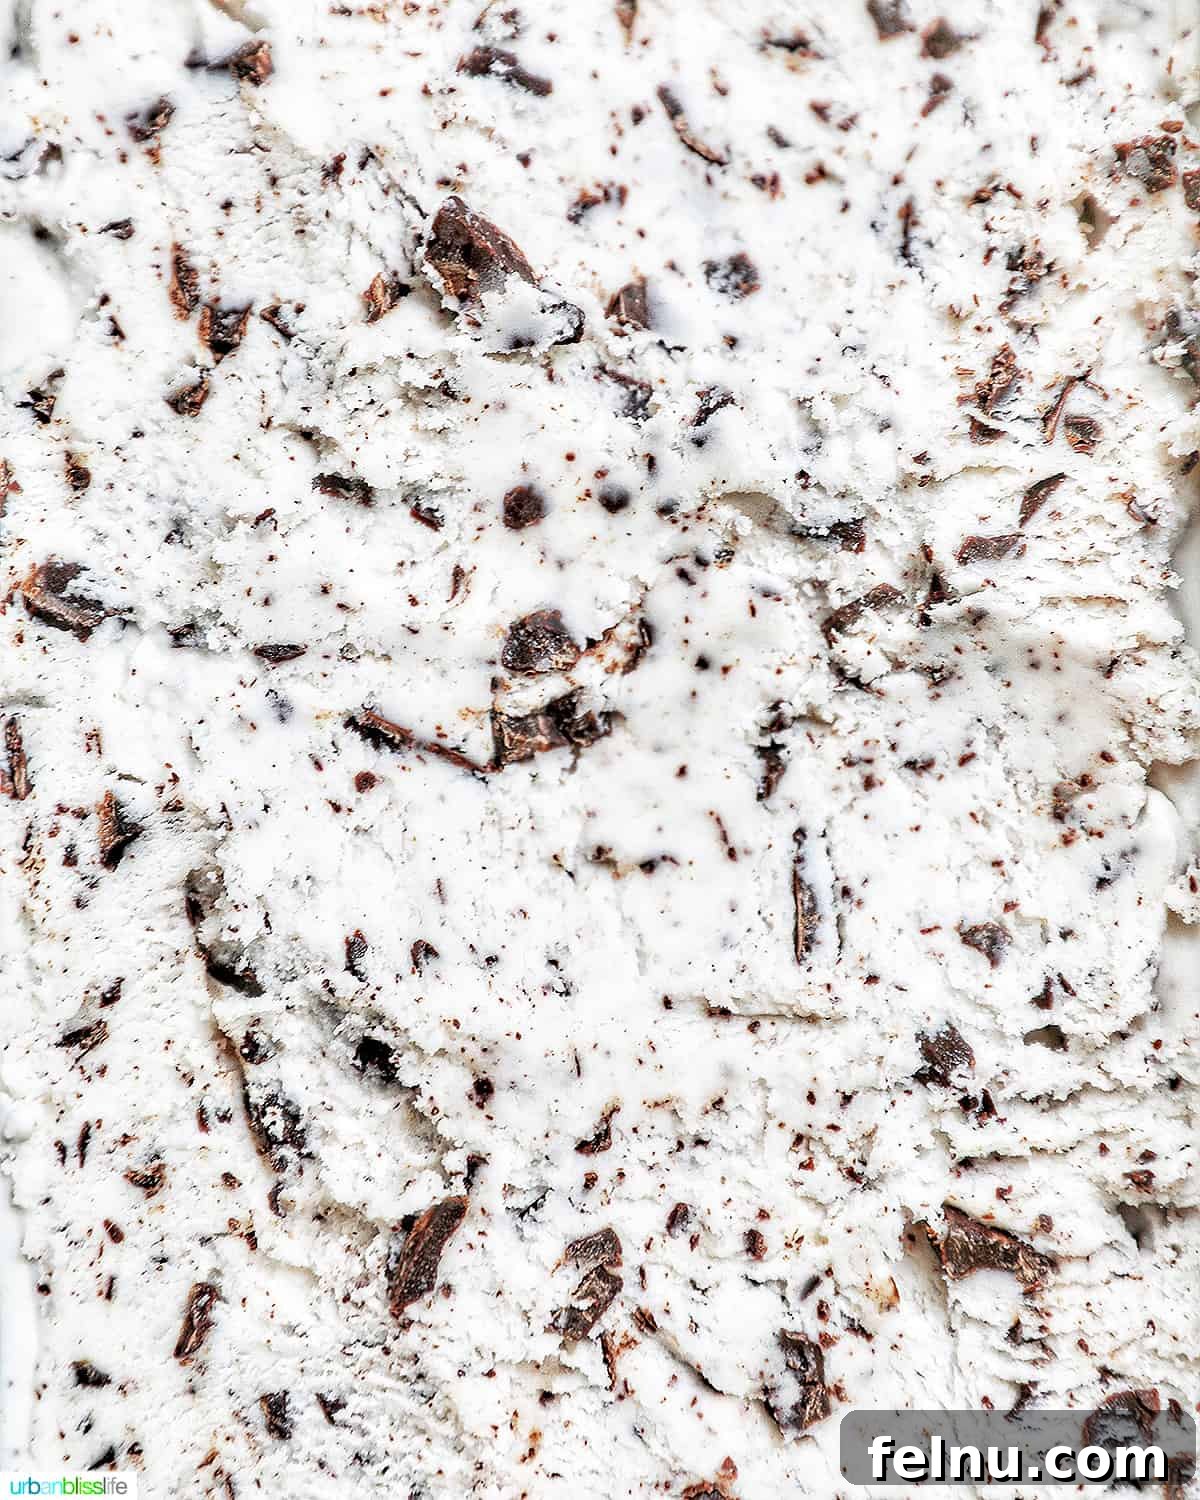
Indulge in the luscious delight of this **Dairy-Free Chocolate Chip Ice Cream**, a remarkable vegan rendition that captures the beloved creamy texture and abundant chocolate goodness of Baskin Robbins’ classic! Perfect for those seeking a plant-based frozen treat that doesn’t compromise on flavor or richness, this recipe is surprisingly easy to whip up right in your own kitchen.
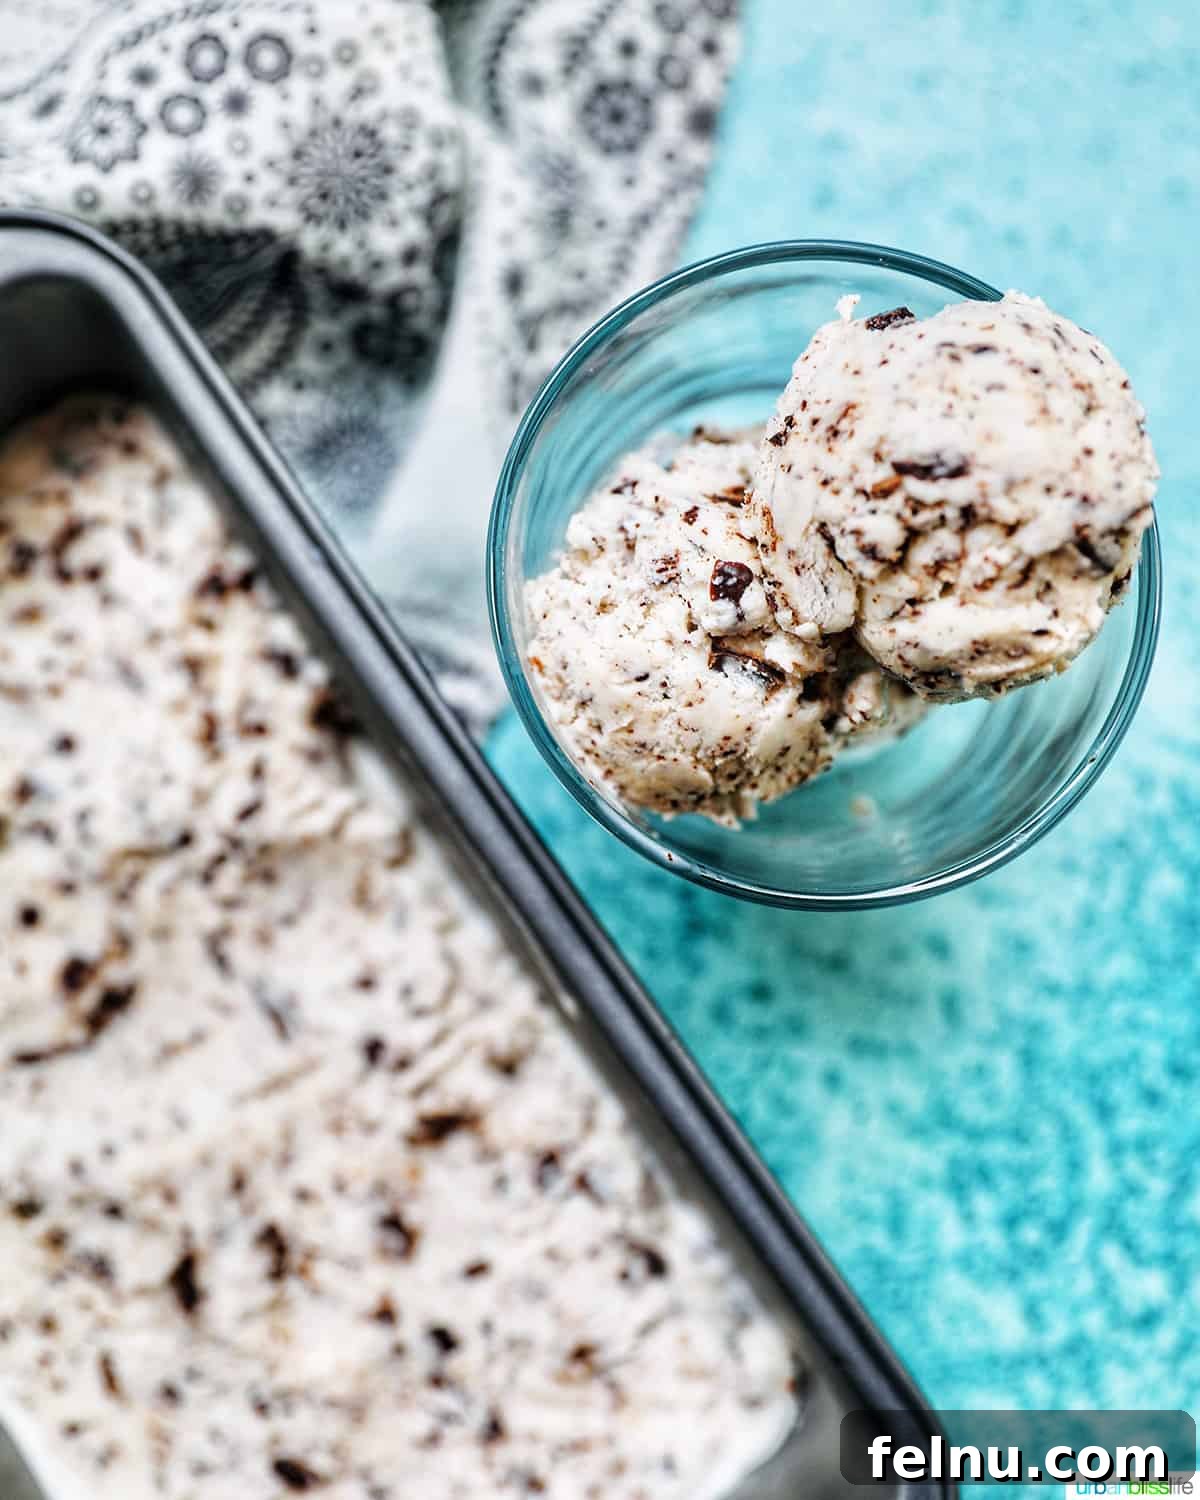
Welcome to the season of delightful frozen treats! There’s something undeniably special about homemade ice cream – the fresh ingredients, the customizable flavors, and the sheer joy of creating a dessert that truly satisfies. In our home, the ice cream maker is almost always on standby, its bowl patiently chilling in the freezer, ready to transform simple ingredients into creamy masterpieces.
From tangy Orange Sorbet and refreshing Raspberry Sherbet to decadent Dairy-Free Cookies and Cream Ice Cream, we cherish the tradition of crafting our own frozen delights. Today, we’re thrilled to share a recipe that truly stands out: a dairy-free chocolate chip ice cream that brings back childhood memories with every spoonful.
🌟 Why You’ll Adore This Dairy-Free Chocolate Chip Ice Cream
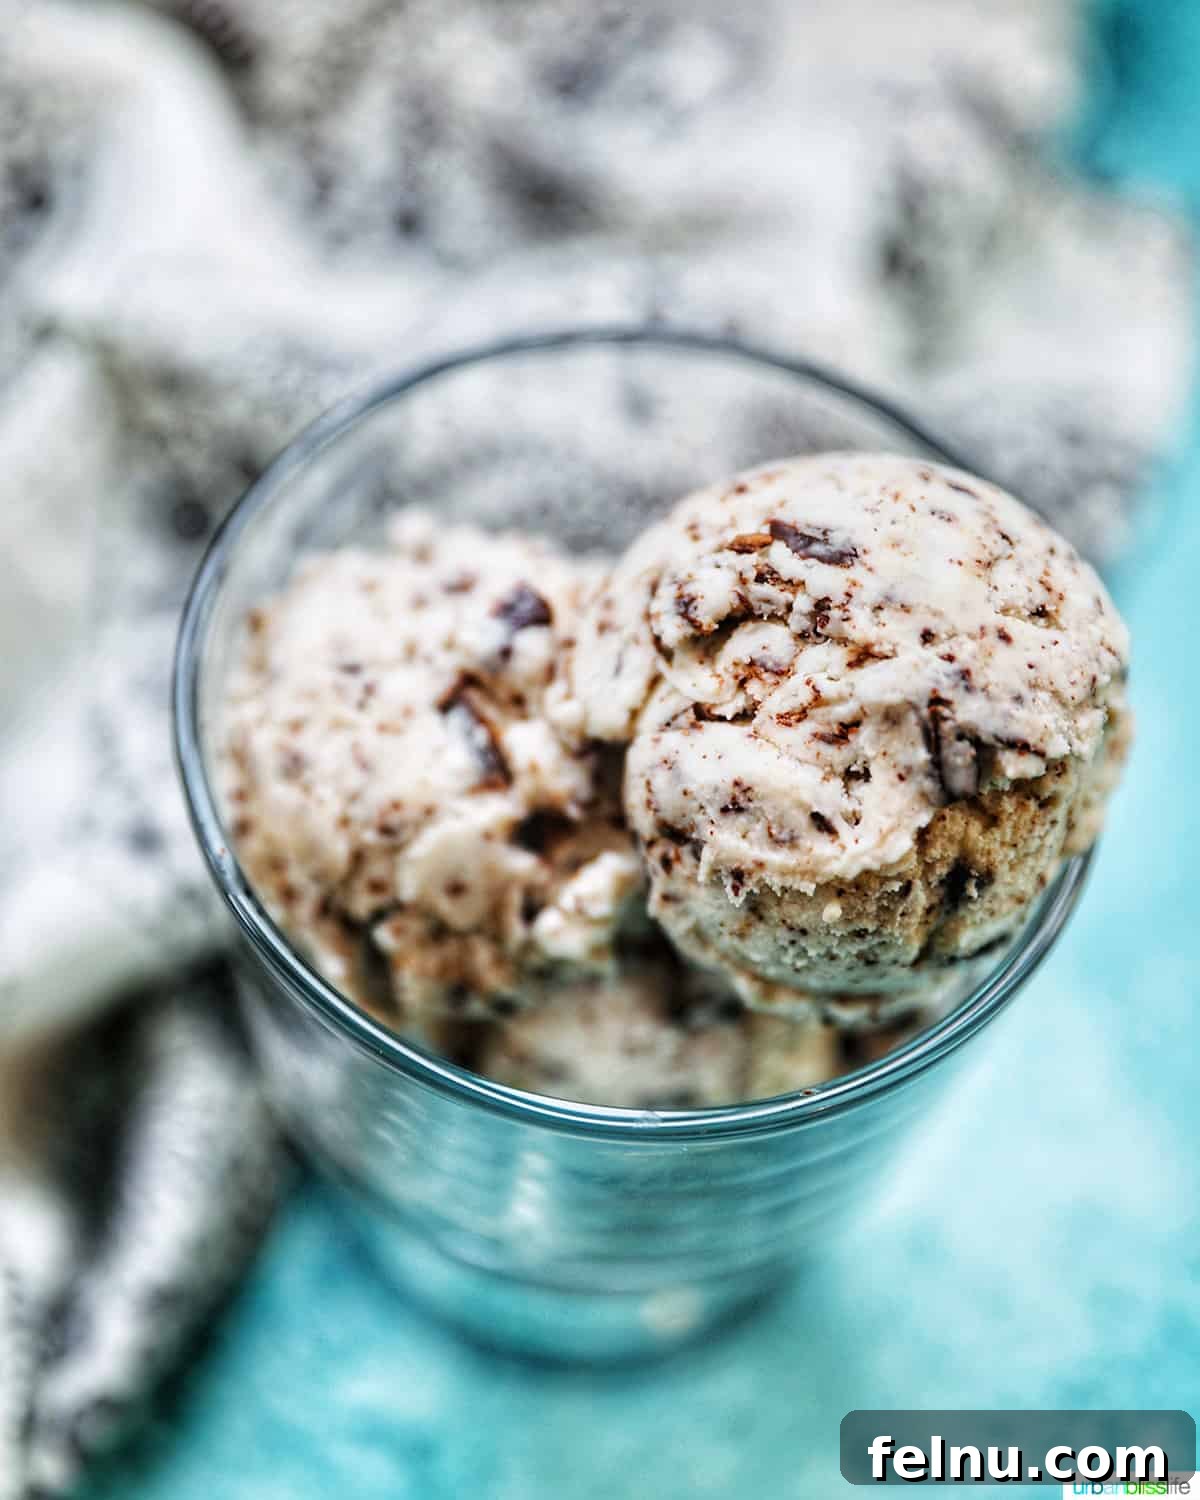
For years, I embarked on a personal quest: to recreate the magic of Baskin Robbins Chocolate Chip Ice Cream, my absolute favorite as a child, in a completely vegan form. It was a mission filled with delicious experiments and a few learning curves, but I’m ecstatic to announce that the mission is accomplished!
This dairy-free copycat Baskin Robbins recipe is not just a dream come true for me; it’s designed to become your new go-to for a perfect frozen dessert. Here’s why you’ll fall in love with it:
- **Authentic Baskin Robbins Flavor, Minus the Dairy:** This recipe truly captures the essence of that classic chocolate chip ice cream, offering a remarkably similar taste and texture without any dairy products. It’s a nostalgic journey in every bite.
- **Simple, Wholesome Ingredients:** You’ll need just 5 core ingredients (plus a pinch of salt!), most of which you likely already have in your pantry. No obscure items or complex preparations, making it accessible for any home cook.
- **Irresistibly Creamy Texture:** Thanks to a clever combination of ingredients, this ice cream is wonderfully smooth and rich, completely avoiding the icy consistency often associated with dairy-free alternatives. It melts beautifully in your mouth, just like traditional ice cream.
- **Chocolate in Every Spoonful:** We’ve ensured that each bite is generously studded with dairy-free chocolate shavings. This guarantees a delightful burst of chocolate flavor and varied texture from start to finish.
- **Light Yet Indulgent:** Despite its creamy richness, this ice cream feels refreshing and surprisingly light. It’s the perfect treat to cool down on a warm day or to enjoy as a satisfying dessert after any meal.
- **Effortless Preparation:** The steps are straightforward and easy to follow, even for beginner ice cream makers. With minimal hands-on time, you’ll be enjoying homemade vegan ice cream in no time.
Prepare to be amazed at how easily you can create such a luxurious and satisfying dairy-free dessert!
🍫 Essential Ingredients for Your Vegan Ice Cream
Before you begin the exciting journey of making your own dairy-free chocolate chip ice cream, there’s one crucial preparatory step: place your ice cream maker bowl in the freezer at least 24 hours in advance. A thoroughly frozen bowl is key to achieving that perfect creamy consistency.
Once your bowl is chilling, gather these simple yet powerful ingredients:
- **Full-Fat Canned Coconut Milk:** This is the cornerstone of our creamy, dairy-free base. Unlike lighter coconut milks or other plant-based milks, full-fat coconut milk provides the necessary fat content to create an incredibly rich and smooth texture, closely mimicking traditional dairy ice cream. Do not substitute with light coconut milk or carton-based varieties if you want the best results. The creaminess factor truly relies on it!
- **Granulated Sugar:** Beyond its role in sweetening, granulated sugar is vital for the structure and consistency of the ice cream. It helps prevent excessive ice crystal formation, contributing to a smoother mouthfeel. I strongly advise against substituting this ingredient, as alternative sweeteners can significantly alter the overall texture and freezing point of the ice cream.
- **Kosher Salt:** A small amount of salt enhances all the flavors in the ice cream, especially the sweetness and chocolate notes. If using table salt, remember to halve the amount, as it’s finer and more potent than kosher salt.
- **Cornstarch:** This is our secret weapon for achieving superior creaminess in dairy-free ice cream. As a thickening agent, cornstarch helps bind the ingredients and prevents the formation of large, icy crystals, resulting in a delightfully smooth and scoopable texture. Other effective thickeners include arrowroot powder, tapioca starch, or a tiny pinch of xanthan gum.
- **Pure Vanilla Extract:** For the most authentic and aromatic flavor, opt for pure vanilla extract. It adds a warm, sweet depth that complements the chocolate beautifully and elevates the entire ice cream experience.
- **Dairy-Free Chocolate Bar:** Choose a high-quality dairy-free chocolate bar that you genuinely enjoy. The type of chocolate will significantly impact the final flavor. You have the option to finely chop the bar for delicate flakes that melt in your mouth, or use a vegetable peeler to create elegant chocolate shavings for a varied texture. Dairy-free chocolate chips can also be used if preferred, offering convenient chunks throughout the ice cream.
With these ingredients at hand, you’re all set to create a vegan ice cream masterpiece!
✅ Easy Step-by-Step Instructions for Perfect Dairy-Free Ice Cream
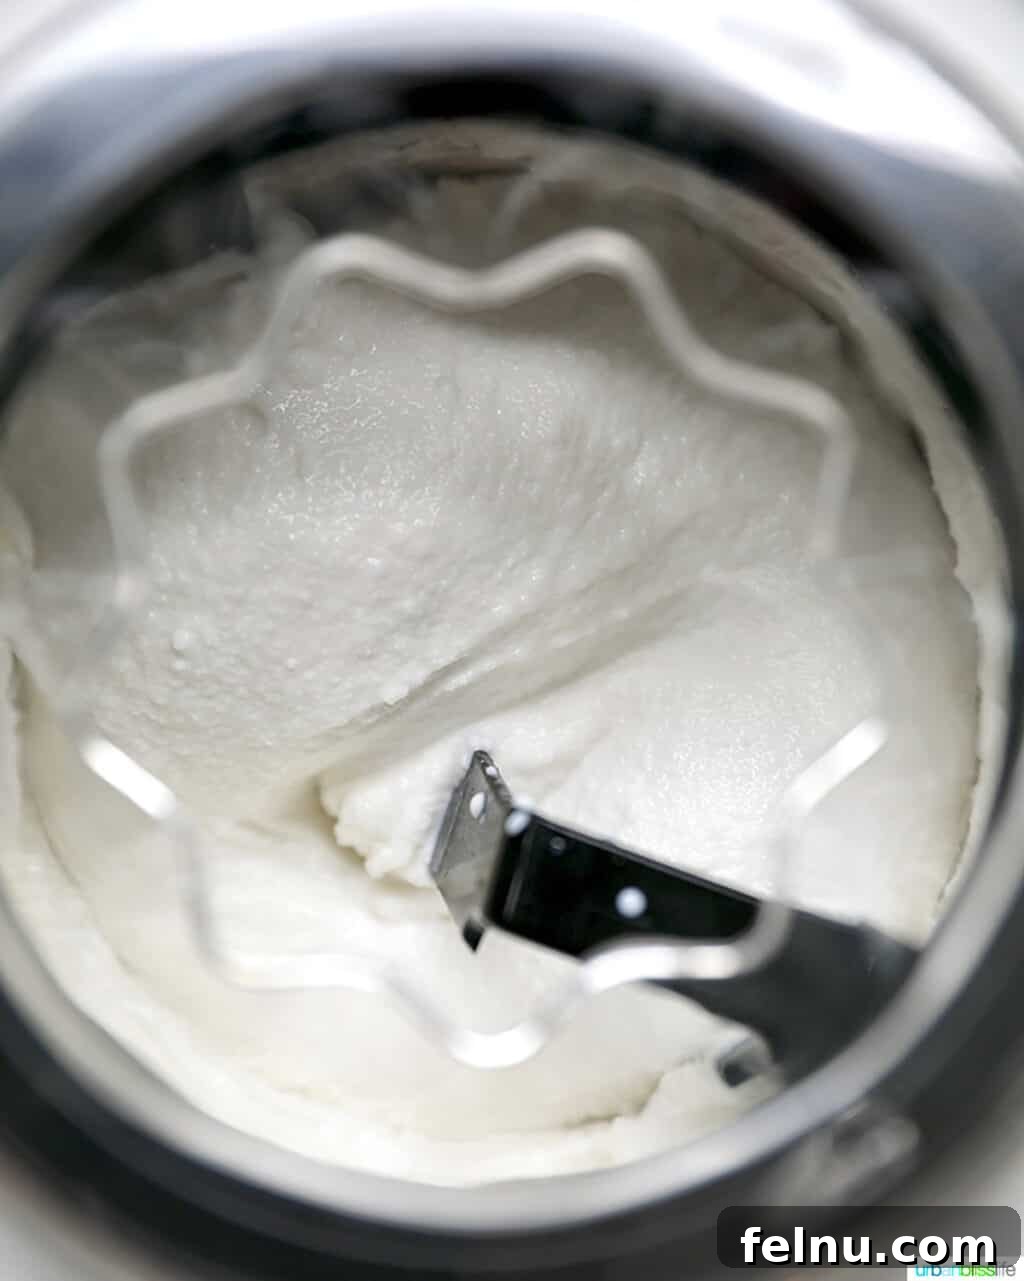
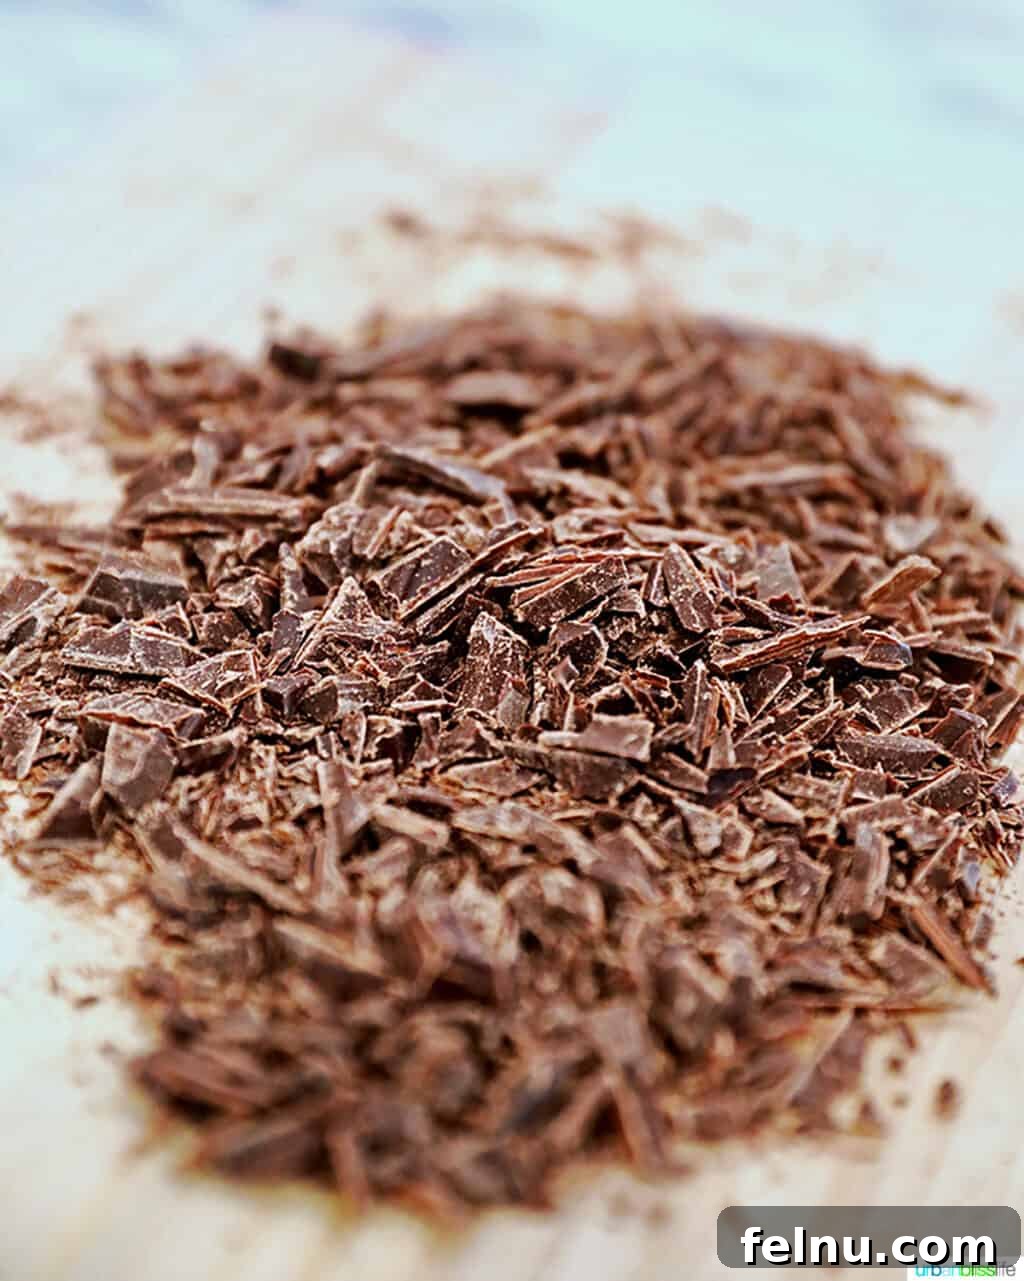
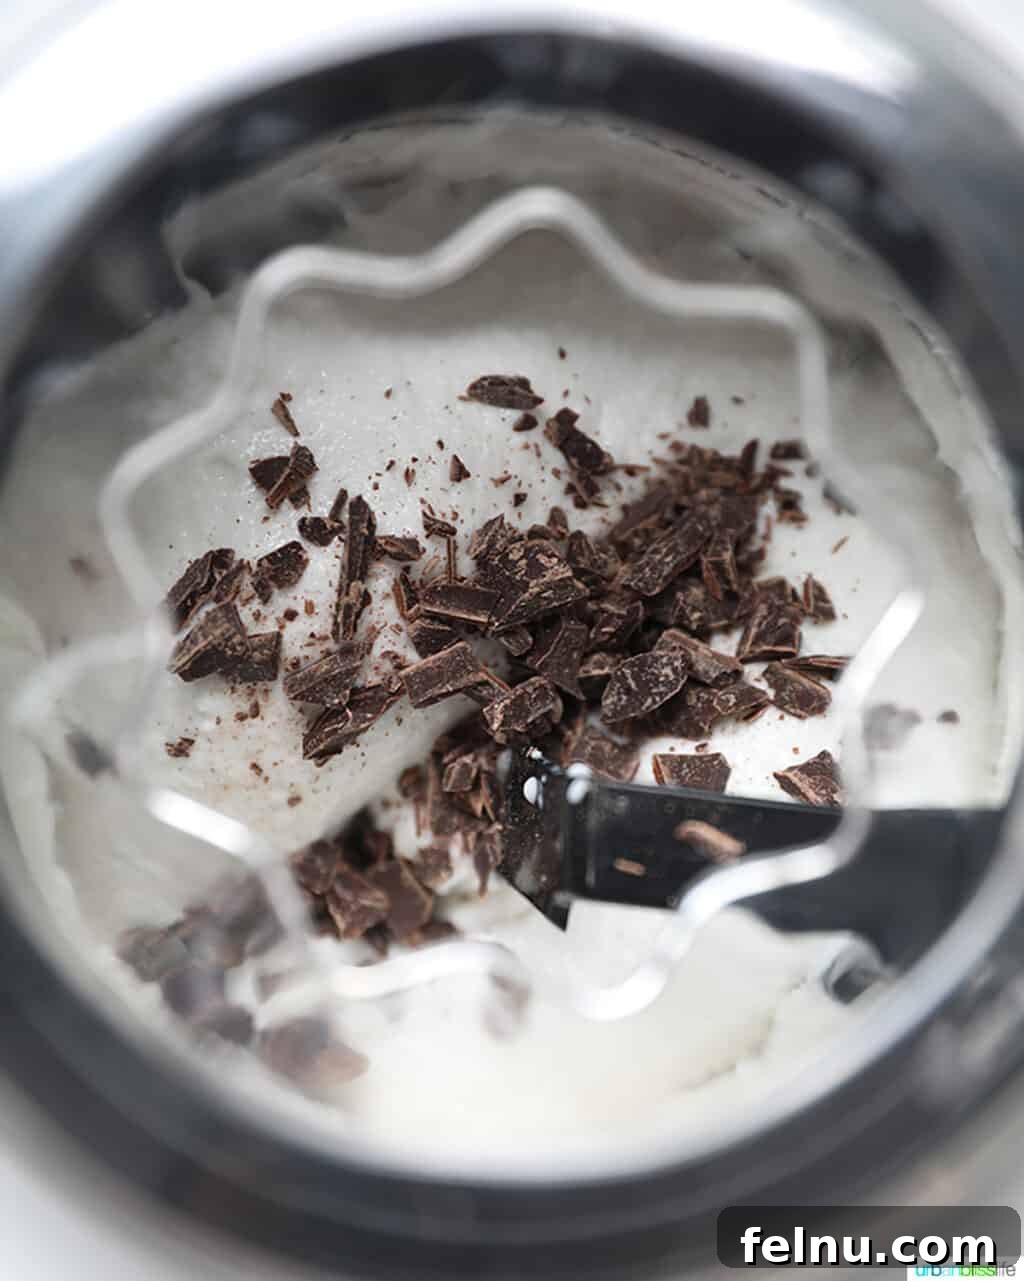
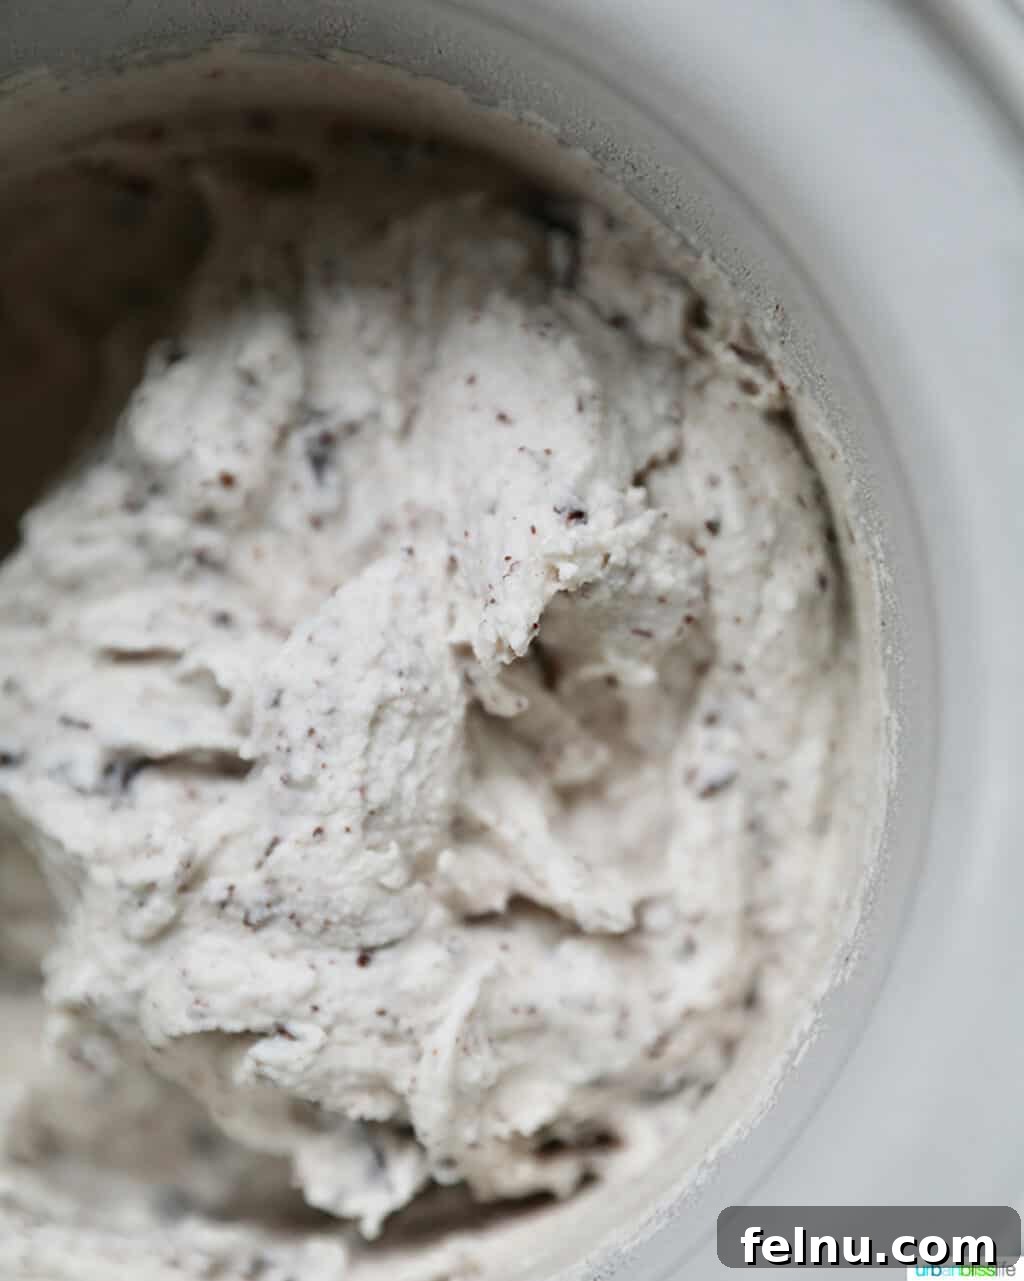
Follow these detailed steps to create your irresistibly creamy dairy-free chocolate chip ice cream:
- **Prepare the Coconut Milk Base:** Measure out 1/4 cup of the full-fat coconut milk and pour it into a small bowl, setting it aside for a later step. In a medium-sized saucepan, combine the remaining coconut milk, granulated sugar, and kosher salt. Place the saucepan over medium heat, stirring occasionally. Continue to warm the mixture until the sugar is completely dissolved, which typically takes about 2 minutes. Ensure the mixture is warm but not boiling.
- **Create the Cornstarch Slurry:** Whisk the cornstarch into the 1/4 cup of reserved coconut milk in the small bowl until it is completely smooth and no lumps remain. This slurry will act as our thickening agent.
- **Thicken the Ice Cream Base:** Slowly stir the cornstarch mixture into the warm coconut milk base in the saucepan. Continue to cook over medium heat, stirring constantly, for about 6 to 8 minutes. The mixture will gradually thicken to a consistency that coats the back of a spoon. It’s crucial to watch the mixture carefully and ensure it does not come to a boil, as this can affect the cornstarch’s thickening properties. Once thickened, remove the saucepan from the heat.
- **Add Vanilla and Chill:** Stir the pure vanilla extract into the thickened coconut milk base. Pour this warm mixture into a shallow container, such as a loaf pan or a glass dish, to allow it to cool down quickly and evenly. Let it sit at room temperature for about 15 to 20 minutes. After initial cooling, cover the container tightly with plastic wrap and transfer it to the refrigerator. Chill the base for at least 3 hours, or ideally overnight, until it is thoroughly cold. This chilling step is vital for achieving the creamiest ice cream.
- **Churn the Ice Cream:** Once your ice cream base is completely chilled and your ice cream maker’s bowl has been frozen for at least 24 hours, you’re ready to churn. Pour the chilled base into your ice cream machine and churn according to the manufacturer’s instructions. This usually takes around 15 to 20 minutes, during which the mixture will begin to thicken.
- **Incorporate the Chocolate:** When the ice cream mixture has thickened to the consistency of a soft-serve custard – meaning it’s still relatively soft but holding its shape – and just before it reaches its maximum consistency, add the chopped dairy-free chocolate (or chocolate shavings/chips). Continue to churn for just another minute or so, allowing the chocolate to be evenly combined throughout the creamy base without over-mixing.
- **Final Freeze and Serve:** Use a rubber spatula to carefully transfer the freshly churned, soft ice cream into a loaf pan or another freezer-safe container. Press plastic wrap directly onto the surface of the ice cream to prevent ice crystals from forming, then cover the container tightly with a lid. Freeze for at least 3 hours, or until the ice cream is fully firm and scoopable.
- **Enjoy Your Creation:** When you’re ready to indulge, take the ice cream out of the freezer and let it sit on your counter at room temperature for 5 to 10 minutes. This allows it to soften just enough for perfect scooping. Serve in cones, bowls, or alongside your favorite vegan desserts!
Following these steps will ensure you create a truly exceptional dairy-free chocolate chip ice cream that’s rich, creamy, and utterly satisfying.
✨ Expert Tips for Achieving Ultimate Creaminess
Creating homemade dairy-free ice cream that rivals its dairy counterpart can be a bit of an art, but with these expert tips, you’ll consistently achieve a silky-smooth, indulgent result that avoids common pitfalls.
- **Pre-Chill Everything:** We’ve emphasized the importance of freezing your ice cream maker bowl, but also ensure your ice cream base is *thoroughly* chilled. The colder your base mixture is before churning, the faster it will freeze in the machine, leading to smaller ice crystals and a much creamier texture. Overnight chilling is always recommended for the base.
- **Fat Content is King for Creaminess:** The biggest challenge with dairy-free ice cream is achieving that rich, creamy mouthfeel without dairy fat. This is why full-fat canned coconut milk is paramount in this recipe. Its high-fat content is crucial for preventing iciness. If you opt for lower-fat milk alternatives like almond or soy milk, consider using a combination: perhaps one can of full-fat coconut milk and one can of your preferred lower-fat milk, to strike a balance between flavor and texture.
- **Don’t Skip the Thickener:** Ingredients like cornstarch, arrowroot powder, or tapioca starch are not just for thickening; they act as stabilizers. They help to absorb excess water, preventing large ice crystals from forming during the freezing process. This ensures your ice cream remains smooth and scoopable, not hard and icy. Xanthan gum, used sparingly (e.g., 1/4 teaspoon), can also be a very effective stabilizer.
- **Avoid Over-Churning:** Churn your ice cream just until it reaches the consistency of soft-serve ice cream. Over-churning can sometimes incorporate too much air, which can lead to a crumbly or less dense texture once frozen solid. It also begins to warm the mixture, which is counterproductive.
- **The Final Freeze Matters:** After churning, your ice cream will still be quite soft. The final freezing period is essential for it to firm up to the perfect scoopable consistency. Allow at least 3 hours, but ideally 4-6 hours, for it to properly set in the freezer.
- **Tempering Before Serving:** Homemade ice cream, especially dairy-free versions, can freeze quite hard. To get that perfect scoop, take it out of the freezer 5-10 minutes before serving. This brief tempering time allows it to soften slightly, making it much easier to scoop and enhancing its creamy texture.
- **Proper Storage is Key:** Store your ice cream in an airtight container to prevent freezer burn and the absorption of freezer odors. For an extra layer of protection against ice crystals, press a piece of plastic wrap directly onto the surface of the ice cream before sealing the container.
🍦 Vegan Ice Cream FAQs
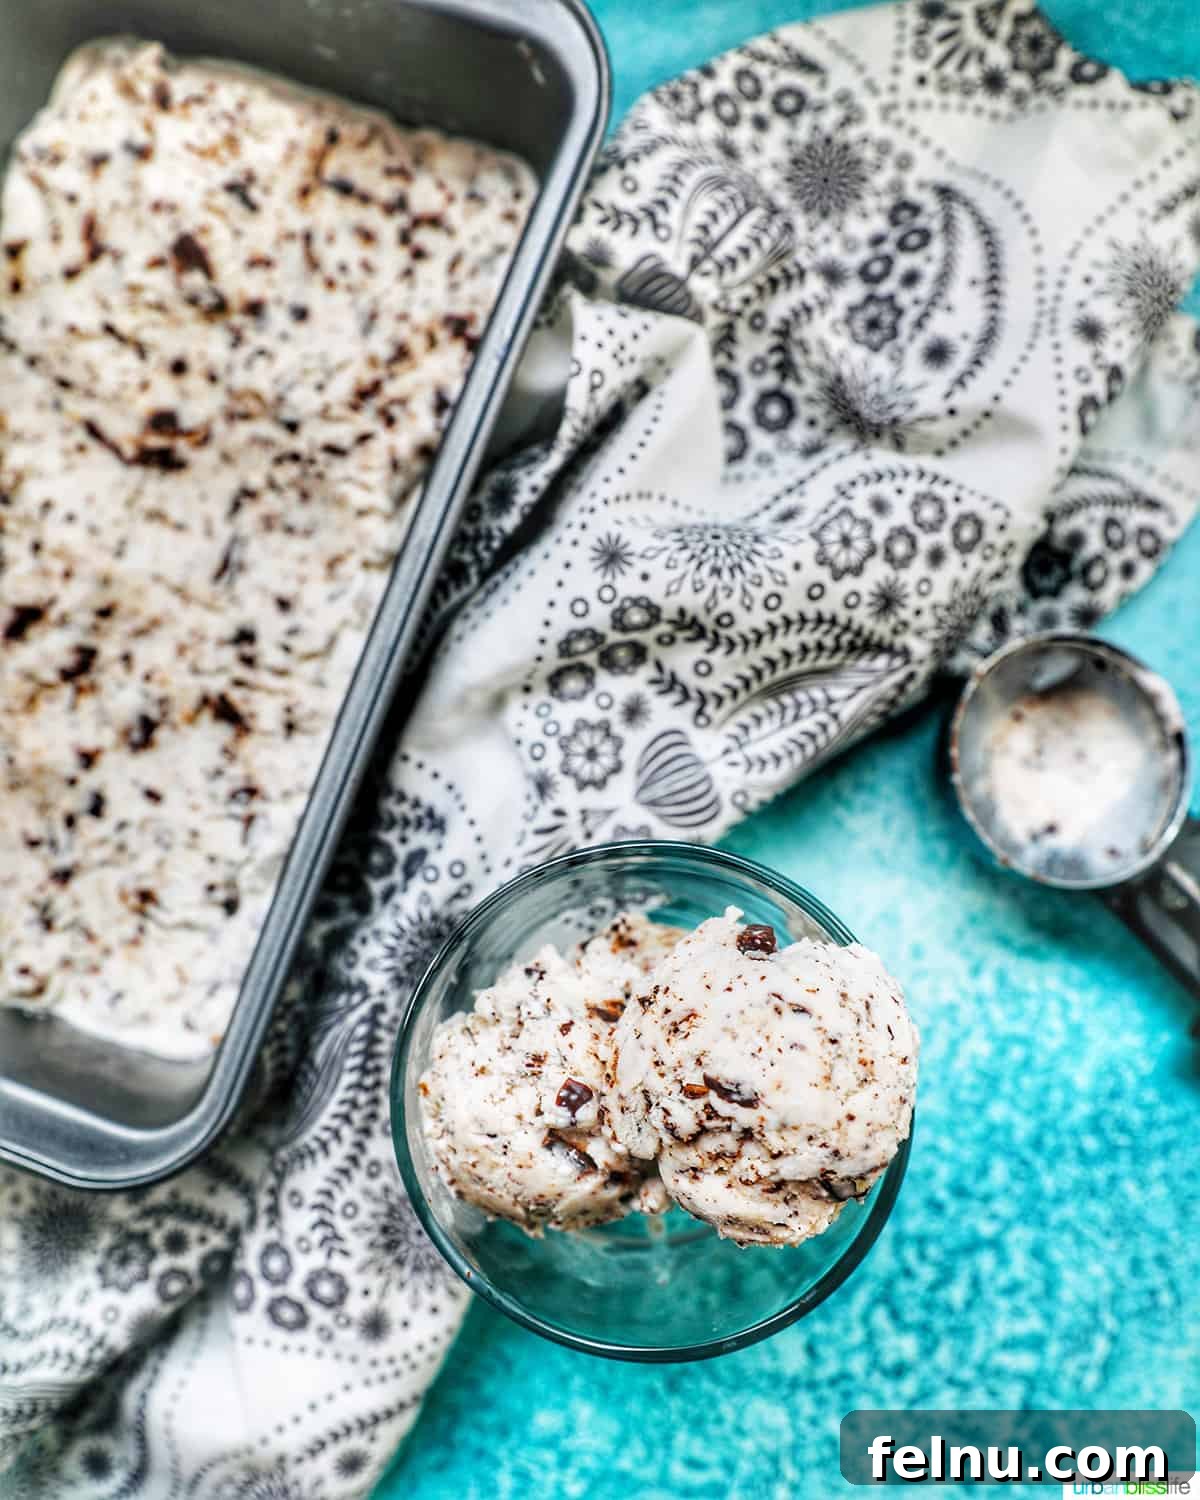
The key to creamy dairy-free ice cream lies primarily in using a milk substitute with a high fat content. Full-fat canned coconut milk is excellent for this. The fat helps create a smooth, rich texture similar to traditional ice cream and prevents the formation of large ice crystals. Additionally, incorporating a thickening agent like cornstarch, arrowroot powder, or tapioca starch plays a crucial role in improving the ice cream’s texture and preventing iciness. Proper chilling of the base mixture and the ice cream maker bowl before churning are also vital steps.
Icy dairy-free ice cream is most commonly a result of insufficient fat content in your chosen milk alternative. Lower-fat options like almond milk or rice milk tend to freeze harder and form more ice crystals. Another common reason is not chilling the base mixture or the ice cream maker bowl thoroughly before churning. If the mixture isn’t cold enough, it takes longer to freeze in the machine, allowing larger ice crystals to develop. Not using a thickener can also contribute to an icy texture.
For achieving a rich, creamy consistency in dairy-free ice cream, cornstarch is my preferred thickener due to its effectiveness and accessibility. Other excellent options include arrowroot powder or tapioca starch, which perform similarly. For an even smoother and more stable texture, a tiny amount of xanthan gum (start with 1/4 teaspoon) can also be highly effective. These thickeners help bind the liquid, prevent ice crystal formation, and improve the overall mouthfeel.
Dairy-free chocolate has become widely available and easy to find! Most major grocery stores now carry a variety of dairy-free chocolate bars and chips in their baking aisles. You can also often find them in the specialty or natural foods section, or even in the candy aisle. Popular brands like Enjoy Life, Ghirardelli (check labels for specific vegan options), and many dark chocolate varieties (ensure ingredients list no dairy) offer great dairy-free options. Online retailers are also an excellent source for a wider selection.
When stored properly in an airtight container with plastic wrap pressed directly against the surface, homemade dairy-free ice cream typically maintains its best quality for about 1-2 weeks in the freezer. Beyond that, it might start to develop ice crystals or lose some of its original texture and flavor, though it will still be safe to eat for longer.
🥄 Essential Kitchen Tools and Equipment
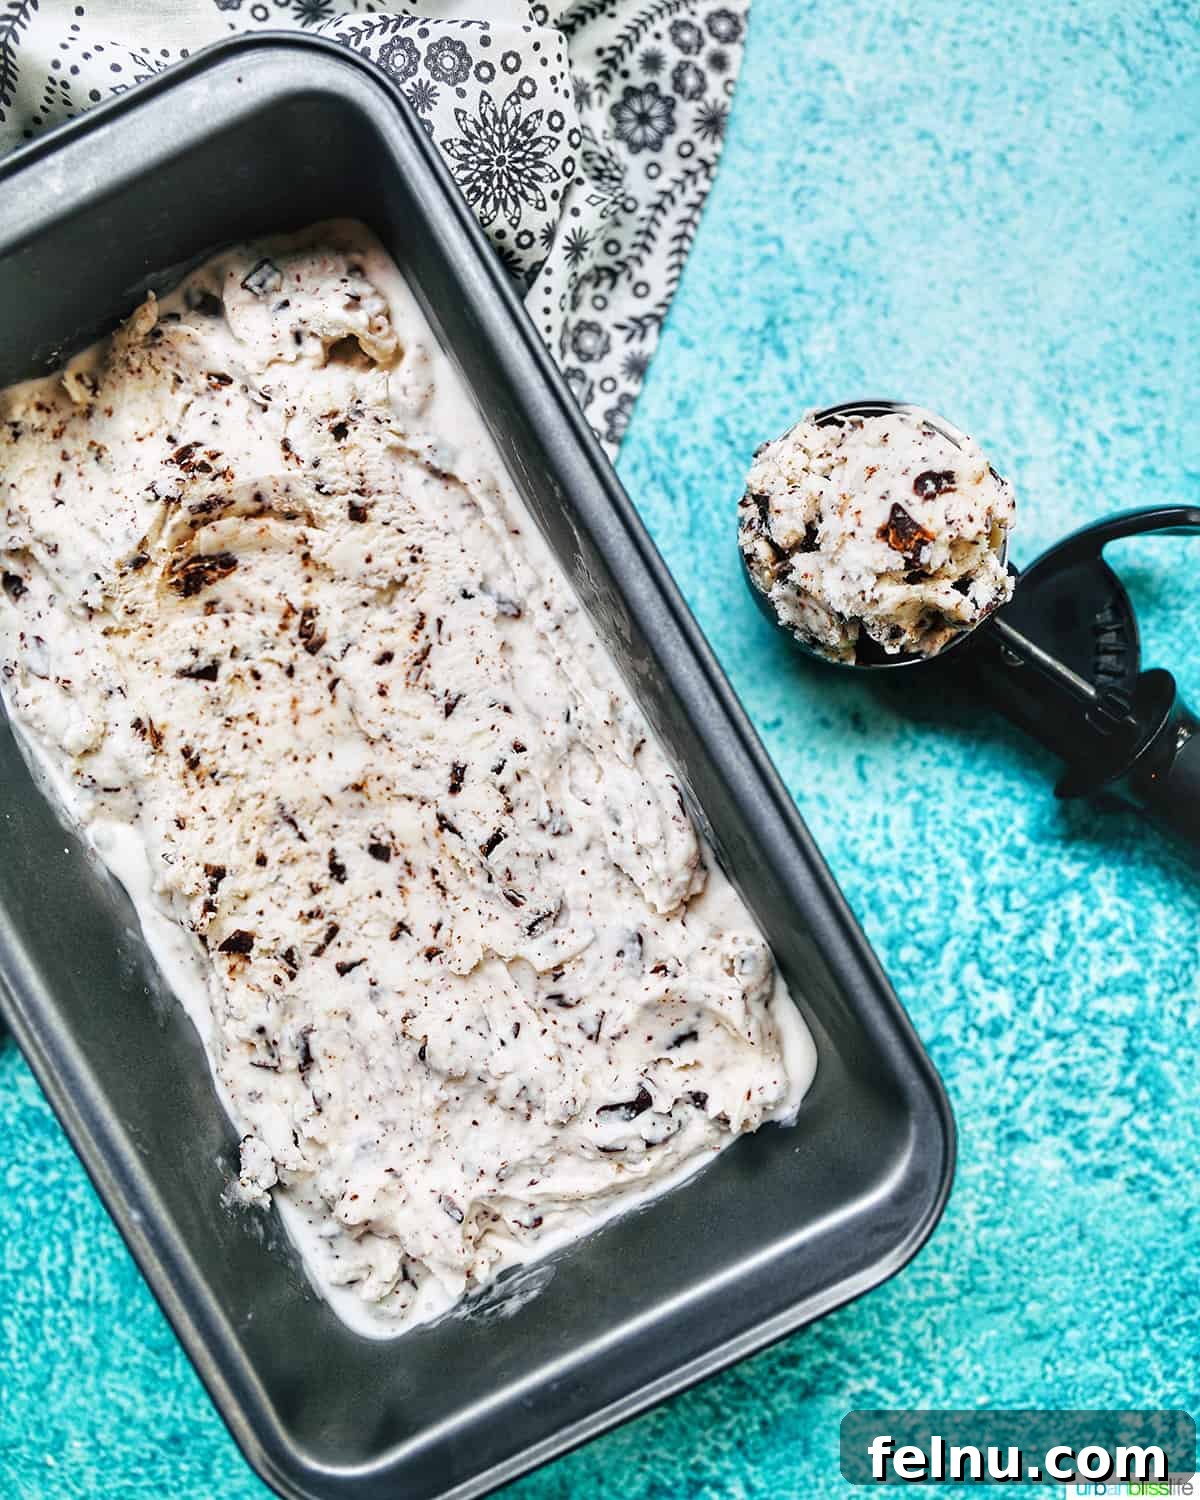
To effortlessly create this dairy-free chocolate chip ice cream, you’ll need a few standard kitchen tools:
- **Medium Saucepan**: Essential for gently heating and combining the liquid ingredients to create our smooth ice cream base.
- **Shallow Container (e.g., 9×5-inch loaf pan)**: Ideal for quickly cooling the ice cream base in the refrigerator before churning.
- **Ice Cream Scoop**: For perfectly portioned servings of your homemade frozen treat.
- **Ice Cream Maker**: The star of the show! A quality ice cream maker is indispensable for churning the mixture into a creamy consistency and ensuring minimal ice crystal formation.
- **Whisk:** For dissolving sugar and cornstarch smoothly.
- **Rubber Spatula:** For scraping down bowls and transferring the churned ice cream.
More Delicious Dairy-Free Frozen Dessert Recipes
- Dairy-Free Mixed Berry Ice Cream
- Cherry Chocolate Chip Ice Cream
- Pineapple Mango Sorbet Recipe
- Easy Raspberry Sherbet
Did you create this delectable ice cream? We’d love to hear from you! Don’t forget to leave a 5-Star 🌟🌟🌟🌟🌟 rating in the recipe card below. If you truly enjoyed making and tasting it, please share your thoughts and comments further down on the page. Your feedback makes our day!
Dairy-Free Chocolate Chip Ice Cream
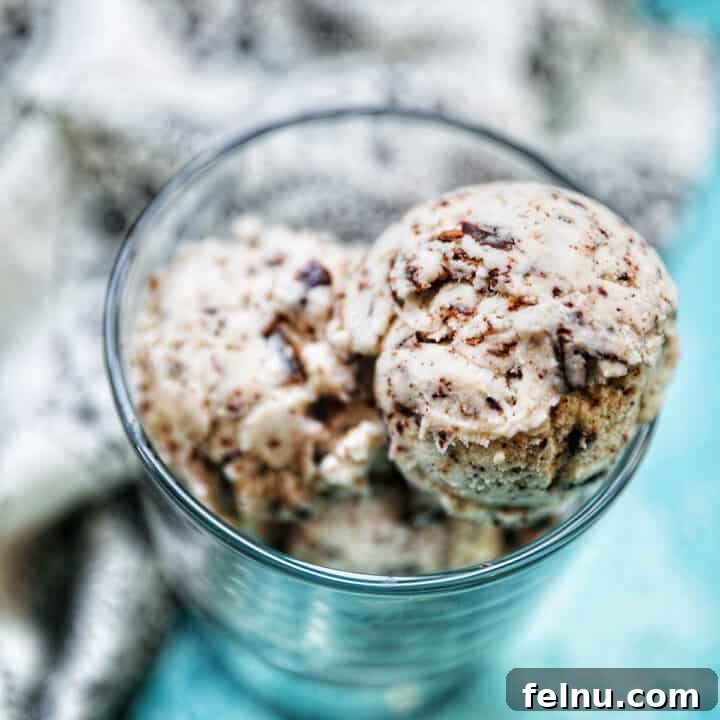
This Baskin Robbins Chocolate Chip Ice Cream CopyCat recipe is dairy-free but still incredibly creamy and bursting with rich chocolate goodness!
By: Marlynn Schotland
- Prep Time: 15 mins
- Cook Time: 20 mins
- Total Time: 35 mins (plus chilling and freezing)
- Servings: 6 servings
Ingredients
- 2 cans (14-ounces each) full-fat coconut milk
- ½ cup granulated sugar
- ¼ teaspoon kosher salt
- 2 tablespoons cornstarch (or: tapioca starch, arrowroot powder, or xanthan gum)
- ¼ teaspoon vanilla extract
- 4 ounces dairy-free chocolate bar, chopped or peeled into chocolate shavings
Instructions
- Pour 1/4 cup of the coconut milk into a small bowl and set aside. Combine the remaining coconut milk, sugar, and salt in a medium saucepan over medium heat. Warm, stirring occasionally, until the sugar has fully dissolved, about 2 minutes.
- Whisk the cornstarch into the bowl of reserved coconut milk until completely dissolved.
- Stir the cornstarch mixture into the warm coconut milk base on the stove and cook over medium heat to thicken, about 6 to 8 minutes. The mixture should be thick enough to coat the back of a spoon. Watch the mixture carefully to be sure it doesn’t come to a boil.
- Remove the mixture from heat and stir in the vanilla.
- Pour mixture into a shallow container, such as a loaf pan, and allow it to cool at room temperature for about 15 to 20 minutes. Then cover and refrigerate for at least 3 hours or overnight.
- Once this base mixture is completely chilled, you’re ready to churn the ice cream. Pour the mixture into your ice cream machine and churn according to manufacturer’s instructions (usually about 15 minutes).
- Once the mixture has thickened to the consistency of custard, and before it’s fully reached peak consistency, add in the chopped chocolate and churn for another minute, just until the chocolate is well-combined.
- Use a rubber spatula to transfer the ice cream into a loaf pan or other freezer-safe container, and cover tightly with plastic wrap. Freeze for at least 3 hours, until the ice cream is fully frozen.
- When you’re ready to serve, take the ice cream out of the freezer and allow it to sit on the counter at room temperature for 5 to 10 minutes to soften just enough to scoop.
Notes
Important prep step: The day before you want to make ice cream, place the freezer bowl of your ice cream maker into the freezer.
Dairy-Free Milk Options: I prefer to use full-fat coconut milk because it creates a creamier ice cream. You could also use almond milk, soy milk, or cashew milk, depending on your taste preference; however, because these dairy-free options tend to have lower fat content, the ice cream may turn out icy instead of creamy. You could do a combination of full-fat coconut milk with one of the other lower-fat dairy-free options to add some creaminess to the texture.
Thickeners: I use cornstarch, or arrowroot powder. This helps create a creamier consistency when making dairy-free ice cream. You can also use tapioca starch or xanthan gum.
Chocolate: If you don’t have a dairy-free chocolate bar that you can chop, you can use the same amount of dairy-free chocolate chips instead.
Nutrition
Nutrition information is automatically calculated, so should only be used as an approximation.
- Calories: 421 kcal
- Carbohydrates: 34g
- Protein: 4g
- Fat: 34g
- Saturated Fat: 28g
- Polyunsaturated Fat: 1g
- Monounsaturated Fat: 1g
- Sodium: 114mg
- Potassium: 281mg
- Fiber: 1g
- Sugar: 26g
- Vitamin C: 1mg
- Calcium: 48mg
- Iron: 6mg
Tried this recipe?
Please leave a star rating and comment! Then snap a pic of your dish and share it on social media. Tag @UrbanBlissLife and #UrbanBlissLife!
Pin It for Later!