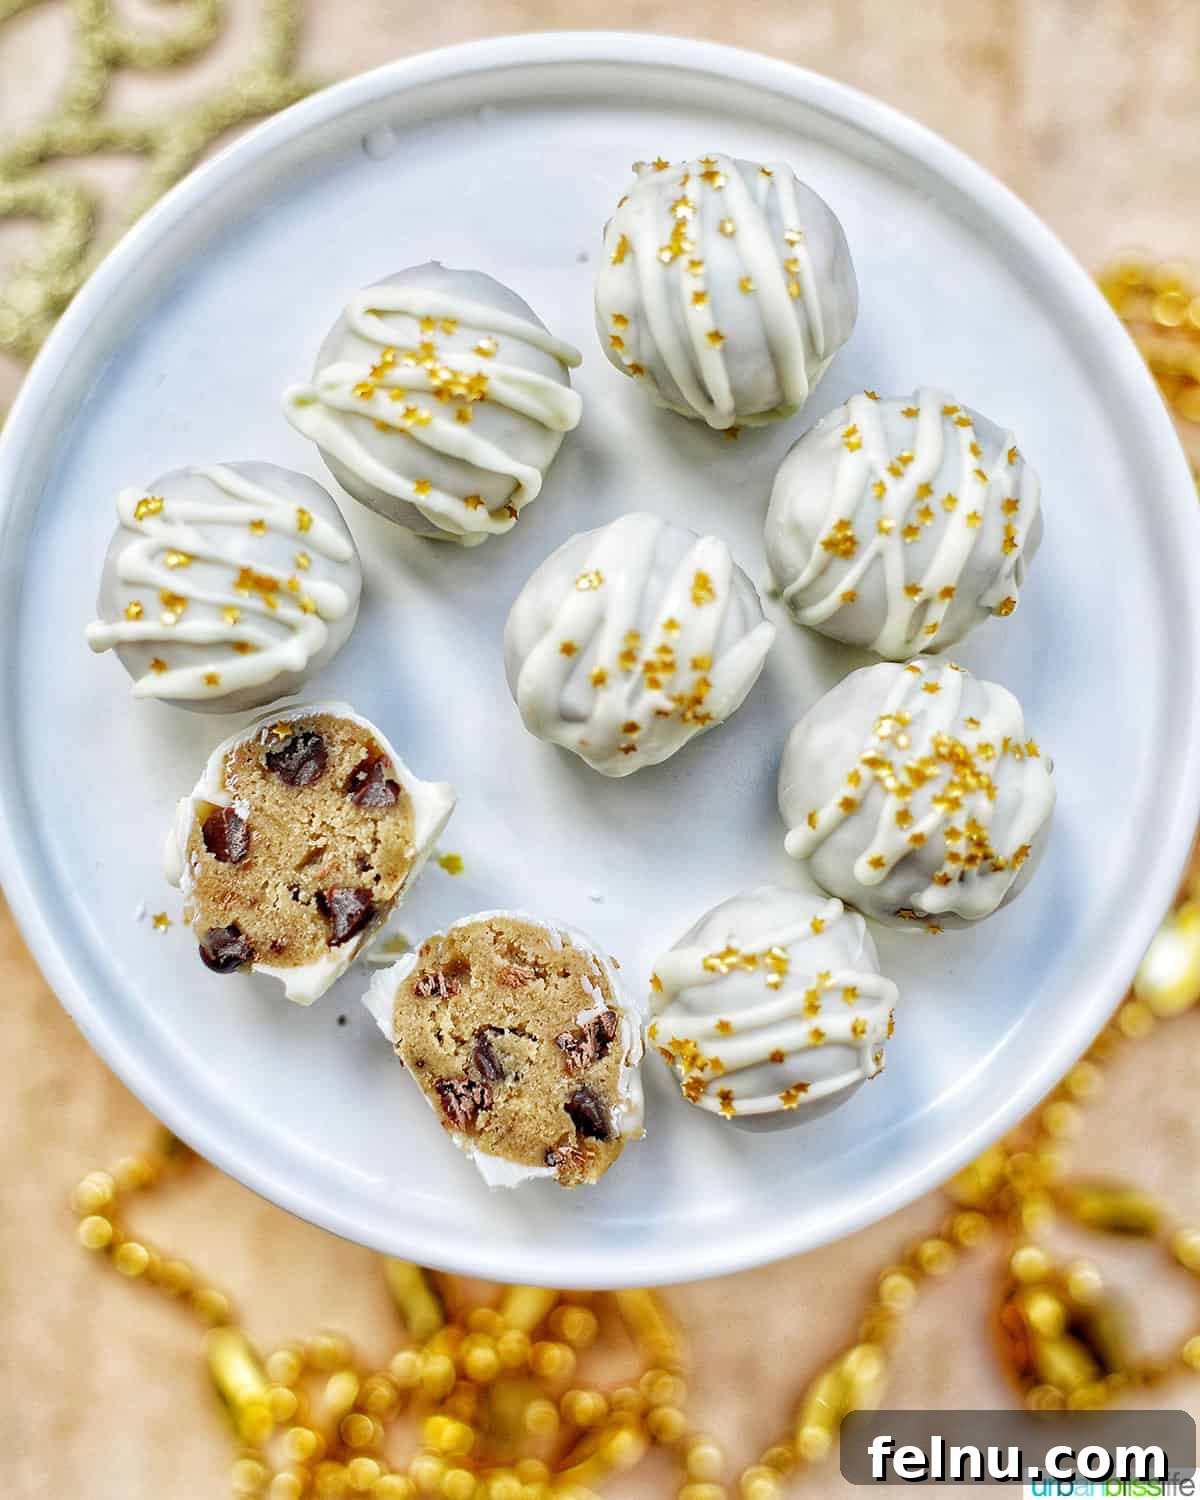
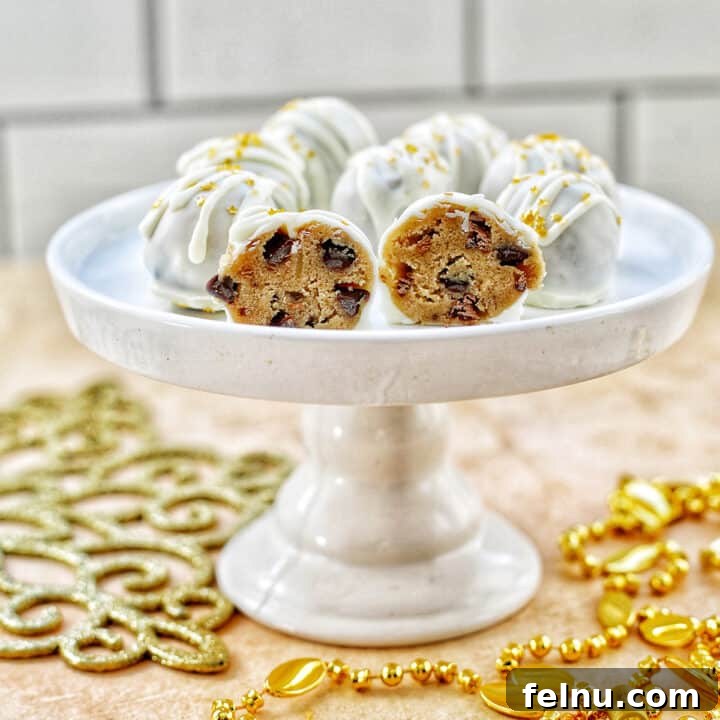
Indulge in pure bliss with these incredibly easy, no-bake cookie dough truffles! Requiring just three simple ingredients, these delightful treats are a dream come true for anyone craving a quick and delicious dessert without turning on the oven. They are the ultimate bite-sized pleasure, perfect for satisfying your sweet tooth any time.

The irresistible sugary, chocolatey allure of cookie dough is hard to resist. The good news is, making edible cookie dough at home has never been easier. But what if we told you there’s an even simpler path to cookie dough heaven? The secret lies in using high-quality store-bought edible cookie dough!
As a passionate baker and dessert enthusiast, I was thrilled to discover that popular brands like Pillsbury offer edible cookie dough. This pre-made dough is not only wonderfully tasty but also serves as the perfect foundation for creating these super simple, incredibly fast, and utterly delicious 3-ingredient Cookie Dough Truffles. It streamlines the process, allowing you to enjoy homemade-tasting treats with minimal effort, making them ideal for busy schedules or spontaneous cravings.
Craving homemade edible cookie dough? If you prefer to make your edible cookie dough from scratch, my cookbook, The Super Easy Teen Baking Cookbook, features a fantastic recipe for Irresistible Edible Cookie Dough Bites on page 32. It’s a guaranteed crowd-pleaser that’s safe to eat raw and incredibly versatile for various desserts.
Contents
- Perfect Bite-Sized Dessert for Any Occasion
- Essential Kitchen Tools and Equipment
- The Simple 3-Ingredient Truffles
- Step-by-Step Instructions: Crafting 3-Ingredient No-Bake Truffles
- Recipe Frequently Asked Questions (FAQs)
- More Delightful One-Bite Dessert Recipes
- Pin This Recipe for Later
Perfect Bite-Sized Dessert for Any Occasion
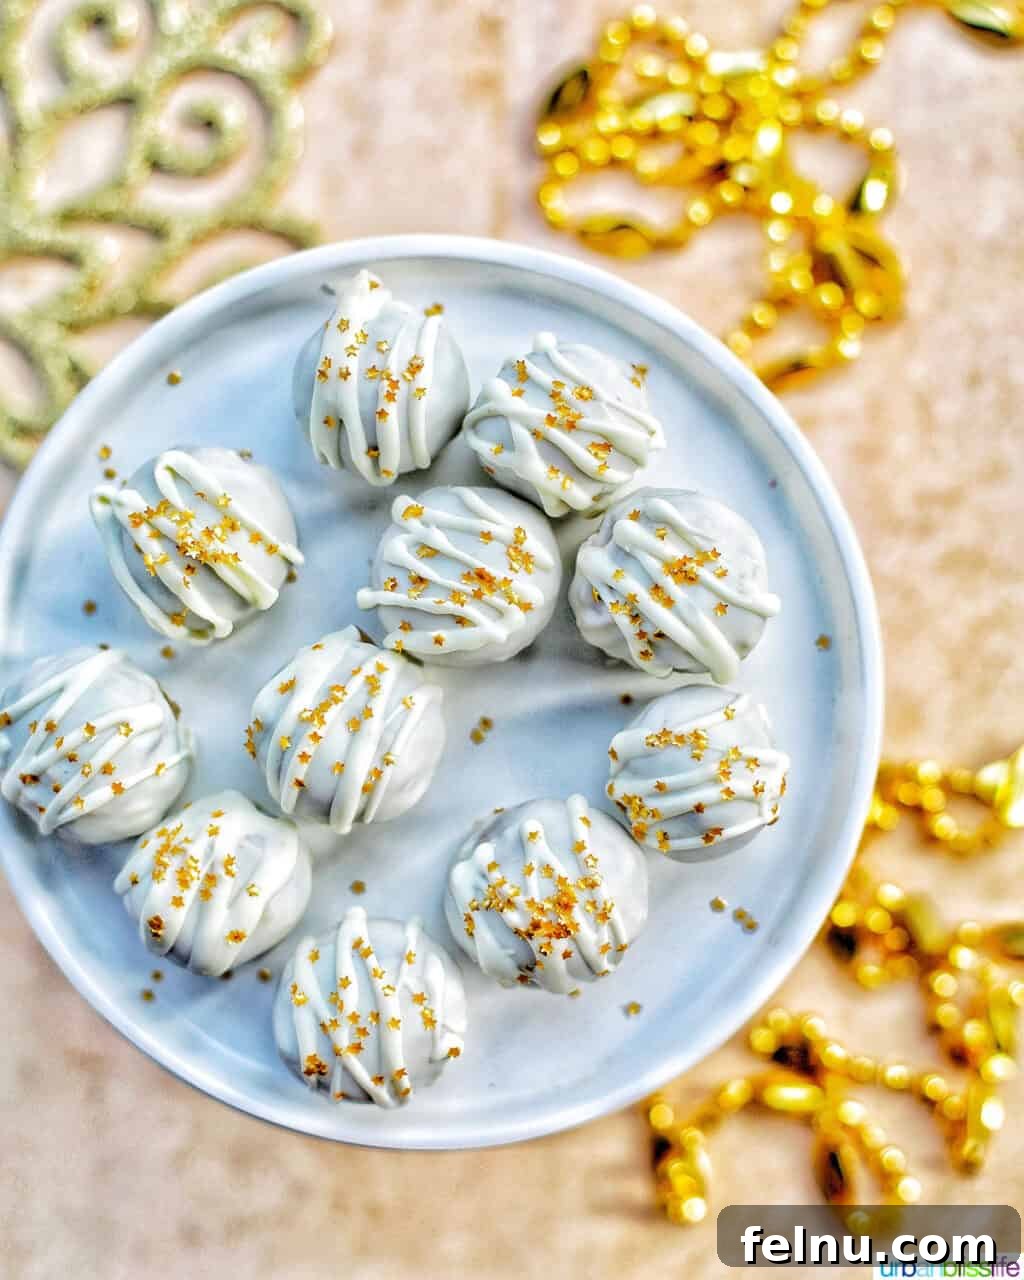
One of the most appealing aspects of these delectable no-bake cookie dough truffles is their incredible versatility. With just a few simple changes to the chocolate coating and sprinkles, you can transform these yummy bite-sized desserts to perfectly suit almost any celebration or special event throughout the year. Their small size makes them ideal for dessert platters, party favors, or simply a delightful personal treat.
Here are just a few ideas for when and how to serve these delightful truffles, customizing them to match any theme:
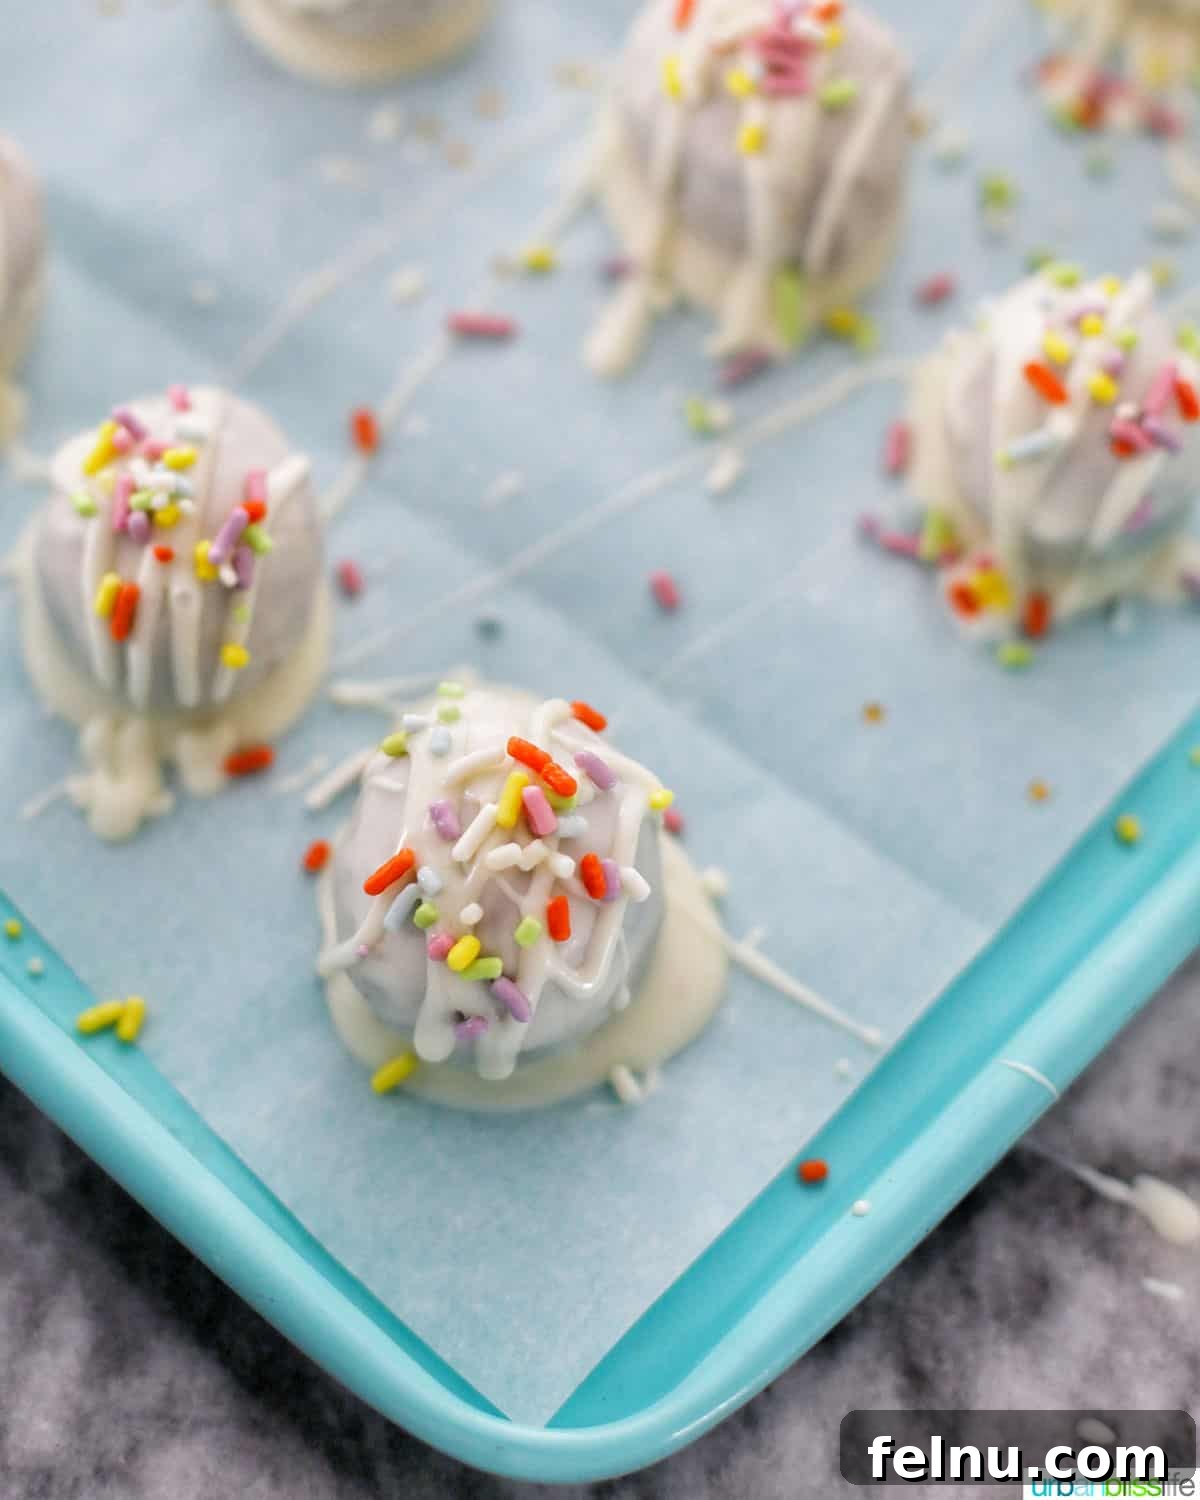
- Easter Celebrations: Embrace the spirit of spring by coating your truffles in smooth white chocolate and adorning them with playful pastel-colored sprinkles or charming Easter bunny-shaped sprinkles. They add a festive touch to any Easter brunch or dessert spread.
- Birthday Parties: Unleash your creativity! Match the birthday party theme by using a variety of colored melting wafers for the coating and topping them with an assortment of fun sprinkles. From vibrant rainbows to specific character colors, the possibilities are endless for a memorable birthday treat.
- Baby Showers: Welcome new arrivals with sweetness. Choose pink, blue, or yellow chocolate melting wafers to signify the baby’s gender (or a neutral color) and decorate with adorable, cute sprinkles. These make for a charming and personal touch at any baby shower.
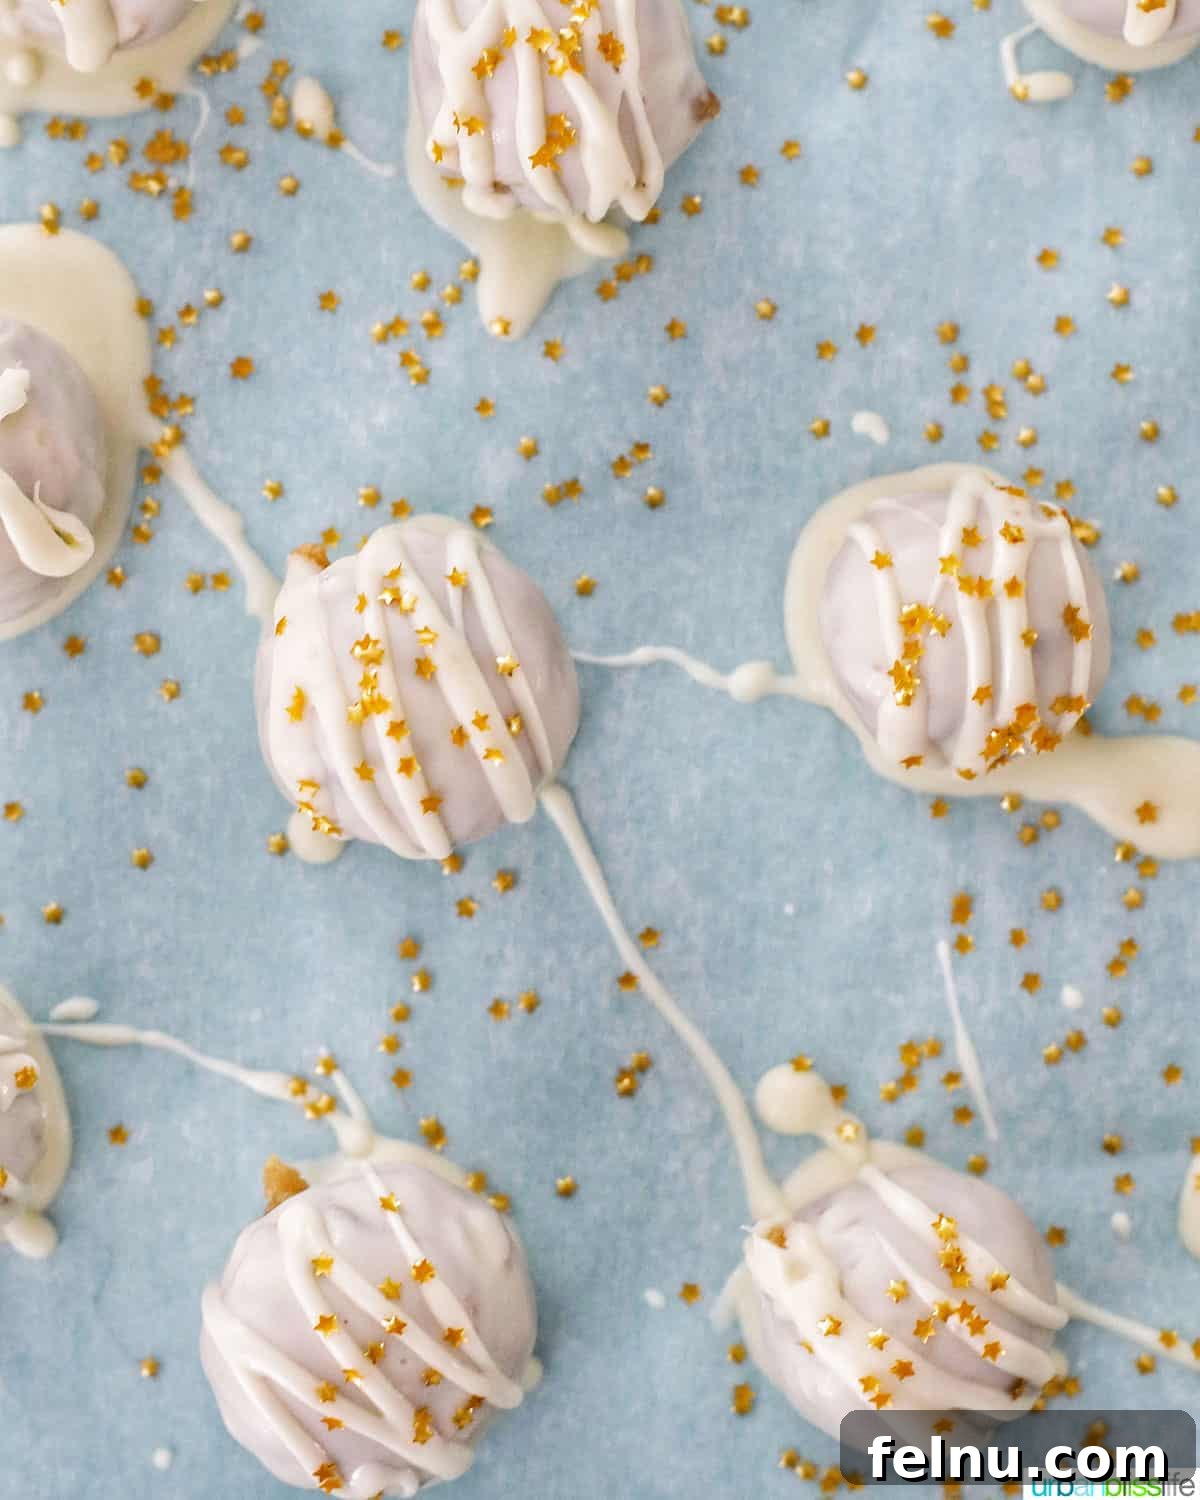
- Elegant Events (Anniversaries, Weddings, Award Viewing Parties): Elevate your truffles for more sophisticated occasions. Opt for a classic white chocolate coating and top with shimmering edible gold star sprinkles or delicate edible gold leaf for a touch of luxury and glamour. These are perfect for Oscar nights, corporate events, or romantic celebrations.
- Christmas Festivities: Get into the holiday spirit by coating the truffles with festive green and red melting wafers, or keep it classic with white chocolate and finish with vibrant Christmas-colored sprinkles. They’re a delightful addition to any holiday cookie plate or gift box.
You see the potential, right? These truffles are incredibly adaptable! Feel free to mix and match chocolate and sprinkle colors for any holiday or special day throughout the year – think romantic reds and pinks for Valentine’s Day, cheerful greens for St. Patrick’s Day (or try my amazing Mint Oreo Truffles for a minty twist!), patriotic reds, whites, and blues for the 4th of July, or warm autumnal hues for Thanksgiving. No matter the occasion, these cookie dough truffles are sure to impress and satisfy.
Essential Kitchen Tools and Equipment
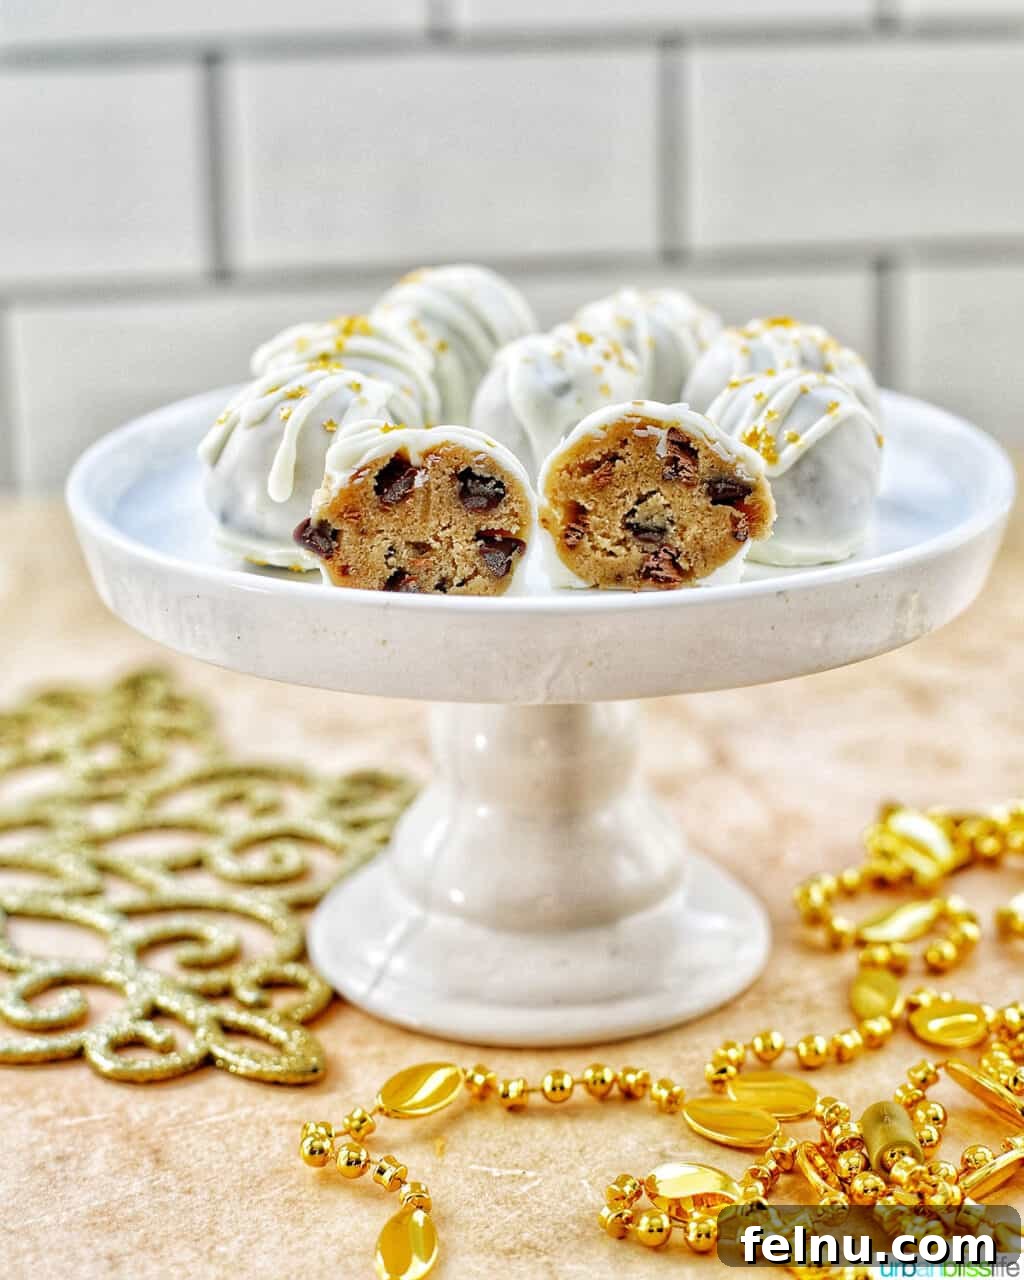
One of the many advantages of this easy no-bake recipe is that you don’t need a lot of specialized equipment. Just a few basic kitchen tools will suffice to create these delicious cookie dough truffles, making it accessible for even novice bakers.
Baking sheet or Plate: You’ll need a baking sheet to place your freshly dipped truffles on for chilling. For best results and to prevent sticking, line it with either wax paper or parchment paper. If refrigerator space is limited for a full baking sheet, a large plate lined with the same non-stick paper will work just as well.
Cookie scoop (or a simple tablespoon): To ensure all your truffles are uniform in size, which helps them chill and set evenly, a cookie scoop is incredibly helpful. A 1-inch to 1.5-inch scoop is ideal for bite-sized truffles. If you don’t own one, a regular tablespoon can be used to scoop out the dough, and then simply roll it into a ball with your hands.
Microwaveable bowl: A microwave-safe bowl is essential for melting the white chocolate and coconut oil together. Choose a bowl that’s deep enough to allow for easy stirring and dipping.
Two forks: These are your best tools for dipping the cookie dough balls into the melted chocolate. Using two forks allows you to gently lower the truffle into the chocolate, coat it thoroughly, and then lift it out, allowing excess chocolate to drip off before placing it on the prepared sheet. This method ensures a smooth, even coating without getting your fingers messy.
The Simple 3-Ingredient Truffles
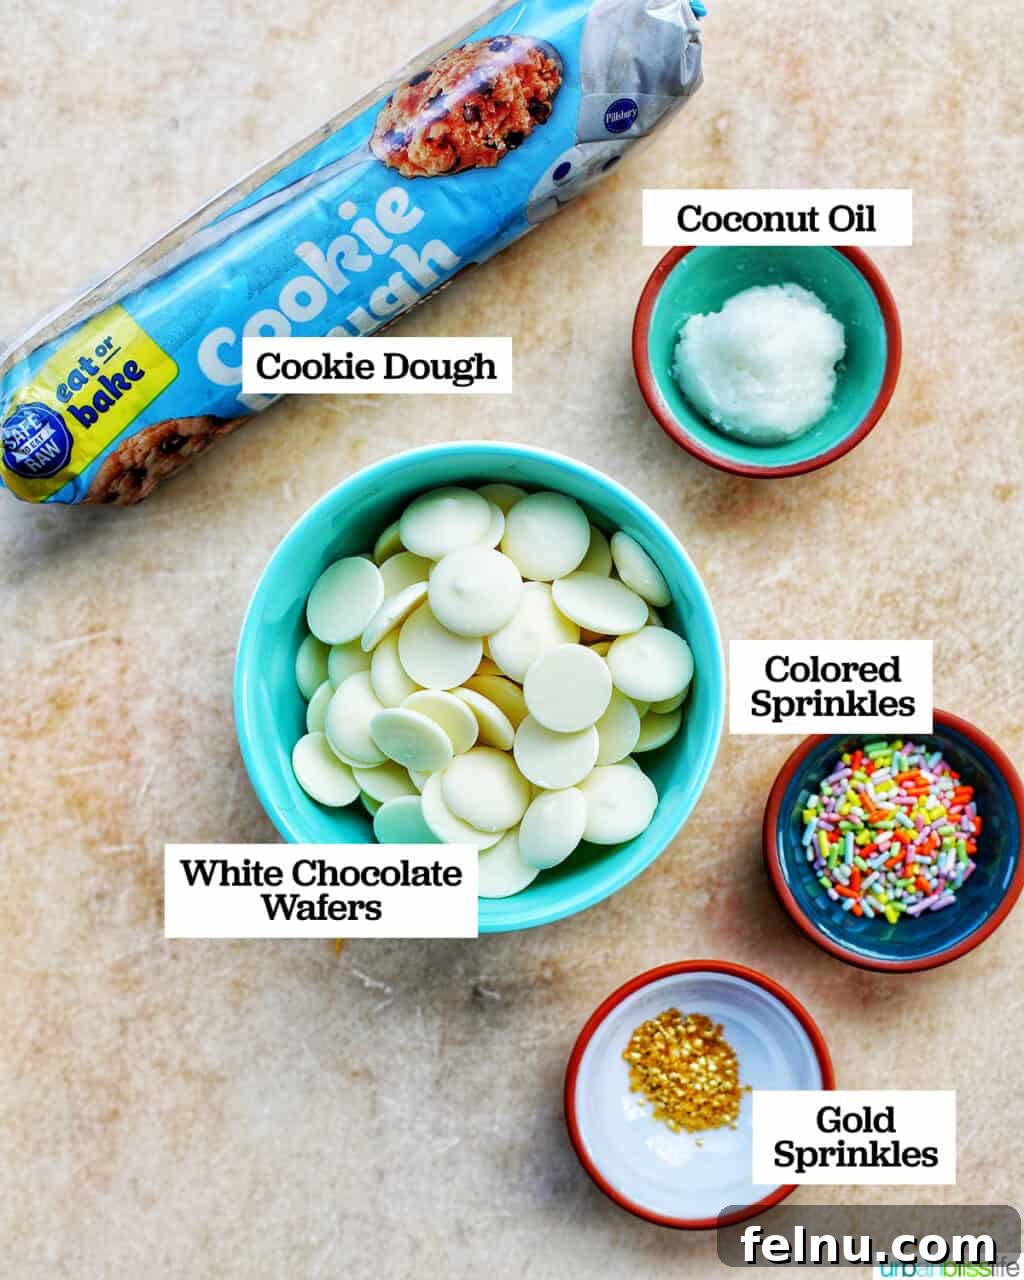
The beauty of these sensational truffles truly lies in their simplicity. You genuinely only need three core ingredients to bring these delightful treats to life. Beyond these essentials, there are a few optional fun decorative additions you can include to customize your truffles for any occasion, adding flair and personal touch.
Chocolate Chip Edible Cookie Dough: This is the heart of your truffle! You have two excellent options here. You can craft your own edible cookie dough from scratch; my cookbook, The Super Easy Teen Baking Cookbook, offers a fantastic recipe for Irresistible Edible Cookie Dough Bites on page 32. This homemade version is safe to eat raw, as it’s made without eggs and typically uses heat-treated flour. Alternatively, for ultimate convenience and speed, simply purchase a package of high-quality Pillsbury Edible Cookie Dough or a similar brand from your local grocery store. These pre-made options are specifically formulated to be safe for raw consumption.
White Chocolate for Coating: To achieve that perfect, smooth, and crack-free outer shell, you’ll need high-quality white chocolate. Your best choices are either a white chocolate baking bar, finely chopped, or dedicated white chocolate melting wafers. I highly recommend using these white chocolate melting wafers because they are specifically designed to melt beautifully, resulting in a perfectly smooth, glossy finish that tastes divine. When selecting your chocolate, aim for good quality; it makes a significant difference in both the appearance and flavor of your truffles.
I generally do NOT recommend using standard white chocolate chips for coating truffles. Regular chocolate chips often contain stabilizers that help them maintain their shape during baking, which means they don’t melt as smoothly or consistently as baking bars or wafers. While you *can* use white chocolate chips if they are all you have on hand, be prepared to whisk and mix them more vigorously to try and achieve a smooth consistency. The final coating might not be as glossy or even as with dedicated melting chocolates.
Coconut Oil: A small amount of coconut oil is the secret ingredient that helps your white chocolate coating set perfectly and become beautifully smooth. It adds a lovely sheen and ensures the chocolate hardens just right, providing a satisfying snap when you bite into the truffle. A neutral-flavored coconut oil is best, so it doesn’t overpower the chocolate and cookie dough flavors.
OPTIONAL: Decorative Sprinkles or Colored Melting Chocolate Wafers: This is where you can truly customize your truffles. Add vibrant sprinkles to match a holiday theme, use edible glitter for a sophisticated touch, or drizzle with colored melting chocolates for extra flair. These decorative elements aren’t essential for the taste but significantly enhance the visual appeal, making your truffles perfect for gifting or party platters.
Step-by-Step Instructions:
Crafting 3-Ingredient No-Bake Truffles
Creating these delightful no-bake cookie dough truffles is incredibly straightforward, making them a perfect project for any skill level. Follow these detailed steps to achieve perfectly coated, delicious treats every time.
Step 1: Prepare Your Workstation
Begin by lining a baking sheet or a large plate (one that comfortably fits inside your refrigerator) with either wax paper or parchment paper. This non-stick surface is crucial for preventing your truffles from sticking as they chill and for easy removal once set. Set this aside, ready for your dipped truffles.
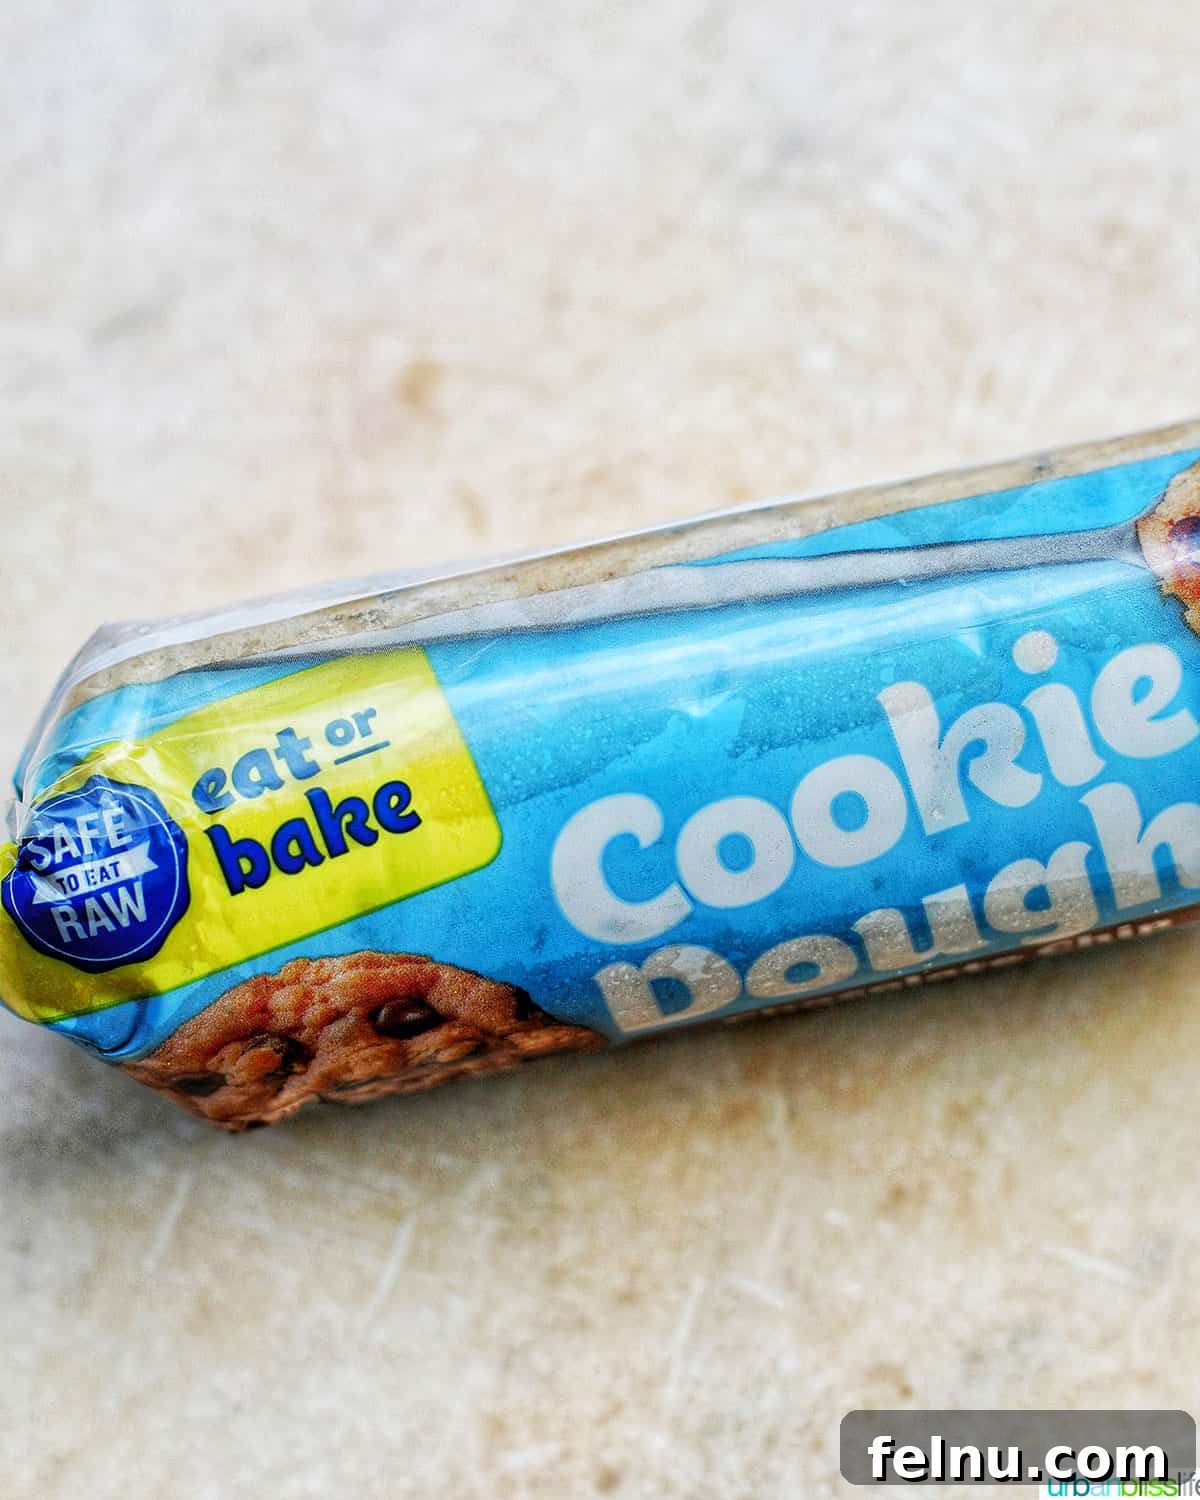
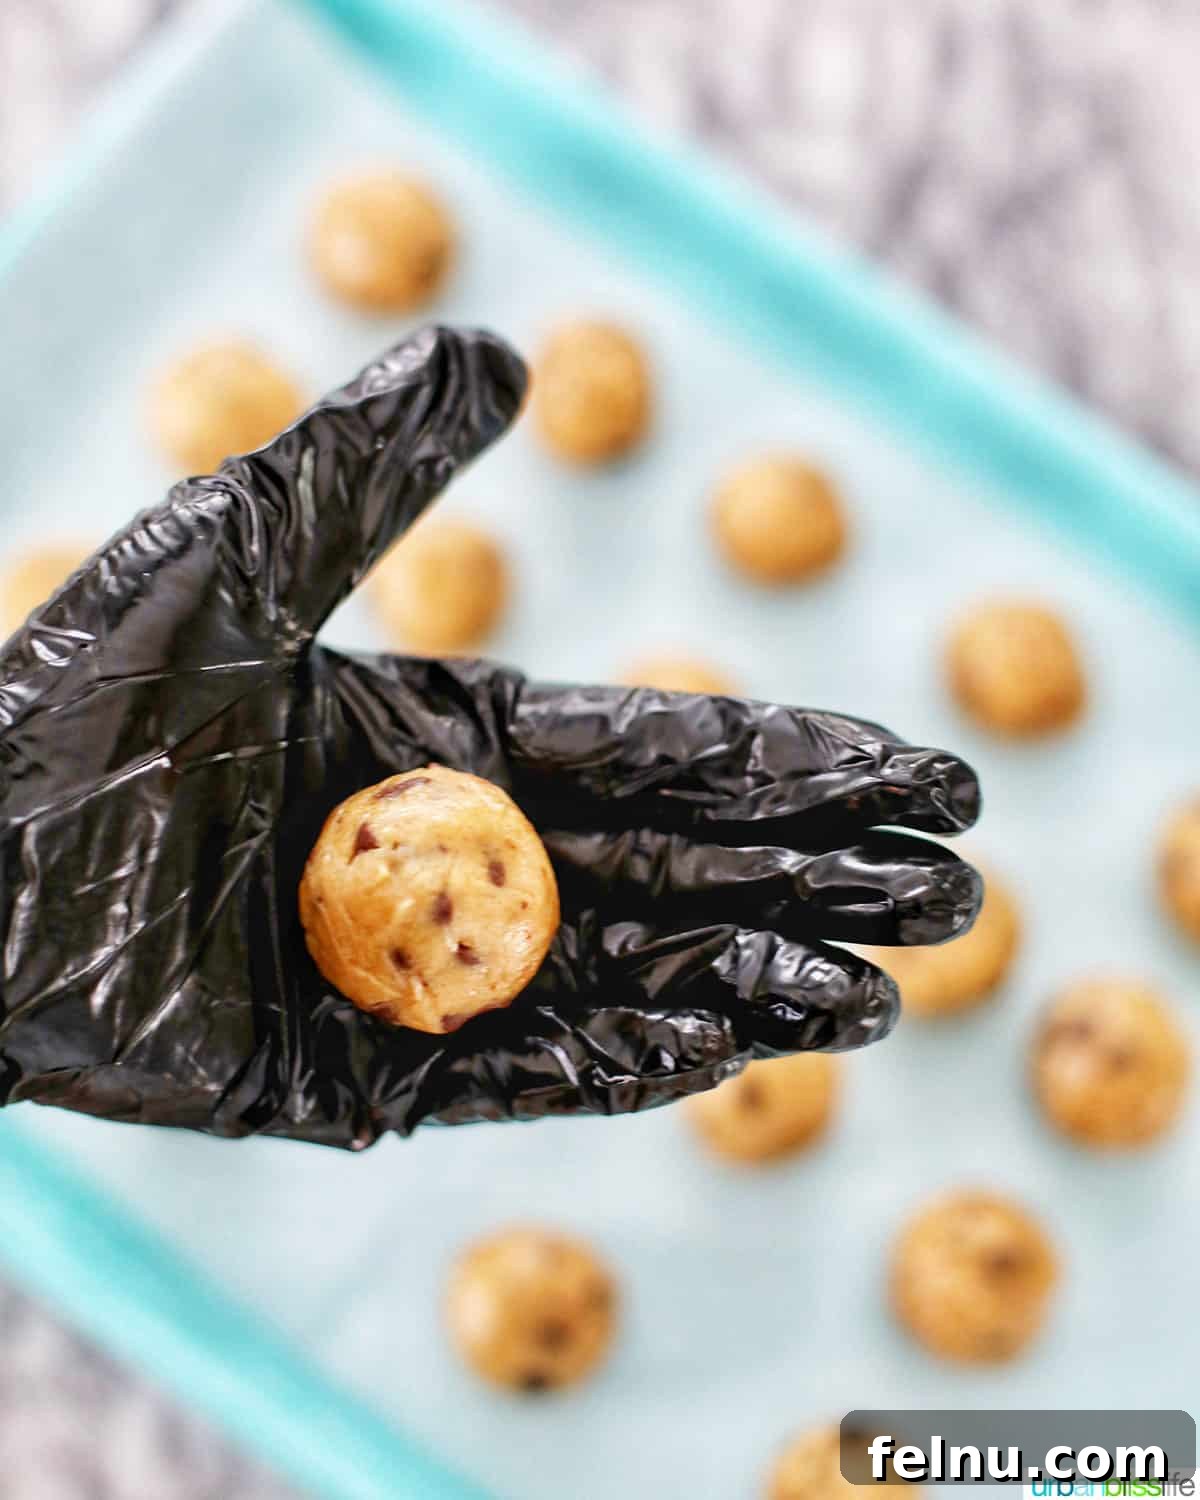
Step 2: Portion and Roll the Cookie Dough
Carefully scoop out portions of the packaged cookie dough. You can use a small spoon or, for more uniform results, a cookie scoop (approximately 1 to 1.5 inches in diameter). Gently roll each portion between your palms to form smooth, compact balls. Aim for consistent sizing, as this ensures even coating and chilling. The warmth of your hands will help soften the dough just enough for easy rolling without making it sticky.
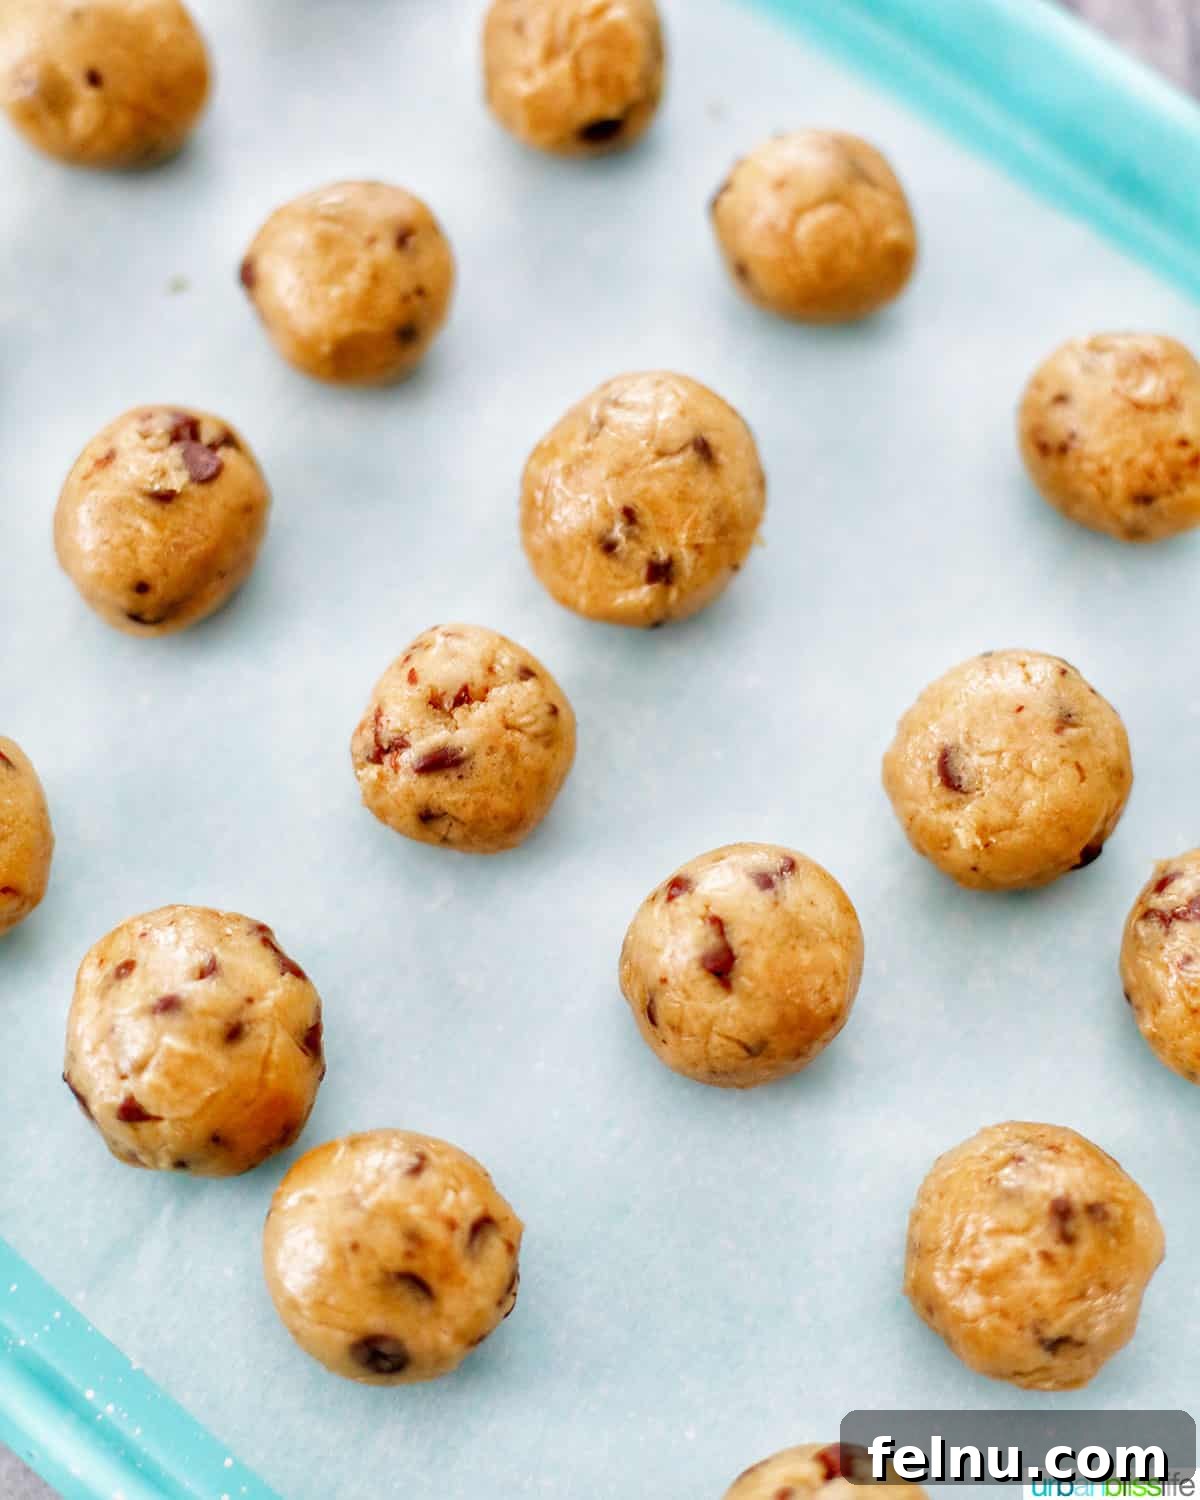
Step 3: Arrange the Dough Balls for Chilling
Continue this process until you have used all of the cookie dough. As you finish rolling each ball, place them onto the prepared baking sheet or large plate, ensuring they have a little space between them. Once all the dough is rolled, you can briefly place them in the refrigerator for about 5-10 minutes if the dough feels too soft to handle, though this is often not necessary with edible cookie dough.
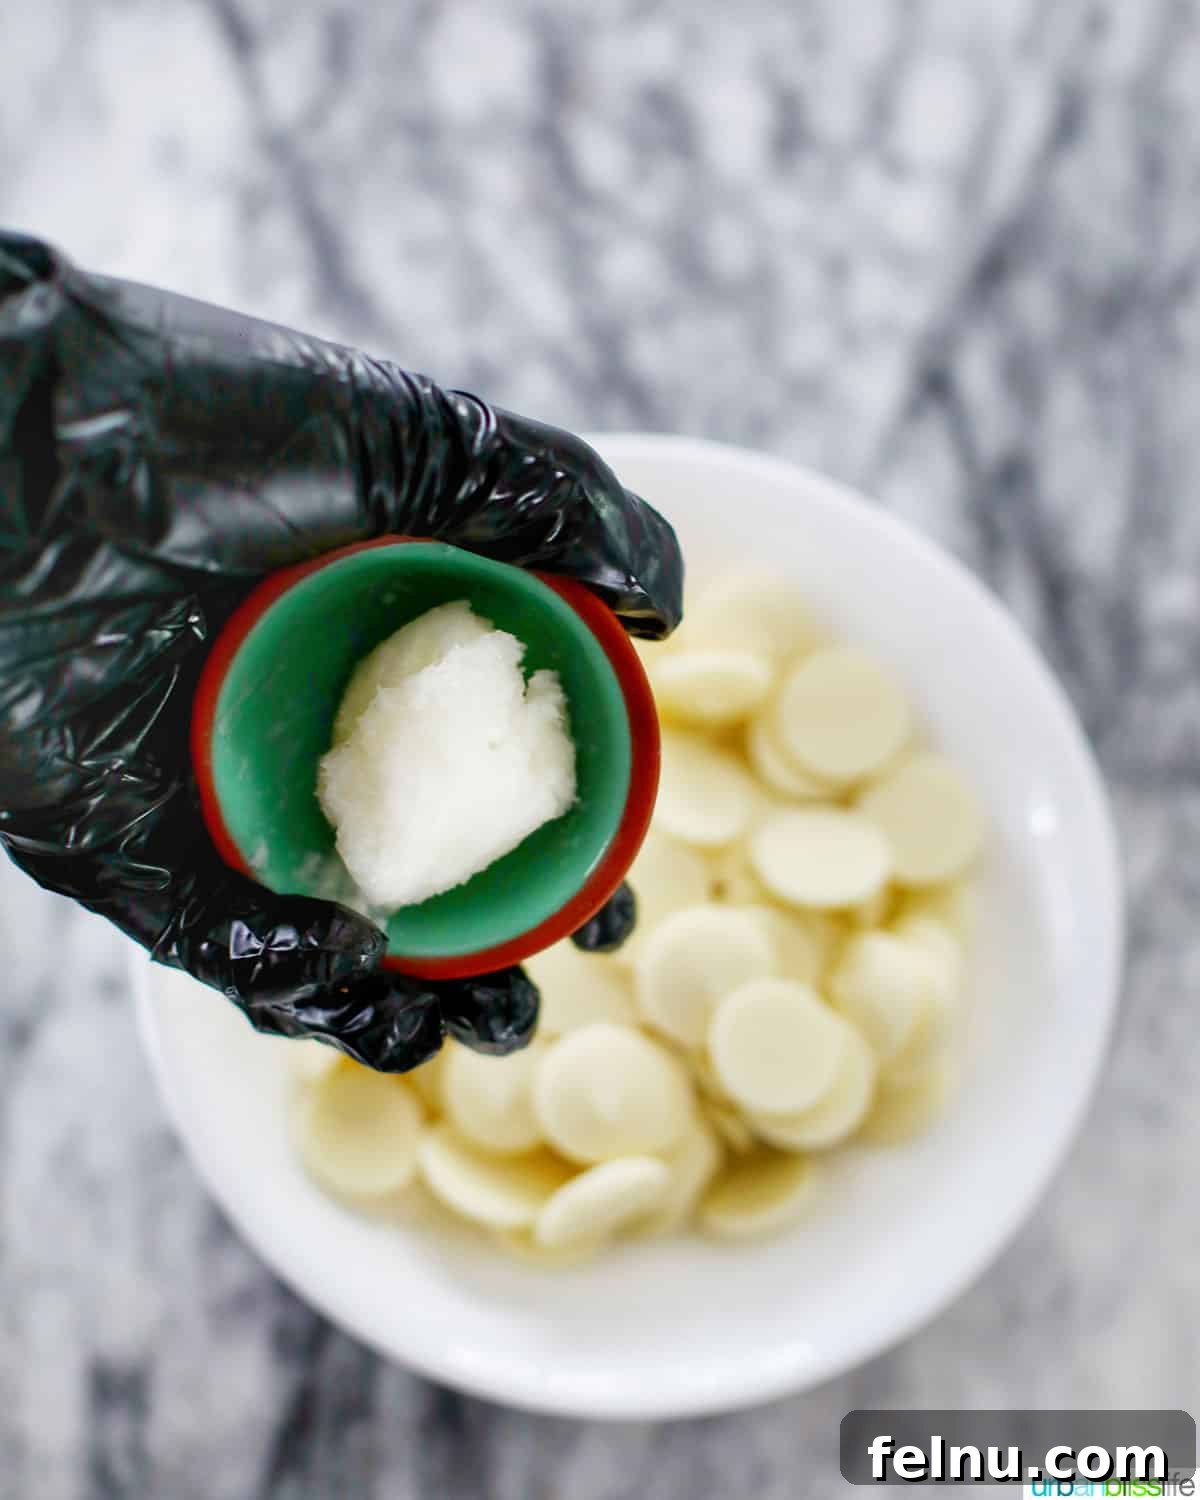
Step 4: Melt the White Chocolate Coating
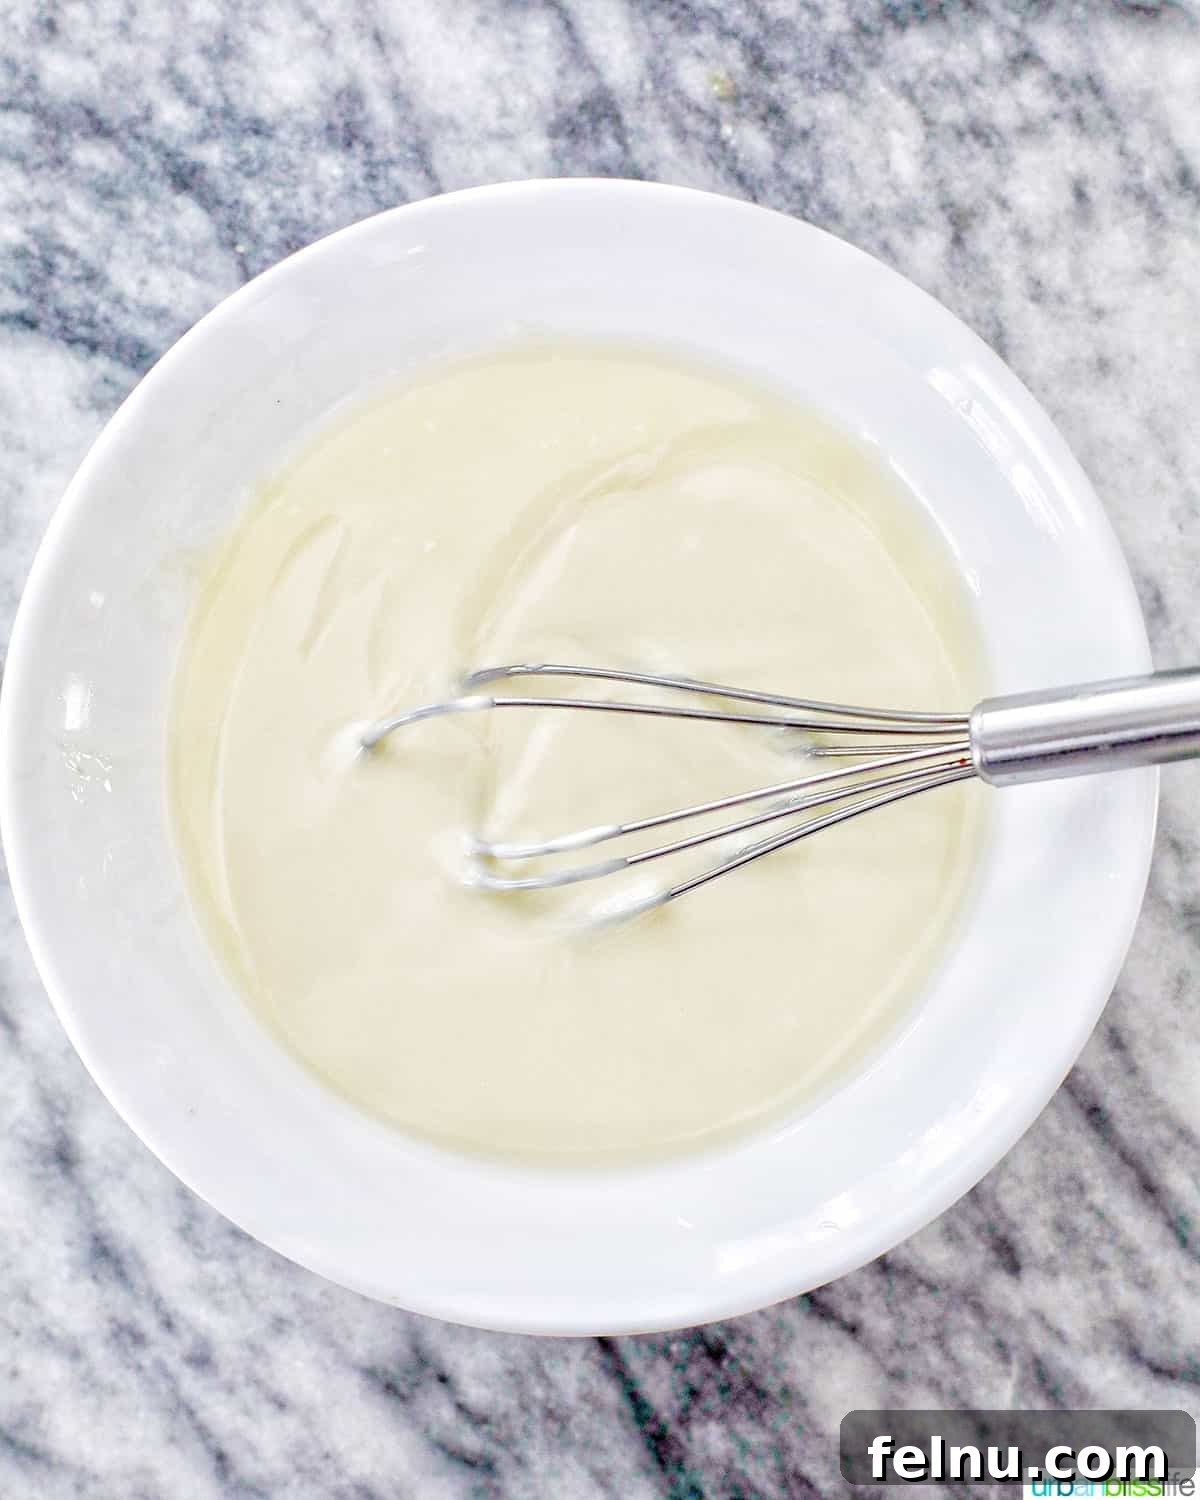
In a microwave-safe bowl, combine the white chocolate (chopped baking bar or melting wafers) and the coconut oil. Microwave the mixture in short 30-second intervals. After each interval, remove the bowl and stir the chocolate thoroughly, even if it doesn’t look fully melted. Continue this process until the chocolate is just melted and smooth. Be careful not to overheat the chocolate, as this can cause it to seize or burn, making it thick and difficult to work with.
Step 5: Dip and Coat the Truffles
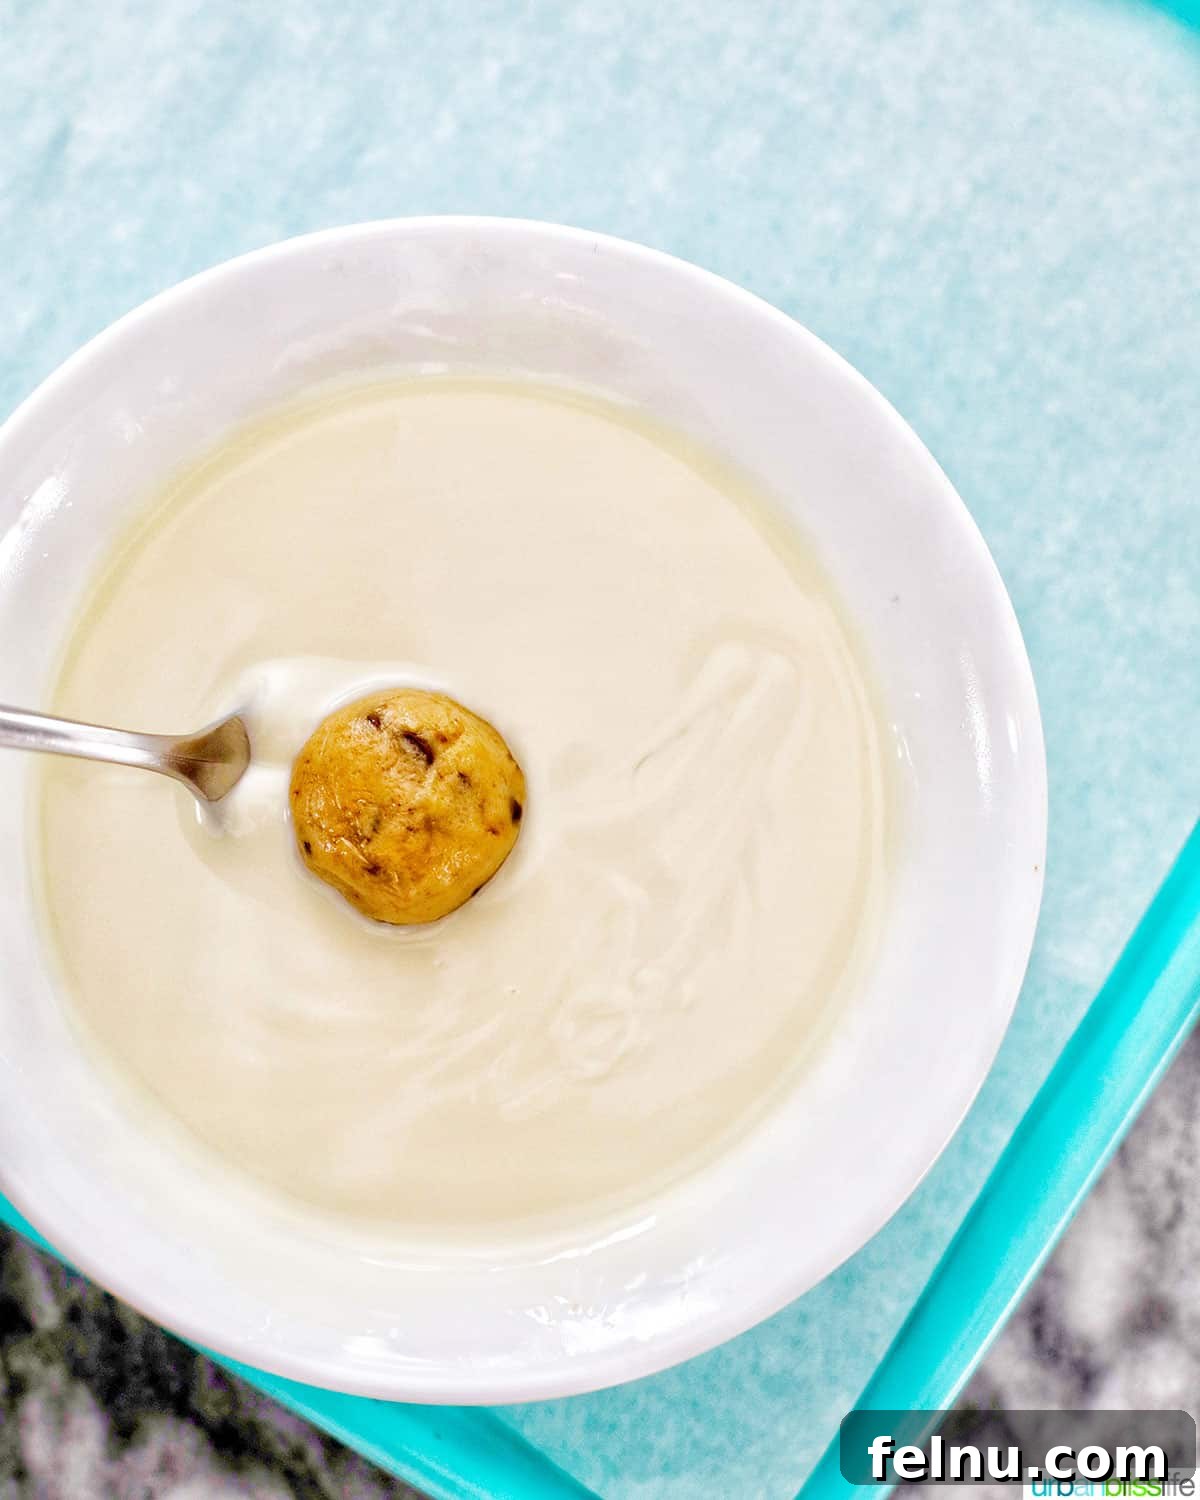
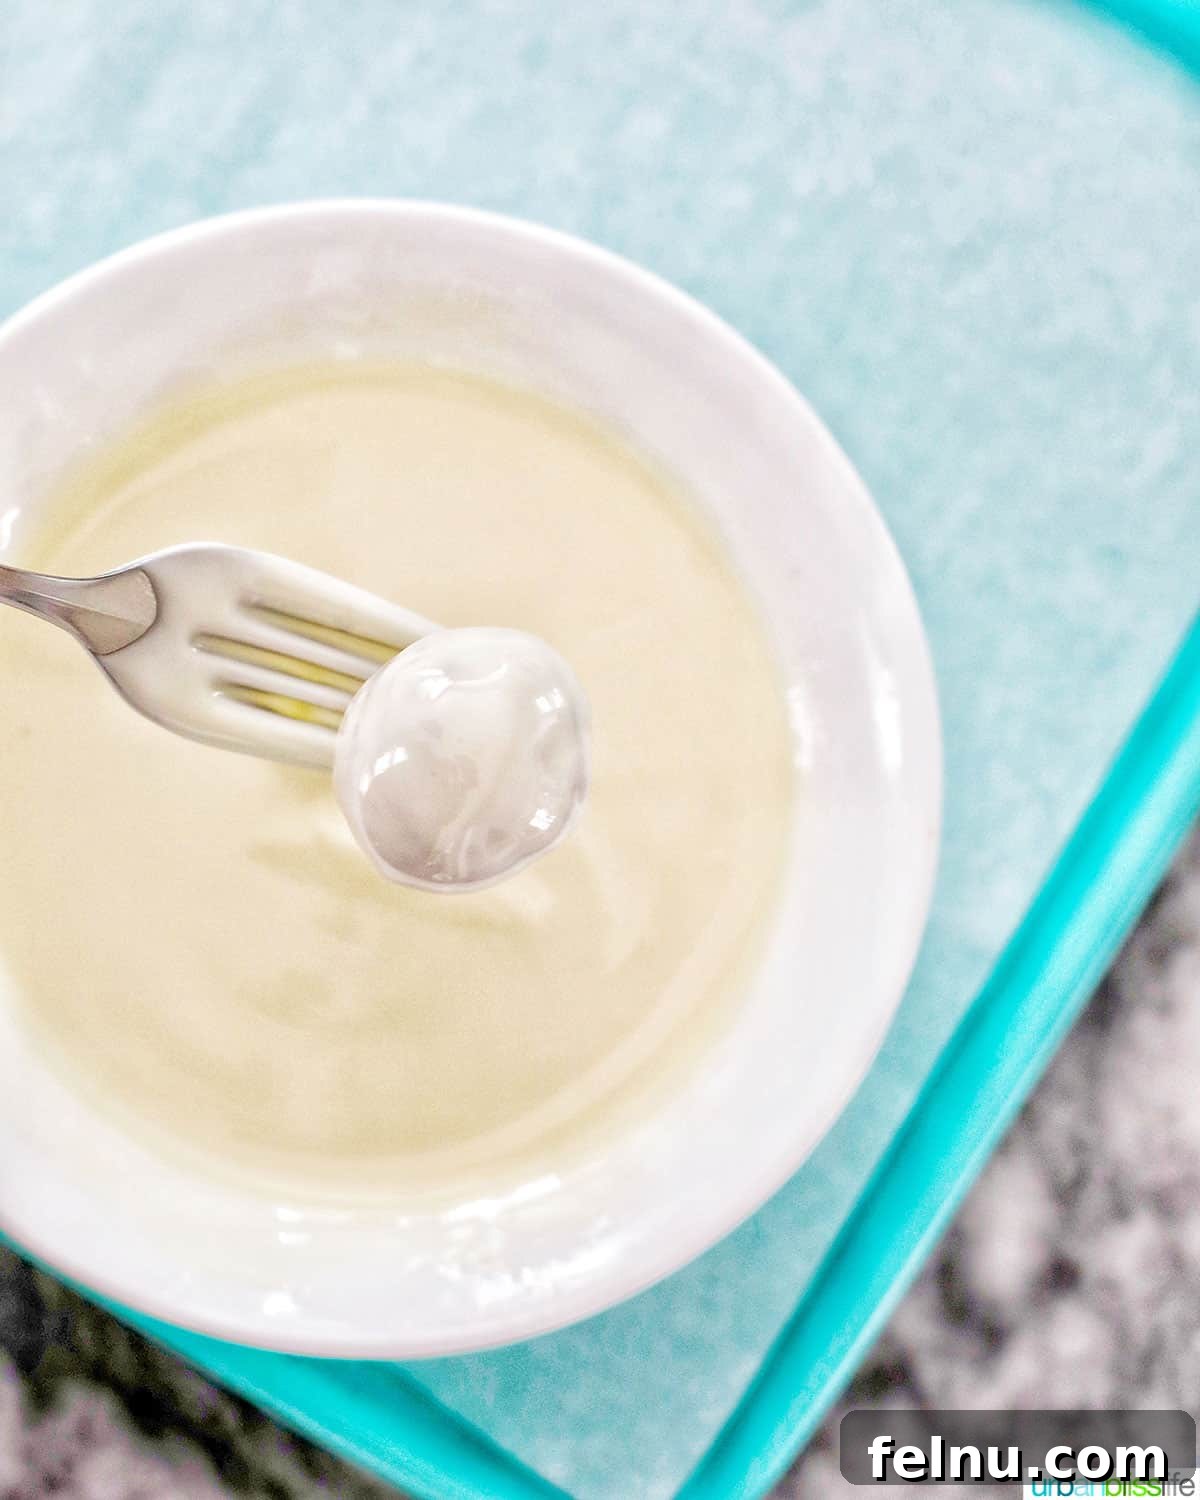
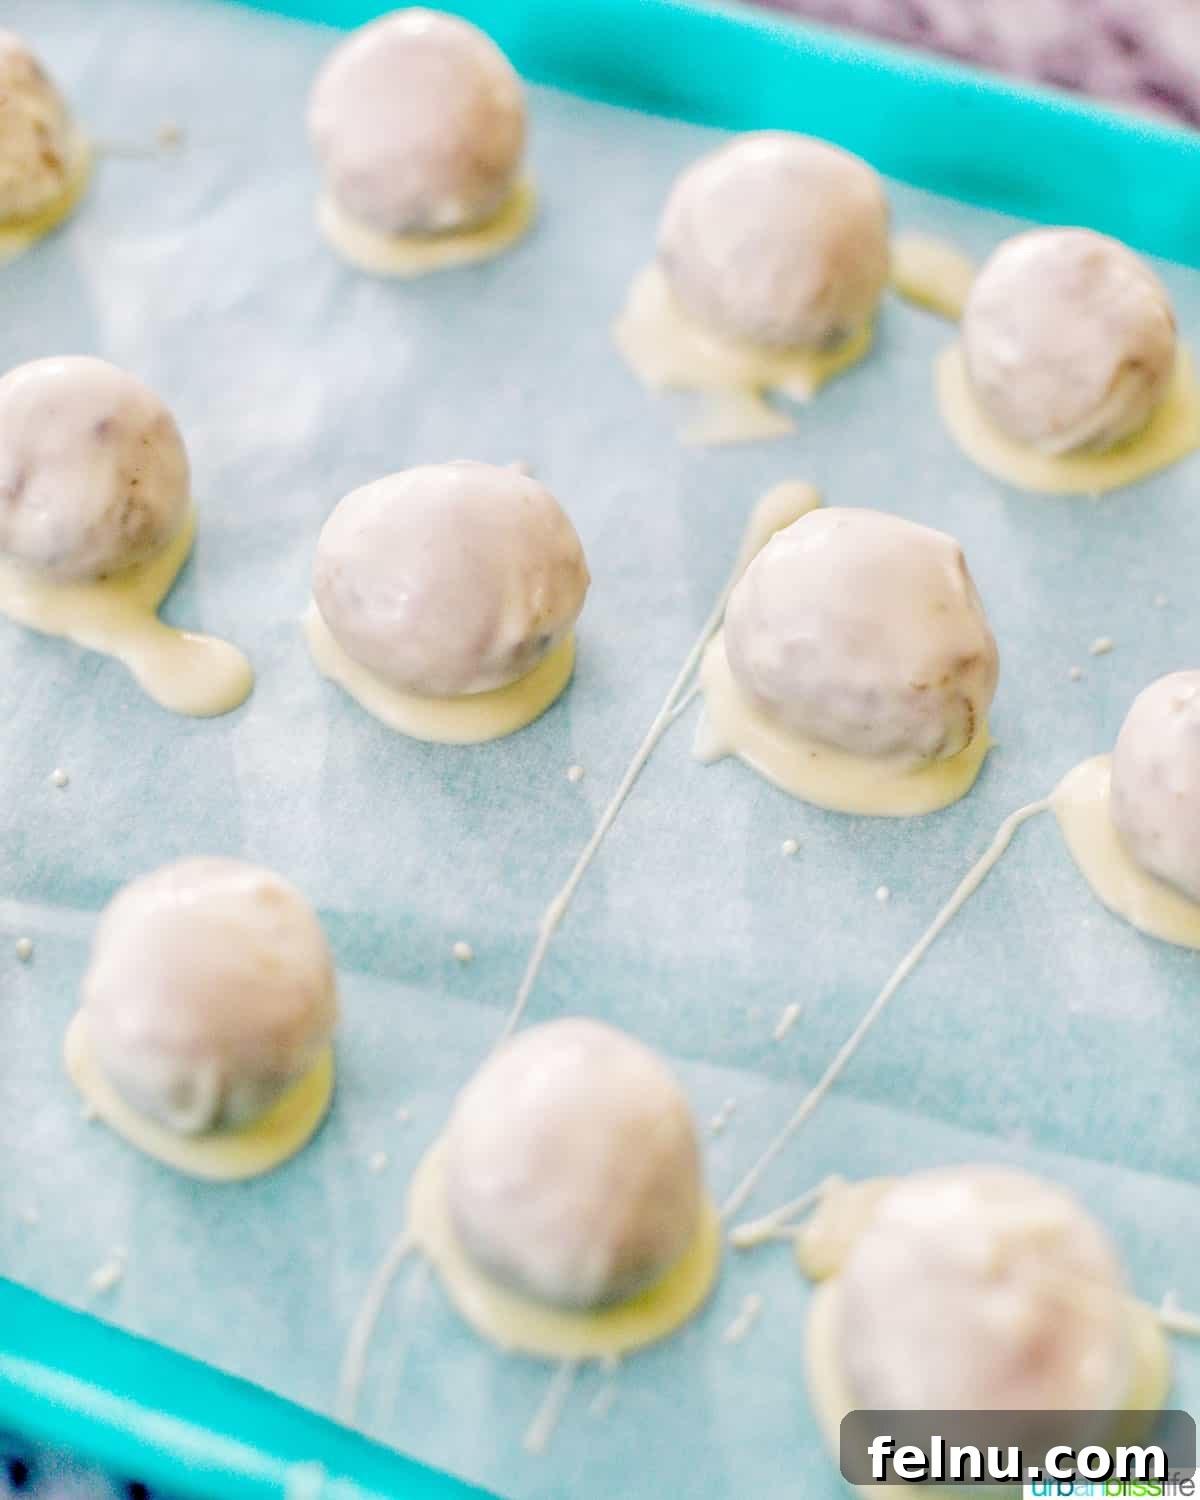
Using two forks, gently pick up a cookie dough ball and submerge it into the melted chocolate mixture. Ensure the entire ball is coated evenly. Lift the truffle out of the chocolate, allowing any excess to drip back into the bowl. This helps create a smooth, thin coating. Immediately place the coated truffle onto the prepared wax paper. Repeat with the remaining cookie dough balls.
Step 6: Add Optional Decorations
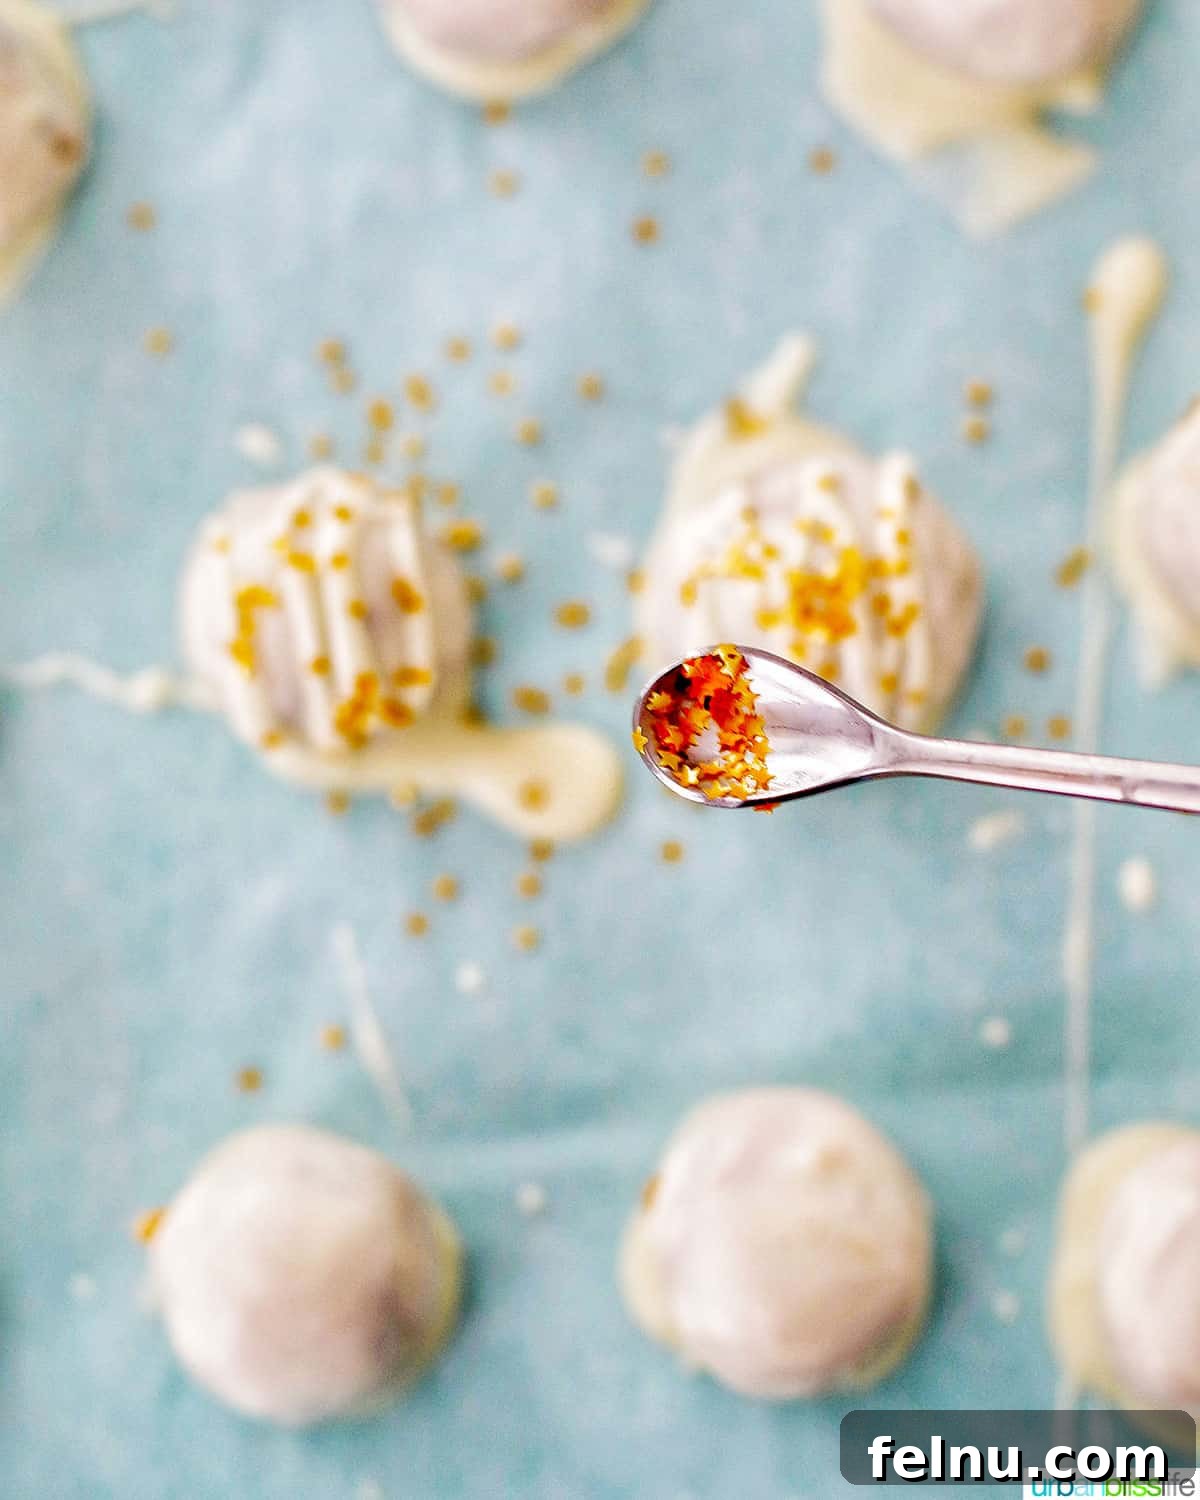
If you plan to add any decorative elements, such as sprinkles, edible glitter, or a contrasting chocolate drizzle, do so immediately after dipping each truffle and before the chocolate coating has a chance to set. This ensures that the decorations adhere properly to the still-wet chocolate. Work quickly, especially if your kitchen is cool.
Step 7: Chill to Set
Once all your truffles are dipped and decorated, transfer the baking sheet or plate to the refrigerator. Allow them to chill until the chocolate coating has fully set and hardened. This typically takes anywhere from 5 to 15 minutes, depending on the thickness of your chocolate coating and the temperature of your refrigerator. The truffles should feel firm to the touch.
Step 8: Store and Serve
Once the truffles are completely chilled and the chocolate is firm, carefully transfer them to an airtight container. Store these delicious no-bake cookie dough truffles in the refrigerator for up to 5 days. For the best flavor and texture, allow them to come to room temperature for a few minutes before serving, though they are also delightful straight from the fridge!
Recipe Frequently Asked Questions (FAQs)

Generally, traditional raw cookie dough that contains raw eggs and untreated all-purpose flour is not considered safe to eat due to potential risks from salmonella in eggs and E. coli in raw flour. However, the cookie dough used in this truffle recipe is specifically *edible* cookie dough. This means it is made without raw eggs and often uses heat-treated flour or alternative flours like coconut flour, making it perfectly safe for raw consumption. Always check the packaging to ensure it’s labeled “edible” or “safe to eat raw.”
For the smoothest, most professional-looking, and best-tasting truffles, I highly recommend using high-quality melting chocolates that are specifically designed for confectionery. These include chocolate melting wafers (sometimes called candy melts) or premium chocolate baking bars. These products are formulated to melt evenly and set with a beautiful, glossy, and smooth texture. Avoid using standard chocolate chips, as they contain emulsifiers that prevent them from melting as smoothly, often resulting in a thicker, duller coating.
To maintain their freshness, texture, and flavor, store your finished cookie dough truffles in an airtight container. Place the container in the refrigerator, where they will stay fresh and delicious for up to 4 to 5 days. If you’d like to prepare them further in advance or save some for later, these truffles also freeze wonderfully for up to a month. Just thaw them in the refrigerator before serving.
Absolutely! While this recipe uses classic chocolate chip edible cookie dough, feel free to experiment with other flavors of edible cookie dough available on the market. Peanut butter cookie dough, sugar cookie dough, or even brownie batter cookie dough could make for exciting truffle variations. Just ensure it’s specifically labeled as “edible” or “safe to eat raw.”
The addition of coconut oil in this recipe is key to a smooth, thin coating. Ensure you’re not overheating the chocolate, as this can cause it to seize. If your chocolate still seems too thick, you can add a tiny bit more coconut oil (1/4 to 1/2 teaspoon at a time) and stir well. Make sure your cookie dough balls are cold, as this helps the chocolate set quickly and evenly without melting the dough.
More Delightful One-Bite Dessert Recipes
If you love the convenience and deliciousness of these easy cookie dough truffles, you’ll surely enjoy exploring more of our favorite one-bite dessert recipes. These treats are perfect for parties, snacking, or satisfying a quick sweet craving.
- Irresistible Mint Oreo Truffles: A refreshing and decadent combination of mint and chocolate, these truffles are a crowd-pleaser.
- Elegant Honey Bourbon Truffles: For an adult-friendly treat, these truffles offer a sophisticated blend of honey and a hint of bourbon.
- Classic Easy Oreo Truffles: A simple yet incredibly popular recipe, these require minimal effort for maximum flavor.
- Addictive Chocolate-Covered Peanut Butter Ritz Cracker Cookies: The perfect sweet and salty combination, these cookies are surprisingly simple and utterly delicious.
Cookie Dough Truffles
Pin
Equipment
-
1 Baking Sheets
Ingredients
- 1 package Pillsbury cookie dough
- 8 ounces white chocolate bar, chopped, or white chocolate baking melting wafers
- 1 Tablespoon coconut oil
Instructions
-
Line a baking sheet or plate that will fit into your refrigerator with wax paper or parchment paper. Set aside.
-
Scoop out the packaged cookie dough with a spoon or cookie scoop and roll into small 1″ to 1.5″ balls. Continue rolling until you use all of the dough and set them aside on a large plate.
-
In a microwaveable bowl, add the white chocolate and coconut oil. Microwave in 30 second increments, stirring in between, until just melted.
-
Use two forks to gently dip the cookie dough balls into the melted chocolate mixture to coat the cookie dough, then place on the prepared wax paper. Top with sprinkles or drizzled melted chocolate, as desired.
-
Refrigerate until the chocolate has set, which can take anywhere from 5 to 15 minutes.
-
Transfer fully chilled truffles to an airtight container and store in the refrigerator for up to 5 days, or until you’re ready to serve them.
Video
Notes
Storage: These delightful truffles are best enjoyed fresh. Store any leftover truffles in an airtight container in the refrigerator, where they will remain fresh for up to 5 days. For longer storage, you can freeze them for up to one month. Just be sure to thaw them in the refrigerator before serving.
Variations: Feel free to customize your truffles! Instead of white chocolate, try milk or dark chocolate. You can also mix in flavor extracts (like a drop of peppermint or almond extract) to your melted chocolate for an added dimension of taste.
Nutrition
Nutrition information is automatically calculated, so should only be used as an approximation.
Pin This Recipe for Later