
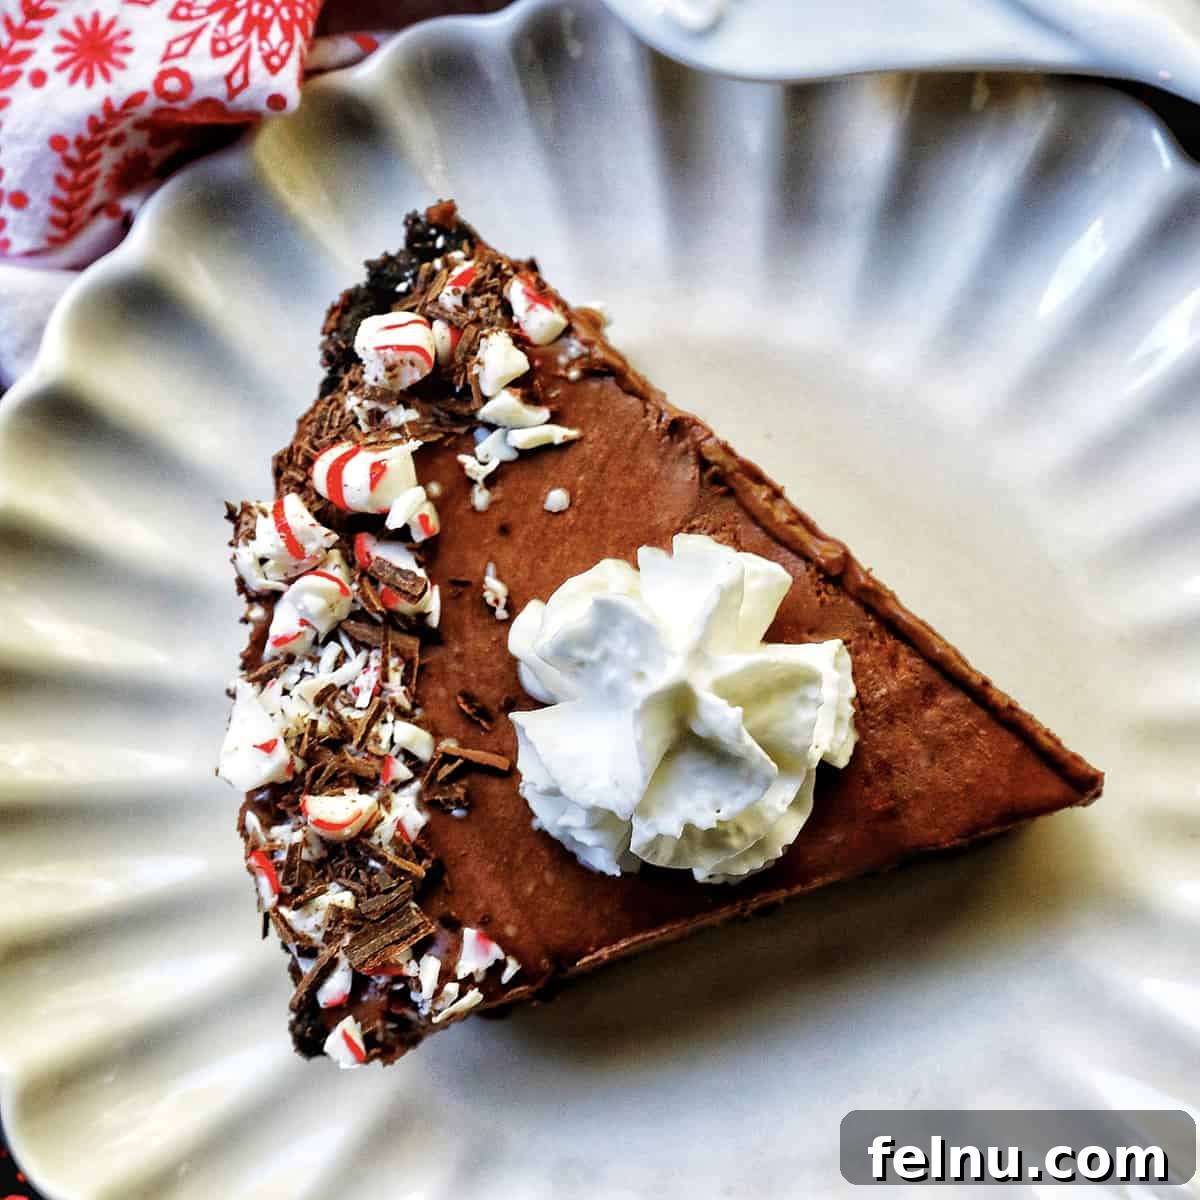
Indulge in the spirit of the season with this irresistible Chocolate Peppermint Pie recipe – a truly easy Christmas dessert that promises to delight everyone! Featuring a perfectly crunchy Oreo cookie crust and a velvety, rich, and creamy chocolate pie filling brightened with refreshing peppermint flavor, this simple pie recipe is destined to become a cherished holiday favorite in your home.
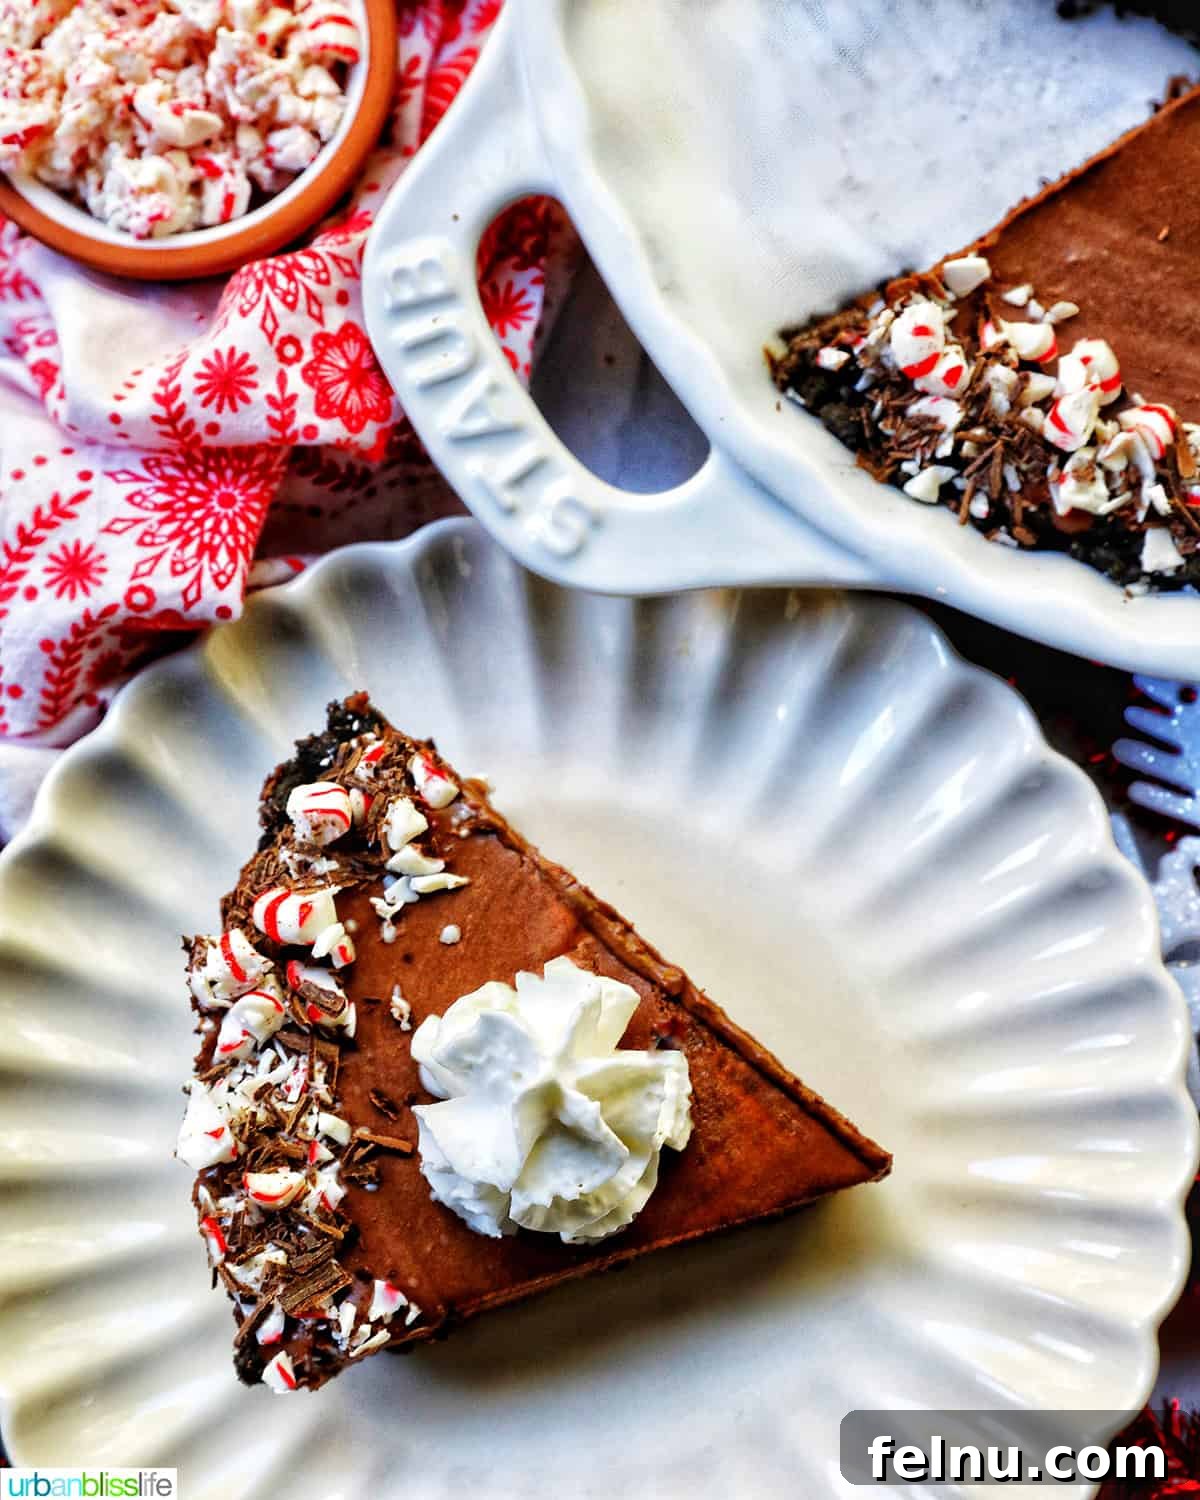
The holiday season brings so much joy, and for many, that joy culminates in the delightful array of festive desserts. There’s something truly magical about baking during this time of year, filling your home with wonderful aromas and creating sweet treats to share with loved ones.
At our house, holiday baking is a cherished tradition, and the combination of chocolate and peppermint stands out as a true champion of seasonal flavors. We’ve celebrated this dynamic duo in many forms over the years, from our Chocolate Dipped Peppermint Shortbread Cookies to our elegant White Chocolate Peppermint Holiday Bark, and even our comforting Gingerbread Loaves with Peppermint Cream Cheese Frosting. Each one has earned its place as a longtime family favorite, thanks to that perfect blend of rich cocoa and cool, minty freshness.
Now, prepare to add a new star to your holiday dessert table: this incredible Chocolate Peppermint Pie. We genuinely believe it’s one of the best holiday pies you can whip up. No exaggeration—it’s a showstopper that consistently earns rave reviews. It’s not just a big hit with our entire family; it’s a dessert we personally love, love, L-O-V-E! We’re confident it will capture your heart (and taste buds!) just as much.
❤️ Why You’ll Adore This Chocolate Peppermint Pie
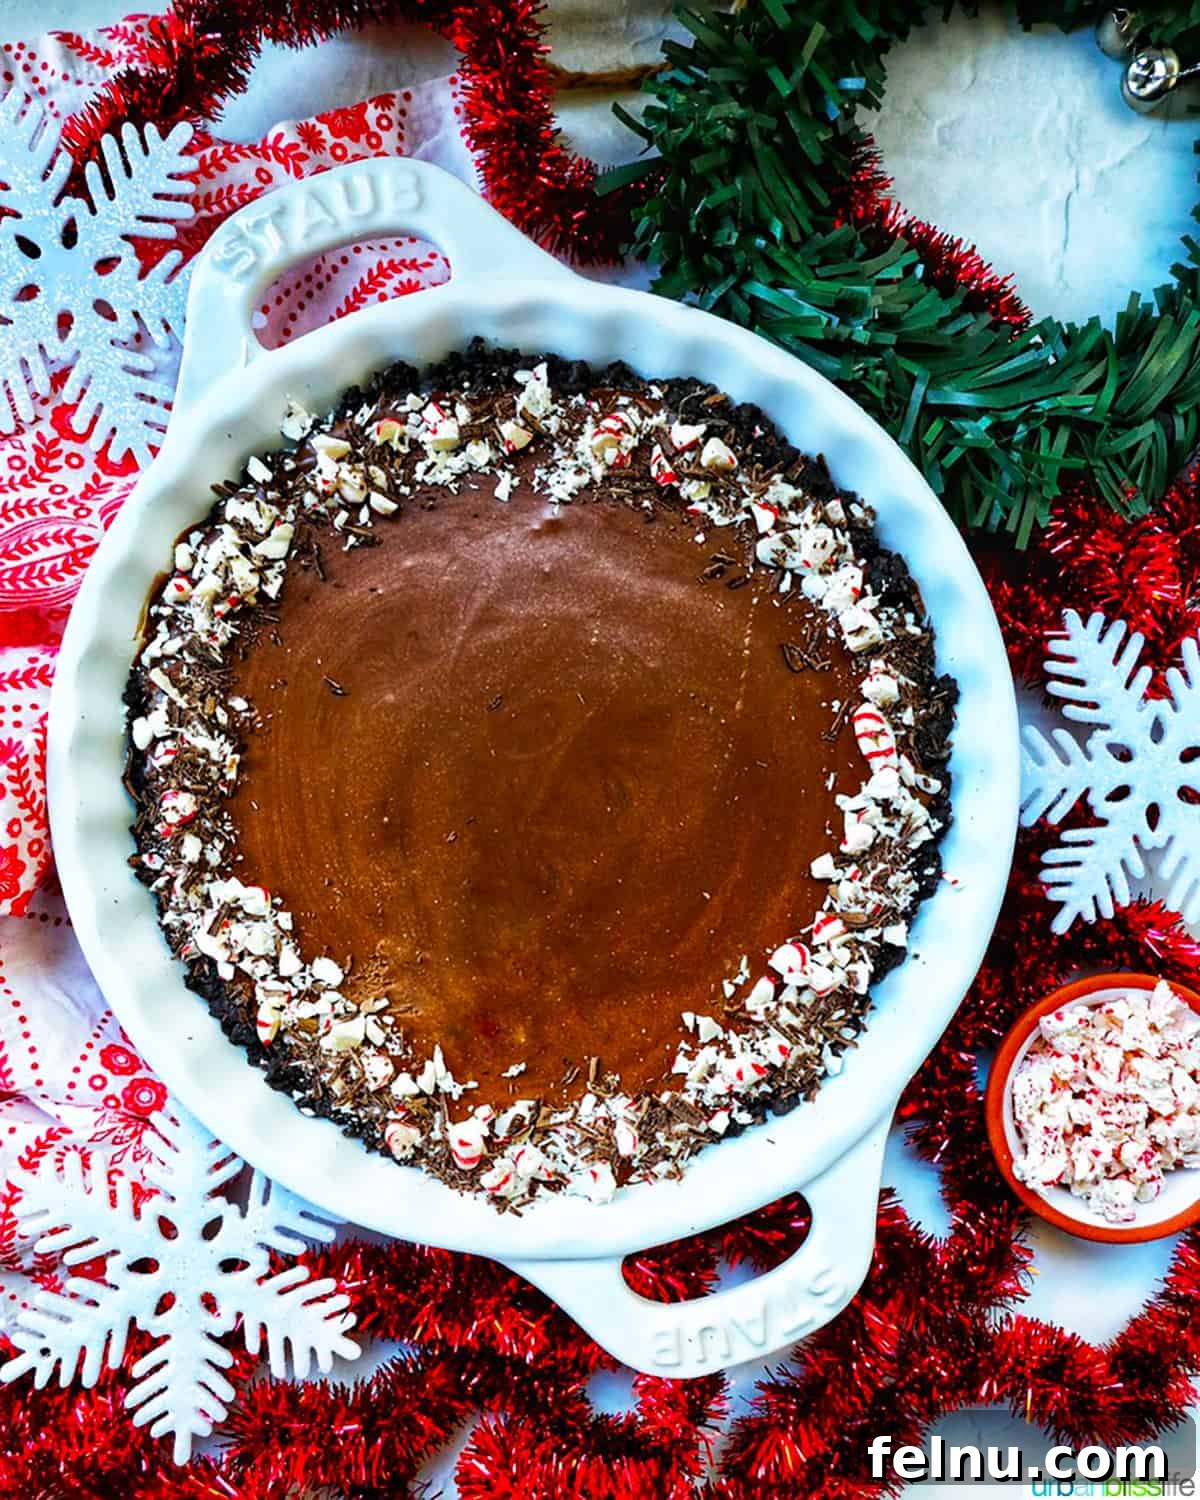
Whether you’re a devoted chocolate enthusiast or a passionate peppermint lover, this spectacular pie recipe is crafted specifically for you. Here’s why this Chocolate Peppermint Pie is about to become your new favorite holiday tradition:
- Effortlessly Easy: Don’t let its impressive appearance fool you – this pie is incredibly simple to make. The steps are straightforward and easy to follow, making it perfect even for beginning bakers. We’ve included detailed step-by-step photos below to guide you through every stage, ensuring a perfect result every time.
- Simple, Accessible Ingredients: You won’t need any specialty store trips for this recipe! It calls for simple, readily available ingredients that you can find at any local grocery store. This makes preparation hassle-free and ensures you can whip up this delightful dessert whenever the craving strikes.
- Unforgettable Flavor & Texture: This isn’t just a delicious pie; it’s a sensory experience. It boasts the perfect balance of rich, velvety chocolate cream filling and bright, cool peppermint. The contrast of the crunchy cookie crust against the smooth, fluffy filling, topped with a sprinkle of crushed peppermint candies, elevates every bite to pure bliss.
- The Ultimate Make-Ahead Dessert: Holiday planning can be stressful, but this pie simplifies your dessert preparations. You can conveniently make this pie ahead of time – up to two days before serving – and store it in the refrigerator. While it remains delicious for a few days after that, it truly tastes best and maintains its optimal texture when served within 1-2 days of chilling. This flexibility makes it ideal for busy holiday schedules.
- A Festive Showstopper: With its vibrant colors and alluring aroma, this chocolate peppermint pie is visually stunning and undeniably festive. It makes a beautiful centerpiece for any holiday gathering, guaranteed to impress your guests and bring smiles to their faces.
- Dietary Adaptability: This recipe is surprisingly versatile! With simple substitutions, you can easily adapt it to be dairy-free, ensuring that more friends and family can enjoy a slice of this seasonal delight.
🍫 Ingredient Essentials for Your Perfect Pie
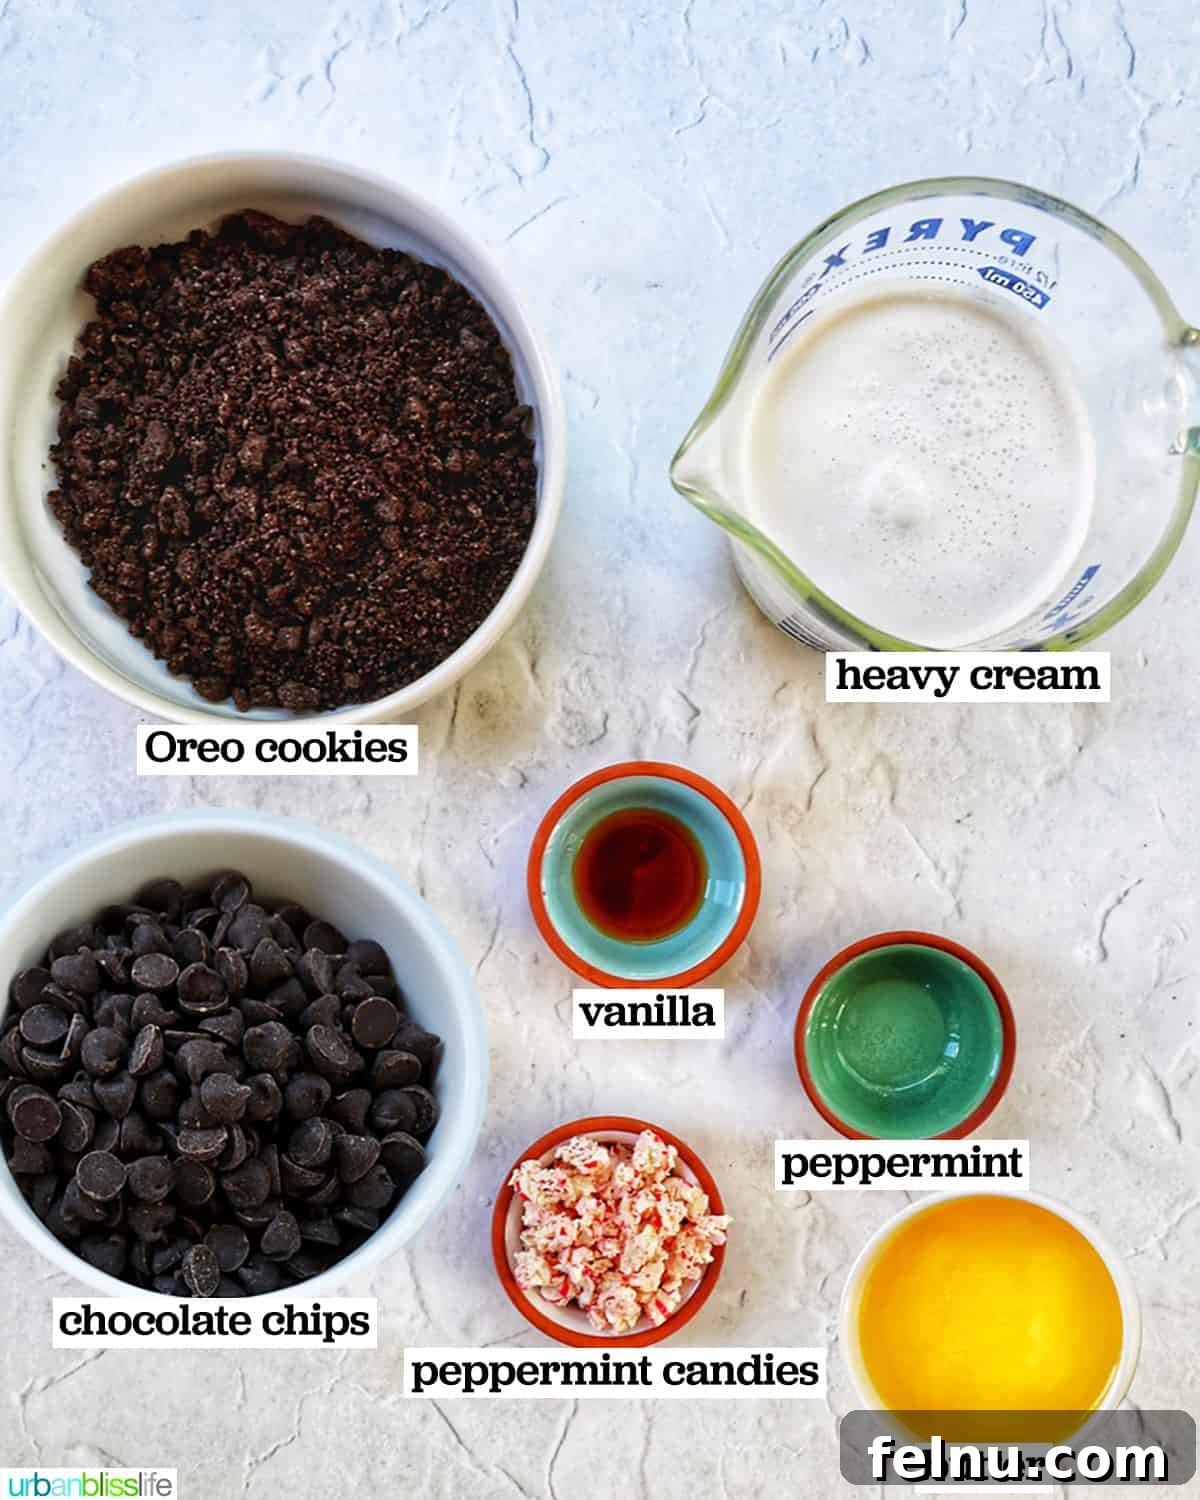
You’ll be delighted to discover that you only need a handful of key ingredients – just seven (7) simple items – to craft this decadent Chocolate Peppermint Pie. Focusing on quality ingredients will ensure the best possible flavor and texture for your holiday treat!
- Oreo Cookies: The foundation of our pie is a classic Oreo cookie crust. Using Oreos not only makes for an incredibly easy crust, but it also delivers a deep chocolate flavor and a delightful crunch that perfectly complements the creamy filling. You’ll be using the whole cookie, cream filling and all, which contributes to the richness.
- Unsalted Butter: Melted unsalted butter is crucial for binding the crushed Oreo cookies together, creating a firm and flavorful crust. Using unsalted butter allows you to control the overall saltiness of the pie.
- Semi-Sweet Chocolate Chips: For the heart of our pie’s filling, semi-sweet chocolate chips are recommended. Their balanced sweetness provides a rich, deep chocolate flavor without being overly sugary, allowing the peppermint notes to shine through beautifully. While semi-sweet is ideal, you can experiment with dark chocolate for a more intense cocoa flavor or milk chocolate for a sweeter, milder profile.
- Heavy Whipping Cream: This ingredient plays a dual, indispensable role in achieving the pie’s luxurious texture. First, a portion of the heavy cream is heated with the chocolate chips to create a smooth, rich chocolate base, essentially a ganache. Second, the remaining heavy cream is whipped to stiff peaks, then gently folded into the chocolate base. This two-step process yields a remarkably rich, yet incredibly light and fluffy chocolate pie filling that melts in your mouth.
- Pure Vanilla Extract: A touch of pure vanilla extract is added to enhance and round out the chocolate flavors, providing a subtle warmth that elevates the overall taste profile of the pie. Always opt for pure vanilla for the best results.
- Peppermint Extract: This is where the magic happens for the signature holiday flavor! Peppermint extract provides that bright, refreshing minty kick. It’s typically easy to find in most grocery stores, especially during the holiday season. If not, check craft stores or order it online. Be mindful of the quantity, as a little goes a long way to avoid an overpowering mint flavor. Ensure you’re using peppermint extract, not spearmint, for that classic holiday taste.
- Peppermint Candy: To add a festive flourish and an extra textural element, finely crushed peppermint candies or candy canes are used as a garnish. The small pieces provide a lovely burst of minty crunch and a beautiful visual appeal.
Optional Garnishes to Elevate Your Pie
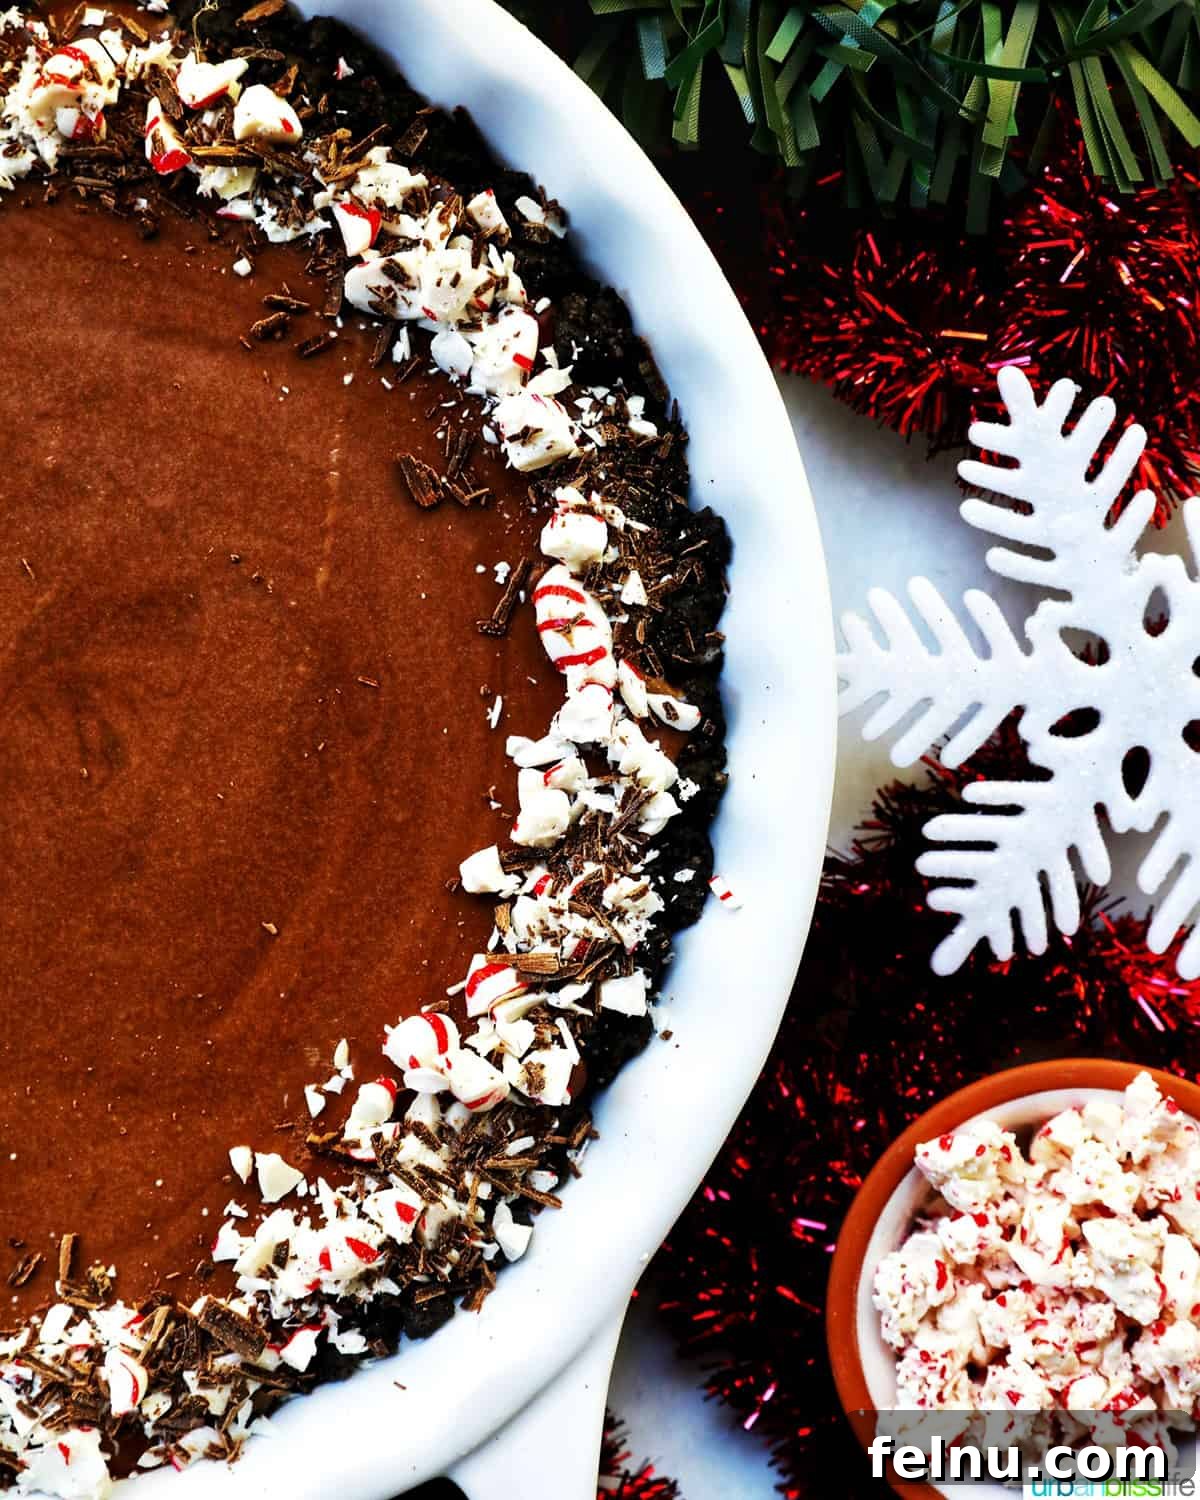
While the crushed peppermint candy is a wonderful touch, you can always customize your pie’s presentation and flavor with additional garnishes. In these photos, we also added elegant shaved chocolate to the top of the chocolate peppermint cream pie. This is completely optional, but, let’s be honest, extra chocolate never hurts!
Other fantastic garnish ideas include a dollop of fresh whipped cream, a dusting of cocoa powder, mini chocolate chips, festive mint chocolate chips, or even a few mini marshmallows for a touch of whimsy. Get creative and make your pie uniquely yours!
✅ Your Step-by-Step Guide to Chocolate Peppermint Pie Perfection
This Chocolate Peppermint Pie is celebrated as one of the easiest, yet most impressive, holiday pies you can create. For your convenience, the complete list of ingredients and detailed instructions can be found in the printable recipe card at the bottom of this post. However, for all our visual learners out there, here are comprehensive step-by-step photos and guidance to ensure your baking journey is a smooth and successful one!
Crafting the Irresistible Oreo Crust
First, begin by preparing your pie pan. Preheat your oven to 350°F (175°C). Lightly grease a standard 9-inch pie pan with butter or a non-stick baking spray. You can also line it with parchment paper for easier removal, though it’s not strictly necessary with a well-greased pan.
Next, it’s time to crush those Oreo cookies into fine crumbs. You have a couple of easy methods for this: either place the cookies in a food processor and pulse until finely ground, or for a more hands-on approach, place them in a large ziplock bag, seal it, and crush them with a rolling pin until uniformly fine. The finer the crumbs, the more cohesive your crust will be.
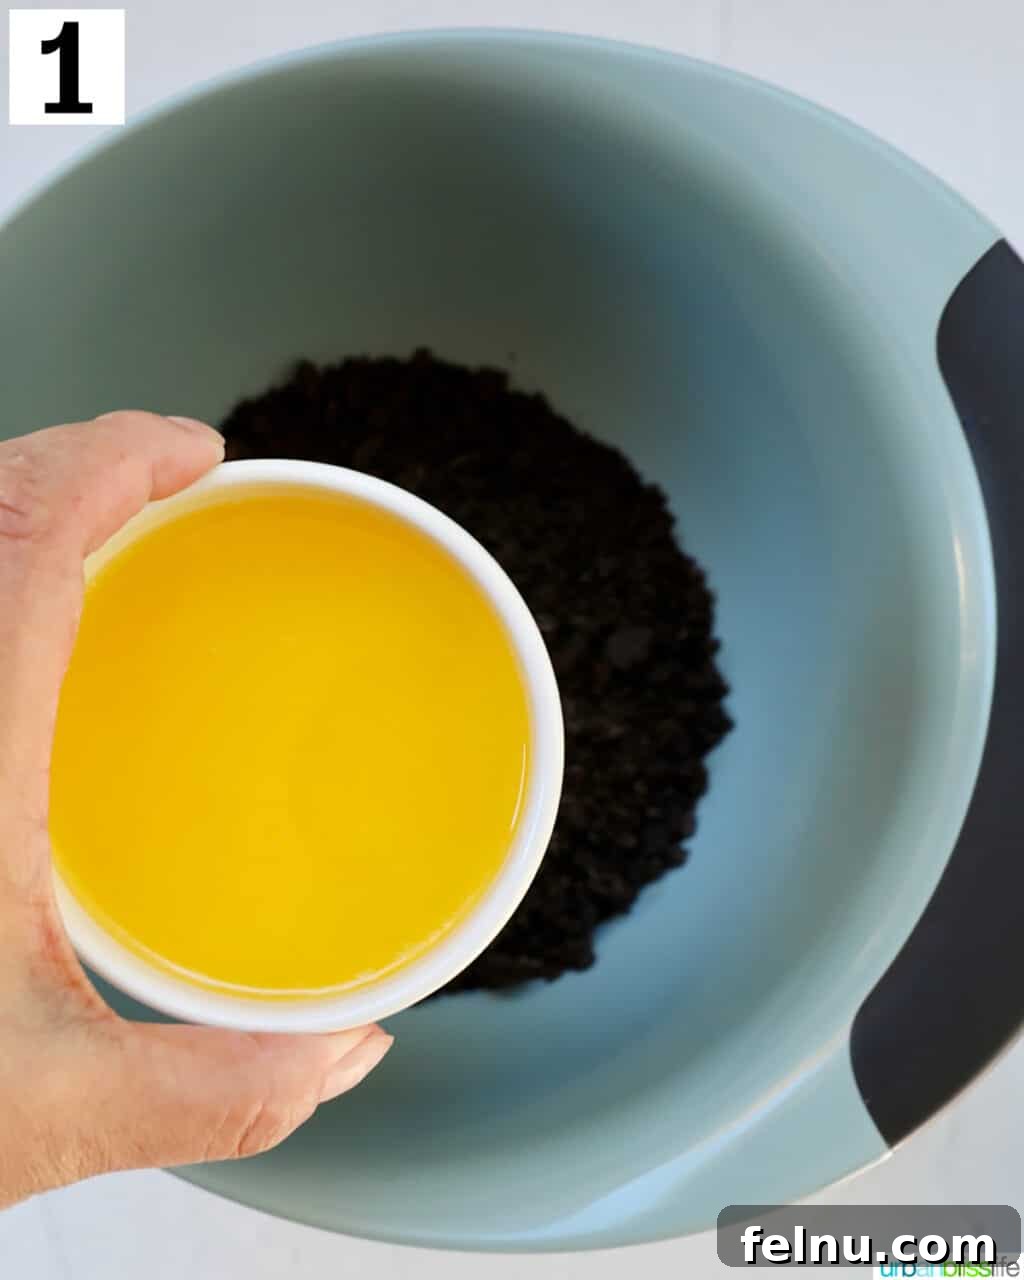
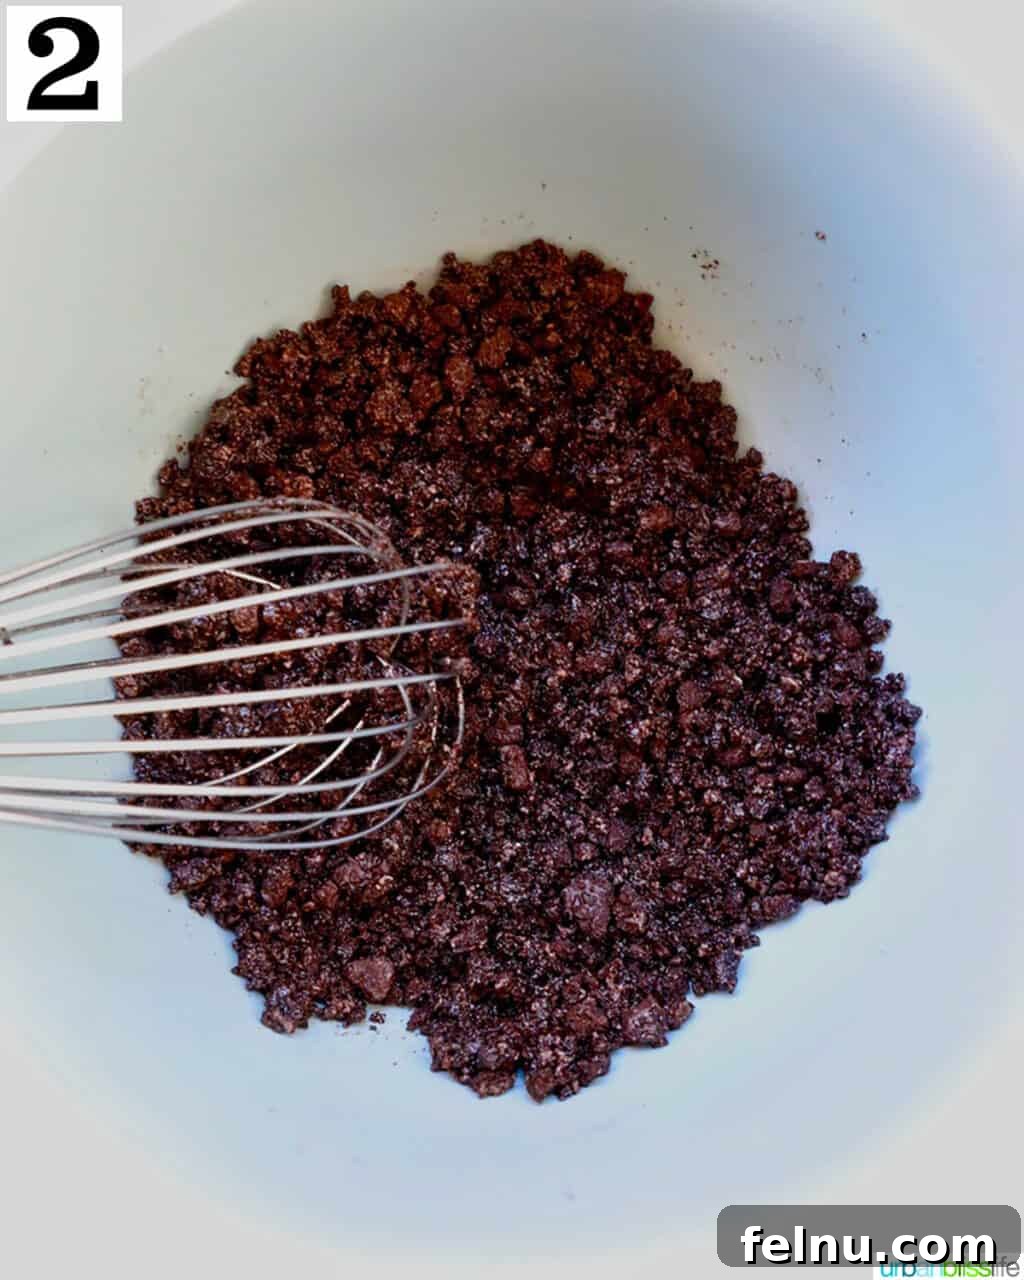
- In a large mixing bowl, combine the finely crushed Oreo cookies with the melted unsalted butter.
- Using a fork or your hands, mix the crushed cookies thoroughly with the melted butter until all the crumbs are moistened and resemble wet sand. This ensures a cohesive crust.
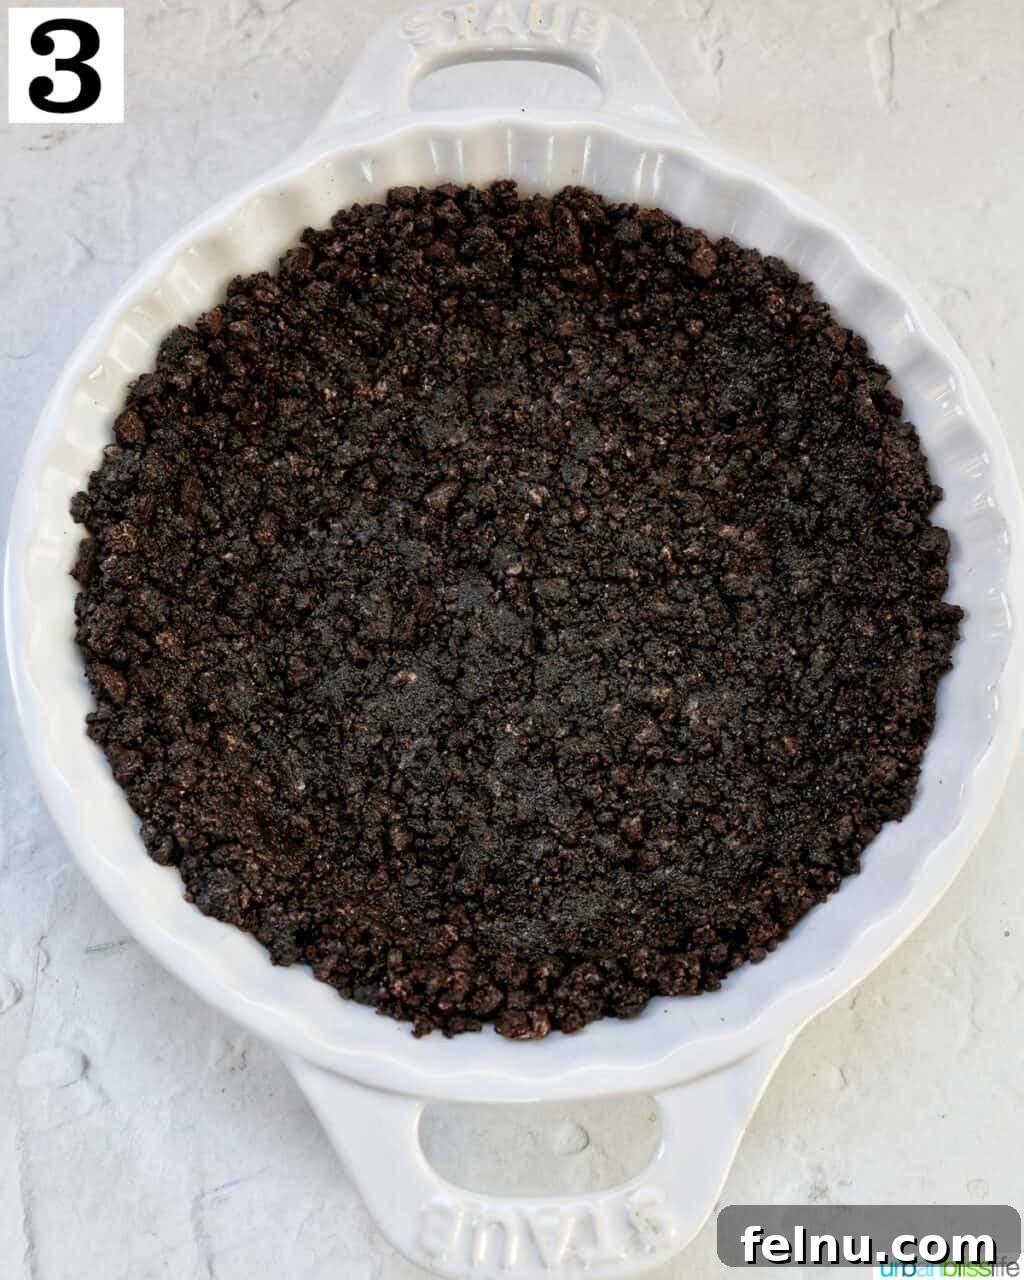
- Press the mixture firmly and evenly into the bottom and up the sides of your prepared 9-inch pie pan. A flat-bottomed measuring cup or the palm of your hand works well for this. Bake the pie crust at 350°F (175°C) for 8-9 minutes. This short bake time helps to set the crust and make it extra crispy. Remove it from the oven and allow it to cool completely on a wire rack before you even think about adding the filling. A cool crust prevents the filling from melting.
Preparing the Velvety Chocolate Peppermint Filling
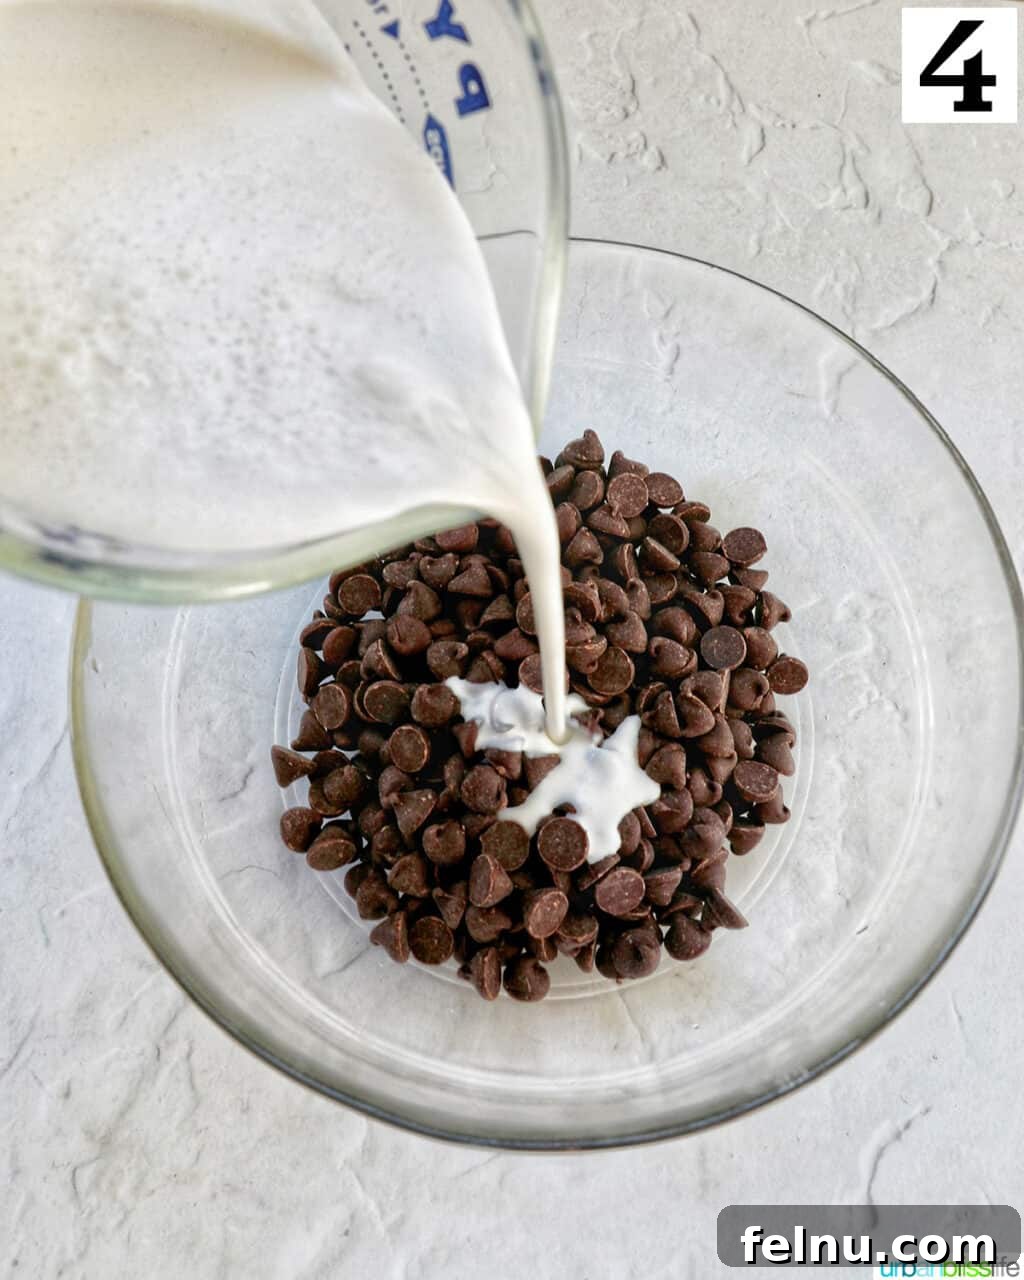
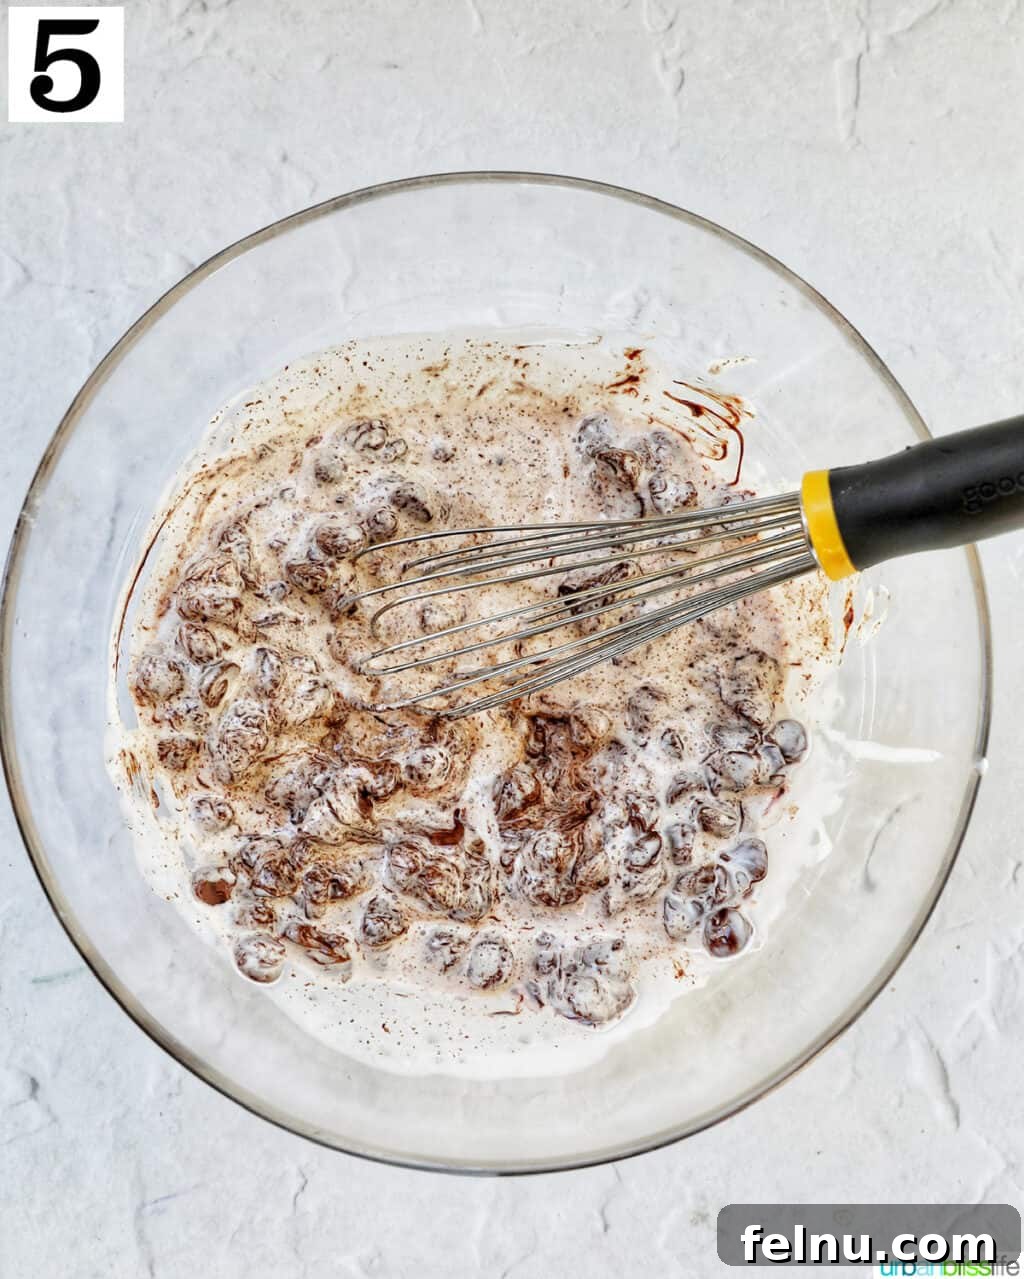
- In a separate, large microwave-safe bowl, combine the semi-sweet chocolate chips and ½ cup of the heavy cream.
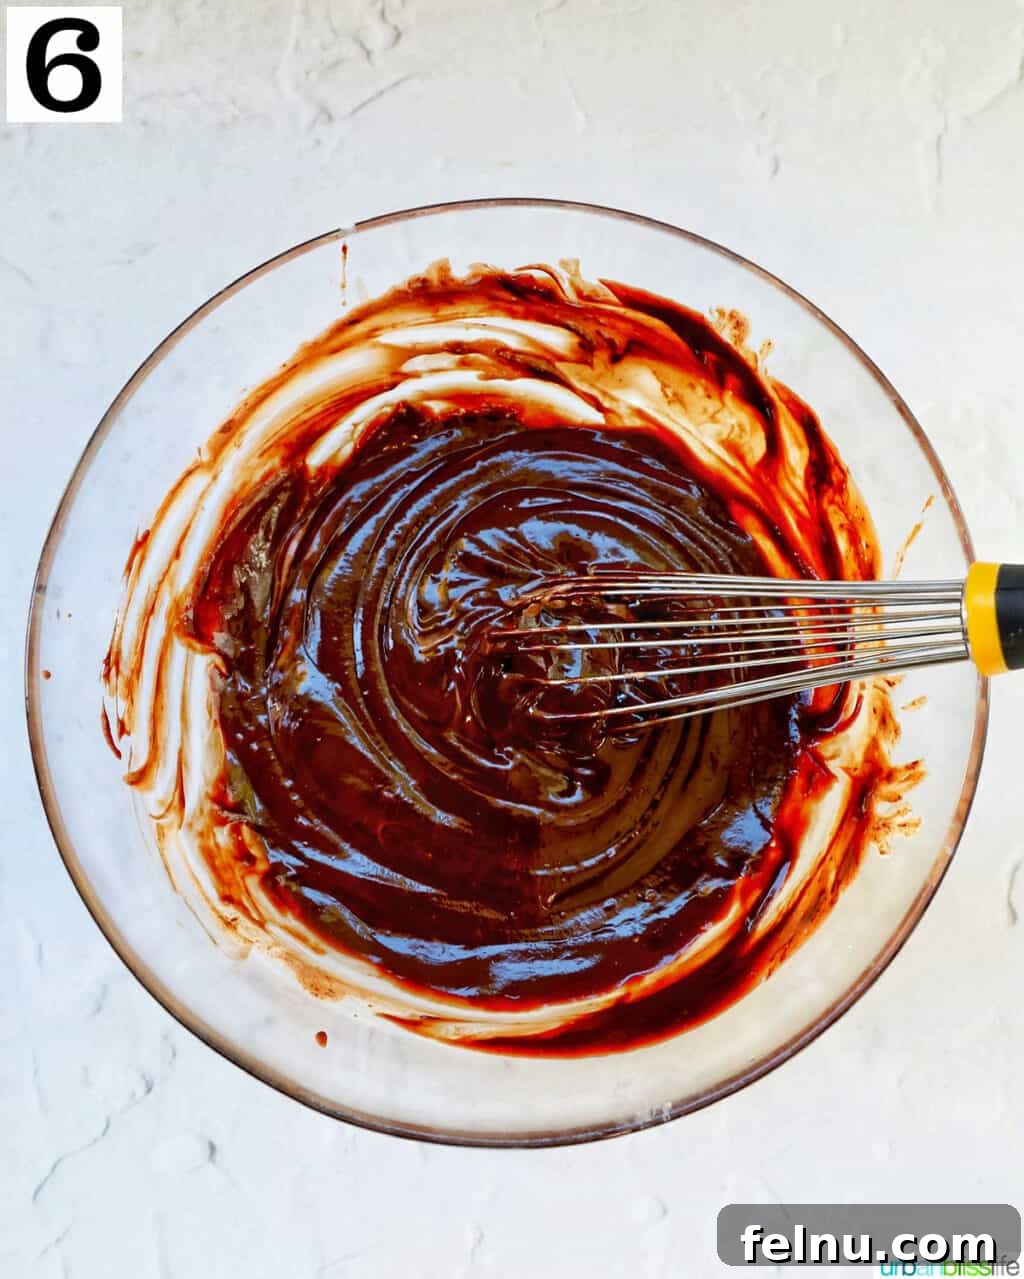
- Microwave the mixture in 30-second increments, carefully stirring (whisking) between each interval, just until the chocolate chips are fully melted and the mixture is smooth and glossy. Be cautious not to overheat the chocolate, as it can seize.
- Once smooth and completely melted, set the chocolate mixture aside to cool slightly to room temperature. This cooling step is important before folding in the whipped cream.
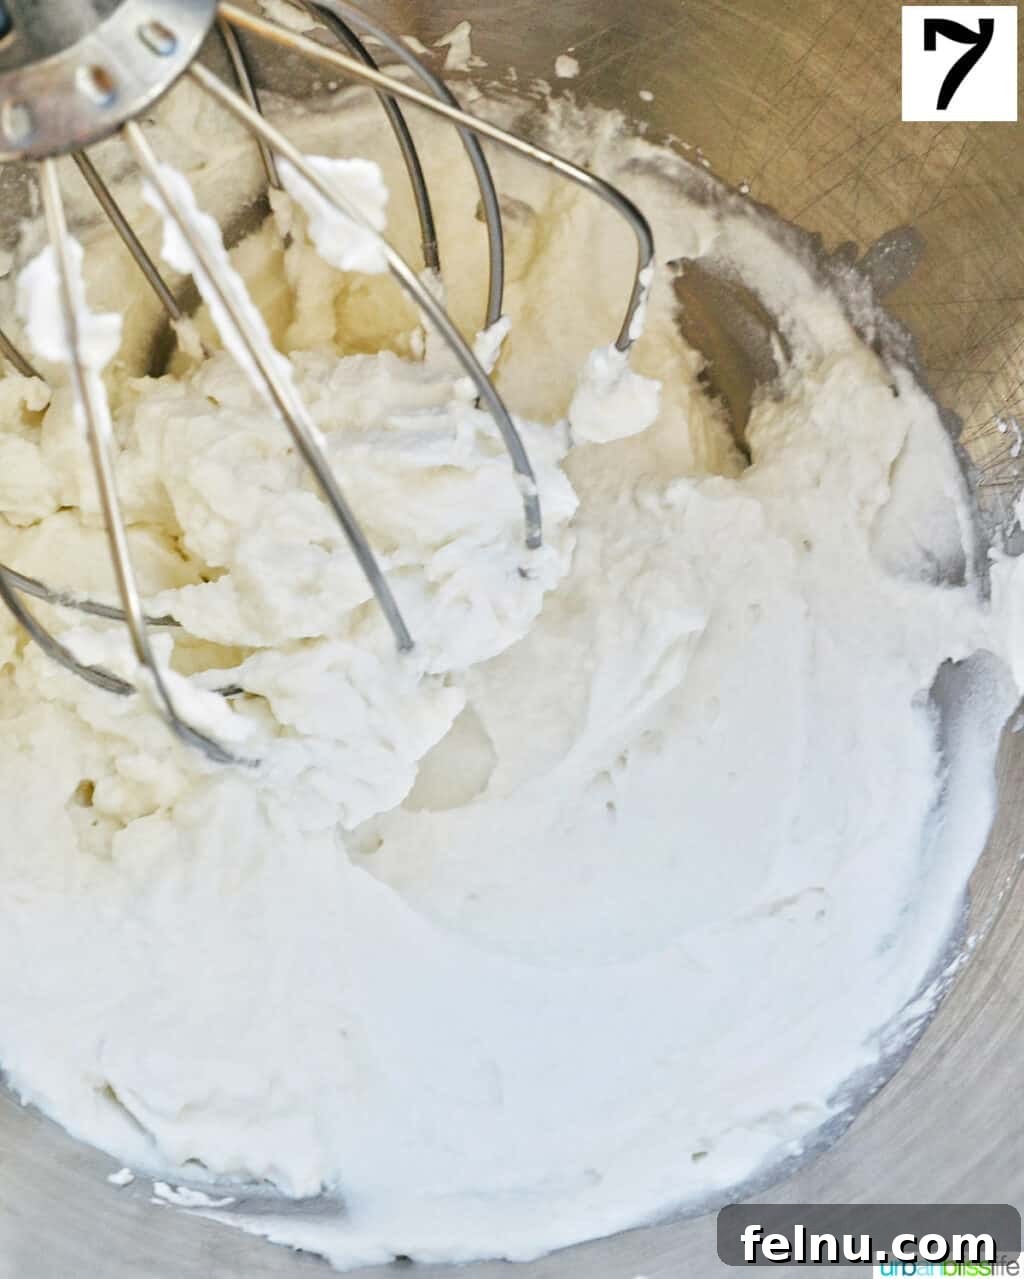
- In the clean bowl of a stand mixer fitted with a whisk attachment (or using a large bowl and an electric hand mixer), pour the remaining 1 cup of heavy cream. Whisk on medium-high speed until firm, stiff peaks form. The whipped cream should hold its shape when the whisk is lifted.
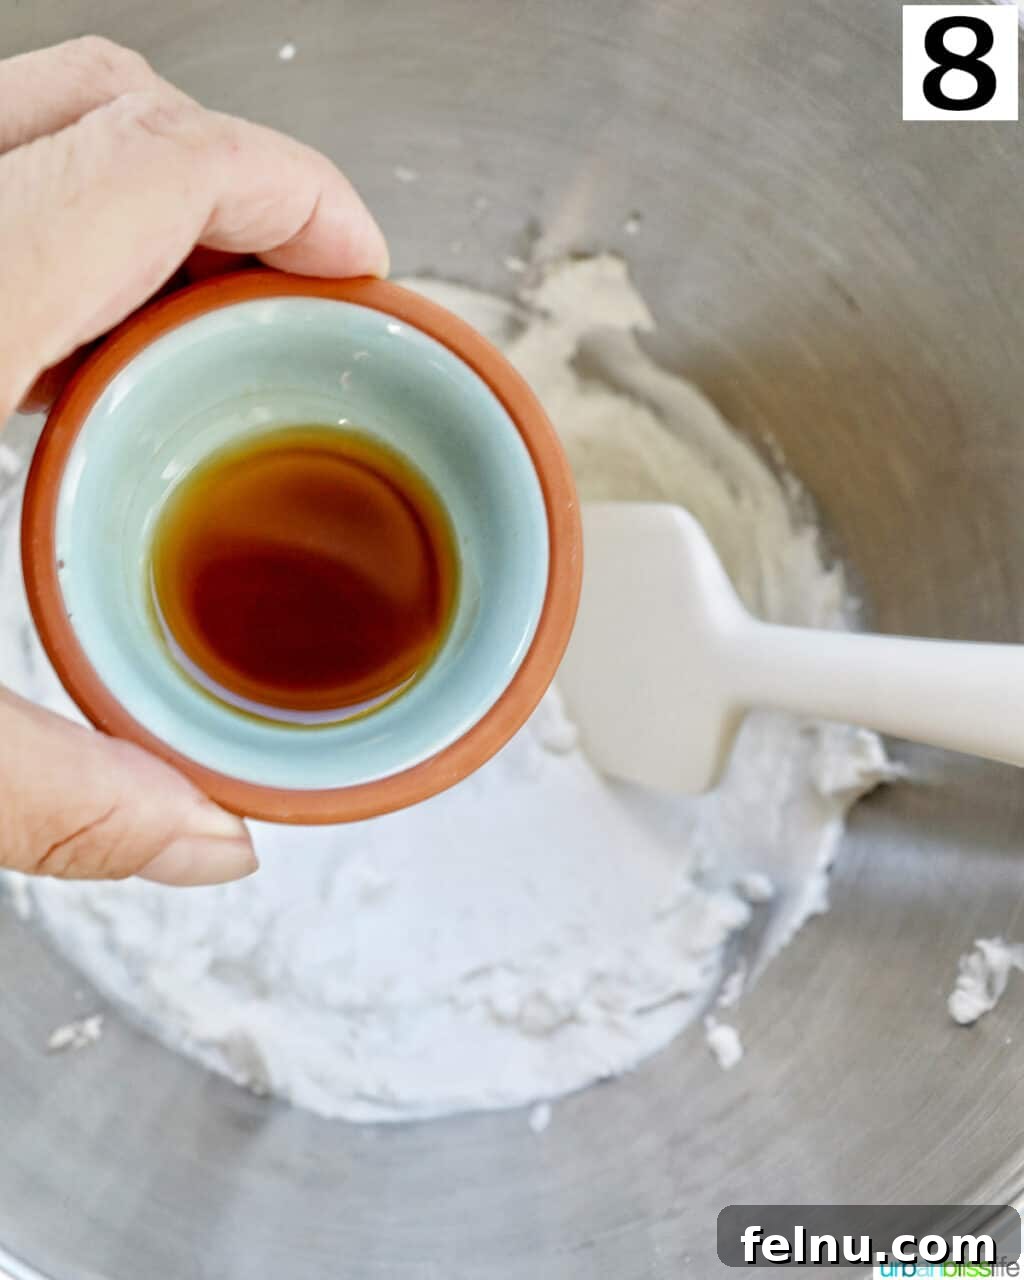
- Add the pure vanilla extract and the peppermint extract to the whipped cream. Briefly whisk for about 10-15 seconds on low speed, just enough to gently combine the flavors without deflating the beautiful volume you’ve created.
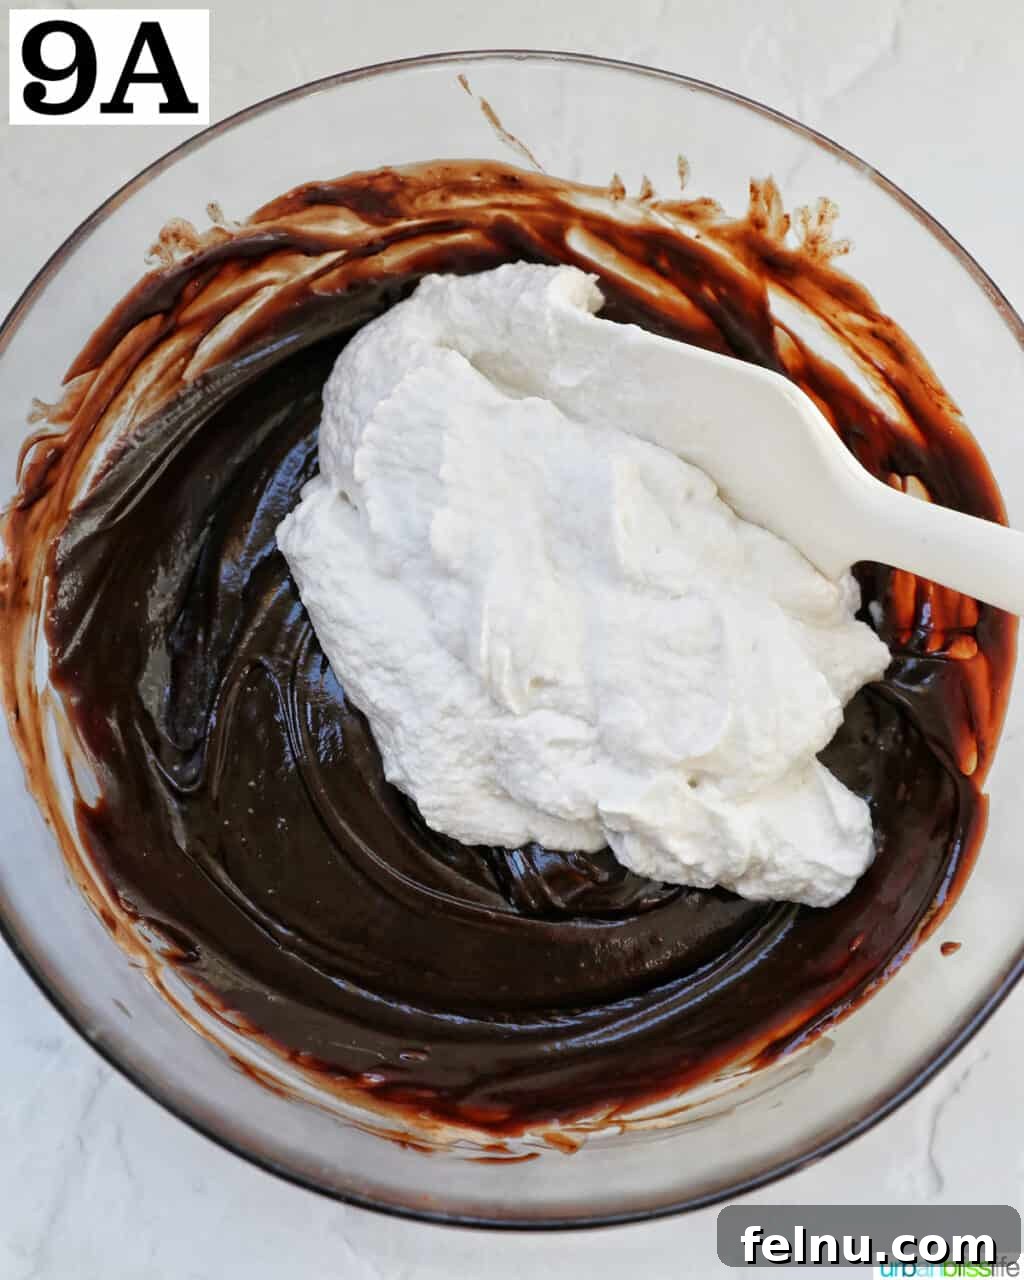
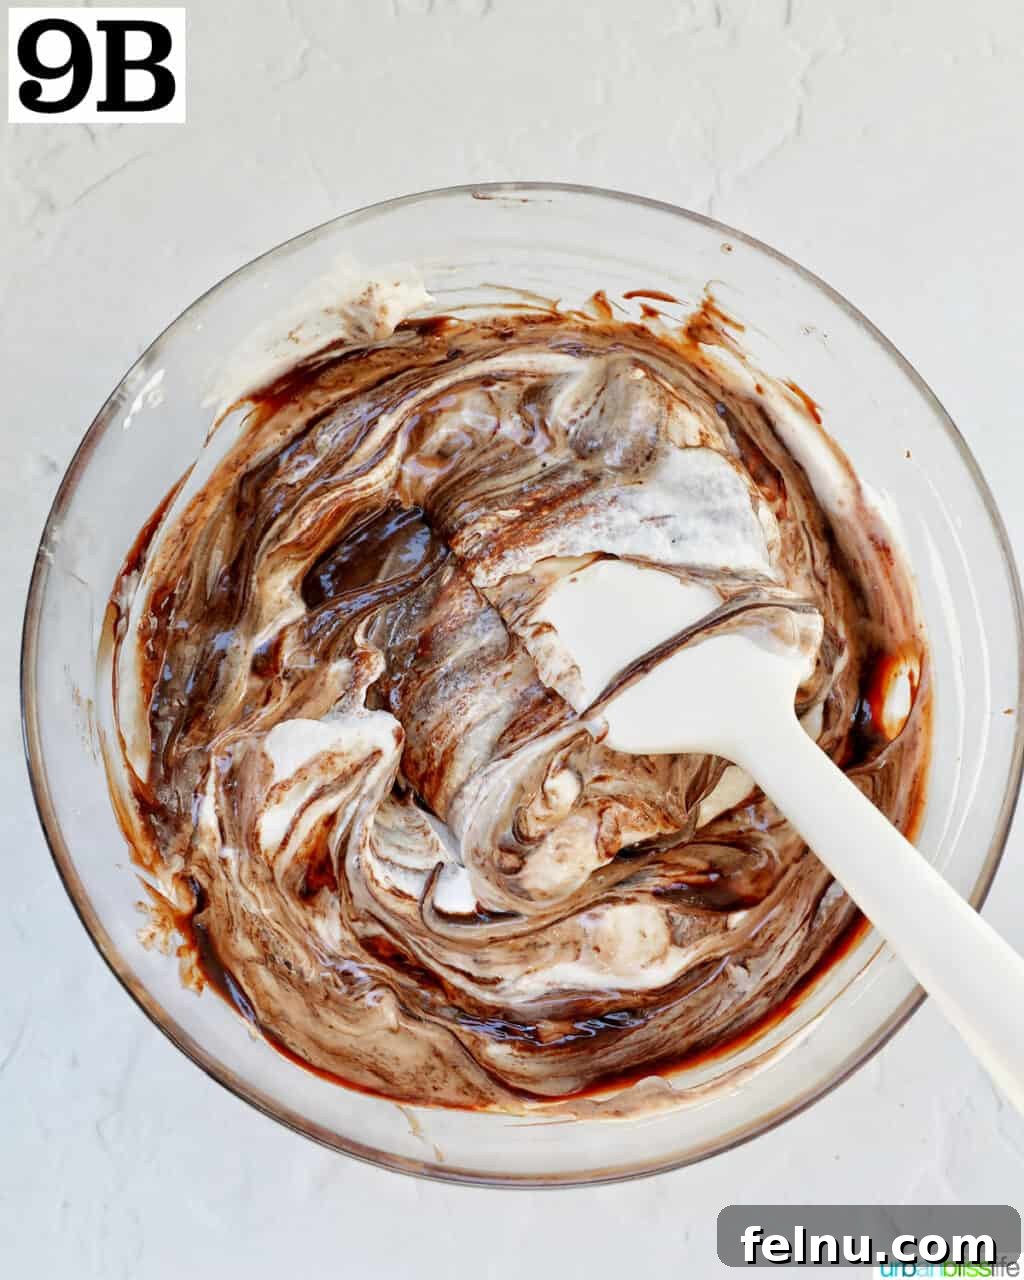
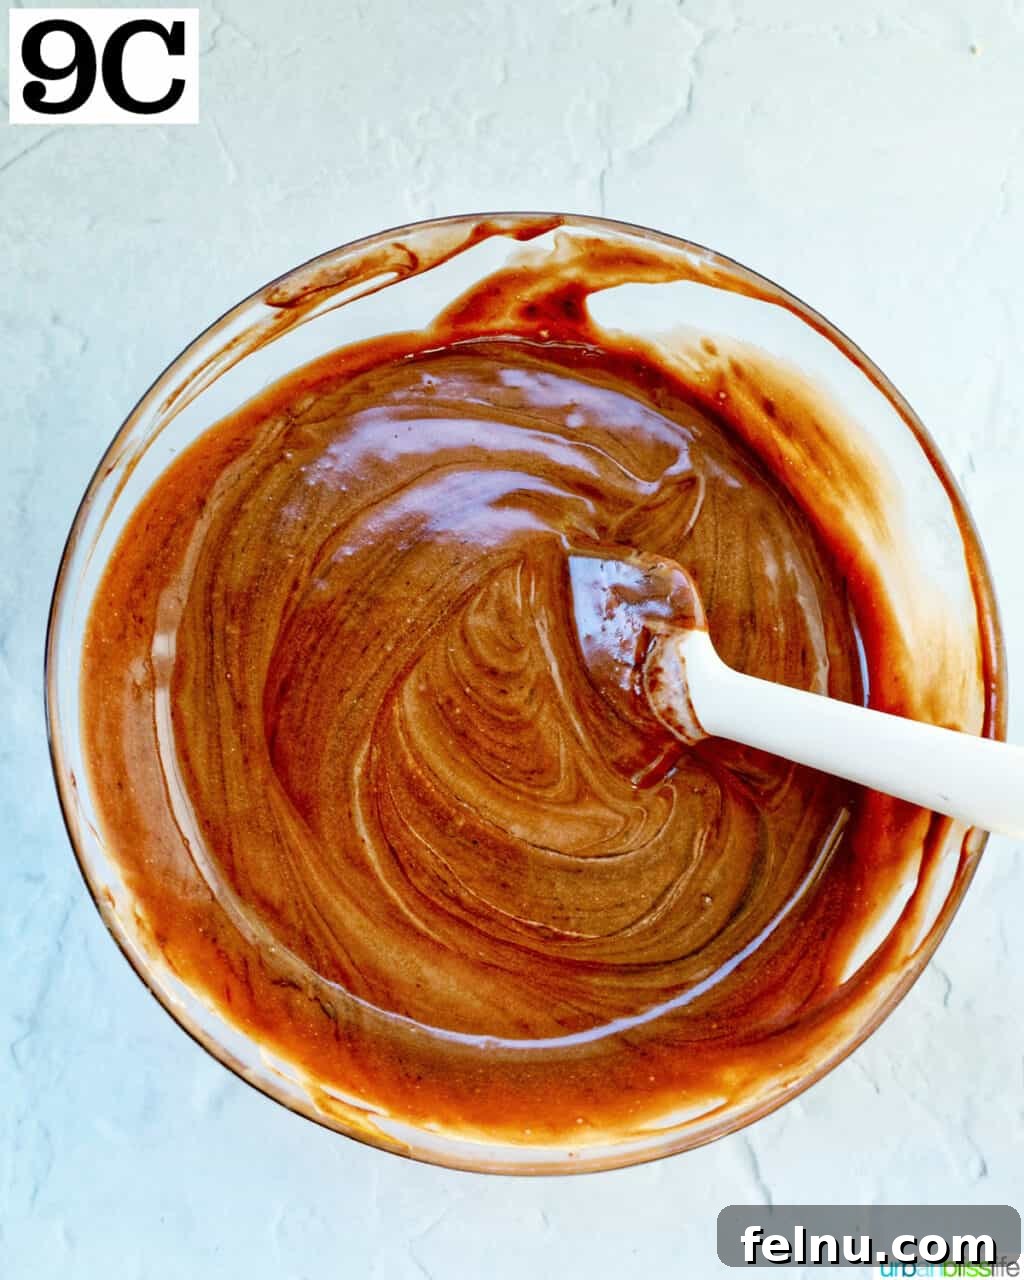
- Using a silicone spatula, gently fold about one-third of the whipped cream into the cooled chocolate mixture to lighten it. Then, carefully fold in the remaining whipped cream until just combined and no white streaks remain. It’s crucial to fold gently to maintain the light, airy texture of the whipped cream. Avoid overmixing.
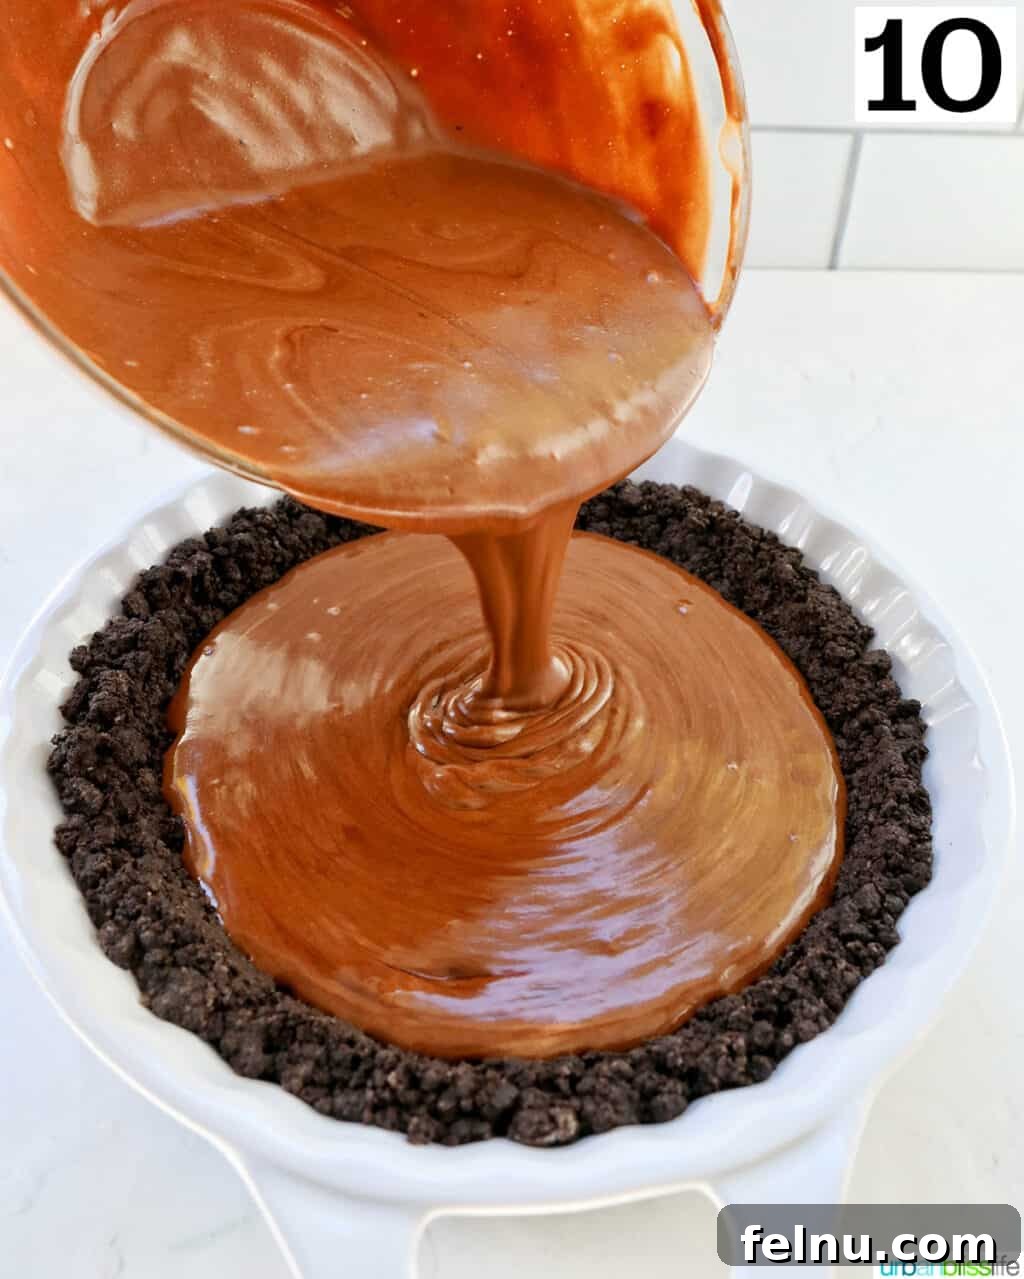
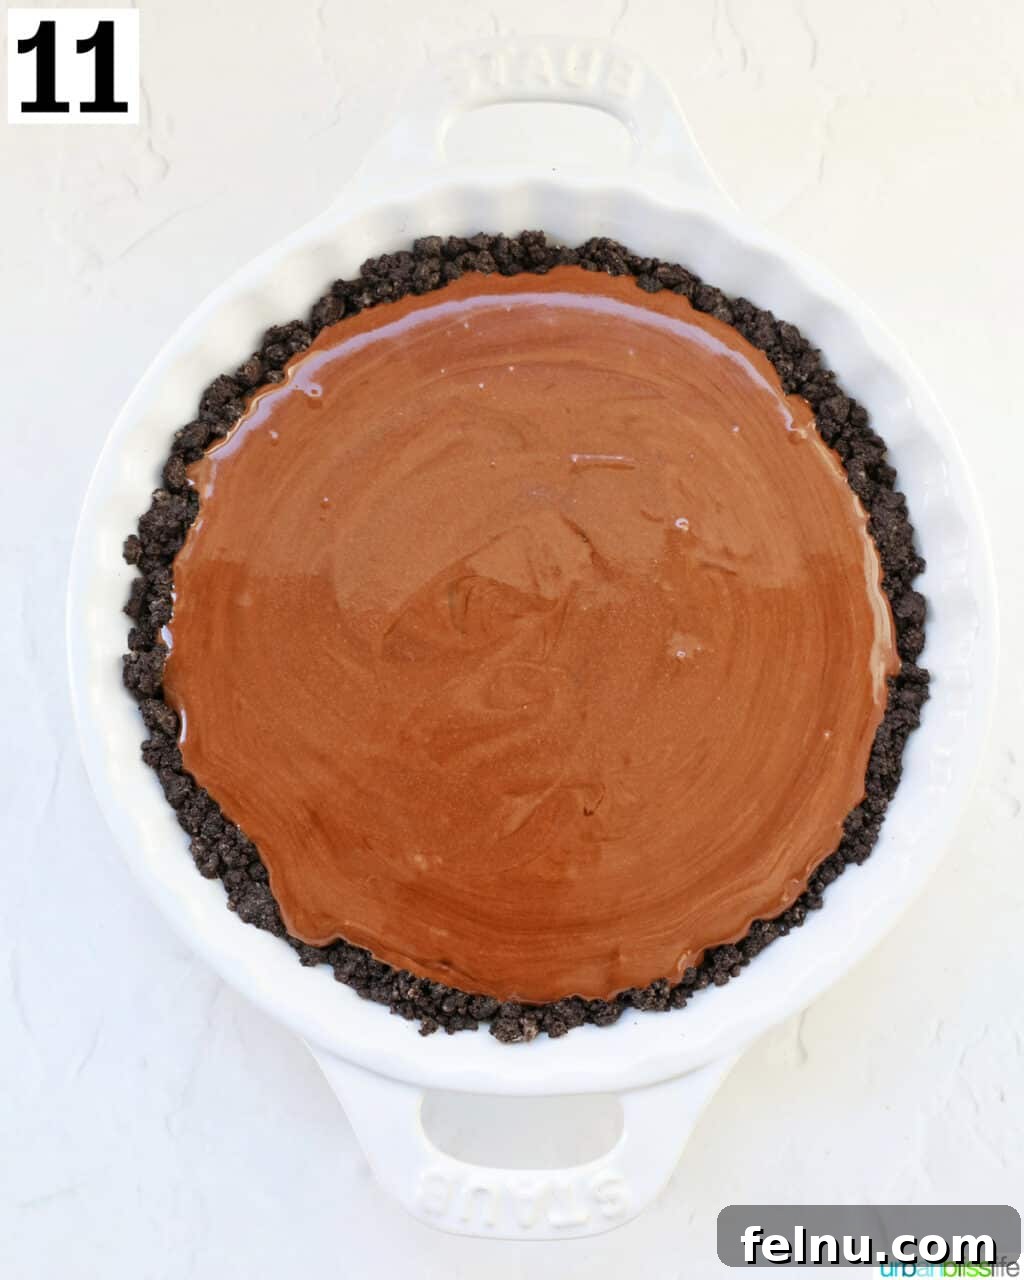
- Carefully pour the luscious chocolate peppermint filling into the completely cooled Oreo cookie crust. Gently spread and smooth the top with your silicone spatula to create an even surface.
- Place the pie in the refrigerator and chill for at least three hours, or ideally overnight. This crucial chilling period allows the filling to firm up and set perfectly, making it easy to slice and ensuring that delightful creamy texture.
Once thoroughly chilled, garnish your magnificent pie with crushed peppermint candies and/or shaved chocolate, if desired. Then, slice into generous wedges and prepare to impress your guests!
👩🏻🍳 Baking Mastery: Tips, Substitutions, and Common Questions
To ensure your Chocolate Peppermint Pie is a resounding success, and to help you customize it to your liking, here are some expert baking tips, clever substitutions, and answers to common questions:
Expert Baking Tips & Creative Substitutions
- Dairy-Free Delight: Making this pie dairy-free is surprisingly simple and yields equally delicious results! I’ve successfully prepared it using dairy-free heavy cream alternatives (like full-fat coconut cream, ensuring it’s well-chilled, or a plant-based whipping cream) and dairy-free semi-sweet chocolate chips (brands like Enjoy Life work wonderfully). You’ll also want to ensure your butter for the crust is a high-quality vegan butter. The flavor and texture are just as rich and satisfying.
- Chocolate Variety: While semi-sweet chocolate chips offer the ideal balance, feel free to experiment with different types of chocolate to tailor the pie to your preference. For a deeper, more intense chocolate flavor, use dark chocolate chips. If you prefer a sweeter, milder profile, milk chocolate chips can be substituted. You can even use a combination of different chocolates for a layered flavor experience. Remember, quality chocolate makes a difference in the final taste!
- Garnish Galore: Beyond crushed peppermint candies and shaved chocolate, the possibilities for garnish are endless! Consider adding a generous swirl of freshly whipped cream, a dusting of cocoa powder, mini chocolate chips, or even charming mini candy canes for an extra festive touch. For a twist, try mint chocolate chips or a sprinkle of edible glitter for a truly sparkling presentation.
- Crust Alternatives: If Oreos aren’t your preference, you can easily adapt the crust. Graham cracker crumbs mixed with butter and a touch of sugar make a fantastic alternative. Chocolate wafer cookies or even gingersnap cookies (for an extra spicy kick!) would also create a delicious and unique base.
- Controlling Peppermint Intensity: Peppermint extract is potent! If you’re sensitive to strong mint flavors, start with ½ teaspoon and taste the filling before adding more. You can always add a little extra, but you can’t take it away. Conversely, if you love a super-minty punch, you can increase the extract to 1¼ or 1½ teaspoons.
- Freezing for Future Feasts: This pie freezes beautifully! Once completely chilled and set, wrap the entire pie (or individual slices) tightly in plastic wrap, then an additional layer of aluminum foil. Freeze for up to 1 month. Thaw in the refrigerator overnight before serving.
Frequently Asked Questions (FAQs)
- What’s the best way to store chocolate peppermint pie?
To maintain its freshness and delicious texture, cover the pie tightly with plastic wrap, then place it in an airtight container. Store it in the refrigerator for up to 5 days.
- Can I make this pie ahead of time?
Absolutely! This pie is a perfect make-ahead dessert. You can prepare it up to two days in advance and keep it chilled in the refrigerator. This allows the flavors to meld beautifully and frees up your time on the day of serving.
- How can I ensure my pie crust doesn’t get soggy?
The key to a non-soggy crust is to bake it for the recommended 8-9 minutes and then allow it to cool completely before pouring in the filling. This creates a barrier that prevents the moisture from the filling from seeping into the crust. Pressing the crumbs firmly into the pan also helps.
- What’s the difference between peppermint and mint extract?
Peppermint extract has a distinct, strong, and cool mint flavor, characteristic of holiday treats. Mint extract (often a blend of spearmint and peppermint) can sometimes be milder or have a slightly “chewing gum” taste due to the spearmint. For that classic holiday “peppermint” flavor, ensure you use peppermint extract.
- Can I use a store-bought pie crust?
Yes, for an even quicker preparation, you can absolutely use a pre-made chocolate cookie crust or even a plain graham cracker crust from the grocery store. Just ensure it’s a 9-inch crust and follow the package directions for baking (if required) before adding the filling.
🍽 Elevating Your Experience: Serving Ideas
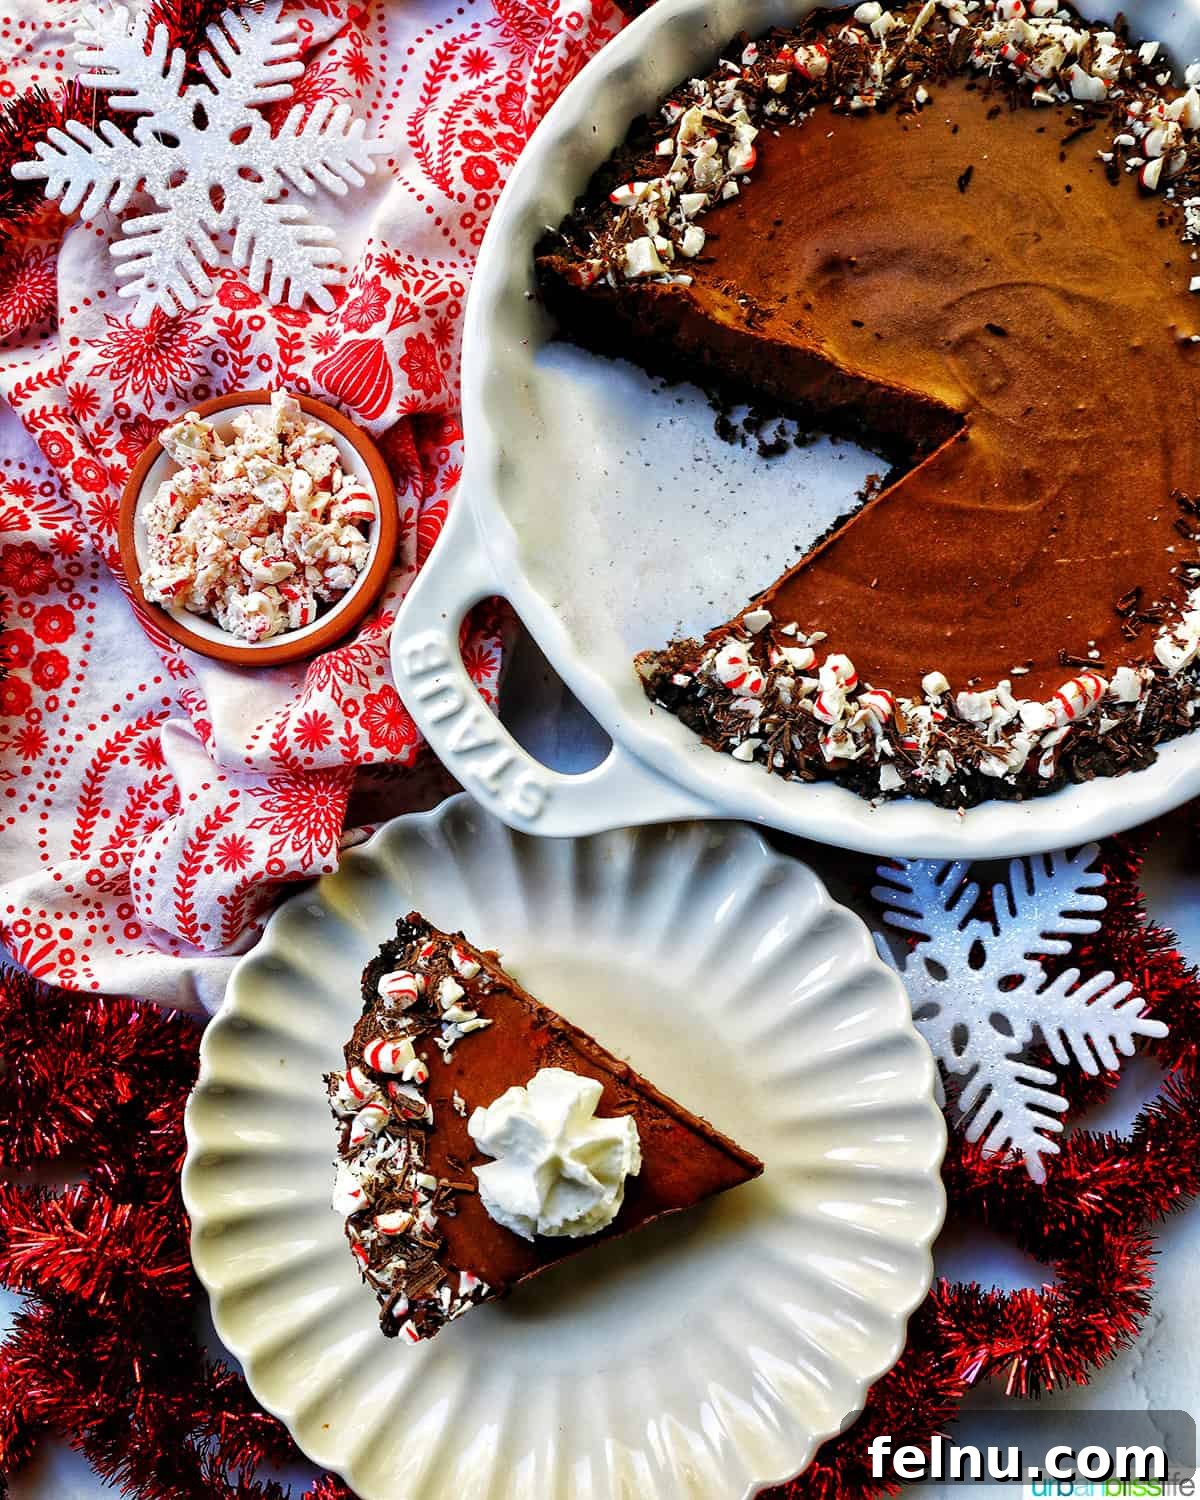
This exquisite peppermint chocolate pie is a show-stopping dessert on its own, but you can certainly enhance the experience with a few thoughtful additions. Top each slice with a generous dollop of freshly whipped cream, a spoonful of whipped topping, or for true indulgence, a scoop of vanilla bean or chocolate ice cream. Enjoy this festive treat with a classic glass of cold milk, or for those 21 and over, consider a spirited peppermint martini to truly celebrate the holiday season.
Pair with a Festive Holiday Meal
If you’re serving this decadent pie as the grand finale to a holiday dinner, consider pairing it with these delightful main courses and sides that will perfectly lead up to its refreshing sweetness:
- Perfectly Spatchcocked Turkey
- Juicy Air Fryer Turkey Breast
- Elegant Herb Crusted Rack of Lamb
- Creamy Whipped Sweet Potatoes
- Aromatic Garlic Rosemary Glazed Carrots
- Crispy Air Fryer Bacon Wrapped Asparagus
Enhance Your Holiday Dessert Table
For an elaborate holiday dessert table, this Chocolate Peppermint Pie will fit right in alongside these other delectable seasonal treats, offering a variety of flavors and textures for your guests:
- Charming Mini Gingerbread Bundt Cakes
- Classic Soft Gingerbread Cutout Cookies
- Festive Gingerbread Cake Roll with Cream Cheese Frosting
- Delicate Snowflake Cookies
🍷 🥂 The Perfect Sip: Wine Pairings for Your Pie

When it comes to dessert, many people automatically reach for a sweet wine to complement a sweet treat. While this is often a successful strategy, it’s not always the case, especially with a dessert as distinct as our Chocolate Peppermint Pie.
This pie, with its harmonious blend of rich, intense chocolate and bright, invigorating peppermint flavors, requires a thoughtful pairing. A very sweet wine, for example, might create an overwhelming or clashing experience on your palate, offering an unpleasant contrast to the refreshing mint. The sweetness could become too cloying, diminishing the pie’s nuanced flavors.
Instead, consider pairing this chocolatey, minty masterpiece with a robust and flavorful red wine. A bold red wine can stand up to the dominant flavors of the pie, offering a delightful contrast and enhancing the overall experience. Our top recommendations are a Syrah (or Shiraz) or a Zinfandel. Both of these full-bodied red wines possess characteristics that beautifully complement the pie:
- Syrah (Shiraz): Known for its notes of dark fruit (blackberry, plum), black pepper, and sometimes a hint of chocolate or coffee, Syrah offers a powerful, yet elegant, pairing. Its robust structure and subtle spice will meld wonderfully with the chocolate and provide an interesting counterpoint to the peppermint without being overshadowed.
- Zinfandel: This grape typically produces wines with jammy fruit flavors (raspberry, cherry), hints of baking spice (clove, cinnamon), and sometimes a touch of chocolate or tobacco. Its rich fruitiness and spicy undertones make it an excellent partner for the chocolate in the pie, while its vibrancy can hold its own against the peppermint’s refreshing kick.
The key is to choose a wine that can match the intensity of the pie’s flavors rather than trying to overpower or be overpowered by them. Enjoy finding your perfect pairing!
🍳 Your Culinary Toolkit: Essential Kitchen Tools
Ready to embark on making this spectacular Chocolate Peppermint Pie? Having the right kitchen tools and equipment will make the process even smoother and more enjoyable. Here’s what you’ll need:
- Stand Mixer (or Hand Mixer): A stand mixer with a whisk attachment is ideal for whipping the heavy cream to stiff peaks quickly and efficiently. If you don’t have a stand mixer, a large mixing bowl combined with a reliable hand mixer will work just as well, requiring a bit more arm strength.
- Large Microwaveable Mixing Bowls: You’ll need at least two large mixing bowls – one for combining the cookie crust ingredients and another, preferably microwave-safe, for melting the chocolate and cream, and later for folding in the whipped cream.
- Whisk: A good quality balloon whisk is essential for thoroughly combining the crust ingredients, whisking the chocolate and cream until smooth, and briefly incorporating extracts into the whipped cream.
- 9-inch Pie Dish: A sturdy and attractive 9-inch pie plate is fundamental for baking the crust and chilling your finished pie. Glass or ceramic pie dishes work beautifully.
- Food Processor or Ziplock Bag & Rolling Pin: For efficiently crushing the Oreo cookies into fine crumbs, a food processor is highly recommended. Alternatively, a large ziplock bag and a rolling pin will do the trick for manual crushing.
- Silicone Spatula: A flexible silicone spatula is perfect for gently folding the whipped cream into the chocolate mixture, ensuring you don’t deflate the airy texture, and for smoothing the filling into the pie crust.
🥧 More Irresistible Holiday Dessert Recipes
The holiday season is a wonderful time for baking and enjoying sweet treats! If you’re looking for more delicious recipes to add to your festive table or to give as homemade gifts, explore these other fantastic holiday dessert ideas from our collection. They pair wonderfully with our Chocolate Peppermint Pie or stand alone as delightful indulgences.
- Easy Peanut Butter Blossoms
- Reindeer Cupcakes
- Snowflake Cookies
- Gingerbread Bundt Cakes
Did you make this recipe? We would love to hear your thoughts! Don’t forget to leave a 5-Star 🌟🌟🌟🌟🌟 rating in the recipe card below, and if you truly loved it, please share a comment further down on the page. Thank you for your support!
Chocolate Peppermint Pie Recipe Card
This incredibly easy and utterly delicious Chocolate Peppermint Pie is a holiday dream come true. It features a crisp and flavorful Oreo cookie crust, generously filled with a rich, creamy chocolate base that’s beautifully infused with bright, refreshing peppermint. It’s the ultimate festive dessert, perfect for any special occasion or a delightful treat to share with loved ones.

Recipe Details
- Author: Marlynn Schotland
- Prep Time: 10 minutes
- Cook Time: 8 minutes
- Chill Time: 3 hours (minimum)
- Total Time: Approximately 3 hours 18 minutes
- Servings: 12 servings
Ingredients
For the Oreo Crust
- 24 Oreo cookies, finely crushed (approximately 2 cups of crumbs)
- ¼ cup unsalted butter, melted
For the Creamy Chocolate Peppermint Filling
- 1½ cups semi-sweet chocolate chips
- 1½ cups heavy whipping cream, divided
- 1 teaspoon pure vanilla extract
- 1 teaspoon peppermint extract
- Crushed peppermint candies, for garnish (optional)
- Shaved chocolate, for garnish (optional)
Instructions
Prepare the Crispy Oreo Crust
- Preheat your oven to 350°F (175°C). Lightly grease a 9-inch pie pan with butter or a non-stick baking spray to prevent sticking.
- In a large mixing bowl, thoroughly combine the finely crushed Oreo cookies and the melted unsalted butter. Mix until all the crumbs are evenly moistened and resemble wet sand.
- Firmly and evenly press the cookie mixture into the bottom and up the sides of the prepared pie pan. Use the back of a spoon, a flat-bottomed measuring cup, or your hands to ensure a compact and sturdy crust.
- Bake the crust in the preheated oven for 8-9 minutes. This brief baking time helps to set the crust and enhance its crispiness. Remove from the oven and allow the crust to cool completely on a wire rack before proceeding to the next step. This is crucial for preventing a soggy pie.
Craft the Velvety Chocolate Peppermint Filling
- In a separate large microwave-safe bowl, combine the semi-sweet chocolate chips and ½ cup of the heavy cream.
- Microwave the mixture in short 30-second bursts, stirring vigorously with a whisk after each interval. Continue until the chocolate is completely melted and the mixture is smooth, glossy, and free of lumps. Be careful not to overheat. Set this chocolate mixture aside to cool to room temperature.
- In the bowl of a stand mixer fitted with a whisk attachment (or using a large bowl and an electric hand mixer), pour the remaining 1 cup of heavy cream. Whisk on medium-high speed until stiff peaks form. The cream should be thick and hold its shape when the whisk is lifted.
- Add the pure vanilla extract and the peppermint extract to the whipped cream. Briefly whisk for an additional 10-15 seconds on low speed, just enough to gently combine the flavors without deflating the cream.
- Using a silicone spatula, gently fold about one-third of the whipped cream into the cooled chocolate mixture to lighten it. Then, carefully fold in the remaining whipped cream until just combined and no white streaks of cream are visible. It’s important to fold gently to maintain the light and airy texture of the filling. Avoid overmixing.
- Pour the prepared chocolate peppermint filling into the completely cooled Oreo cookie crust. Gently spread and smooth the top surface with your spatula to create an even layer.
- Place the pie in the refrigerator and chill for a minimum of 3 hours, or ideally overnight. This essential chilling period allows the filling to set properly, ensuring perfect slices and a delightful creamy consistency.
- Before serving, garnish your stunning pie with crushed peppermint candies and/or shaved chocolate, if desired. Slice with a sharp knife, and get ready to enjoy this incredible holiday treat!
Recipe Notes
- Yields: This recipe makes approximately 10-12 generous servings, perfect for sharing at holiday gatherings.
- Storage: Any leftover Chocolate Peppermint Pie should be stored covered with plastic wrap, ideally in an airtight container, in the refrigerator for up to 5 days.
- Dairy-Free Option: You can effortlessly adapt this pie to be dairy-free with fantastic results! Simply substitute your favorite dairy-free semi-sweet chocolate chips (such as Enjoy Life), dairy-free whipping cream (like full-fat canned coconut cream, chilled well, or a plant-based whipping cream alternative), and vegan butter for the crust. The flavor and texture will remain wonderfully rich and utterly delicious.
Nutrition Information (Approximate Per Serving)
(Based on 12 servings)
- Calories: 379 kcal
- Carbohydrates: 30g
- Protein: 4g
- Fat: 28g
- Saturated Fat: 16g
- Polyunsaturated Fat: 2g
- Monounsaturated Fat: 9g
- Trans Fat: 0.2g
- Cholesterol: 45mg
- Sodium: 104mg
- Potassium: 214mg
- Fiber: 2g
- Sugar: 19g
- Vitamin A: 567 IU
- Vitamin C: 0.2mg
- Calcium: 40mg
- Iron: 4mg
Nutrition information is automatically calculated based on the provided ingredients and is an approximation. It should be used for informational purposes only and is not a substitute for professional nutritional advice.
Tried this Heavenly Recipe?
We’d absolutely love to hear about your experience! Please take a moment to leave a star rating and a comment below, sharing your thoughts and any delightful twists you added. And don’t forget to snap a beautiful picture of your finished pie! Share it on social media and tag @UrbanBlissLife and use the hashtag #UrbanBlissLife so we can see your amazing creation!