
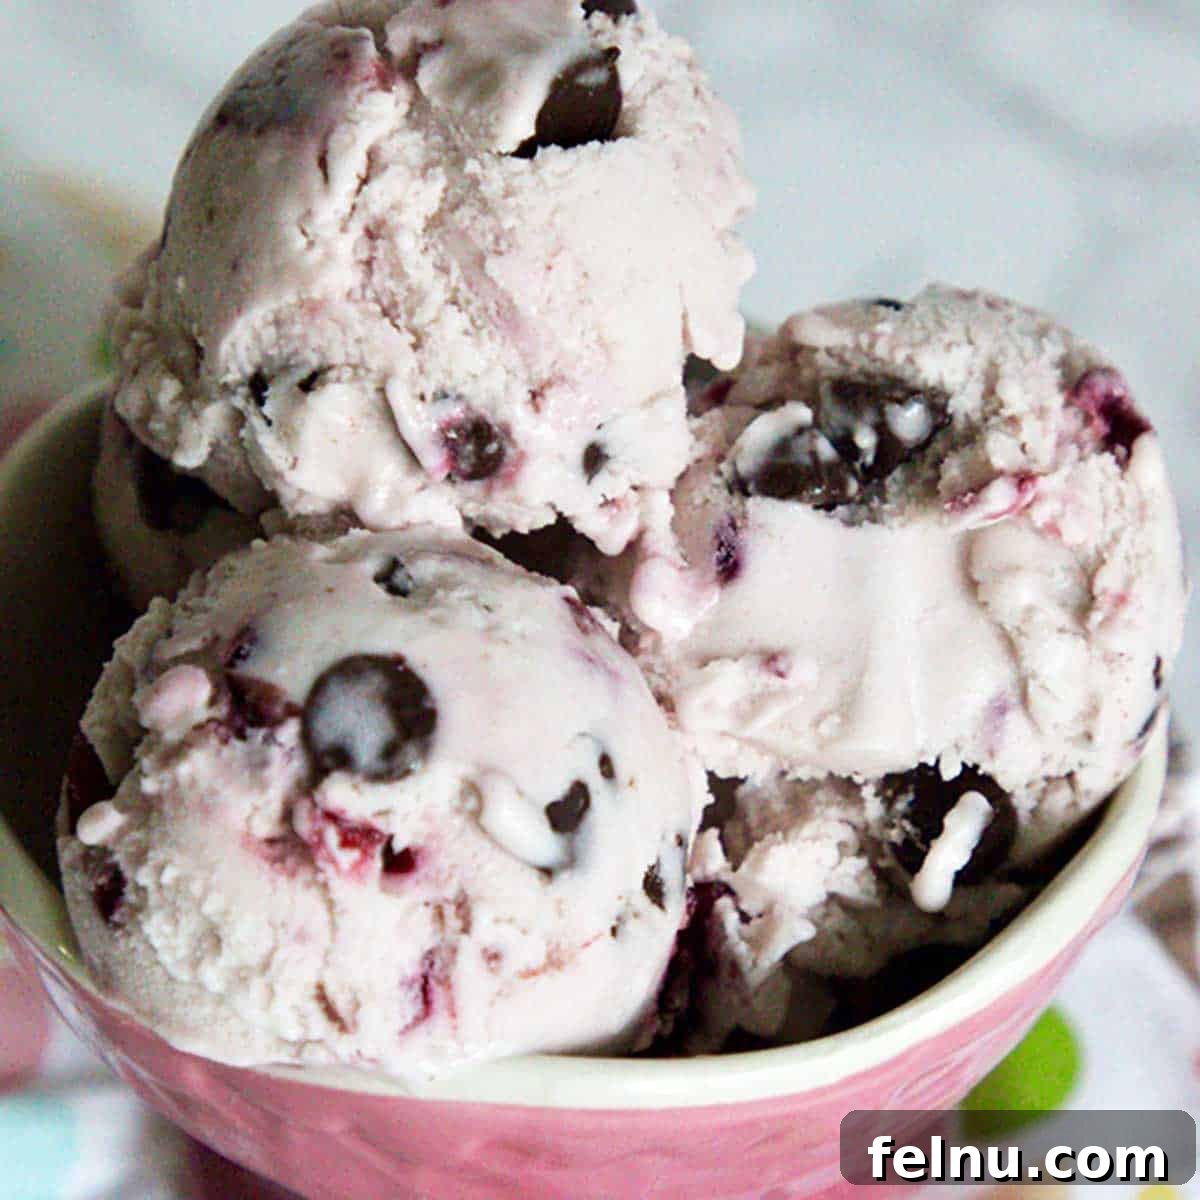
Cherry Chocolate Chip Ice Cream: A Refreshing Summer Treat
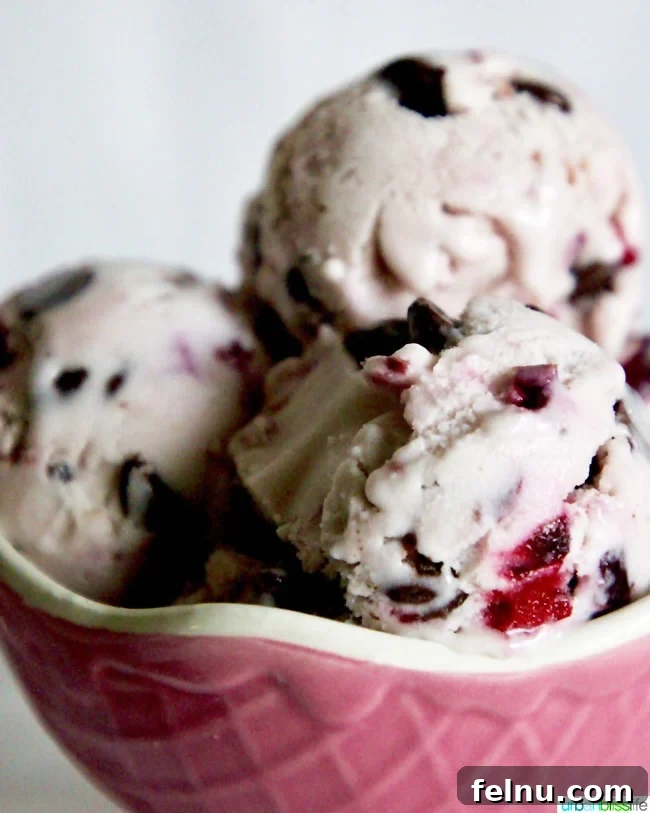
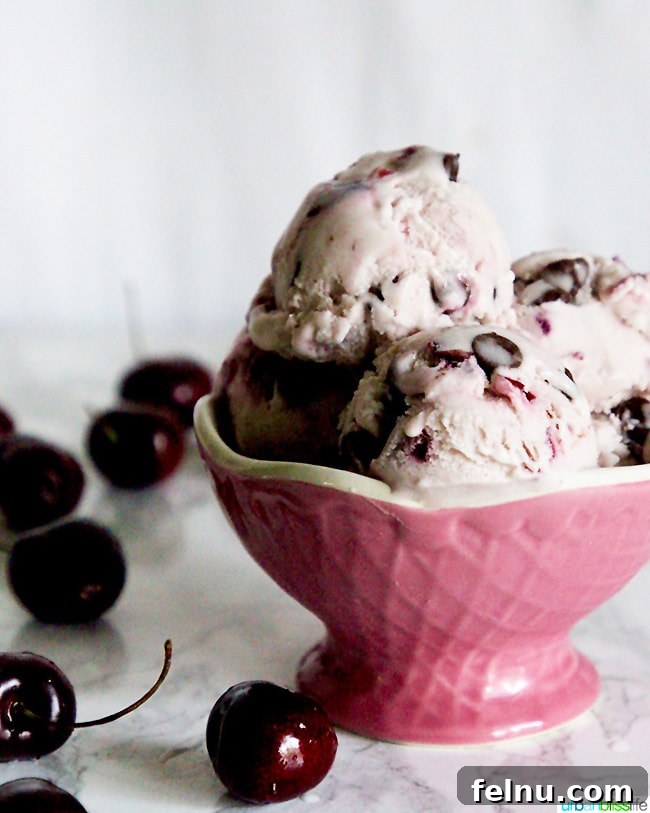
Cherry season is the perfect time to create this delightful Cherry Chocolate Chip Ice Cream. It’s a fantastic way to cool down and enjoy the best flavors of summer in one delicious scoop!
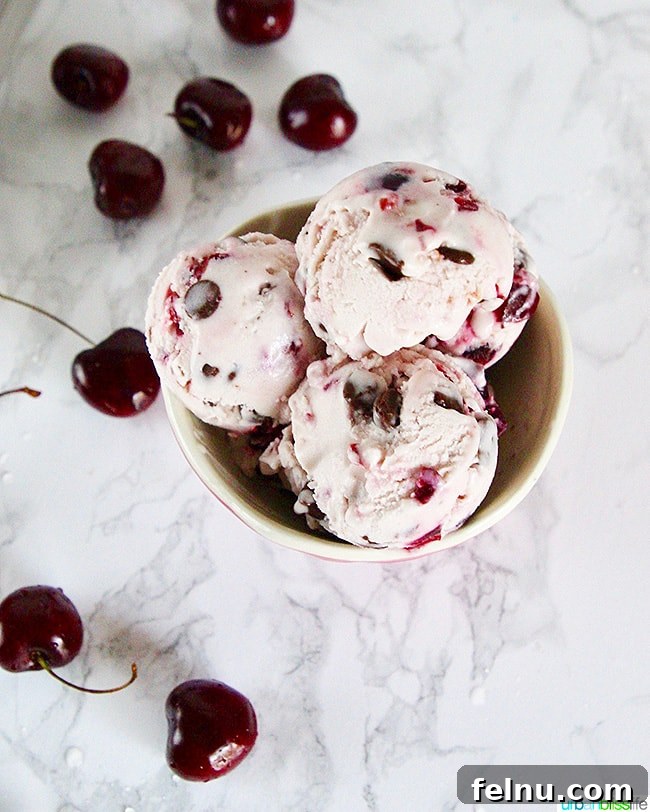
Cherries and chocolate are a match made in dessert heaven. The combination of sweet, juicy cherries and rich, decadent chocolate creates an irresistible flavor profile that’s hard to resist.
While I don’t typically gravitate towards chocolate and fruit pairings, I knew this ice cream needed just a little extra something – a bit of crunch and an added layer of sweetness. That’s why I decided to add chocolate chips, and I’m so glad I did!
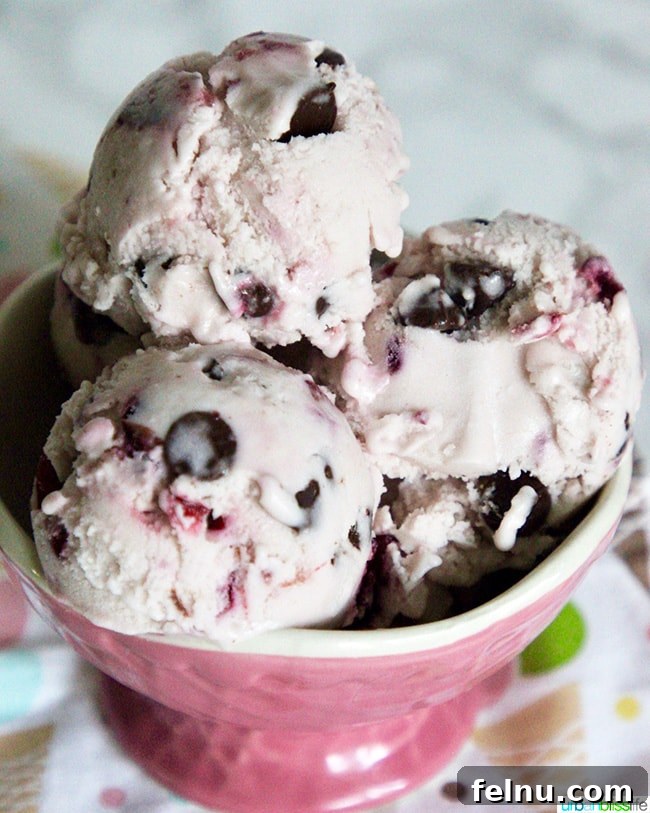
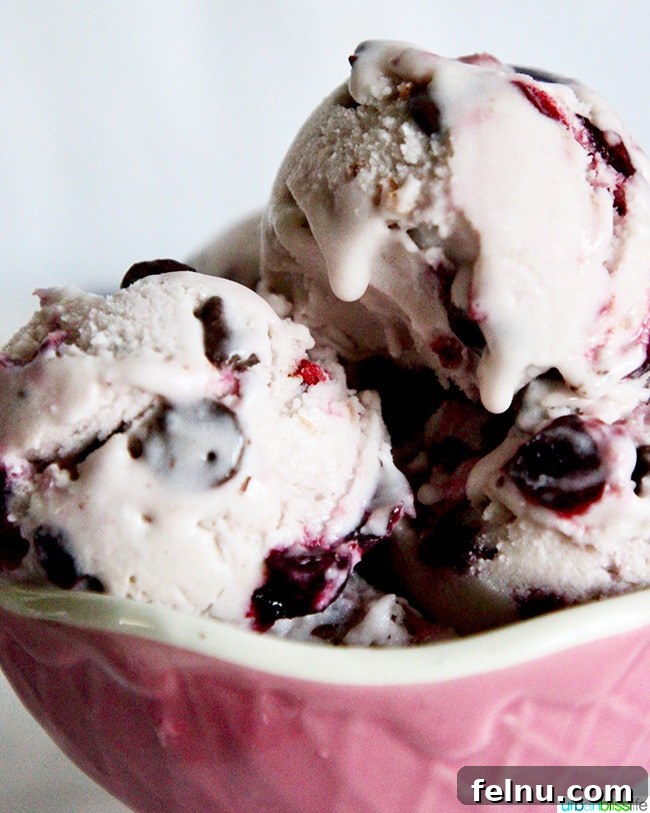
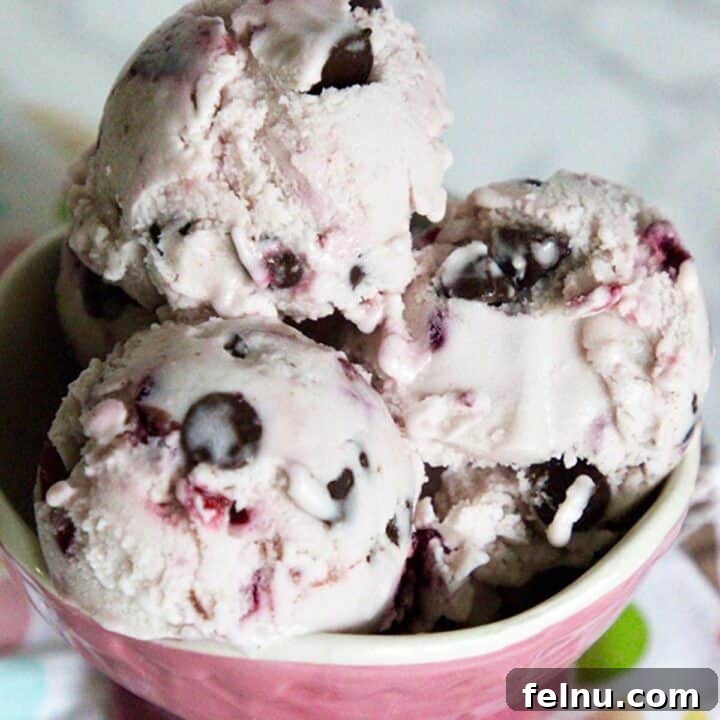
The sweetness of the cherries, combined with the delightful crunch of the chocolate chips and the smooth creaminess of the vanilla ice cream base, creates a winning combination of flavors and textures. It’s simply irresistible!
Why This Cherry Chocolate Chip Ice Cream Recipe Works
This homemade Cherry Chocolate Chip Ice Cream recipe is a winner for several reasons:
- Easy to Make: With simple steps and readily available ingredients, this recipe is perfect for both beginner and experienced ice cream makers.
- Cool and Refreshing: The perfect way to beat the summer heat, this ice cream is incredibly refreshing and satisfying.
- Sweet and Satisfying: The perfect balance of sweet cherries and rich chocolate provides a truly satisfying dessert experience.
- Vegan Option: By using dairy-free chocolate chips and coconut milk, you can easily make this a delicious vegan treat!
Key Ingredients for Cherry Chocolate Chip Ice Cream
Let’s take a closer look at the key ingredients that make this Cherry Chocolate Chip Ice Cream so special:
- Cherries: Fresh, pitted cherries are a must! Chop them into small pieces to ensure even distribution throughout the ice cream.
- Coconut Milk: Full-fat coconut milk is essential for a creamy, rich ice cream base. You’ll heat it up with the sweetener, then cool it down before churning. This process helps create a smooth and decadent texture.
- Sweetener: Agave nectar or granulated sugar work perfectly. I do NOT recommend using maple syrup, as it will completely change the flavor of the ice cream.
- Cornstarch: Cornstarch is the secret ingredient that will give the ice cream a creamier, smoother texture.
- Vanilla Extract: Good quality vanilla extract enhances the base flavor.
- Chocolate Chips: Dairy-free semi-sweet chocolate chips are my go-to for this recipe, but you can customize it with dark chocolate chips, espresso chips, or even milk chocolate chips. Choose your favorite!
How to Make Cherry Chocolate Chip Ice Cream: Step-by-Step
Here’s a step-by-step guide to making this irresistible Cherry Chocolate Chip Ice Cream. For the complete ingredient list and detailed instructions, be sure to check out the printable recipe card at the end of this post!
Making the Ice Cream Base:
- Begin by opening the cans of coconut milk. Measure out ½ cup of coconut milk and set it aside in a small bowl. Pour the remaining coconut milk into a 2-quart saucepan set over medium-high heat.
- Add the agave nectar (or granulated sugar) and salt to the saucepan.
- Warm the coconut milk mixture, stirring occasionally, until the sweetener has completely dissolved. This should take approximately 1-2 minutes.
- In the small bowl containing the ½ cup of coconut milk, whisk in the cornstarch until it is completely dissolved. Then, gently add this mixture to the coconut milk mixture in the saucepan and whisk gently to combine.
- Cook the mixture in the saucepan, stirring constantly, until it begins to thicken. This should take about 6-8 minutes. Be careful not to let the mixture come to a boil.
- Remove the saucepan from the heat and stir in the vanilla extract.
- Pour the ice cream base into a shallow pan and allow it to cool to room temperature. Once cooled, cover the pan and place it in the freezer for at least 4 hours, or preferably overnight.
Making the Cherry Sauce:
- Place a small saucepan on the stove over medium heat. Add the pitted and chopped cherries. Mash the cherries down while stirring to release their juices.
- Sprinkle in the granulated sugar and bring the mixture to a low boil.
- Reduce the heat to a simmer and cook for about 5 minutes, or until the cherries start to lose their shape and become juicy.
- Remove the saucepan from the heat and transfer the cherry mixture to a bowl. Allow it to cool at room temperature for about 30 minutes.
- Once cooled, blend the mixture in a food processor or blender for just a few seconds until a thick sauce forms. Set the cherry sauce aside.
Churning the Ice Cream:
- Ensure that your ice cream maker bowl has been frozen for at least 24 hours before starting the churning process.
- Once the ice cream base has been frozen for at least 4 hours (or overnight), begin to churn it according to your ice cream maker’s instructions.
- After about 10-15 minutes of churning, when you can see that the base has thickened to a soft-serve ice cream consistency, slowly ladle the cherry sauce into the ice cream maker while it’s running. Allow the sauce to blend into the ice cream base.
- Continue churning for about 5 minutes, then slowly add in the chocolate chips while the ice cream maker is still running. Churn until the ice cream has reached your desired consistency. This may take an additional 5 minutes or so after adding the chocolate chips.
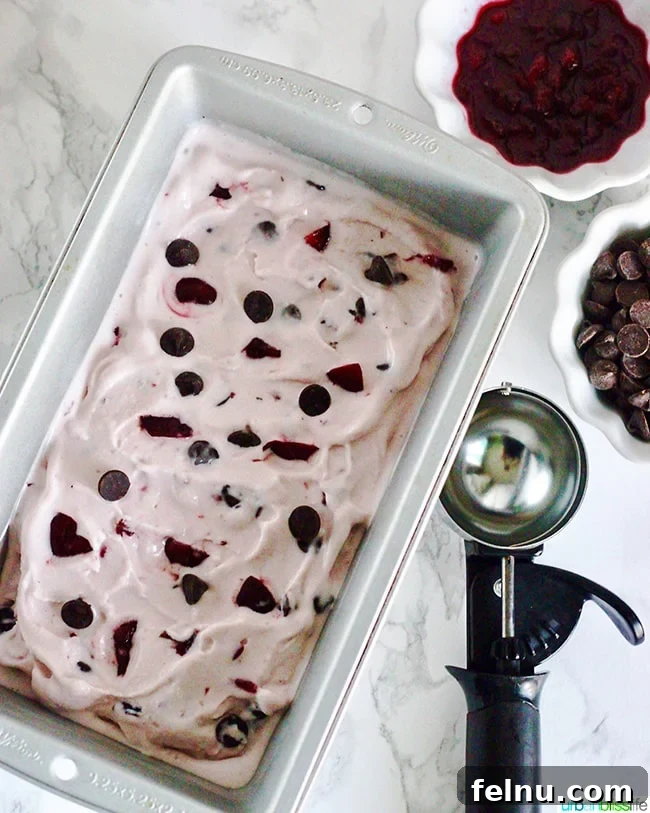
- Once the ice cream is churned, spread it into a large loaf pan and freeze for a few more hours or overnight, until the ice cream has firmed up completely.
- When you’re ready to serve the ice cream, take it out of the freezer and let it sit at room temperature for about 5 minutes before scooping and serving. This will allow the ice cream to soften slightly, making it easier to scoop.
Helpful Tips for Making the Best Cherry Chocolate Chip Ice Cream
Here are some helpful tips to ensure your homemade Cherry Chocolate Chip Ice Cream turns out perfectly:
- Freeze Your Ice Cream Maker Bowl: Make sure you freeze your ice cream maker base for at least 24 hours before starting this recipe. This is crucial for proper ice cream churning.
- Shake the Coconut Milk: Before opening the cans of coconut milk, shake them well to incorporate the layers and ensure a consistent mixture.
- Sweetener Substitution: You can substitute granulated sugar for the agave nectar if you prefer. However, avoid using maple syrup, as it will significantly alter the flavor of the ice cream.
- Mashing the Cherries: To easily mash the cherries for the sauce, use a small potato masher or the edges of a wooden spoon.
- Vegan Option: To keep this recipe vegan and dairy-free, use dairy-free chocolate chips.
- For a more intense cherry flavor: Add a teaspoon of almond extract to the ice cream base before freezing.
- Don’t over churn: Over churning can result in icy ice cream.
Essential Kitchen Tools and Equipment
Ready to make this easy and delicious Cherry Chocolate Chip Ice Cream recipe? Here’s what you’ll need:
- Saucepan
- Ice cream machine
- Measuring cups and spoons
- Food processor or blender
- Loaf pan for freezing
More Delicious Homemade Ice Cream Recipes to Try
Looking for more homemade ice cream inspiration? Check out these other tasty recipes:
- Dairy-Free Mixed Berry Ice Cream
- Pineapple Mango Sorbet Recipe
- Ube Ice Cream
- Dairy-Free Chocolate Chip Ice Cream
Did you make this recipe? Don’t forget to leave a 5-Star rating in the recipe card, and if you really loved it, please leave a comment further down on the page. Thank you!
Cherry Chocolate Chip Ice Cream
By: Marlynn Schotland
Prep Time: 10 minutes
Total Time: 10 minutes
Servings: 6
Ingredients
Ice Cream Base
- 2 cans full-fat coconut milk (14.5 oz cans)
- ½ cup agave nectar, or granulated sugar
- ¼ teaspoon salt
- 2 Tablespoons cornstarch, or 1 Tablespoon arrowroot starch
- 1 ½ teaspoon vanilla extract
Cherry Sauce Base
- 1 cup cherries, de-stemmed, pitted, and chopped into small pieces
- 1 Tablespoon granulated sugar
- ¼ cup dairy-free chocolate chips
Instructions
- First, make sure you have placed your ice cream maker base bowl in the freezer for at least 24 hours before making the ice cream. It needs to be completely frozen, otherwise your ice cream will not turn out.
- Shake the cans of coconut milk to incorporate the layers. Open the cans of coconut milk. Measure 1/2 cup and set this aside in a small bowl. Pour the remaining coconut milk into a 2-quart saucepan set over medium-high heat.
- Add the sweetener and salt to the saucepan.
- Warm the coconut milk mixture, stirring occasionally, until the sweetener has completely dissolved, which takes 1-2 minutes.
- Meanwhile, whisk the cornstarch into the bowl that has the 1/2 cup coconut milk until the cornstarch has completely dissolved into the milk. Then add this mixture to the coconut milk mixture in the sauce pan and whisk gently.
- Cook this mixture in the saucepan and stir constantly until it becomes thickened, about 6-8 minutes. Do not allow the mixture to come to a boil.
- Remove from heat and stir in the vanilla. This is your ice cream base.
- Pour ice cream base into a shallow pan and allow to cool at room temperature before covering and cooling in the freezer for at least 4 hours.
- While the base is cooling, make the cherry sauce: Mash the cherries down in a small saucepan, sprinkle in the sugar, and bring to a low boil. Reduce the heat to simmer and cook for about 5 minutes, or until the berries start to lose their shape and become juicy. Remove from heat, transfer to a bowl, and allow to cool at room temperature for 30 minutes. Blend the mixture in a food processor or blender for just a few seconds until a thick sauce forms. Set aside.
- Once the ice cream base has been frozen for at least 4 hours, begin to churn it according to your ice cream maker’s instructions. At about 10-15 minutes in, when you can see the base has thickened to a soft-serve ice cream consistency, slowly ladle the cherry sauce into the ice cream maker while it’s running. Allow the sauce to blend into the ice cream base.
- After about 5 minutes, slowly add in the chocolate chips while the ice cream maker is still running, and churn until your ice cream has reached your desired consistency. For me, this took about 5 more minutes after adding the chips.
- Spread the ice cream into a large loaf pan and freeze for a few more hours or overnight, until the ice cream has firmed up completely.
- When you’re ready to serve the ice cream, take it out of the freezer and let it sit at room temperature for about 5 minutes before serving.
Notes
Makes approximately 1 quart or 6 servings.
Sweetener: You can use agave nectar or granulated sugar for the sweetener. I do NOT recommend using maple syrup as it changes the flavor completely.
Storage: Store in an airtight freezer-friendly container in the freezer for up to three months.
Nutrition
Calories: 381kcal, Carbohydrates: 30g, Protein: 3g, Fat: 30g, Saturated Fat: 26g, Polyunsaturated Fat: 1g, Monounsaturated Fat: 1g, Sodium: 115mg, Potassium: 334mg, Fiber: 1g, Sugar: 21g, Vitamin A: 15IU, Vitamin C: 6mg, Calcium: 36mg, Iron: 5mg
Nutrition information is automatically calculated, so should only be used as an approximation.