
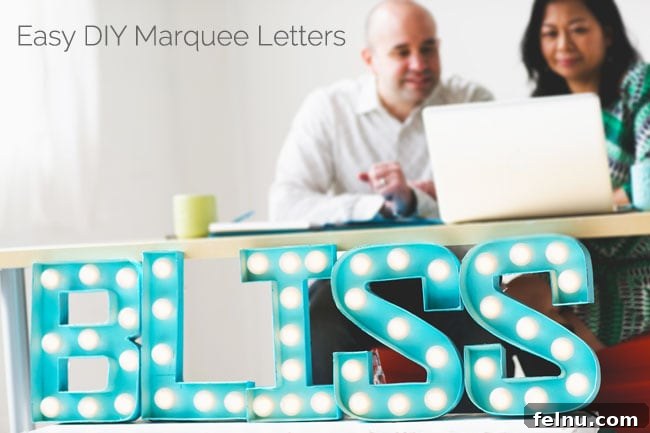
DIY Marquee Letters: A Simple and Stunning Home Decor Project
Have you ever been excited about a project, planned it out, and then found yourself putting it off for ages? That was me with marquee letters! I’ve always admired the fantastic DIY marquees created by other bloggers, and there are so many inspiring methods out there.
From the vintage-inspired marquees to the adorable mini marquee from Oh Happy Day, the rustic wooden marquee letter from Vintage Revival, and the charming wooden letters on beadboard DIY marquee from The Crafting Chicks, the possibilities seemed endless.
I loved them all! But, realistically, my free time is limited, my patience can be short, and I tend to reserve power tools for summertime adventures. So, when I finally decided to tackle my own marquee, I drew inspiration from a variety of tutorials. The entire process took about 2 hours, start to finish. Here’s how my DIY marquee sign turned out:
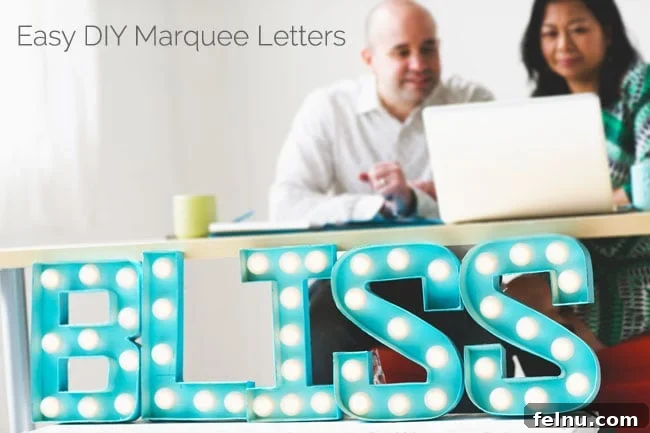
I was absolutely thrilled when I plugged it in and “BLISS” lit up my office! There’s something magical about marquees. Now I’m envisioning them in every room of the house!
Here’s a simple, step-by-step tutorial on how to create your own DIY marquee letters.
Easy DIY Marquee Letters: A Step-by-Step Tutorial
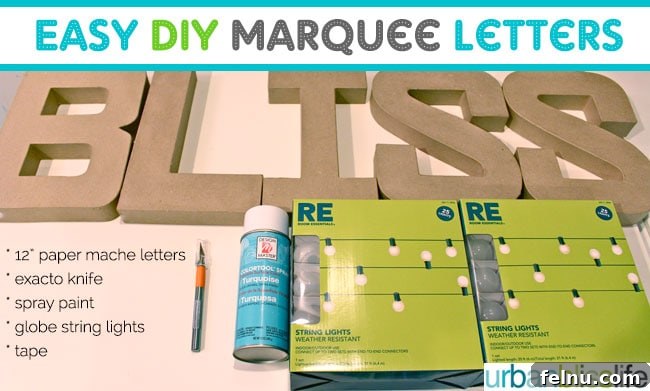
Creating your own marquee letters is easier than you might think! This project is perfect for adding a personal touch to any room or event. Here’s what you’ll need:
- 12″ paper mache letters (available at craft stores like Joann Fabrics or online retailers)
- X-Acto knife or craft knife
- Spray paint (choose your favorite color!)
- Globe string lights (the number of sets depends on the length of your word)
- Tape (packaging tape or any sturdy tape will work)
The number of globe string light sets you’ll need depends on the number of letters and their size. For my “BLISS” marquee letters, two sets were perfect.
Step 1: Remove the Letter Face
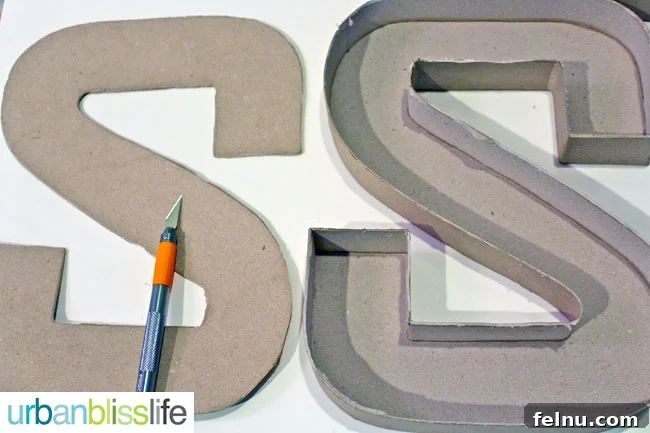
Carefully use your X-Acto knife to cut out the front of each paper mache letter. These letters are hollow, so once you make the initial cut, the rest will come out fairly easily.
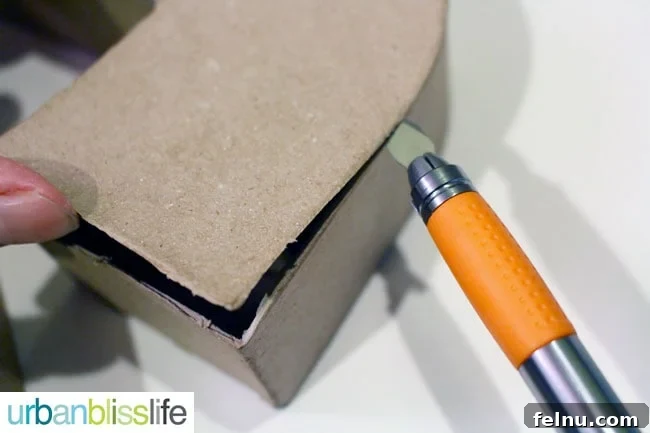
After completing this step, your letters will have an open front (you can recycle the removed pieces or save them for another project!):
Step 2: Create Bulb Holes
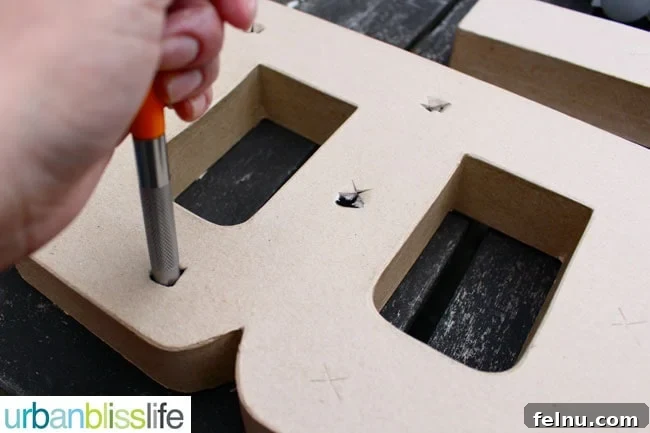
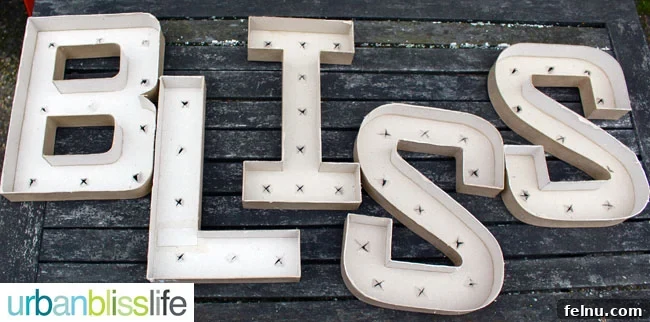
Using your X-Acto knife, carefully cut small “X” shapes where you want each bulb to be positioned. Plan the placement beforehand – you can even mark the spots with a pencil first. Then, use the rounded back edge of your X-Acto knife to gently push through the “X” to create a small hole for the bulb.

Step 3: Spray Paint the Letters
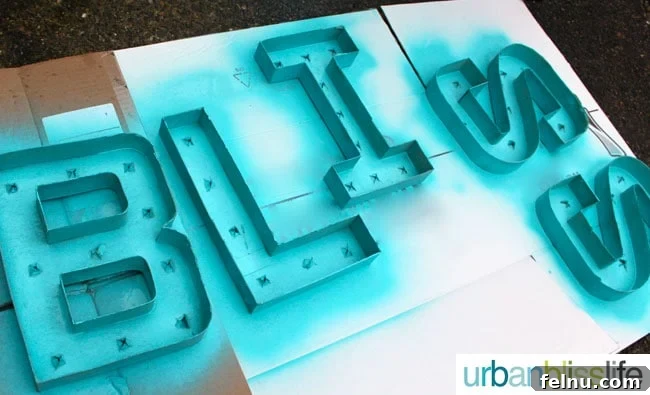
Now it’s time to add some color! Spray paint the letters in a well-ventilated area (outdoors is best). I like to use large, flattened cardboard boxes as a base, but you can also use a drop cloth or newspaper. Be careful with newspaper, as it can stick if you apply too much paint.
Step 4: Insert the Bulbs
Before inserting the bulbs, unscrew them from the string base. Use the cardboard separator that came with the lights to hold the bulbs and prevent them from rolling around and breaking.
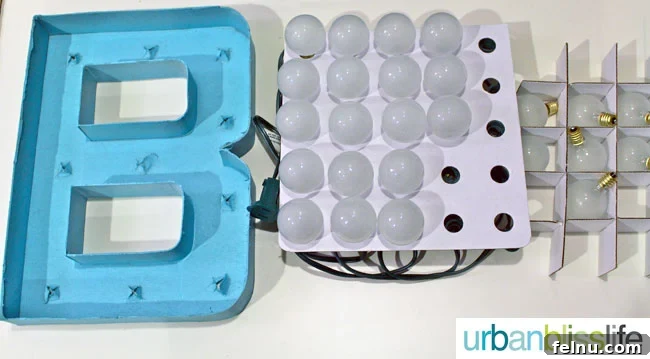
Gently push the string base through each hole, then screw the bulbs back in. Consider the flow of the string to minimize crisscrossing. Ensure that the last bulb in Letter #1 is positioned so it can seamlessly connect to Letter #2 with the right amount of string slack.
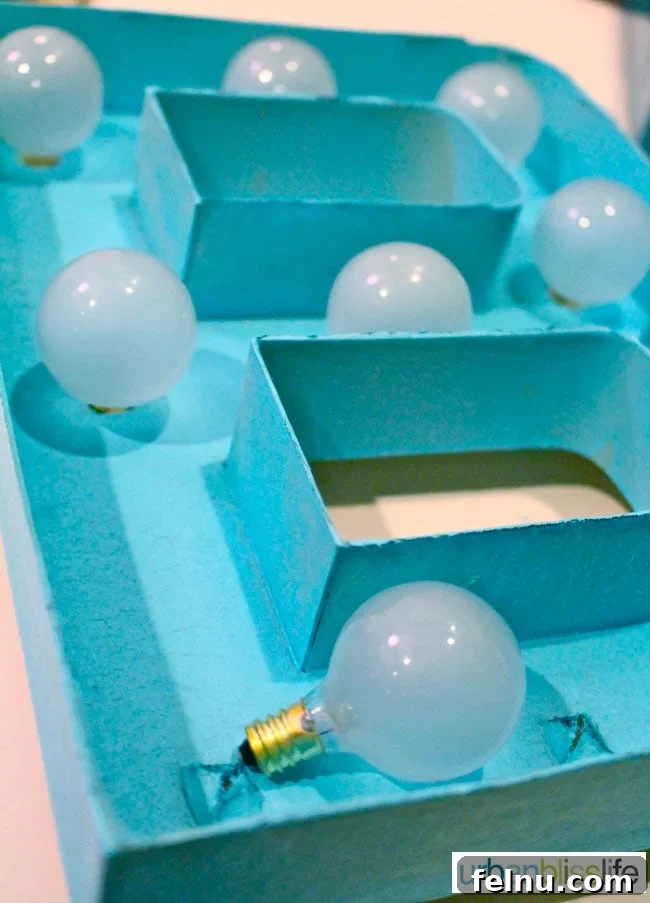
Step 5: Secure the Strings
Finally, use tape to secure the strings on the back of the letters, preventing them from sticking out. This can be a bit tricky, so take your time. I used packaging tape, but any sturdy tape will do.
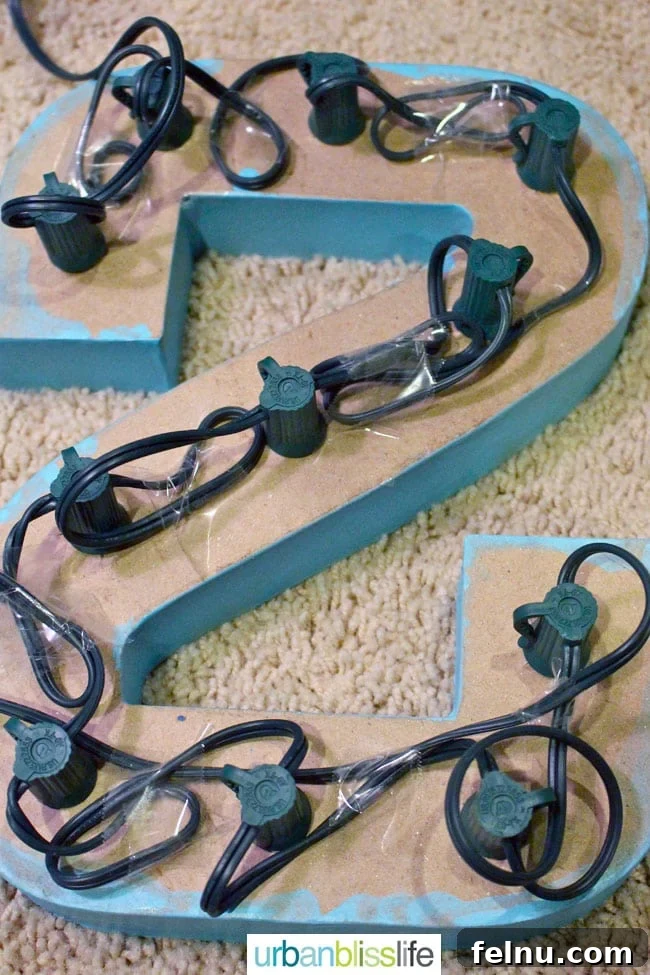
Now, plug in your beautiful creation and enjoy the glow of your handmade DIY marquee letters!
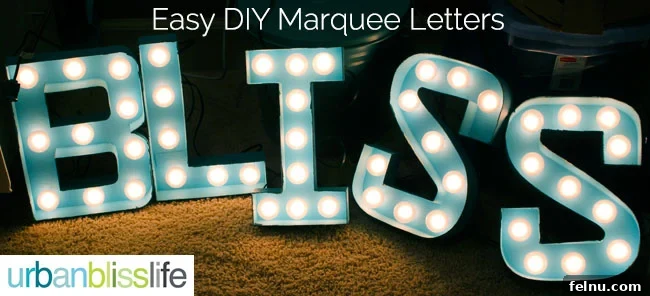
It really was easy to make and didn’t require any power tools!
What DIY marquee letters should I make next? Initials for the bedroom? “PLAY” for the backyard to light up outdoor dinner parties? “CHEERS” for the kitchen/dining room? The possibilities are endless! What would YOUR DIY marquee letters spell out?
More Free Printables and DIY Projects
- Teacher Flashcards
- Lunchbox Love Notes
- DIY Drink Markers
- Valentine’s Day Printable
- Printable Election Night Map