
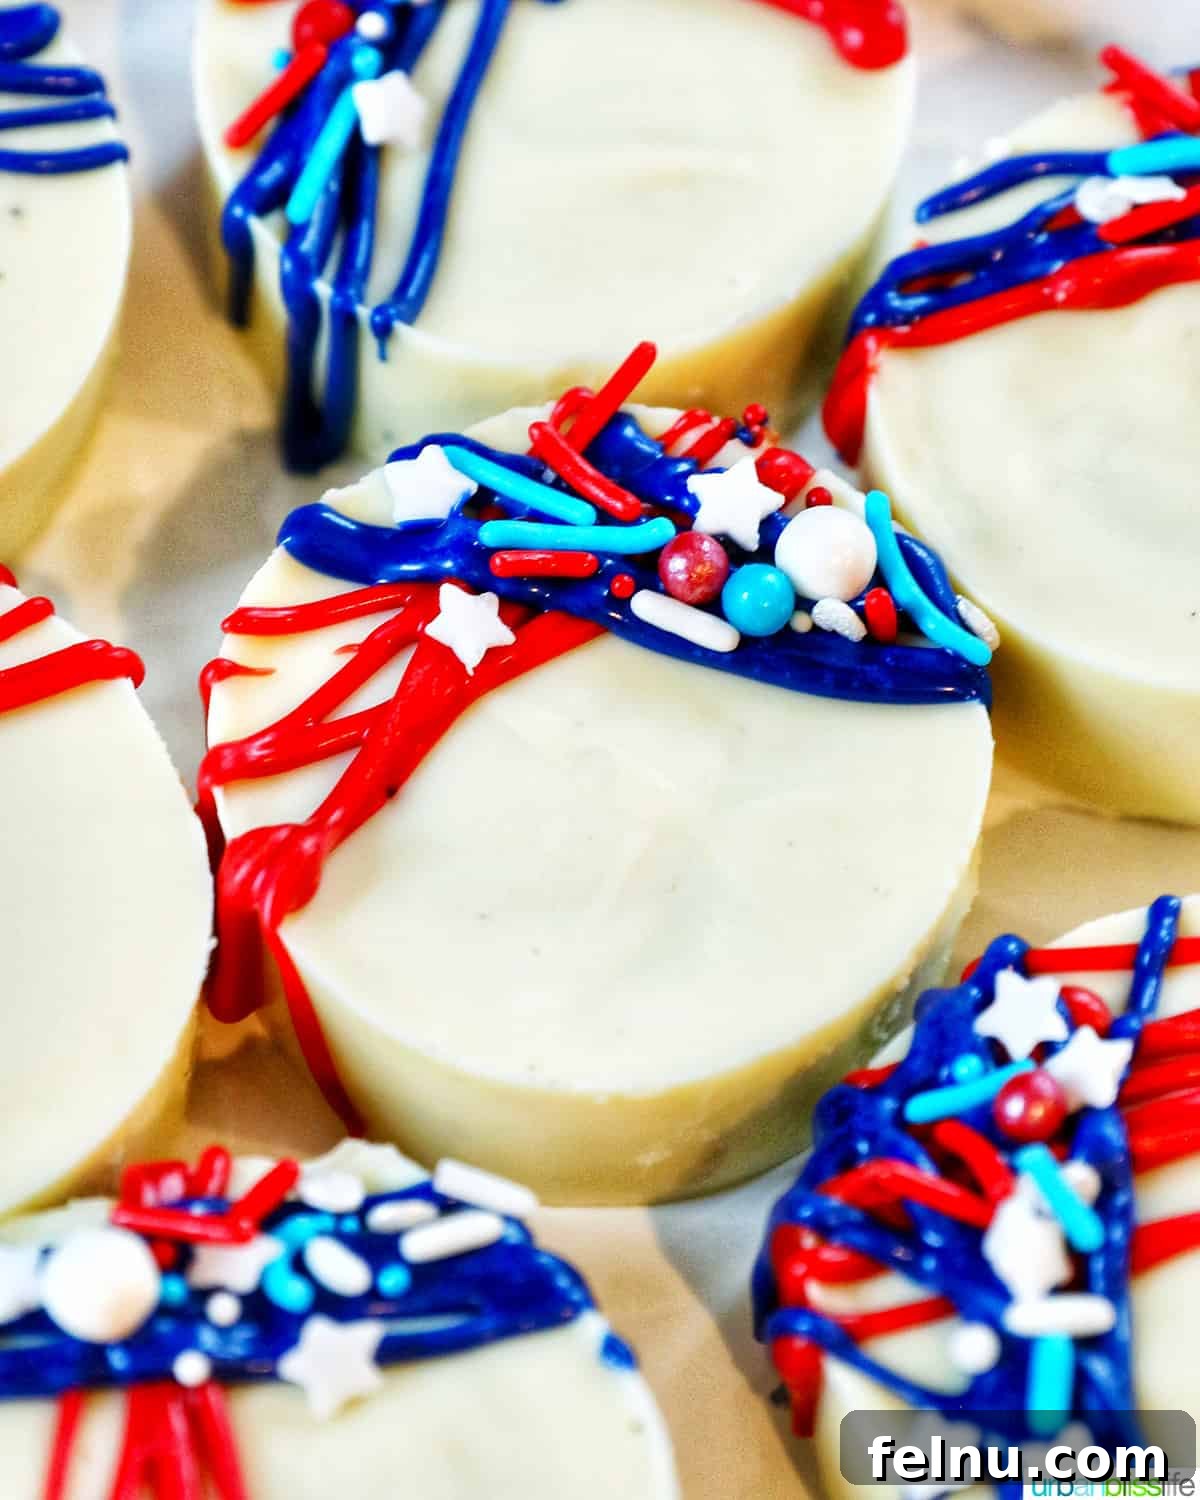
Red, White, and Blue 4th of July Oreos: A Festive Dessert Recipe
These red, white, and blue chocolate-covered 4th of July Oreos are a fun, festive, and delicious way to celebrate Independence Day! They are surprisingly easy to make and are sure to be a crowd-pleaser at any 4th of July gathering.
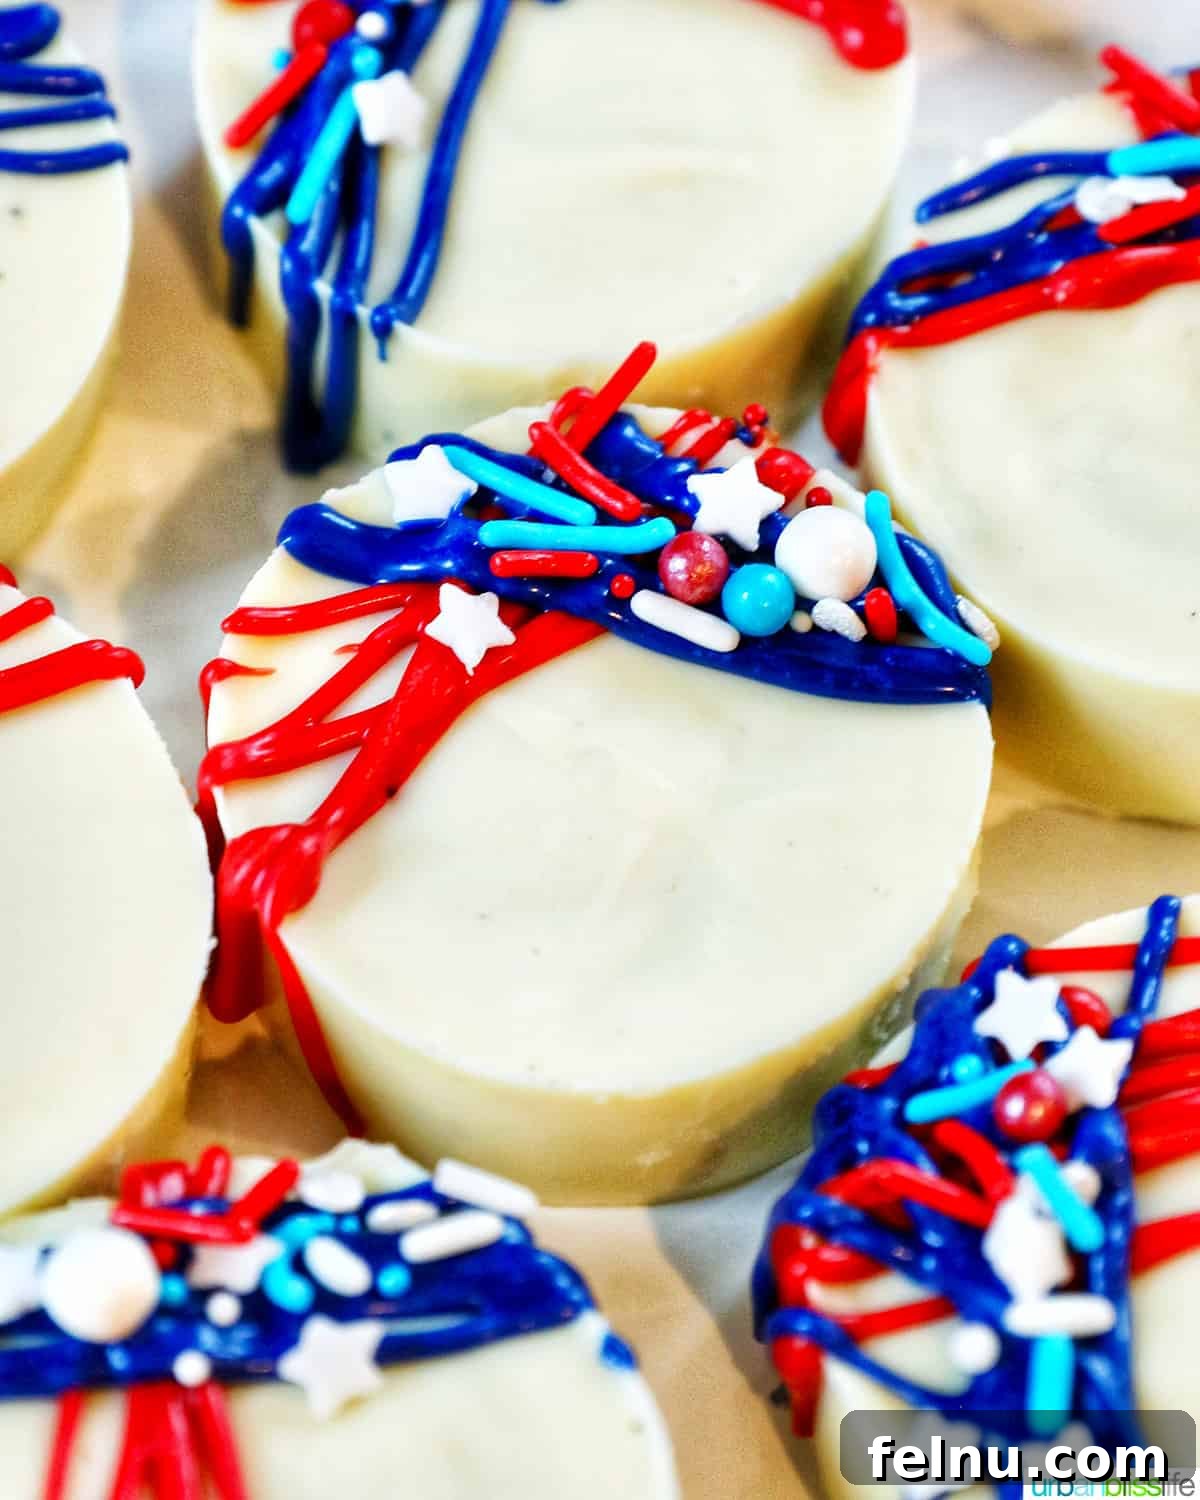
Looking for a quick, easy, and super fun dessert to celebrate the 4th of July? Look no further! These 4th of July Oreos are the perfect addition to your Independence Day celebrations. This recipe is a guaranteed hit for both kids and adults, bringing a touch of patriotic flair to your dessert table.
I’ve been creating decorated chocolate-covered Oreo cookies for various holidays for years. Our Valentine’s Day Oreo Pops are always a huge success! And I can assure you, these Independence Day Oreo cookies are equally delicious and fun to make.
These red, white, and blue chocolate-covered cookies make beautiful additions to any 4th of July Dessert Board and provide sweet treats that wrap up any Independence Day BBQ or picnic perfectly. Imagine the smiles on your friends’ and family’s faces when they see these delightful treats!
🇺🇸 Why These Are the Best 4th of July Desserts
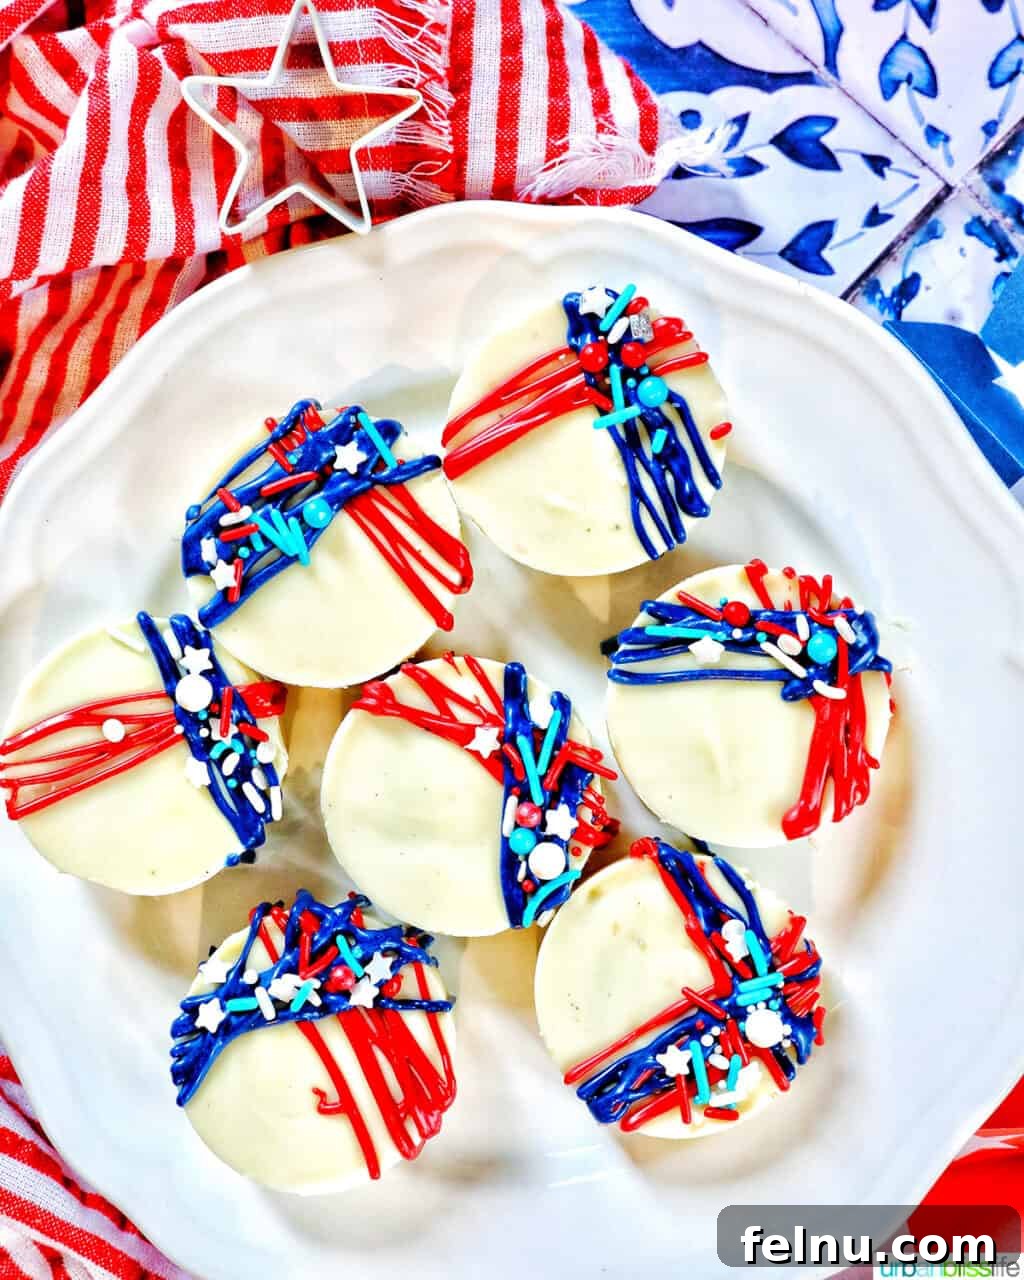
You’ll absolutely love making these red, white, and blue 4th of July desserts! But what makes them so special and the best choice for your Independence Day festivities?
- This simple recipe calls for just 5 simple ingredients.
- It is an easy no-bake recipe! That’s right, no need to turn on the oven and heat up the kitchen for this one!
- These chocolate-covered Oreos are ready in about 30 minutes. Perfect for those last-minute party preparations.
- You can make these with or without chocolate candy molds, giving you flexibility based on what tools you have on hand.
- The decorating possibilities are endless! Get super creative or keep it simple. It’s all up to you!
- This is a fun and engaging recipe that your kids can help make or even make on their own! Family fun is guaranteed.
🛒 Ingredient Notes for the Perfect 4th of July Oreos
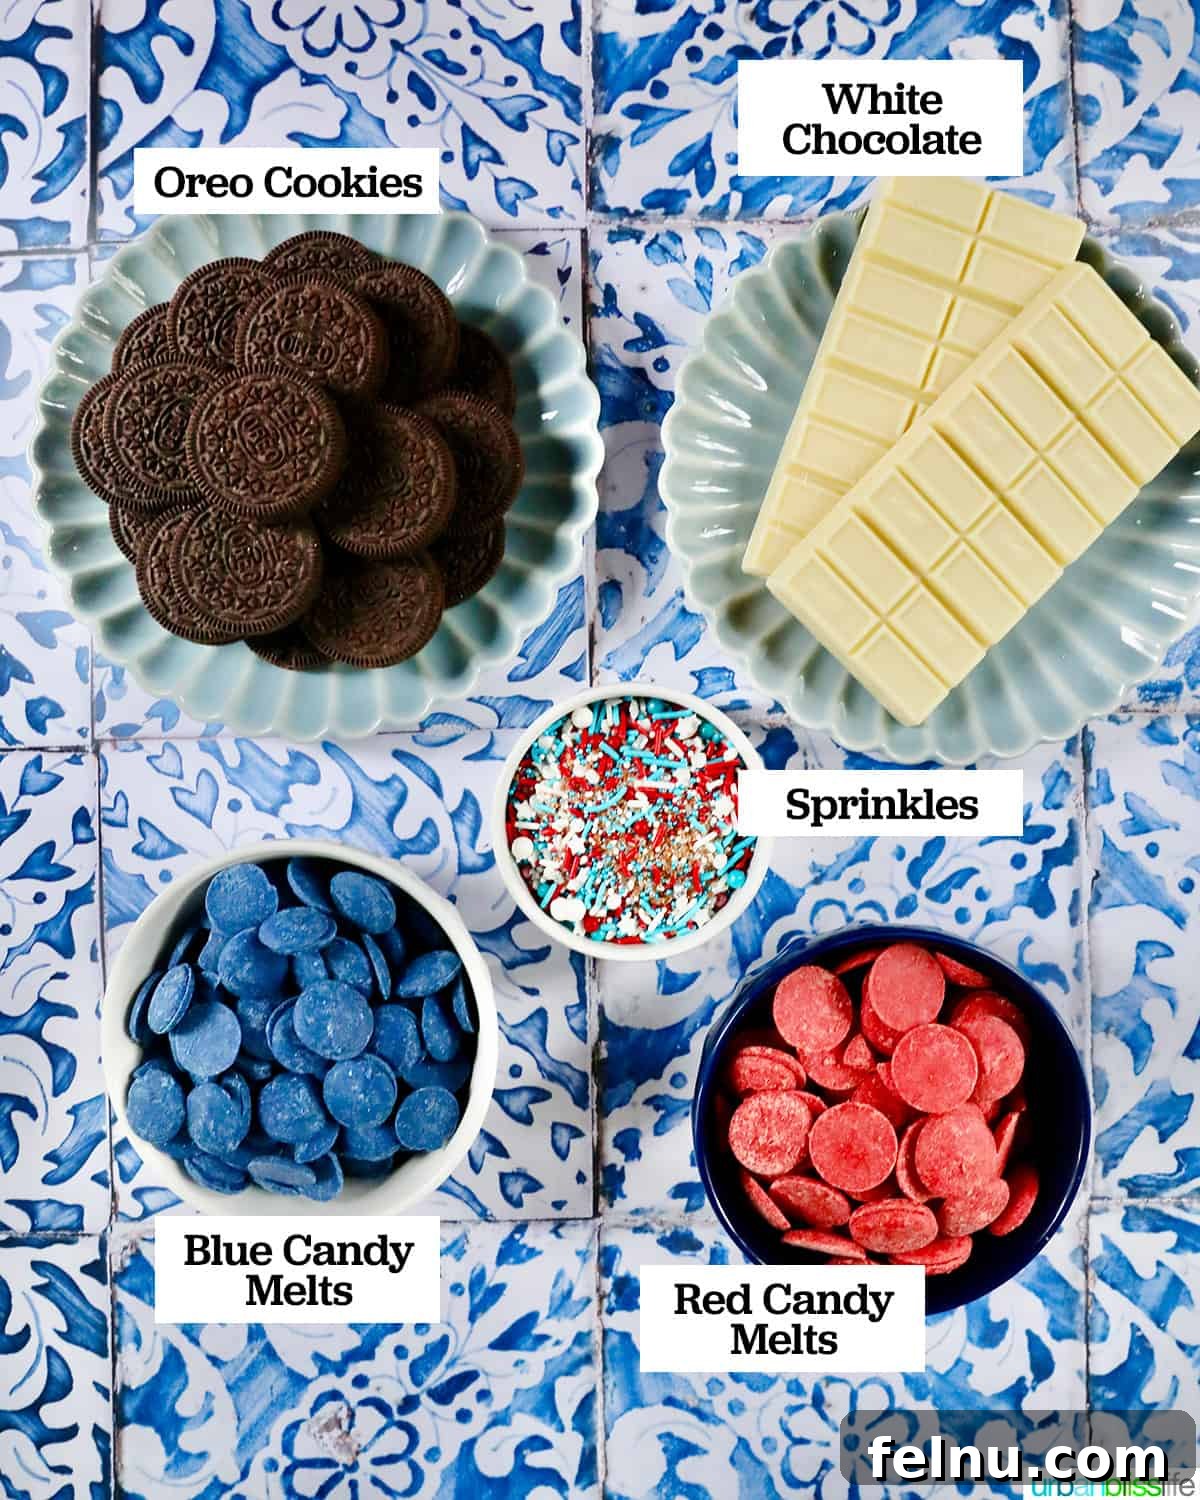
To ensure your 4th of July Oreos turn out perfectly, here are a few important notes about the ingredients you’ll need:
- Coconut Oil: Adding a teaspoon of coconut oil to the white chocolate and the red and blue candy melts helps the chocolate melt smoothly and set with a silky-smooth finish. This ensures your chocolate coating is perfect and easy to work with.
- Oreos: You can use regular Oreo cookies or Double Stuffed Oreos. Just make sure your chocolate candy mold is deep enough to fully cover the tops if you are using Double Stuffed cookies.
- White Chocolate: Always use high-quality white chocolate bars specifically made for baking, which can be found in the baking aisle of your local grocery store. These bars melt smoothly and provide the best texture for your chocolate-covered Oreos. I don’t recommend using white chocolate chips, as they contain ingredients that help them keep their shape, which means they don’t melt as smoothly and are more likely to clump when heated up. This is essential for achieving a smooth and even coating on your Oreos.
✅ Step-by-Step Instructions: Creating Your Patriotic Masterpiece
Follow these detailed, step-by-step instructions to create your own batch of festive 4th of July Oreos. With clear instructions and helpful tips, you’ll be enjoying these delightful treats in no time!
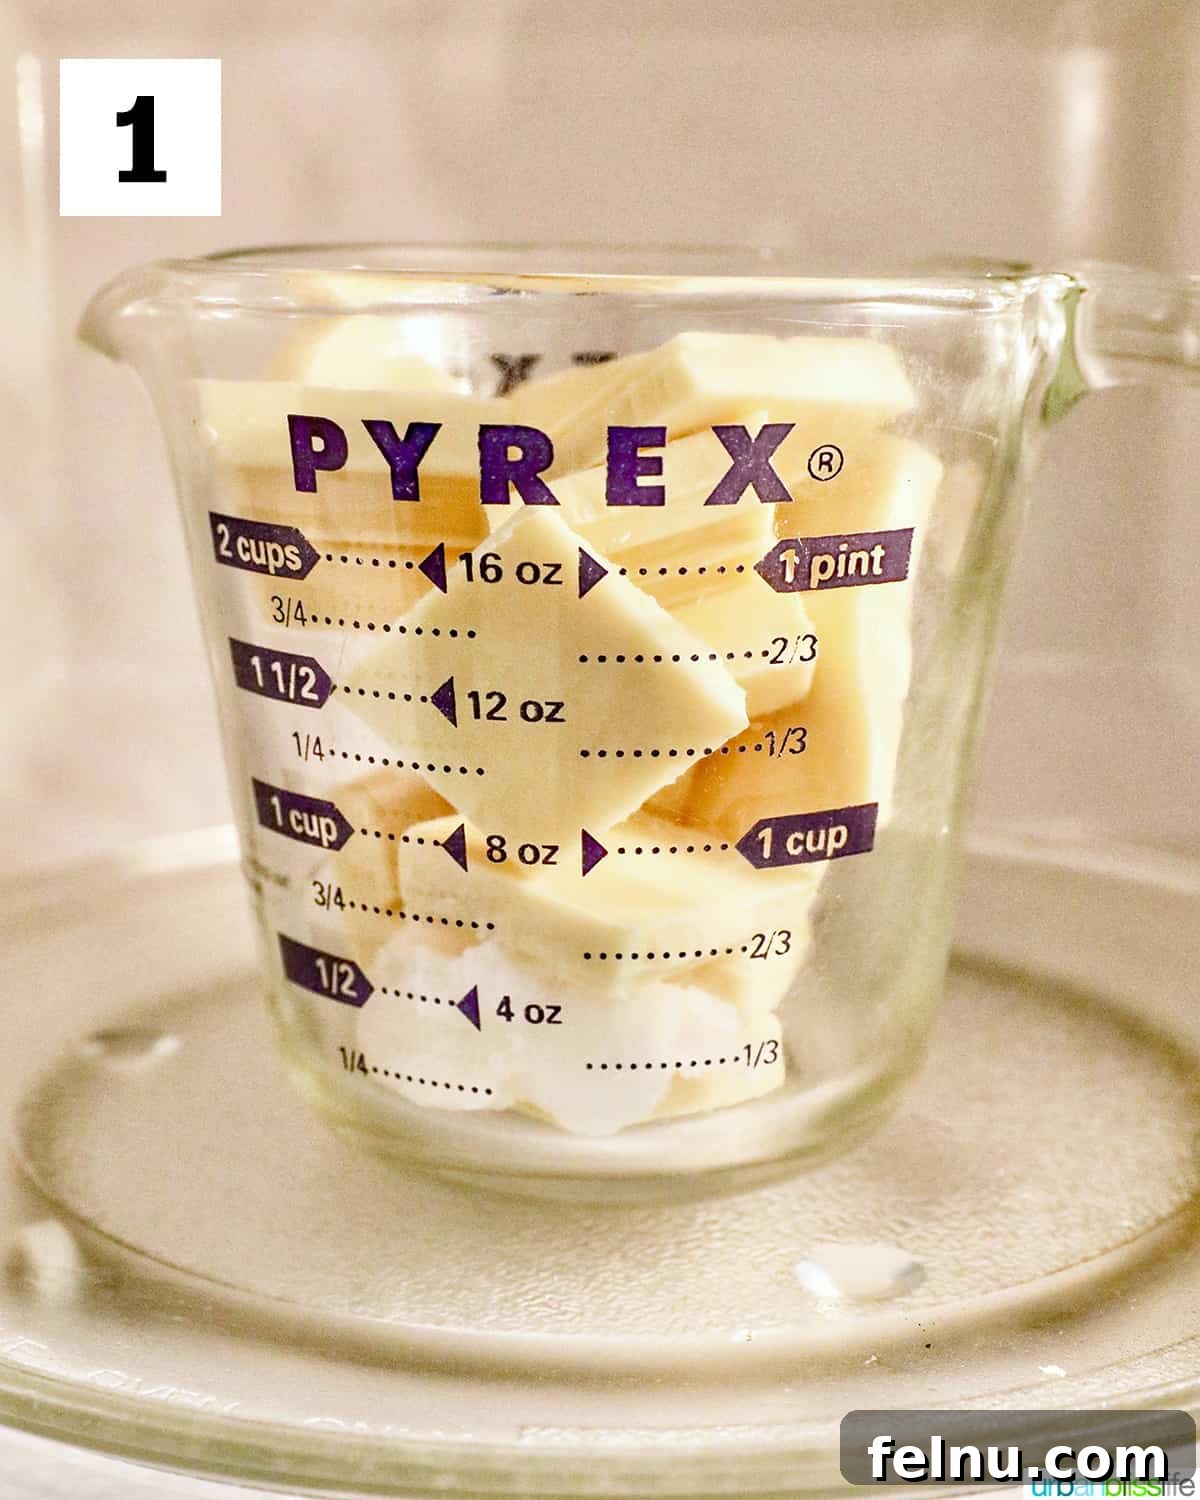
- Break the white chocolate bars into smaller pieces and place them in a microwave-safe glass measuring cup or bowl. Microwave in short intervals, stirring in between, until just melted. Whisk until smooth to ensure there are no lumps. This method prevents the chocolate from burning and ensures a perfectly smooth consistency.
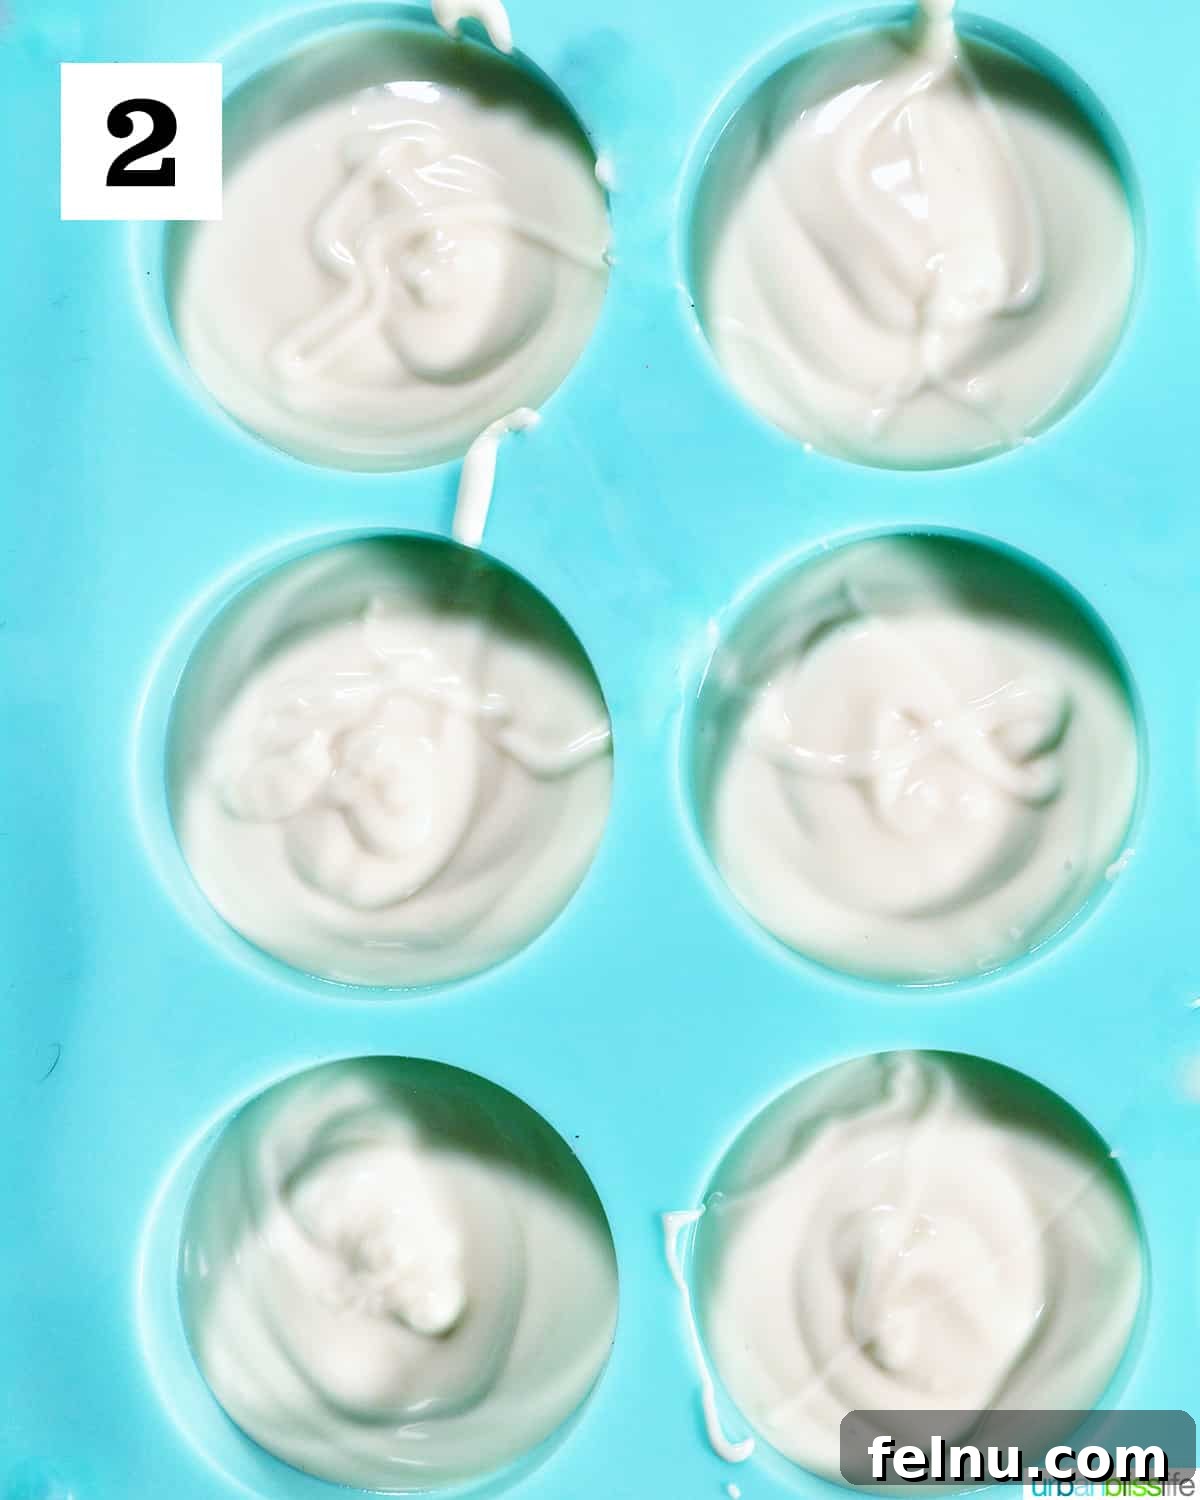
- Pour the melted white chocolate into your chocolate candy molds, filling them just over halfway full. Make sure to distribute the chocolate evenly across all the molds. This creates a solid base for your Oreos and ensures they are fully coated.
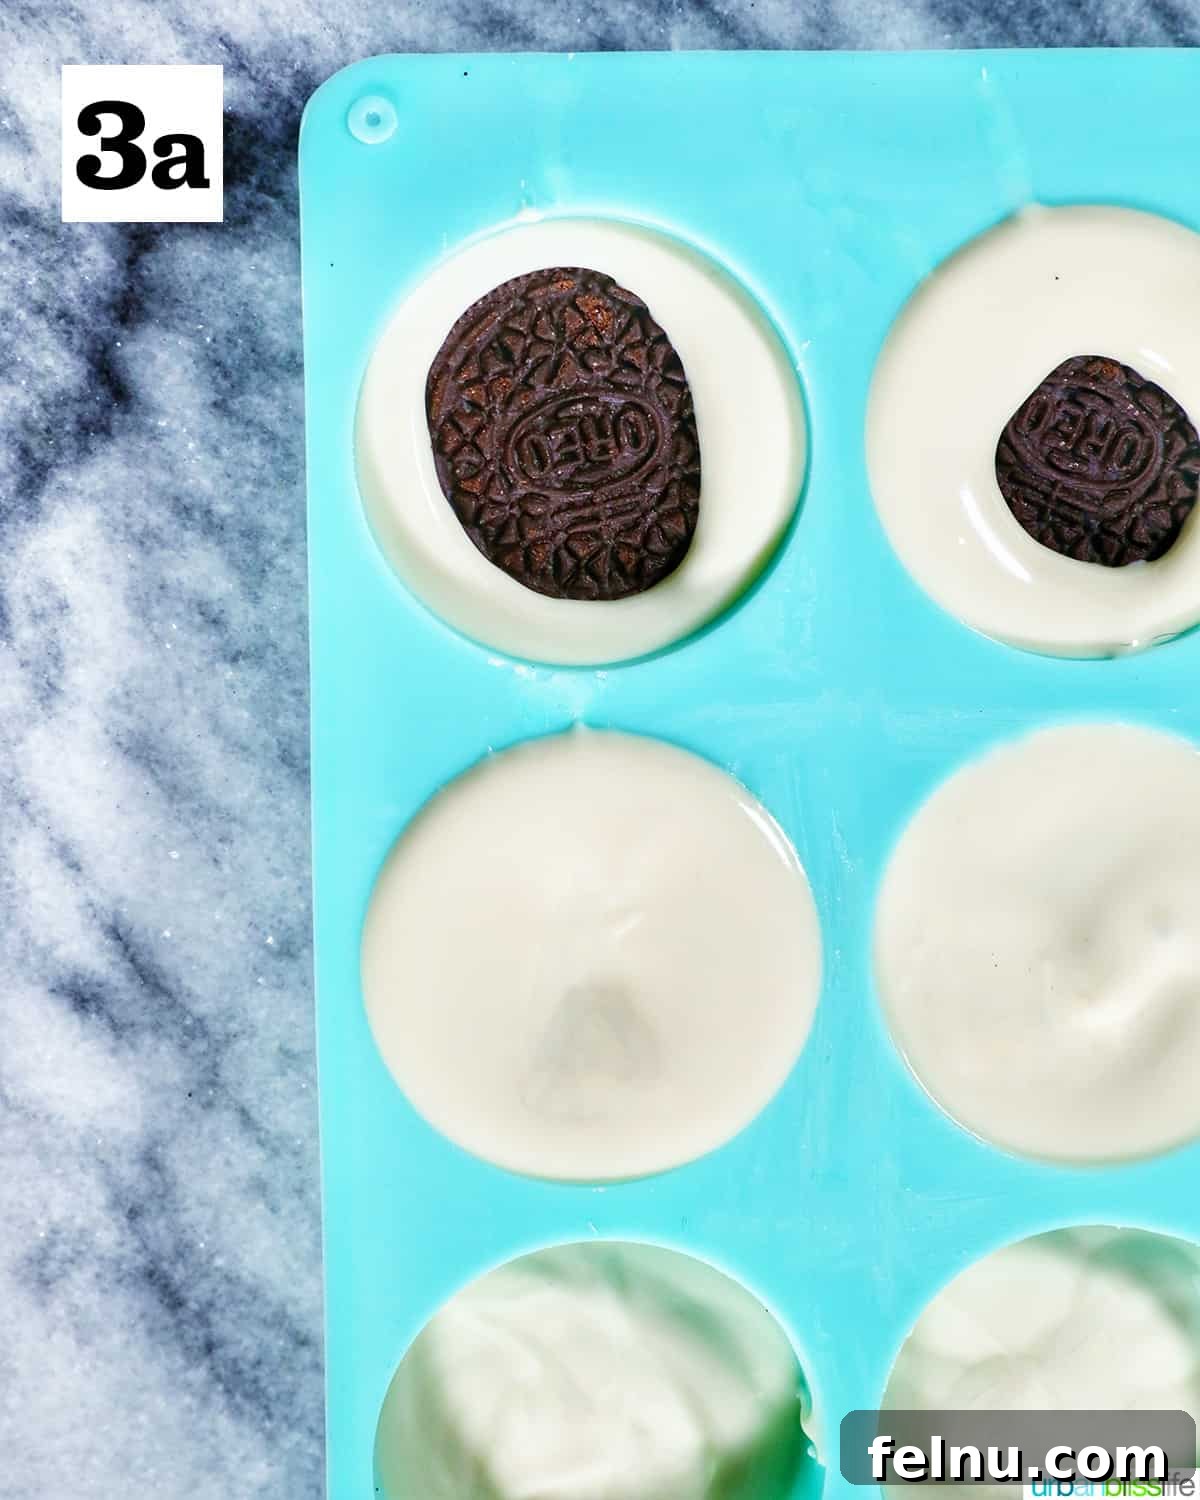
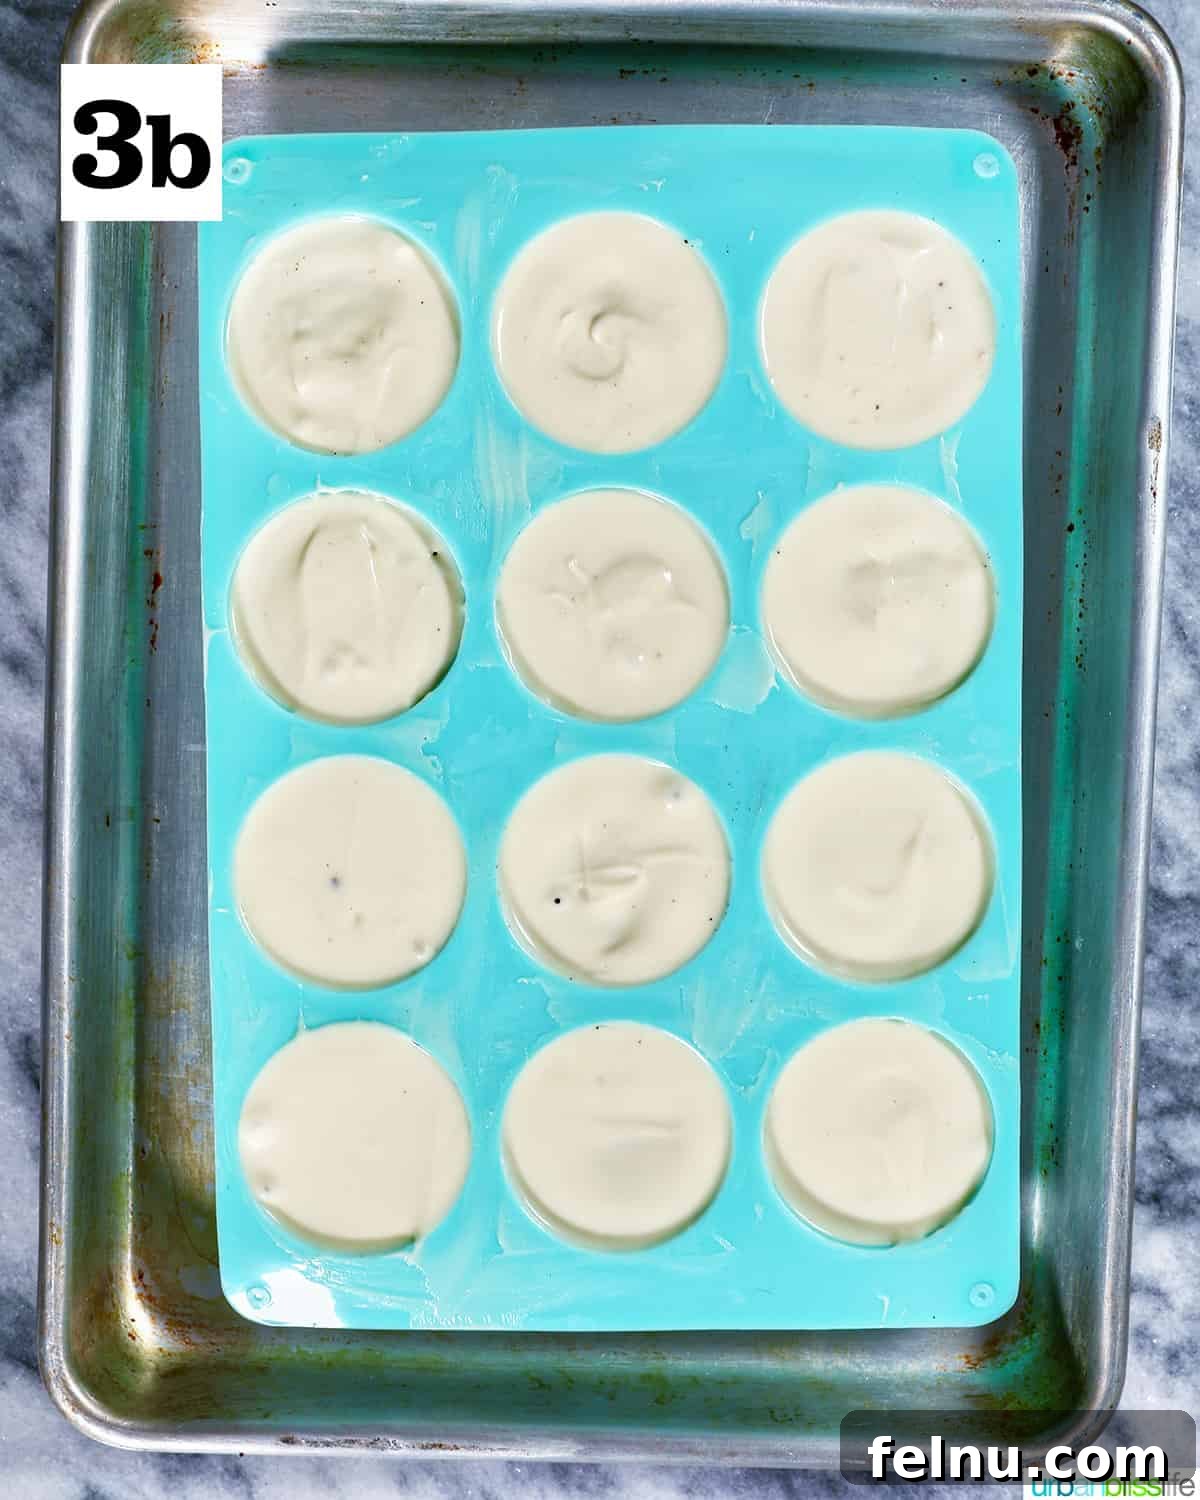
- Gently press the Oreo cookies into each mold, allowing the melted white chocolate to cover the tops of the cookies. Add more melted chocolate if needed to fully submerge the Oreos.
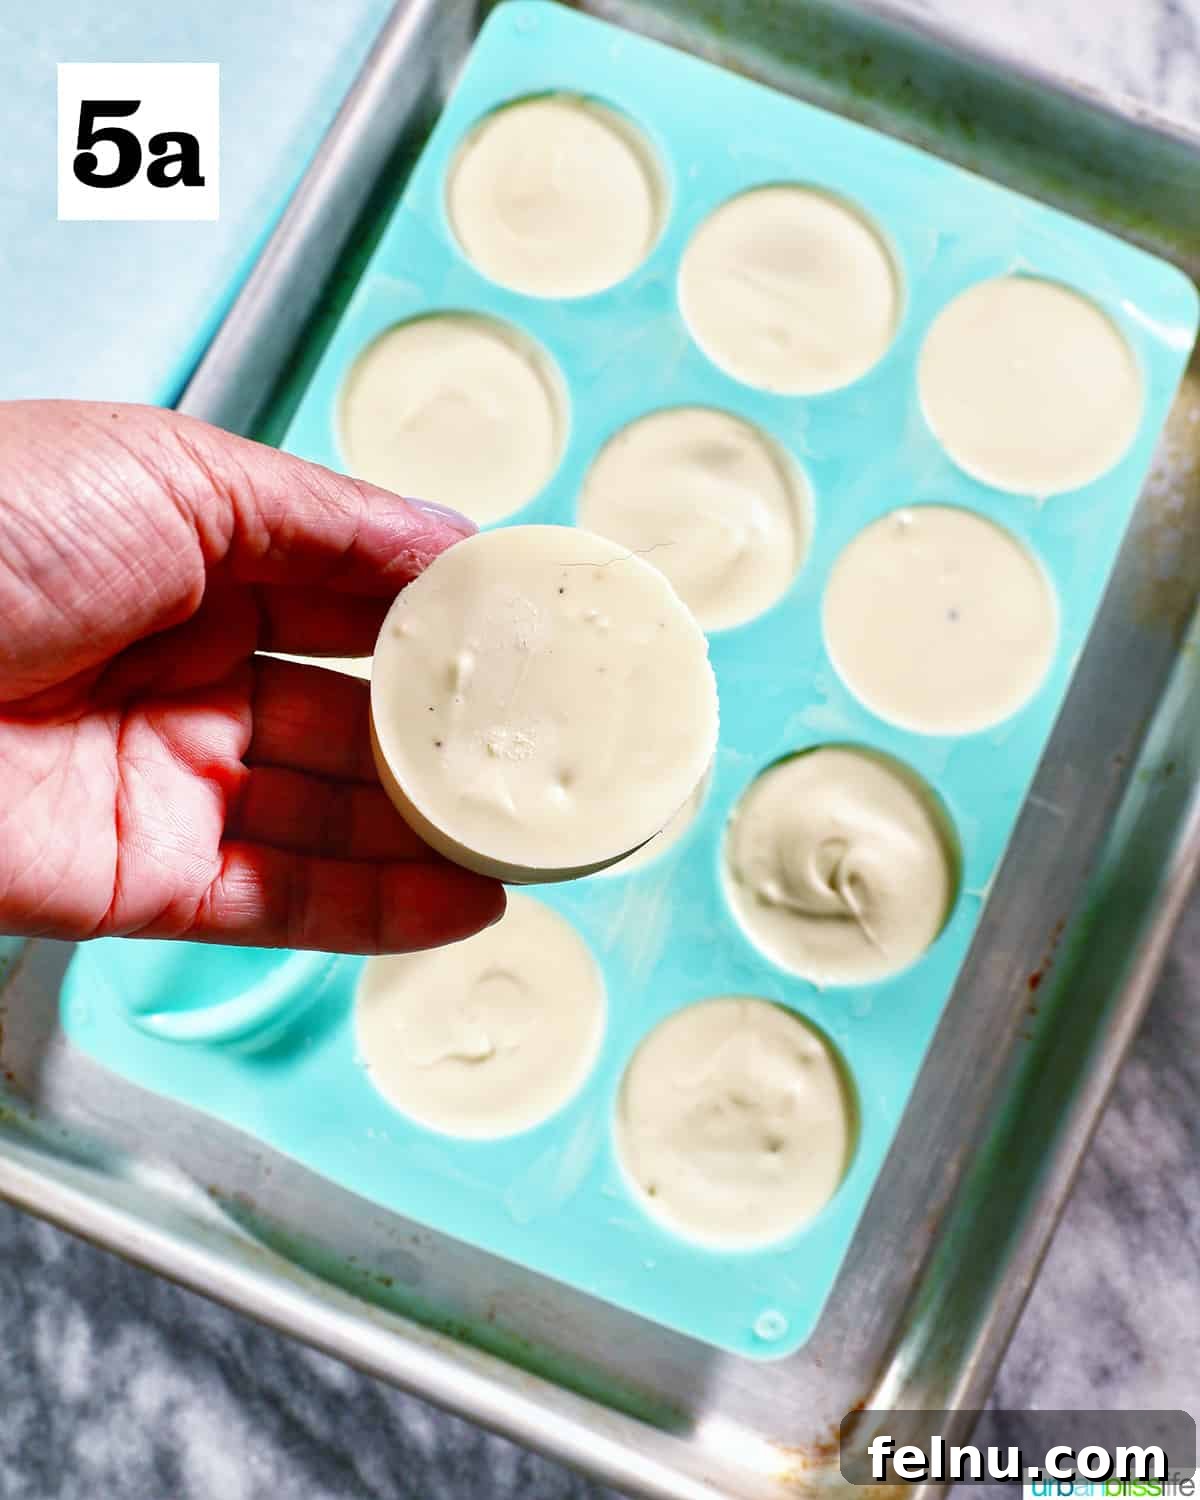
- Place the chocolate-covered Oreos in the refrigerator to set for about 10 minutes.
Tip: Placing the molds on a baking sheet makes it easier to move them in and out of the refrigerator without spilling or disrupting the chocolate. A quarter-sheet baking pan works great for this!
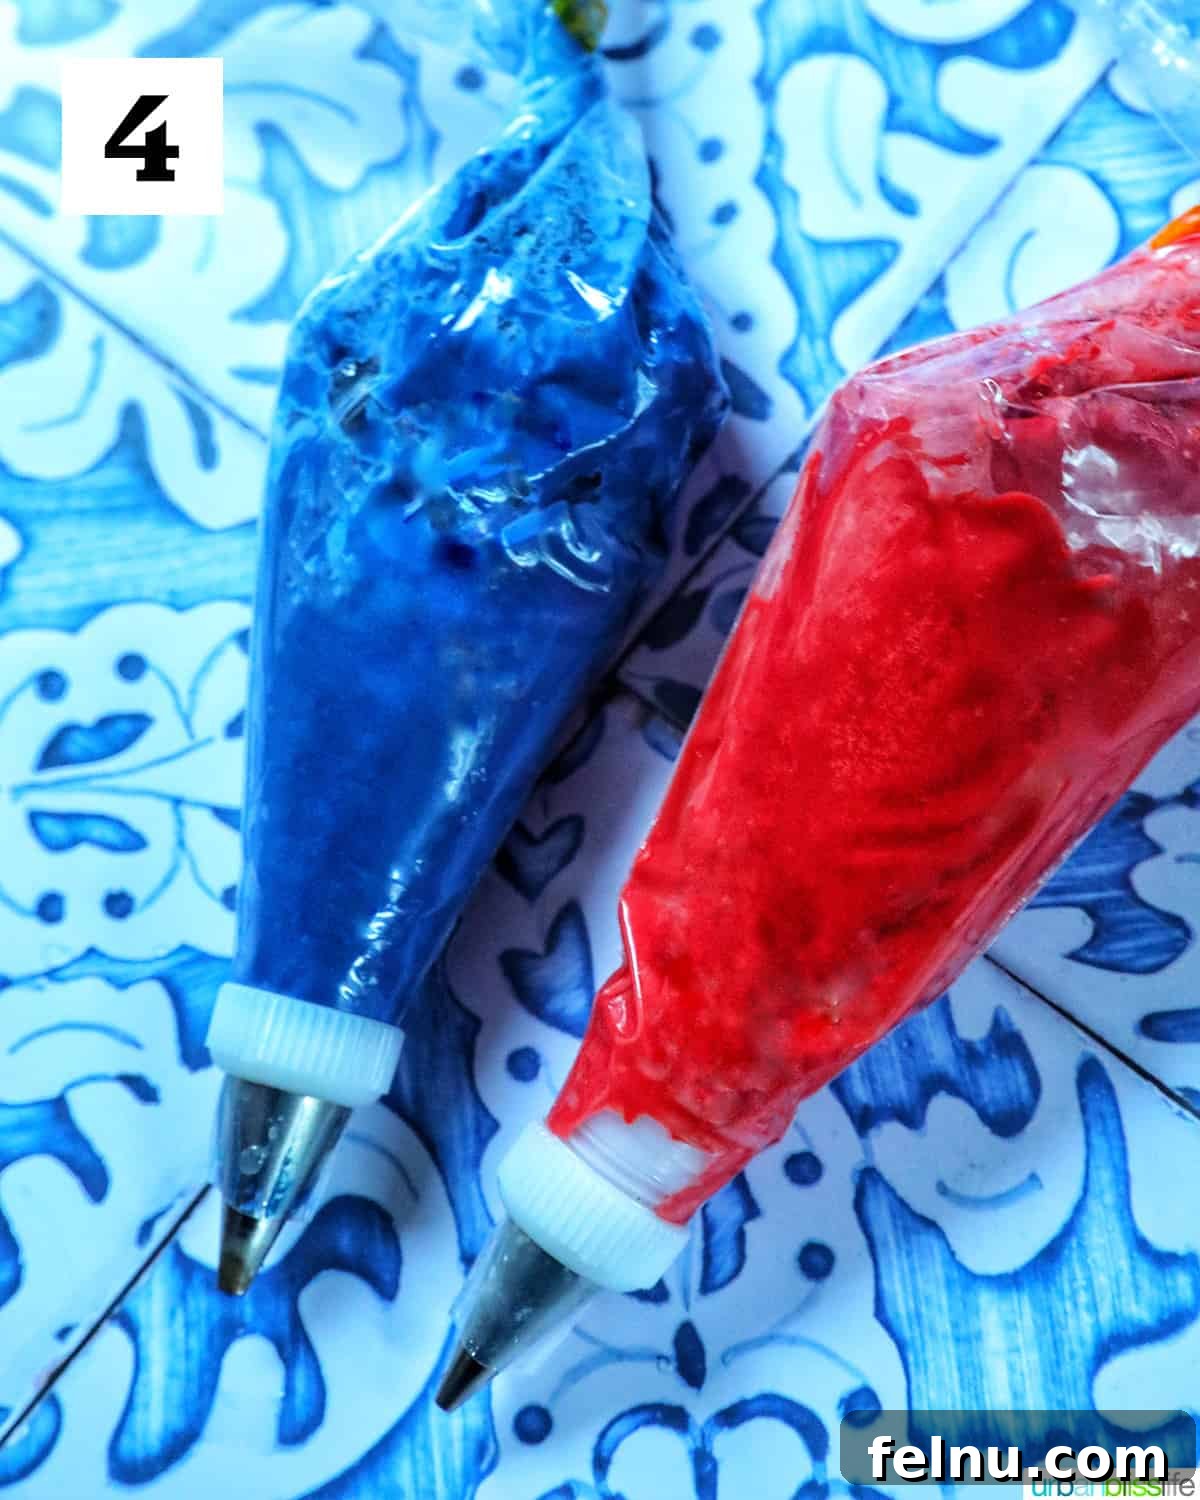
- While the cookies are setting, melt the red and blue candy melts in separate bowls along with one teaspoon of coconut oil each. Stir until smooth and then transfer the melted candies into separate piping bags. The coconut oil ensures a smooth consistency and vibrant colors for your decorations.
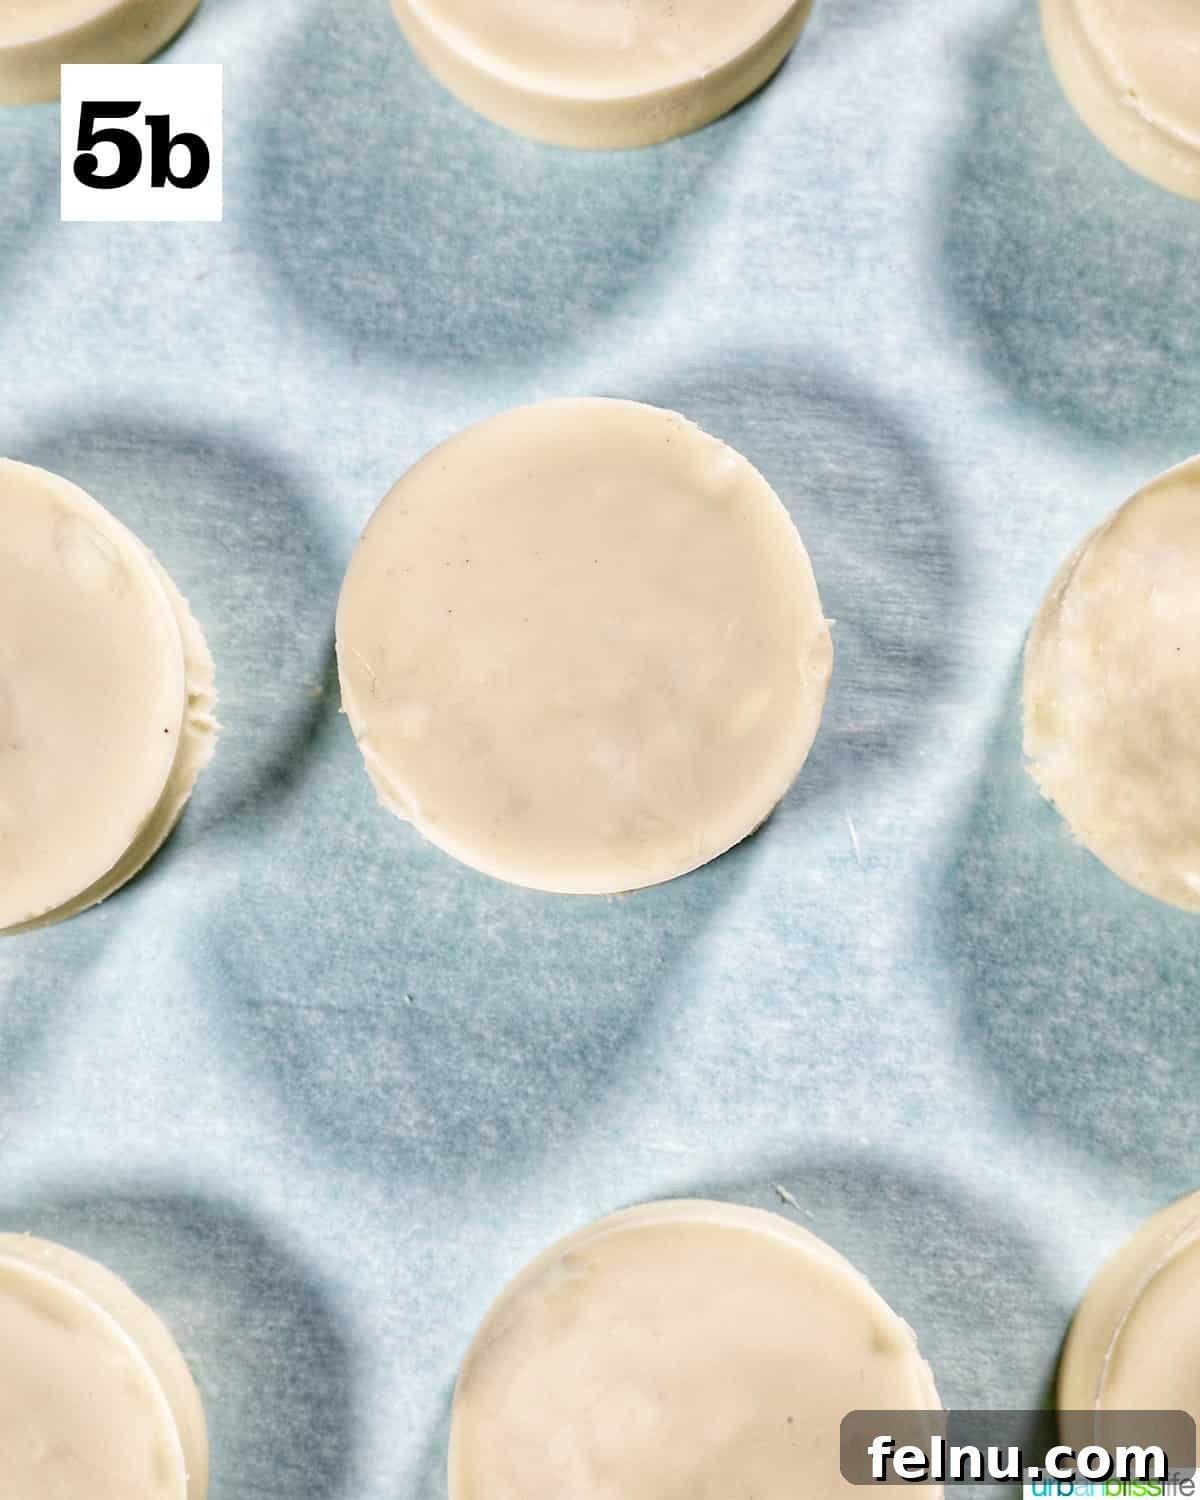
- Once the white chocolate has set and hardened, carefully remove the cookies from the refrigerator. Gently pop each one out of the mold.
- Place the cookies on parchment paper to prevent sticking during decoration. Parchment paper makes clean-up a breeze and ensures your decorated Oreos look their best.
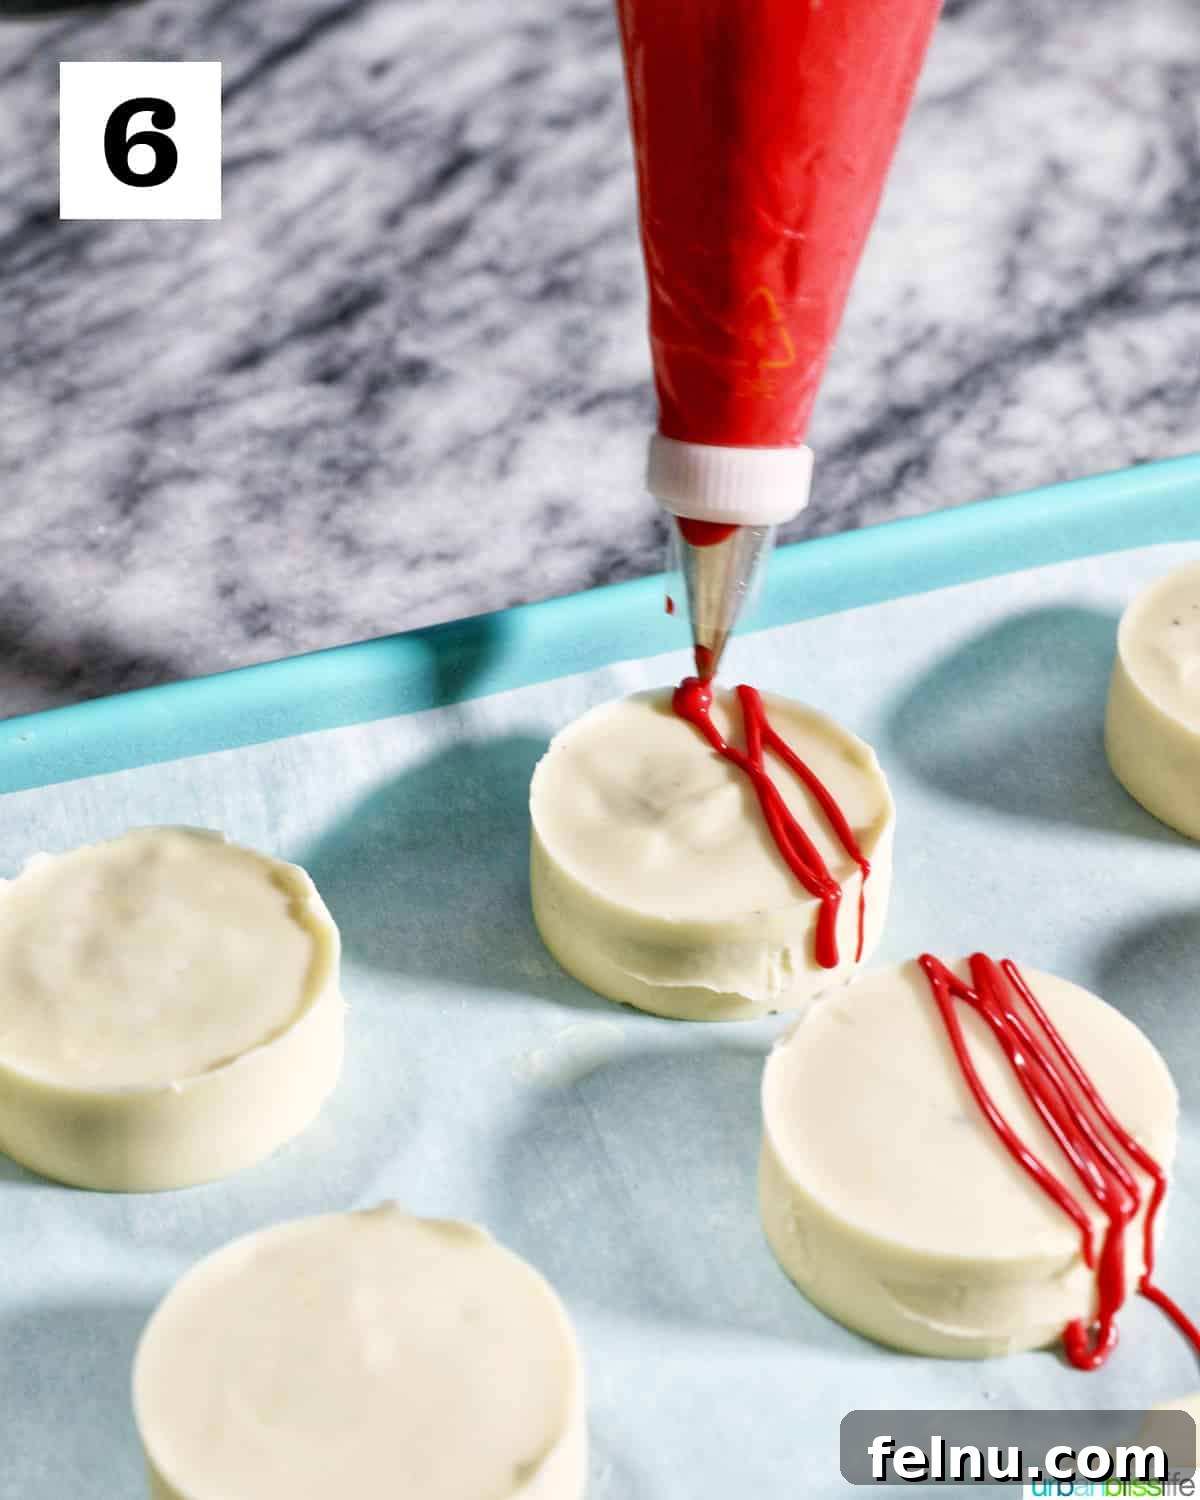
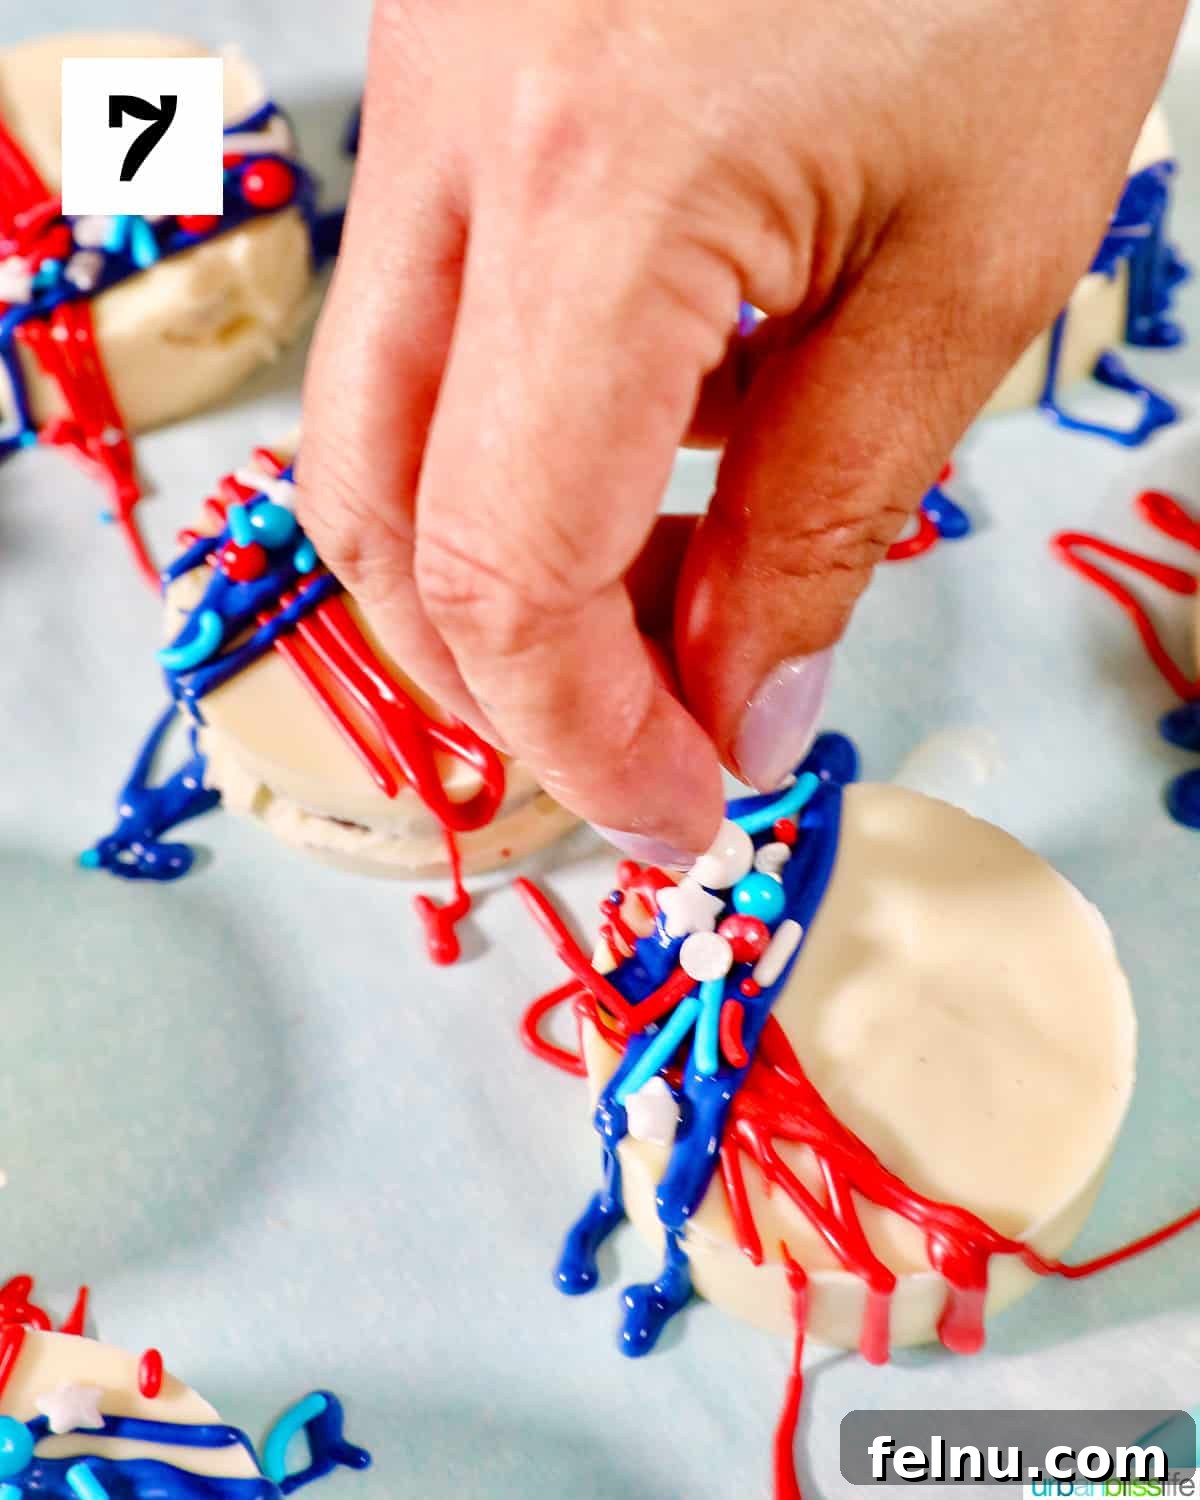
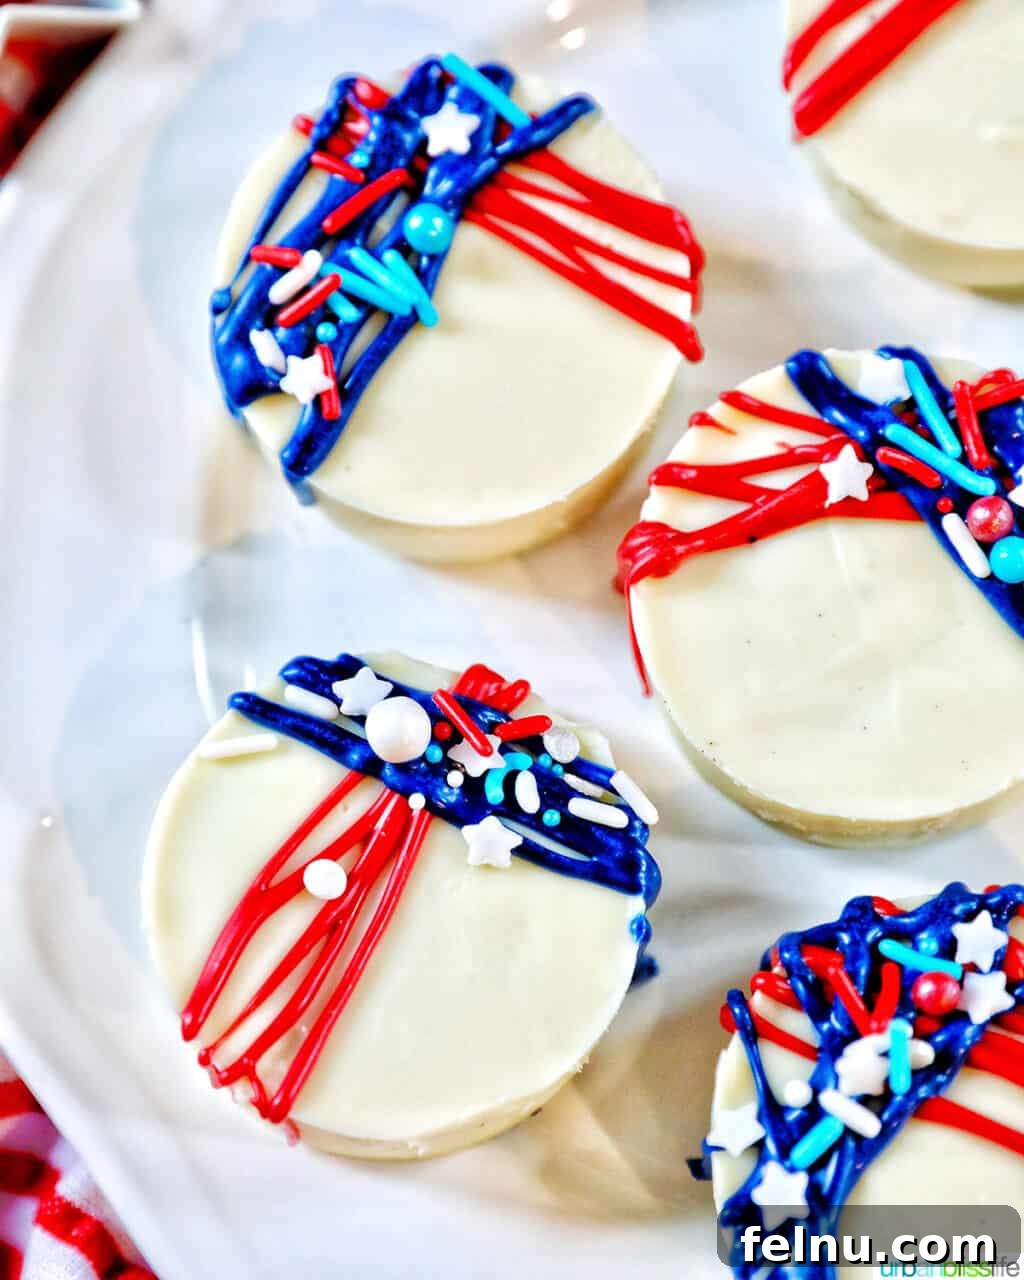
- Pipe the red and blue frosting onto the tops of the cookies and decorate as you wish. You can draw lines, stars, stripes, or any abstract patterns your heart desires! This is a perfect step for kids to help with. Let their creativity shine!
- Add the finishing touches: while the frosting is still wet, top with red, white, and blue sprinkles of your choosing. The sprinkles add a festive sparkle and make these Oreos even more appealing.
Allow the chocolate to set completely and the sprinkles to adhere to the hardened frosting. Then, store or serve these patriotic treats!
❓ Recipe FAQs: Your Questions Answered
Can I make these without a chocolate candy mold?
Yes! If you don’t have a chocolate candy mold, you can simply dunk the Oreo cookies into a bowl of melted white chocolate. Then, set them onto parchment paper to cool and harden. While they might not have the molded shape, they’ll still be delicious and festive!
Can I make these in advance?
Absolutely! You can make these 4th of July Oreo cookies up to 2 days in advance before serving. If you make them ahead of time, I suggest storing them in an airtight container in the refrigerator and bringing them out about 15 minutes before serving. This helps the white chocolate stay set and prevents them from becoming too soft.
What’s the best way to store chocolate-covered Oreo cookies?
Store your chocolate-covered Oreos in an airtight container at room temperature for up to 5 days. Keeping them in a cool, dry place ensures they maintain their texture and flavor.
🥘 Kitchen Tools and Equipment You’ll Need
For this recipe, you’ll need a chocolate candy mold. Use chocolate candy molds that are large enough to set Oreo cookies into. See the Recipe FAQ section above for instructions on how to make these without a chocolate candy mold.
👧🏻🧒🏻 How Kids Can Help Make This Recipe
Get the whole family involved in making these festive treats! Here are some tasks that kids can help with:
- Older kids: Older children can help melt the chocolate and whisk until smooth. Just make sure they are supervised to prevent burns.
- Kids of all ages: Can help measure the ingredients and decorate the cookies with frosting and sprinkles. This is a great way to teach them about cooking and get them excited about celebrating the 4th of July!
Always supervise your kids carefully in the kitchen as they learn cooking skills and kitchen safety.
🍽 How to Serve These Festive Cookies
These 4th of July chocolate-covered Oreos would be a fantastic addition to a 4th of July Dessert Board! They’re also perfect for picnics, barbecues, or any Independence Day celebration.
More 4th of July Recipes to Enjoy
- 4th of July Dessert Board
- Instant Pot BBQ Ribs with Homemade BBQ Sauce
- BBQ Bacon Burger
- Baby Potato Salad with Bacon
Did you make this recipe? Don’t forget to leave a 5-Star rating in the recipe card, and if you really loved it, please leave a comment further down on the page. Thank you!
4th of July Oreos Recipe
Get the complete recipe details below!