
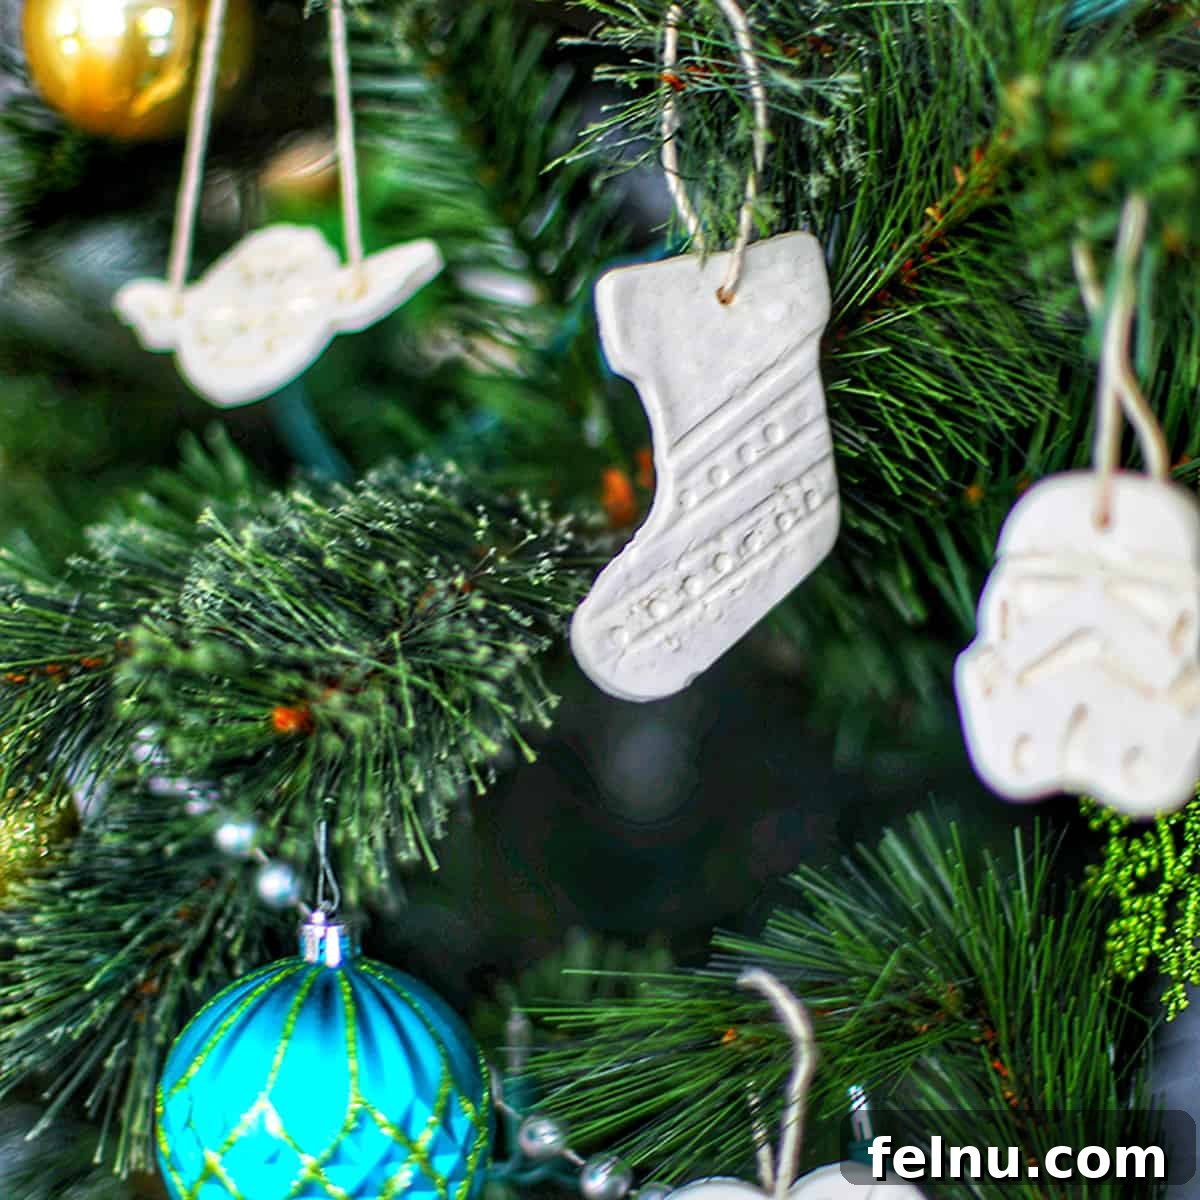
DIY Baking Soda Ornaments: A Festive Holiday Craft
Create unforgettable holiday memories with homemade baking soda ornaments! This simple craft project is perfect for families and results in beautiful, personalized keepsakes to adorn your Christmas tree for years to come.
Originally published on November 25, 2013, this guide was updated on December 6, 2020, with enhanced baking tips, fresh photos, and answers to frequently asked questions.

The holiday baking season is upon us, and the joy of creating edible treats is in the air! But why limit yourself to cookies? Baking soda ornaments offer a unique and lasting way to express your holiday spirit.
If you’re looking for delicious cookie recipes to complement your ornament-making session, be sure to check out some of my favorites: the Best Gingerbread Cookies for Decorating, perfect for unleashing your artistic side with icing; Soft Ginger Molasses Cookies, a quick and easy option for those who prefer simpler treats; Chocolate-Dipped Peppermint Shortbread cookies, elegant and ideal for gifting; and Red Velvet Crinkle Cookies, a festive addition to any holiday spread.
But if you’re seeking a baking project that extends beyond the edible realm, a DIY adventure that transforms simple ingredients into treasured mementos, then look no further! This baking soda ornament project is a perfect blend of creativity and tradition.
Baking Soda Ornaments: A Timeless Holiday Tradition
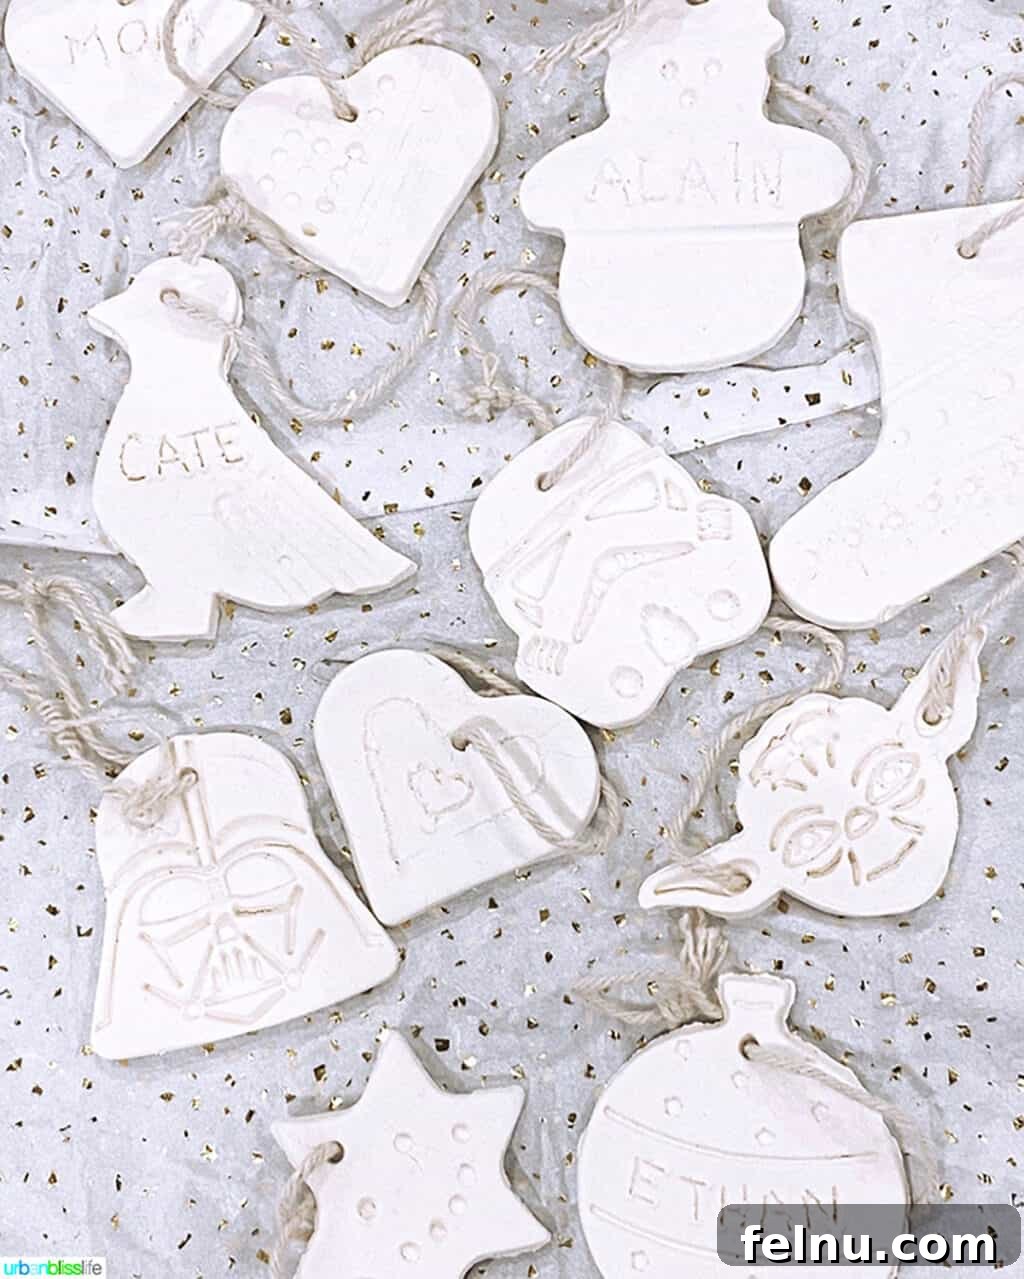
For over a decade, creating these ornaments has been a cherished tradition for my family and me. The joy of shaping simple ingredients into festive decorations is an experience we eagerly anticipate each year. These aren’t just ornaments; they’re tangible memories, each one holding a special place in our hearts.
Feel free to unleash your creativity by incorporating unique cookie cutters. My kids, for instance, love using Star Wars cookie cutters alongside our traditional Christmas cookie cutters. The possibilities are endless, allowing you to personalize your ornaments to reflect your individual tastes and passions.
Essential Tips for Perfect Baking Soda Ornaments
While baking soda ornaments are relatively straightforward to make, achieving flawless results requires attention to detail. Like any baking endeavor, numerous factors can influence the final outcome. To help you navigate potential challenges and create stunning ornaments, I’ve compiled a list of helpful tips and addressed common questions I’ve received over the years.
- Choose a light-colored aluminum baking sheet. Just as with traditional baking, the color of your baking sheet matters. Lighter pans reflect heat more evenly, preventing scorching and ensuring consistent baking.
- Ensure your baking soda is fresh. Baking soda, while having a long shelf life, gradually loses its potency over time. For optimal results, use baking soda that is relatively fresh. If yours is more than a couple of months old, consider replacing it for this project.
- Maintain an average kitchen temperature. Room temperature can influence the dough’s consistency and behavior. Aim for a comfortable, moderate temperature for the best results.
- Position your baking sheet on the center rack. Placing your baking sheet in the center of the oven promotes even heat distribution, ensuring that your ornaments bake uniformly.
- Select cookie cutters with easy release. Whether you opt for classic holiday cookie cutters or more intricate designs like Star Wars cookie cutters, ensure they release the dough cleanly without distorting the shape.
- Avoid pressing too hard when creating pattern impressions. When adding details or textures to your ornaments, exercise caution to prevent accidentally piercing the dough.
With proper care and storage, these baking soda ornaments can last for years. Our own ornaments have graced our Christmas tree for nine years and still look as vibrant as the day we made them. That’s a pretty long time for baking soda ornaments, highlighting the enduring nature of this craft!
Frequently Asked Questions About Baking Soda Ornaments
What’s the best way to store baking soda ornaments?
To preserve the beauty of your baking soda ornaments, wrap each one individually in tissue paper or wax paper. Then, protect them further with a layer of bubble wrap. Finally, place the wrapped ornaments inside a sturdy box, filling any empty spaces with additional tissue paper or bubble wrap to prevent movement. Store the box in a temperature-controlled environment, such as a basement, where it won’t be exposed to extreme heat or cold.
How do I make these if I live at a high altitude?
If you reside at a high altitude, the air’s dryness can affect the baking process. To compensate, you may need to reduce the amount of baking soda used in the recipe. Try using 3/4 cup of baking soda instead of the usual 1 cup for your initial batch, then adjust the amount accordingly for subsequent batches based on the results.
Essential Ingredients for Baking Soda Ornaments
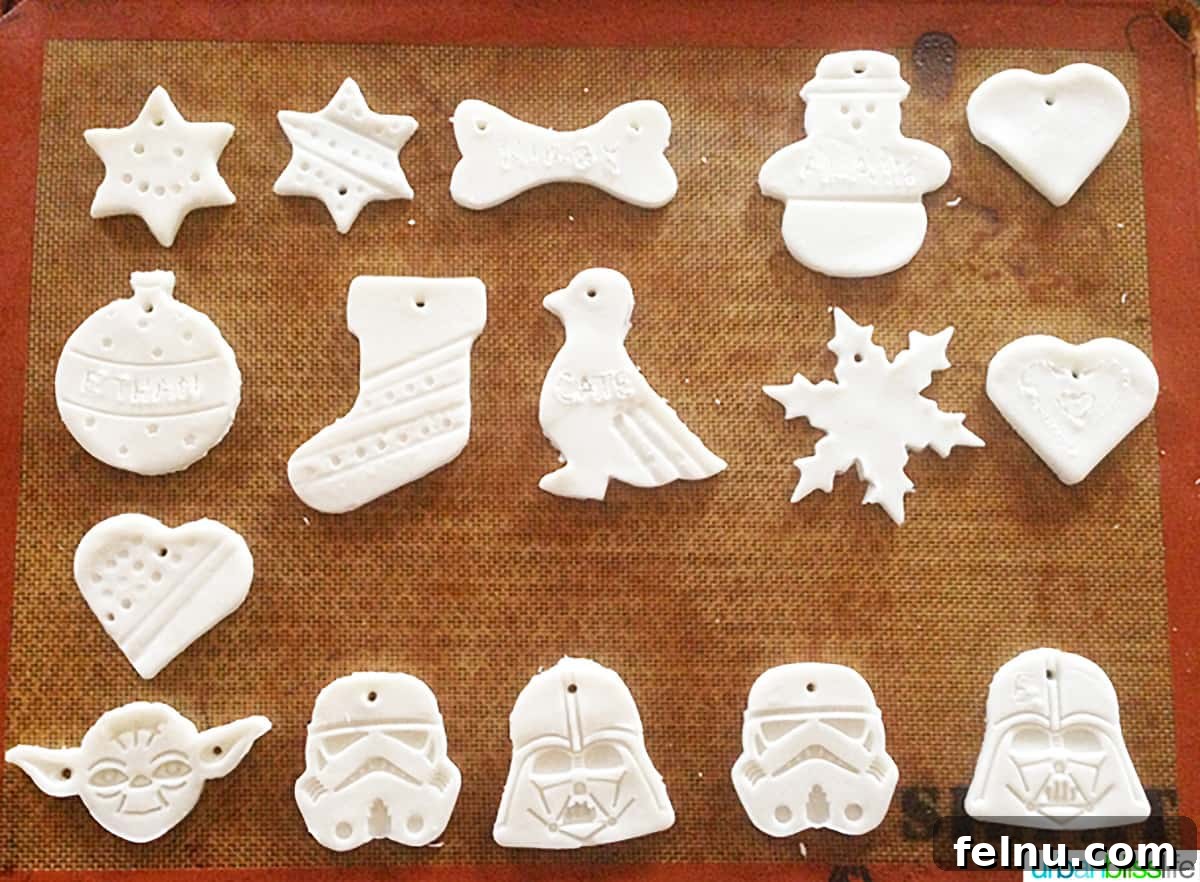
One of the best things about this project is that you likely already have all the necessary ingredients in your pantry. To make a batch of these charming ornaments, you’ll need just a few simple items:
- 1/2 cup cornstarch
- 1 cup baking soda
- 3/4 cup water
In addition to these basic ingredients, you’ll also need your favorite cookie or pastry cutters to create the shapes you desire. This project is incredibly easy and rewarding. Once you experience the satisfaction of creating these unique ornaments, you’ll want to make them again and again!
Step-by-Step Guide to Making Baking Soda Ornaments
For precise measurements and detailed instructions, please refer to the printable recipe card located at the end of this post. The following tips will guide you through the process.
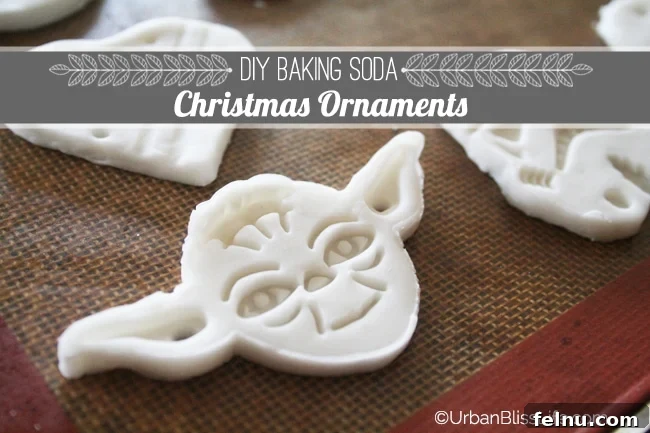
- In a medium or large pot, combine the cornstarch, baking soda, and water. Heat the mixture over medium heat, stirring continuously until it begins to thicken, typically within 2-3 minutes. Once the mixture transforms into a smooth, thick texture, remove it from the heat. Immediately shape the dough into a ball and transfer it to a glass bowl. Cover the bowl with a damp cloth to allow the dough to cool slightly.
- Preheat your oven to 175 degrees Fahrenheit (80 degrees Celsius).
- After a few minutes, when the dough has cooled enough to handle, place it on a rolling mat and knead it gently. If the dough feels too sticky, incorporate additional cornstarch until it reaches a workable consistency.
- Roll out the dough on a rolling mat or a cutting board lightly dusted with cornstarch to a thickness of approximately 1/4 inch (6mm). I prefer using a nonstick silicone Silpat Roul’Pat to prevent sticking.
- Use cookie cutters to create your desired shapes. Carefully lift the shapes and transfer them to a baking sheet lined with a Silpat or parchment paper.
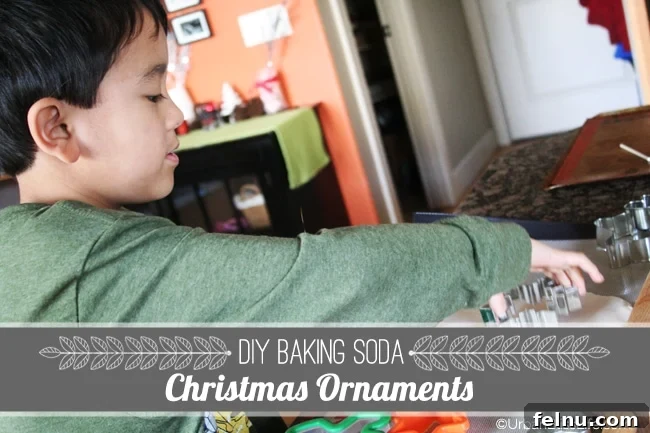
- Using a straw or a lollipop stick, create a hole at the top center of each ornament for hanging.
- Bake the ornaments at 175 degrees Fahrenheit (80 degrees Celsius) for 45 minutes to 1 hour, depending on your oven. To ensure even baking, rotate the baking sheet 180 degrees halfway through the baking time. If the edges of the ornaments begin to curl up, gently tap them down until they lie flat.
Creative Ideas for Decorating Your Baking Soda Ornaments
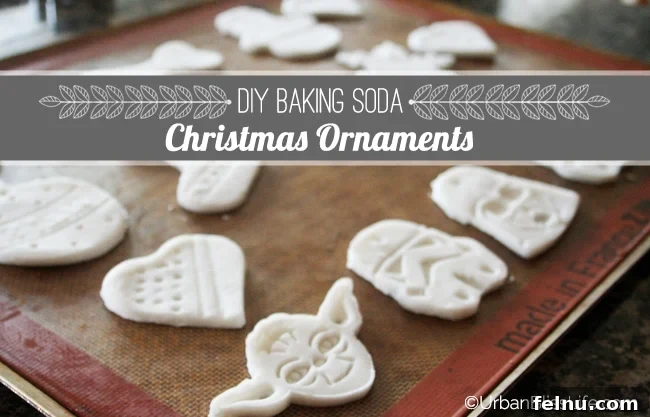
- Enhance your ornaments by painting them with acrylic paints, adding glitter for sparkle, or incorporating ribbons for a festive touch.
- Transform these ornaments into personalized gift tags by using monogrammed cookie cutters and attaching them to gifts with decorative ribbon.
I hope you enjoy this easy and fun DIY holiday ornament tutorial! These ornaments are incredibly versatile and can be adapted to suit any occasion or theme.
What unique shapes and designs will you incorporate into your DIY baking soda ornaments? Let your imagination run wild and create ornaments that reflect your personal style and holiday spirit.
More Festive Christmas Baking Recipes
Baking Soda Ornament Recipe

These homemade baking soda ornaments are easy to make. And this is a fun family Christmas project that gives you beautiful family keepsakes!
- Yield: 18-24 ornaments
- Prep Time: 5 minutes
- Active Time: 20 minutes
- Additional Time: 45 minutes
- Total Time: 1 hour 10 minutes
Materials
- 1/2 cup cornstarch
- 1 cup baking soda
- 3/4 cup water
Tools
- large glass bowl
- rolling mat
- rolling pin
- cookie cutters
Instructions
- Combine the cornstarch, baking soda, and water in a medium or large pot over medium heat. Stir ingredients until the mixture starts to thicken, about 2-3 minutes. When the mixture begins to thicken into a smooth texture, remove from heat. Immediately form the dough into a ball and place into a glass bowl; cover with a damp cloth to allow the dough to cool slightly.
- Preheat oven to 175°F degrees.
- After a few minutes, when dough is slightly cooled to the touch, place onto a rolling mat and knead the dough gently. Feel free to add more cornstarch if you feel the dough is too sticky to knead properly.
- Using a rolling pin, gently roll out the dough on the rolling mat or onto a cutting board lightly dusted with cornstarch (to prevent sticking) to 1/4 inch thick.
- Cut out shapes using cookie cutters. Very gently, lift the shapes out and transfer them onto a prepared baking sheet covered with a Silpat or parchment paper
- Use a straw or a lollipop stick to poke a hole in the center top of each decoration.
- Bake at 175°F degrees for 45 minutes to 1 hour, depending on your oven. Turn the sheet 180 degrees halfway through baking time to ensure even baking. If edges start to curl up during baking, gently tap down until flat.
Notes
- Watch the mixture in the pot very carefully as it can thicken quickly.
- Always use a light-colored aluminum baking sheet, as the dark-colored pans absorb heat too quickly for these delicate ornaments.
- If your oven does not go down to 175°F, use the lowest temperature setting and adjust your cooking and baking times by lowering them a bit.
Pin it for Later!
This post was first published on November 25, 2013. It has been updated and republished on December 6, 2020, with more helpful baking tips, new photos, and FAQs to help you troubleshoot.