
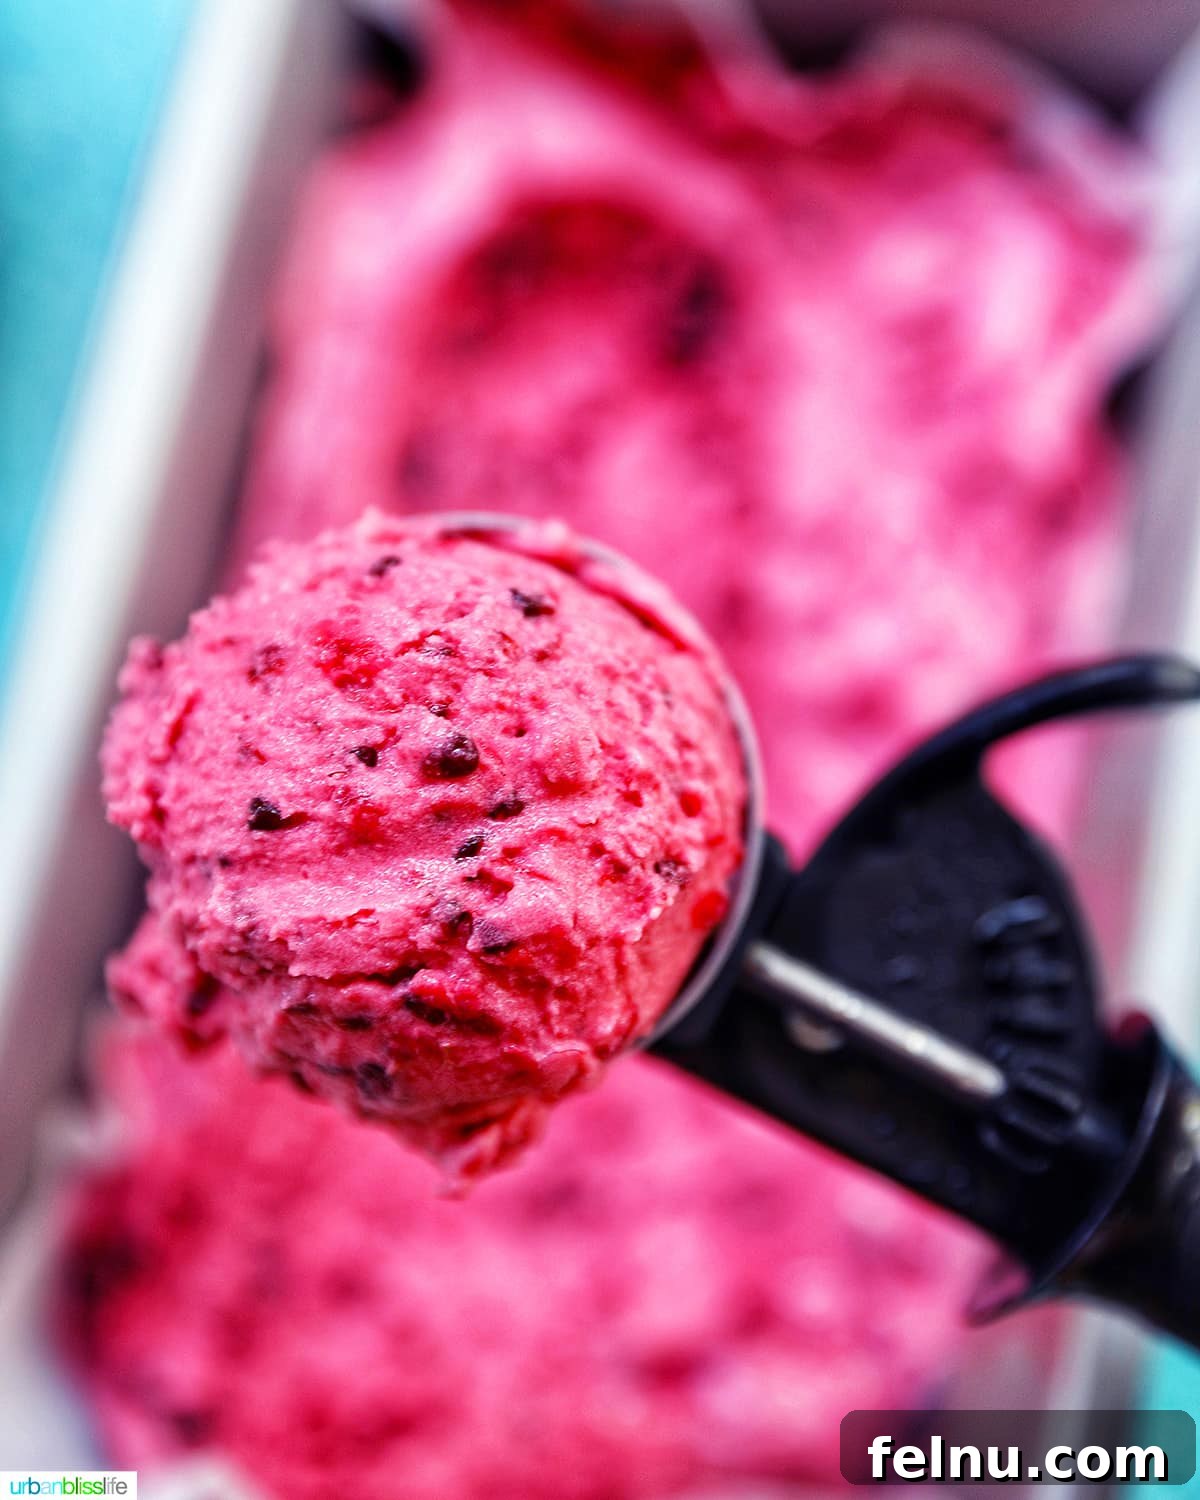
Homemade Dairy-Free Mixed Berry Ice Cream Recipe
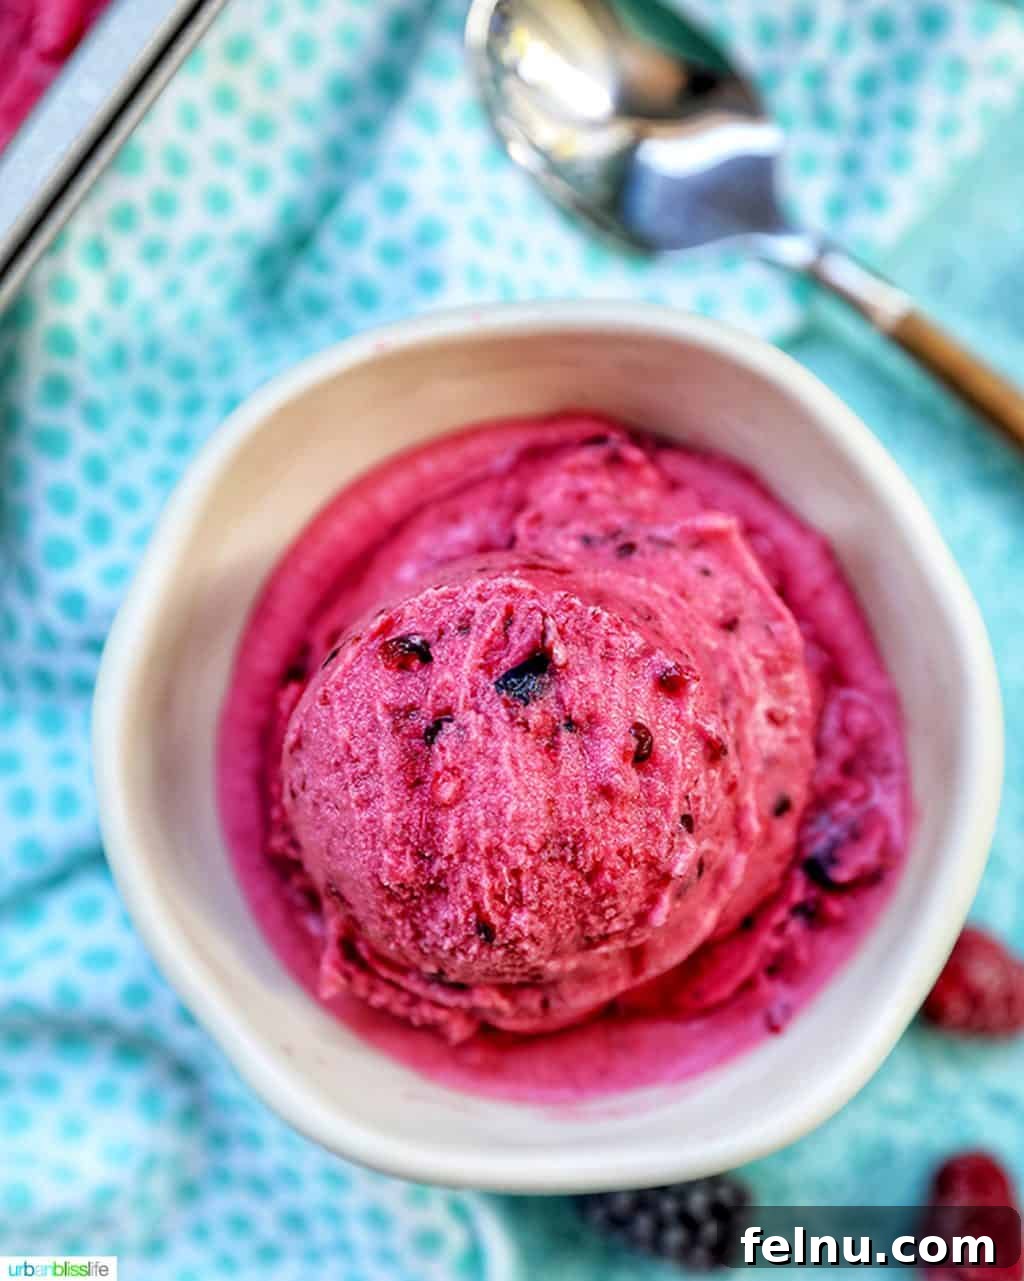
Indulge in the taste of summer with this incredibly easy-to-make Dairy-Free Mixed Berry Ice Cream. This vegan delight is bursting with fresh berry flavors and requires just a few simple ingredients. Perfect for hot days, this homemade treat is a guaranteed crowd-pleaser!
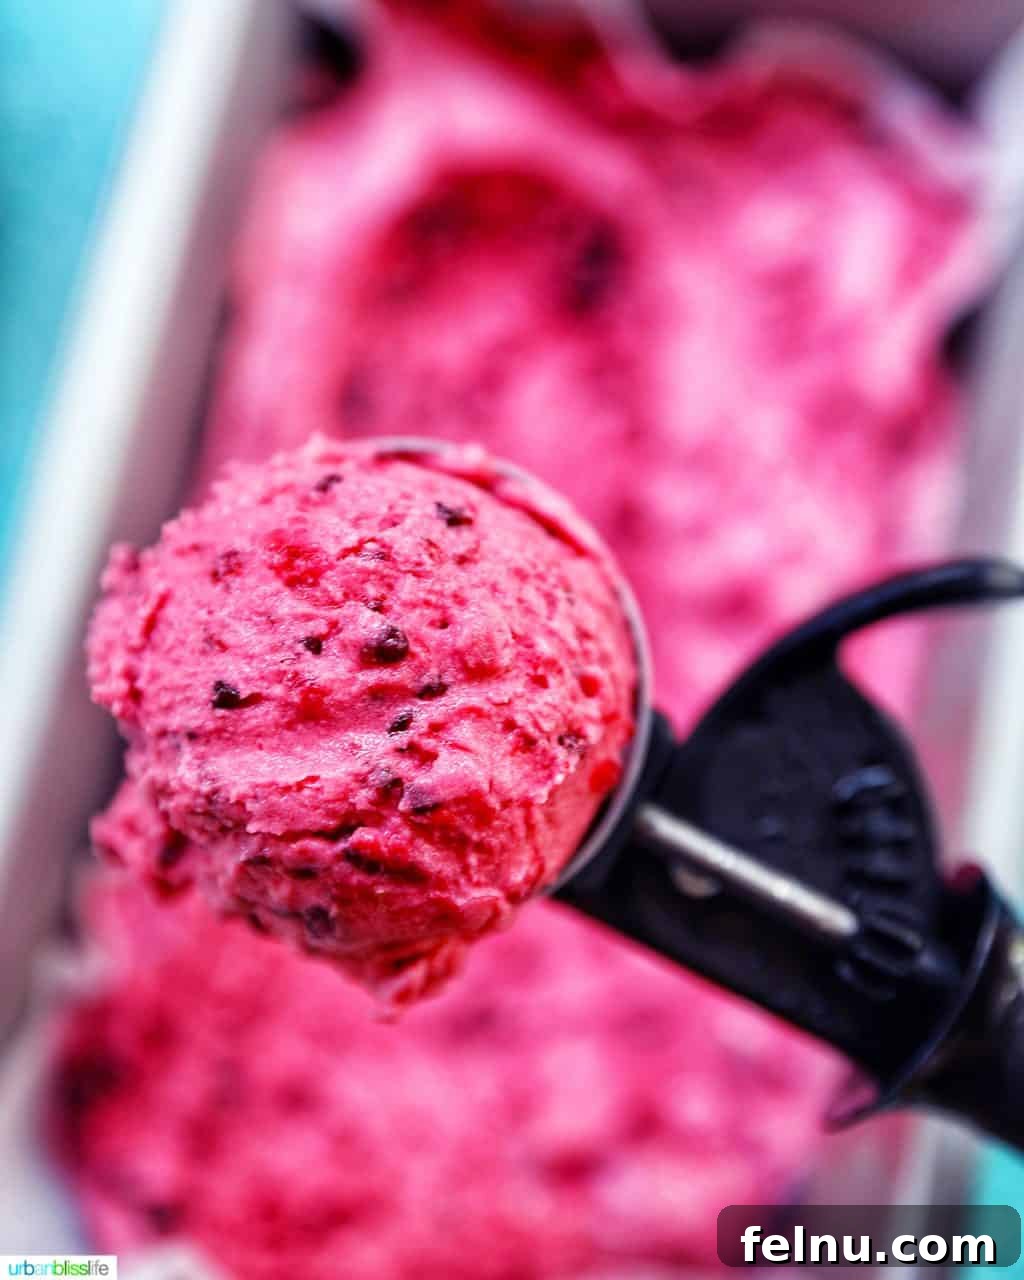
Essential Equipment for Making This Ice Cream
To create this luscious ice cream, you’ll need an ice cream maker. Don’t worry; any ice cream maker will work wonders. I’ve been using the same Cuisinart ice cream maker for nearly two decades, and it’s still going strong!
The most crucial step is ensuring the inner bowl of your ice cream maker is completely frozen before you start. I highly recommend storing the bowl in your freezer at all times. This way, you’re always ready when the craving for homemade ice cream strikes!
Key Ingredients for Dairy-Free Mixed Berry Ice Cream
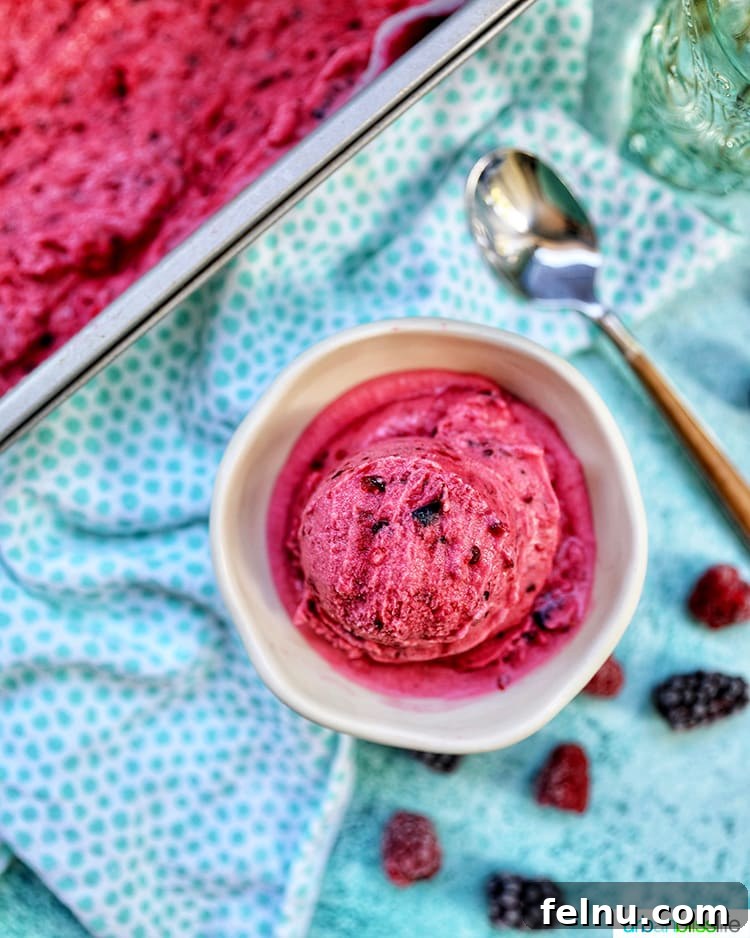
Here’s what you’ll need to whip up this delightful dairy-free ice cream:
- Mixed Berries: The star of the show! Aim for a balanced blend of 2-3 different berries. I’ve experimented with raspberries, blackberries, Marionberries, strawberries, and blueberries. My absolute favorite combination is raspberries, blackberries, and blueberries – the flavors complement each other perfectly.
- Coconut Milk: This forms the creamy, dairy-free base of your ice cream. Full-fat coconut milk will give you the richest, most decadent results.
- Sugar: Start with the amount specified in the recipe below, and then adjust to your personal preference. Some people prefer a sweeter ice cream, while others enjoy a slightly tart flavor.
- Kosher Salt: Just a pinch is needed to balance the sweetness and enhance the overall flavor profile.
Step-by-Step Guide: How to Make Mixed Berry Ice Cream
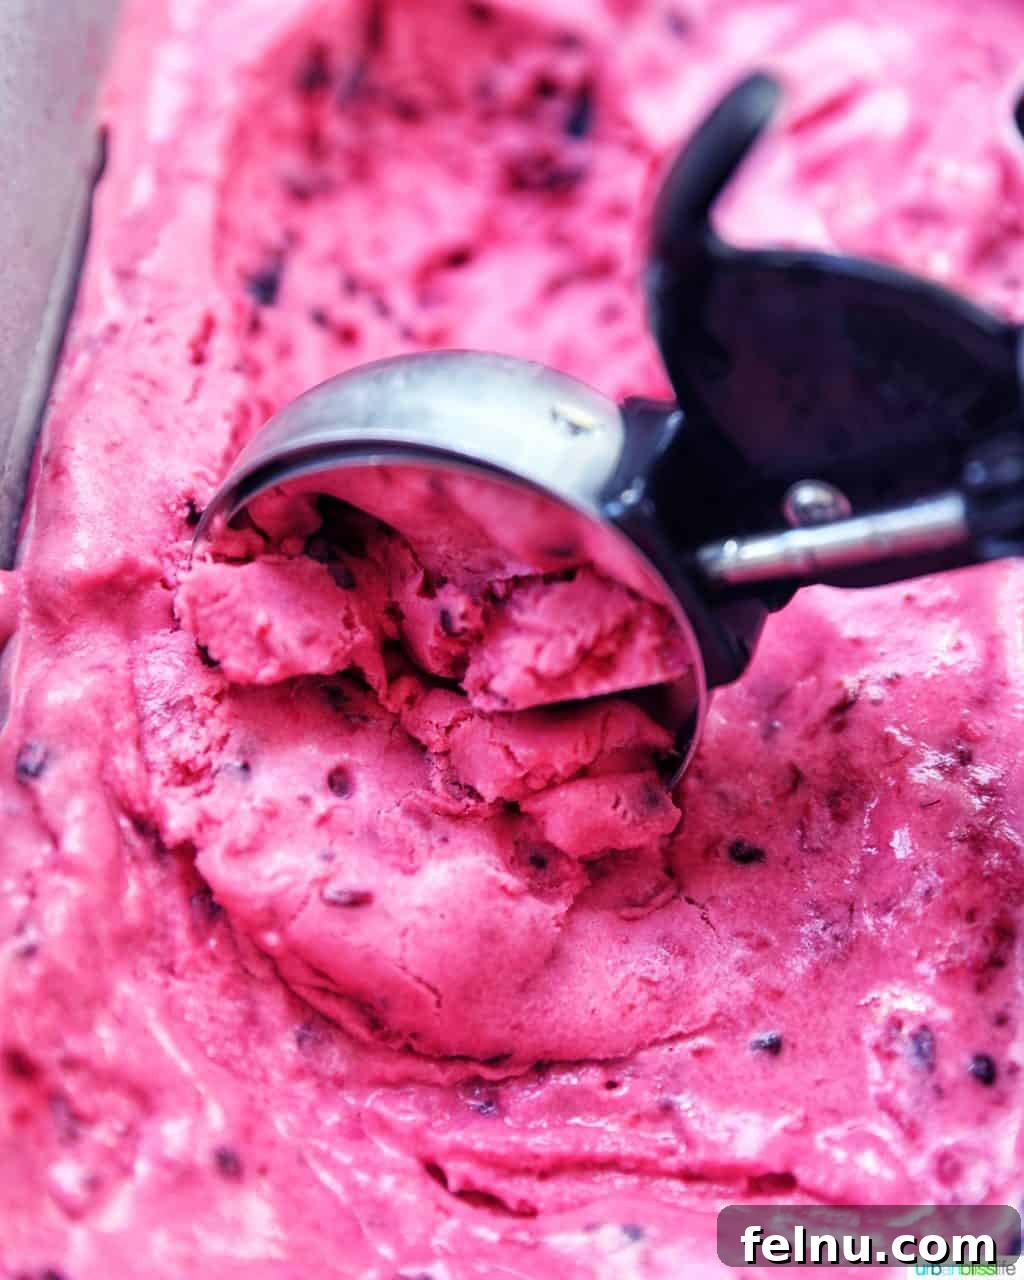
Let’s get started! Follow these simple steps to create your own batch of dairy-free mixed berry ice cream:
- Freeze the Bowl: As mentioned before, ensure your ice cream maker’s inner bowl is completely frozen. This is critical for achieving the right consistency.
- Prepare the Base: In a saucepan, gently heat the coconut milk and sugar over medium heat. Stir until the sugar is fully dissolved. Remove from heat and allow the mixture to cool completely in the refrigerator. This step prevents the ice cream from becoming grainy.
- Mash the Berries: While the coconut milk mixture is cooling, gently mash your mixed berries with a fork or potato masher. You want to break them down slightly, but still leave some texture.
- Churn the Ice Cream: Once the coconut milk mixture is thoroughly chilled, pour it into your ice cream maker. Add the mashed berries. Churn according to your ice cream maker’s manufacturer instructions. My ice cream usually reaches the perfect consistency in about 20-25 minutes.
- Freeze to Harden: Transfer the churned ice cream to a freezer-safe container. Freeze for at least two hours to allow it to harden completely. This will give it a more scoopable texture.
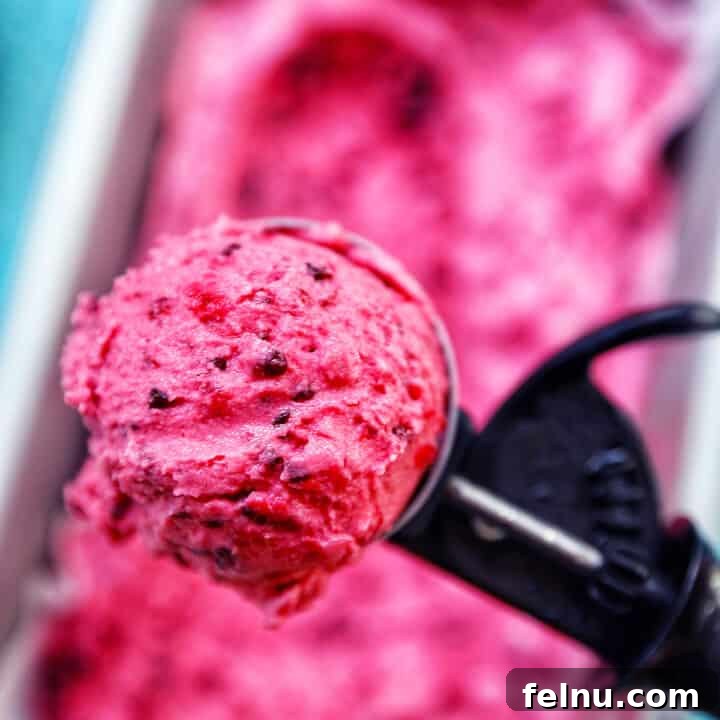
- Softening and Serving: Before serving, let the ice cream soften at room temperature for approximately 5-10 minutes. This makes it easier to scoop and enjoy.
Expert Tips for Perfecting Your Ice Cream
Here are some helpful tips to ensure your dairy-free mixed berry ice cream is a resounding success:
- Freezer Bowl is Key: Keep the inner bowl of your ice cream maker in the freezer at all times. This ensures you can make ice cream whenever the mood strikes without having to wait. The bowl needs to be frozen for at least 24 hours before starting.
- In-Season Berries: For the most flavorful and fresh-tasting ice cream, use berries that are in season. They will be at their peak ripeness and sweetness.
- Taste as You Go: As you’re making the coconut cream base, taste the mixed berries. If they are too tart or bitter for your liking, add a little more sugar to the coconut milk sugar base while it’s cooking. The exact amount of sugar needed will depend on the specific blend of berries you’re using and your personal preferences. Remember, some people prefer a slightly tart berry ice cream, while others prefer it super sweet!
- Yield: This recipe yields approximately 6 cups of ice cream. The exact amount may vary slightly depending on how much fruit you add.
- Storage: Store any leftover ice cream in a freezer-safe container for up to three months. However, in my experience, it rarely lasts that long – it’s usually devoured within a day or two!
More Delicious Summer Dessert Recipes
Looking for more ways to beat the heat with refreshing homemade desserts? Check out these other delightful recipes:
- Pineapple Mango Sorbet Recipe
- Tropical Margarita Popsicles
- Strawberry Rhubarb Popsicles
- Dairy Free Ice Cream Recipe: Boozy Chocolate Peanut Butter Floats
- Boozy Berry Smoothie Shots
Dairy-Free Mixed Berry Ice Cream Recipe
Rating:
5 from
7 votes
Marlynn Schotland
10 mins
30 mins
2 hrs
2 hrs 40 mins
6
cups
Equipment
-
Ice Cream Maker
Ingredients
-
1¼ – 2
cups
mixed berries (mix of raspberries, blackberries, blueberries, strawberries, and/or Marionberries) -
2
cups
coconut milk (1 14.5 ounce can) -
1/3
cup
granulated sugar + 2 tablespoons (as needed) -
pinch
kosher salt
Instructions
-
Make sure you freeze the inner bowl of your ice cream maker for at least 24 hours prior to making this ice cream.
-
In a medium bowl, mash the berries together using a fork. Taste to determine the bitterness. Set aside.
-
In a medium or large saucepan, heat the coconut milk and sugar together over medium-high heat until sugar dissolves. Remove from heat and pour into a heat-proof glass container. Refrigerate to cool.
-
Once the coconut milk sugar mixture is cool, pour into the bowl of your ice cream maker. Slowly add the mashed berries. Churn according to your ice cream maker’s manufacturer instructions (mine is done in 20-25 minutes). Using a spatula, scrape the ice cream into a freezer-safe container and freeze for at least 2 hours.
-
When ready to serve, remove from the freezer and let sit at room temperature for about 10 minutes for easier scooping.
Notes
Nutrition
, Carbohydrates: 23g
, Protein: 2g
, Fat: 17g
, Saturated Fat: 14g
, Polyunsaturated Fat: 1g
, Monounsaturated Fat: 1g
, Sodium: 11mg
, Potassium: 211mg
, Fiber: 2g
, Sugar: 18g
, Vitamin A: 39IU
, Vitamin C: 3mg
, Calcium: 20mg
, Iron: 3mg
Nutrition information is automatically calculated and should be used as an approximation.
Tried this recipe?
Please leave a star rating and comment! Then snap a pic of your dish and share it on social media. Tag
@UrbanBlissLife and
#UrbanBlissLife!
Pin It for Later!
Don’t forget to pin this recipe to your favorite Pinterest boards so you can easily find it later. Enjoy the deliciousness of homemade dairy-free mixed berry ice cream!