
How to Dry Mint Leaves: A Complete Guide
Unlock the secrets to drying mint leaves effortlessly. This guide offers step-by-step instructions, crucial tips, and answers to frequently asked questions.
Mint is a highly versatile and delightfully aromatic herb, making it a favorite for many gardeners and cooks. Its refreshing scent and invigorating flavor make it a staple in both sweet and savory dishes.
If you’re like me, you might find that mint thrives a little *too* well in your garden. Each year, it expands, offering an abundant supply. This presents a wonderful opportunity to share with friends and family and, most importantly, to dry and preserve for later use.
Dried mint adds a vibrant burst of flavor to a variety of dishes. It pairs exceptionally well with lamb, enhances the zest of chimichurri sauce, and elevates pestos. A sprinkle of dried mint can also transform a simple fruit salad into a refreshing treat. And let’s not forget the delightful aroma that fills your kitchen as the mint dries – a true bonus!
If you’re cultivating mint in your herb garden, this guide is essential. You’ll discover just how simple and rewarding drying your own mint leaves can be.
Why Dry Your Own Mint Leaves?
While it’s convenient to purchase dried mint from the spice aisle, there’s simply no comparison to the quality and flavor you achieve when drying your own. Here’s why you’ll love it:
Superior Flavor and Aroma: The most significant advantage is the intensity of the aroma and flavor. Commercially dried mint often loses its pungency over time. By drying your own, you capture the essence of fresh mint at its peak.
Cost Savings: Drying your own mint saves you money in the long run. You eliminate the need to buy jars of dried mint from the store.
Potency: Freshly dried mint is far more potent than store-bought varieties. This means you’ll use less to achieve the same level of flavor in your dishes.
Extended Shelf Life: Drying mint is a fantastic way to preserve your harvest and enjoy it long after the growing season ends. Dried mint can last for a year or even longer, providing a flavorful addition to your meals year-round.
Reduce waste: When you have a plentiful harvest, drying excess mint helps to prevent it from going to waste.
Tips for Harvesting Mint
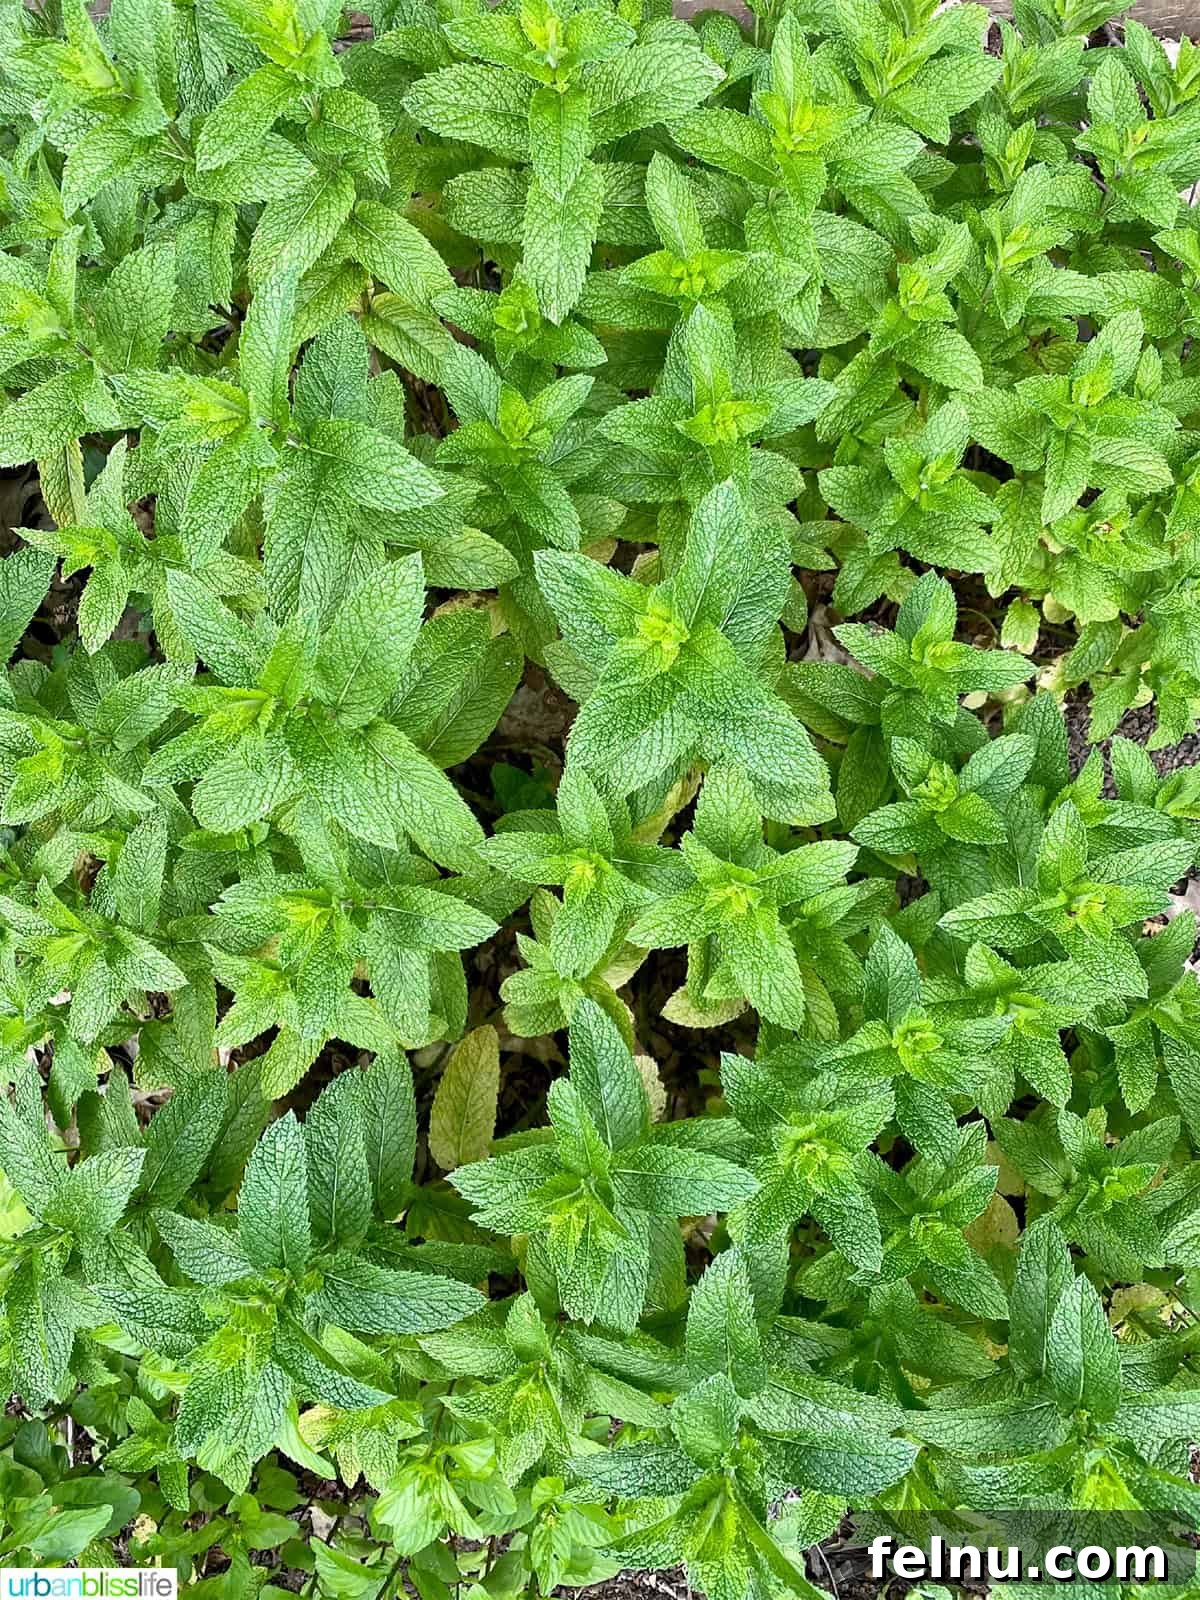
To ensure your mint remains healthy and continues to produce abundant leaves, follow these simple harvesting tips:
Harvest in the Morning: If your mint is grown outdoors, harvest the leaves in the morning. This is when the essential oils are most concentrated, resulting in a more potent flavor and aroma.
Use Sharp Tools: Employ the correct tools, ensuring they are sharp. Dull scissors can crush the stems, causing damage to the plant and potentially hindering future growth.
Harvest from the Top: Always harvest from the top of the plant. Cut the stems no more than one-third of the way down. This encourages the plant to produce more leaves, leading to a larger harvest over time.
Trim Frequently: Mint is a fast-growing herb. Regular harvesting keeps the plant healthy, prevents it from becoming leggy, and promotes continuous growth.
Avoid Harvesting After Rain: Give your mint plant a break and avoid harvesting directly after a rain shower. The moisture content in the leaves will be too high. If the leaves are drenched it will prolong the drying process and increase the chance of mold.
Step-by-Step Instructions for Drying Mint
The process of drying mint can be broken down into four key steps. Let’s explore each in detail:
Harvesting and Preparing the Mint
Begin by gently washing the mint plant – stems and all – in cool water. This removes any dirt or debris that may be present. Once washed, carefully dry the mint with a paper towel, patting it gently to avoid bruising the leaves.
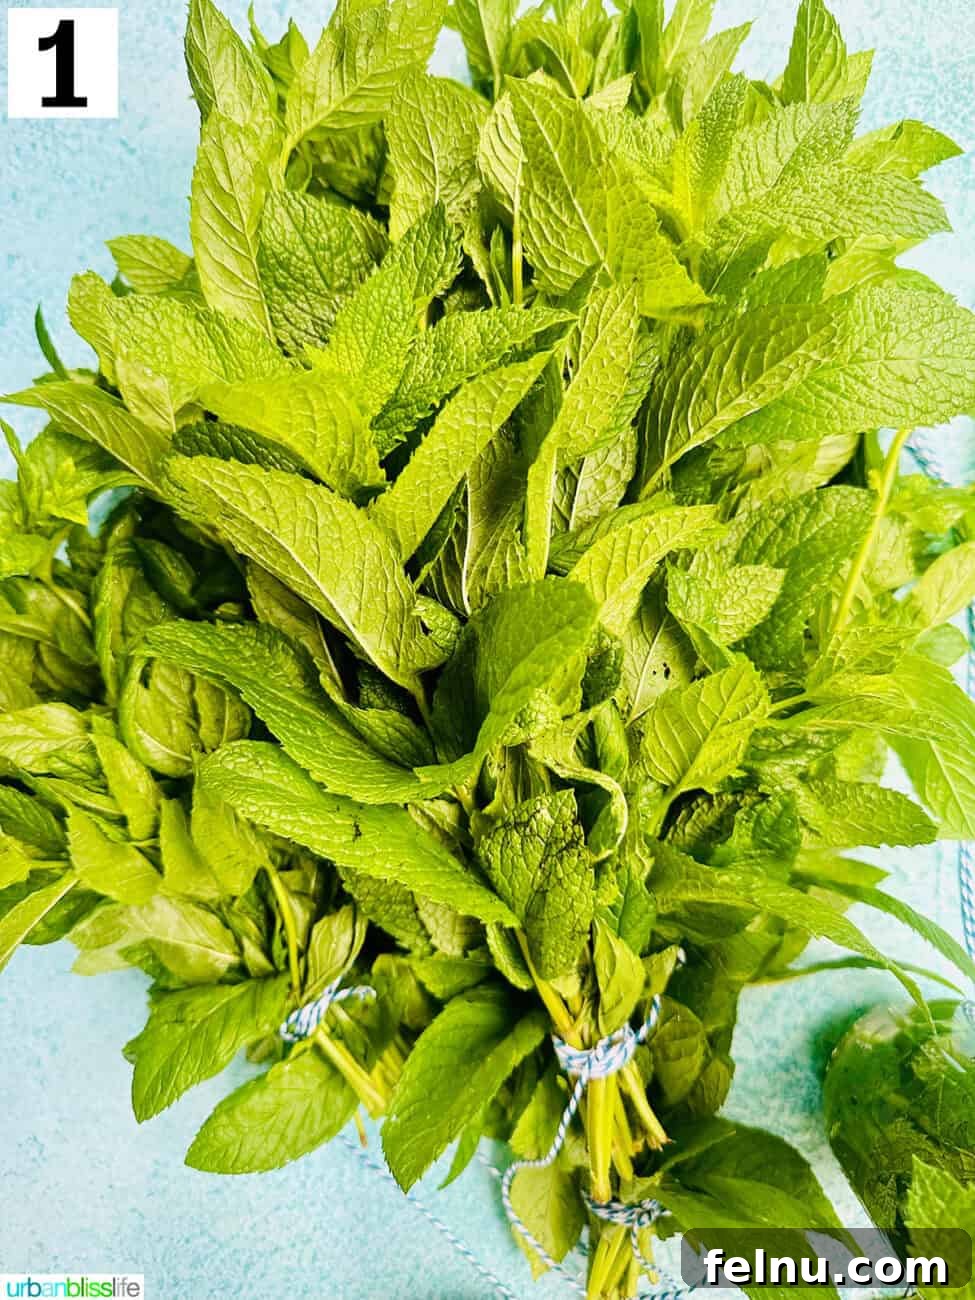
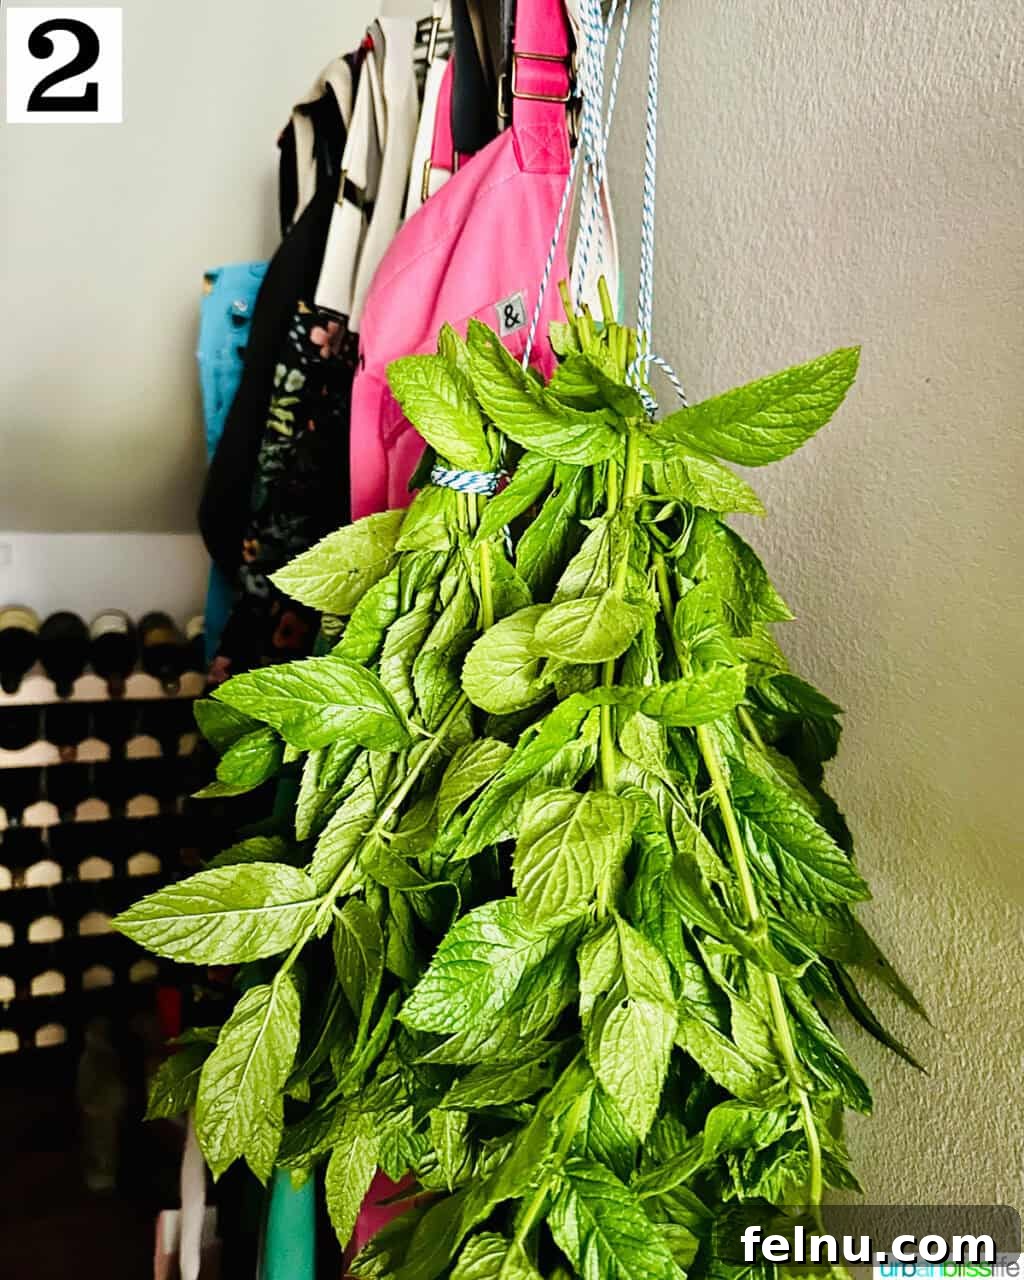
Air Drying Method
Gather the ends of the mint branches and tie them together securely using kitchen twine. Ensure the twine is tight enough to hold the bunch together but not so tight that it damages the stems. Hang the bunch of mint upside down in a cool, dry, and well-ventilated place. A pantry, closet, or even a shaded area of your kitchen works well.
Allow the mint to air dry for approximately 3-4 days, or until the leaves become dry and brittle to the touch. The drying time may vary depending on the humidity and temperature of your environment. Be patient and ensure the leaves are completely dry before proceeding to the next step.
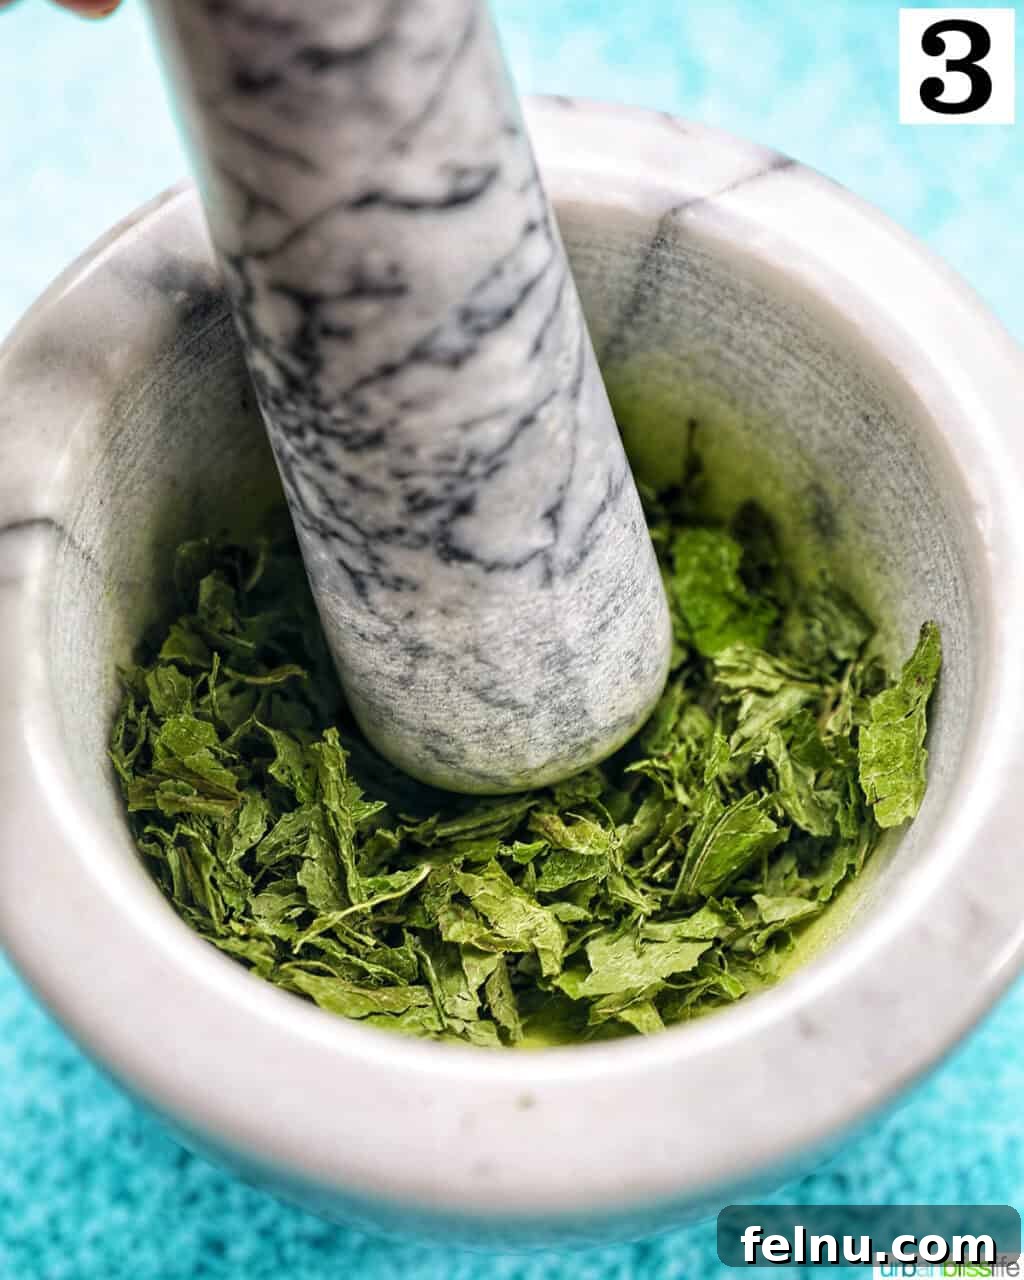
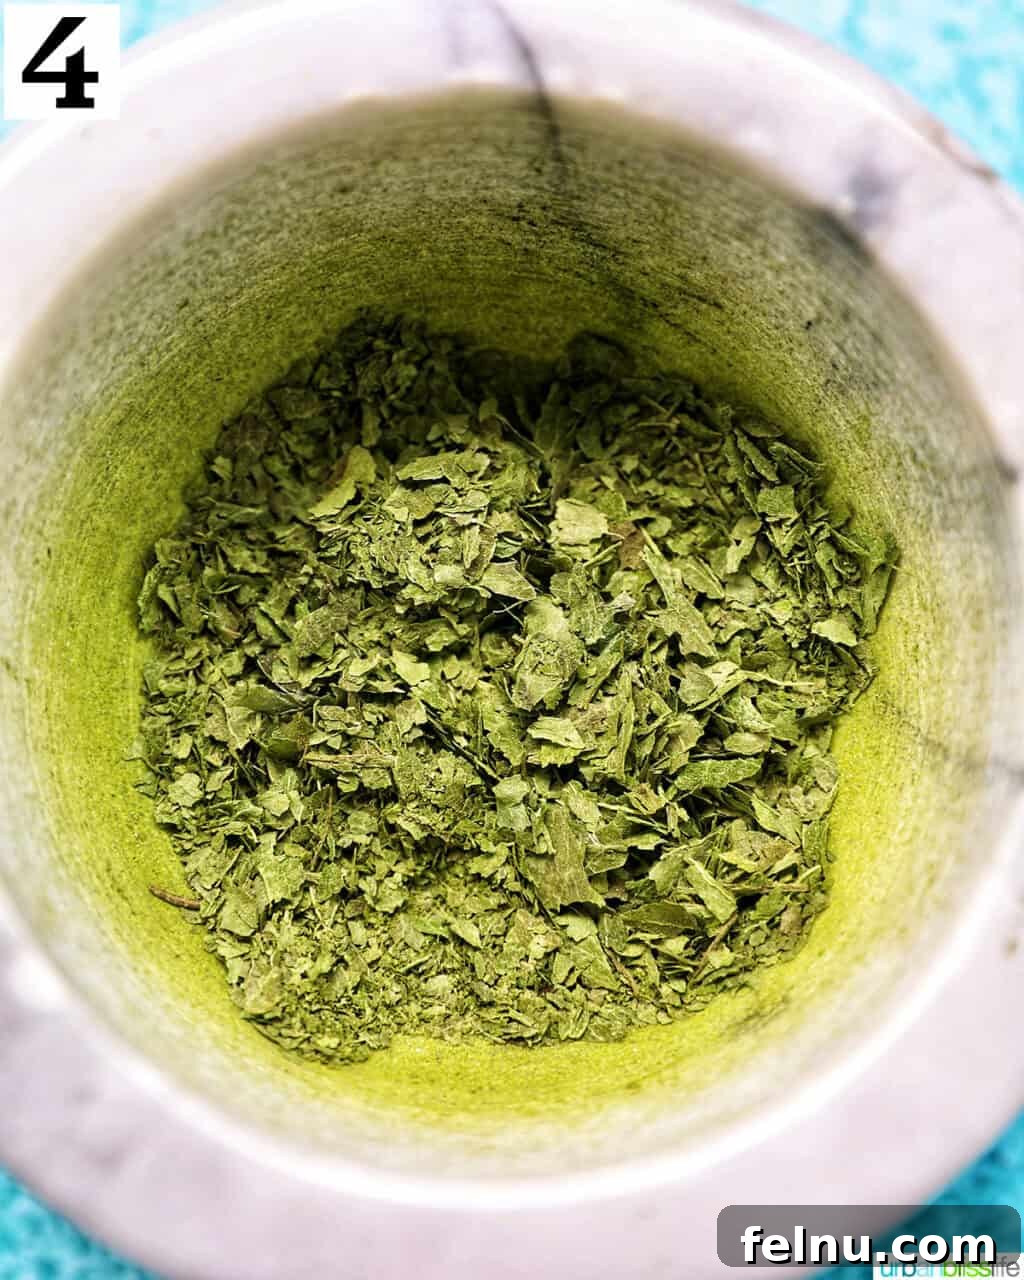
Crushing the Dried Mint Leaves
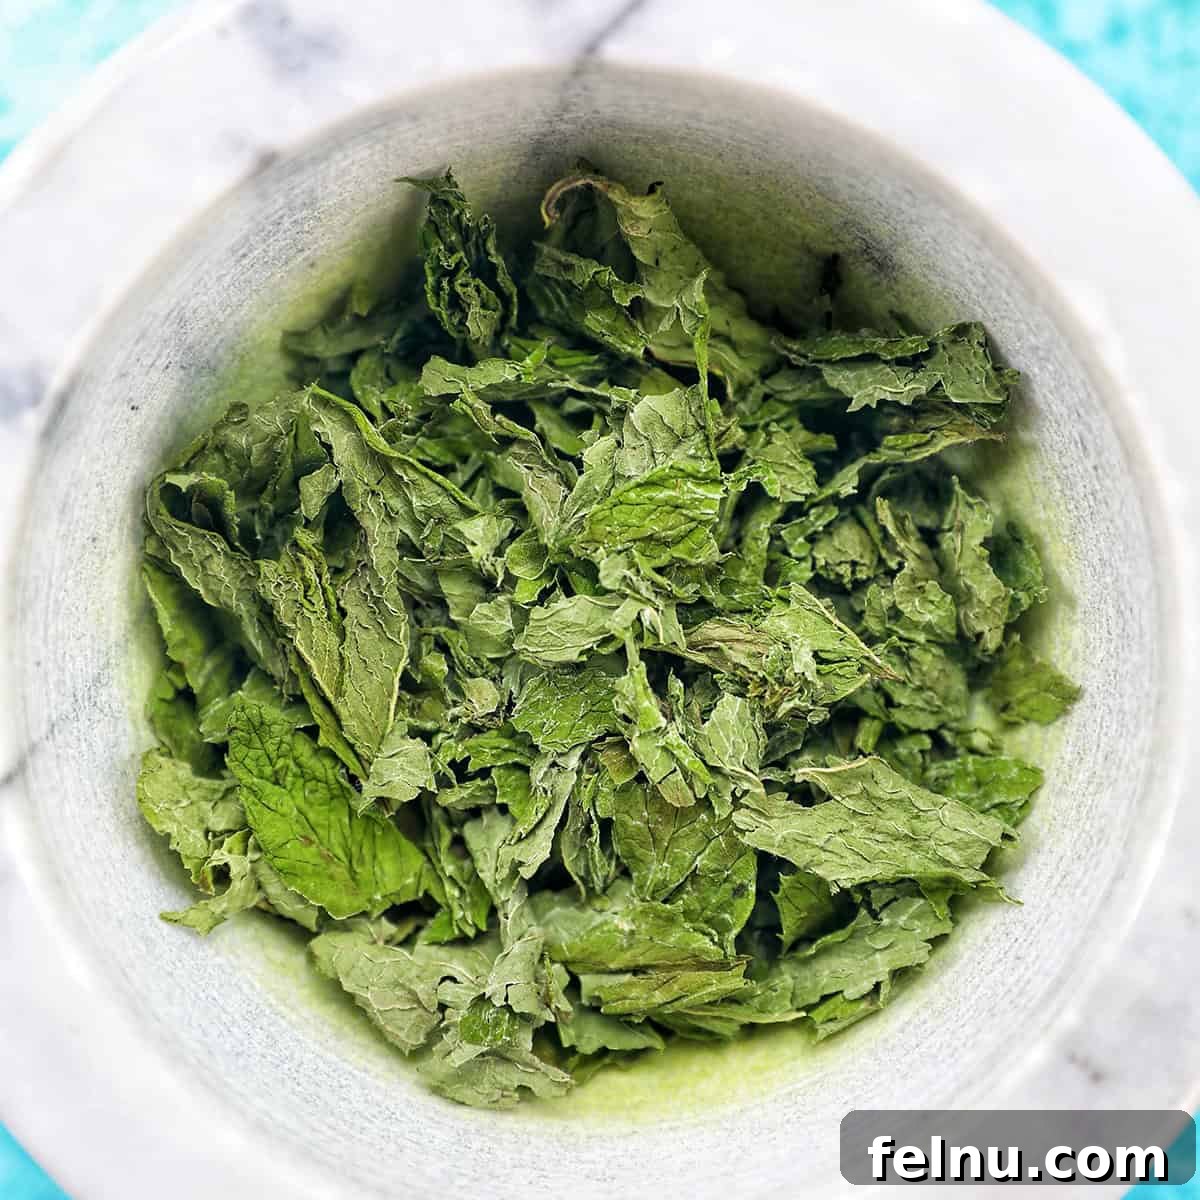
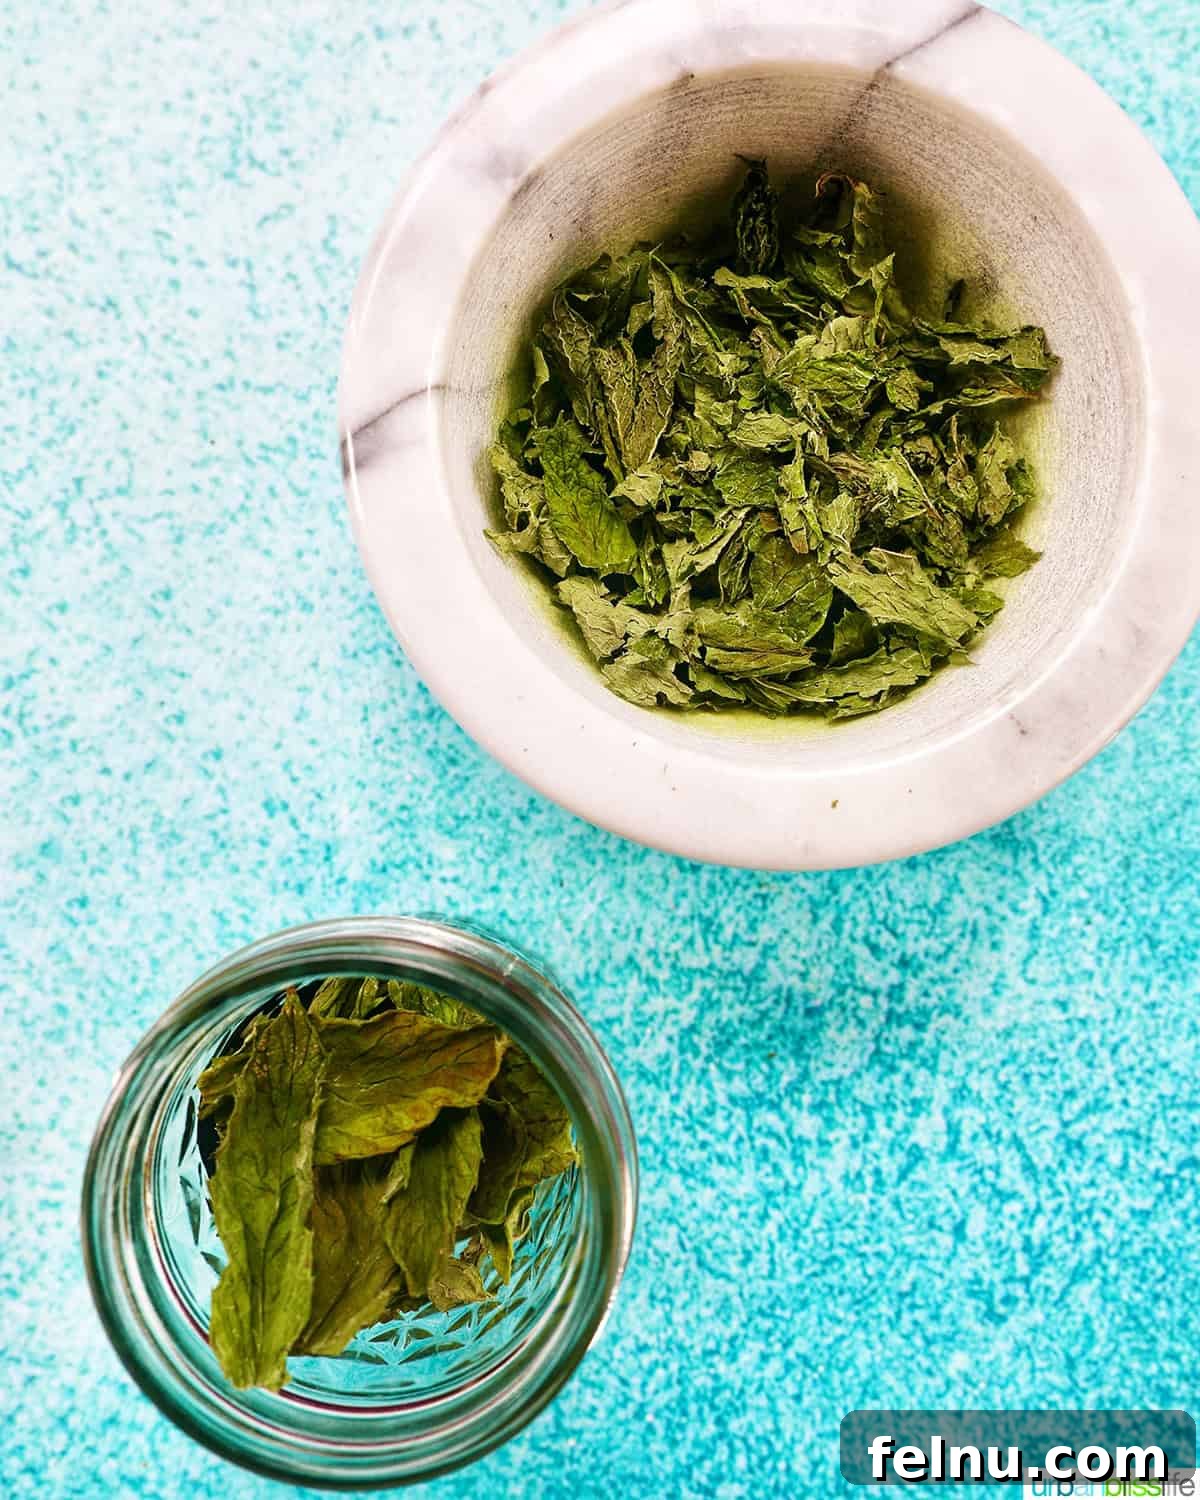
Once the mint leaves are fully dried, gently remove them from the stems. Discard the stems, as they are not typically used in cooking. Now, you can crush the dried mint leaves using one of the following methods:
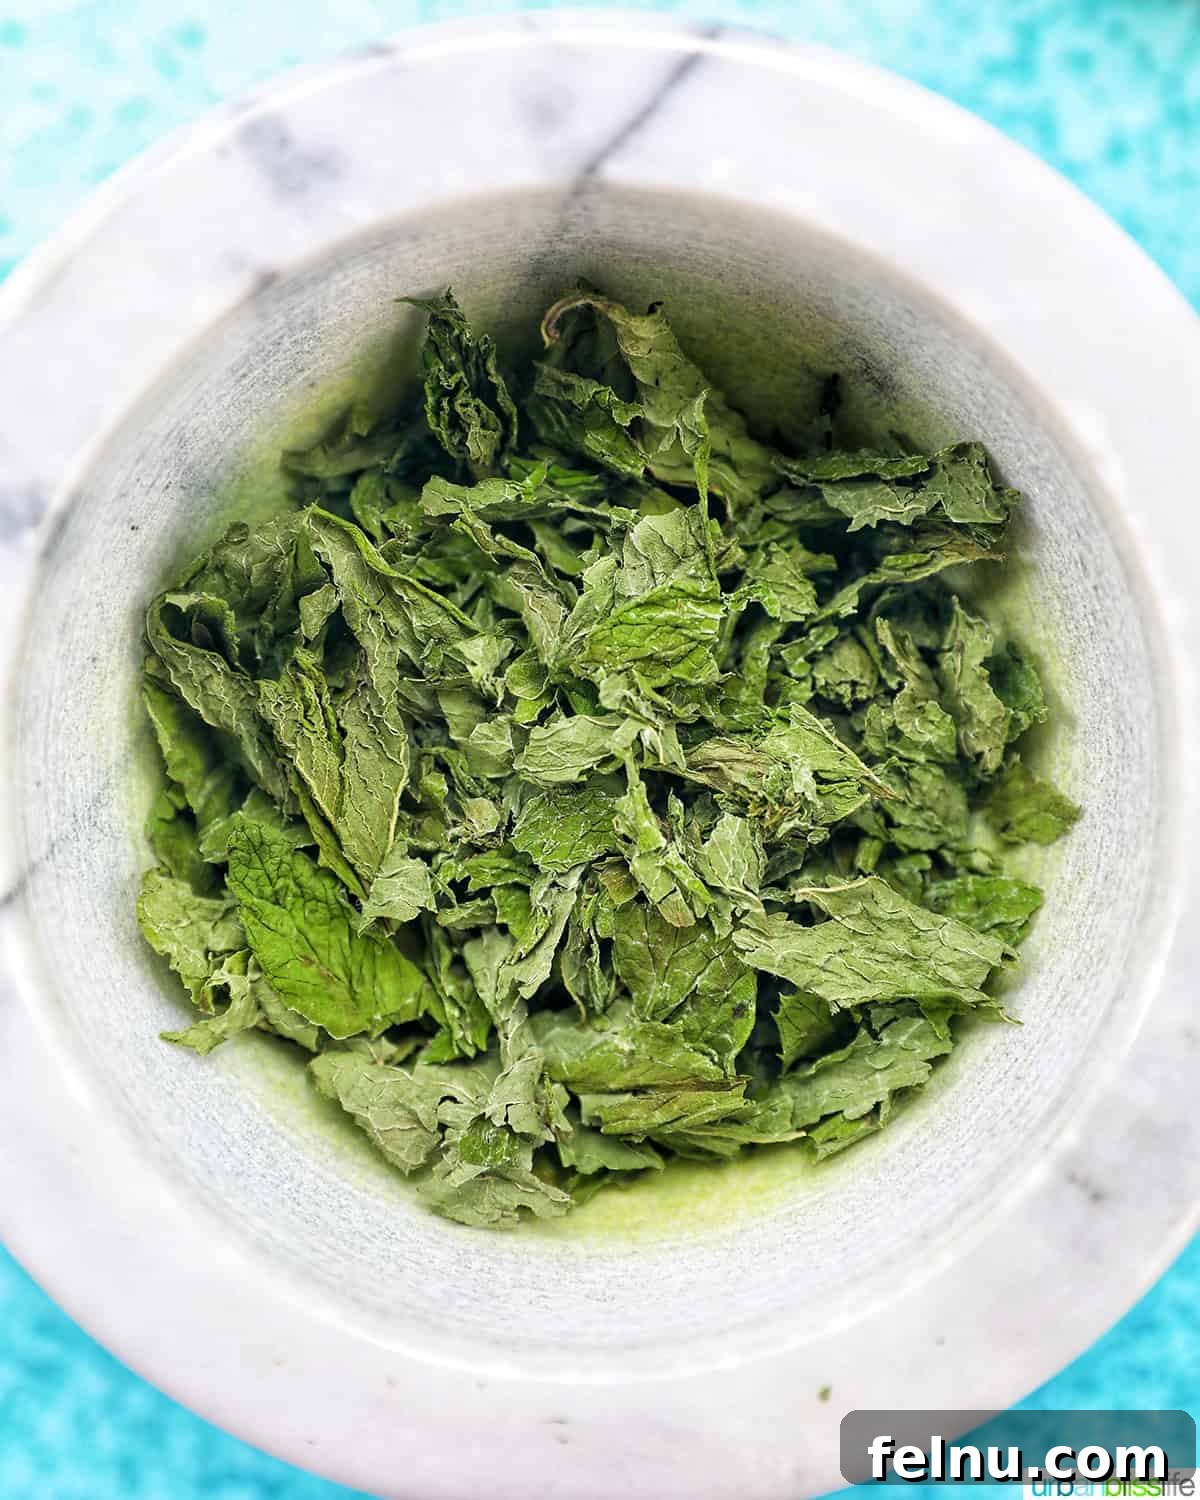
- Mortar and Pestle: Place the dried mint leaves in a mortar and use a pestle to crush them into a coarse powder. This method provides excellent control over the texture of the crushed mint.
- Paper Towels or Plastic Bag and Rolling Pin: Place the dried mint leaves between two paper towels or in a plastic bag. Use a rolling pin to gently crush the leaves. This method is quick and efficient for larger quantities of mint.
- Your Hands: For a more rustic approach, simply place the dried mint leaves in your hands and crush them with your fingers. This method is ideal for small batches and allows you to feel the texture of the leaves as you crush them.
Storing Your Dried Mint
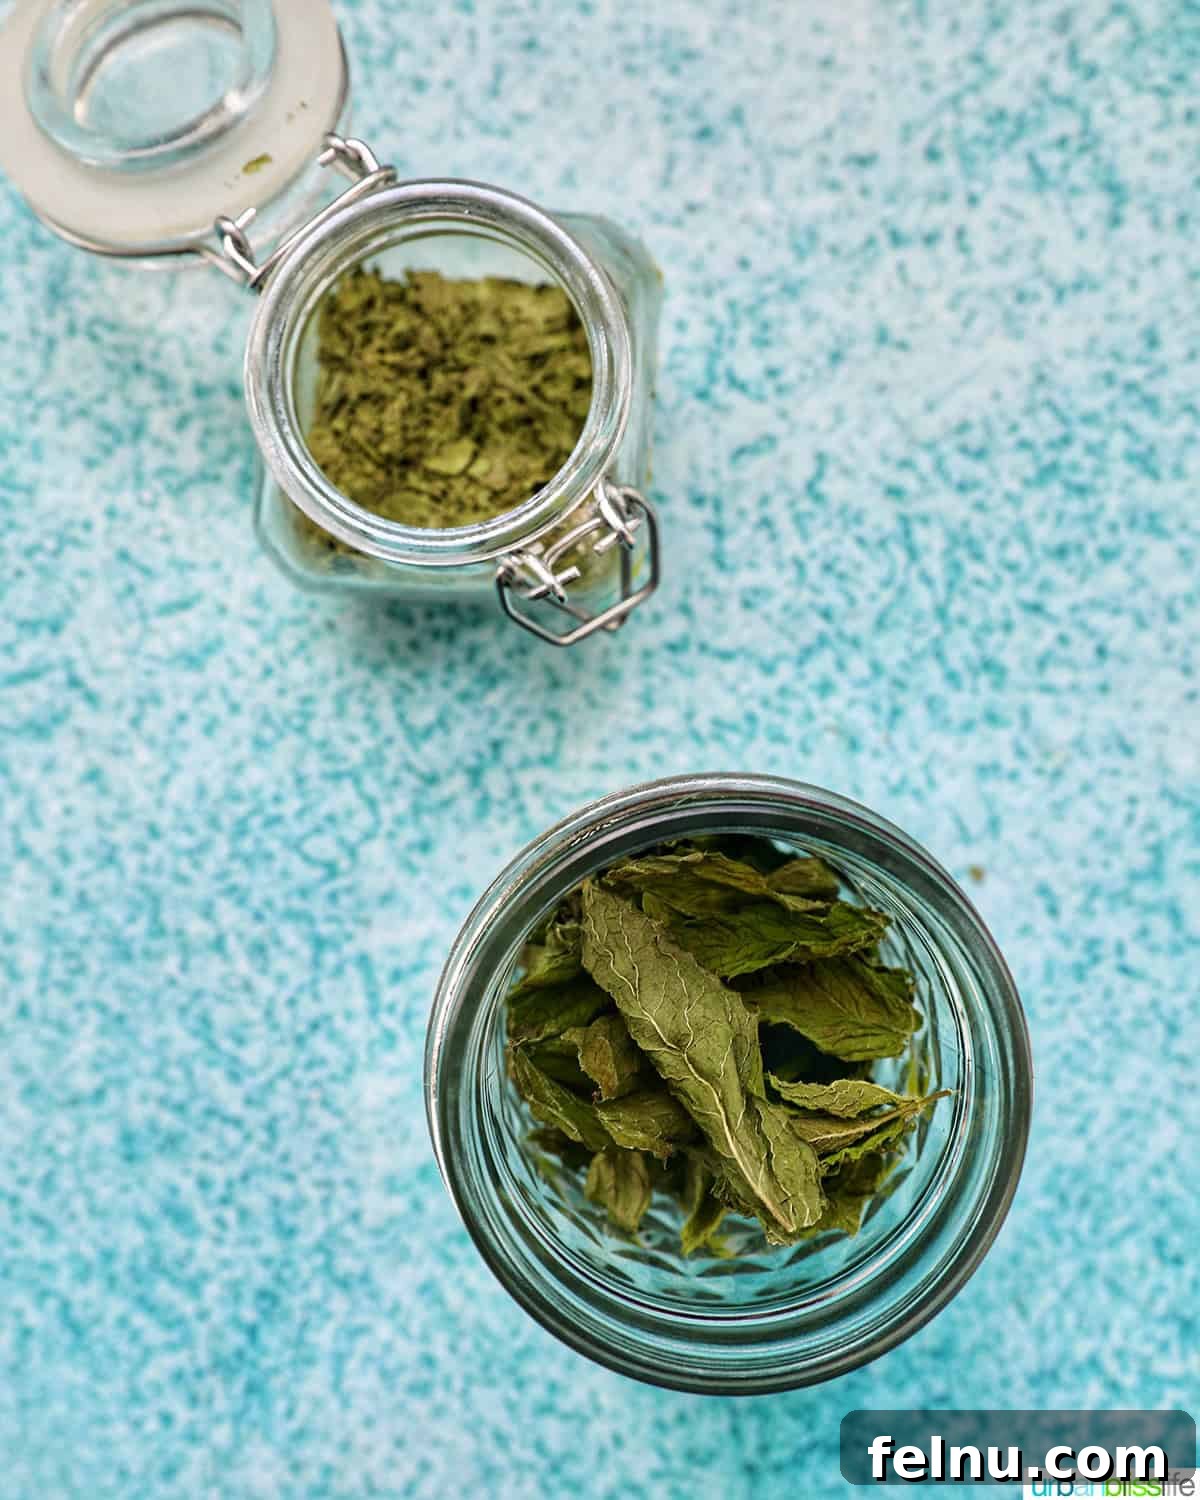
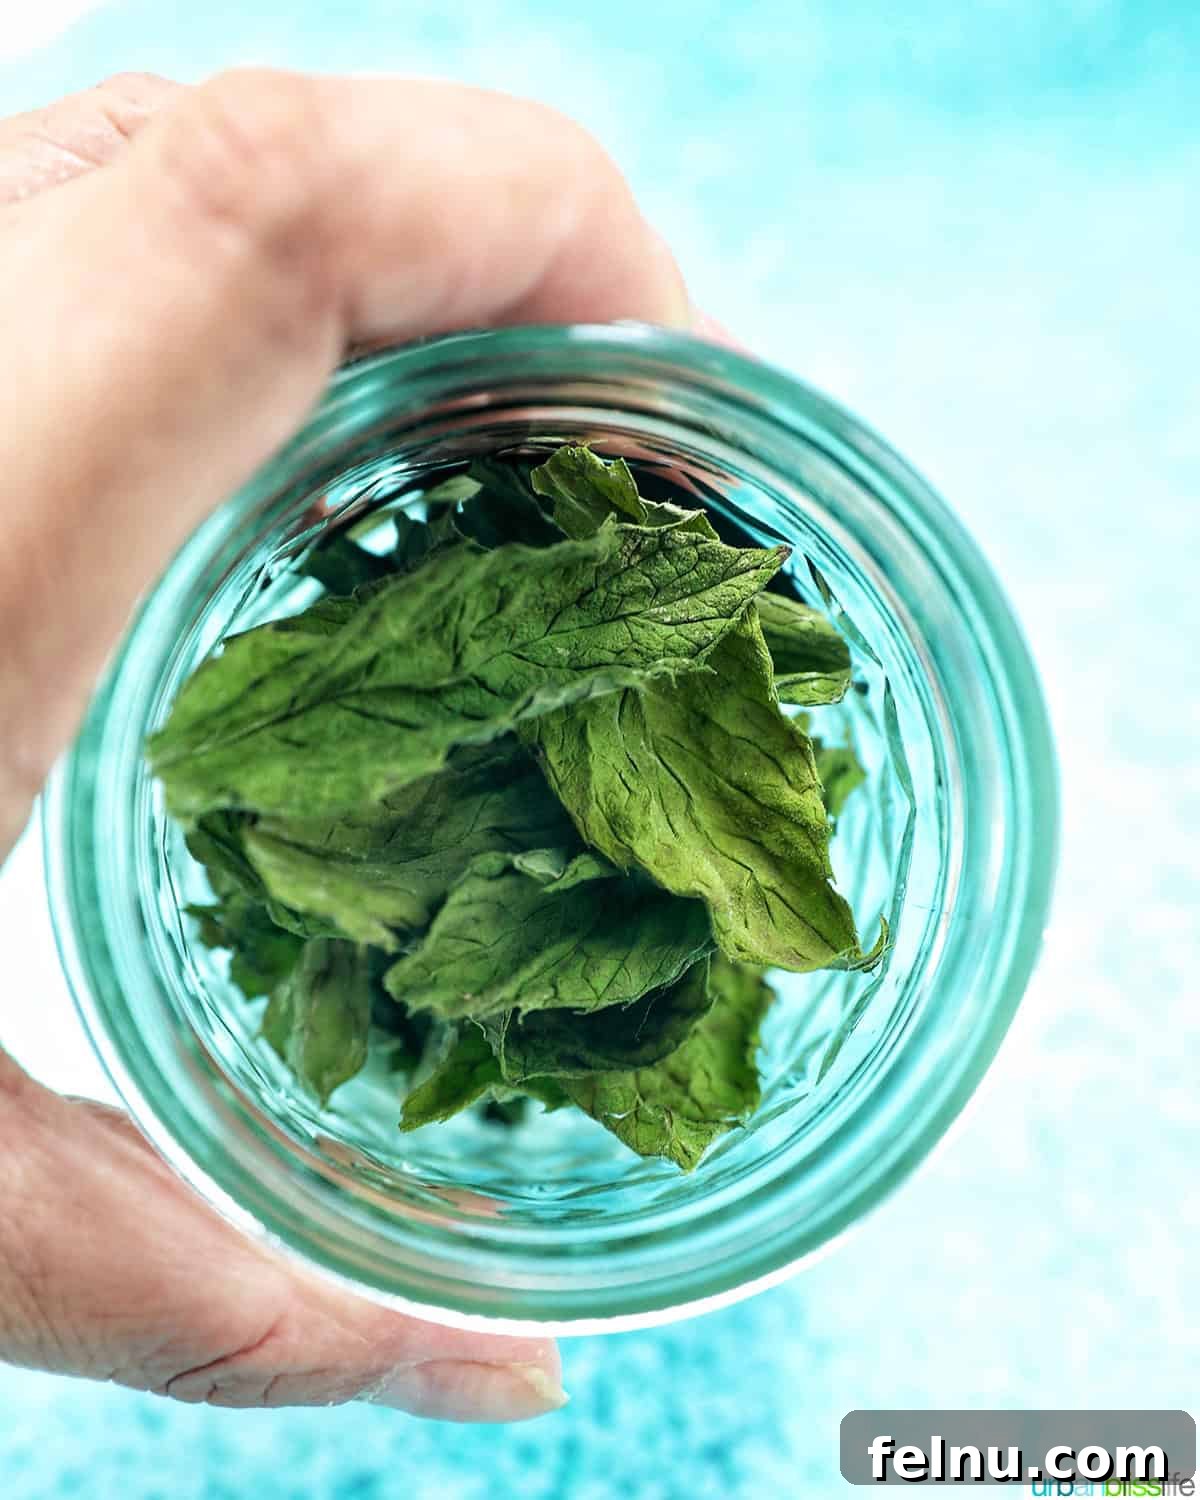
You can choose to store your dried mint leaves whole or crushed, depending on your preference. Regardless of your choice, proper storage is essential to maintain the flavor and aroma of the mint.
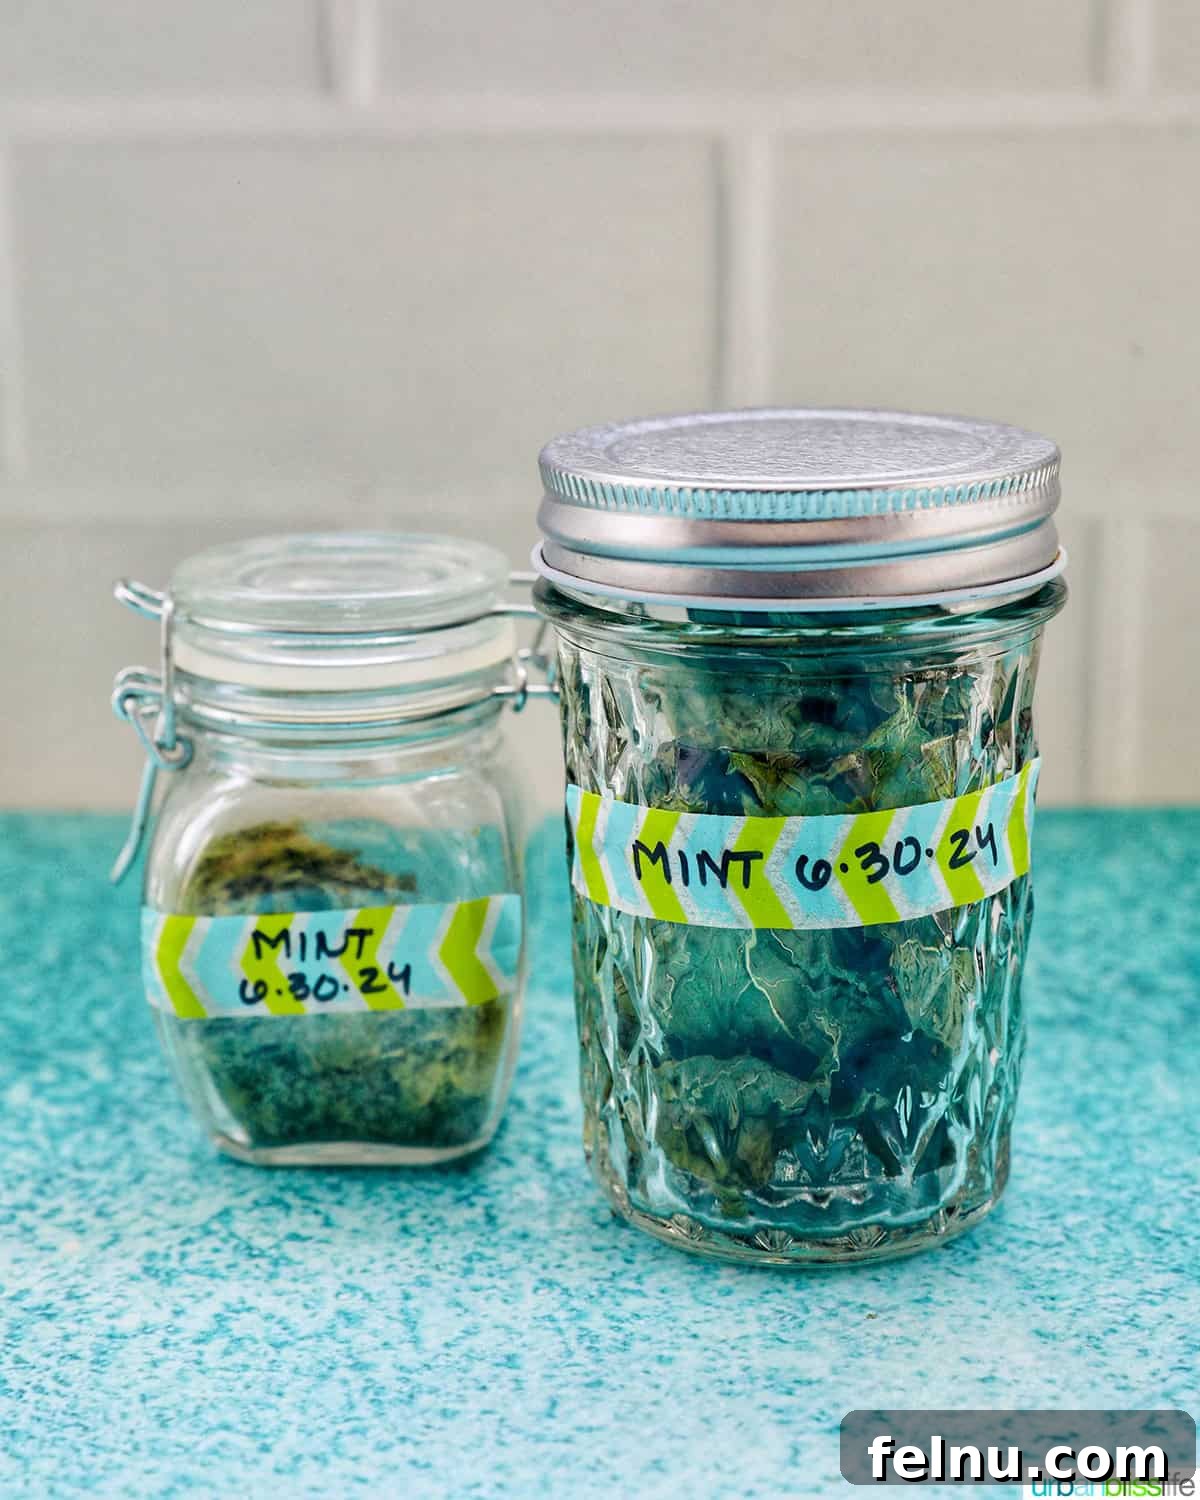
Place the dried mint in an airtight container, such as a glass jar or a resealable plastic bag. Ensure the container is clean and dry before adding the mint. Store the container in a cool, dry, and dark place, away from direct sunlight and heat. A pantry, cabinet, or drawer works well.
The Oven Drying Method: A Faster Alternative
If you need dried mint quickly, the oven drying method is a great option:
- Remove the leaves from the stems and discard the stems.
- Spread the leaves in a single layer on a baking sheet.
- Bake in a preheated oven at 180°F (82°C) for approximately two hours. Check the leaves periodically to ensure they are drying evenly and not burning. If the leaves are not completely dry after two hours, continue baking in 15-minute increments until they are brittle to the touch. The drying time may vary depending on your oven.
Keep a close eye on the mint while it’s in the oven to prevent burning. Once dried, remove from the oven and let cool completely before storing as described above.
Frequently Asked Questions About Drying Herbs
Can I use dried mint leaves that have turned brown?
It’s generally not recommended to use brown mint leaves. The brown color indicates that the mint has lost its flavor and may also suggest that it’s starting to mold or decay.
How long will dried mint last?
When stored properly in an airtight container, dried mint can last for approximately 1-3 years, provided it still smells fresh and minty and doesn’t show any signs of browning or mold.
What’s the best way to store dried mint?
For optimal quality, store dried mint in a glass jar with an airtight lid. Small mason jars or spice jars work perfectly. Keep the jar in a cool, dark place, such as a cabinet or pantry.
Creative Ways to Use Dried Mint
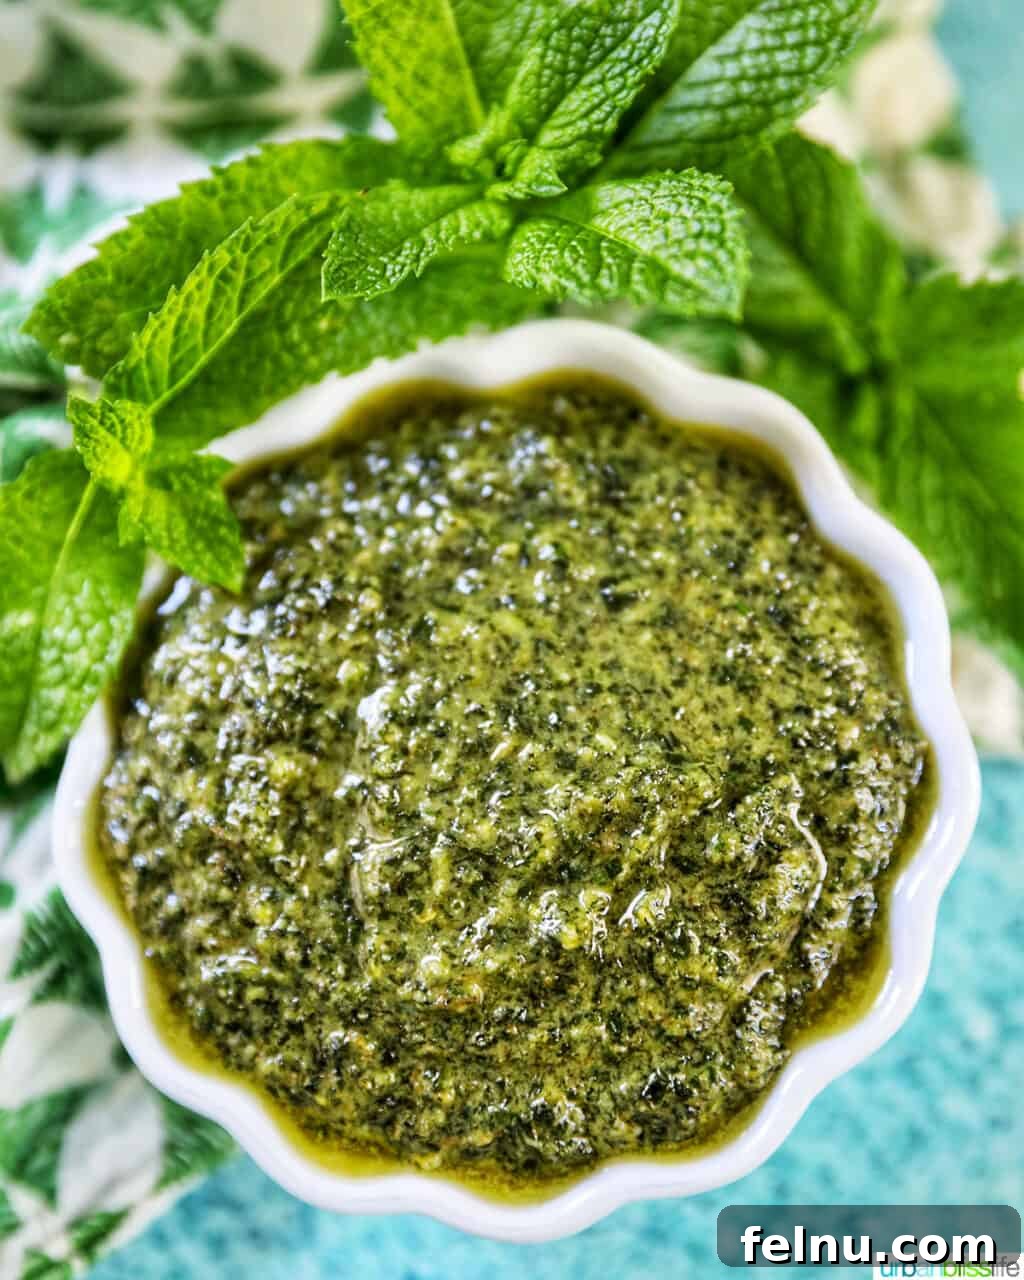



Dried mint is incredibly versatile and can be used in countless ways. Explore these creative ideas:
Culinary Delights: Use it in desserts, cocktails, refreshing mint tea, and savory sauces. It’s a key ingredient in mint pesto. Add it to fresh tzatziki sauce or Greek yogurt for a flavorful marinade.
Flavor Infusion: Crush dried mint leaves and freeze them in ice cubes. As the ice melts, it infuses your water with a refreshing mint flavor.
Garnish and Seasoning: Sprinkle dried mint on top of your fruit salad for a burst of flavor, or use it to create a soothing herbal tea.
Dry Rubs: Finely crush your dried mint and use it as a base for dry rubs and spice blends for meats and other items.
Essential Kitchen Tools and Equipment
Ready to embark on your mint-drying adventure? Here’s a list of essential kitchen tools and equipment you’ll need:
- Kitchen Twine: For tying the mint branches together.
- Garden Scissors: For harvesting the mint leaves.
- Baking Sheet: For oven-drying the mint leaves (optional).
- Parchment Paper: To line the baking sheet and prevent sticking (optional).
- Mortar and Pestle: For crushing the dried mint leaves (optional).
- Airtight Glass Jar with a Lid: For storing the dried mint leaves.
Recipes That Use Mint
Did you make this recipe? Don’t forget to leave a 5-Star 🌟🌟🌟🌟🌟 rating in the recipe card, and if you really loved it, please leave a comment further down on the page. Thank you!