
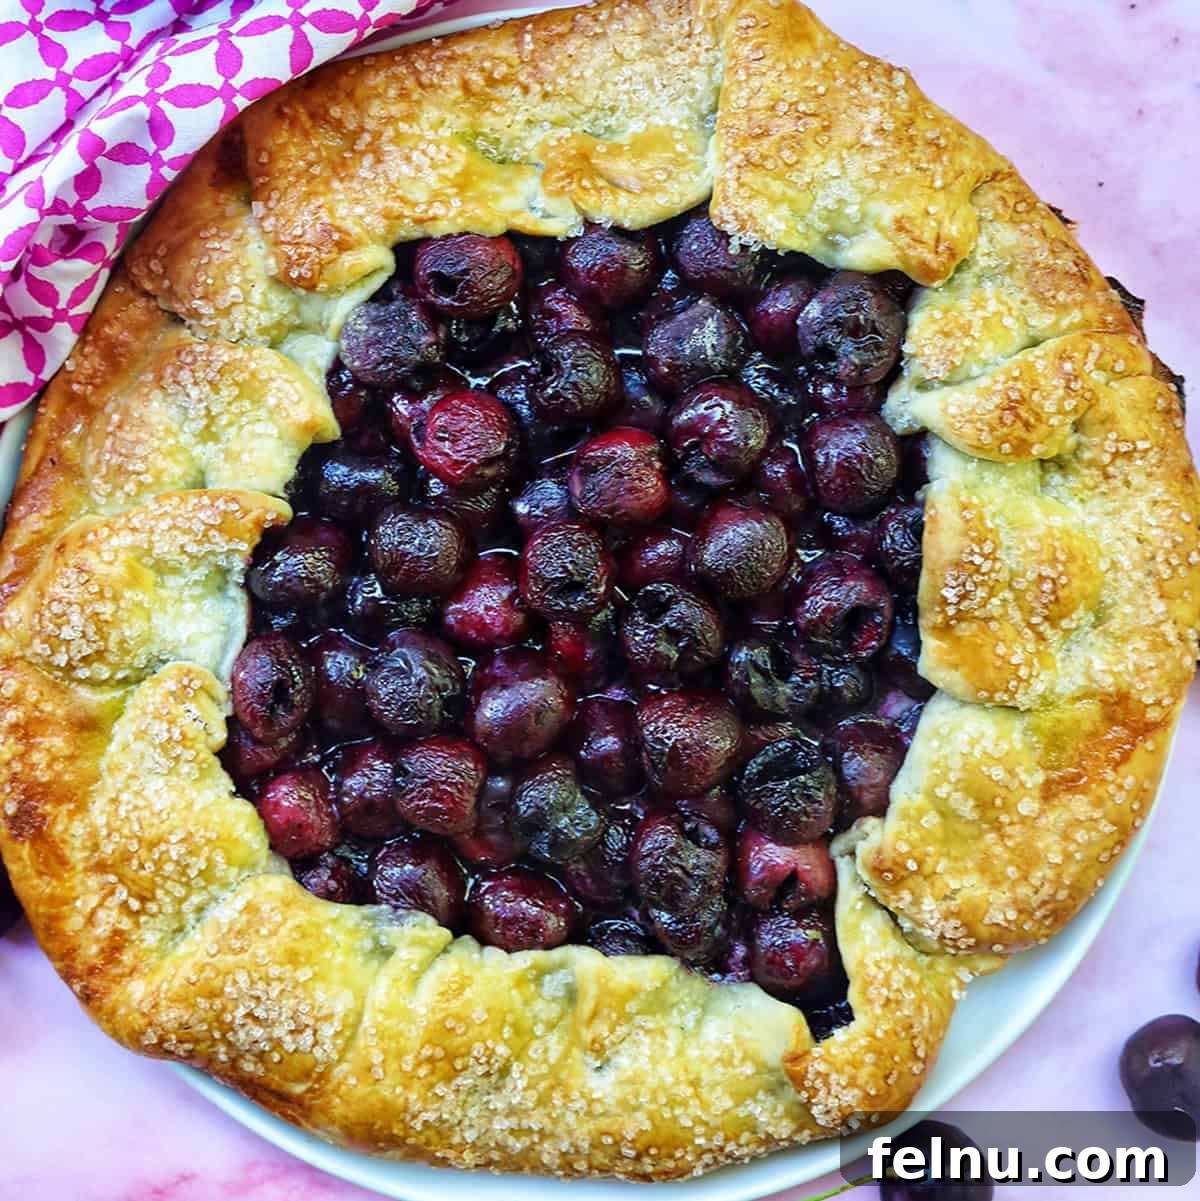
This easy cherry galette recipe is the perfect way to celebrate summer! It’s simple to make and ideal for summer barbecues, picnics, and outdoor dinners.
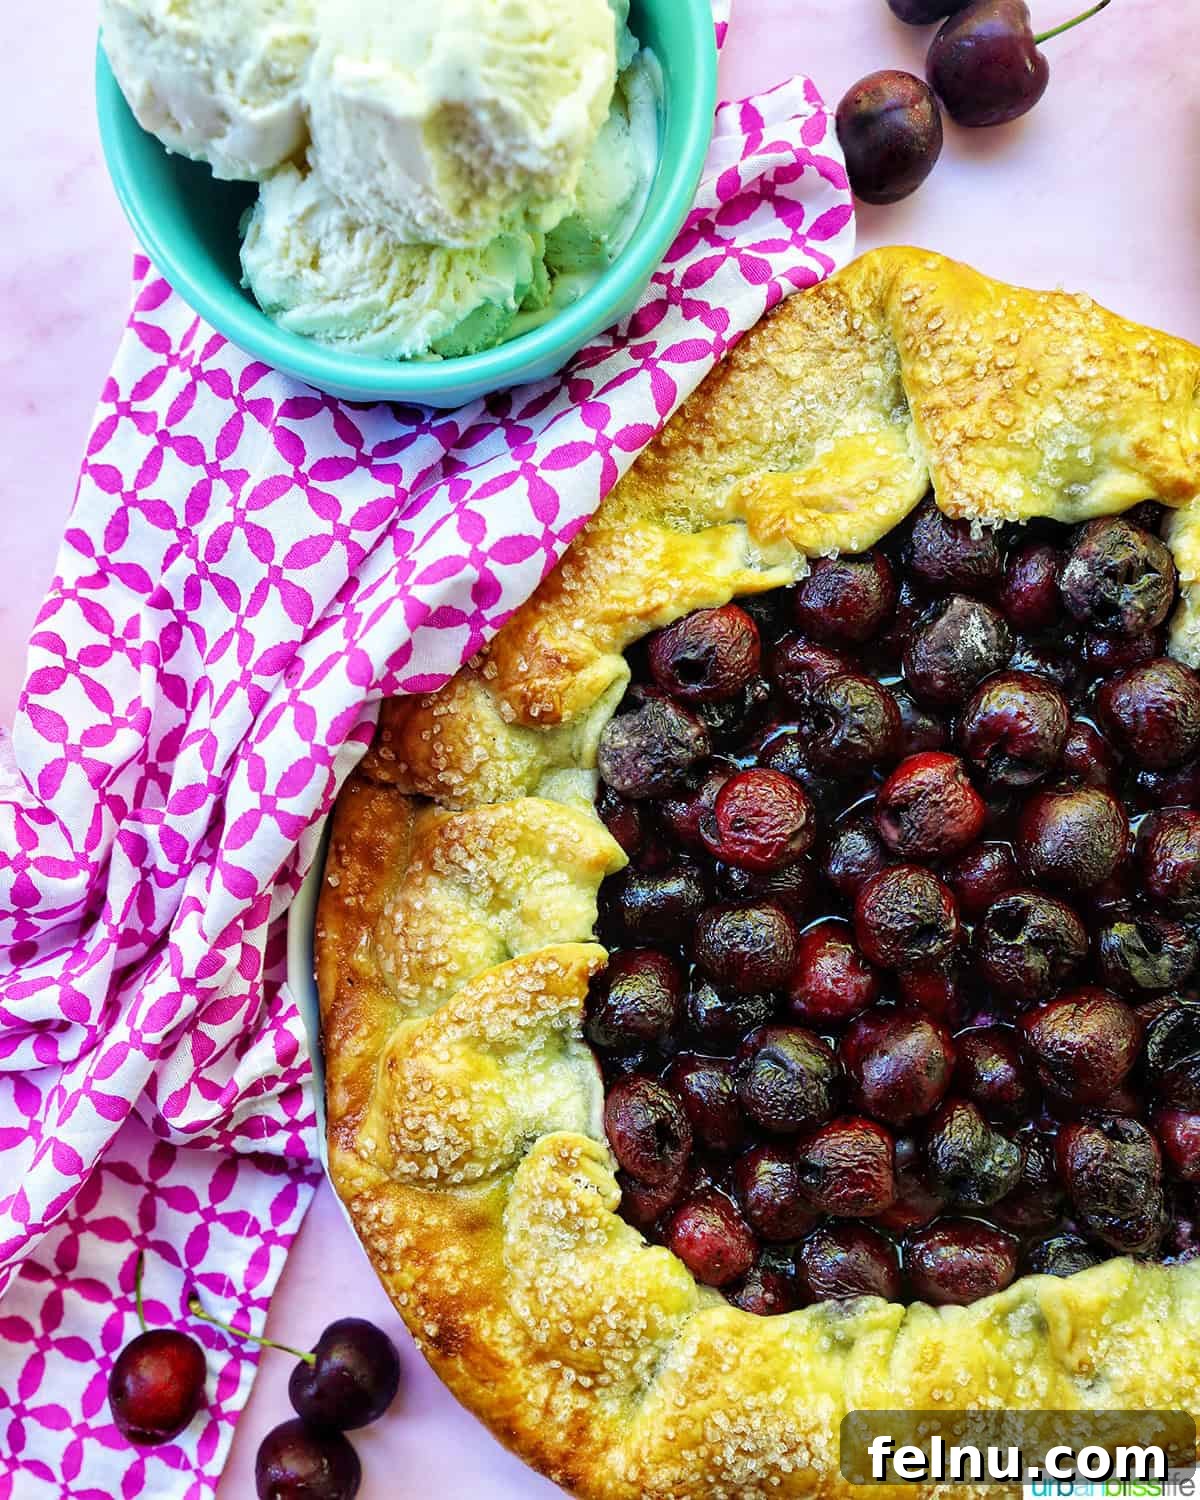
Looking for a straightforward summer dessert? A galette is an excellent choice. It’s rustic, requires minimal fuss, and always delivers on flavor.
We adore making galettes every summer. Our blueberry galette recipe has been a long-time favorite. For special occasions like the 4th of July and Memorial Day, our mixed berry galette is always a hit!
However, when our cherry tree is overflowing with ripe cherries, we can’t resist making this easy cherry galette recipe!
Why This Cherry Galette Recipe Works So Well
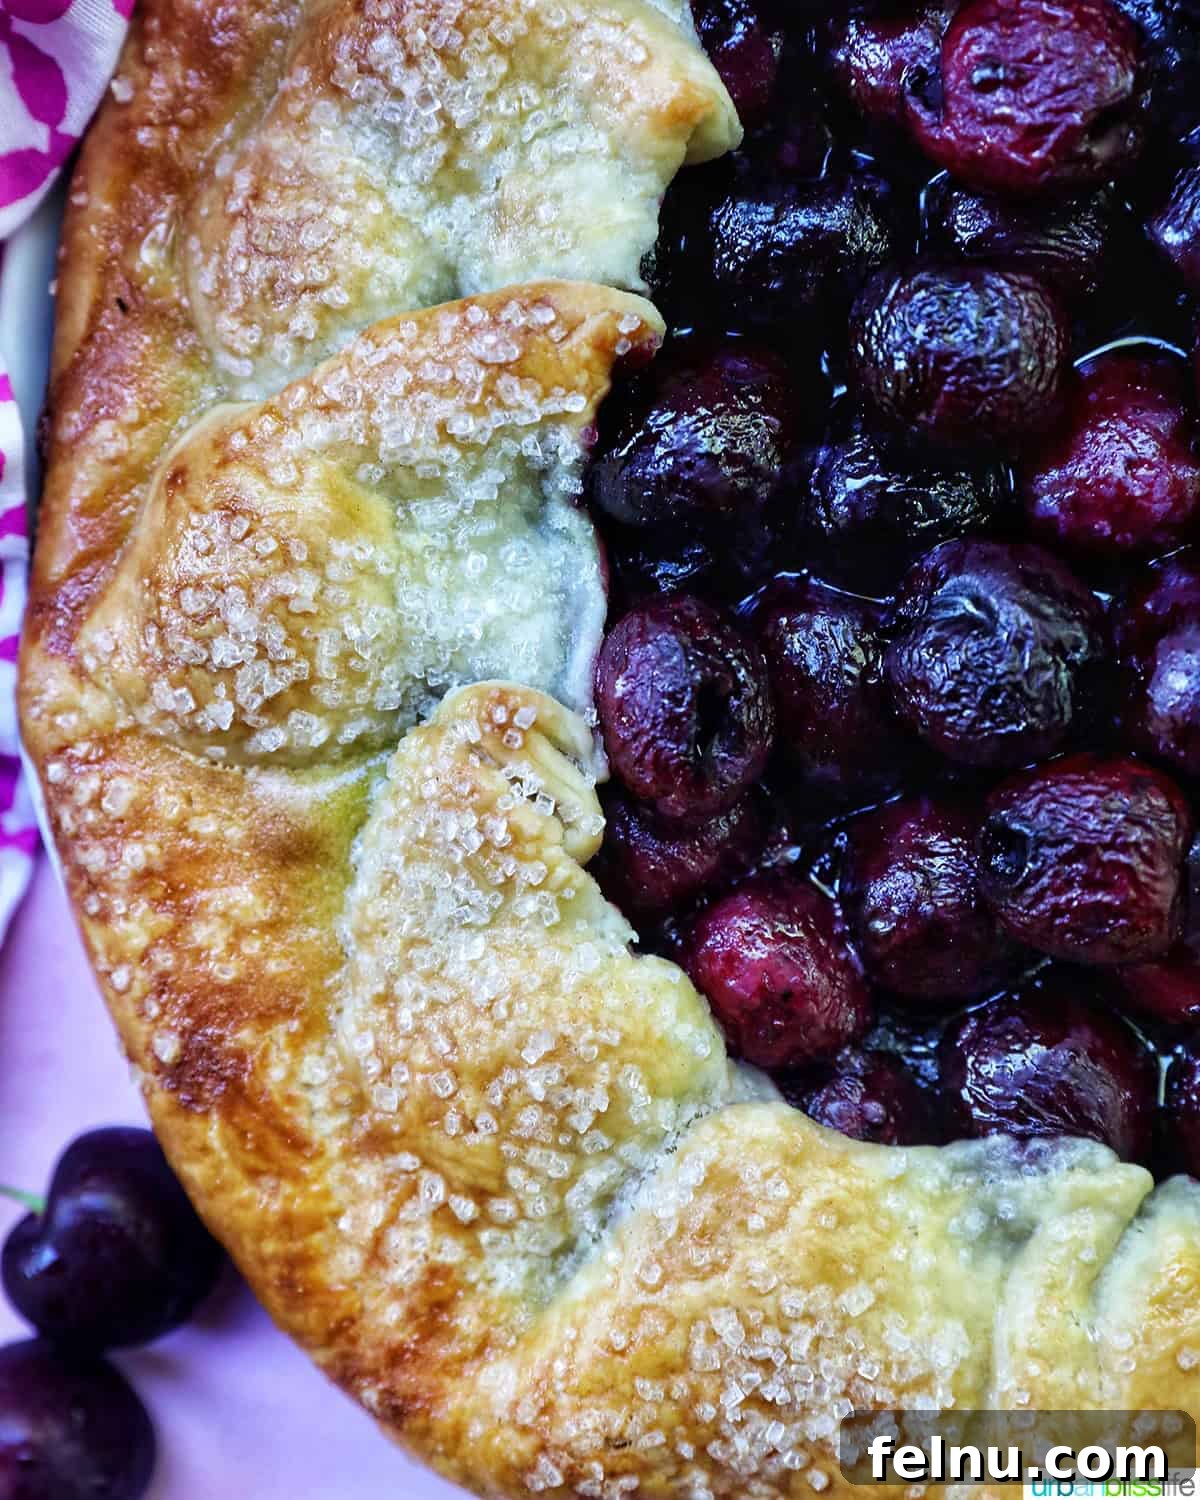
Galettes are among my go-to desserts throughout the year. If you’ve never baked one before, don’t worry! This is a simple recipe that you’ll quickly fall in love with. It’s the perfect dessert for any occasion, from casual weeknight dinners to more festive gatherings.
- Easy: Whether you’re a beginner baker or a seasoned chef, this recipe is for you! I’ve included step-by-step photos to guide you through the baking process, ensuring a perfect galette every time.
- Simple Ingredients: You likely already have most of the ingredients in your pantry. Everything else can be easily found at your local grocery store, making this recipe convenient and accessible.
- Quick: The majority of the preparation time involves making the pie dough. After the dough chills, assembly is quick, and the oven does most of the work. Using store-bought pie crust makes it even faster!
- Flavorful: This recipe is designed to let the fresh cherry flavor truly shine. The homemade pie dough is far more delicious than anything store-bought (though store-bought works too!), creating a memorable dessert.
Ingredient Notes for the Best Cherry Galette
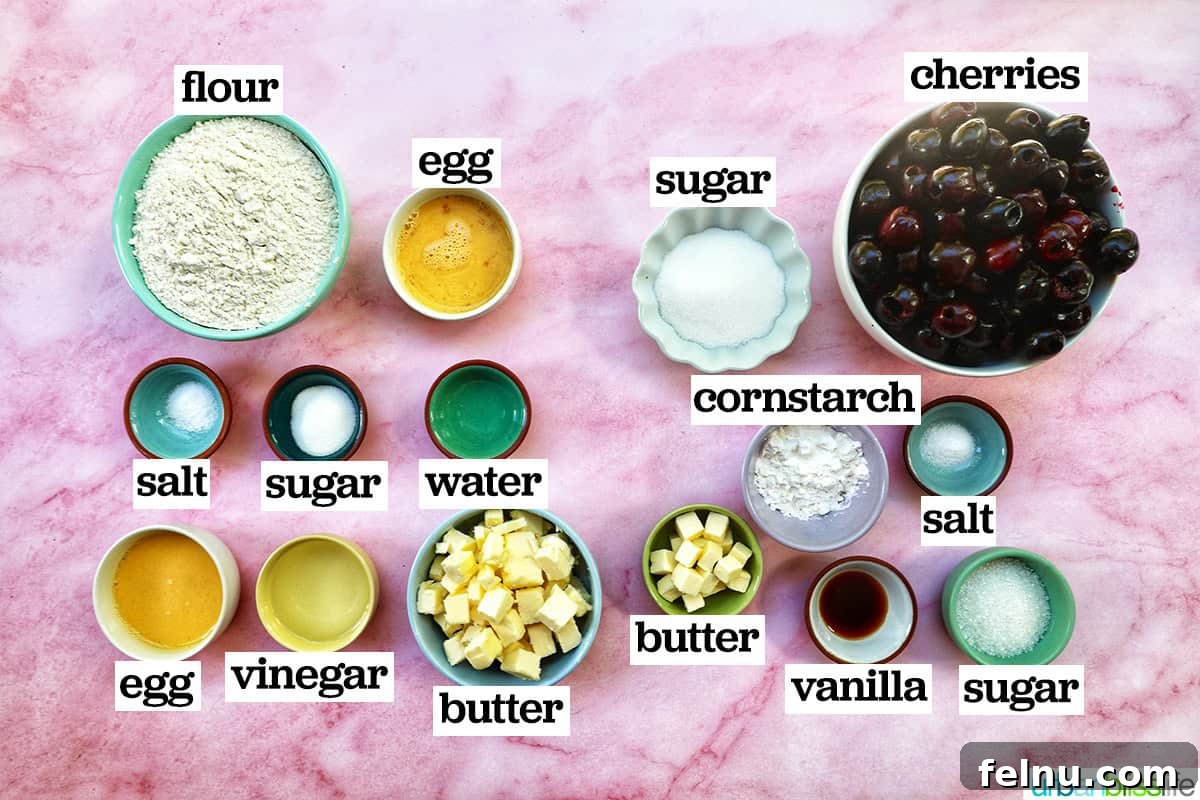
Let’s take a closer look at the key ingredients you’ll need for this cherry galette:
- Cherries: Fresh cherries are the star of this galette. However, you can use frozen cherries, making this a year-round treat. If using frozen, thaw them thoroughly in a strainer to remove excess liquid, then pat them dry with a paper towel.
- Flour: All-purpose flour is the standard choice for the pie dough. I haven’t tested this recipe with other types of flour, so substitutions may affect the outcome.
- Sugar: Granulated sugar is used in both the pie dough and the cherry filling, providing the perfect amount of sweetness.
- Salt: Kosher salt enhances the flavors in both the dough and the filling.
- Egg: You’ll need an egg for the dough and another for the egg wash. The egg wash gives the crust a beautiful, golden sheen as it bakes.
- Vinegar: A touch of distilled white vinegar in the pie dough helps prevent oxidation and keeps the dough from becoming tough. It also makes the dough easier to roll out.
- Butter: Cold, unsalted butter, cubed, is essential for creating a flaky pie dough. A tablespoon of butter is also dotted over the cherry filling before baking, adding an extra layer of richness.
- Cornstarch: This helps bind the cherries and thicken the filling, preventing the juices from seeping out of the galette during baking.
- Vanilla: A little vanilla extract adds a delightful aroma and flavor to the filling, balancing the tartness of the cherries with its warm sweetness.
- Sanding Sugar: Optional, but a light sprinkling of sanding sugar onto the dough edges before baking adds a sweet, crunchy texture to every bite.
Step-by-Step Instructions for Making Cherry Galette
Here are detailed, step-by-step instructions with photos to guide you through making this cherry galette. You’ll find the full list of ingredients and detailed instructions in the printable recipe card at the bottom of this post. Follow along to create a perfect, rustic dessert!
Make the Pie Dough
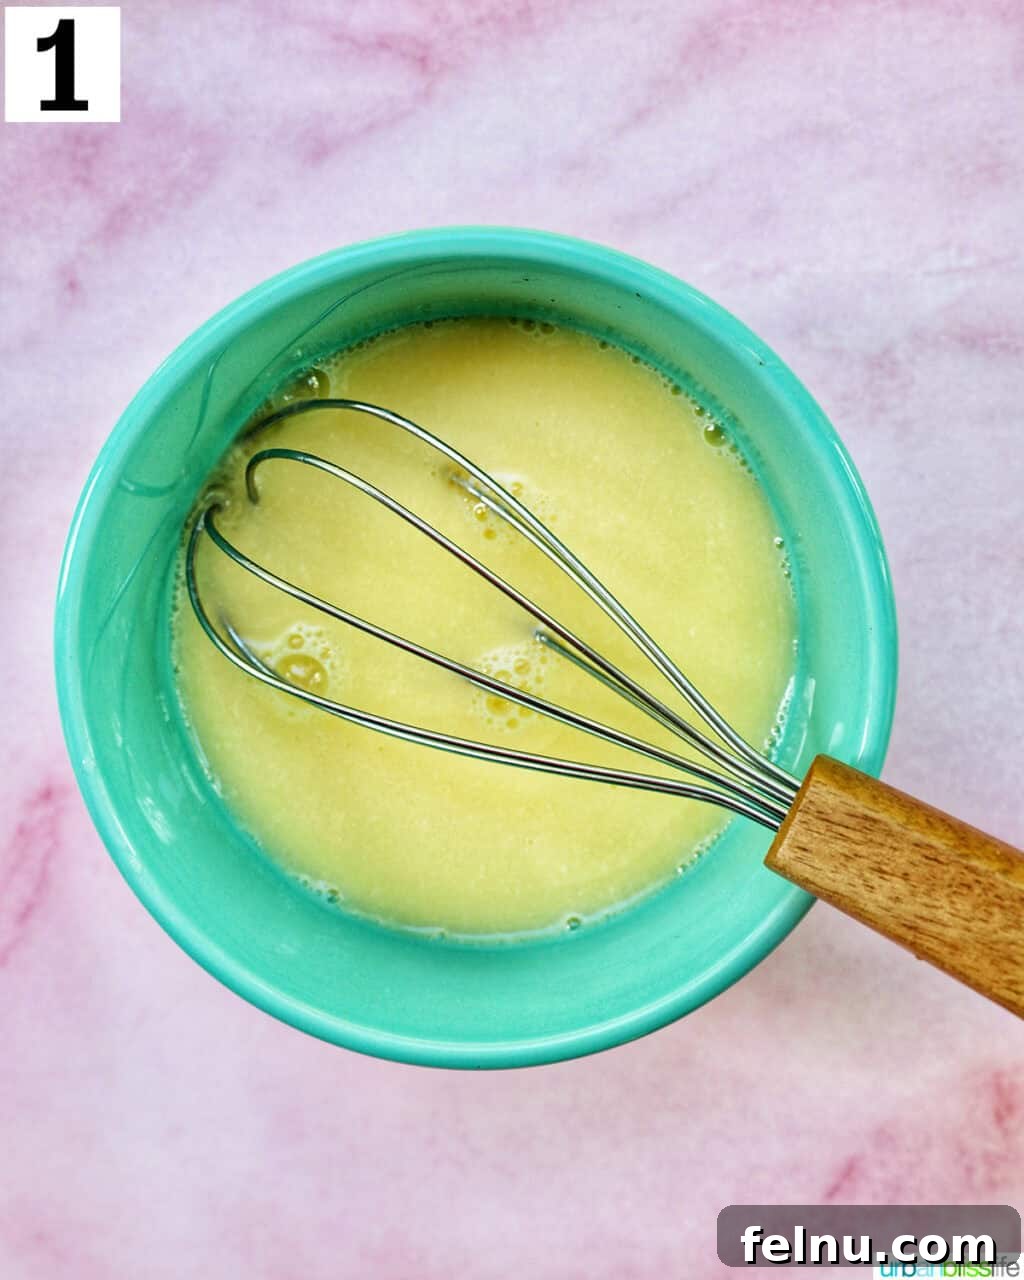
- In a small bowl, whisk together the egg, vinegar, and water. Set aside for later use.
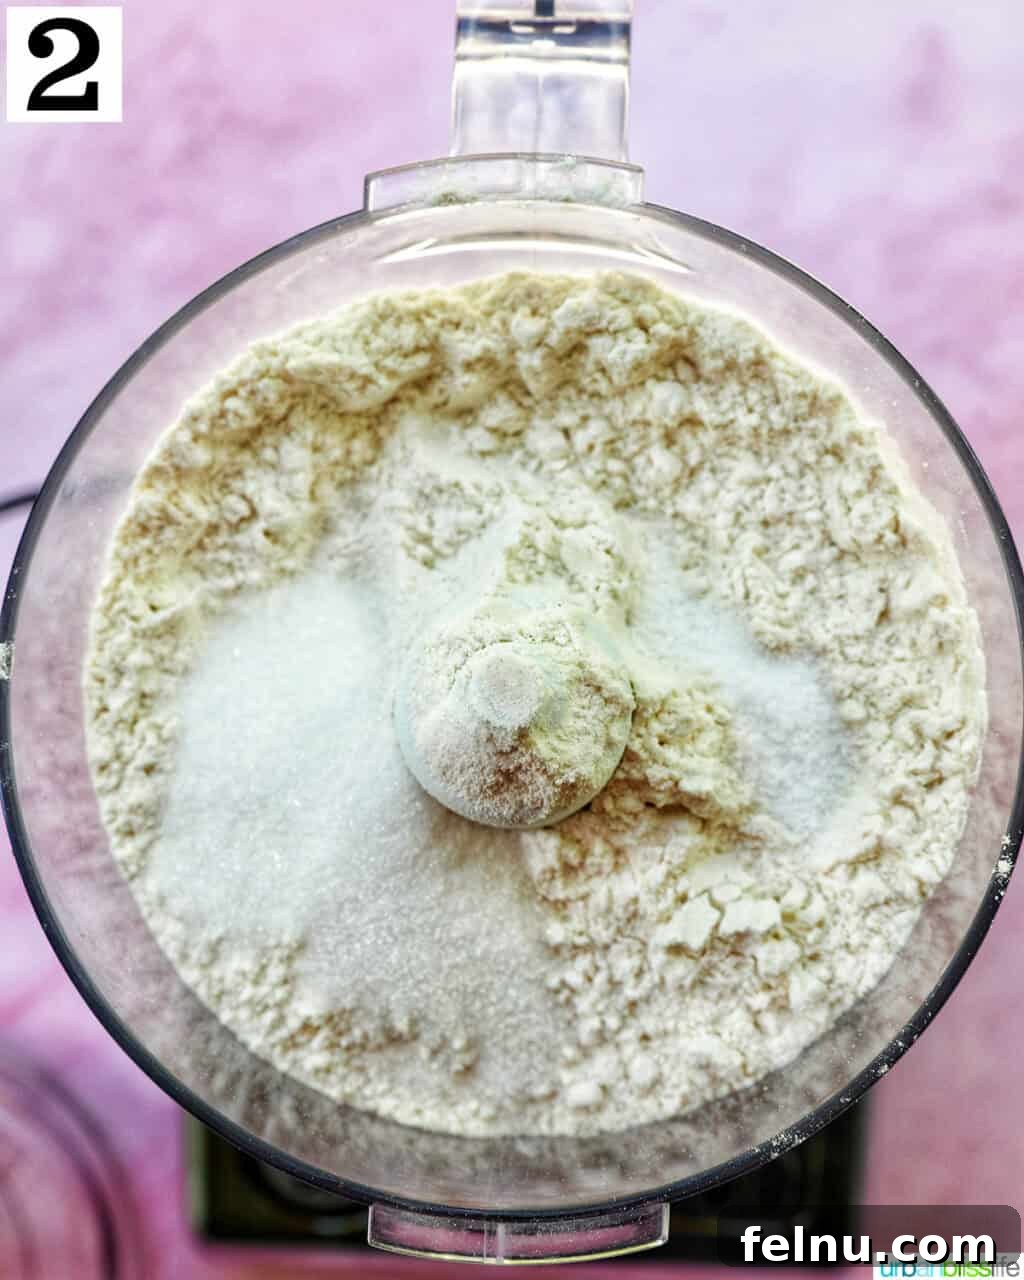
- Add the flour, salt, and sugar to a large food processor. Pulse a few times to combine the dry ingredients thoroughly.
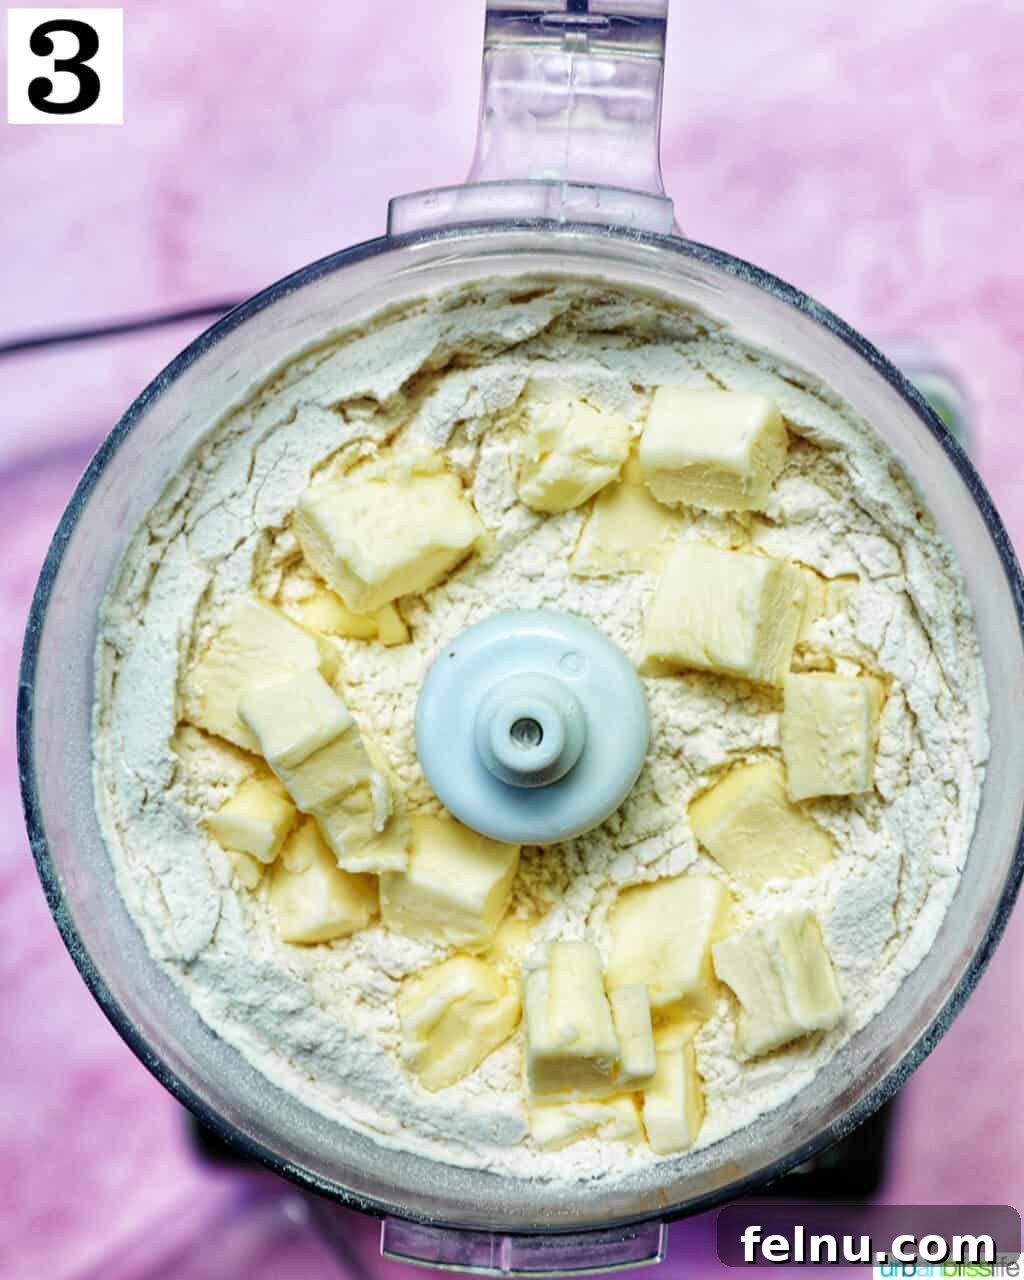
- Add the cold, cubed butter to the food processor and pulse until the mixture resembles coarse crumbs. This ensures a flaky crust.
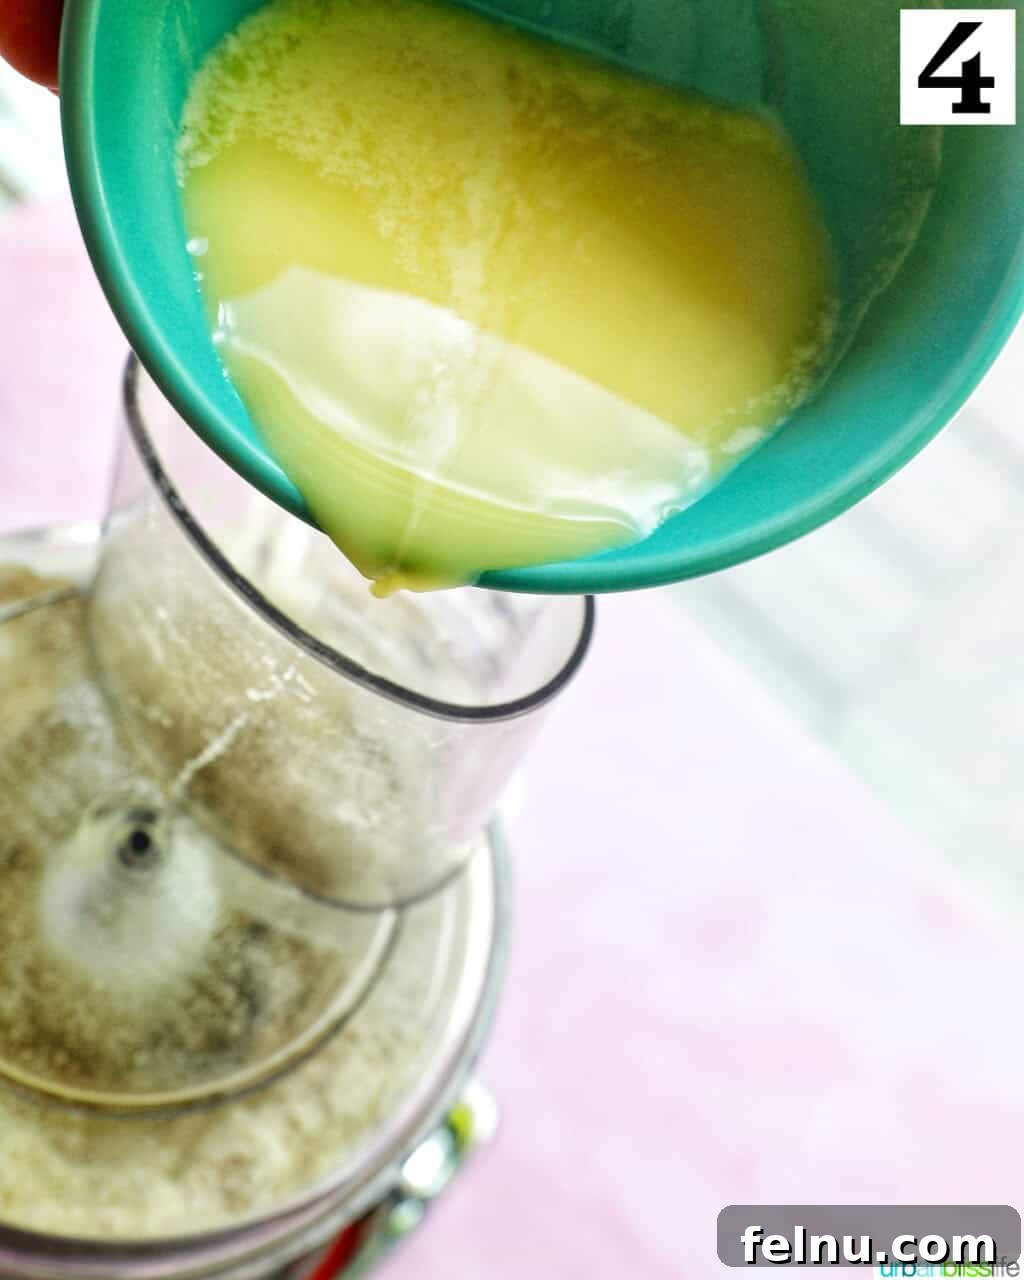
- Pour the egg, vinegar, and water mixture into the food processor.
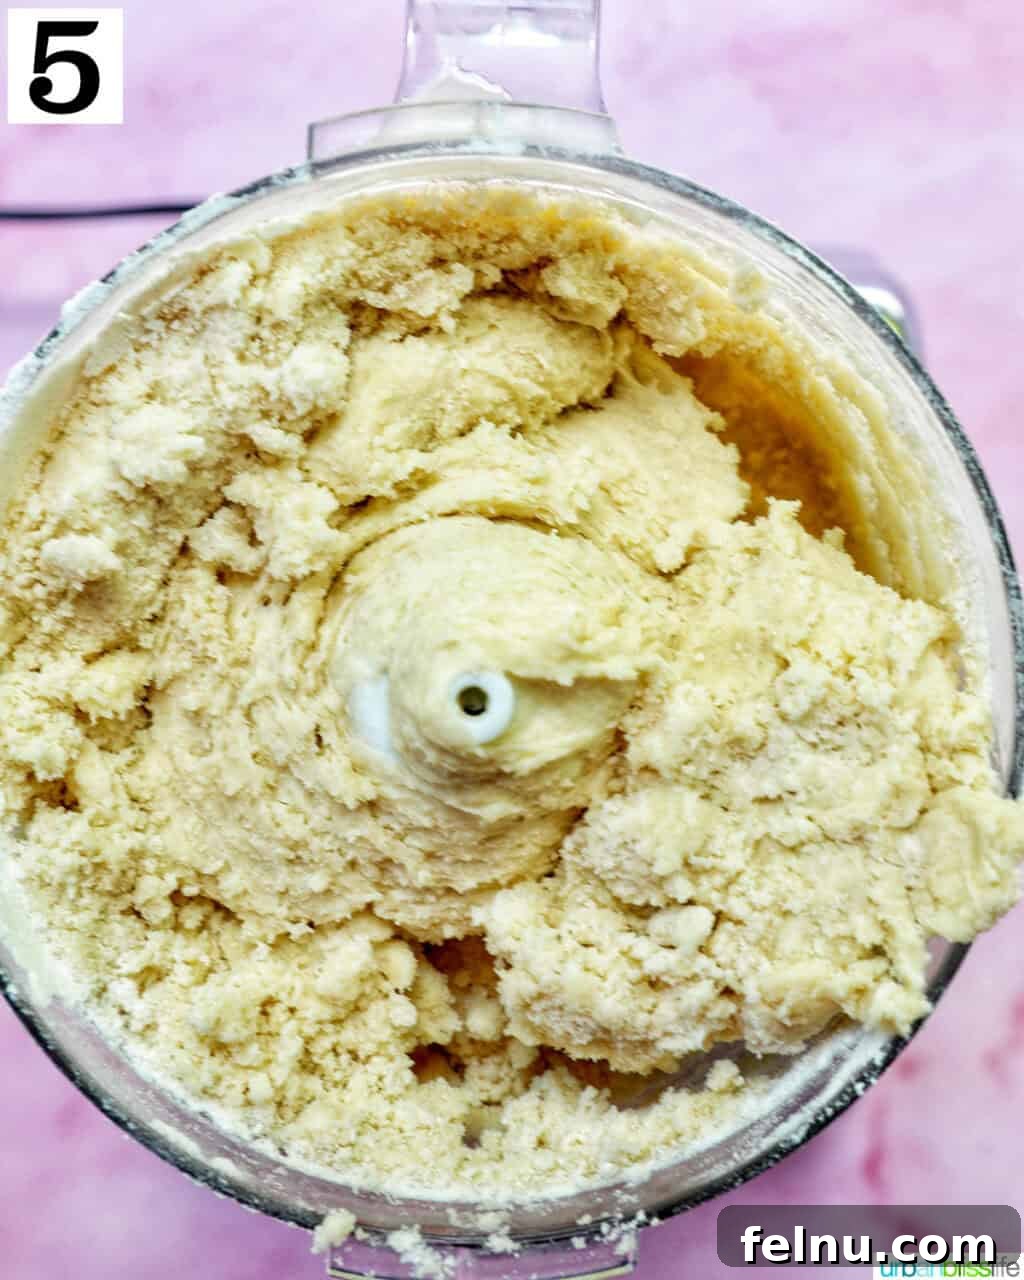
- Pulse until a dough forms. Be careful not to over-process, as this can lead to a tough crust.
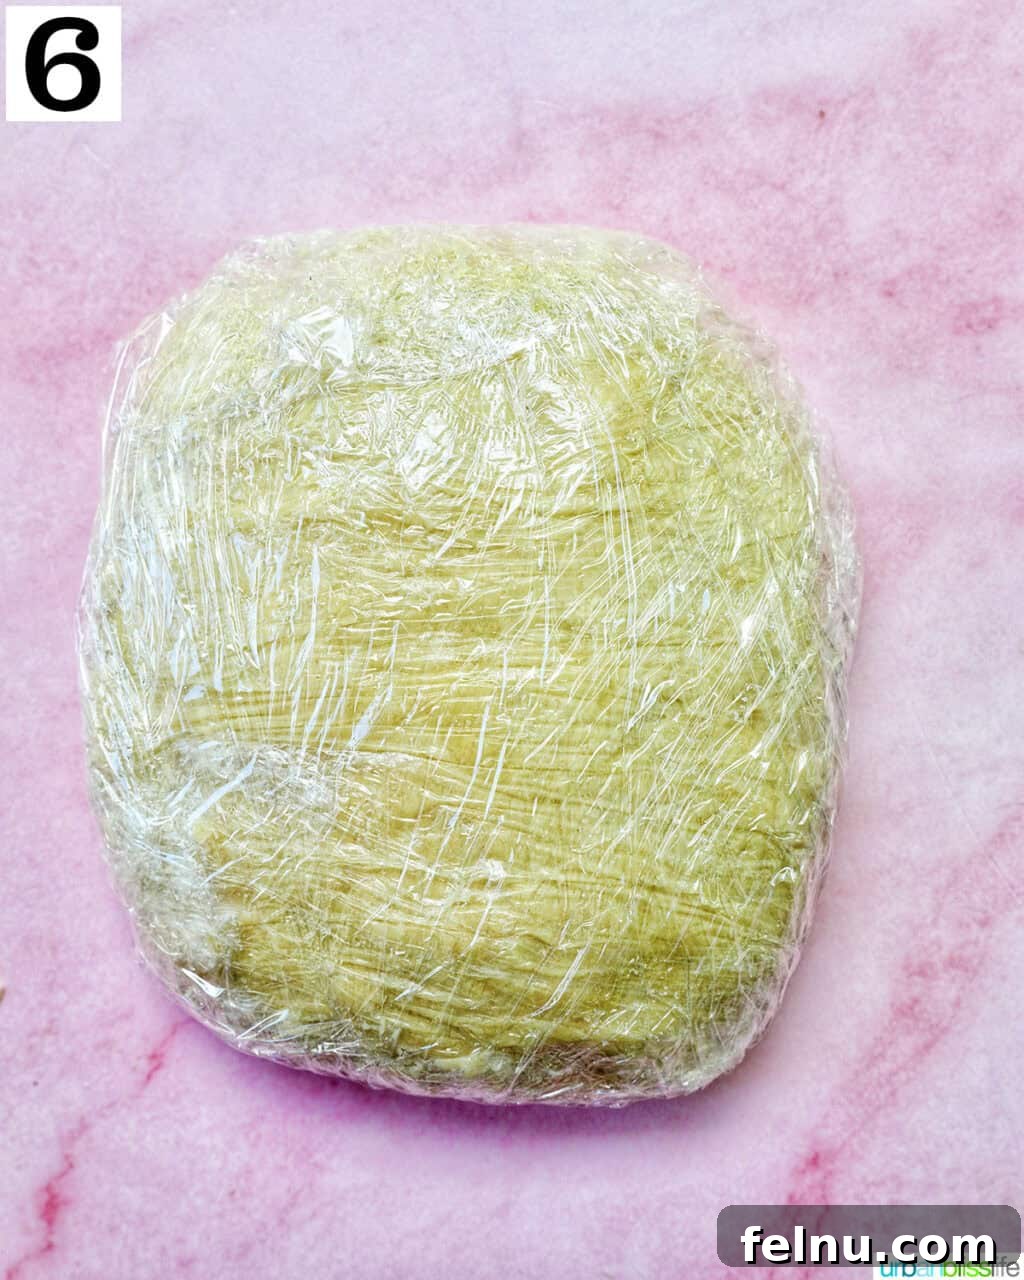
- Carefully remove the dough from the food processor bowl. If there are some crumbly bits, use your fingers to gently press them together. Form the dough into a disc, wrap it in plastic wrap, and refrigerate for at least 30 minutes to allow the gluten to relax and the butter to firm up. This chilling process is crucial for a flaky crust.
Make the Cherry Filling
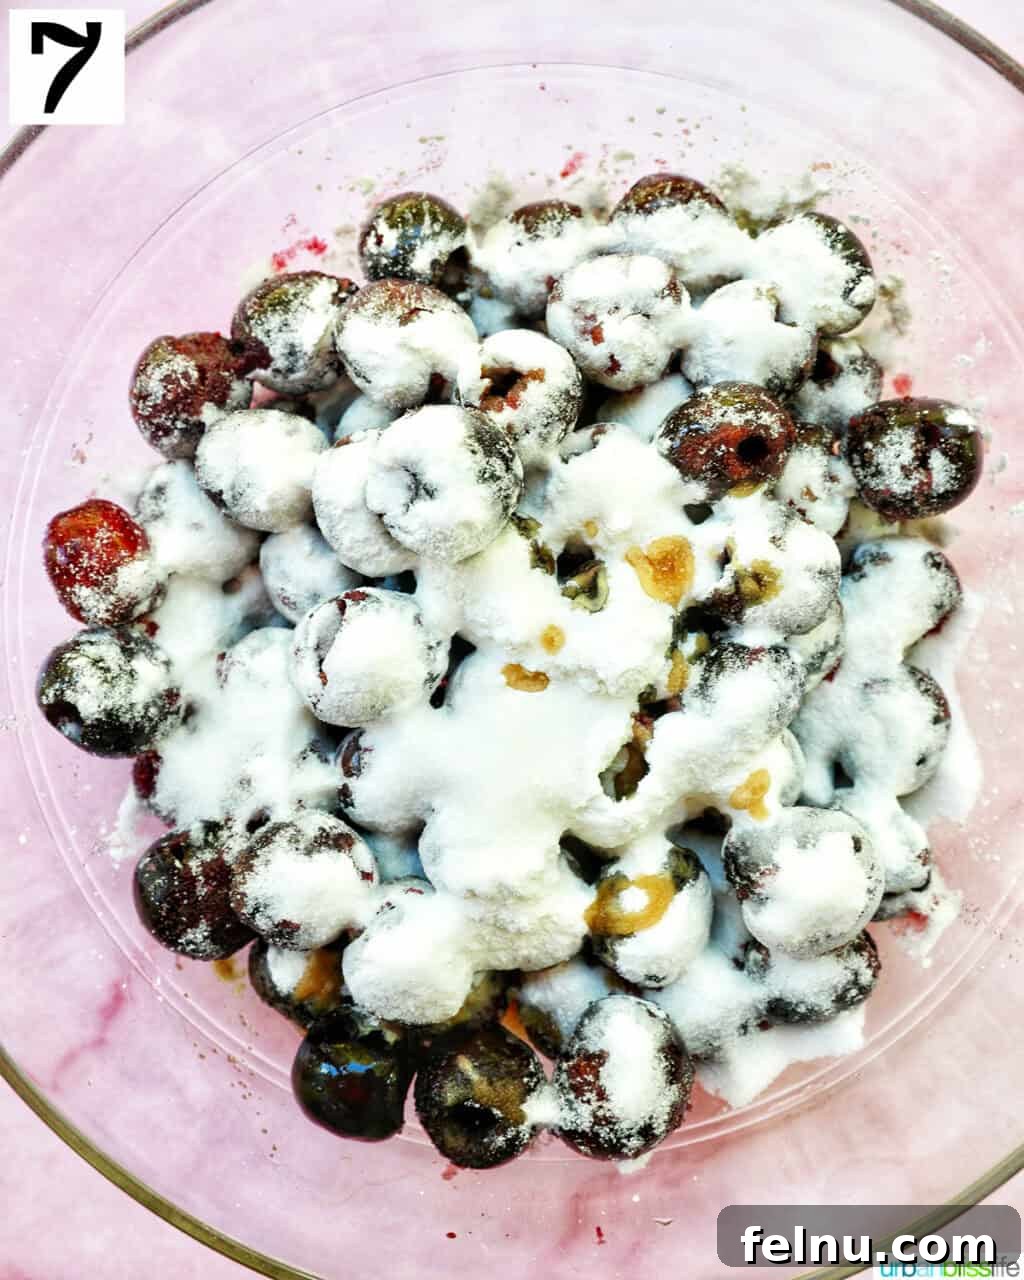
- In a large bowl, combine the pitted cherries, sugar, cornstarch, salt, and vanilla extract.
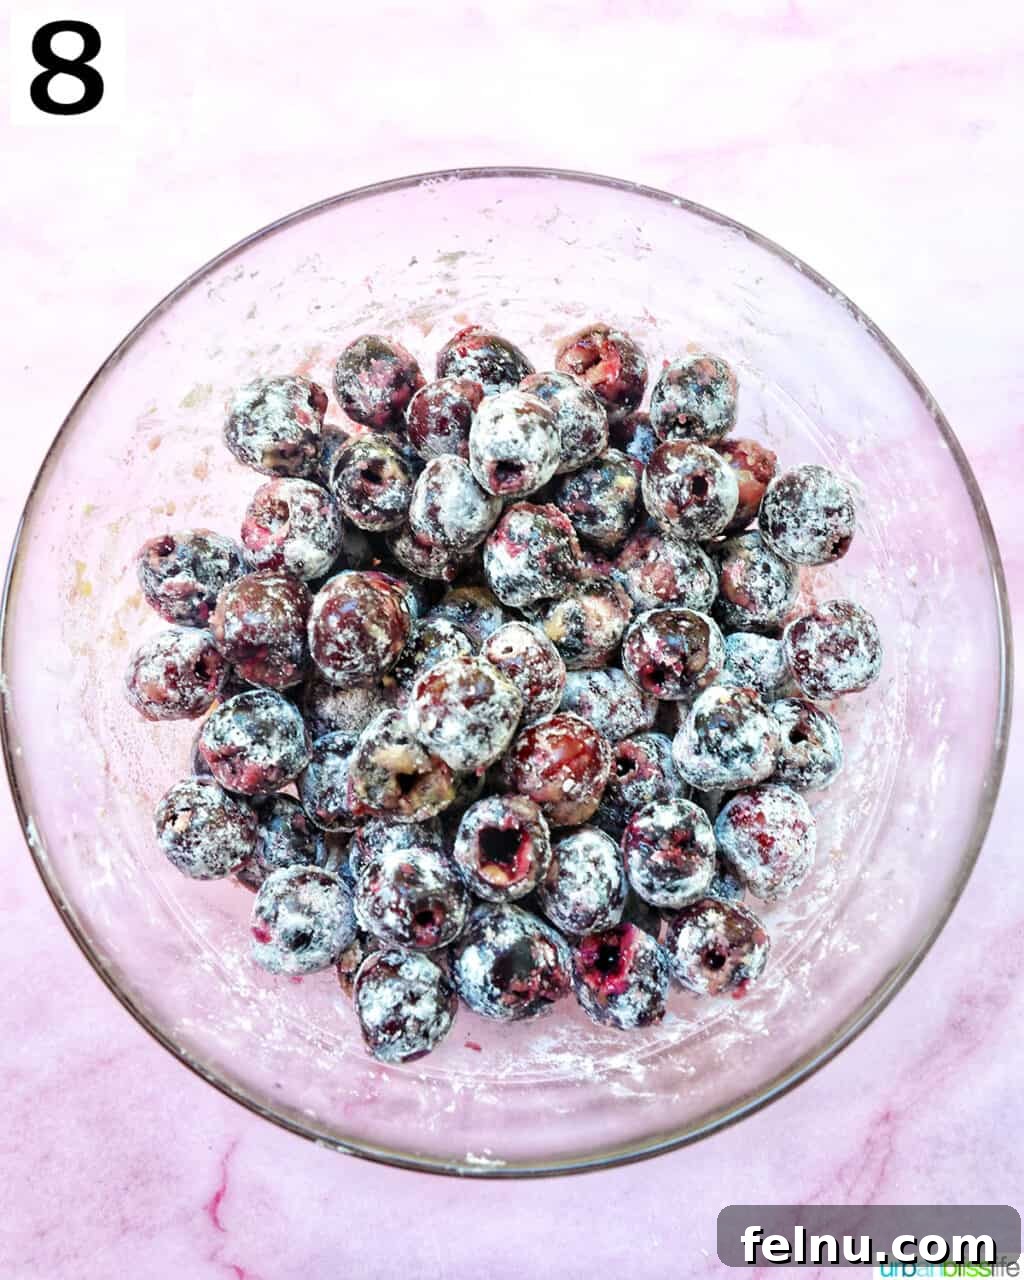
- Gently mix the ingredients together with a wooden spoon or spatula, ensuring that the cherries are well coated with the cornstarch. This helps to thicken the filling during baking.
Assemble the Cherry Galette
Preheat your oven to 400°F (200°C). Line a baking sheet with parchment paper. This will prevent the galette from sticking and make cleanup easier.
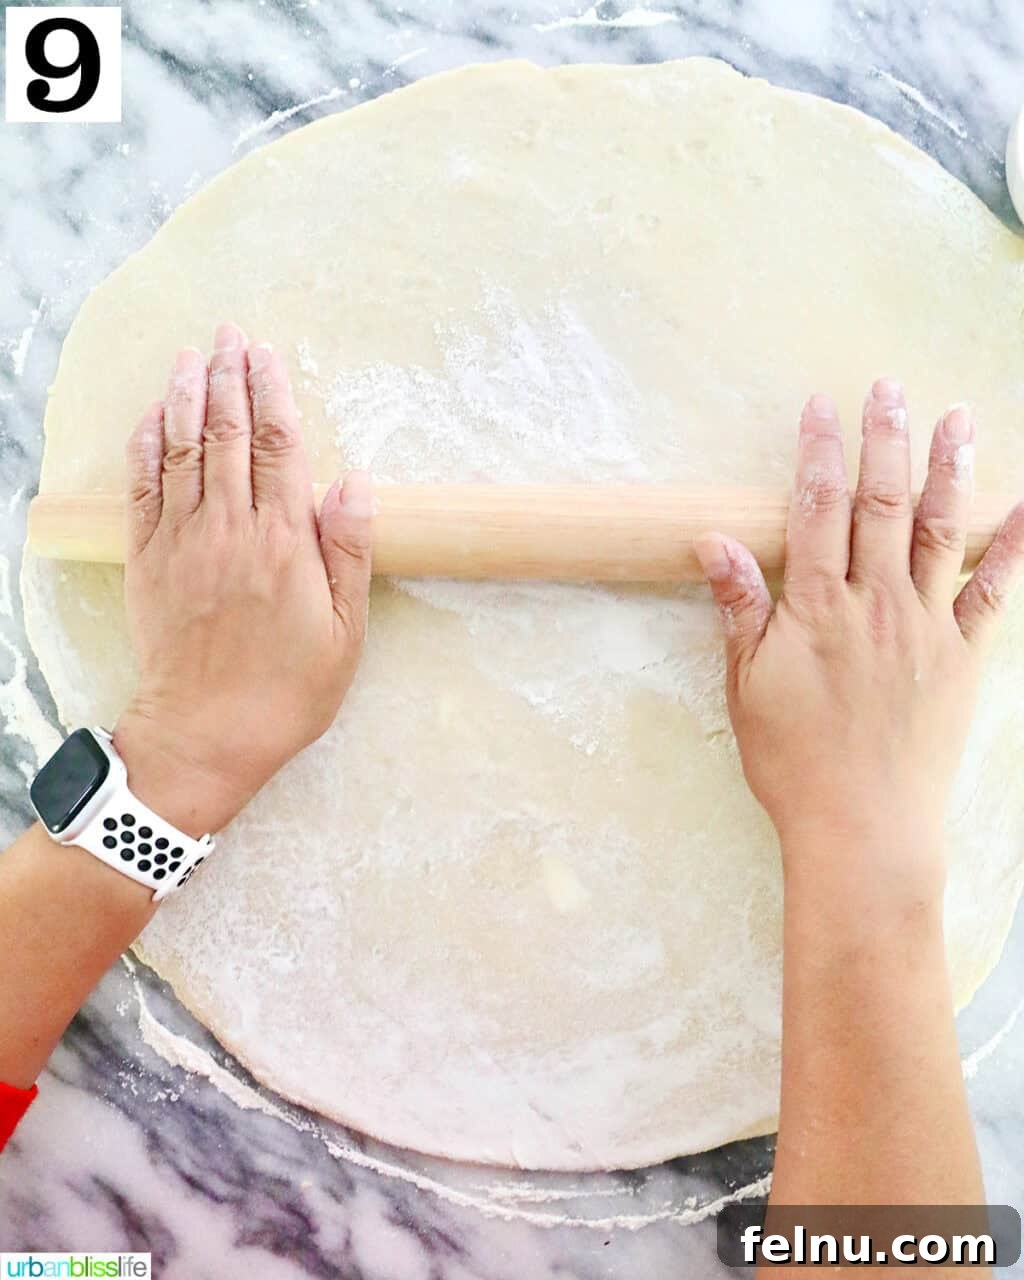
- Lightly flour the parchment paper to prevent the dough from sticking. Roll out the chilled dough onto the parchment paper into an even 9-inch or 10-inch circle.
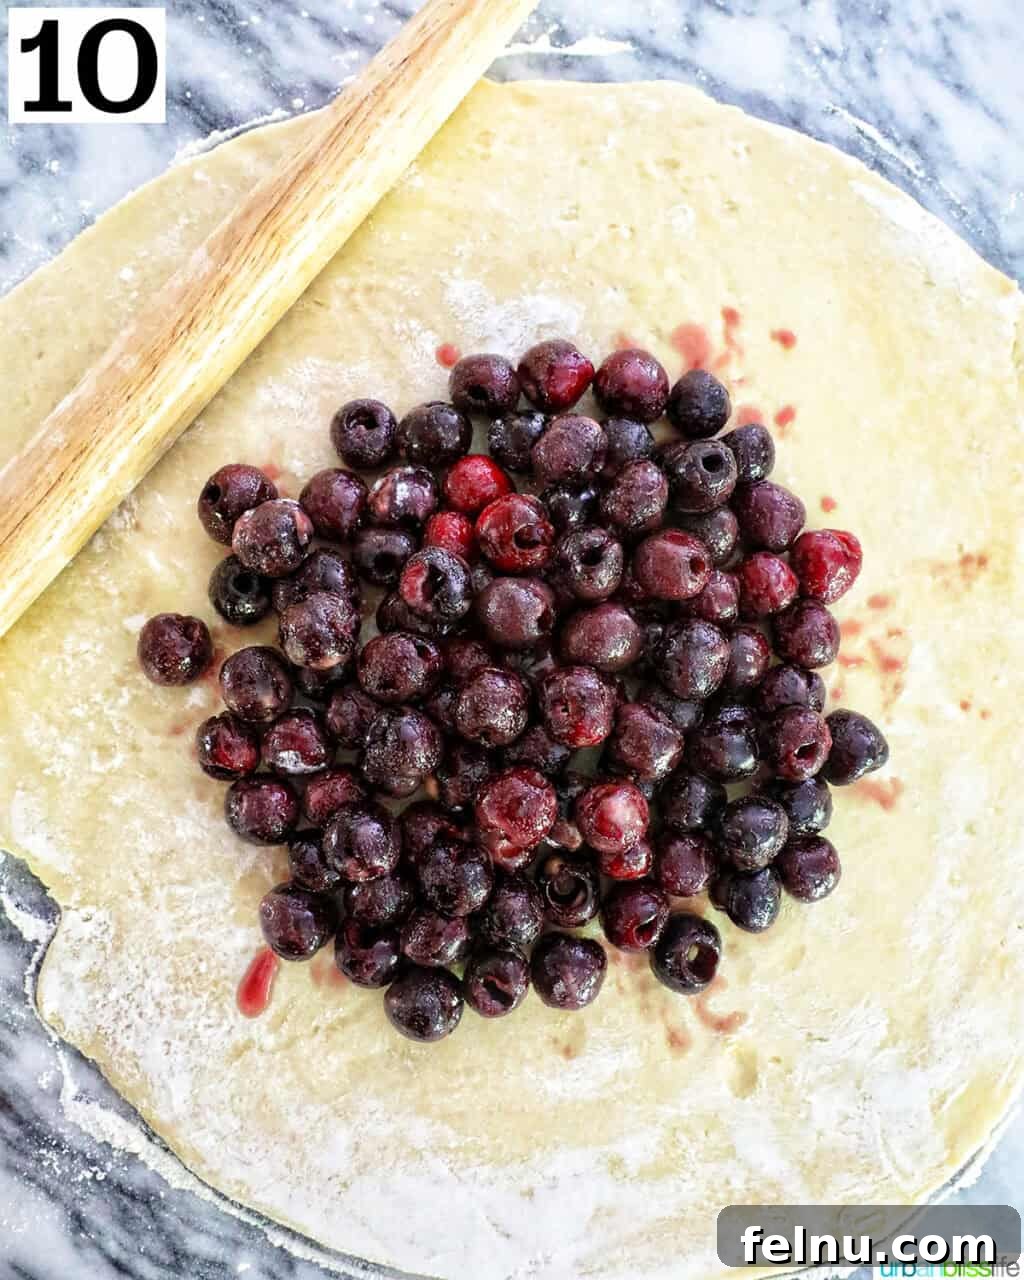
- Spoon the cherry mixture into the center of the dough, leaving about a 2-inch border around the edges.
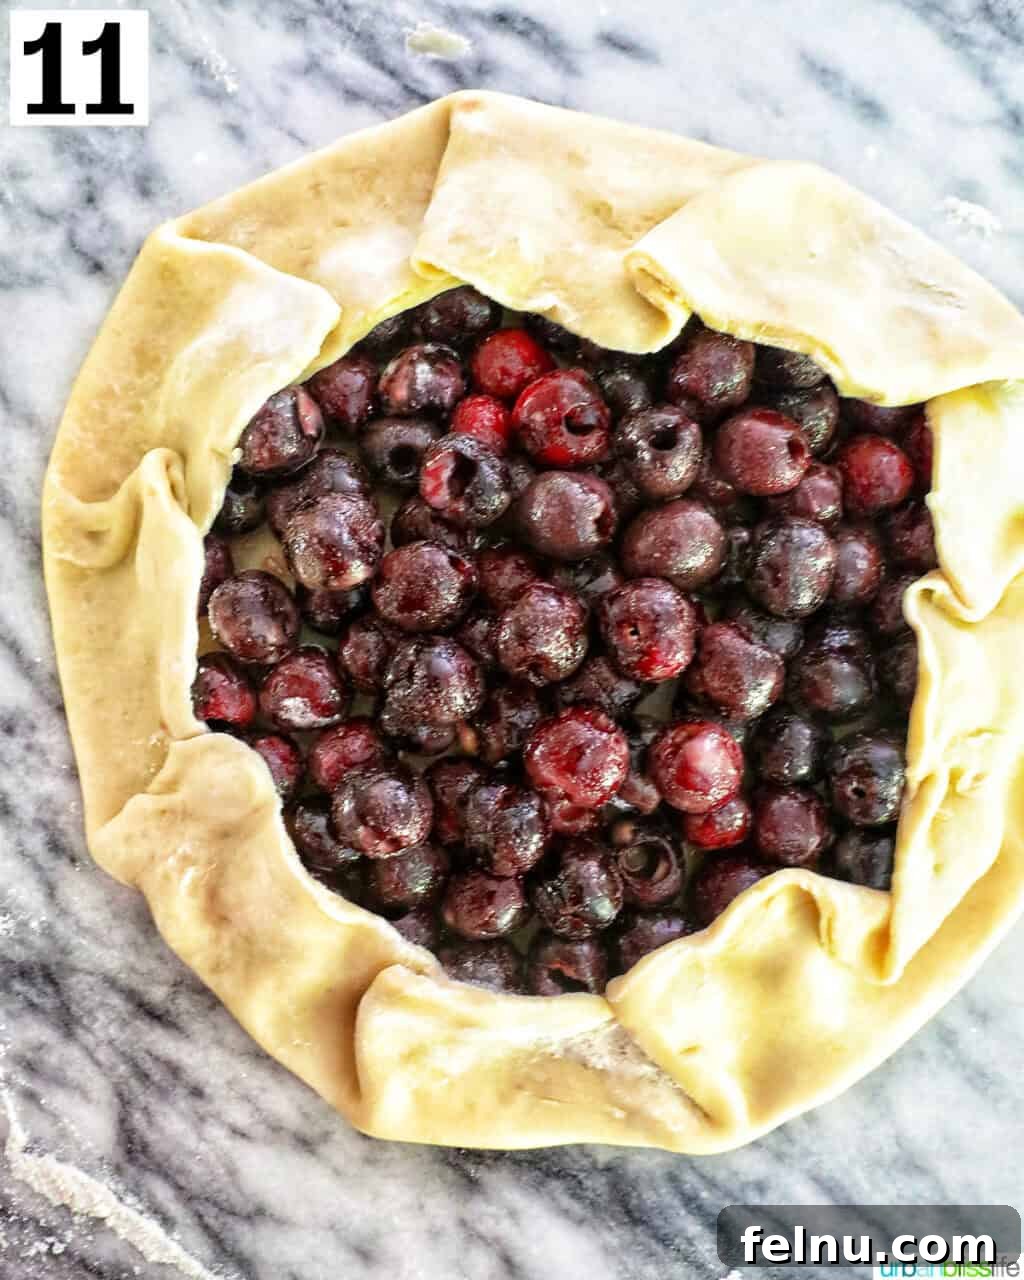
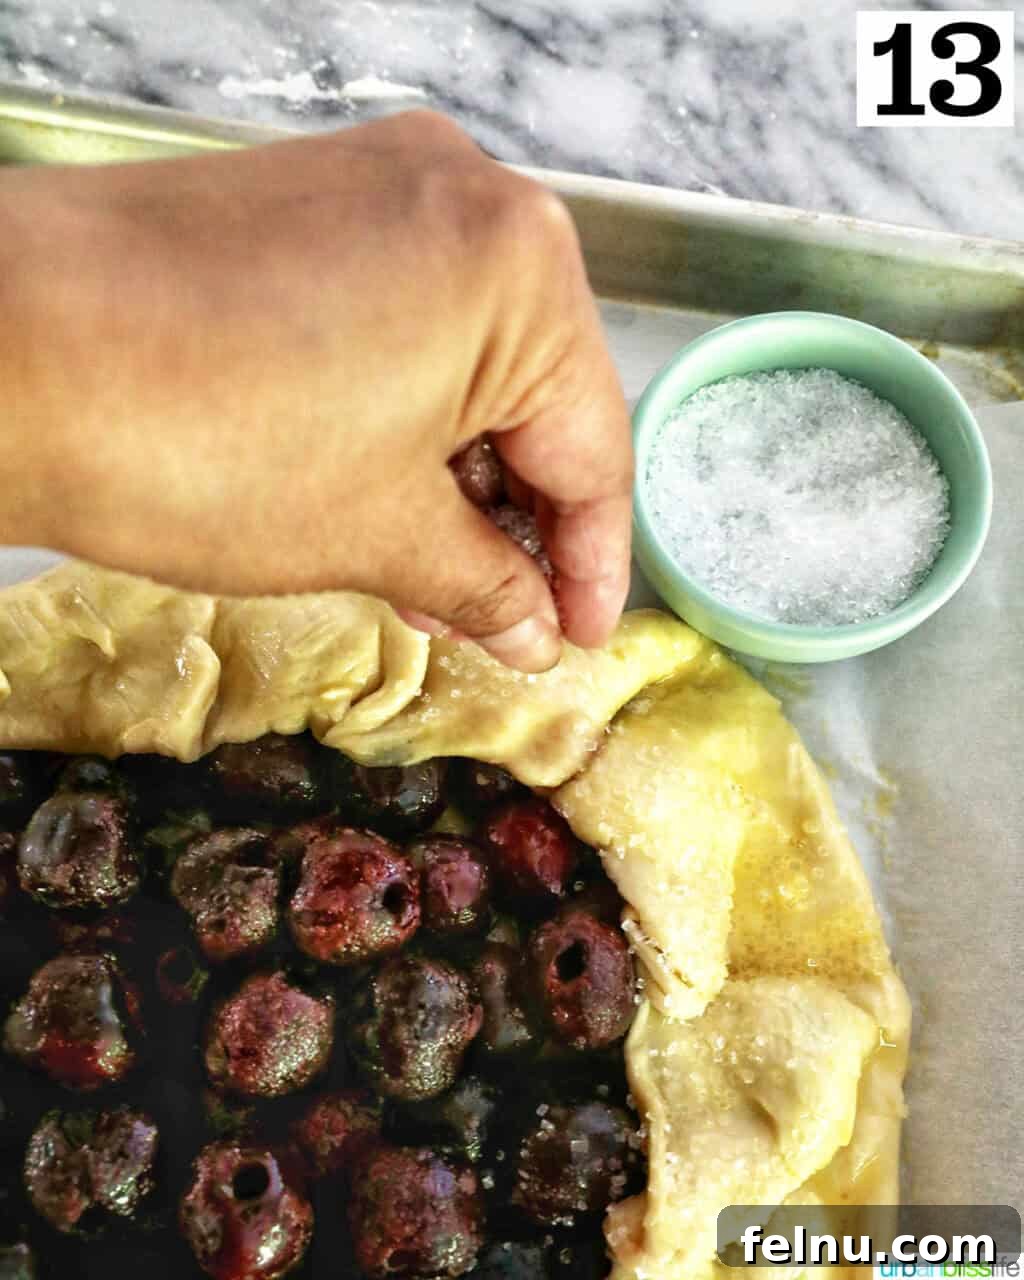
- Gently fold the sides of the dough toward the center, slightly overlapping the edges of the cherry filling. Pleat the edges by gently overlapping the dough as you make your way around the circle.
Carefully lift the parchment paper and transfer the galette onto the prepared baking sheet.
Remember: A galette is a rustic, freeform pie. It’s not meant to be perfect! Embrace the imperfections for a charming, homemade look.
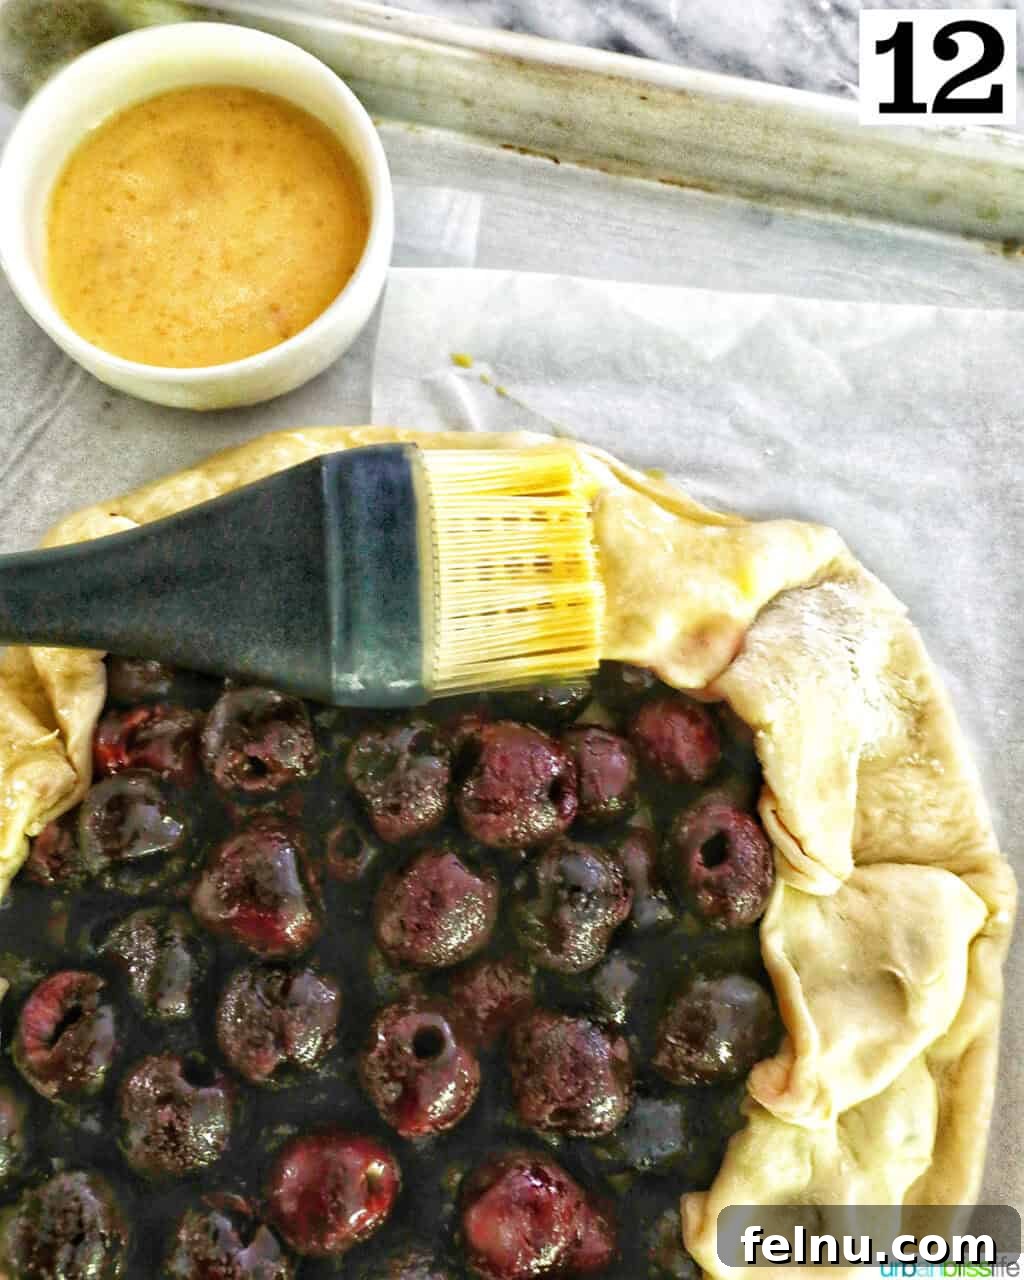
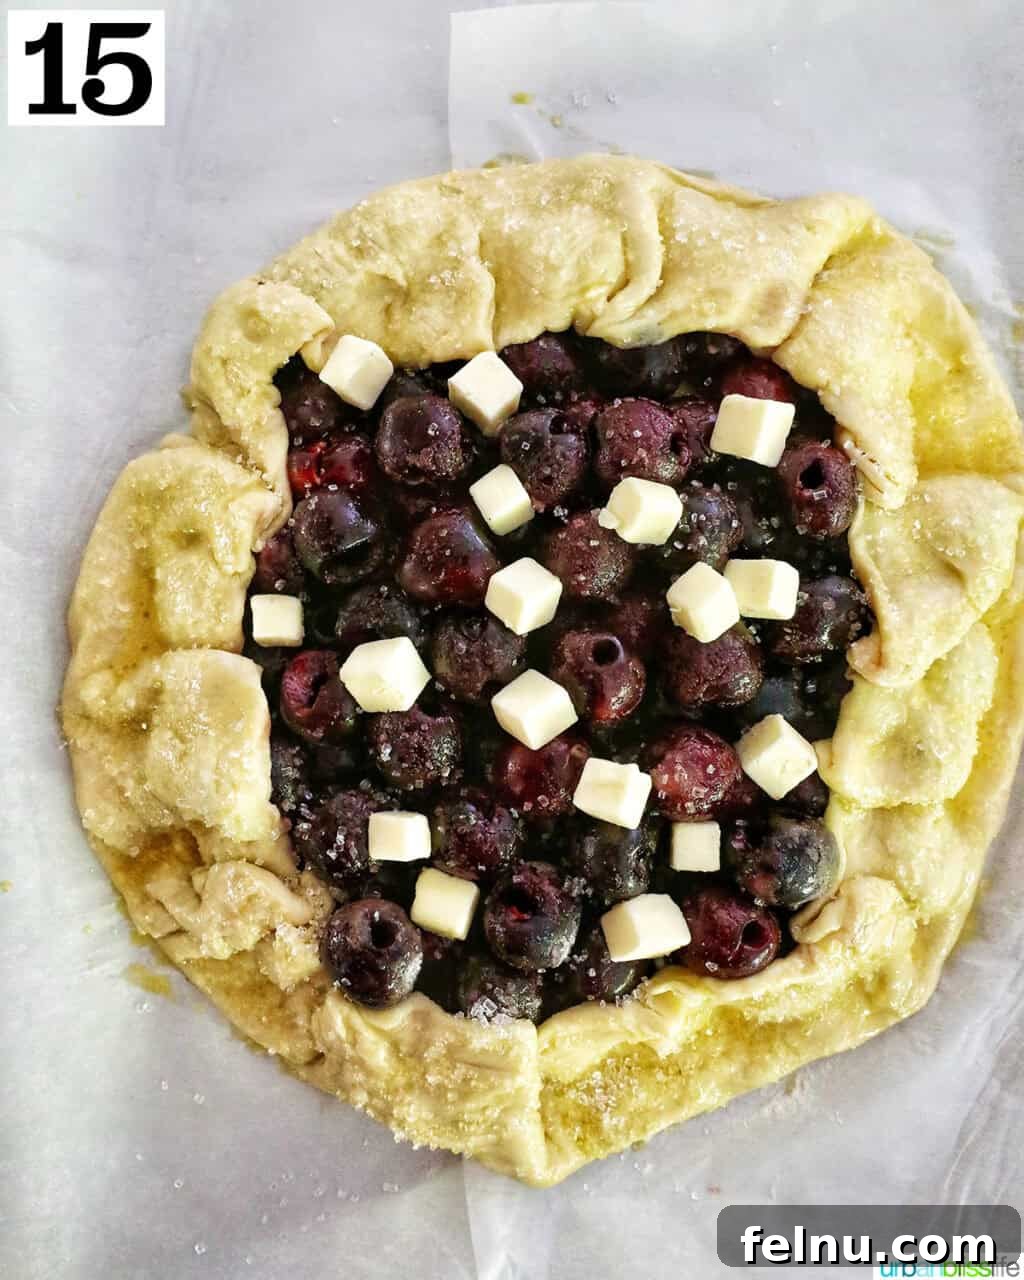
- Use a pastry brush to lightly brush the edges of the dough with egg wash. This will give the crust a golden-brown color and a slight sheen.
- Sprinkle sanding sugar over the edges of the dough for added sweetness and texture, if desired.
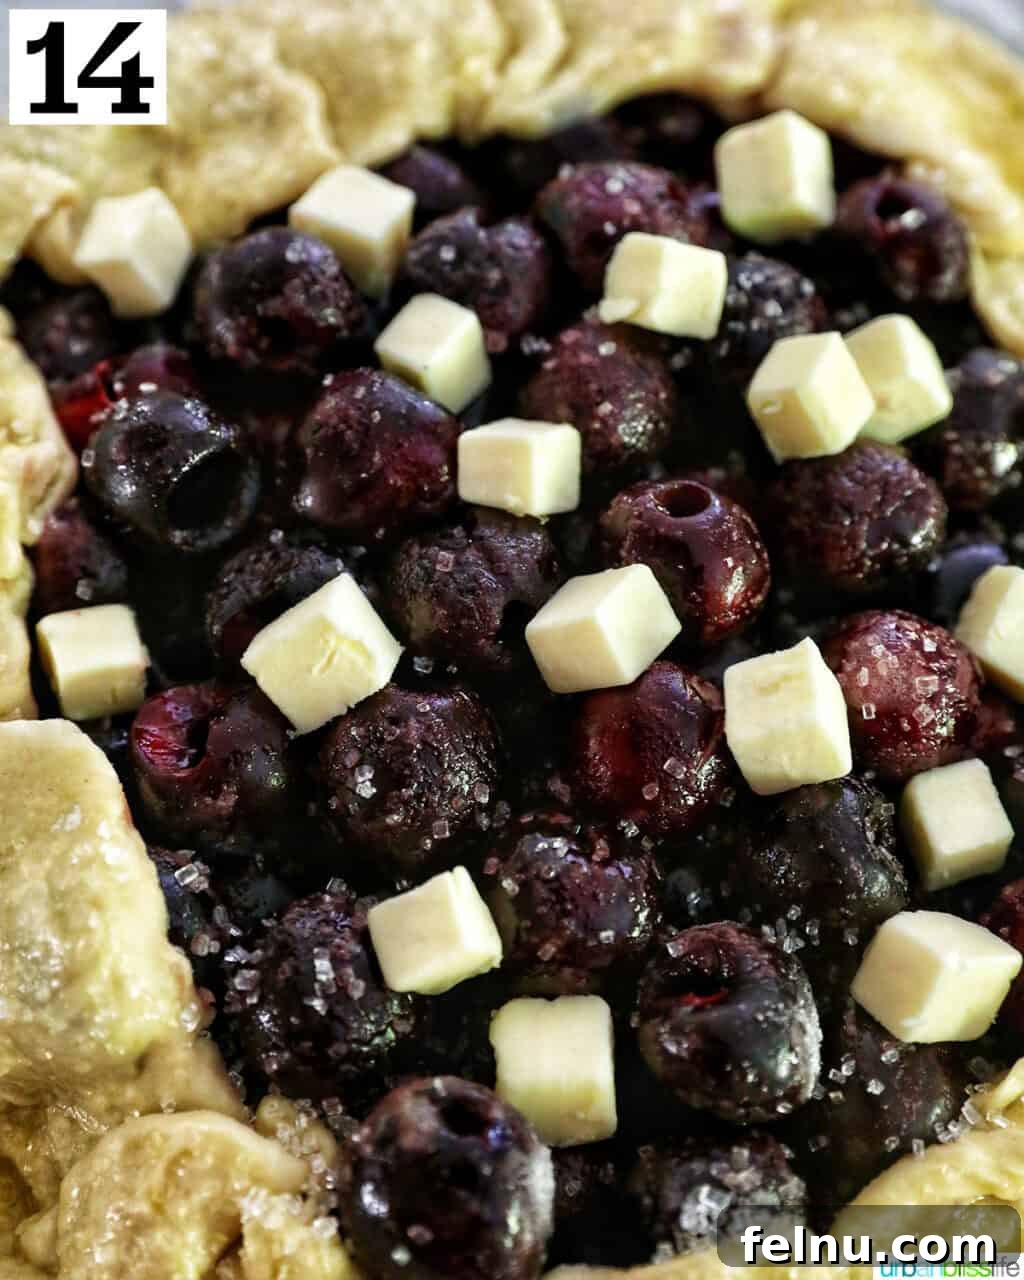
- Place the cubed butter evenly over the cherry filling. The butter will melt and add richness to the filling as it bakes.
- Bake at 400°F (200°C) for 40-45 minutes, or until the edges of the dough are golden brown and the filling is bubbly and slightly thickened.
Recipe FAQs: Tips for Perfect Cherry Galette
- Can I add other fruit to this galette?
- Absolutely! Cherries and peaches pair wonderfully. Just maintain the fruit ratio (about 3 cups total) to prevent overflow and ensure even baking.
- Can I use frozen cherries for the cherry galette?
- Yes, but thaw them over a strainer to drain excess liquid. Gently pat the cherries dry with paper towels.
- What’s the best way to store leftover galette?
- Wrap leftover slices in plastic wrap or store in an airtight container in the refrigerator for up to 3-4 days.
Serving Ideas for Your Cherry Galette
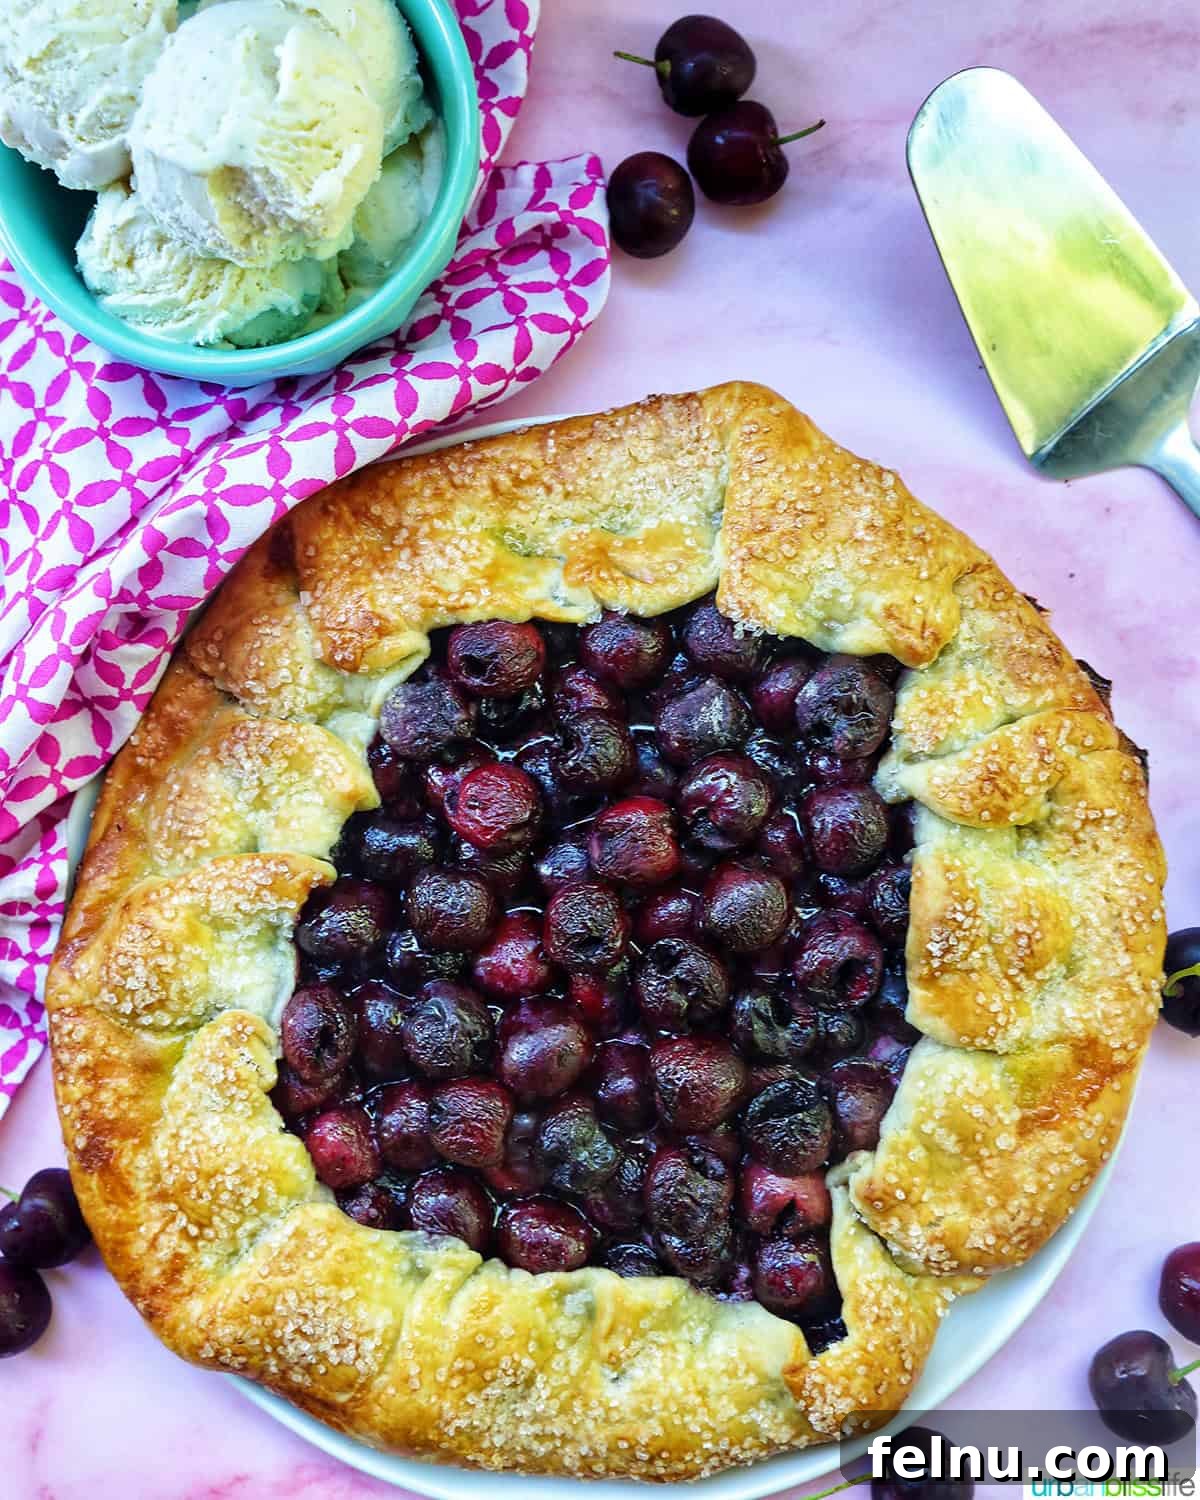
This cherry galette is delightful on its own, but serving slices with a scoop of vanilla ice cream or a dollop of whipped cream elevates it to the next level!
Perfect for summer BBQs, picnics, or potlucks, this galette makes a great dessert after enjoying grilled meats, summer salads or burgers. It’s also a fantastic way to end a simple weeknight dinner.
Essential Kitchen Tools and Equipment
Ready to make this recipe? Here are the kitchen tools and equipment you’ll need:
- Baking sheet
- Parchment paper
- Food Processor (Optional, but recommended for the dough)
- Rolling Pin
- Pastry Brush
More Recipes You Might Enjoy
If you loved this cherry galette recipe, be sure to check out these other delicious recipes:
- Blueberry Galette
- Mixed Berry Galette
- Apple Galette
Enjoy making and sharing this delicious cherry galette! It’s a perfect dessert to celebrate the flavors of summer.