
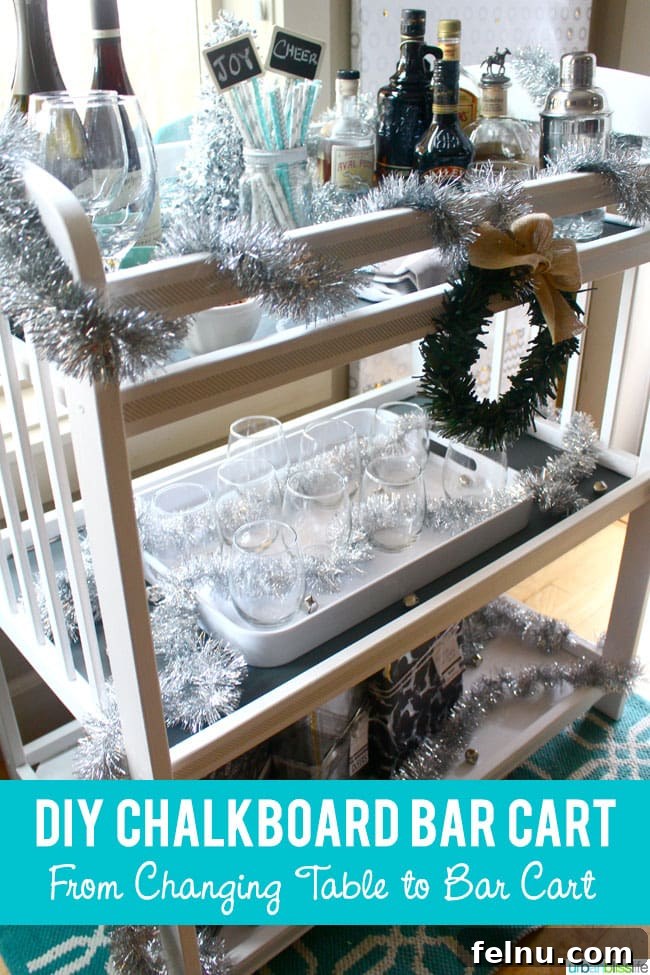
Today, we’re diving into a genuinely satisfying and surprisingly simple DIY project: transforming an ordinary baby changing table into a stylish, functional, and completely customized bar cart. This isn’t just about saving money; it’s about seeing potential where others might see only obsolescence, breathing new life into a piece of furniture, and creating something truly unique for your home.
Have you ever encountered an item destined for the curb or a dusty corner, only to have a flash of inspiration that ignites a new purpose for it? That’s precisely the experience that sparked this project. A friend generously offered this standard pine baby changing table for free, and while its initial use had long passed, its sturdy bones and versatile structure immediately spoke to me. Beyond its primary function, I envisioned a multi-purpose unit: perhaps a charming bookshelf, a practical craft cart, or, given the festive holiday season approaching, an elegant bar cart. The latter vision truly captured my imagination, promising a delightful addition for entertaining and everyday enjoyment.
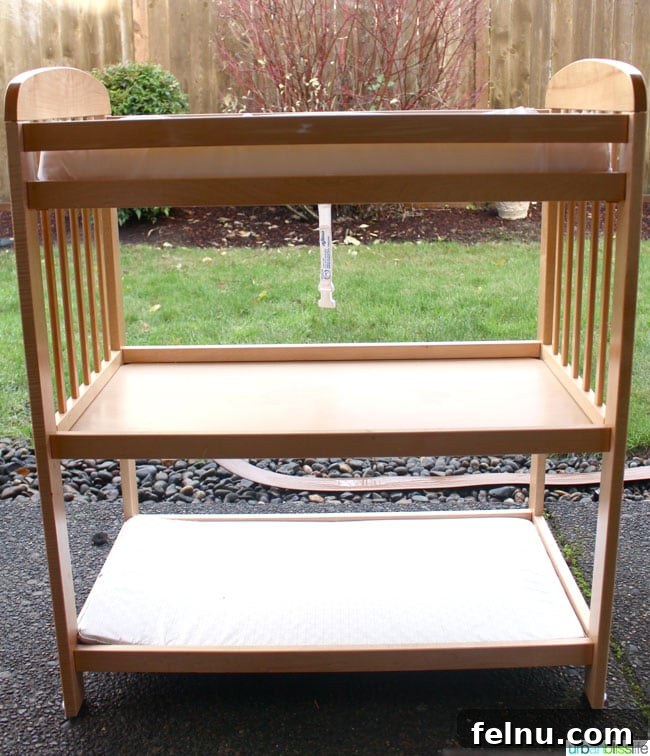
This particular changing table was a classic design: solid pine, slatted sides, a top shelf designed for a foam mattress, a bottom shelf for essentials, and a middle shelf perfectly sized for baby wipes and diapers. While perfectly functional for its original purpose, its aesthetic was, shall we say, a little dated. However, its simple, rectangular form and multiple shelving units were the ideal foundation for an upcycling project. This transformation proves that with a bit of vision and the right materials, you can breathe new life into practically any piece of furniture, turning a forgotten item into a cherished home accent.
Why Chalkboard Paint is Your DIY Secret Weapon
The cornerstone of this transformation, and what truly elevates this DIY bar cart beyond the ordinary, is the choice of chalkboard paint. I specifically wanted a cart that offered maximum versatility and allowed for easy customization. Chalkboard paint delivers on both fronts, turning functional surfaces into dynamic canvases for expression. Imagine writing out a cocktail menu for a party, labeling snacks, or simply jotting down a festive message. This paint transforms a static piece of furniture into an interactive element of your home decor.
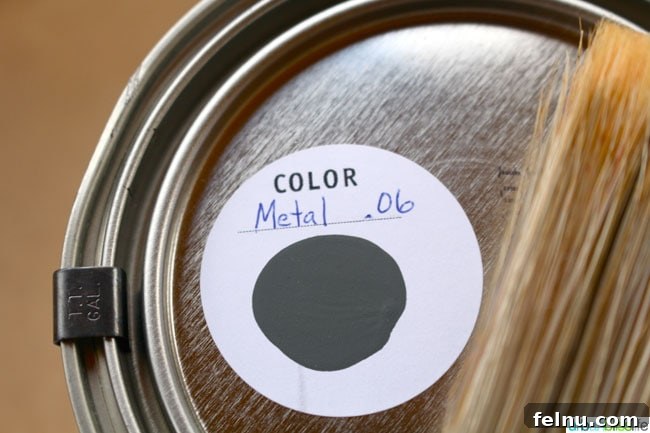
For this project, I had the wonderful opportunity to try Colorhouse’s (formerly YOLO) new Chalkboard Paints. After discussing the project and my desired aesthetic, they recommended their “Metal .06” shade. This specific color turned out to be an exceptional choice, offering a sophisticated, modern hue that perfectly complemented the rustic origins of the changing table and provided a beautiful contrast to the items I planned to display. When embarking on your own DIY projects, always consider how the paint color will interact with the existing wood, your decor, and the accessories you intend to use. A well-chosen paint can dramatically alter the perception of a piece.
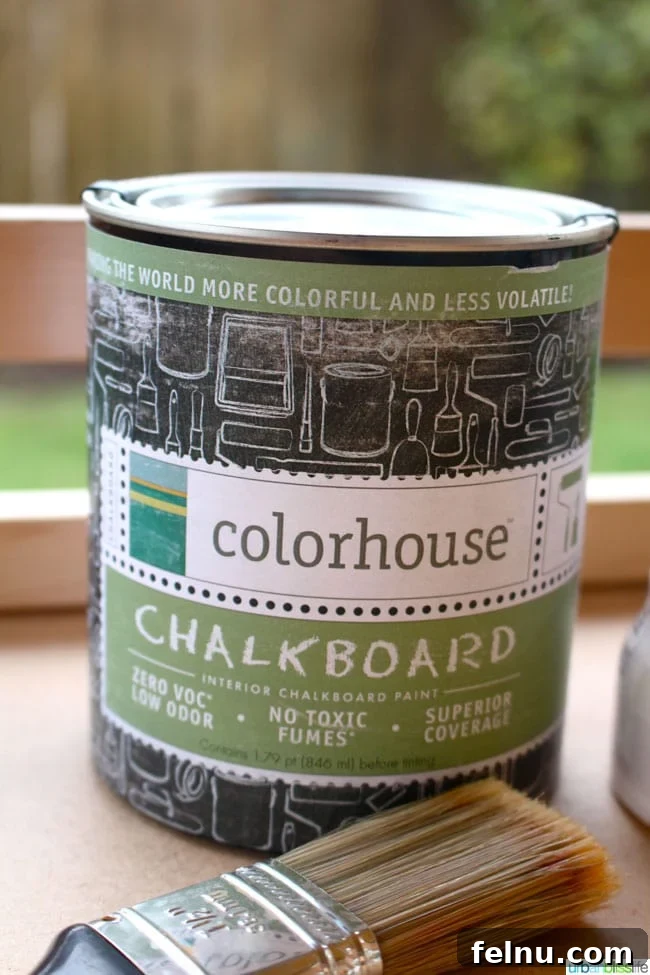
Before any paint touches the wood, proper preparation is key to ensuring a long-lasting, professional-looking finish. Skipping these crucial initial steps can lead to chipping, uneven coverage, and a less durable final product. Just like any successful renovation, the foundation matters most.
From Baby Changing Table to Bar Cart: The Transformation Unveiled
Transforming a baby changing table into a chic bar cart requires a few essential modifications and a meticulous approach to painting. Here’s a detailed guide to help you achieve a stunning result:
Step 1: Disassembly and Initial Prep
The changing table I acquired featured the traditional safety straps on its top surface. These are designed for infant safety but are entirely unnecessary for a bar cart. Using a Phillips head screwdriver, carefully remove all screws securing these straps. Store the screws in a safe place, or discard them if you’re certain you won’t reuse the table in its original form. This small step immediately begins to redefine the table’s purpose.

Step 2: Addressing the Top Shelf
Many changing tables have a brand sticker or other minor imperfections on the top side of the main shelf. To achieve a perfectly flat and clean surface for your chalkboard paint, I highly recommend flipping the top shelf over. This process typically involves gently unscrewing the shelf from its supports on both sides. Once detached, simply flip it to reveal the untouched underside, then reattach it using the same screws. This simple maneuver ensures a pristine canvas, free from dents or sticker residue, which is vital for the smooth application of chalkboard paint.
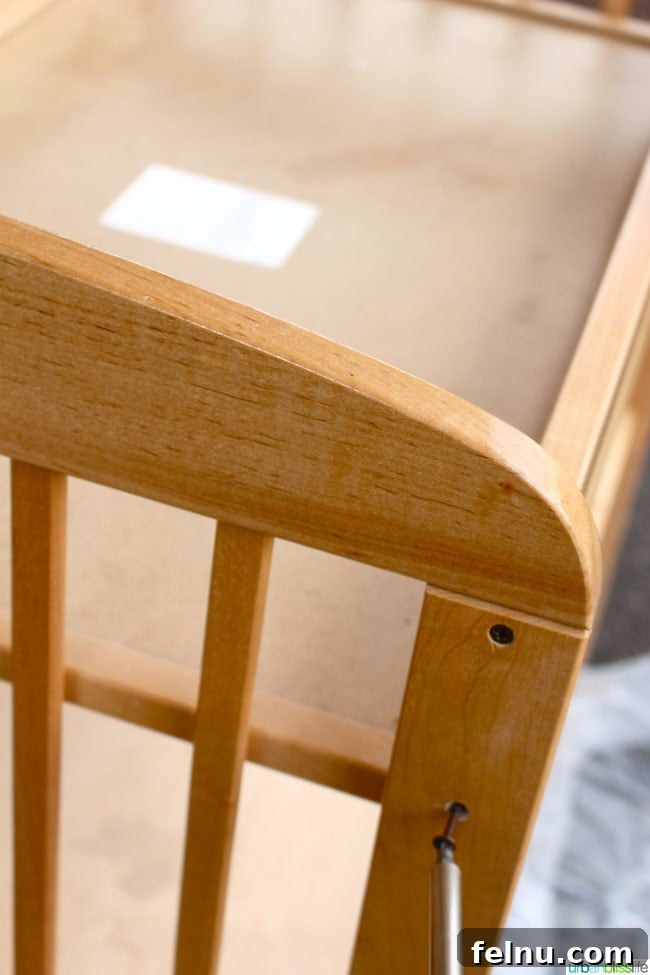
Once the shelf is flipped and resecured, you’re left with a perfectly smooth and ready-to-paint surface. This attention to detail in the preparation phase will pay dividends in the final aesthetic and durability of your bar cart.
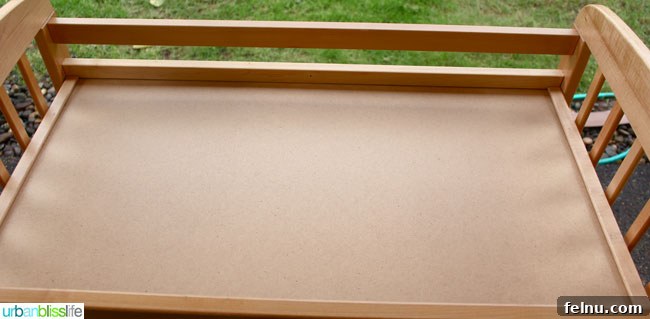
Step 3: Cleaning and Optional Sanding
With the structural modifications complete, it’s time for a thorough cleaning. Use a damp cloth to wipe down the entire changing table, removing any dust, grime, or residue. For an even better paint adhesion, a light sanding with fine-grit sandpaper (around 120-180 grit) is highly recommended, especially on older or varnished surfaces. This creates a “tooth” for the paint to grip onto. After sanding, wipe away any dust with a tack cloth or damp cloth, ensuring the surface is perfectly clean and dry before moving on to painting.
Step 4: Priming (Highly Recommended)
While some paints advertise as “paint and primer in one,” for optimal results on raw wood or previously finished furniture, applying a dedicated primer is a game-changer. Primer helps block stains, improves paint adhesion, and ensures a more uniform topcoat color, especially when transitioning from a dark to a light color or using specialty paints like chalkboard paint. Apply one thin, even coat of a good quality primer, allowing it to dry completely according to the manufacturer’s instructions.
Step 5: The Painting Process – Chalkboard and Accent Colors
Now for the fun part! I chose to paint the tops of each shelf with the sophisticated Colorhouse Chalkboard paint in “Metal .06.” For a striking contrast and a touch of classic elegance, the sides and legs were painted in a soft white. This combination creates a modern yet timeless look that suits a variety of home aesthetics.
What sets Colorhouse paints apart, and why they were an ideal choice for this project, is their commitment to health and safety. These paints are Zero VOC (Volatile Organic Compounds), meaning they release virtually no toxic fumes, have minimal to no odor, and are significantly safer for your family and pets compared to many traditional paints. This is particularly important for furniture like a bar cart, which will come into contact with food and beverages. Knowing that the surfaces are safe provides invaluable peace of mind. We’ve used YOLO/Colorhouse paints in our daughter’s room before, so I was confident in their quality and eco-friendly properties.
Apply paint in thin, even coats. Multiple thin coats are always better than one thick coat, as it prevents drips, promotes even drying, and creates a more durable finish. Allow each coat to dry completely before applying the next. For chalkboard paint, typically 2-3 coats are needed to achieve full coverage and optimal chalkboard functionality. Ensure adequate ventilation during the painting process.
The Finished DIY Bar Cart: Style, Function, and Personalization
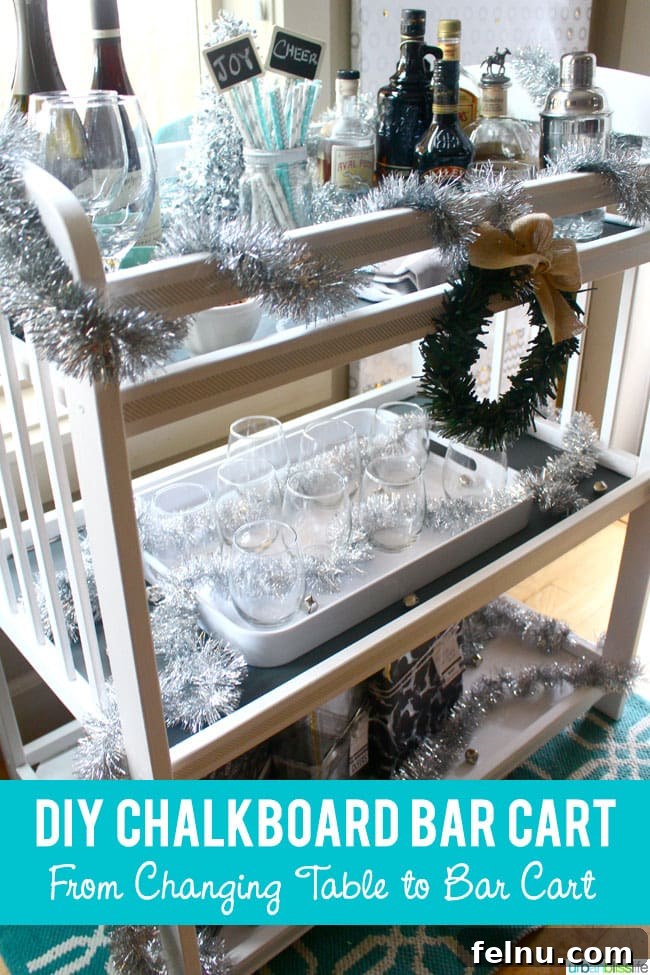
After diligent preparation and a couple of coats of high-quality paint, the humble pine changing table undergoes a complete metamorphosis, emerging as a sophisticated and highly functional chalkboard bar cart. The transformation is striking, proving that a little creativity and effort can yield truly remarkable results.
One minor adjustment I had initially planned was to install casters on the bottom for effortless mobility. However, I discovered that the existing feet of this particular changing table were quite thin and incompatible with the standard IKEA casters I had on hand. While I might eventually consider sawing off the original feet and attaching a more robust base for casters, for now, the cart remains surprisingly easy to maneuver around the house without them. When selecting casters for your own projects, ensure they are appropriate for the weight and structure of your furniture piece, and always check the mounting compatibility.
The true magic of this chalkboard bar cart lies in its customizable surfaces. I absolutely adore being able to write decorative notes, labels, or even artistic doodles directly onto the shelves. This feature makes the cart incredibly adaptable for any occasion or season. The versatility of chalkboard paint allows you to transform the cart’s personality in minutes.
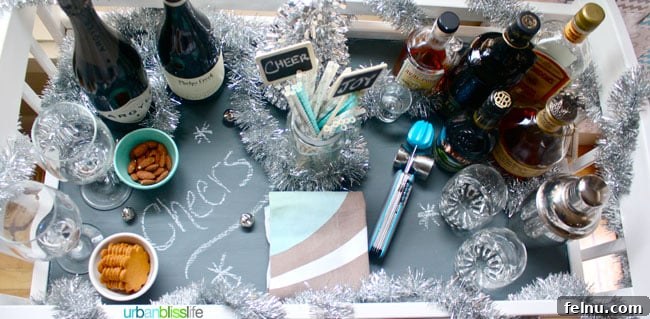
Imagine the possibilities for entertaining! You could use the chalkboard tops for:
- Labeling Appetizers: Clearly indicate different dishes, especially helpful for dietary restrictions or simply to guide guests.
- Creative Cocktail Menus: Write out themed drink recipes, detailing ingredients and instructions for a fun, interactive experience.
- Personalized Place Settings: Use the top shelf to welcome guests by writing their names next to their drinks or party favors.
- Seasonal Messages: Display festive greetings for holidays, seasonal quotes, or simply a “Cheers!” for everyday enjoyment.
- Buffet Labels: Clearly identify food items at a casual gathering.
- Dessert Bar Descriptions: Announce your sweet treats in style.
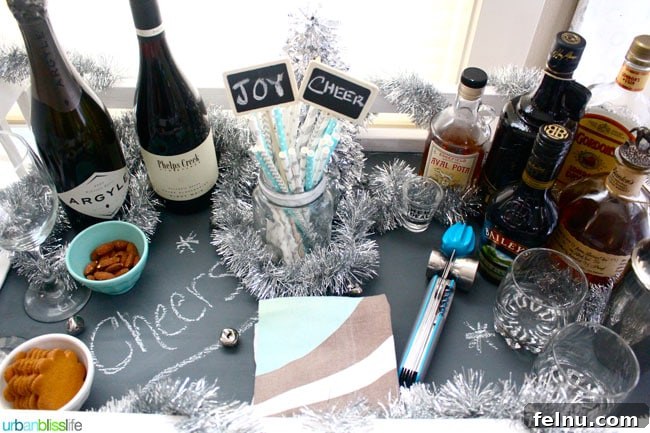
Beyond the paint, personalization continues with simple decorative touches. As a huge fan of washi tape (as showcased in various past projects here, here, and here), I incorporated silver and white striped washi tape to adorn the sides of each shelf. Washi tape is fantastic for DIY projects because it’s easy to apply, offers endless patterns and colors, and can be removed without damaging the paint, allowing for seasonal or thematic changes without commitment.
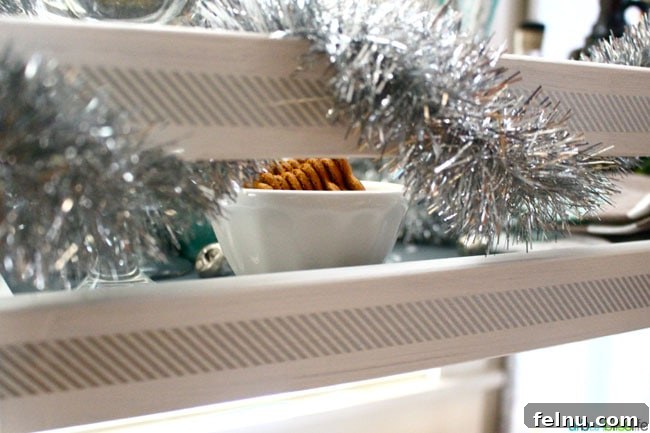
For holiday entertaining, classic decorations like tinsel and jingle bells always add a festive sparkle to any bar cart setup. Don’t be afraid to experiment with other seasonal decor like mini pumpkins for autumn, fresh flowers for spring, or seashells for a summer vibe.
The beauty of a multi-tiered bar cart lies in its organized presentation. While you can arrange it to your liking, here’s a general guideline for optimizing your bar cart’s functionality and aesthetic appeal:
- Top Shelf: The Star of the Show. This is prime real estate for your primary spirits, tonic waters, small appetizers, and elegant decorative accessories like patterned straws, cocktail stirrers, and perhaps a small vase of flowers or a unique ice bucket. Keep frequently used items within easy reach.
- Middle Shelf: Glassware Galore. Dedicate this shelf to various types of glassware—wine glasses, tumblers, shot glasses, or champagne flutes. You might also place shakers, jiggers, and other essential bar tools here for convenient access during mixing.
- Bottom Shelf: Practicality and Pizzazz. This spacious shelf is perfect for extra bar towels, additional bottles of spirits or mixers, or even an overflow of glasses. To elevate its decorative appeal, you can also use it to display wrapped gifts for a festive touch, small plants, or decorative books, creating a cozy and inviting vignette.
Our new DIY Chalkboard Bar Cart has quickly become a cherished piece in our home, embodying the spirit of creativity, repurposing, and practical design. It’s more than just a place to hold drinks; it’s a conversation starter, a flexible serving station, and a testament to the endless possibilities of DIY. We encourage you to look at overlooked furniture with fresh eyes and discover the hidden potential waiting to be unleashed!
More Bar Articles to Inspire You
- How to Set Up a Home Bar
- Ultimate Guide to the Best Corkscrews
- Wine and Spirits Gift Guide
- The Urban Bliss Life Wine Guide