
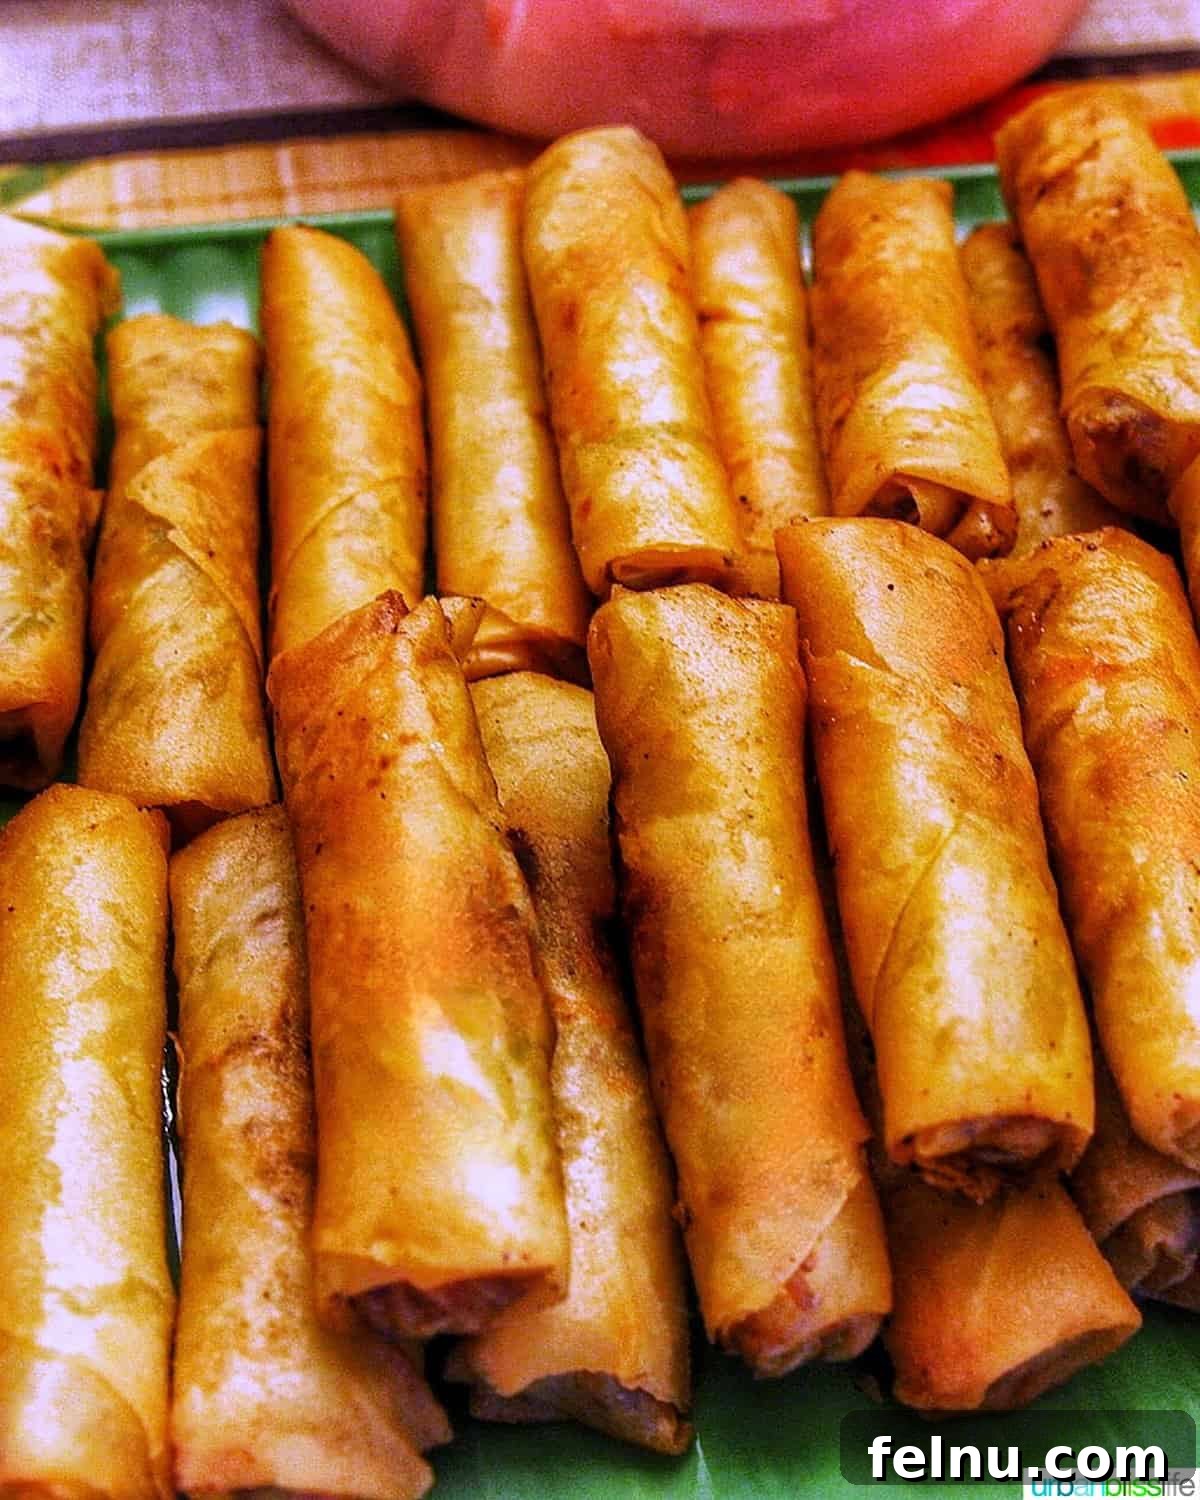
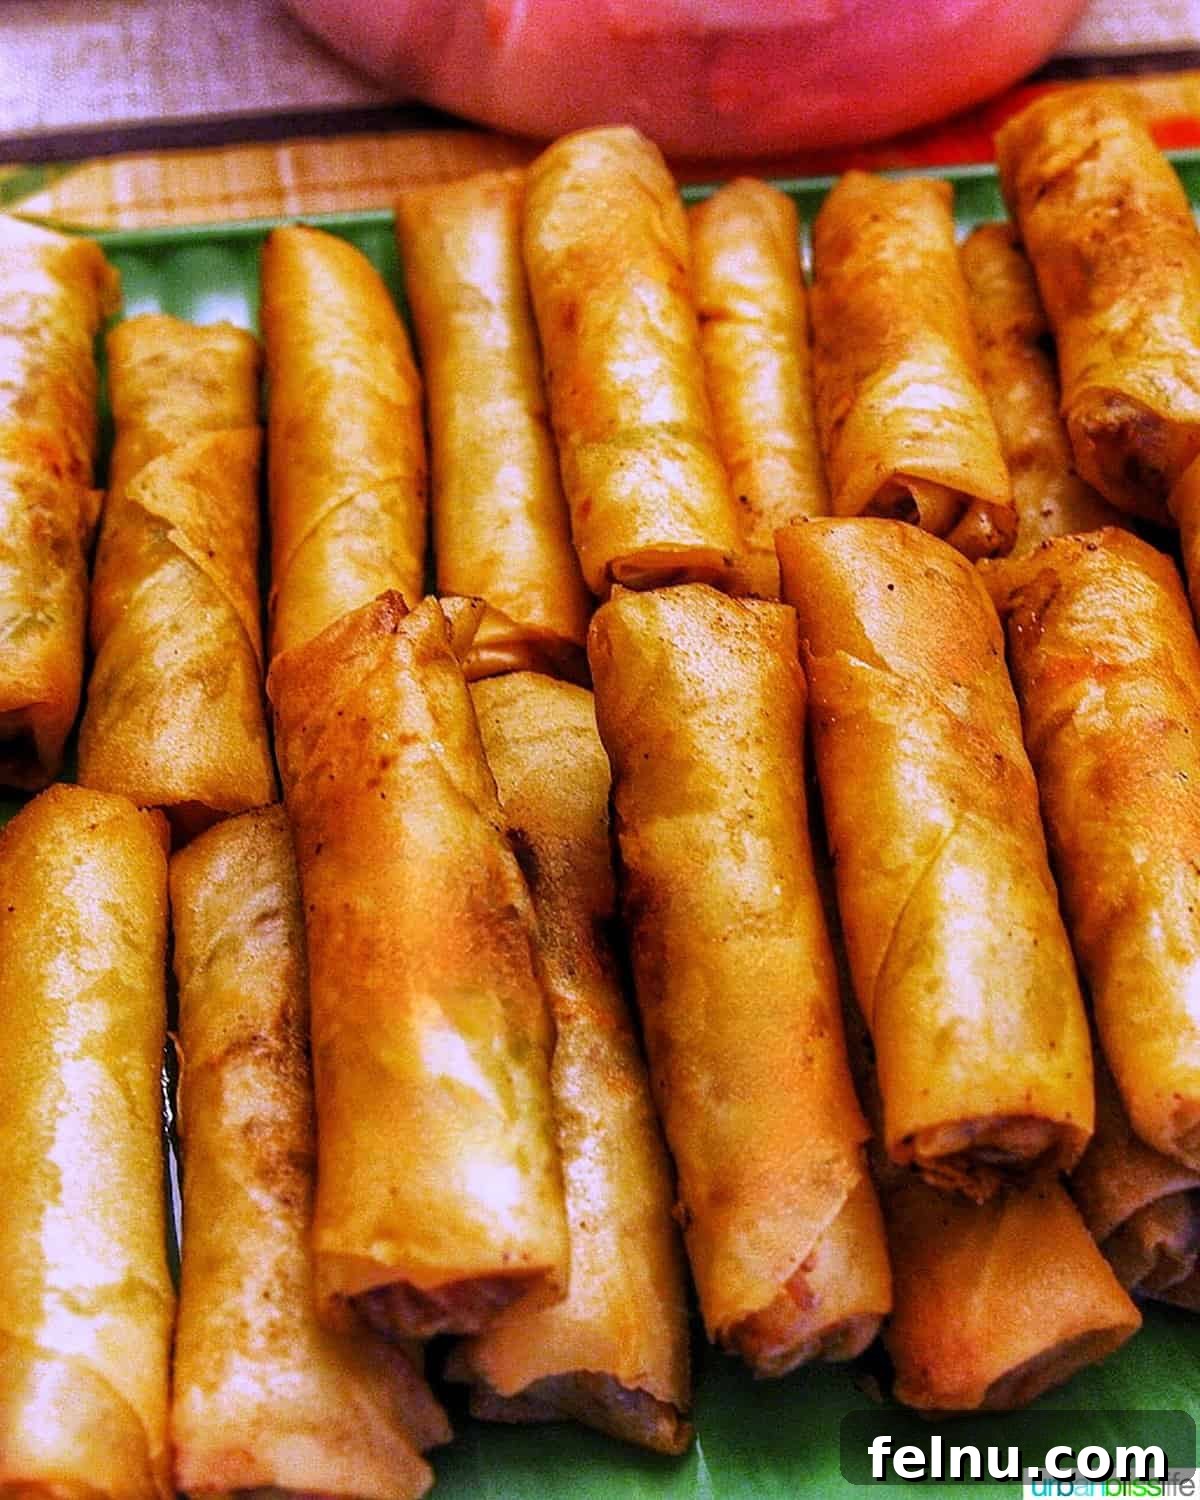
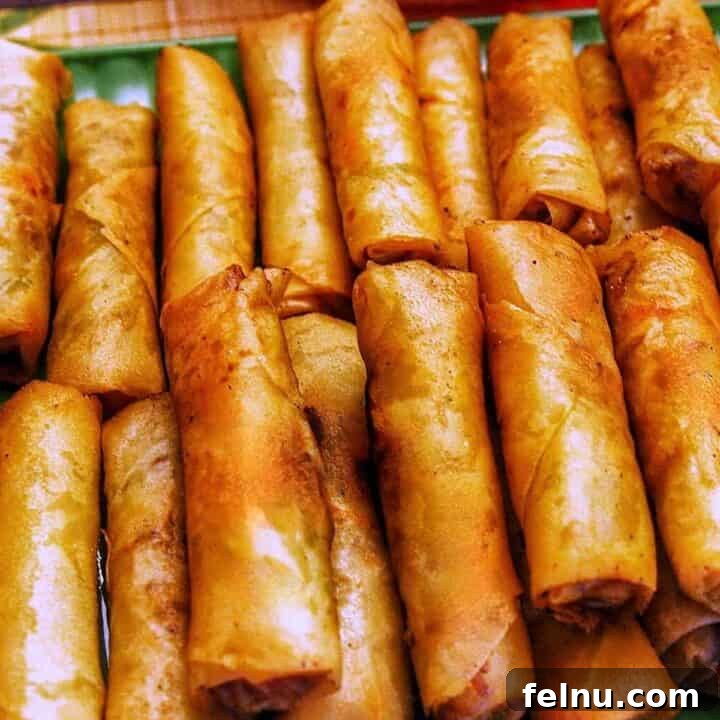
Filipino Lumpia are irresistible, crispy Filipino egg rolls, meticulously crafted to be the star of any gathering. These savory delights also freeze exceptionally well, making them an ideal choice for convenient snacks, quick lunches, satisfying dinners, or to impress last-minute guests!
This classic recipe has been cherished and perfected over generations. This post was originally published on November 8, 2013, and has been comprehensively updated on November 27, 2021, and again in July 2023. These updates include fresh, vibrant photos, clearer step-by-step instructions, insightful answers to frequently asked questions, and refined recipe details to ensure you achieve the most authentic and delicious Lumpia every time.
Growing up in a vibrant Filipino household, food wasn’t just sustenance; it was the heart of our family life and celebrations. My profound passion for cooking blossomed from countless hours spent watching my Lola – my beloved great-grandmother, who lived with us – transform simple ingredients into culinary magic in the kitchen, from dawn till dusk.
My parents embraced entertaining with open arms. Our home was a constant hub of activity, with family and friends flowing in and out. Likewise, we were always visiting relatives, where tables overflowed with traditional Filipino feasts. Staples like the comforting Pancit Bihon, the tangy and savory Filipino Adobo, and the tantalizing Filipino Pork BBQ were always abundant, ensuring no one ever left hungry.
However, amidst this spread of delectable dishes, there was one food item you could invariably, undeniably find at every single family gathering and in every Filipino home: Lumpia. Its crispy exterior and savory filling made it an instant favorite, a mandatory presence that underscored every festivity and casual get-together. It’s more than just a dish; it’s a symbol of Filipino hospitality and comfort.
🍽️ What is Lumpia?
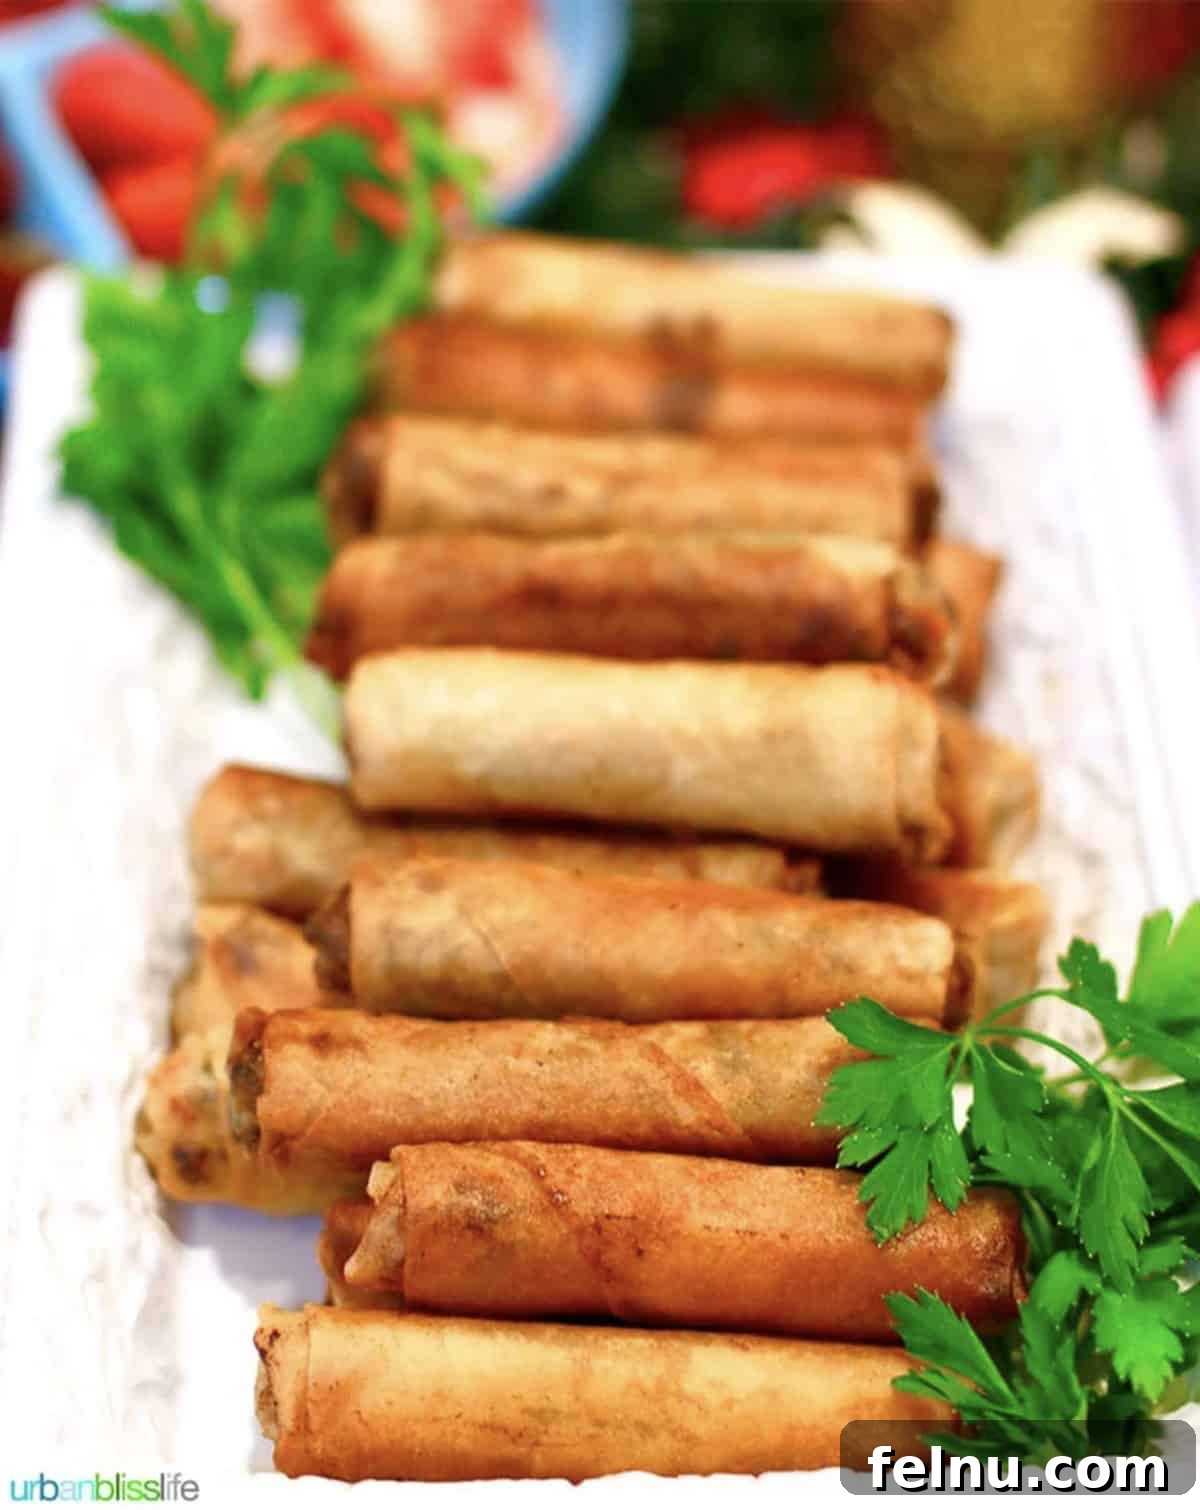
Lumpia is the beloved Filipino counterpart to the classic egg roll or spring roll. This immensely popular Filipino delicacy features a thin, crispy wrapper enveloping a deliciously savory filling. Traditionally, this filling consists of a flavorful mixture of ground meat – most commonly beef, pork, or a combination of both, sometimes even incorporating minced shrimp for an extra layer of flavor – combined with a generous medley of finely chopped vegetables. These ingredients are then meticulously seasoned and wrapped in delicate, paper-thin lumpia wrappers, creating a tight roll that fries up to an exquisite golden crisp.
Once you’ve experienced the delightful crunch and rich flavors of authentic lumpia, it’s hard not to fall in love. Its unique texture and savory profile make it a universally adored dish. If you’ve yet to try this Filipino culinary gem, you’re in for a treat. I am thrilled to share with you what I believe is the ultimate lumpia recipe, bursting with generations of authentic Filipino flavors that will undoubtedly become a staple in your kitchen.
❤️ Why You’ll Love This Authentic Lumpia Recipe
This authentic Filipino lumpia recipe is a cherished adaptation, a labor of love that merges the traditional techniques passed down from my Lola and my mother with my personal touch. I am confident that you and your loved ones will savor every bite as much as our family does!
- Perfect Make-Ahead Meal: One of the most fantastic aspects of this recipe is its incredible convenience. You can dedicate a single day to preparing all the ingredients, assembling the lumpia rolls, and then freezing them uncooked. This foresight allows you to have a delicious, homemade meal or appetizer ready to fry whenever the craving strikes or unexpected guests arrive.
- Packed with Nutrient-Rich Vegetables: This lumpia recipe isn’t just about the savory meat; it’s also loaded with a colorful array of fresh, finely chopped vegetables. This not only enhances the flavor and texture but also adds a healthy boost to each roll. Plus, the recipe is highly flexible, making it incredibly easy to substitute or add your favorite vegetables to customize it to your taste.
- Incredibly Versatile for Various Fillings: While traditionally made with a mix of ground beef and pork, this versatile filling recipe can be adapted to suit diverse preferences and dietary needs. Feel free to use ground chicken, ground turkey, minced shrimp, or even create a delightful vegetarian version by focusing on mushrooms and tofu. The core seasoning ensures deliciousness no matter your choice.
- Unforgettable Taste and Texture: Prepare for a sensory experience that will captivate your palate. The exterior of these lumpia fries up to an extraordinary golden crispness, offering a satisfying crunch with every bite. This delightful texture perfectly complements the moist, flavorful filling, which is robustly seasoned and bursting with aromatic Filipino spices. Each lumpia promises a harmonious blend of crispiness and rich, savory flavors.
🥕 Essential Ingredient Notes for Perfect Lumpia

Crafting exceptional lumpia begins with selecting high-quality ingredients and understanding how each contributes to the final, delicious outcome. Here’s a detailed look at what you’ll need:
- Ground Meat: For the most authentic and flavorful lumpia, a blend of ground meats is highly recommended. I find that combining ground beef and ground pork yields the richest taste and most satisfying texture. The slightly higher fat content in pork contributes to a juicier filling, while beef adds depth. You can also experiment with ground chicken, turkey, or minced shrimp for different flavor profiles.
- Onions and Garlic: These are the foundational aromatics of Filipino cuisine. Use yellow or white onions, finely diced to ensure they cook evenly and integrate seamlessly into the filling without overwhelming it. The recipe calls for 5 cloves of garlic, minced, providing a robust flavor, but feel free to adjust this amount based on your personal preference for garlic intensity.
- Soy Sauce: A cornerstone of Filipino seasoning, soy sauce (not pictured but essential) contributes a crucial umami depth and a hint of salinity to the meat as it cooks. It also adds a touch of liquid, ensuring the filling remains moist and flavorful. Gluten-Free Substitute: For a gluten-free option, coconut aminos are an excellent alternative, offering a similar savory profile.
- Chicken Broth: This liquid ingredient (also not pictured) is vital for imparting additional flavor and moisture to the filling as the vegetables simmer. It helps to tenderize the vegetables and ensures a succulent, well-hydrated mixture.
- Potatoes: Peel and dice the potatoes into very small, uniform cubes, roughly the same size as your chopped carrots. This meticulous dicing is key to ensuring they cook thoroughly and evenly, softening to a tender texture that blends perfectly with the other filling components.
- Carrots: Just like the potatoes, peel and chop the carrots into very small, consistent cubes. Their natural sweetness and vibrant color add both flavor and visual appeal to the lumpia filling.
- Green Beans: For these, you’ll want to slice them on the bias, creating elegant diagonal cuts. This technique not only looks appealing but also helps them cook quickly and retain a slight crispness, adding a refreshing texture contrast.
- Cabbage: I typically use green cabbage, chopped very finely. However, you can use either green or purple cabbage, or a delightful combination of both, for varying colors and subtle flavor differences. Ensure it’s finely shredded or chopped so it wilts down nicely.
- Celery: Dice the celery into very small pieces, just slightly larger than your finely diced onions. Celery contributes a subtle savory note and a delicate crunch that enhances the overall texture of the filling.
- Egg: You’ll need one egg (not pictured) combined with 1 teaspoon of water to create an effective egg wash. This mixture is crucial for sealing the lumpia wrappers, ensuring they remain tightly closed during frying and achieve that perfect crispy texture.
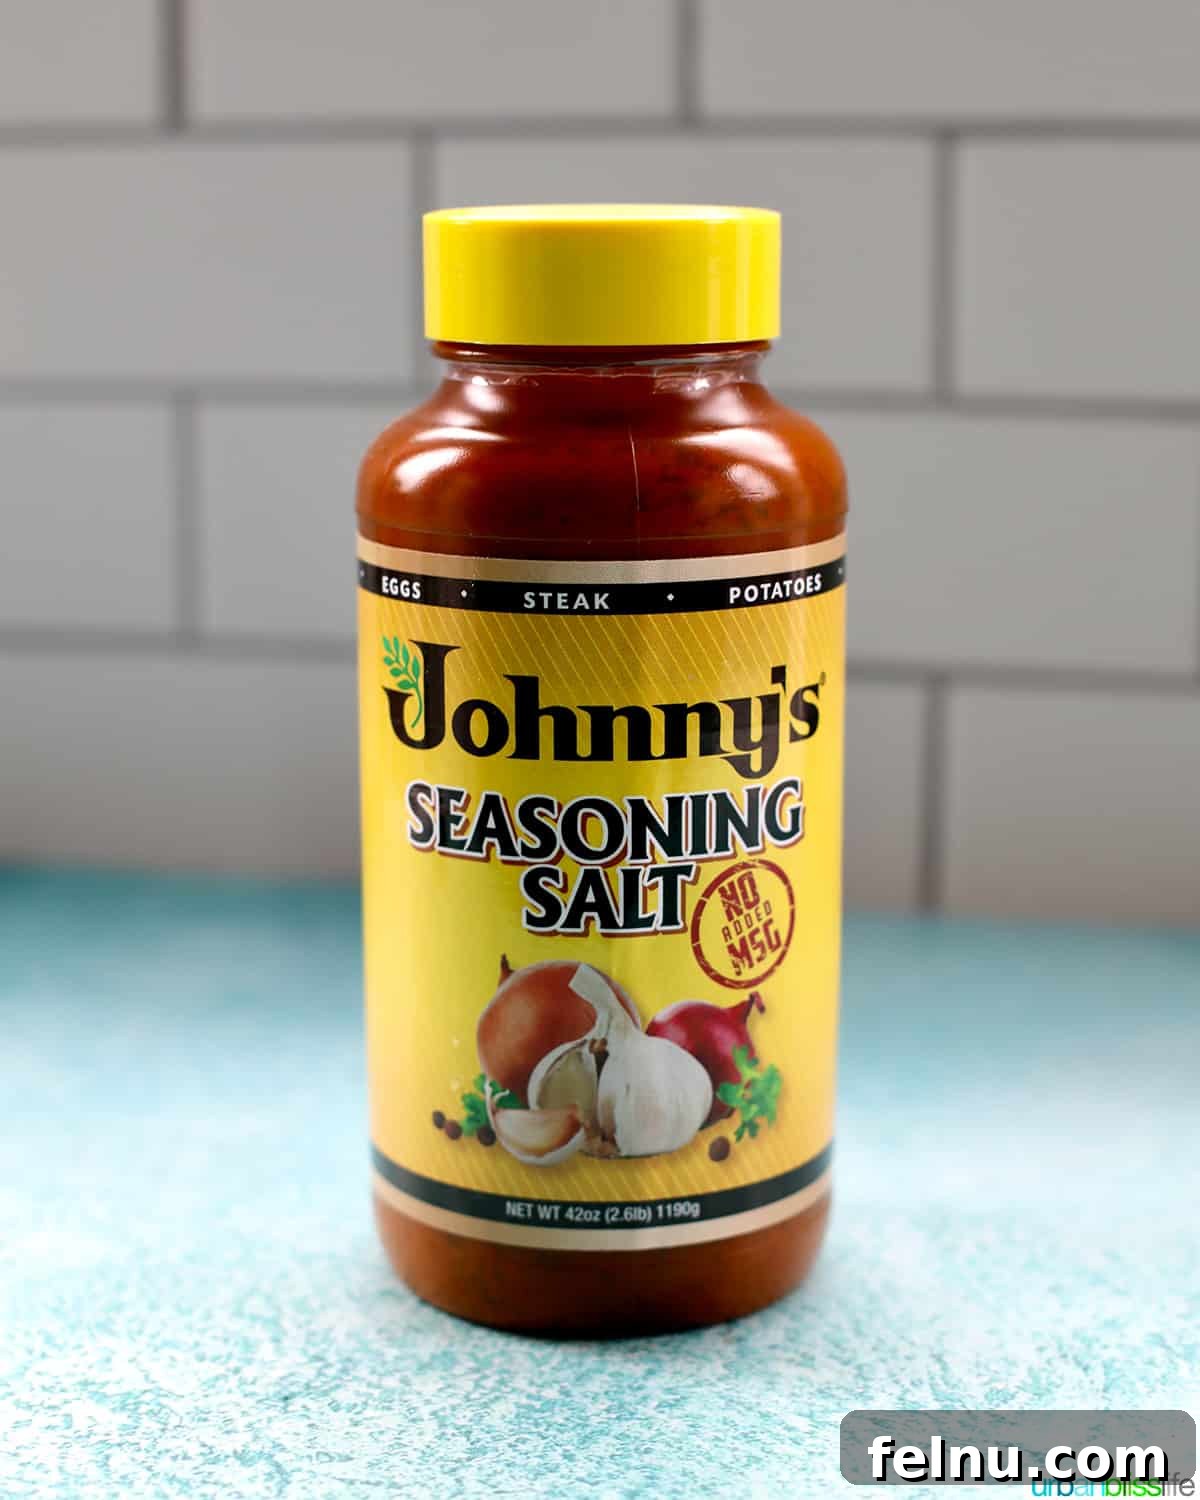
Special Seasoning: Johnny’s Seasoning Salt is an absolute MUST for our family’s authentic lumpia recipe. This secret ingredient elevates the flavor profile, adding a unique and irresistible zest. While you only need 3 teaspoons for this particular recipe, it’s an incredibly versatile seasoning that I highly recommend keeping on hand. I often buy the ginormous 42-ounce container from Costco, as it’s fantastic for enhancing the flavor of chicken, pork, beef, seafood, and a wide variety of vegetables.
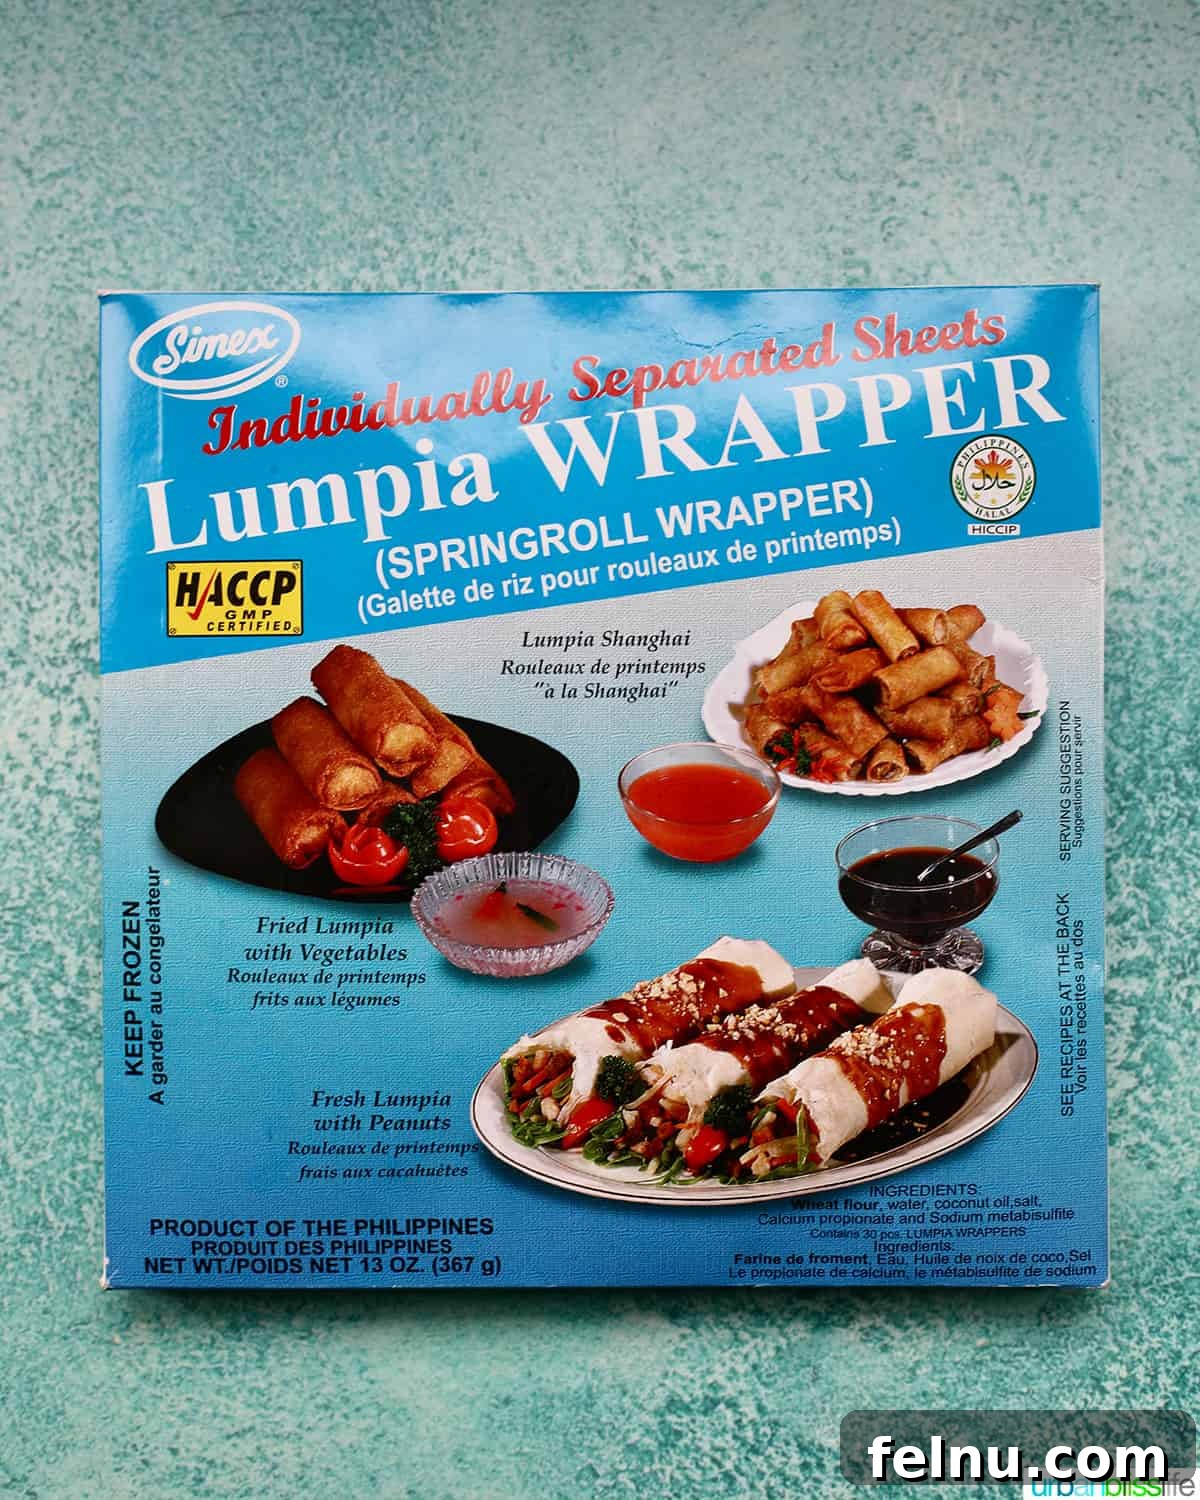
Lumpia Wrappers: The choice of wrapper is critical to achieving the signature crispness of authentic lumpia. It is imperative to use specific lumpia wrappers, similar to the one pictured above. These wrappers are exceptionally thin, often referred to as “paper-thin,” and are designed to fry up incredibly crispy without being overly doughy. The variety shown, with separating sheets between each wrapper, is particularly helpful as it makes them easier to handle and prevents tearing. Lumpia wrappers are delicate, so always handle them gently and with care!
Gluten-Free Option: If you are looking for a gluten-free alternative, you can certainly serve this delicious lumpia filling as a lettuce wrap. Simply spoon the cooked filling into crisp lettuce leaves for a fresh, lighter meal. Alternatively, some individuals use rice paper wrappers for deep-frying, though the texture will be different from traditional lumpia.
If you find it challenging to locate the exact lumpia wrappers depicted, these spring roll wrappers are a suitable substitute. The key is to look for wrappers that are specifically advertised as “super thin” or “paper-thin” to replicate the delicate, crispy texture that defines authentic Filipino lumpia, differentiating them from thicker egg roll wrappers.
✅ Step-by-Step Instructions for Making Crispy Filipino Lumpia
Creating delicious Filipino lumpia from scratch is a rewarding culinary journey. To ensure your success, I’ve outlined a comprehensive step-by-step cooking guide. Before you begin, I highly recommend reading through all these steps thoroughly. Once you have a clear understanding of the process, you can print out the recipe card below for easy reference, which includes full ingredient measurements and precise instructions.
Preparing the Flavorful Lumpia Filling
The first crucial step is to meticulously prepare all your vegetables. Begin by finely chopping the garlic, onions, and dicing the potatoes, carrots, celery, green beans, and cabbage. Uniformity in size is key here, especially for the harder vegetables like potatoes and carrots, to ensure they cook evenly and integrate perfectly into the filling.
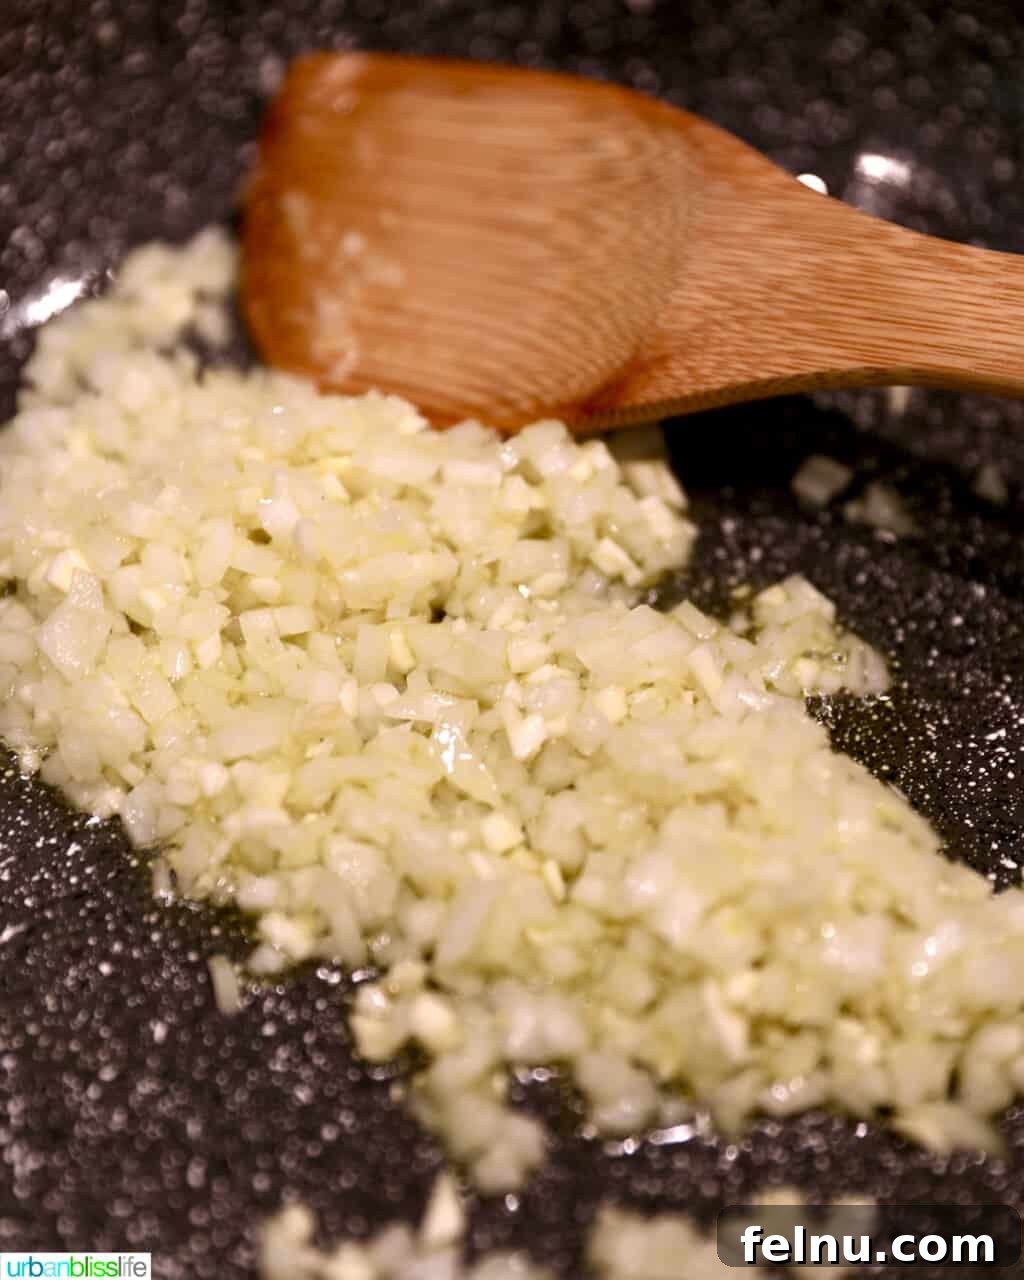
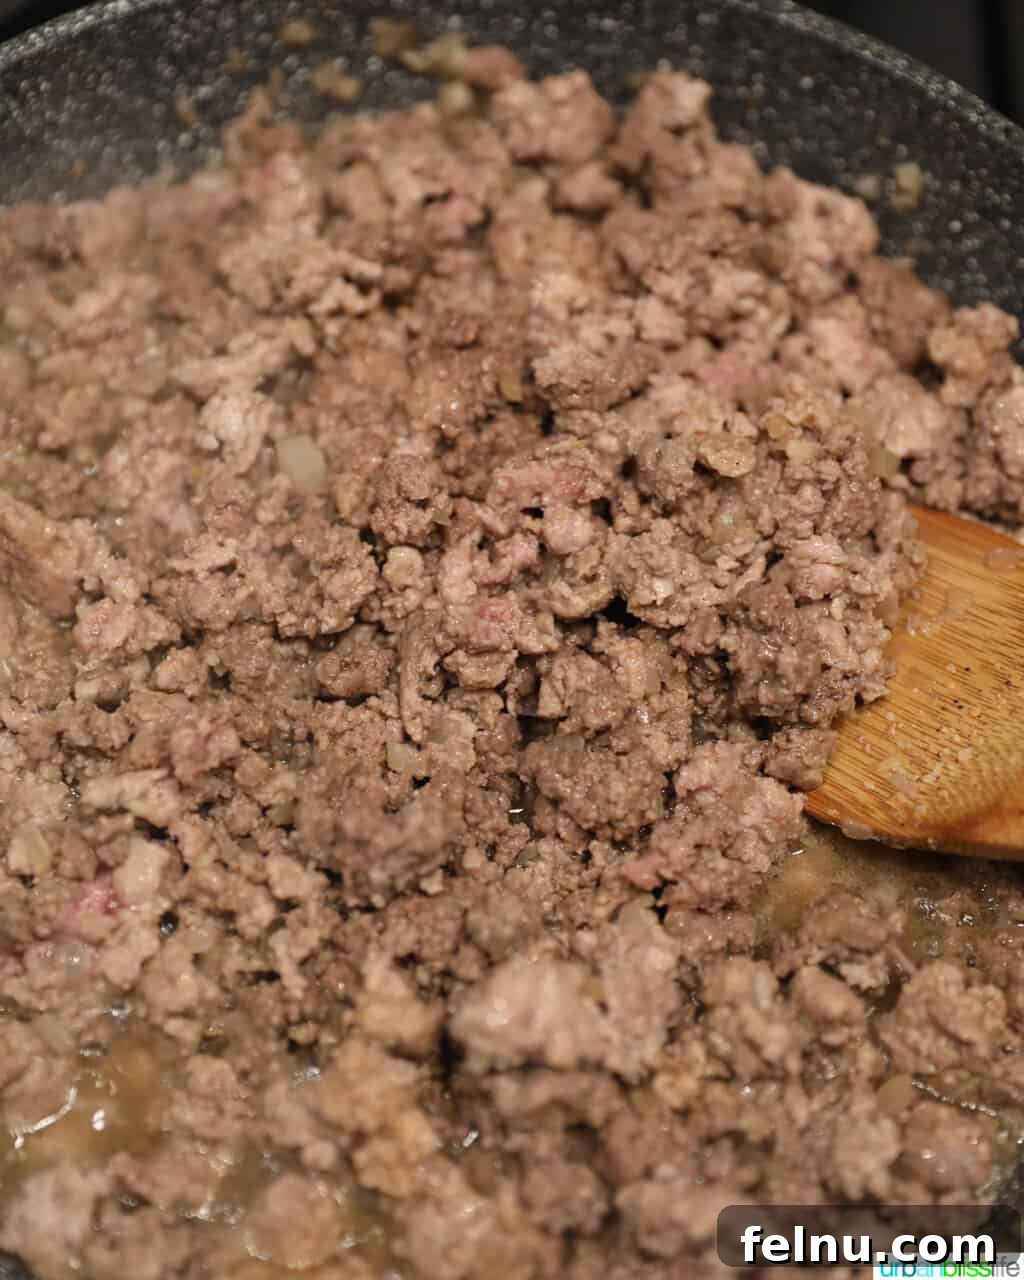
Once all your vegetables are prepped and ready, heat 2 tablespoons of vegetable oil or olive oil in a large stockpot or a spacious skillet over medium to medium-high heat. When the oil is shimmering and hot, add the finely minced garlic and diced onions. Sauté these aromatics for 2 to 3 minutes, stirring continuously, until the onions become soft and translucent, and the garlic releases its fragrant aroma.
Next, introduce the ground beef and ground pork into the pan with the translucent garlic and onions. Season generously with kosher salt, freshly ground black pepper, and soy sauce. Continue to sauté the meat, breaking it apart with a spoon, until it is thoroughly browned and crumbled. This step ensures that the meat develops a rich, savory base flavor.
After the meat is browned, carefully drain any excess oil from the pan. This is a crucial step to prevent the lumpia from becoming greasy. Once drained, pour in the chicken broth and bring the mixture to a gentle boil. Now, add the finely diced potatoes and carrots to the pot. Stir in the indispensable Johnny’s Seasoning Salt, which will infuse the filling with its signature taste. Allow the mixture to simmer for 5-10 minutes, giving the harder vegetables time to soften.
Finally, incorporate the thinly sliced green beans, finely chopped cabbage, and diced celery into the simmering mixture. Continue to simmer for another 5 minutes. The goal here is for the vegetables to be cooked through but still retain a slight crispness, adding a delightful textural contrast to the filling.
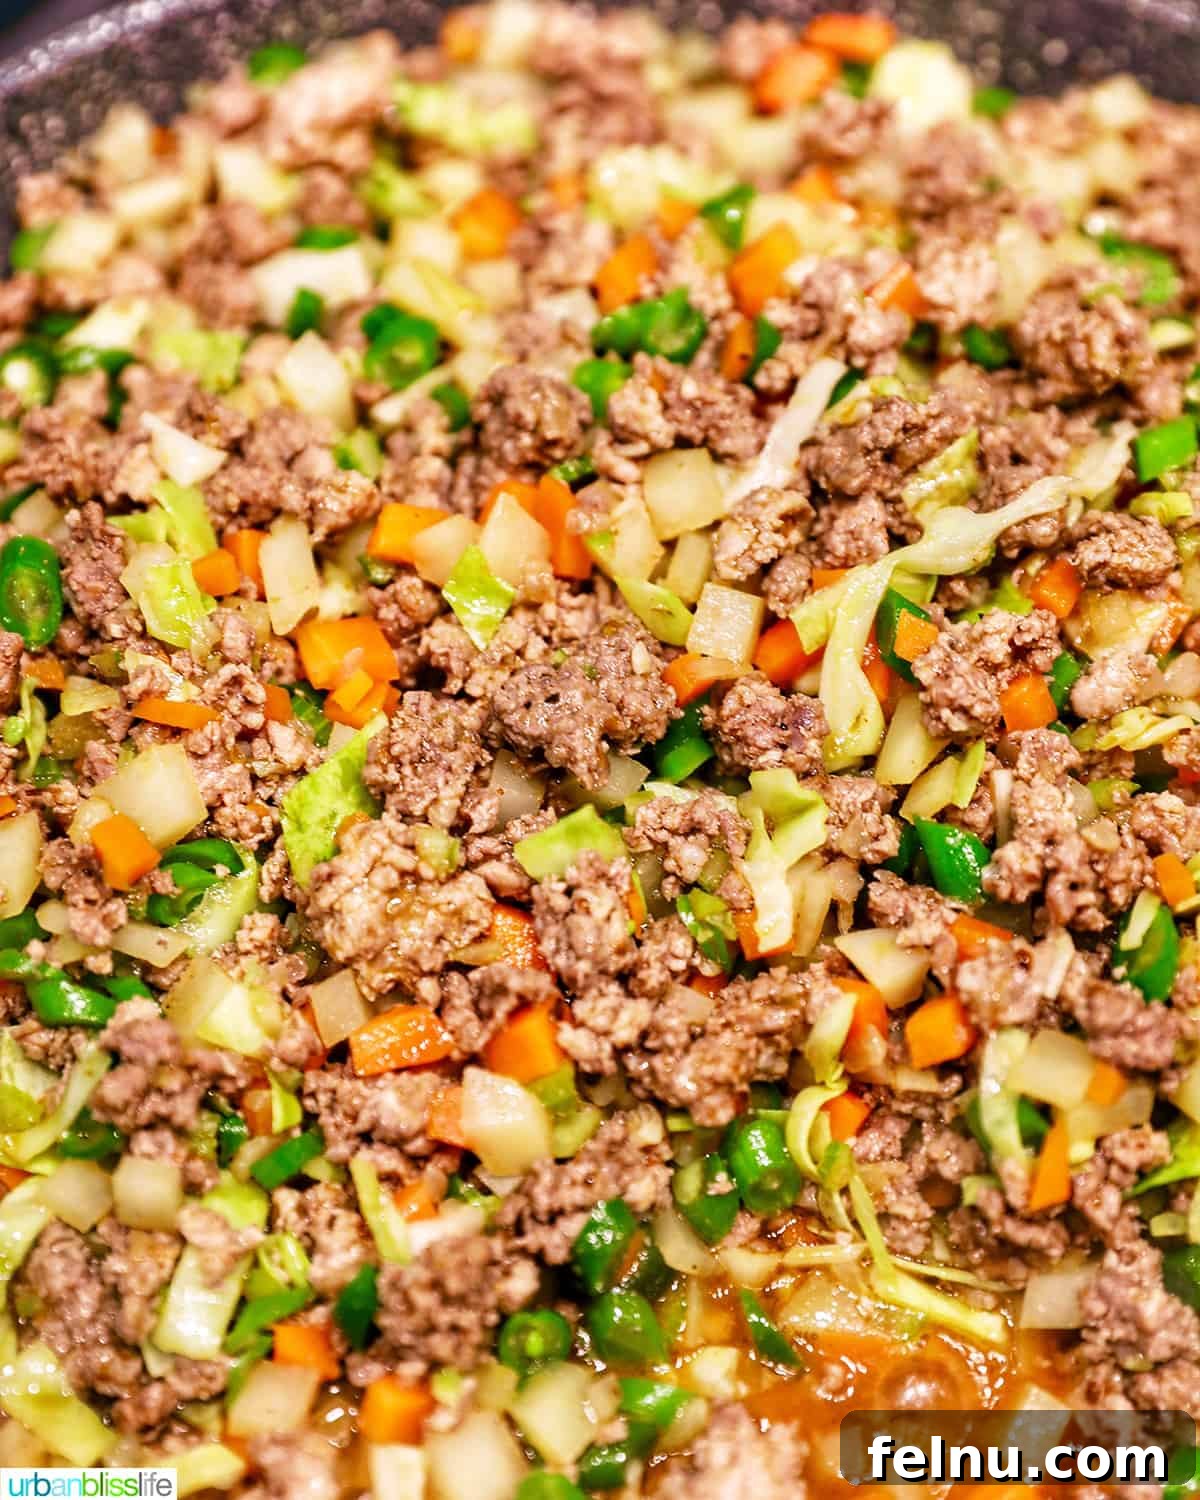
Once all the ingredients are cooked, it’s vital to drain any remaining excess fats and liquid mixture. The most effective way to do this is by pouring the entire contents of the pot over a sturdy strainer or colander placed in the sink. This step is crucial for preventing soggy lumpia wrappers. After draining thoroughly, transfer the filling to a large bowl or baking sheet and allow the mixture to cool completely to near-room temperature. A cooled filling is much easier to handle and prevents the delicate wrappers from tearing during assembly.
Assembling Your Delicious Filipino Lumpia Rolls
With your perfectly seasoned and cooled filling ready, it’s now time for the art of assembling these beautiful Filipino spring rolls. This step requires a gentle touch and a bit of patience to ensure crisp, tightly-rolled lumpia.
Begin by carefully separating the individual sheets of lumpia wrappers. These wrappers are incredibly delicate and prone to tearing, so work slowly and gently. As you work with one wrapper, it’s a good practice to cover the remaining wrappers with a damp paper towel or keep them in their original packaging, sealed, to prevent them from drying out and becoming brittle.
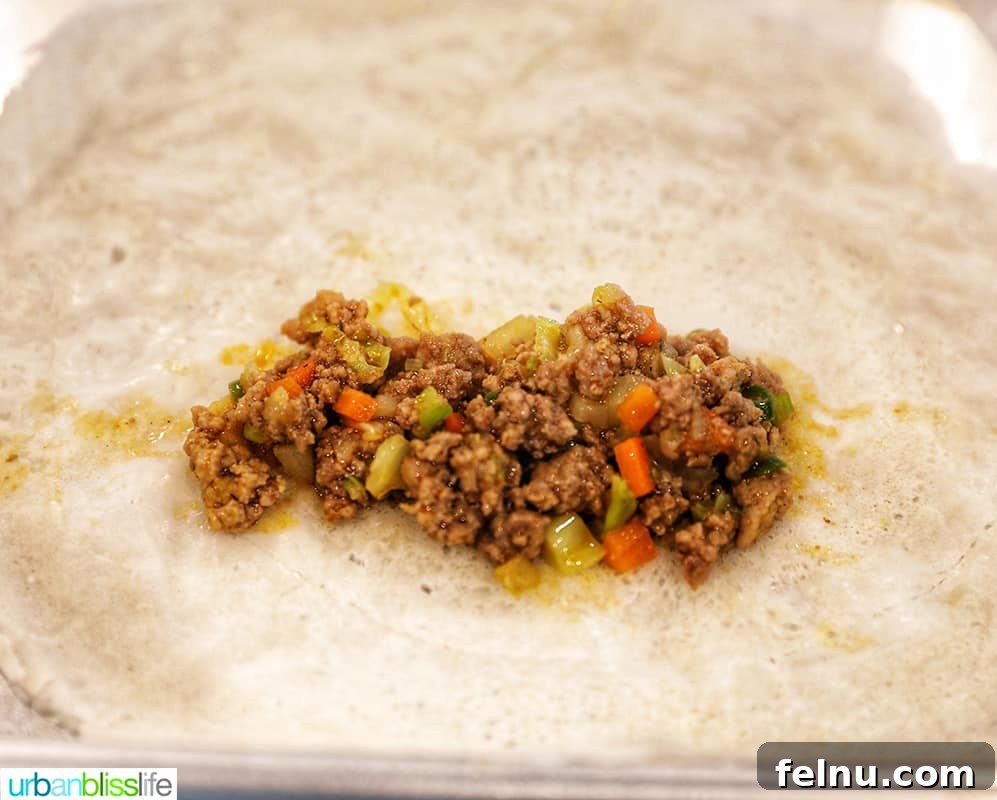
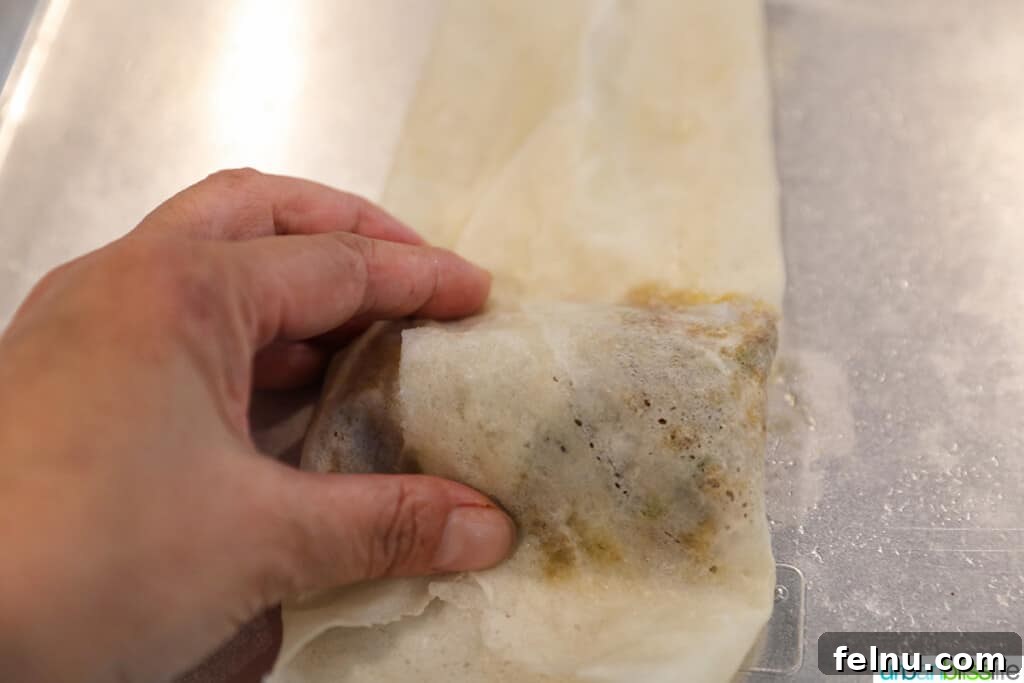
To start rolling, lay one lumpia wrapper flat on a clean, dry surface, typically oriented like a diamond. Place about 1 heaping tablespoonful of the cooled filling diagonally near one corner of the wrapper. Ensure you leave a clear edge of approximately 1.5 inches of space at both ends of the wrapper along the diagonal line. This provides enough wrapper material for proper folding and sealing. If you feel a lumpia could benefit from slightly more filling, you may add a little extra, but exercise caution: overfilling is a common mistake that can cause the delicate wrappers to tear either before or during the frying process, compromising the integrity and crispness of your lumpia.
Now, carefully fold the corner of the wrapper closest to the filling over the filling itself, creating a snug base. Then, tuck in both side ends of the wrapper, much like you would fold an envelope. This creates a neat, secure packet. Proceed to roll the lumpia neatly and tightly away from you, maintaining gentle but firm pressure to ensure a compact roll. A tight roll is essential for a uniform, crispy texture. Finally, moisten the far corner of the wrapper with a small amount of water or the prepared egg wash (made from 1 egg + 1 teaspoon water) to firmly seal the edge. This prevents the lumpia from unraveling during frying.
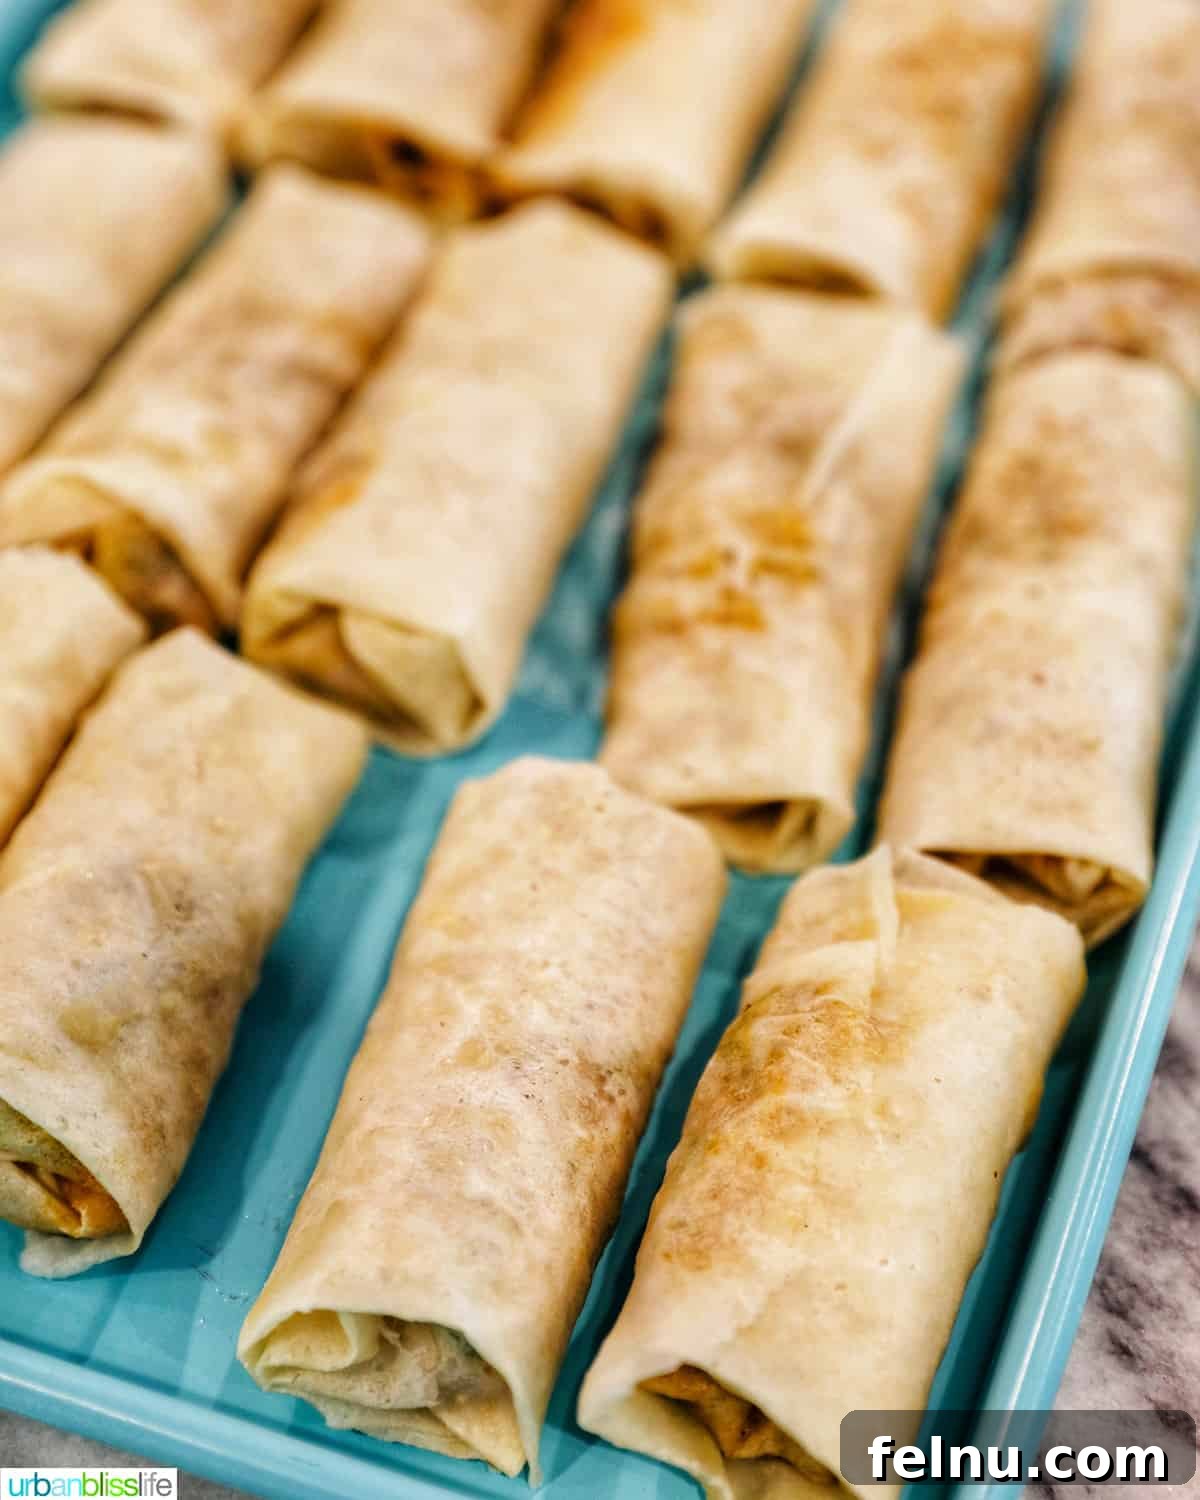
Once assembled, your freshly rolled lumpia are incredibly versatile. They can be fried immediately for instant enjoyment, or they can be frozen for later use, offering unparalleled convenience (refer to the Frying Tips and Freezing & Cooking Frozen Lumpia sections below for detailed guidance).
If you plan to fry them immediately, it’s important to cover the assembled lumpia with plastic wrap or a slightly damp towel. This simple step prevents the delicate wrappers from drying out and becoming brittle while you are working on frying the remaining batches, ensuring consistent quality across all your delicious rolls.
🔥 Perfectly Frying Fresh Lumpia for Ultimate Crispiness
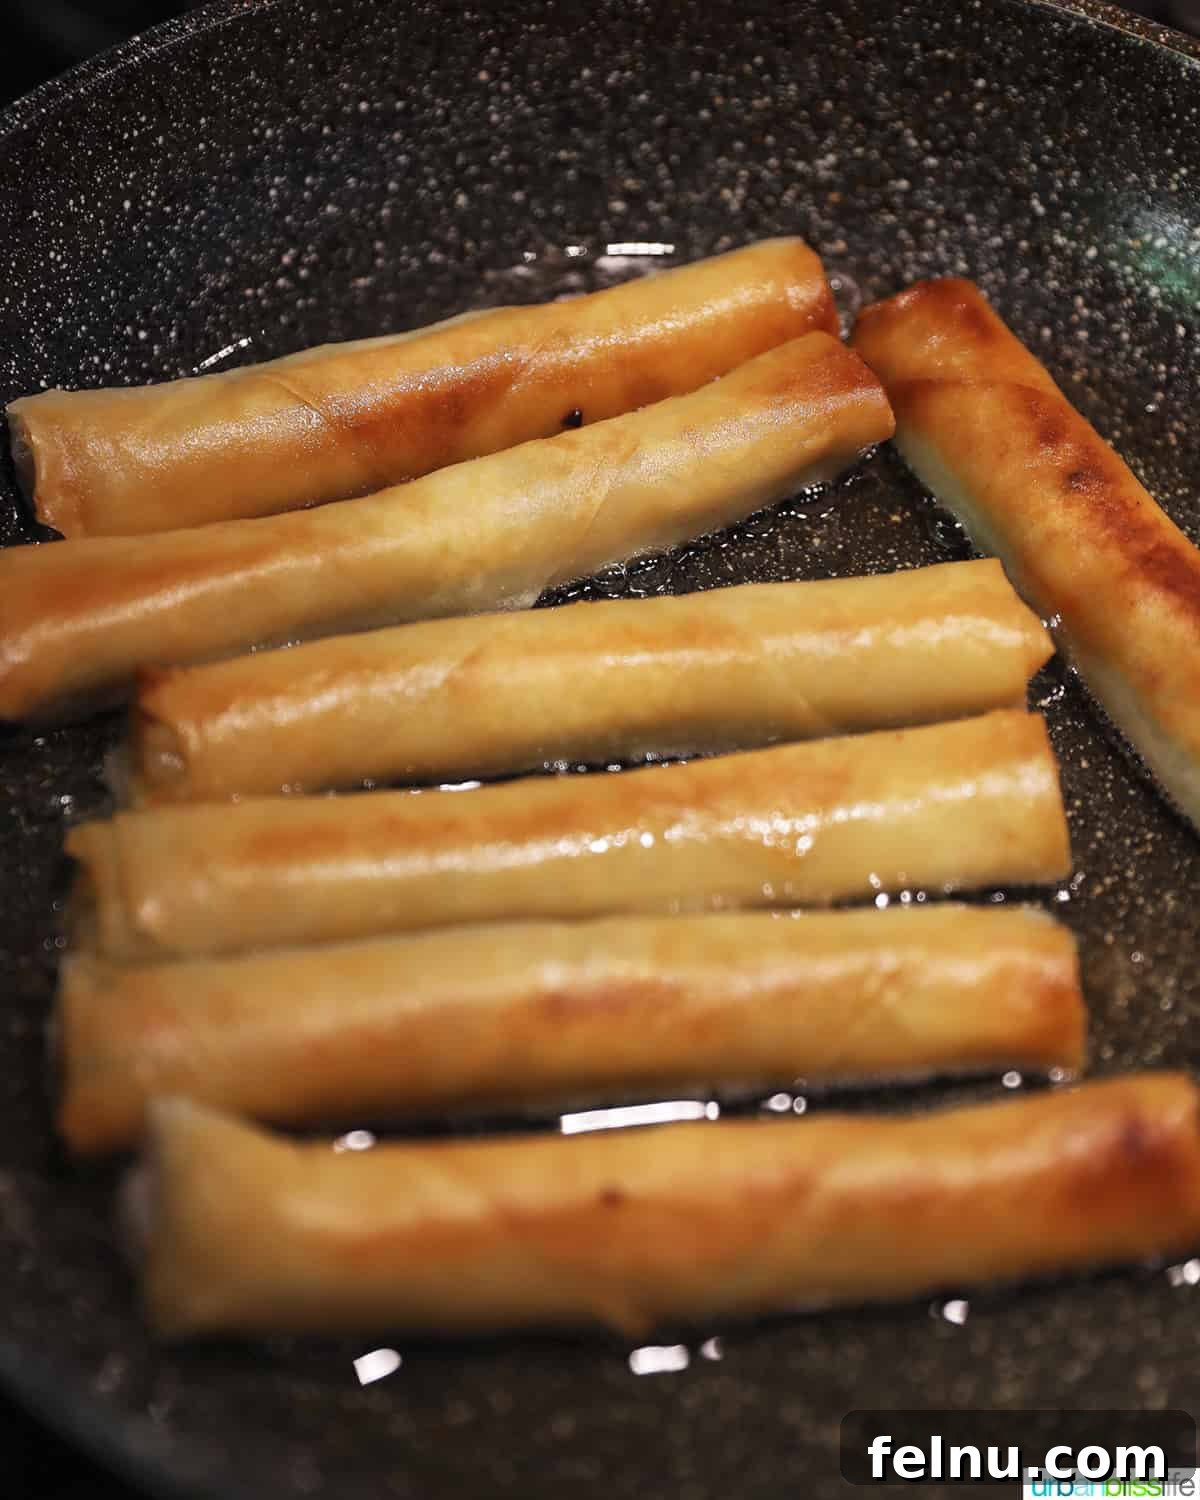
Frying lumpia to golden perfection is key to achieving their signature crispy texture. Start by heating a large skillet over medium-high heat. Add enough vegetable oil to reach a depth of about 1 inch in the pan. Allow the oil to heat for approximately 5-10 minutes, or until it reaches a temperature of 350-375°F (175-190°C). If you don’t have a thermometer, you can test the oil by dropping a small piece of wrapper into it; it should sizzle immediately and float to the surface.
Carefully place the lumpia into the hot oil, ensuring not to overcrowd the pan. Frying in batches is essential to maintain the oil temperature and allow the lumpia to cook evenly. Fry the egg rolls for about 3-4 minutes on each side, turning them gently with tongs, until all sides are beautifully golden brown and the wrappers have achieved a deep, inviting crispiness. Don’t worry if a few patches remain slightly lighter; the overall goal is a consistent golden hue.
Once perfectly fried, use tongs to transfer the lumpia from the oil to a wire rack. Position this wire rack over a baking sheet. This setup is crucial for allowing any excess oil to drain away, which not only makes the lumpia less greasy but, more importantly, helps them retain their incredible crispiness. Avoid placing them directly on paper towels for too long, as this can trap steam and lead to a softer, less crispy texture.
For the best experience, enjoy your freshly fried lumpia immediately while they are still warm and at their peak crispness.
Expert Cooking Tips to Make the Best Lumpia
Achieving perfectly crispy, flavorful lumpia is simple with these expert tips:
- For the ultimate lumpia experience, always use the specific, paper-thin Lumpia Wrappers, like the ones highlighted earlier in this post. Alternatively, opt for high-quality, thin spring roll wrappers. The extreme thinness of these wrappers is the secret to their super crispy and satisfyingly delicate texture when fried. This is perhaps the most crucial factor in differentiating authentic lumpia.
- Avoid using traditional egg roll wrappers. They are typically much thicker and denser, which will result in a completely different taste and texture profile – far from the desired light, shatteringly crispy lumpia.
- To ensure your lumpia wrappers remain easy to work with and don’t crack during assembly, keep them moist and pliable. Store unused wrappers in a sealed plastic bag or under a lightly damp paper towel while you work. Do not let them dry out, as they will become brittle and tear easily.
- Chop all your vegetables to a uniform, small size. This ensures that every ingredient cooks evenly and thoroughly, leading to a consistent and pleasant texture throughout the filling. Unevenly chopped vegetables can result in some pieces being undercooked or overly mushy.
- Roll the lumpia wrappers tightly around the filling. A snug roll is essential for maintaining the lumpia’s shape and preventing the filling from escaping during frying. Loose rolls can lead to uneven cooking and a less satisfying texture.
- If you notice a small tear in your lumpia wrapper, don’t discard it! Simply position that torn end closer to you when you begin rolling. As you proceed with wrapping, the tear is more likely to be encased within the layers of the roll, effectively hiding it and preventing further damage or spillage during frying.
- After frying, allowing your lumpia to drain excess oil on a wire rack placed over a baking sheet is paramount for retaining their crispiness. While transferring them to paper towels might seem convenient, paper towels can absorb oil but also trap steam, which often leads to the lumpia becoming soggy rather than staying crisp.
Mastering Freezing and Cooking Frozen Lumpia
One of the most remarkable advantages of lumpia is how incredibly well they freeze, making them a fantastic make-ahead option for busy households. It’s a common practice in many Filipino homes to always have at least one bag of frozen, uncooked lumpia stashed in the freezer, ready for any occasion. You can easily assemble a large batch of lumpia in one go, then freeze them before cooking.
To freeze, arrange the uncooked lumpia in a single layer on a baking sheet and flash-freeze them until solid. Once firm, transfer them to tightly sealed freezer bags or an airtight container, placing parchment paper between layers to prevent sticking. Properly stored, uncooked frozen lumpia will maintain its quality for up to three months, making it a perfect pantry staple.
When you’re ready to cook your delicious lumpia rolls: the best part is that you can take them directly from the freezer and fry them right away. There is absolutely NO need to thaw frozen lumpia before frying them. In fact, cooking them from frozen yields superior results.
Frying lumpia straight from the freezer ensures an even crispier wrapper and locks in all those wonderful flavors. The sudden temperature change helps create that distinct, satisfying crunch that lumpia is famous for. Simply adjust your frying time slightly to account for the frozen state, and prepare to enjoy an incredibly crispy, flavorful treat that tastes just as good as if it were freshly made. SO GOOD!
What to Serve with Your Delicious Lumpia
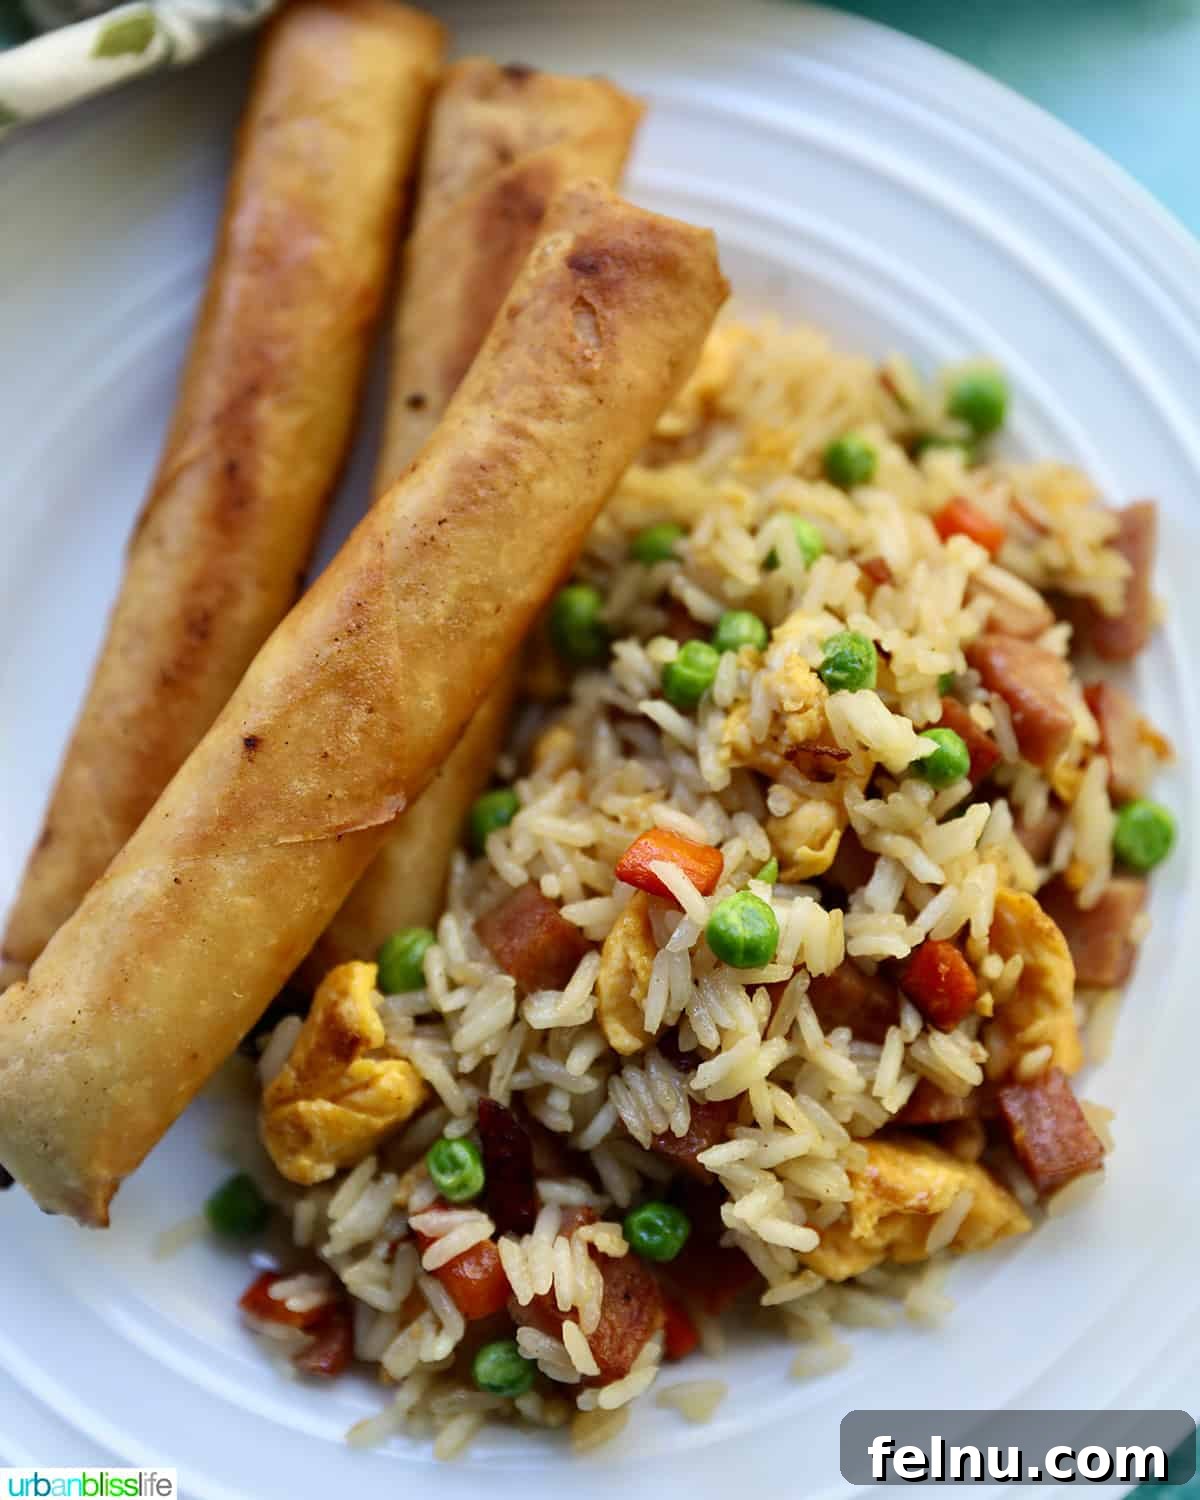
Lumpia are incredibly versatile and truly delicious with almost everything! While they excel as the perfect appetizer to kick off any meal, their savory crispness also makes them an excellent companion for nearly every kind of Asian-inspired dish imaginable. For a simple yet satisfying meal, my family frequently enjoys lumpia served alongside a bowl of fluffy white rice and a refreshing, easy cucumber salad.
To create a truly authentic Filipino feast, lumpia shanghai rolls can serve as an ideal side dish. Pair them with iconic Filipino main courses such as the tangy and savory Filipino Adobo Chicken, the stir-fried noodle classic Filipino Pancit Bihon, or the hearty Filipino Fried Rice. And for a complete traditional spread, don’t forget to include the creamy and delightful Filipino Macaroni Salad! Beyond Filipino cuisine, lumpia also make a superb and unfussy side dish to easy Homemade Ramen Noodles or any other noodle-based meal.
As for dipping sauces, a must-have accompaniment for lumpia is undeniably sweet chili sauce. You have the option to make your own Sweet Chili Sauce from scratch, allowing you to customize its balance of sweet, tangy, and spicy notes. Alternatively, you can enjoy lumpia with your favorite high-quality store-bought sweet chili sauce for convenience. Other popular dipping choices that beautifully complement the flavors of lumpia include the unique sweetness of banana ketchup or the rich umami of teriyaki sauce.
Essential Kitchen Tools and Equipment for Lumpia Success
To efficiently and effectively make a batch of delicious lumpia, having the right kitchen tools can make a significant difference. Here’s what you’ll need:
- Cutting Board and Knife: A substantial portion of the time spent preparing lumpia is dedicated to finely chopping the various vegetables for the filling. A sturdy cutting board paired with a very sharp chef’s knife will make this task much easier, safer, and faster. Precision chopping is key for even cooking.
- Large Stockpot or Skillet: You’ll need a sizable cooking vessel to prepare the lumpia filling. I’ve successfully made this recipe using both a large stockpot or a robust Dutch oven, as well as a large skillet. Both options work well, but if you choose a large skillet, ensure it has high sides to effectively contain all the ingredients as they cook and simmer.
- Strainer: A reliable strainer or colander is indispensable for draining the excess liquid and fats from the cooked filling ingredients. This step is critical to prevent your lumpia from becoming soggy.
- Wire Rack and Baking Sheet: To achieve that perfect, non-greasy crispness, you’ll need a wire rack that fits comfortably over a baking sheet. This setup allows air circulation around the fried lumpia, letting excess oil drip off and preserving their delightful crunch.
- Tongs: A good pair of long tongs is essential for safely flipping the lumpia as they fry in the hot oil. They allow you to turn the delicate rolls without piercing them and keep your hands a safe distance from the heat.
🍷 Recommended Wine Pairings for Filipino Food
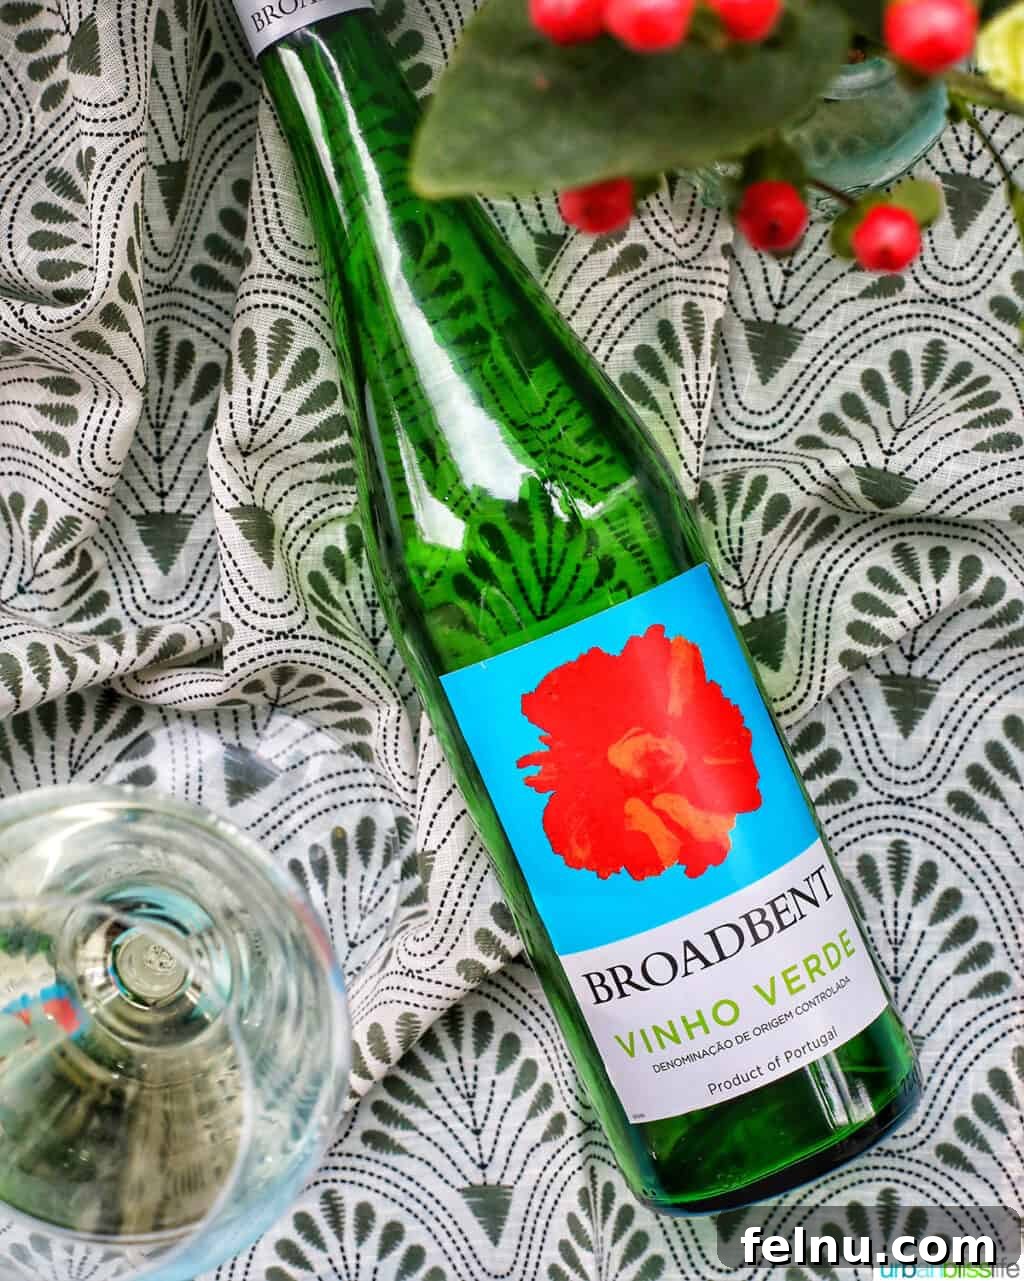
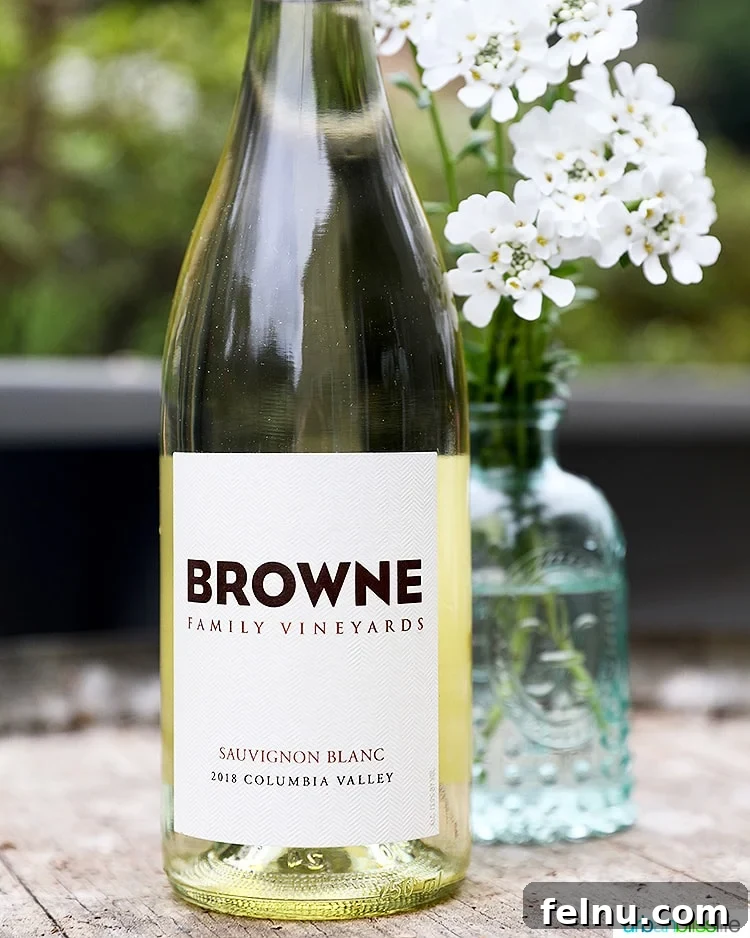
When selecting a wine to complement the rich, savory flavors of lumpia and other Filipino dishes, the goal is to choose a light, bright white wine that can effectively cut through the richness of the fried elements and harmonize with the aromatic Asian spices. This balance ensures the wine refreshes the palate without overpowering the food.
For an excellent pairing, consider either a crisp Vinho Verde from Portugal or a vibrant Sauvignon Blanc. Both of these refreshing white wines share desirable characteristics that make them superb choices. They typically present bright notes of green apple, zesty lime, and sometimes hints of tropical passionfruit. These fruity and acidic profiles beautifully complement the savory meat, fresh vegetables, and distinct Filipino spices found in lumpia, creating a delightful gastronomic experience. The slight effervescence often found in Vinho Verde also provides a refreshing counterpoint to fried foods. For non-alcoholic options, a cold, crisp iced tea or sparkling water with lime would also be excellent choices.
👩🏻🍳 Frequently Asked Questions About Lumpia
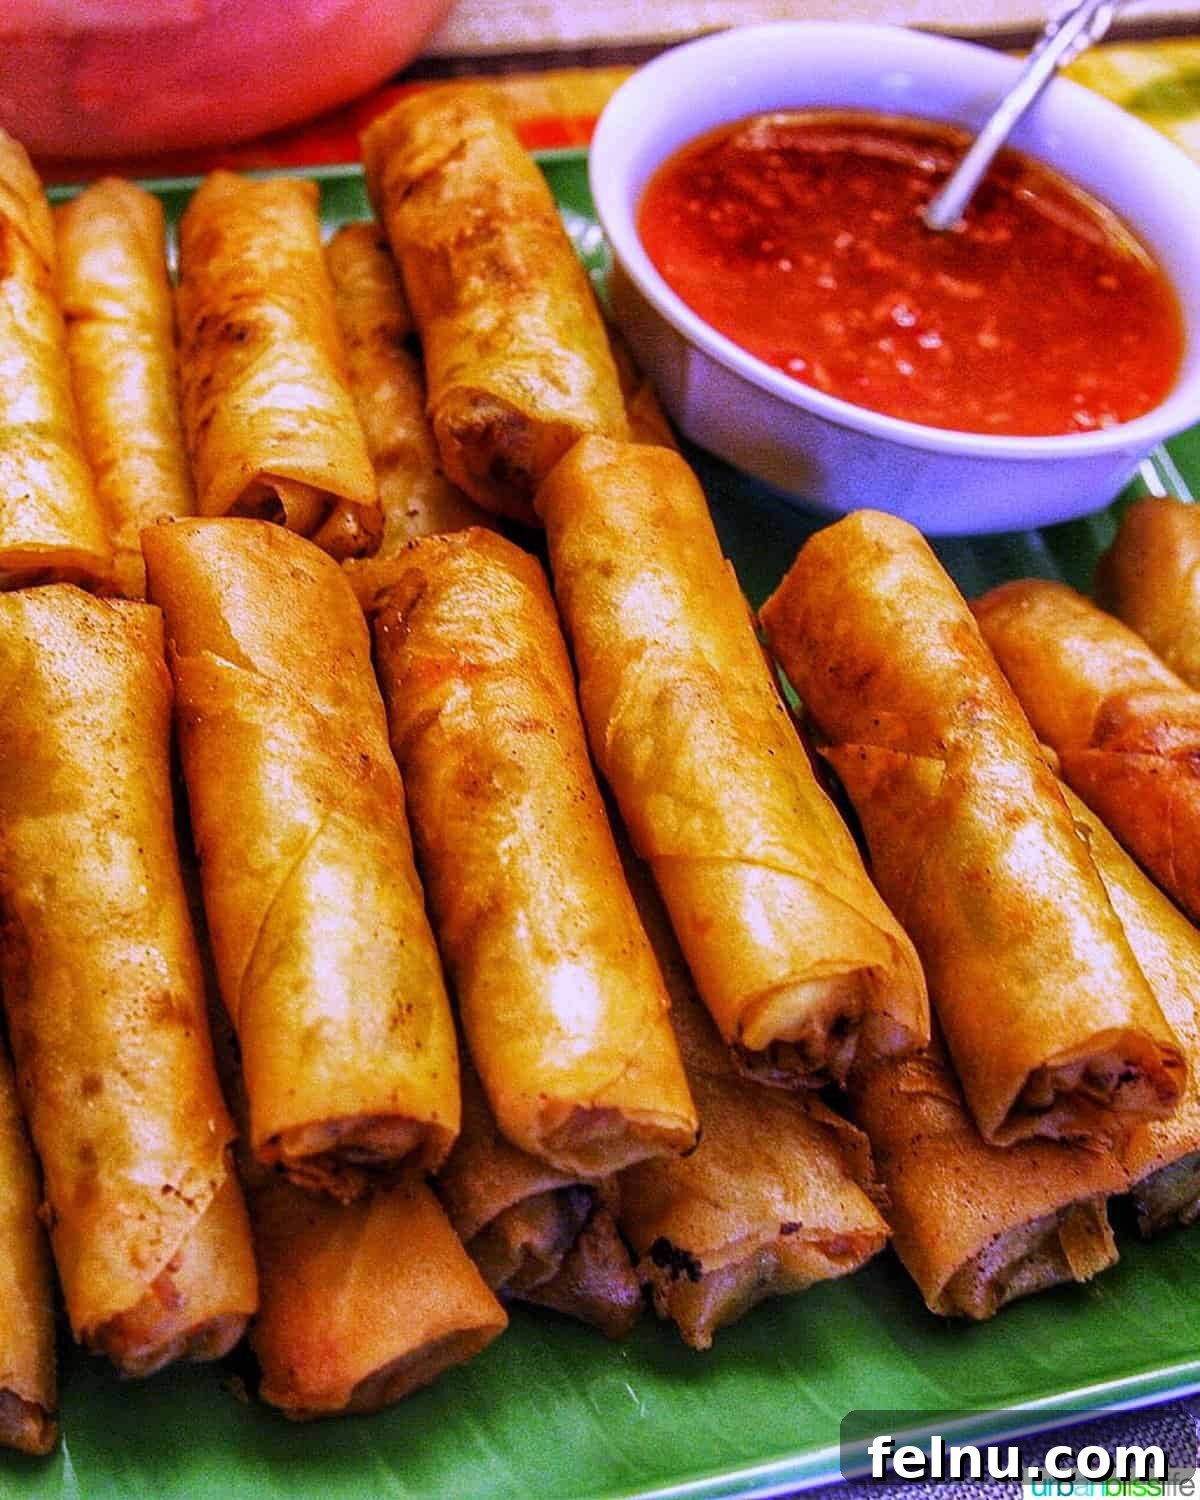
The primary distinction between Filipino lumpia and Chinese egg rolls lies in their wrappers. Lumpia are traditionally made with incredibly thin, almost paper-like wrappers, typically consisting of just flour, water, and salt. This delicate thinness is precisely what gives lumpia its signature super crispy, light, and satisfyingly crunchy texture when fried. Chinese egg rolls, on the other hand, typically use thicker, more doughy wrappers that result in a chewier, heartier bite.
Lumpia are definitively Filipino egg rolls, deeply ingrained in Filipino cuisine and culture. However, Filipino cuisine itself boasts a rich tapestry of influences, including significant contributions from Chinese and Spanish settlers. Historical accounts suggest that Chinese immigrants from the Fujian region of China likely introduced their version of egg rolls to the Philippines between 900-1565 AD. Over centuries, Filipinos embraced this concept, putting their unique local spin on the dish with indigenous ingredients and preparation methods, transforming it into the popular and distinct Filipino lumpia we know and love today.
Yes, absolutely! Lumpia wrappers are fundamentally different from traditional egg roll wrappers. Lumpia wrappers are notably thinner and more delicate, a characteristic that is crucial for achieving their iconic, ultra-crispy crunch when fried. This thinness allows them to fry up beautifully and shatter with each bite, providing a distinct textural experience that heavier egg roll wrappers simply cannot replicate.
While the terms “lumpia” and “lumpiang Shanghai” are often used interchangeably, technically they refer to slightly different styles within the broad category of Filipino spring rolls. Typically, “Lumpiang Shanghai” (or simply “Lumpia Shanghai”) refers to the thinner, often meatier, and generally smaller rolls. These are commonly filled predominantly with seasoned ground pork or beef. In contrast, when people simply say “Lumpia,” they might be referring to larger, sometimes thicker rolls that tend to have a more substantial proportion of vegetables alongside the meat, resembling more a traditional spring roll.
As I often tell my kids, “just because you *can* do something, doesn’t always mean you *should*!” While our air fryer is a beloved appliance in our kitchen, used for countless other foods, I generally do not recommend it for cooking uncooked lumpia. You *can* technically air fry lumpia, but the resulting texture and taste are a significant departure from the deep-fried version’s unparalleled crispness. The wrapper tends to be tougher and less delicate. That said, I do highly recommend using the air fryer for reheating fully cooked lumpia leftovers that you’ve previously refrigerated. It brings back a decent level of crispness without making them greasy.
Explore More Authentic Filipino Recipes
I am passionate about sharing the rich culinary heritage of my Filipino background with you! My blog features a diverse collection of Filipino recipes, each brimming with tradition and flavor. From comforting everyday meals to festive dishes, you’ll find plenty to inspire your cooking adventures. Here are a few more family favorites:
- Filipino Pancit Bihon RecipeA classic Filipino stir-fried noodle dish, featuring thin rice noodles, tender meat, and an array of colorful vegetables, all coated in a savory sauce. Perfect for celebrations or a hearty family meal.
- Filipino Pork BBQSucculent strips of pork marinated in a sweet and savory sauce, then grilled to a delicious char. These skewers are a crowd-pleasing favorite at any Filipino gathering.
- Filipino Macaroni SaladA uniquely sweet and savory macaroni salad, often served at parties. Made with pasta, chicken, cheese, and a creamy dressing, it’s a comforting and flavorful side dish.
- Instant Pot Chicken AdoboThe national dish of the Philippines, made easier in the Instant Pot! Tender chicken simmered in a tangy and savory sauce of soy sauce, vinegar, garlic, and peppercorns. A true Filipino classic.
Did you make this recipe? We would love to hear from you! Don’t forget to leave a 5-Star 🌟🌟🌟🌟🌟 rating in the recipe card below, and if you truly enjoyed it, please take a moment to leave a comment further down on the page. Your feedback is invaluable, thank you!
Lumpia (Crispy Filipino Spring Rolls)
Rating: 5 out of 5 stars from 31 votes
By Marlynn Schotland
Prep Time: 30 mins
Cook Time: 30 mins
Total Time: 1 hr
Yields: 40 lumpia
Print Recipe
Filipino lumpia – often known as lumpia Shanghai – are delectable Filipino spring rolls that serve as the ideal side dish for any Asian-inspired meal, or as a delightful snack on their own! This recipe brings you the authentic crispness and savory flavor passed down through generations.
Equipment
- Large cutting board or large serving platter
- Chef’s Knife
- Large pot or Dutch Oven
- Large Skillet
- Tongs
Ingredients
- 2 Tablespoons vegetable oil or olive oil
- 5 garlic cloves, minced
- ½ cup finely diced yellow onions
- 1 pound ground beef
- 1 pound ground pork
- 1 teaspoon kosher salt
- ½ teaspoon ground black pepper
- 1 Tablespoon soy sauce
- 1 can (14.5 ounce, about 2 cups) chicken broth
- 1 large Russet potato, peeled and finely diced
- 1 cup finely diced carrots
- 3 teaspoons Johnny’s Seasoning Salt
- 1 cup thinly sliced green beans
- 1 cup finely chopped green cabbage
- ½ cup celery, finely diced
- 35-45 frozen Lumpia wrappers (paper-thin spring roll wrappers)
- 1 egg + 1 teaspoon water (for egg wash seal)
Instructions
Cook the Lumpia Filling
- Add oil to a large skillet or stockpot and heat over medium heat. Once the oil is hot, add the minced garlic and finely diced onions. Sauté, stirring constantly, for 2 to 3 minutes, just until the onions are translucent and the garlic is fragrant.
- Add the ground beef and ground pork to the pan. Season with kosher salt, black pepper, and soy sauce. Sauté the meat, breaking it apart with a spoon, until it is fully browned.
- Carefully drain any excess oil from the pan. Then, add the chicken broth and bring the mixture to a gentle boil. Stir in the finely diced potatoes and carrots, and sprinkle in the Johnny’s Seasoning Salt. Reduce heat and simmer for 5-10 minutes, or until potatoes and carrots begin to soften.
- Add the thinly sliced green beans, finely chopped cabbage, and diced celery to the pot. Continue to simmer for another 5 minutes, allowing the vegetables to cook until slightly crisp-tender. Remove the pan from the heat and thoroughly drain any remaining excess fats and liquid mixture, ideally using a strainer. Allow the entire filling mixture to cool completely to room temperature before assembling.
Assemble the Lumpia
- Very carefully separate the individual sheets of lumpia wrappers to prevent tearing. While working with one wrapper, keep the remaining wrappers covered with a damp paper towel or in their packaging to keep them moist and pliable.
- Place one lumpia wrapper on a clean, dry surface, oriented like a diamond. Spoon 1 heaping tablespoonful of the cooled filling diagonally near one corner of the wrapper, leaving a 1.5-inch edge of space at both ends.
- Fold the corner closest to the filling over the filling. Then, tuck in both side ends of the wrapper, creating an envelope shape. Roll the lumpia neatly and tightly away from you. Moisten the remaining far corner of the wrapper with water or the prepared egg wash (1 egg + 1 tsp water) to seal the edge securely. Repeat with remaining filling and wrappers.
Fry or Freeze the Lumpia
- Your assembled lumpia can be fried immediately or frozen for future use.
- If frying lumpia immediately: Cover the uncooked lumpia with plastic wrap or a moist towel to prevent the wrappers from drying out. Heat a large skillet over medium-high heat, adding vegetable oil to a depth of about 1 inch. Heat the oil for 5-10 minutes, ensuring it’s hot (around 350-375°F / 175-190°C). Fry the lumpia in batches for 3-4 minutes on each side, or until all sides are golden brown and crispy. Transfer fried lumpia to a wire rack placed over a baking sheet to drain excess oil.
- If freezing lumpia: Arrange the uncooked, assembled lumpia in a single layer on a baking sheet and flash-freeze until solid. Once frozen, transfer them to a freezer-safe resealable bag or airtight container, placing plastic wrap or parchment paper between layers to prevent sticking. Store in the freezer for up to 2 months. Do NOT thaw the frozen lumpia before frying them. Simply separate them and fry directly from frozen, adjusting the cooking time slightly longer than fresh lumpia, for the crispiest results.
Video Guide
Watch this video to see how to prepare this delicious Filipino Lumpia recipe, from making the filling to perfectly rolling and frying these crispy spring rolls. (Video content not included in HTML output as per instructions).

Notes
MAKES: This recipe yields approximately 35 – 45 lumpia (nutritional value is calculated for 40 lumpia, using a standard serving size).
Wrapper Care: Keep lumpia wrappers moist and pliable during assembly by storing them in a plastic bag or under a damp towel. Never allow them to dry out and become brittle, as this will make them difficult to work with and prone to tearing.
SERVE WITH: For an authentic experience, serve your crispy lumpia with sweet chili dipping sauce, banana ketchup, or teriyaki sauce.
TO FREEZE: Assemble the lumpia as instructed, then place uncooked, assembled lumpia in freezer bags or an airtight container, using parchment paper to separate layers. Uncooked lumpia frozen this way will keep well for up to three months.
COOK FROZEN LUMPIA: When ready to cook, simply fry the frozen lumpia directly in vegetable oil – there is no need to thaw them beforehand. Frying from frozen enhances their crispiness!
Nutrition
Nutrition information is automatically calculated and should only be used as an approximation (per 1 lumpia serving).
- Calories: 108kcal
- Carbohydrates: 9g
- Protein: 5g
- Fat: 6g
- Saturated Fat: 2g
- Polyunsaturated Fat: 1g
- Monounsaturated Fat: 2g
- Trans Fat: 0.1g
- Cholesterol: 17mg
- Sodium: 344mg
- Potassium: 132mg
- Fiber: 1g
- Sugar: 0.5g
- Vitamin A: 564IU
- Vitamin C: 3mg
- Calcium: 15mg
- Iron: 1mg
Tried this recipe?
Please leave a star rating and comment! Then snap a pic of your dish and share it on social media. Tag @UrbanBlissLife and #UrbanBlissLife!