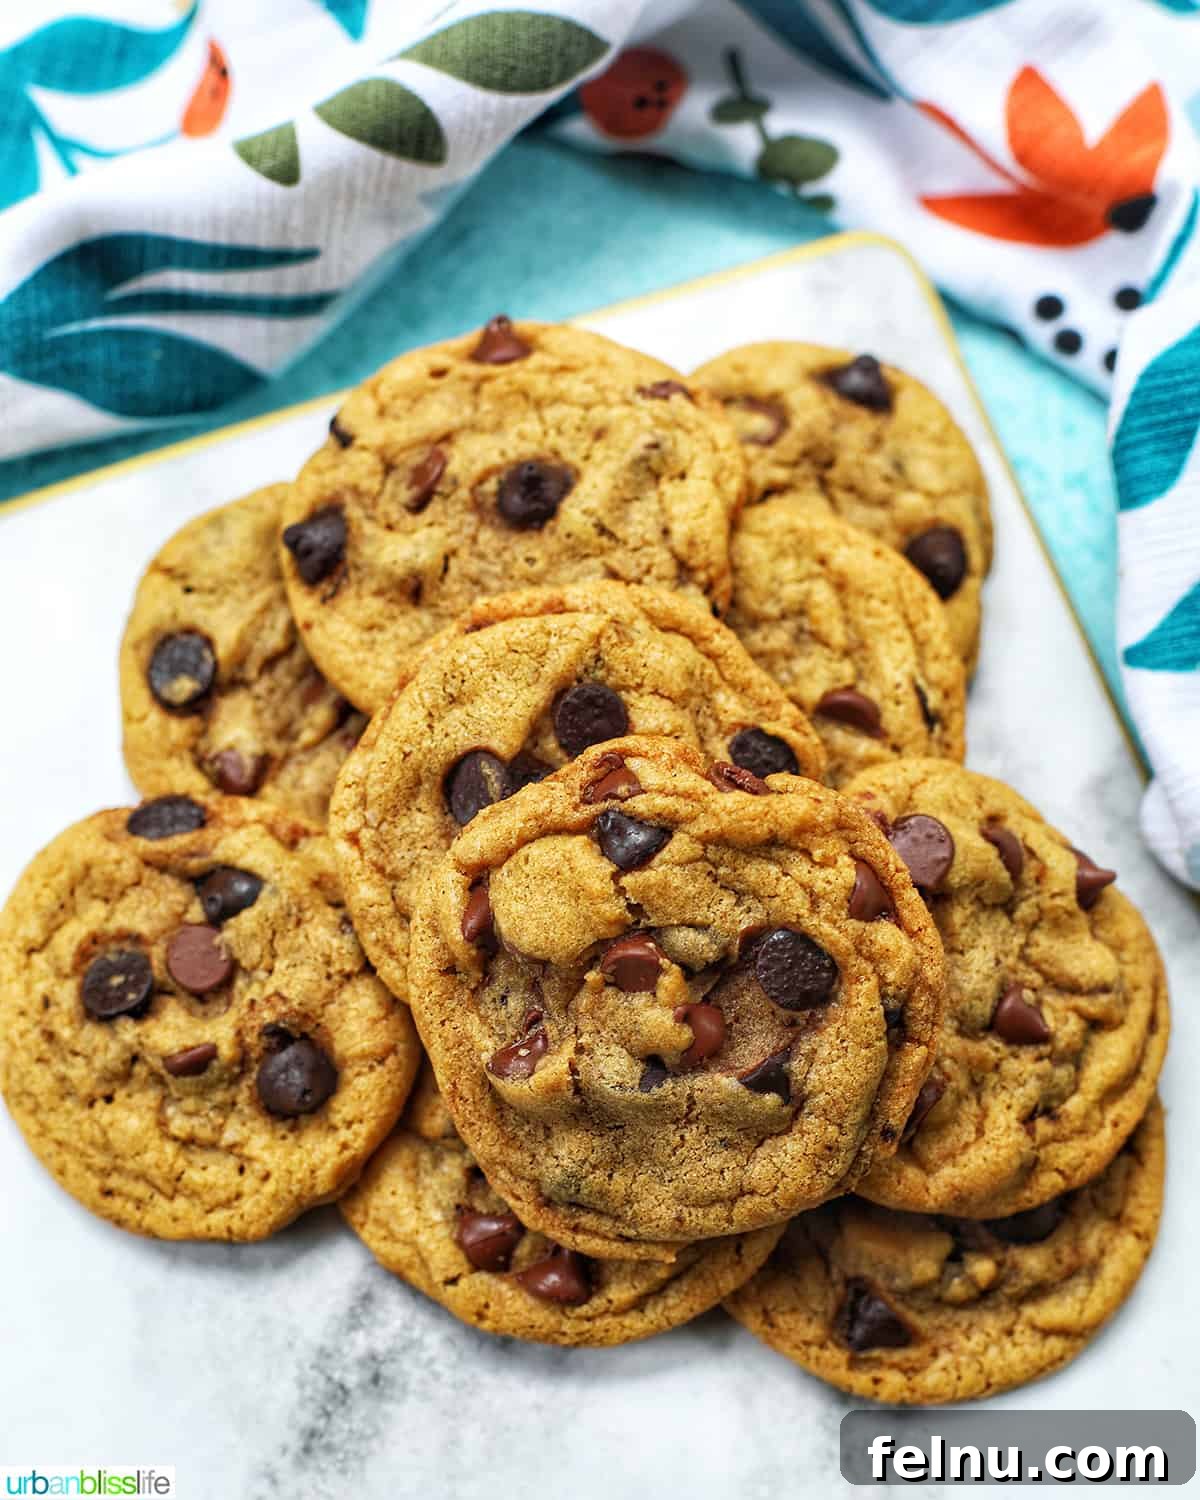
Elevate your classic chocolate chip cookie experience to an extraordinary level with the rich, nutty notes of brown butter and the sophisticated depth of espresso. This recipe for Brown Butter Espresso Chocolate Chip Cookies promises an unforgettable baking adventure, yielding decadent, chewy, and intensely flavorful treats that are destined to become a cherished favorite in your recipe collection.
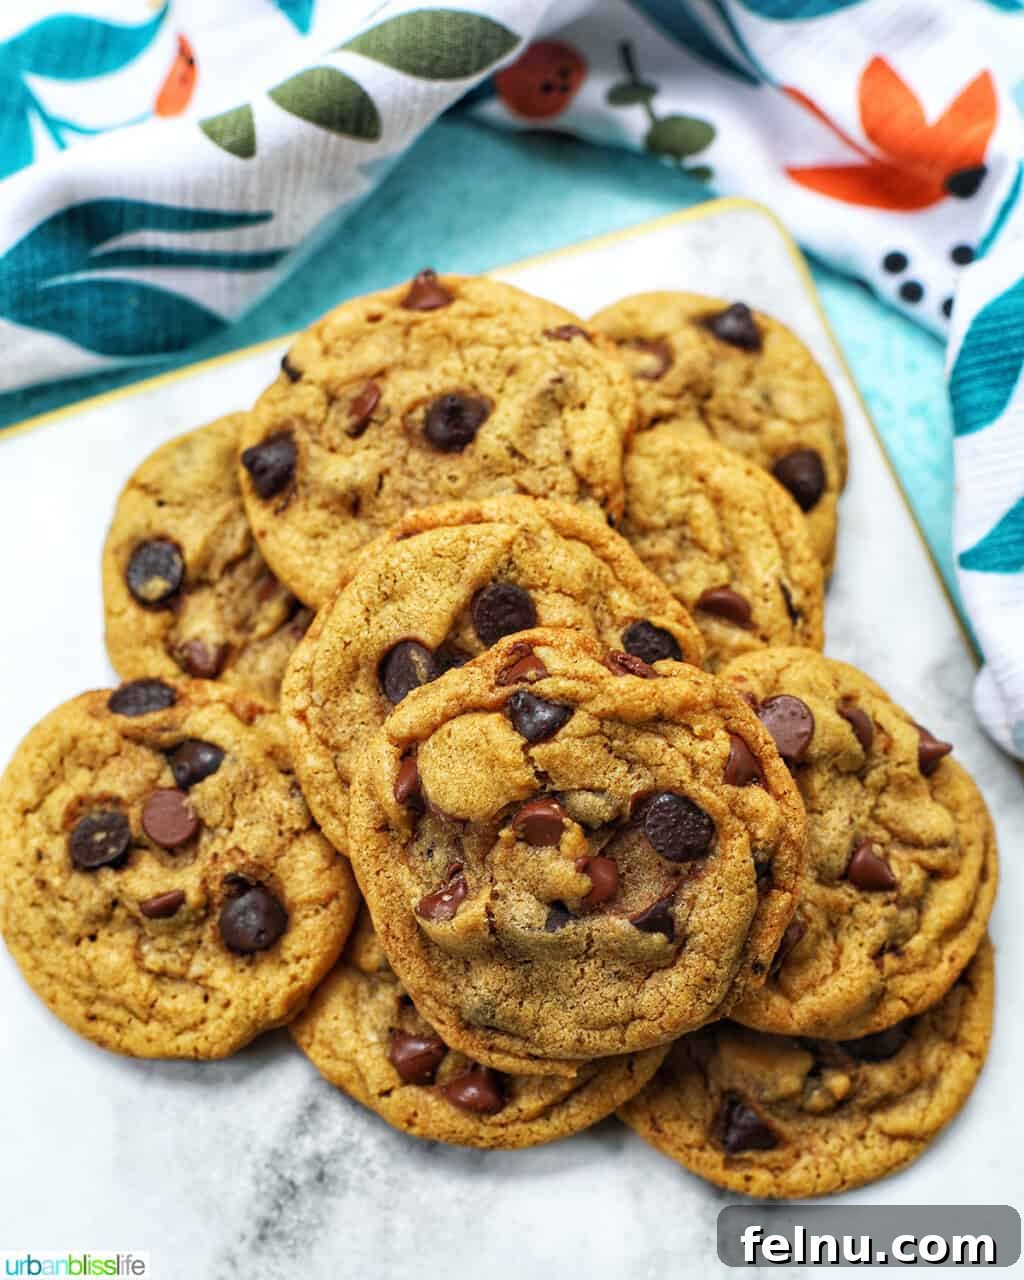
There’s a magical transformation that occurs when butter is gently cooked to a golden-brown hue, releasing a captivating aroma and a deep, nutty flavor. This delightful complexity, known as brown butter or beurre noisette, has long been a secret weapon in savory cuisine, but its true potential shines brightest in sweet applications. We’re harnessing this incredible ingredient to craft our Chocolate Chip Espresso Cookies, transforming them from a simple treat into a truly gourmet dessert. Combined with the bold, aromatic kick of espresso, these cookies offer a sophisticated twist on a beloved classic. Each bite delivers a harmonious blend of rich chocolate, toasted butter, and subtle coffee notes, creating a chewy texture with perfectly crisp edges.
For the best results, we encourage you to read through all our baking tips and detailed instructions carefully. You’ll find the full ingredient measurements and step-by-step guidance in the comprehensive recipe card towards the end of this post. Baking is both an art and a science, and understanding the nuances can significantly enhance your final product.
Craving more inventive cookie recipes? You might also love our Banana Bread Chocolate Chip Cookies for a fruity twist or the exotic appeal of our Ube White Chocolate Chip Cookies!
Why Brown Butter and Espresso Are a Match Made in Heaven
The secret to these cookies’ unparalleled flavor lies in two key ingredients: brown butter and espresso. Let’s delve into why this combination creates such a delightful culinary experience.
The Magic of Brown Butter
Browning butter is a simple yet transformative technique that adds incredible depth and complexity to baked goods. As unsalted butter melts and cooks over medium heat, the milk solids separate from the fat and begin to toast. This process, known as the Maillard reaction, creates hundreds of new flavor compounds, resulting in a rich, nutty, and slightly caramel-like taste. This isn’t just about adding flavor; brown butter also imparts a wonderful aroma and contributes to a chewier texture in cookies. It elevates the humble chocolate chip cookie from good to absolutely extraordinary, providing a sophisticated backbone that perfectly complements the sweetness of the chocolate.
The Allure of Espresso
Espresso isn’t just for your morning latte; it’s a powerful flavor enhancer in baking, especially when paired with chocolate. A touch of instant espresso powder doesn’t necessarily make the cookies taste overtly like coffee, but rather intensifies the chocolate flavor, making it seem richer, deeper, and more pronounced. Think of it as a secret weapon that boosts the chocolate’s inherent bitterness and sweetness, creating a more complex and satisfying profile. The subtle coffee notes also provide a wonderful counterpoint to the sweetness of the sugars and the nuttiness of the brown butter, creating a truly balanced and irresistible flavor.
Essential Tools and Equipment for Baking Cookies
Having the right tools can make your baking process smoother and more enjoyable. To successfully create these delightful cookies, you’ll need a few standard kitchen items:
- Stand mixer or hand mixer: Essential for creaming butter and sugar, ensuring a light and airy dough.
- 2 baking sheets: For baking multiple batches efficiently.
- Parchment paper: Prevents sticking and ensures even baking, making cleanup a breeze.
- Mixing bowls: You’ll need at least two large bowls for wet and dry ingredients.
- Whisk: For combining dry ingredients and browning butter.
- Silicone spatula: Perfect for scraping down bowls and gently folding in chocolate chips without overmixing.
- Cooling rack: Allows cookies to cool evenly and prevents them from becoming soggy.
- **Medium cookie scoop:** For portioning dough consistently, ensuring uniform cookie size and baking.
Chocolate Chip Espresso Cookies Ingredients Breakdown
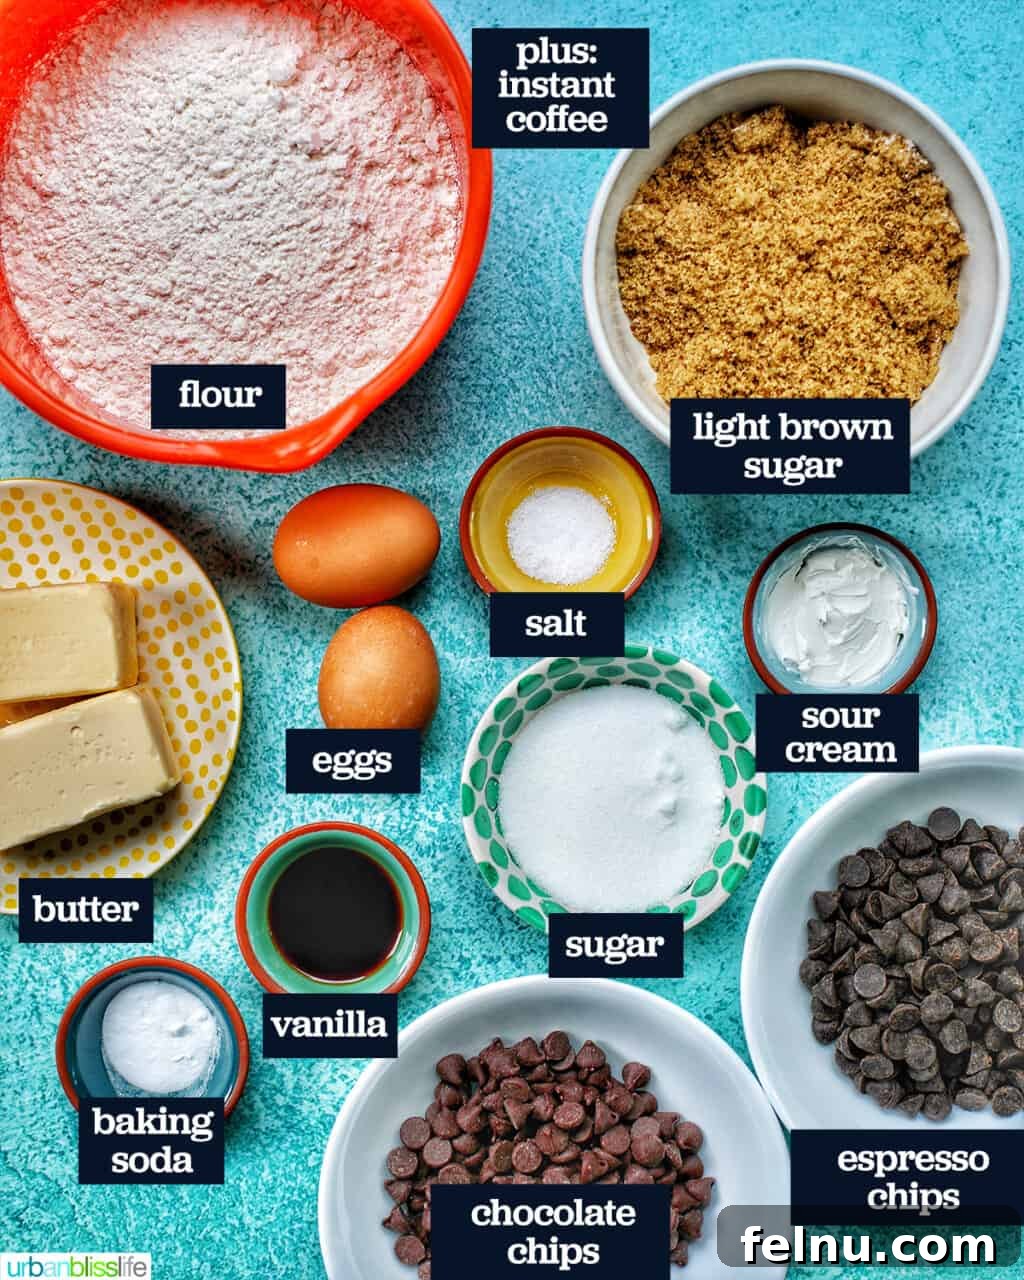
Each ingredient plays a crucial role in the texture and flavor profile of these remarkable cookies:
- Unsalted Butter: We start with unsalted butter to control the overall saltiness of the cookies, especially since we’ll be browning it. Browning adds an unparalleled depth of nutty, caramel-like flavor. For our dairy-free friends, I’ve successfully tested this recipe with my favorite vegan butter alternative! Just be mindful that vegan butter may brown differently and often more quickly than traditional dairy butter, so keep a closer eye on it.
- Large Eggs: Using large eggs at room temperature is key. Room temperature eggs emulsify better with the other ingredients, leading to a smoother, more uniform dough and a better cookie texture. Aim to take them out of the refrigerator about 30 minutes before you begin baking.
- Light Brown Sugar: This isn’t just for sweetness; light brown sugar adds moisture, which contributes significantly to the cookies’ signature chewy texture. Make sure to pack it firmly into your measuring cup for an accurate measurement.
- Granulated Sugar: Paired with brown sugar, granulated sugar helps achieve that perfect balance of crisp edges and a chewy center, while also providing sweetness.
- All-Purpose Flour: The foundational dry ingredient. Sifting your flour can help ensure a lighter texture, though it’s not strictly necessary if measured correctly.
- Baking Soda: This is our primary leavening agent, responsible for giving the cookies their lift and contributing to their soft, chewy interior. If you’re out of baking soda, you can substitute baking powder, but you’ll need approximately twice the amount as baking soda is a more potent leavener.
- Kosher Salt: A pinch of salt is vital for balancing the sweetness and enhancing all the other flavors, particularly the chocolate and brown butter.
- Vanilla Extract: A cornerstone of most cookie recipes, pure vanilla extract adds a warm, aromatic note that rounds out the flavors beautifully.
- Sour Cream: A less common but highly effective ingredient in cookies, sour cream adds an extra layer of moisture and tenderness, resulting in a wonderfully soft texture. It also subtly enhances the richness without making the cookies taste tangy.
- Instant Espresso or Instant Coffee Powder: This is where the “espresso” in “Espresso Chocolate Chip Cookies” comes from! As discussed, it deepens the chocolate flavor and introduces a sophisticated coffee nuance without overpowering the cookie.
- Semi-Sweet Chocolate Chips: The classic choice for chocolate chip cookies, offering a balanced sweetness that pairs perfectly with the brown butter and espresso.
- Espresso Chips (or Dark Chocolate Chips/Chunks): These special chips intensify the coffee flavor profile and add another layer of rich chocolate. If espresso chips are hard to find, dark chocolate chips or even chocolate chunks make an excellent substitute, providing a contrasting bitterness that is equally delicious.
Step-by-Step Guide to Baking Perfect Brown Butter Espresso Chocolate Chip Cookies
Follow these detailed steps to create a batch of incredibly delicious brown butter espresso chocolate chip cookies.
Step 1: Master the Art of Browning Butter
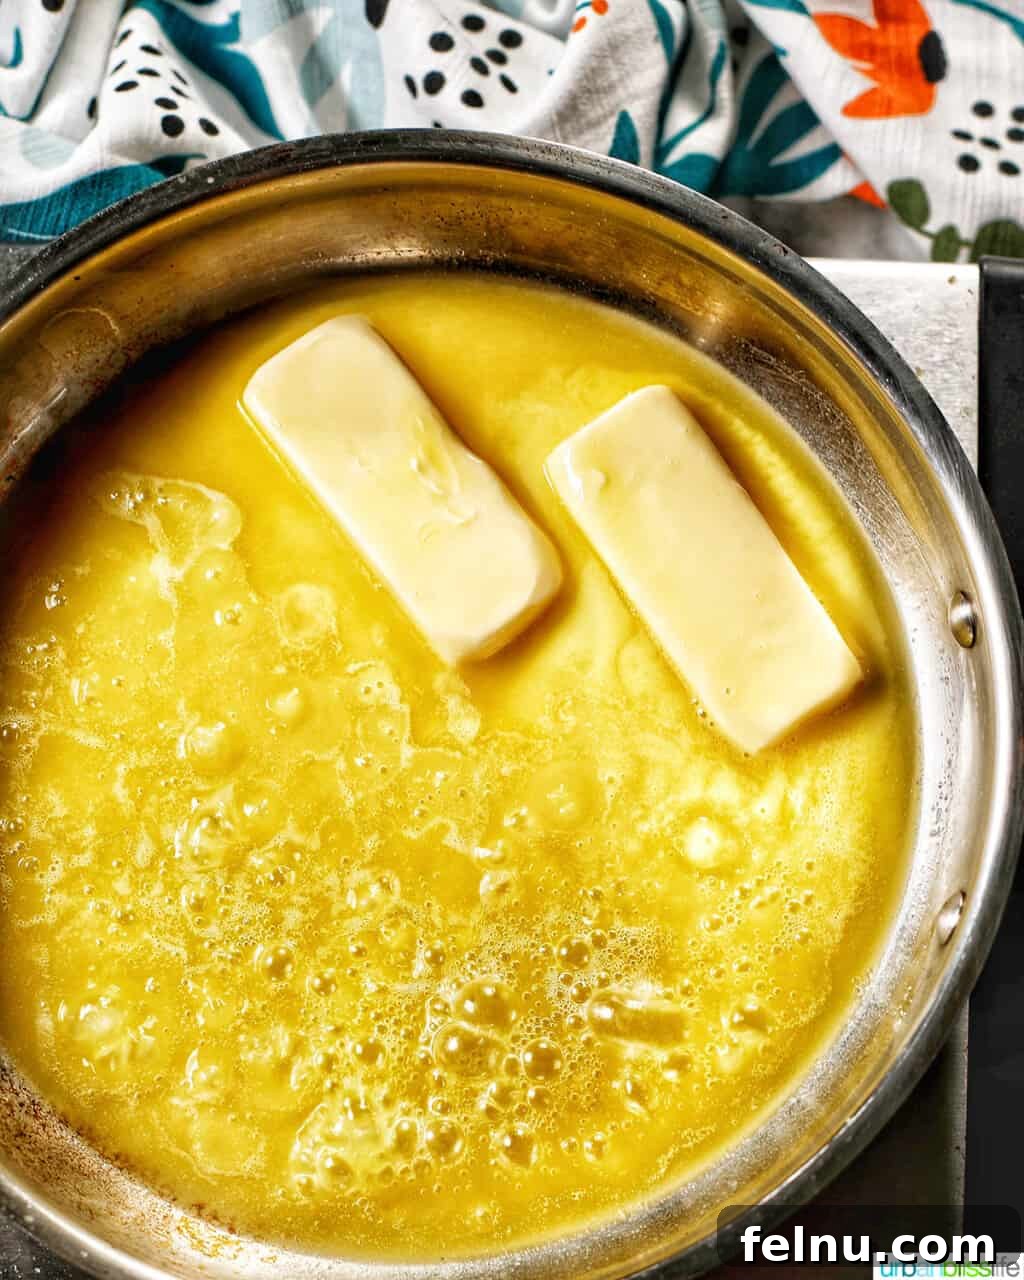

Browning butter is perhaps the most crucial step for achieving the signature flavor of these cookies. It adds a deep, nutty richness that is truly mouthwatering and sets these cookies apart.
- In a large, light-colored saucepan (a light bottom helps you monitor the color change), add the unsalted butter. Place the saucepan over medium heat.
- As the butter begins to melt, whisk it constantly. This helps the butter cook evenly and prevents the milk solids from burning.
- The butter will first melt, then foam, and start to bubble and sizzle. Continue whisking.
- After a few minutes, the sizzling sound will gradually subside, indicating that the water content is evaporating. You’ll notice the color beginning to change from a bright golden yellow to a deeper amber. Small brown flecks (toasted milk solids) will form at the bottom of the pan.
- As soon as the butter achieves a beautiful amber color and smells wonderfully nutty, immediately remove it from the heat. Pour the brown butter, including the toasted milk solids, into a heatproof bowl or the bowl of your stand mixer. This stops the cooking process and prevents it from burning.
- Allow the brown butter to cool for about 10-15 minutes, or until it’s just warm to the touch but not solid. It needs to be cool enough not to scramble the eggs when added.
Step 2: Prepare the Dry Ingredients
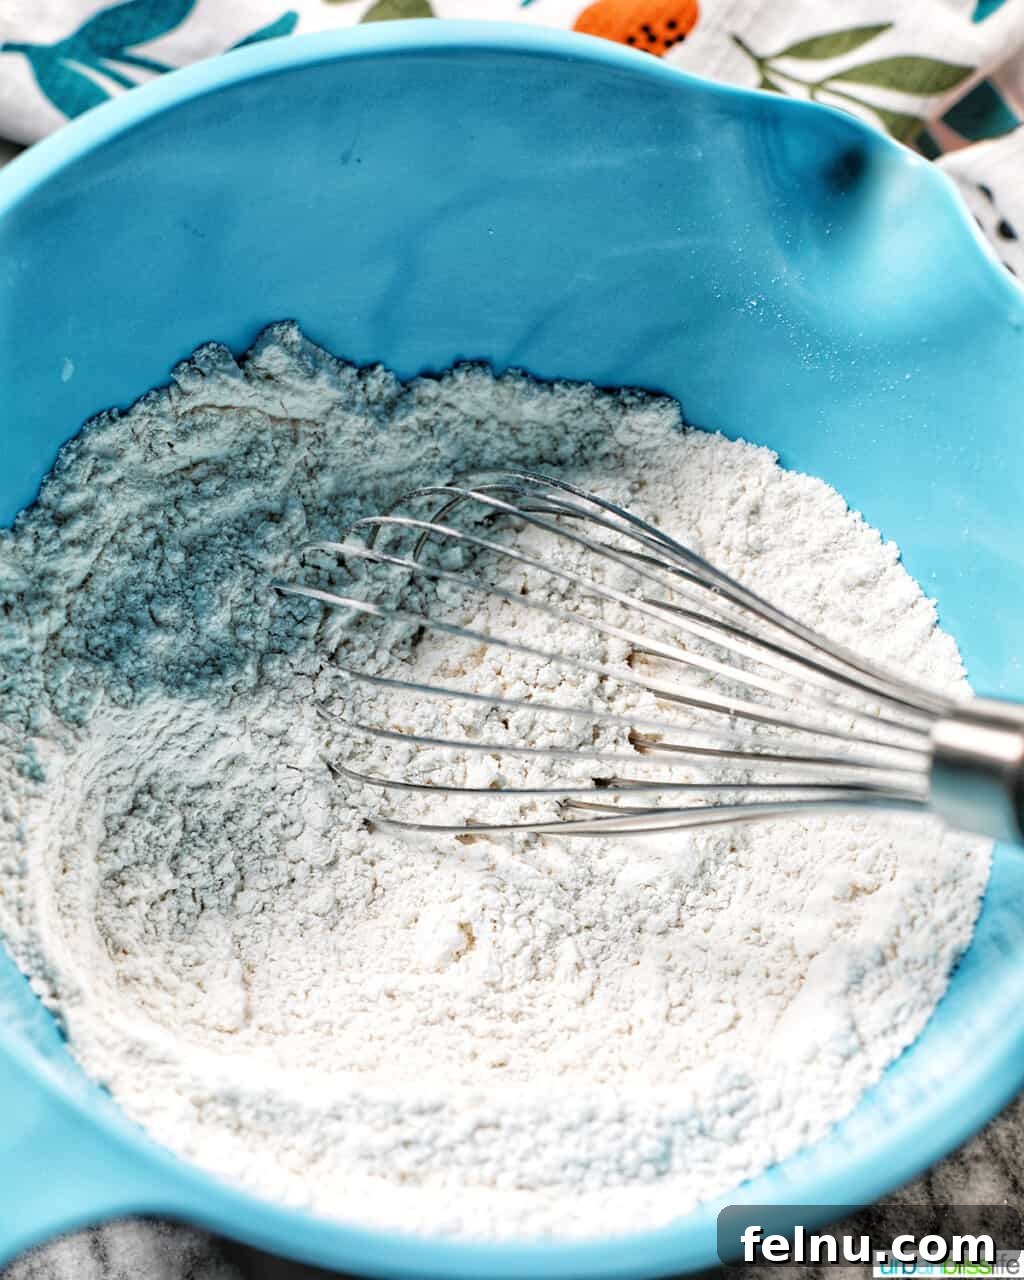
While your brown butter is cooling, you can efficiently prepare your dry ingredients.
- In a separate large mixing bowl, whisk together the all-purpose flour, baking soda, and kosher salt. Whisking ensures these ingredients are evenly distributed throughout the flour. Set this bowl aside.
Step 3: Combine the Wet Ingredients
Once the brown butter has cooled sufficiently, it’s time to bring together the wet ingredients, building the foundation of your cookie dough.
- Pour the slightly cooled brown butter into the bowl of your stand mixer (or a large bowl if using a hand mixer).
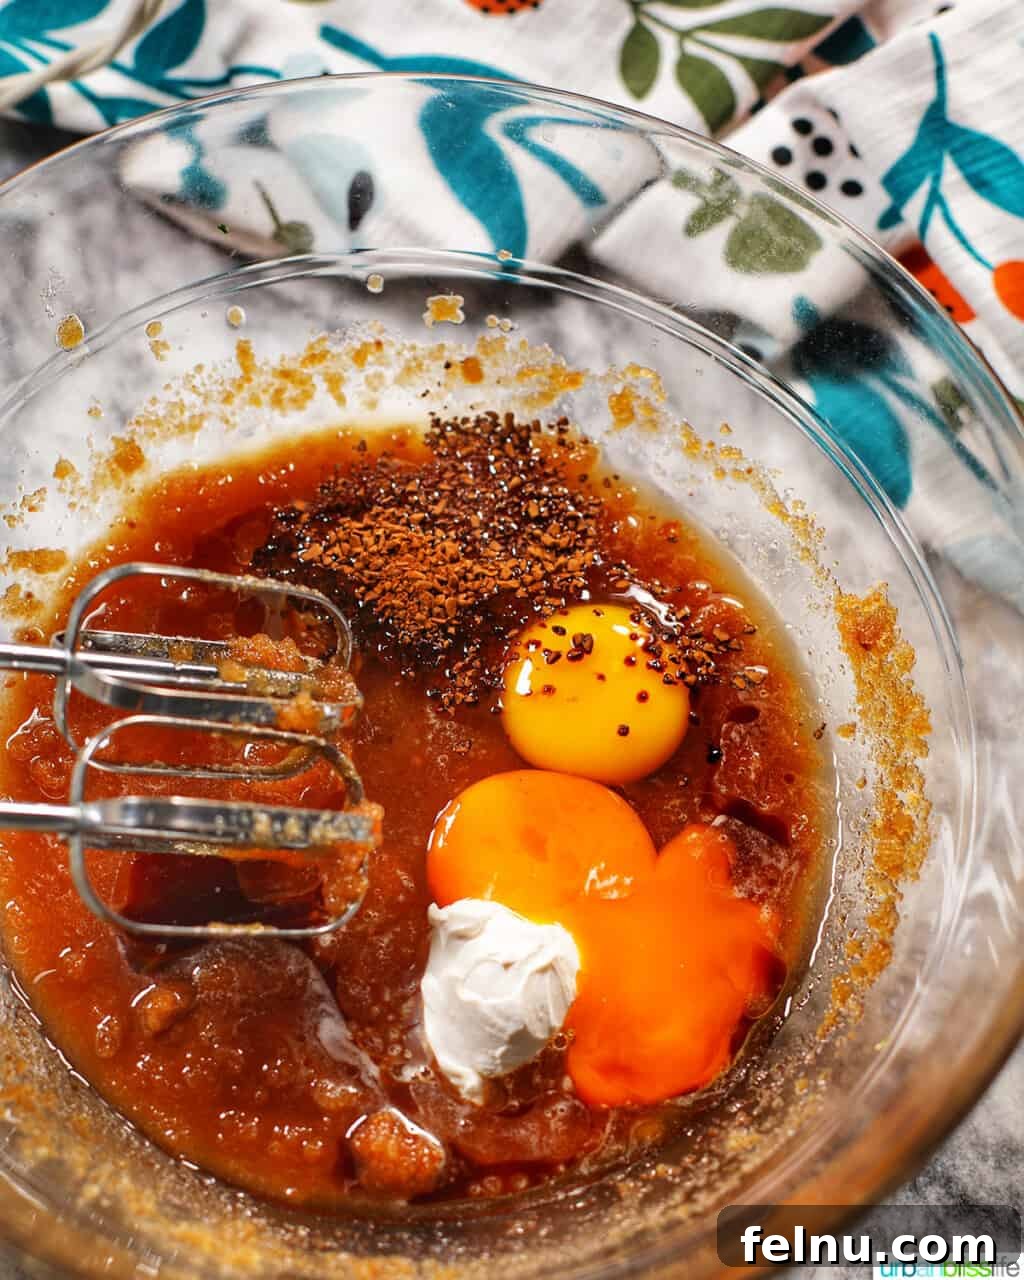
- Add the packed light brown sugar and granulated sugar to the brown butter. Beat these together on medium speed until they are well combined and form a thick, creamy mixture.
- Next, add the room temperature large egg, egg yolk (the extra yolk adds richness and chewiness), vanilla extract, sour cream, and instant espresso powder. Beat on medium speed until all these ingredients are fully incorporated, and the mixture appears smooth and consistent. Scrape down the sides of the bowl as needed to ensure everything is evenly mixed.
Step 4: Form the Cookie Dough
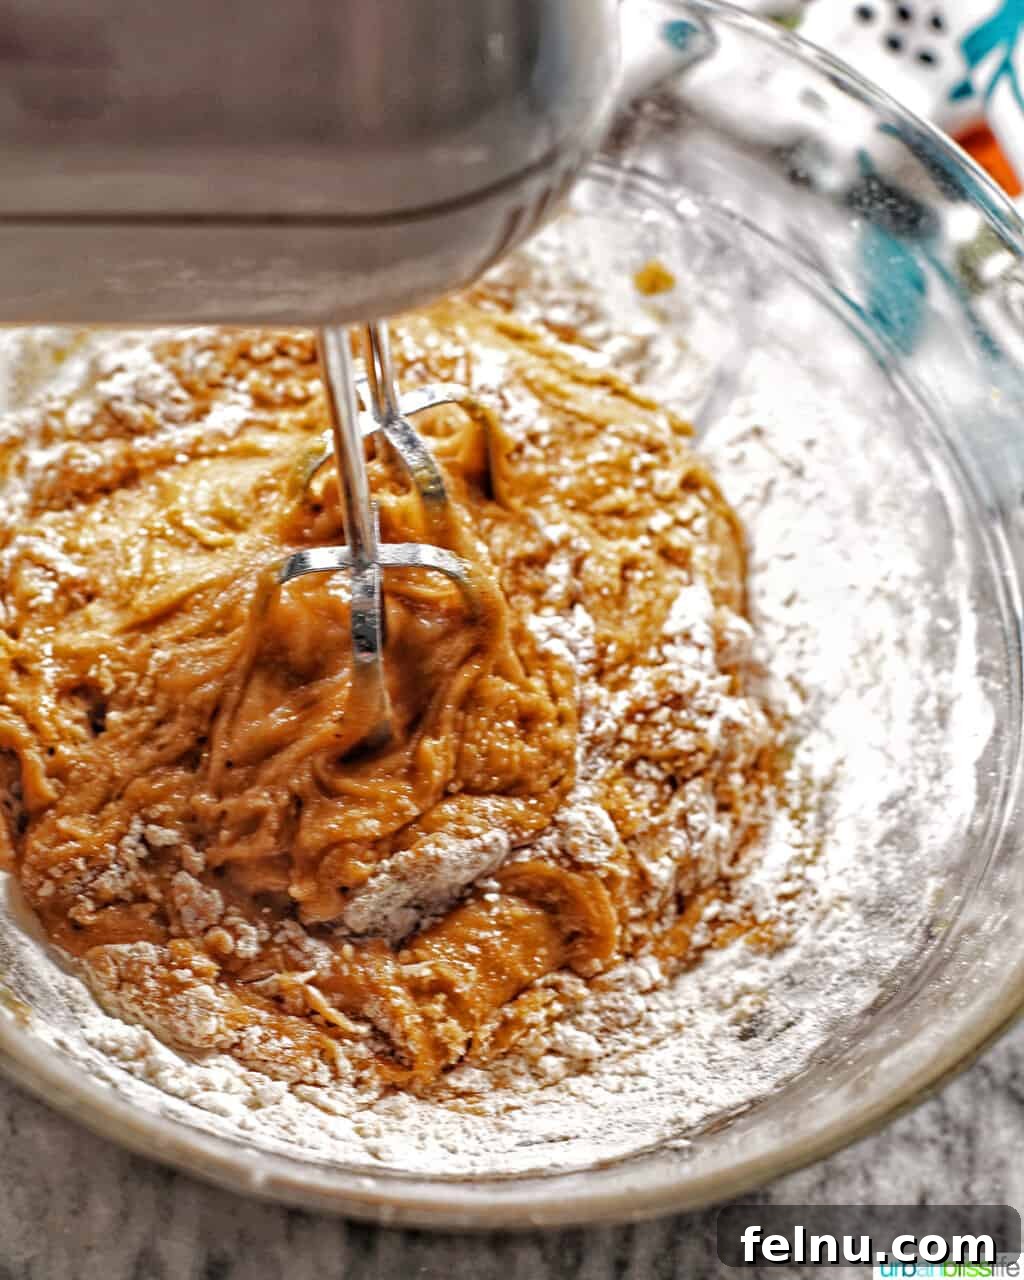
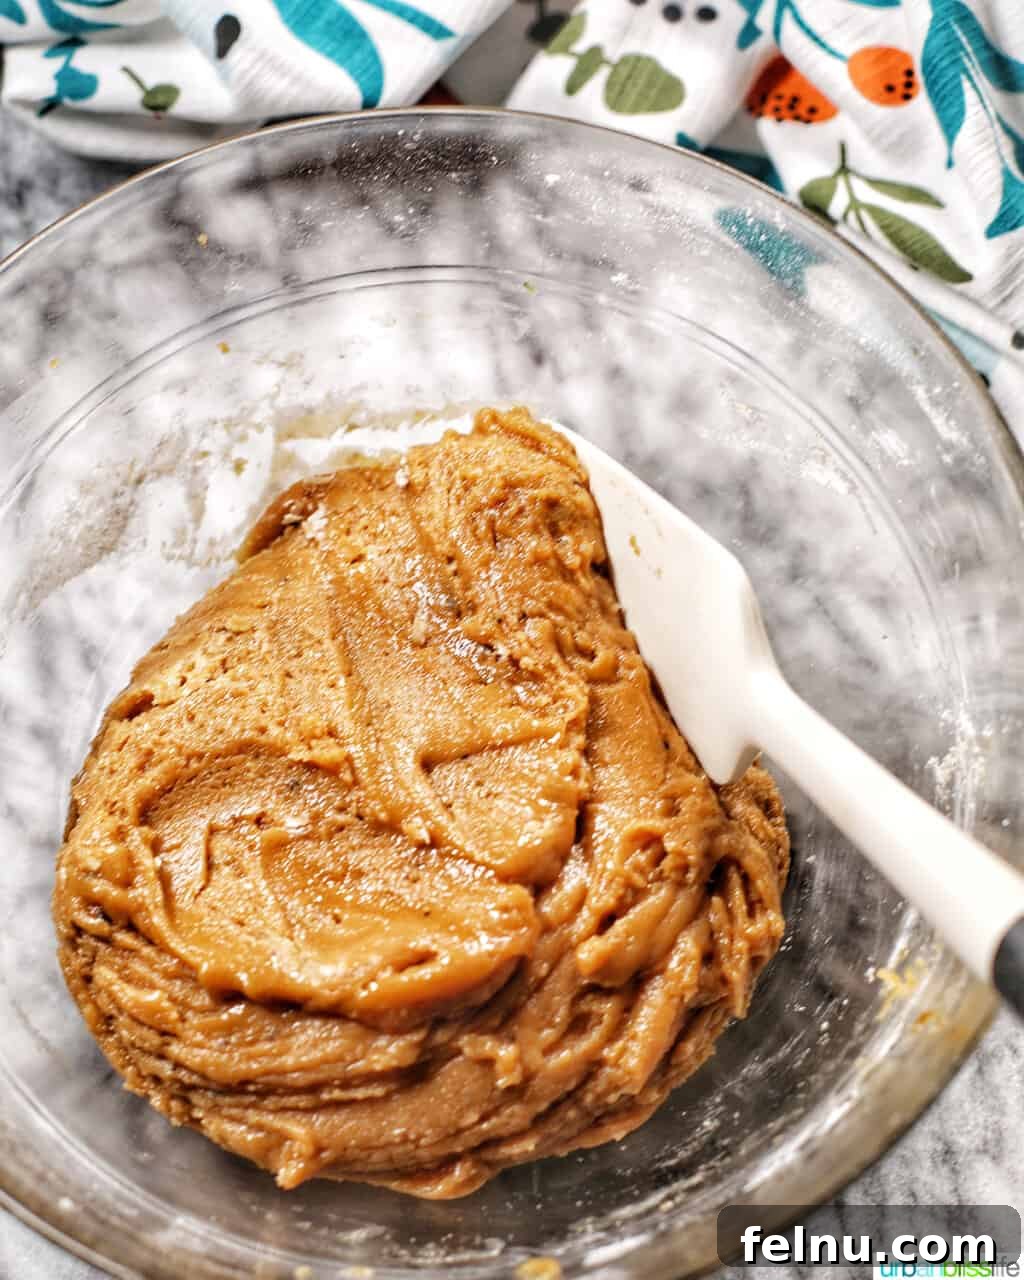
Now it’s time to bring the wet and dry elements together to form your luscious cookie dough.
- With the mixer on low speed, gradually add the dry flour mixture into the wet mixture. Mix only until just combined. Be careful not to overmix the dough, as this can lead to tough cookies. Stop mixing as soon as no streaks of dry flour are visible.
Step 5: Fold in the Chips
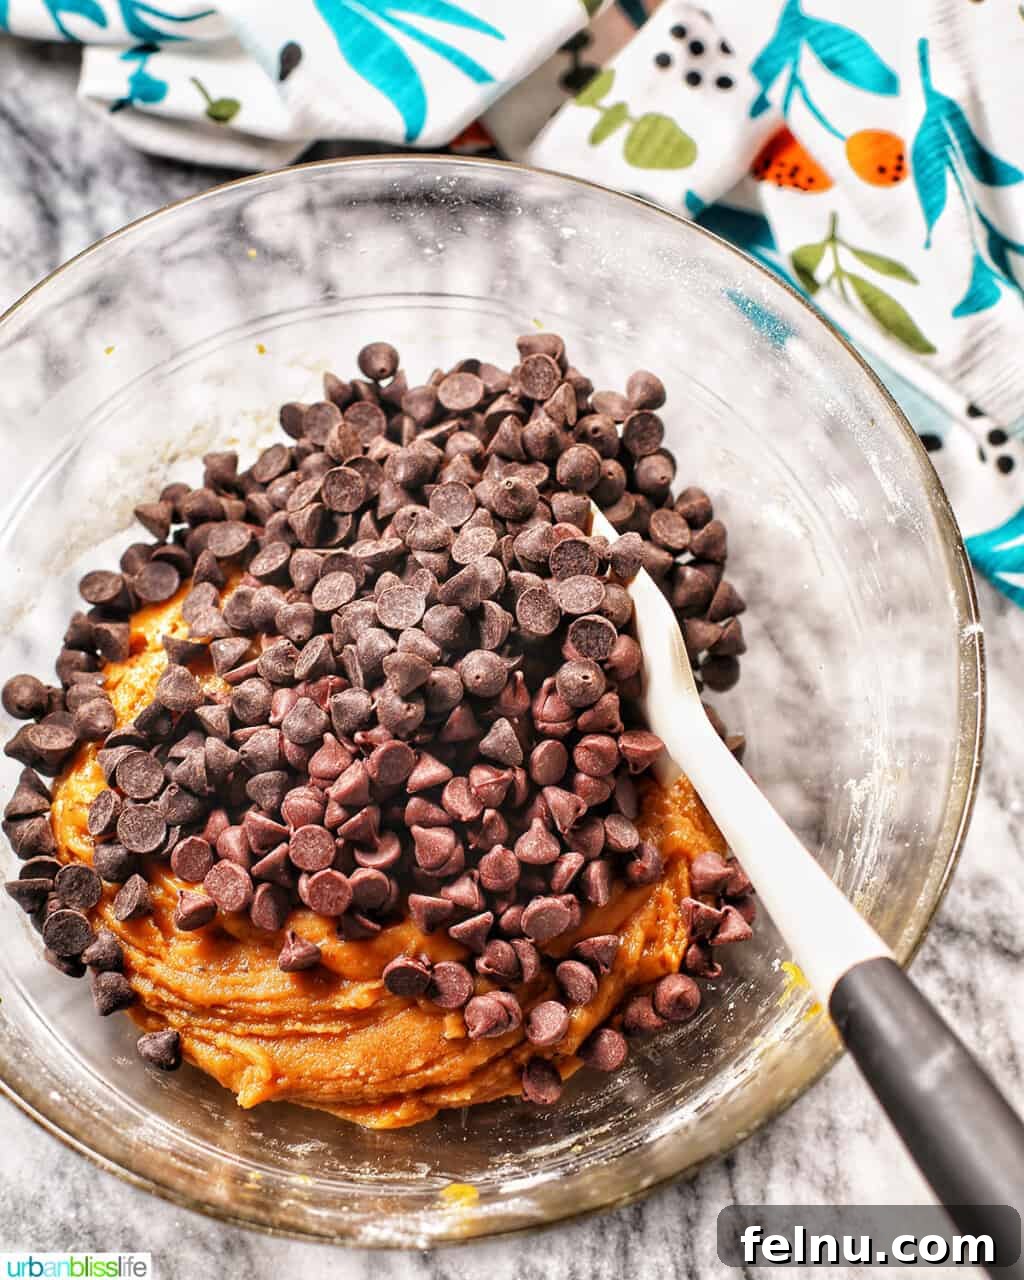
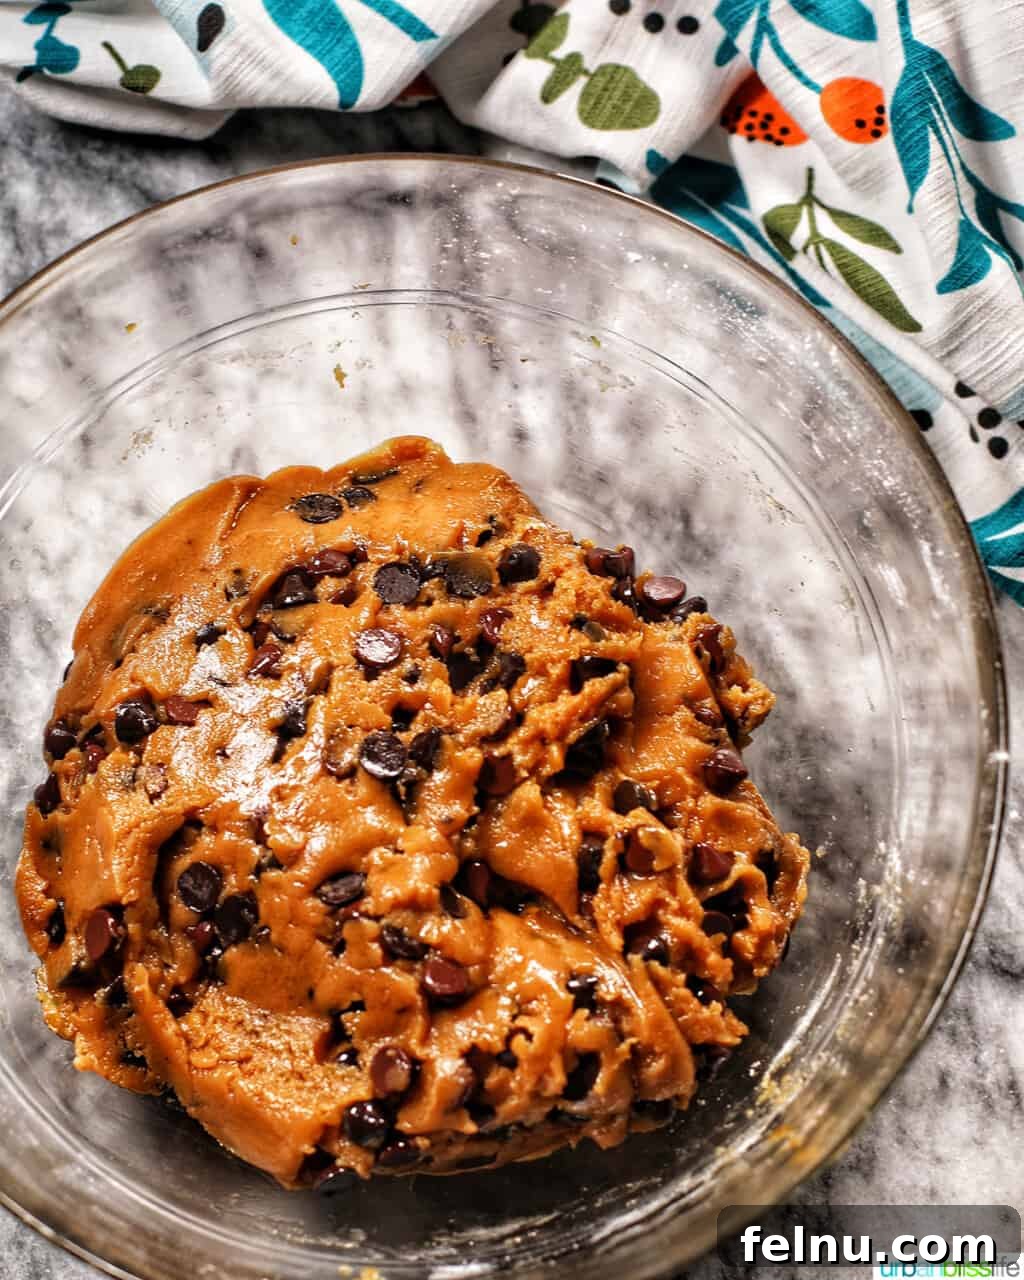
The final touch before chilling is incorporating those delightful chocolate and espresso chips.
- Remove the bowl from the mixer. Use a silicone spatula to gently fold in both the semi-sweet chocolate chips and the espresso chips. Distribute them evenly throughout the dough.
Step 6: Chill the Dough – A Crucial Step!
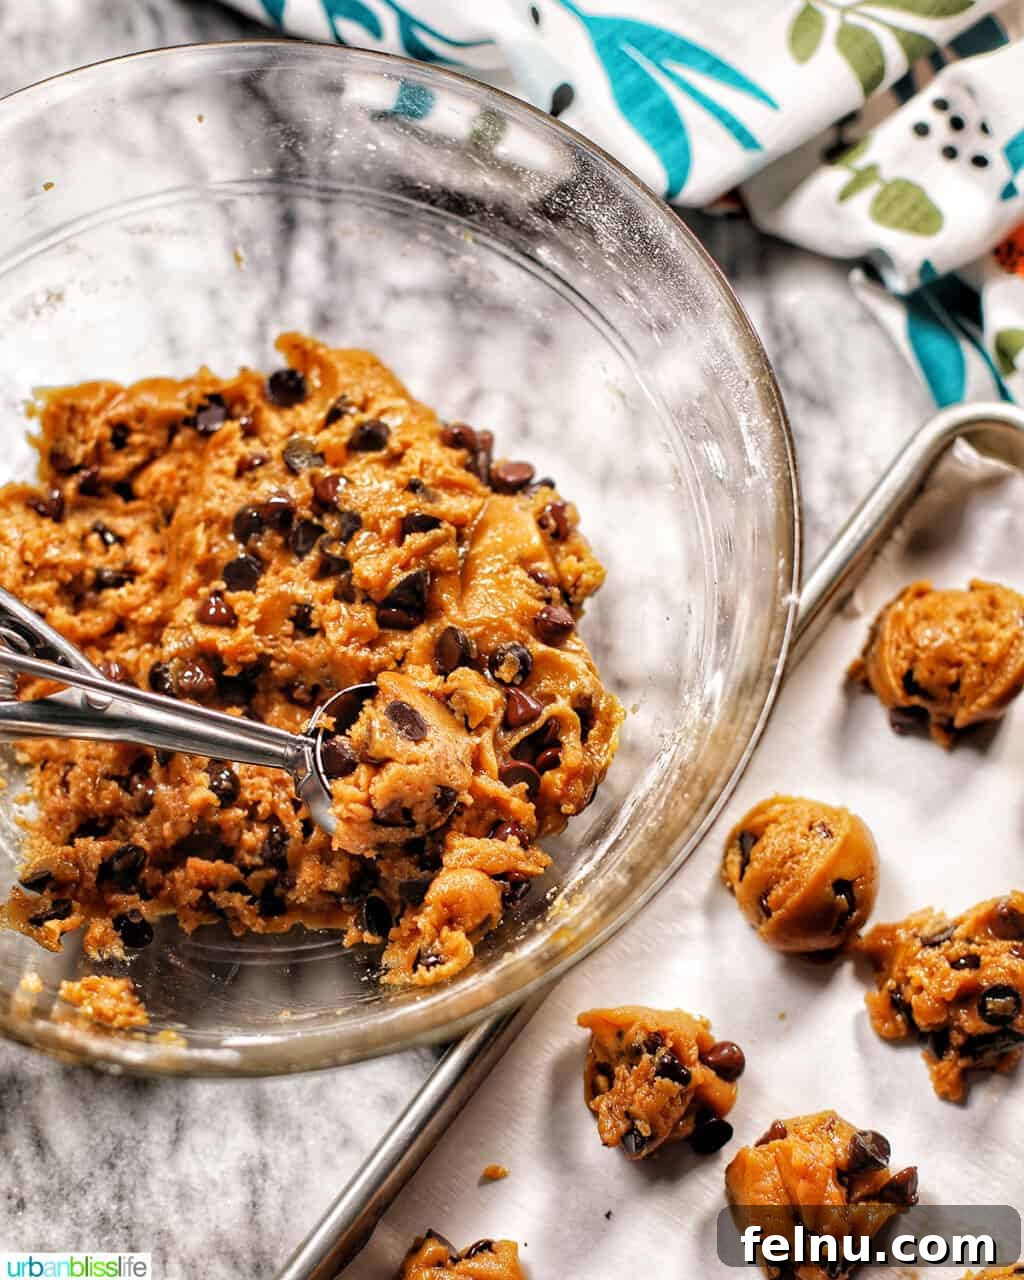
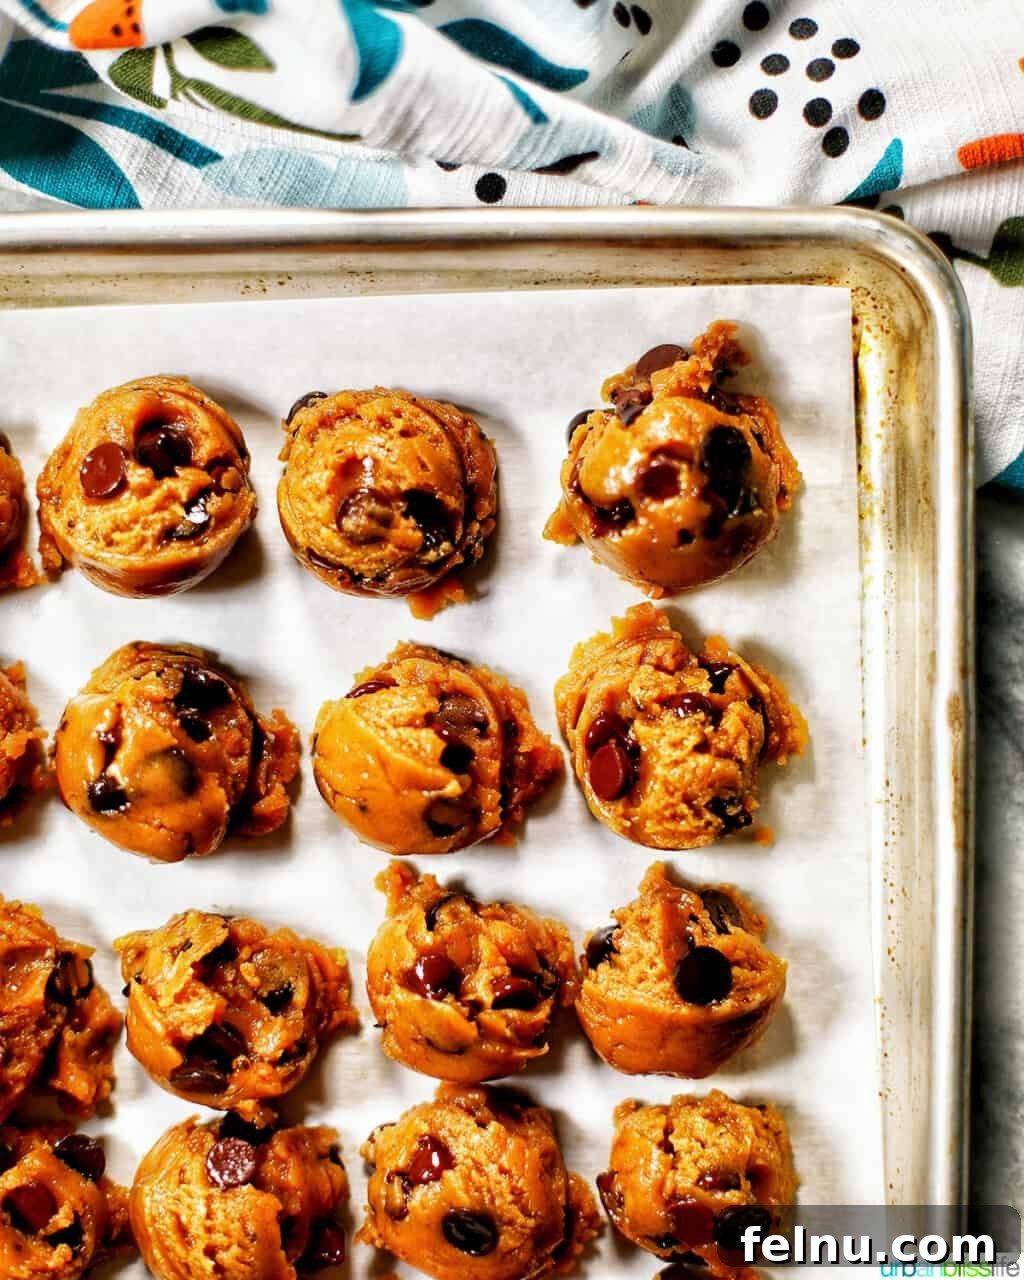
Chilling the dough is not an optional step; it’s essential for achieving the perfect texture and flavor in these cookies.
You have two excellent options for chilling:
- Shape and Chill: Shape the entire dough into a large, round, flat disc. Wrap it tightly in plastic wrap, parchment paper, or wax paper. Refrigerate for a minimum of two hours, or ideally, overnight for even better flavor development.
- Scoop and Chill (Recommended for convenience): Use a medium cookie scoop to portion out individual cookie dough balls. Arrange these balls on smaller plates or quarter-sheet baking sheets lined with parchment paper. Cover loosely with plastic wrap and refrigerate for at least two hours. This method saves time later, as the dough is already portioned.
Why is chilling so important? Chilling allows the fats in the butter to re-solidify, which prevents the cookies from spreading too much during baking, resulting in a thicker, chewier cookie. It also gives the flavors, particularly the brown butter and espresso, more time to meld and deepen, enhancing the overall taste.
Step 7: Bake to Perfection
After the dough has had its well-deserved rest in the refrigerator, it’s time to bring these cookies to life!
- Once the dough has chilled for at least two hours, preheat your oven to 350°F (175°C). Line two baking sheets with fresh parchment paper.
- If you chilled the dough as a disc: Remove the disc from the refrigerator. Use a medium cookie scoop to scoop out portions of dough, then roll them into smooth balls.
- If you chilled pre-scooped dough balls: Simply transfer the chilled dough balls to your prepared baking sheets.
- Place the cookie dough balls about 2 inches apart on the baking sheets. This spacing is crucial to give them enough room to spread without merging into one giant cookie.
- Bake for 9 to 11 minutes. Keep a close eye on them! The edges should be lightly golden brown, but the centers should still look slightly soft and underbaked. This ensures a wonderfully chewy interior. Do not overbake.
Step 8: Cool and Enjoy
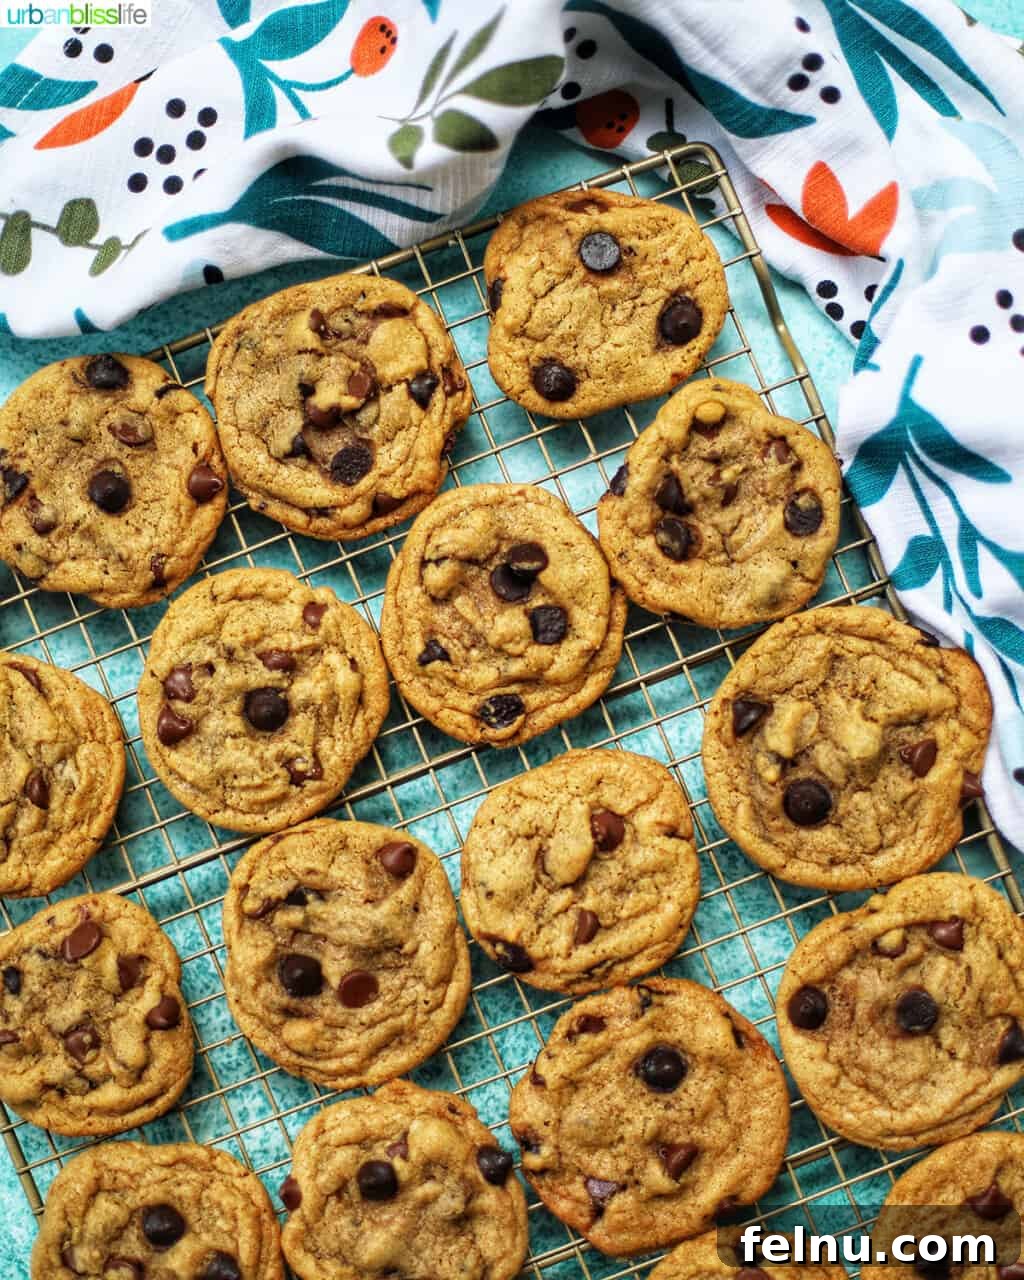
The final step involves a little patience before you can truly savor your masterpiece.
- Once removed from the oven, allow the cookies to cool on the baking sheets for about 5 minutes. They will continue to set during this time.
- Carefully transfer the partially cooled cookies to a cooling rack to cool completely. Cooling on a rack ensures proper air circulation and prevents the bottoms from becoming soggy.
- Once fully cooled, they are ready to be enjoyed!
Chocolate Chip Espresso Cookies FAQs
While not strictly mandatory, bringing eggs to room temperature significantly helps them integrate better into the batter. This leads to a smoother, more emulsified dough and ultimately contributes to a better cookie texture. If you forget, you can quickly warm them in a bowl of warm (not hot) water for 5-10 minutes.
If you don’t have instant espresso or instant coffee powder, you have a couple of options. You can either add an extra 1/2 teaspoon of vanilla extract to boost the existing flavor profile, or simply omit it entirely. Be aware that omitting it will result in a less pronounced chocolate flavor, as the espresso helps to deepen it.
Espresso chips add an extra layer of coffee-chocolate flavor. If you can’t find them or prefer not to use them, dark chocolate chips or chocolate chunks are excellent alternatives. They will still provide a rich chocolate experience. You could also simply use all semi-sweet chocolate chips if you prefer a more classic chocolate chip cookie flavor with just a hint of espresso from the powder.
No, not exactly. While the cookies may still be delicious, making substitutions will alter their intended flavor and texture. For example, if you omit both the instant espresso/coffee and the espresso chips, you’re essentially making brown butter chocolate chip cookies, which are wonderful in their own right, but different. Similarly, skipping the browning of the butter and using softened, room-temperature butter will yield a cookie with a different flavor profile and texture. Each key ingredient contributes to the unique character of this specific recipe.
Baking at high altitude often requires adjustments due to differences in atmospheric pressure. Generally, you might need to slightly increase the oven temperature, slightly decrease baking time, and sometimes adjust leavening agents or liquids. High-altitude baking is complex and depends on many variables, including your exact elevation. For comprehensive guidance, I highly recommend consulting resources like the King Arthur Baking High Altitude Baking Guide, which provides helpful charts and tips for various elevations.
Store your Brown Butter Espresso Chocolate Chip Cookies in an airtight container at room temperature for up to 3-4 days. For longer storage, you can freeze them for up to 2-3 months. Thaw frozen cookies at room temperature or gently reheat them in a microwave for a few seconds for that fresh-baked warmth.
Absolutely! This dough is fantastic for making ahead. After chilling for at least 2 hours, the dough can be kept in the refrigerator for up to 3 days. You can also freeze individual cookie dough balls for up to 3 months. When ready to bake from frozen, simply add a couple of extra minutes to the baking time, or let them sit at room temperature for 15-20 minutes before baking.
More Irresistible Cookie Recipes to Try
If you loved these unique chocolate chip cookies, you’re sure to enjoy these other delightful cookie creations:
- Chewy Chocolate Fudge Cookies
- Butterscotch Cookies
- Soft Ginger Molasses Cookies
- Chocolate-Dipped Peppermint Shortbread Cookies
- Peanut Butter Blossom Cookies
- Chocolate Chip Cookie Bars
Brown Butter Espresso Chocolate Chip Cookies
5 from 6 votes
Marlynn Schotland
20 mins
10 mins
30 cookies

Print Recipe
These cookies boast a rich, complex flavor thanks to the nutty brown butter and the deep notes of two kinds of chocolate chips, enhanced by espresso.
Ingredients
- 2¼ cup all-purpose flour
- 1 teaspoon baking soda
- ½ teaspoon kosher salt
- 1 cup (2 sticks) unsalted butter
- 1¼ cup packed light brown sugar
- ¼ cup granulated sugar
- 1 large egg
- 1 egg yolk
- 1 Tablespoon vanilla extract
- 1 Tablespoon sour cream
- 2 teaspoons instant espresso or instant coffee
- ¾ cup semi-sweet chocolate chips
- ¾ cup espresso chips
Instructions
- In a large, light-colored saucepan over medium heat, add the butter. Whisk the butter as it melts and continue to heat until it starts to brown. The butter will bubble and foam, then the sizzling will slow down, and the color will change from golden yellow to a rich amber. You’ll see tiny brown flecks at the bottom. Once it reaches this stage, immediately remove it from the heat and pour into a heatproof bowl. Allow it to cool for about 10-15 minutes, or until just warm to the touch.
- While the brown butter is cooling, in a separate large bowl, whisk together the all-purpose flour, baking soda, and kosher salt until well combined. Set aside.
- Once the brown butter has cooled, transfer it to a large stand mixer bowl (or use a hand mixer). Add the packed light brown sugar and granulated sugar. Beat on medium speed until combined and creamy. Then, beat in the room temperature large egg, egg yolk, vanilla extract, sour cream, and instant espresso powder until the mixture is smooth and fully incorporated. Scrape down the sides of the bowl as needed.
- Gradually add the dry flour mixture into the wet ingredients on low speed, mixing just until combined. Be careful not to overmix the dough. Stop as soon as no dry streaks of flour remain.
- Using a silicone spatula, gently fold in both the semi-sweet chocolate chips and the espresso chips until they are evenly distributed throughout the dough.
- At this point, you can either shape the entire dough into a round, flat disc and wrap it tightly, or use a cookie scoop to portion out individual dough balls. Refrigerate the dough for a minimum of two hours, or preferably overnight. Chilling is essential for flavor development and to prevent excessive spreading during baking.
- When ready to bake, preheat your oven to 350°F (175°C). Line two baking sheets with parchment paper.
- Remove the chilled dough from the refrigerator. If you chilled a disc, scoop out dough and roll into balls. If you pre-scooped, simply transfer the dough balls to the prepared baking sheets, placing them about 2 inches apart to allow for proper spreading.
- Bake for 9 to 11 minutes. The cookies are done when the edges are lightly golden brown, but the centers still appear slightly soft. This ensures a wonderfully chewy texture.
- Remove the baking sheets from the oven and allow the cookies to cool on the sheets for 5 minutes. Then, transfer them carefully to a cooling rack to cool down completely. Enjoy your homemade, gourmet brown butter espresso chocolate chip cookies!
Notes
Chilling the dough: Chilling is a crucial step for these cookies. It allows the butter to re-solidify, which prevents the cookies from spreading too much in the oven, leading to a thicker, chewier cookie. It also gives the flavors, especially the brown butter and espresso, time to meld and deepen, resulting in a more complex and delicious cookie. Don’t skip it!
Nutrition
Calories: 186kcal,
Carbohydrates: 23g,
Protein: 2g,
Fat: 10g,
Saturated Fat: 6g,
Polyunsaturated Fat: 1g,
Monounsaturated Fat: 2g,
Trans Fat: 1g,
Cholesterol: 29mg,
Sodium: 87mg,
Potassium: 84mg,
Fiber: 1g,
Sugar: 14g,
Vitamin A: 211IU,
Vitamin C: 1mg,
Calcium: 29mg,
Iron: 1mg
Nutrition information is automatically calculated and should be used as an approximation only.
Please leave a star rating and comment below! Then, snap a pic of your delicious cookies and share it on social media. Don’t forget to tag @UrbanBlissLife and use the hashtag #UrbanBlissLife so we can see your amazing creations!
Pin It for Later!