
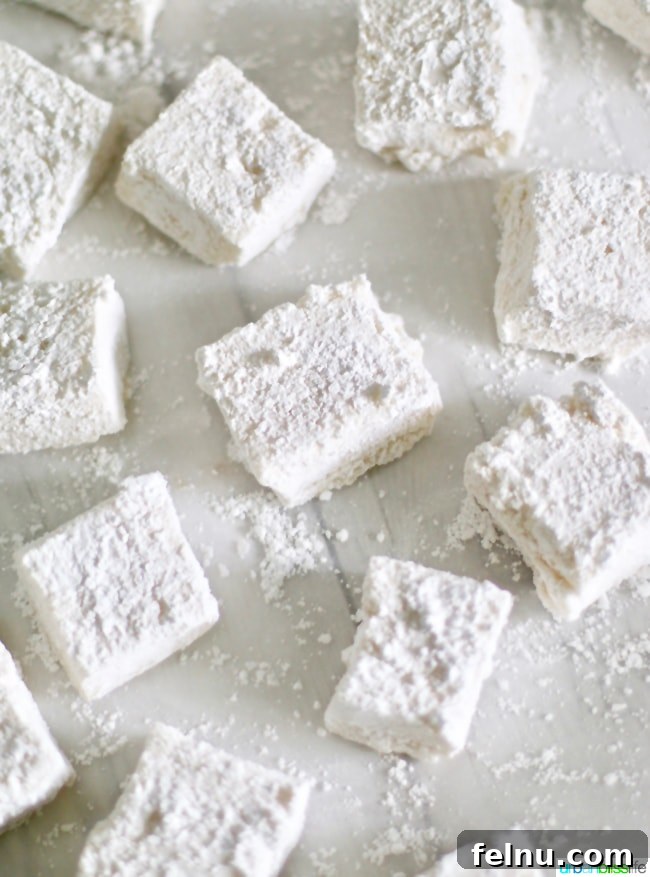
Fluffy Homemade Marshmallows are an absolute game-changer, transforming ordinary campfires and hot chocolate into extraordinary experiences. Forget the tough, bland, store-bought variety; crafting your own marshmallows is not only surprisingly simple but yields a treat that’s unbelievably soft, airy, and bursting with fresh flavor. Elevate your summer s’mores, enrich your winter cocoa, or simply enjoy them as a delightful, pillowy snack. Prepare to discover the secret to truly irresistible marshmallows!
For many years, I held a secret culinary confession: I wasn’t a true fan of s’mores. While the idea of toasted marshmallow, melted chocolate, and crunchy graham cracker seemed appealing in theory, the reality often left me wanting more. Traditional s’mores, with their flimsy graham crackers, would often crumble under the weight of gooey marshmallows and chocolate, leading to a messy, often frustrating, eating experience. The textures and flavors, though classic, never quite aligned with my ideal campfire treat.
Envision the scene: my fingers, driven by a primal hunger for a sweet treat, inadvertently crushing the delicate graham crackers. It was never a pretty sight, and often resulted in more chocolate on my fingers than in my mouth. I yearned for a s’more that offered a more robust foundation, a culinary creation that could withstand the enthusiastic embrace of a perfectly roasted marshmallow.
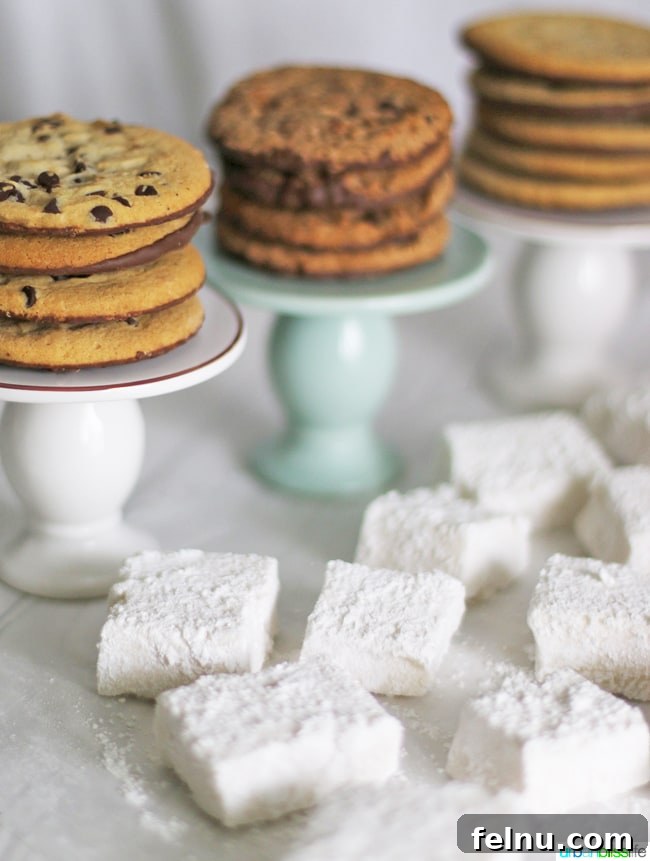
That said, my appreciation for the *concept* of s’mores remained strong. I knew there had to be a better way, a more elegant and enjoyable rendition of this beloved treat. My friends at Franz Bakery recently unveiled their innovative S’more cookies, and it was a revelation! These sturdier, chocolate-chip and chocolate-coated cookies proved to be the perfect foundation for a truly satisfying s’more. Their durability and rich flavor profile solved my lifelong s’mores dilemma.
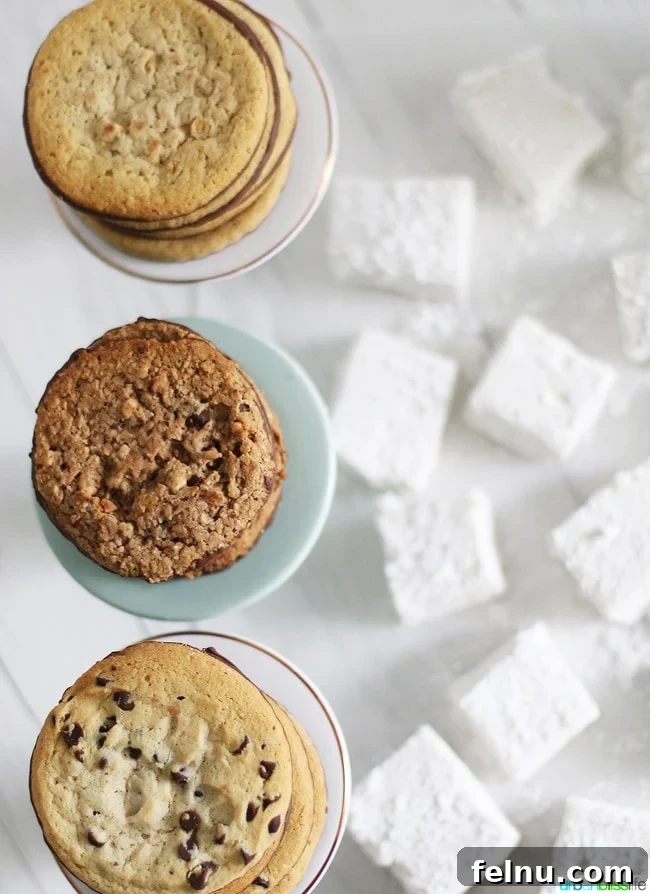
It was this exciting development that inspired me to create this very recipe for Fluffy Homemade Marshmallows, designed to complement Franz Bakery’s brand new S’more cookies. These cookies are absolutely ideal for assembling s’more-style treats, offering three distinct and delicious flavors that pair wonderfully with the sweet, ethereal clouds of homemade marshmallow. You can spot these delectable cookies in the photos accompanying this article, showcasing the diverse flavors ready to elevate your s’mores experience.
❤️ Why You’ll Fall in Love with This Homemade Marshmallow Recipe
Embarking on the journey to make these Fluffy Homemade Marshmallows was, for me, a delightful surprise. I honestly anticipated a complex and time-consuming process, but it turned out to be much simpler than I ever imagined! The payoff? A batch of marshmallows that are not only incredibly easy to prepare but also boast a taste and texture far superior to anything you could ever purchase from a store shelf.
Here’s why these homemade marshmallows will become your new go-to sweet treat:
- Unbeatable Flavor and Texture: These aren’t just marshmallows; they are melt-in-your-mouth clouds of sugary perfection. The texture is impossibly soft, airy, and incredibly fresh, a stark contrast to the often dense and rubbery store-bought versions. The subtle hint of vanilla truly shines through, offering a nuanced sweetness that is simply divine.
- Effortless to Make: Don’t be intimidated by the idea of making marshmallows from scratch. The process involves a few straightforward steps: blooming gelatin, cooking a simple syrup, and then whipping the mixture until it transforms into fluffy goodness. With a stand mixer, most of the work is hands-off!
- Superior for S’mores: If you’re a s’mores enthusiast, these homemade marshmallows will revolutionize your experience. Their generous size and incredible chewiness create the perfect “ooey gooey” center for your s’mores, ensuring that the entire creation holds together beautifully. No more collapsing structures or lost marshmallow pieces! They toast wonderfully, developing a delicate caramelized crust while remaining soft and molten within.
- Versatile Treat: While perfect for s’mores, these marshmallows are incredibly versatile. Drop them into a steaming mug of hot chocolate for an instant upgrade, use them in baking recipes, or simply enjoy them as a delightful confection on their own. They also make wonderful homemade gifts!
- Wholesome Ingredients: When you make marshmallows at home, you control every ingredient. This recipe uses simple, recognizable components, ensuring a treat you can feel good about sharing with family and friends.
The magic begins with a simple syrup, where sugar, gelatin, and water are gently heated and dissolved. This crucial initial step lays the foundation for the marshmallow’s structure and sweetness. The key is to ensure all sugar crystals are fully dissolved, creating a smooth and clear base for the fluffiness to come.
Once your syrup is ready, the transformation truly begins. Pour the warm mixture into the bowl of a stand mixer fitted with a whisk attachment, or into a large mixing bowl if you’re using a hand mixer. Add a pinch of salt to balance the sweetness and a generous splash of vanilla extract for that irresistible aroma and flavor. Then, let the mixer do its wondrous work! If you’re feeling particularly ambitious, or perhaps in need of an arm workout, you can certainly whisk by hand – just be prepared for a serious bicep challenge!
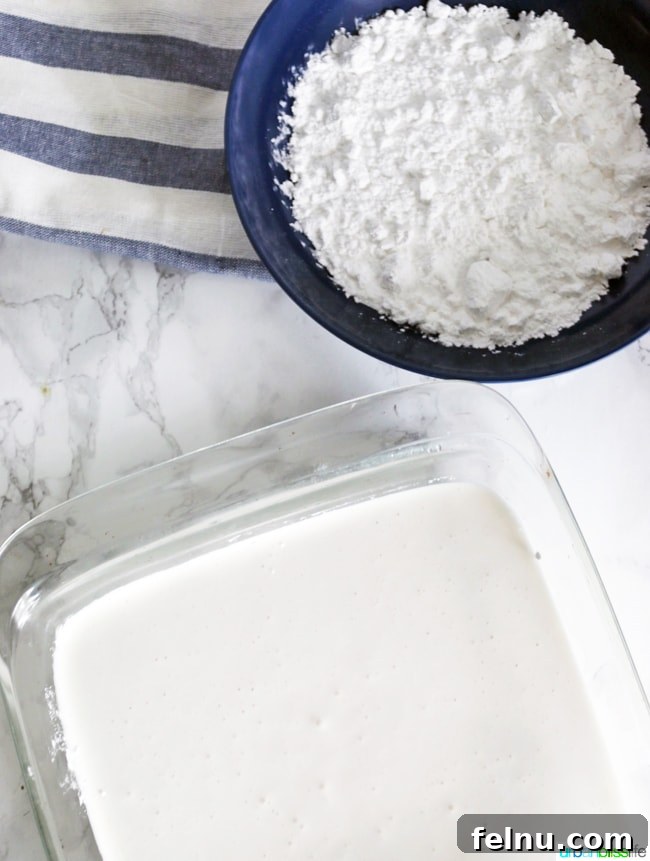
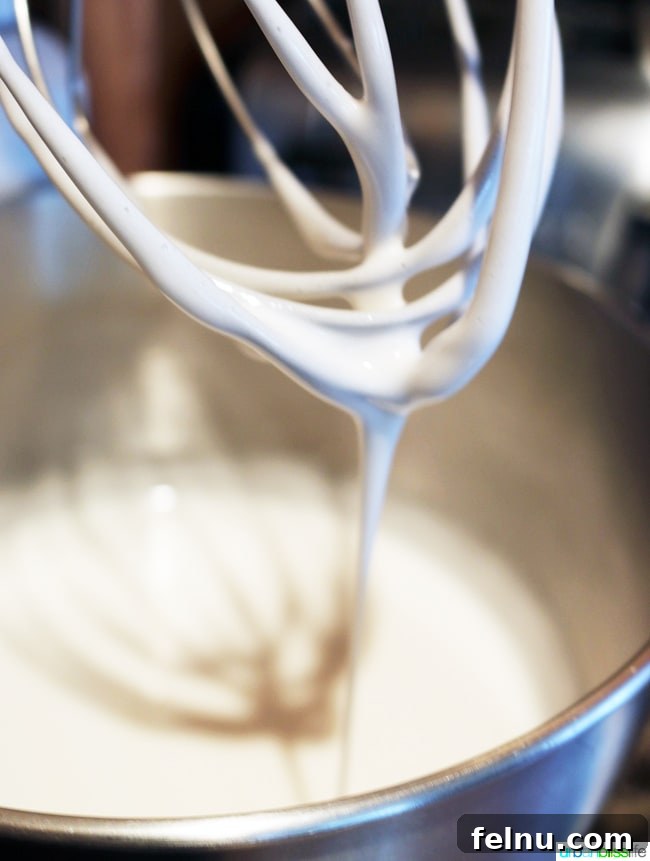
Continue mixing for a good 10-15 minutes, or potentially much longer if you’re using manual power. You’ll witness a fascinating metamorphosis as the mixture gradually lightens in color, thickens, and begins to grow in volume, eventually almost doubling its original size. It will become wonderfully soft, incredibly airy, and beautifully white – the tell-tale signs of perfectly whipped marshmallow. The mixture will also become much cooler to the touch as it incorporates air and emulsifies.
Once it reaches this magnificent state of fluffiness, carefully pour the marshmallow mixture into a prepared baking pan. To ensure easy removal later, make sure your pan is thoroughly greased and dusted with powdered sugar, or lined with parchment paper. Then comes the hardest part: patience. Allow the marshmallow to sit undisturbed at room temperature for several hours, giving it ample time to set. Resist the urge to poke, prod, or taste-test too early; this is where your inner Jedi master training in patience will truly be tested!
I’ve found that this setting process typically requires a minimum of four hours, but it can extend up to eight hours, or even overnight, depending on various environmental factors. The temperature and humidity levels in your home play a significant role in how quickly the marshmallows will firm up. A cooler, drier environment will generally lead to faster setting times. The marshmallow is ready when it feels firm to the touch and no longer sticks to your fingers.
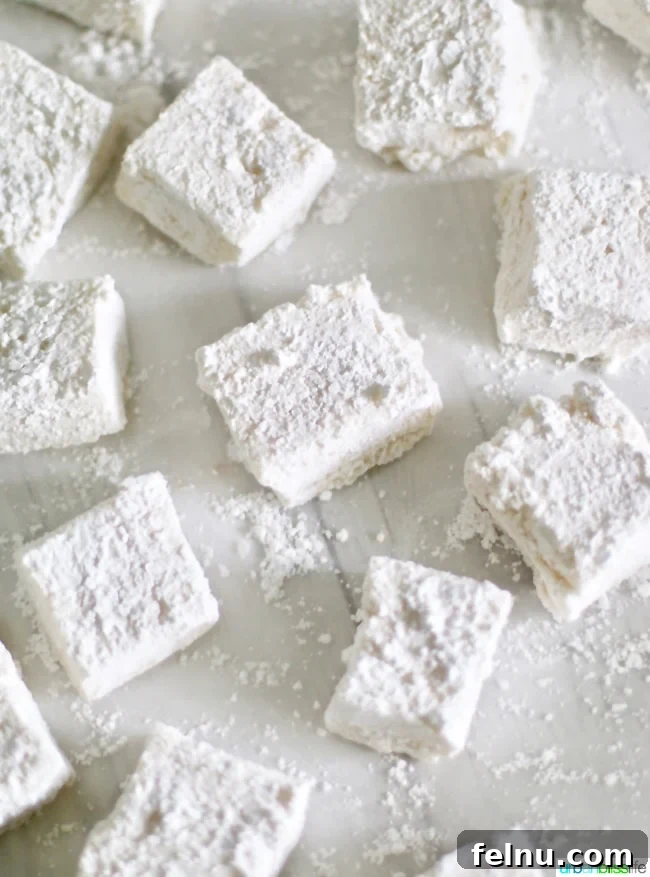
Once your homemade marshmallow creation has achieved the perfect balance of fluffiness and firmness – a ratio that only your personal preference can truly dictate – it’s time for the enjoyable task of cutting. Gently lift the entire marshmallow slab from the pan (this is where the proper pan preparation really pays off!) and place it on a clean cutting board. Using a sharp, lightly oiled knife or a pizza cutter, slice the block into uniform squares of your desired size. I find 1-inch to 1.5-inch squares to be ideal for s’mores and snacking.
Finally, to prevent sticking and add a touch of extra sweetness, gently coat each freshly cut marshmallow square with powdered sugar. You can do this by placing a handful of marshmallows and powdered sugar in a plastic bag and shaking it, or by rolling each marshmallow individually in a shallow bowl of sugar. Ensure all sides are evenly covered. The powdered sugar creates a delightful soft exterior, making them easy to handle and store.
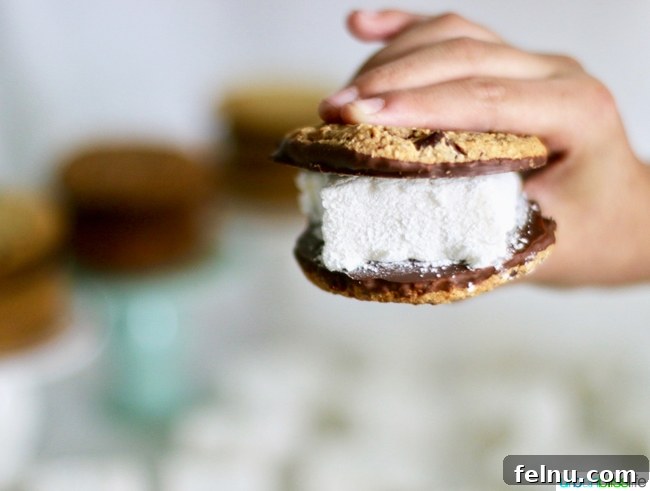
These magnificent, fluffy homemade marshmallows are truly a revelation, especially when nestled between two sturdy s’more cookies. The combination of the sweet, vanilla-scented marshmallow, perfectly toasted to a golden-brown crisp, and the rich, chocolatey cookie creates an unparalleled s’more experience. This is the kind of s’more I absolutely refuse to pass up – a perfect harmony of textures and flavors that elevates a classic treat to new heights of deliciousness!
Of course, for those who cherish tradition, you can absolutely use these incredible homemade marshmallows with classic graham crackers and your favorite chocolate bars to craft your s’mores. There’s no judgment here – enjoy them however you please! However, I enthusiastically encourage you to seek out the new Franz Bakery s’mores cookies in your local grocery store. Trust me, these cookies and your freshly made fluffy marshmallows are a match made in culinary heaven; they are simply made for each other, promising a s’mores experience like no other!
Did you make this recipe? Don’t forget to leave a 5-Star 🌟🌟🌟🌟🌟 rating in the recipe card below, and if you really loved it, please leave a comment further down on the page. Your feedback means the world! Thank you!
Fluffy Homemade Marshmallows
🌟
🌟
🌟
🌟
Ingredients
- ½ cup powdered sugar
- 2 packets gelatin, 2 Tablespoons
- ½ cup cold water
- 2 cups granulated sugar
- ½ cup cold water
- ¼ tsp teaspoon salt
- 2 tsp vanilla extract
Instructions
-
• Lightly grease the bottom and sides of an 8-inch or 9-inch square pan with butter.
-
• Dust powdered sugar over the pan, moving the pan around to ensure the entire bottom and sides are well covered. Shake off excess powdered sugar back into the bowl of powdered sugar. Set aside both the prepared pan and the reserve powdered sugar.
-
• In a medium bowl, add first ½ cup of cold water and gelatin powder. Stir once, gently, then set aside to bloom.
-
• Add granulated sugar and the second ½ cup of cold water to a large heavy saucepan over medium heat. Stir continuously until the sugar is completely dissolved. Add the bloomed gelatin mixture to the pan and bring the entire mixture to a low boil. Cook for about 1 minute.
-
• Remove the saucepan from the heat and allow the syrup to cool slightly at room temperature for a few minutes. This prevents the gelatin from breaking down during whipping.
-
• Carefully pour the warm syrup into the bowl of a stand mixer (or a large bowl if using a hand mixer). Add the salt and vanilla extract. Beat the mixture at low-medium speed for about 10-15 minutes, or until it becomes soft, fluffy, opaque white, and has almost doubled in size. The bowl should feel warm, but not hot, to the touch.
-
• Promptly pour the whipped marshmallow mixture into the prepared square baking pan, smoothing the top gently with a spatula.
-
• Allow the marshmallow mixture to cool and set in the pan at room temperature for at least 4 hours, and up to 8 hours or overnight. It will be fully set when you can lightly touch the surface without any stickiness. The exact setting time depends on the temperature and humidity in your home.
-
• Once firm, carefully invert the marshmallow block onto a clean, lightly powdered sugar-dusted cutting board. Using a sharp, lightly oiled knife or pizza cutter, cut the block into 1” to 1½” squares.
-
• Gently roll each marshmallow square in the reserve powdered sugar, ensuring all sides are completely covered to prevent sticking. Add more powdered sugar to your bowl as needed.
-
• Serve these delightful homemade marshmallows immediately, or store them in an airtight container at room temperature. They will maintain their freshness and fluffiness for up to 3 days.
Notes
Nutrition
Nutrition information is automatically calculated, so should only be used as an approximation.
Now it’s your turn to weigh in! How do YOU feel about s’mores? Are you a dedicated fan, or do you share my past reservations? How do you like to customize your s’mores – with unique cookies, different chocolates, or perhaps even other fillings? Share your s’mores wisdom and preferences with us in the comments below!
More Summer Food Bliss
Looking for more delightful recipes to brighten your summer? From sweet treats perfect for outdoor gatherings to refreshing salads that complement any meal, we’ve got you covered. Explore these additional recipes that are sure to bring joy to your table and bliss to your taste buds:

Nutty S’more Cones
If you love the flavors of s’mores but want a less messy and more portable option, these nutty s’more cones are an absolute must-try. Packed with chocolate, marshmallows, and a delightful crunch from nuts, these cones are baked until gooey and golden. They’re perfect for backyard BBQs, camping trips, or simply as a fun dessert for kids and adults alike. Easy to prepare and even easier to devour!
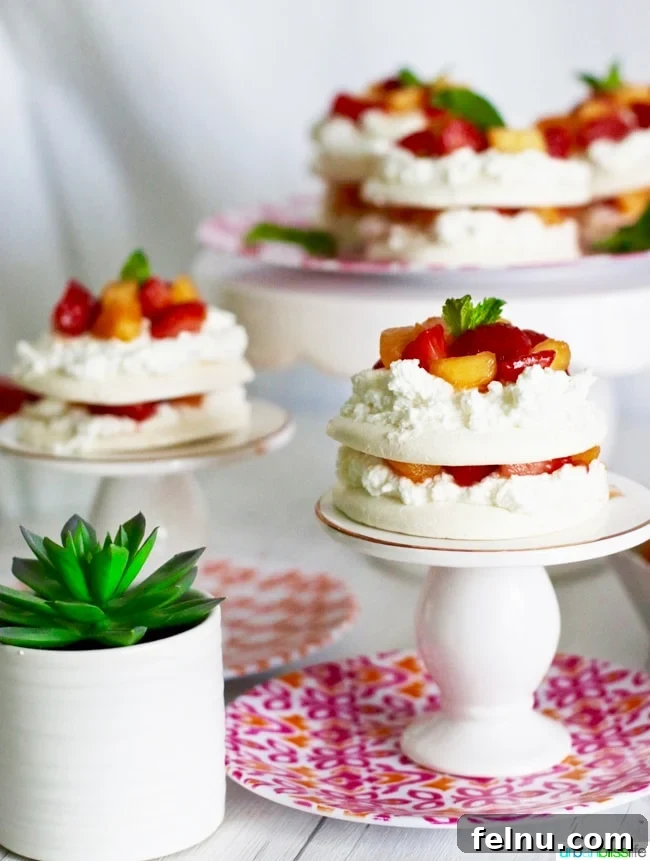
Mini Pavlova Cakes with Strawberries, Peaches, and Cream
For a lighter, yet equally impressive, summer dessert, these Mini Pavlova Cakes are simply divine. Featuring crisp meringue shells, soft on the inside, and piled high with fresh strawberries, juicy peaches, and luscious whipped cream, they are an elegant and refreshing treat. These individual desserts are perfect for entertaining, offering a beautiful presentation and a burst of seasonal flavors that capture the essence of summer.
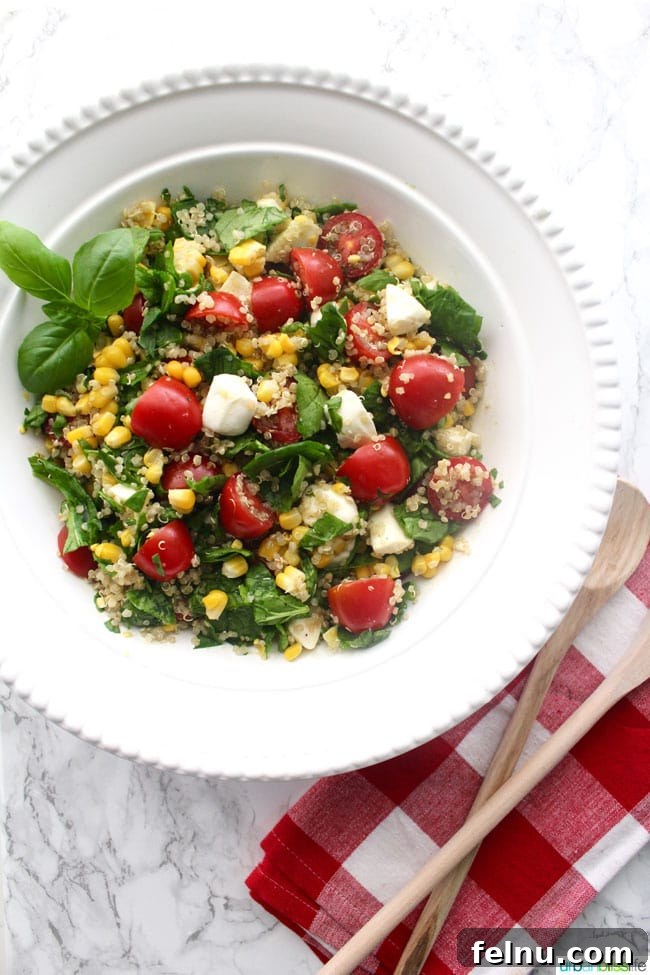
Summer Corn & Quinoa Caprese Salad
Balance your sweet treats with something fresh and wholesome! This Summer Corn & Quinoa Caprese Salad is a vibrant and nutritious dish, perfect for warm weather. Combining sweet corn, protein-rich quinoa, fresh mozzarella, ripe tomatoes, and fragrant basil, all tossed in a light vinaigrette, this salad is bursting with flavor and texture. It makes an excellent side dish for barbecues, a light lunch, or a refreshing potluck contribution.
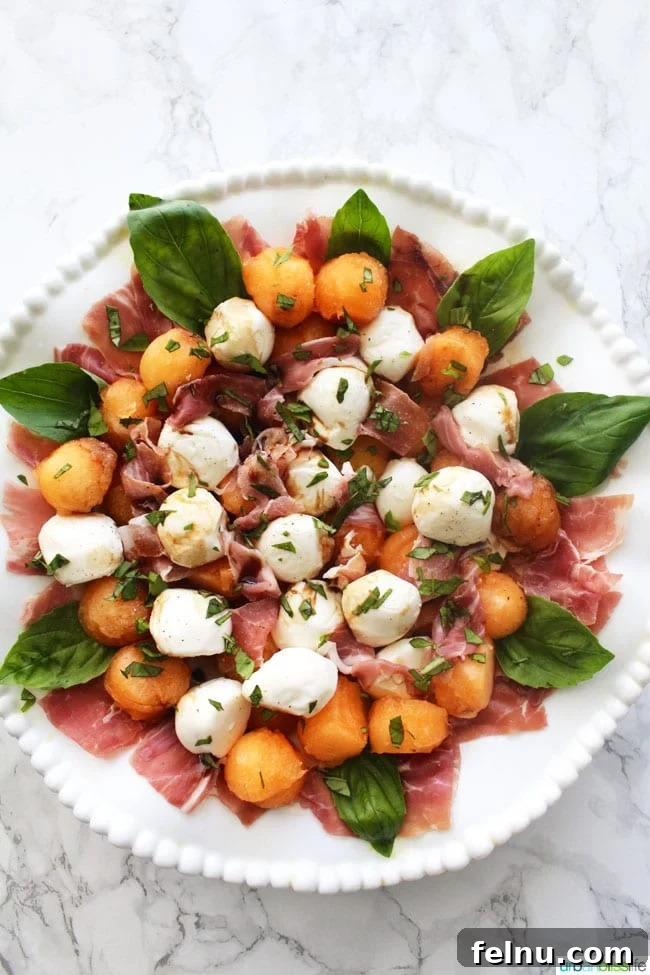
Melon & Prosciutto Caprese Salad
For another exquisite savory option, indulge in this Melon & Prosciutto Caprese Salad. This elegant salad pairs the sweet juiciness of fresh melon with salty, savory prosciutto, creamy mozzarella, and a hint of basil. It’s an incredibly refreshing and sophisticated appetizer or light meal, ideal for picnics, garden parties, or a delightful starter to any summer feast. The contrasting flavors and textures create a truly memorable culinary experience.
This recipe was developed for Franz Bakery, who is a valued client of mine. As always, all opinions and photography expressed here are entirely my own.