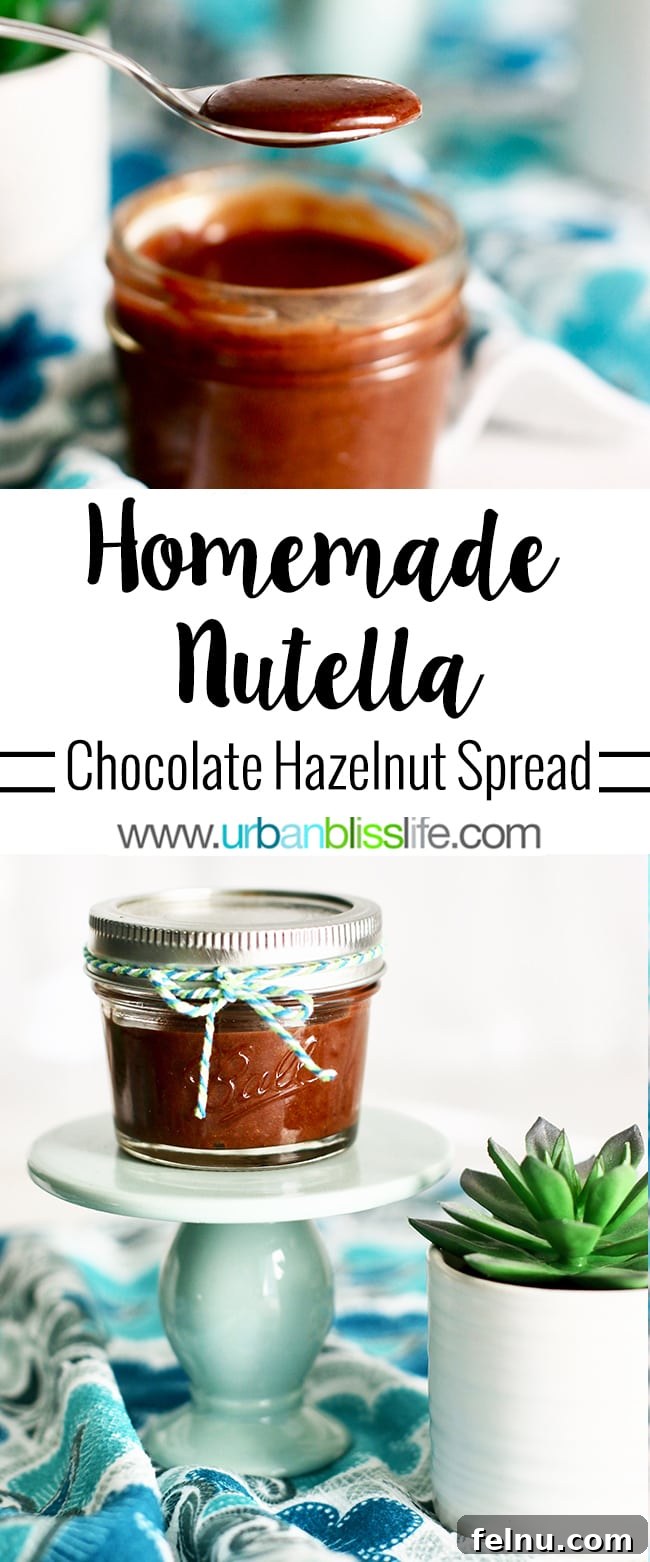
Homemade Chocolate Hazelnut Spread: A Delicious Nutella Alternative
Craving that classic chocolate hazelnut flavor? This chocolate hazelnut spread recipe is incredibly easy to make and delivers a richer, more satisfying taste than any store-bought version! Forget processed ingredients and excessive sugar – this homemade Nutella is a delectable dairy-free sauce, dip, and drizzle for all your favorite desserts.
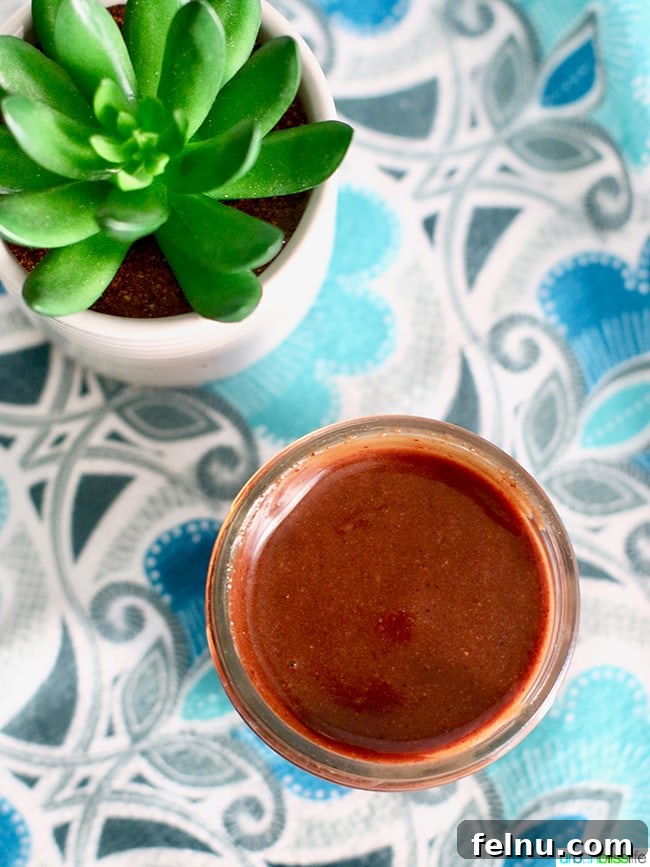
If you’re like me, you might have a complicated relationship with commercial Nutella. While the idea of chocolate and hazelnuts is undeniably appealing, the store-bought spread often falls short. It has a peculiar, slightly grainy texture that hints at over-processing, and the flavor just doesn’t quite hit the mark.
However, my love for the combination of chocolate and hazelnut remains strong. A decadent Chocolate Hazelnut Tart? Sign me up! That’s why I was determined to create a homemade version of Nutella that truly captures the essence of this classic pairing.
And I’m thrilled to share that this copycat Nutella recipe from scratch is a resounding success! It’s incredibly simple to make, allows you to control the ingredients, and tastes absolutely divine.
Why Make Your Own Chocolate Hazelnut Spread?
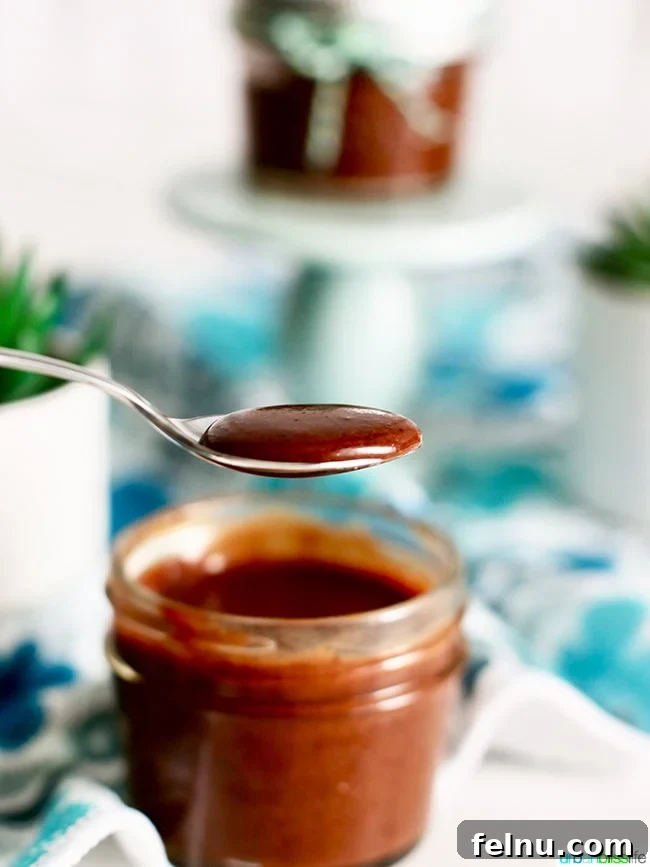
The greatest advantage of crafting your own chocolate hazelnut spread is knowing precisely what goes into it – primarily wholesome hazelnuts and high-quality chocolate. But the benefits extend far beyond ingredient transparency:
- Lower Sugar Content: Shockingly, sugar is the primary ingredient in store-bought Nutella, prominently listed as #1 on the label. A single serving can contain a staggering 21 grams of sugar! In contrast, homemade Nutella typically has between 7 and 10 grams per serving, offering a significantly healthier alternative.
- Customizable Sweetness: With homemade Nutella, you have the freedom to adjust the taste to your preferred level of sweetness. Whether you prefer a more intense chocolate flavor or a subtle hint of sweetness, you’re in control.
- Adjustable Consistency: The consistency of store-bought Nutella can be quite thick, making it challenging to spread. This is often due to the ingredients used to extend shelf life. Homemade Nutella allows you to adjust how thick the spread is, creating a smoother, more spreadable texture.
- Dairy-Free Option: By using pure cocoa powder instead of a hot cocoa mix, you can easily create a delicious dairy-free treat! This is a fantastic option for those with dietary restrictions or preferences.
- Surprisingly Simple: You might be surprised at how easy it is to make chocolate hazelnut spread at home. With just a few ingredients and basic kitchen equipment, you can whip up a batch in no time.
Ready to experience the joy of homemade chocolate hazelnut spread? Let’s dive in!
Essential Kitchen Tools and Ingredients
To embark on your Nutella-making journey, you’ll need just a handful of essential kitchen tools:
- Baking Sheet: A rimmed baking sheet is essential for evenly roasting the hazelnuts. The rim prevents the nuts from rolling off the sheet during baking.
- Dish Towel: A clean, dry dish cloth is crucial for removing the skins from the roasted hazelnuts. Opt for a weave-style towel with grooves, as this provides better friction for efficient skin removal.
- High-Powered Blender or Food Processor: Since you’ll be blending hazelnuts into a smooth paste, a high-powered blender or food processor is necessary. Most home blenders will work, but a more powerful appliance will yield the best results. I personally use and love the Vitamix blender. A food processor also works great.
Detailed Look at Nutella Ingredients
The foundation of any great chocolate hazelnut spread is, of course, the hazelnuts themselves.
I’m fortunate enough to live near a region renowned for its hazelnut farms. If you ever visit Oregon, you’ll quickly notice hazelnuts as a staple ingredient in local cuisine, appearing in everything from breakfast dishes to decadent desserts. The rich soil and temperate climate provide the perfect conditions for growing these flavorful nuts.
Even if you don’t live near a hazelnut-producing region, you can typically find bags of hazelnuts in your local grocery store. If not, you can easily purchase hazelnuts online.
In addition to hazelnuts, you’ll need the following ingredients:
- Coconut Sugar: This unrefined sugar alternative adds a subtle sweetness and a hint of caramel flavor. You can substitute granulated sugar if you prefer, but coconut sugar offers a slightly healthier option.
- Cocoa Powder: The quality of your cocoa powder will significantly impact the final flavor of your Nutella. I highly recommend using the best-tasting cocoa powder you can find for a richer, more intense chocolate experience.
- Coconut Oil: The recipe calls for melted coconut oil, which helps create a smooth and creamy spread. It also aids in preserving the freshness of the Nutella.
- Water: Water is used to adjust the thickness of the spread. Start with the suggested amount in the recipe card and then gradually add more, half a teaspoon at a time, until you reach your desired consistency.
- Maple Syrup: A touch of maple syrup adds a final layer of sweetness and complements the chocolate and hazelnut flavors beautifully. You can also use agave nectar as a substitute.
How to Perfectly Roast Hazelnuts
Roasting hazelnuts is a crucial step in developing their flavor and making them easier to peel. The roasting process brings out the natural oils and nutty aroma, resulting in a more complex and delicious taste.
First, preheat your oven to 300°F (150°C).
While the oven is preheating, spread the hazelnuts in a single layer on a rimmed, ungreased baking sheet. Ensure the nuts are evenly distributed to promote consistent roasting.
Bake at 300°F (150°C) for 20 minutes. Keep a close eye on the hazelnuts to prevent burning. The nuts are ready when they are fragrant and the skins begin to crack.
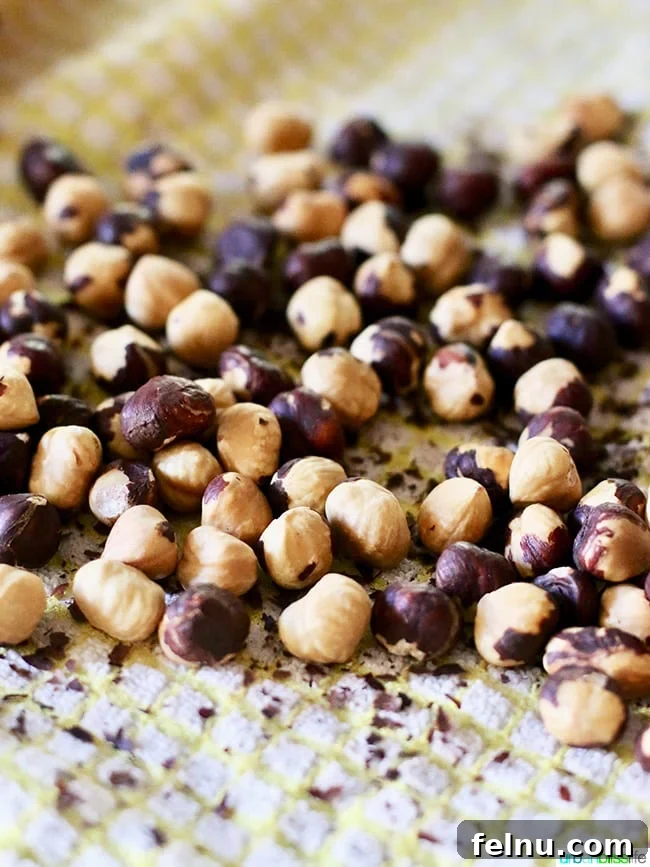
Once roasted, remove the baking sheet from the oven and allow the hazelnuts to cool for 2 to 3 minutes.
Easy Method for Removing Hazelnut Skins
Removing the skins from roasted hazelnuts can be a bit tedious, but it’s essential for achieving a smooth and creamy Nutella. The skins have a slightly bitter taste that can detract from the overall flavor of the spread.
After the hazelnuts have cooled slightly, transfer them to a clean, dry, thick dish cloth. Gently roll the hazelnuts within the cloth, rubbing them against each other to loosen and remove the skins. This usually takes off most of the skins effectively.
Some hazelnuts may stubbornly cling to their skins. In these cases, you’ll need to apply a little more pressure while rubbing them in the cloth. A coarser dish towel with more texture often works best for this step.
Don’t worry if you can’t remove every single piece of skin. A few remaining bits of hazelnut skin won’t significantly affect the taste or texture of the final product.
Step-by-Step Guide to Making the Spread
Now for the exciting part: transforming roasted, peeled hazelnuts into a luscious chocolate hazelnut spread!
Place the de-skinned hazelnuts into a food processor or high-powered blender and process until smooth. This will take approximately 3-4 minutes, depending on the power of your appliance. You’ll initially have a coarse, crumbly mixture, but continue processing until it transforms into a smooth, creamy paste.
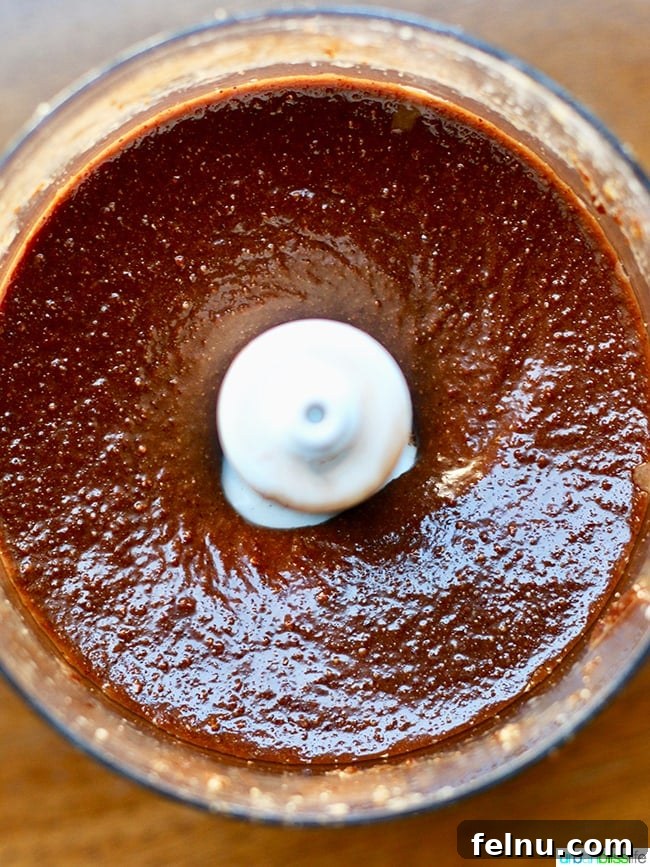
Once the hazelnuts have reached a smooth texture, add the coconut sugar, cocoa powder, melted coconut oil, maple syrup and water.
Process the mixture until the cocoa powder is fully incorporated and the spread develops a rich, beautiful chocolate color. This may take another minute or two. Scrape down the sides of the bowl periodically to ensure even blending.
Use a silicone spatula to transfer the homemade Nutella into a clean glass jar. Store at room temperature or in the refrigerator until you’re ready to indulge!
Recipe FAQs
How can I make my homemade Nutella sweeter?
This recipe already creates a fairly sweet chocolate hazelnut spread. However, you can increase the sweetness by adding half a tablespoon of maple syrup to the food processor, pulse, and then taste the spread. If you prefer a sweeter flavor, repeat with another half tablespoon of maple syrup and pulse until the chocolate hazelnut spread reaches your desired sweetness.
How do I store Nutella?
Store your homemade chocolate hazelnut spread in an airtight glass jar. You can store it at room temperature for up to one week or in the refrigerator for up to three weeks.
Is homemade Nutella a breakfast spread?
While commercial Nutella is often marketed as a breakfast spread, it’s more of a dessert item. Our recipe is made mostly of hazelnuts and cocoa powder but is still a sweet treat that doesn’t offer enough vitamins and minerals to be considered a breakfast food, in my opinion. You can, of course, use this chocolate hazelnut spread on breakfast dishes like pancakes and waffles for a sweet start to the day!
Delicious Ways to Use Homemade Nutella
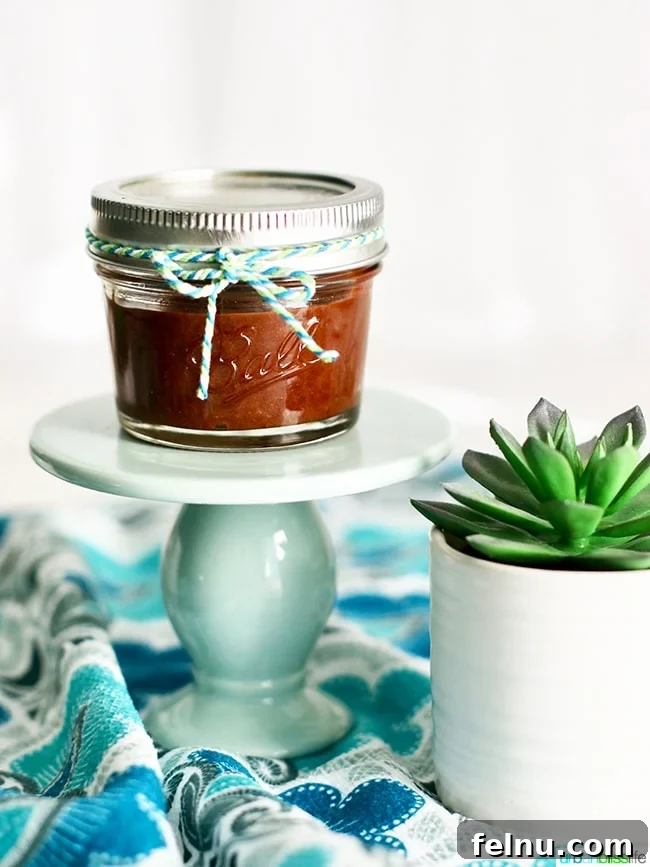
This homemade Nutella is an incredibly versatile chocolate hazelnut spread with endless possibilities. Here are just a few ideas to get you started:
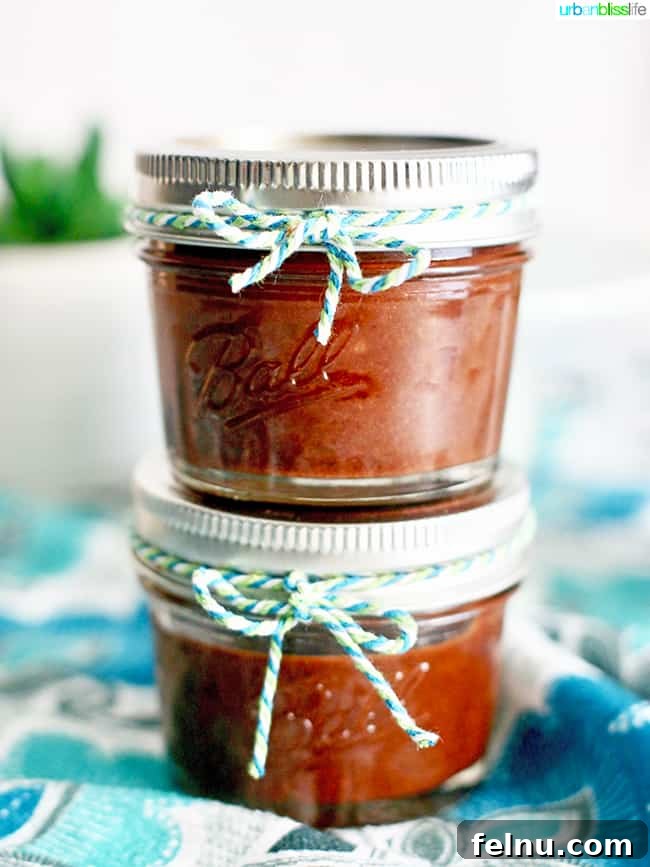
- Holiday Gifts: Package the homemade Nutella in attractive mason jars and give as holiday gifts to friends and family. It’s a thoughtful and personalized present that everyone will appreciate.
- Breakfast Treat: Spread the Nutella onto waffles, pancakes, and french toast for a fun and indulgent breakfast. It’s a guaranteed way to start the day with a smile.
- S’mores Upgrade: Elevate your s’mores by spreading homemade Nutella onto graham crackers before adding marshmallows and chocolate. The hazelnut flavor adds a delicious twist to this classic campfire treat.
- Dessert Board Dip: Include a jar of homemade Nutella on a Valentine’s Day Dessert Board as a decadent dip for cookies, fruit, and other sweets.
- Dessert Drizzle: Use the Nutella as a drizzle over ice cream, cakes, and pies to add a touch of chocolate hazelnut magic.
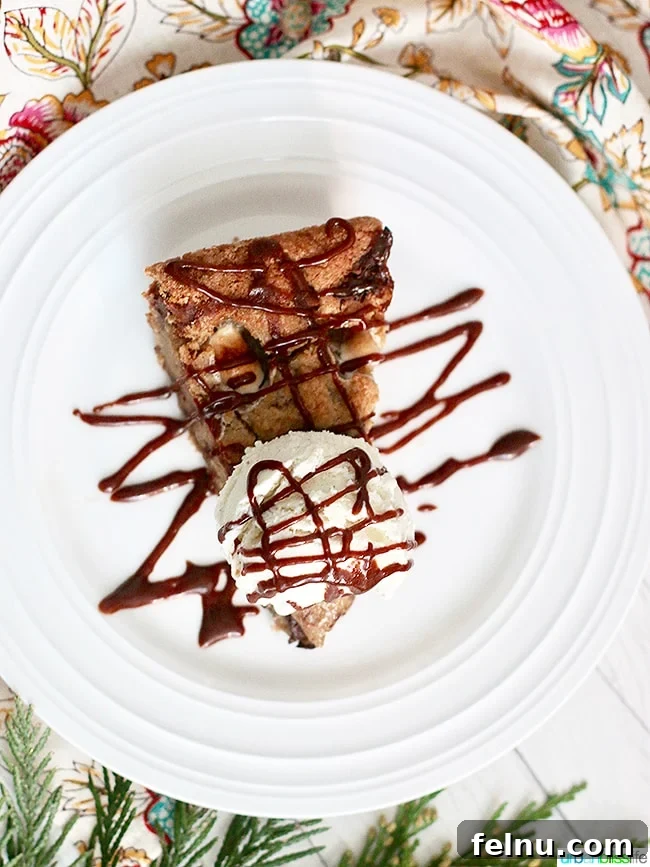
Most recently, I drizzled it over a crazy tasty S’mores Skillet Cookie. The homemade Nutella drizzle took this already delicious dessert to the next level of decadence!
More Irresistible Dessert Recipes
Looking for more dessert inspiration? Here are a few of my favorite recipes:
- S’mores Skillet Cookie
- Chocolate Chip Bars
- Vegan Chocolate Cake
- Apple Pie Bars
- Vegan Chocolate Mousse
- Unicorn Magic Shell for Ice Cream Cake
Homemade Nutella Recipe (Chocolate Hazelnut Spread)
Prep Time: 20 mins
Cook Time: 20 mins
Servings: 12
Ingredients:
- 1 ½ cups hazelnuts
- ½ cup coconut sugar
- 2 tablespoons cocoa powder
- 1 tablespoon coconut oil, melted
- ¼ cup water
- 1 ½ tablespoons maple syrup
Instructions:
- Preheat oven to 300° F.
- Spread hazelnuts onto an ungreased, rimmed baking sheet.
- Bake at 300 degrees in the middle rack for 20 minutes.
- Remove from the oven and allow to cool at room temperature for 2-3 minutes.
- Place hazelnuts onto a clean thick dish towel, then rub hazelnuts against the towel to remove the skins.
- Place de-skinned hazelnuts into a food processor and process until smooth.
- Once the hazelnuts are a smooth texture, add the coconut sugar, cocoa powder, melted coconut oil, and water.
Process until the cocoa powder combines fully and the mixture is now a beautiful chocolate color. - To add sweetness, start by adding a half tablespoon of maple syrup, pulse, then stop the food processor and taste
the spread. If you prefer the spread to be sweeter, repeat with another half tablespoon of maple syrup and pulse,
until the chocolate hazelnut spread reaches the level of sweetness you prefer.
Notes:
Makes about 1 to 1.5 cups, enough to use as a dip or drizzle of about 12 to 15 servings.
Storage: Store in an airtight container at room temperature for up to one week, or in the refrigerator for up to three weeks.
Nutrition (per serving):
- Calories: 135 kcal
- Carbohydrates: 10g
- Protein: 2g
- Fat: 10g
- Saturated Fat: 2g
- Polyunsaturated Fat: 1g
- Monounsaturated Fat: 7g
- Sodium: 14mg
- Potassium: 120mg
- Fiber: 2g
- Sugar: 7g
- Vitamin A: 3IU
- Vitamin C: 1mg
- Calcium: 21mg
- Iron: 1mg
Pin It for Later