
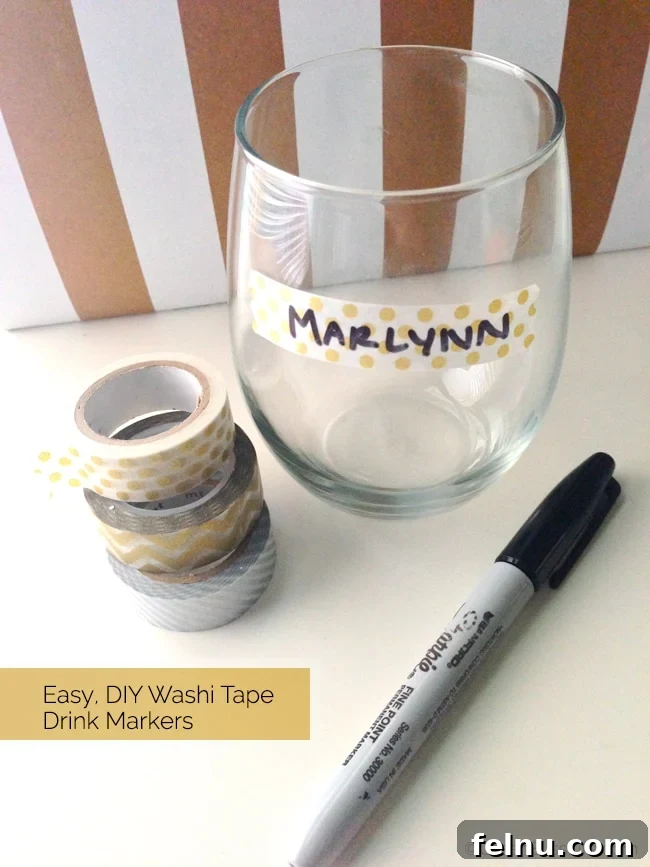
DIY Washi Tape Drink Markers: The Perfect Party Solution
Planning a party and want to add a personal touch while keeping things practical? Tired of guests mixing up their drinks? Look no further! This super simple, inexpensive DIY project is the perfect solution: washi tape drink markers! They’re easy to make, customizable, and a stylish way to keep track of everyone’s glass. This guide will walk you through creating your own unique drink markers, ensuring your next gathering is both chic and organized.
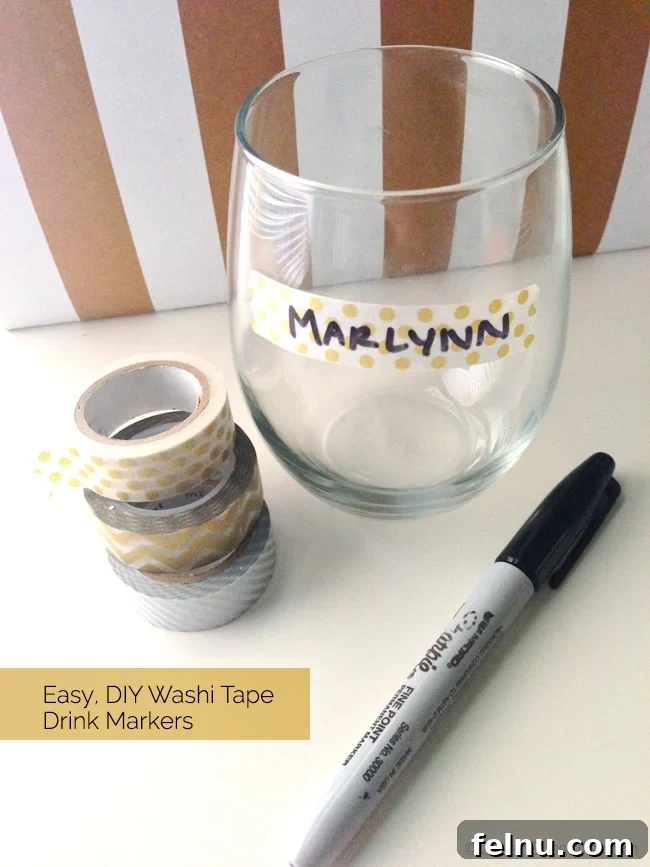
Personalized drink markers add a touch of elegance and prevent mix-ups.
The Problem with Stemless Glasses (and Shared Germs!)
Wine charms and traditional drink tags are fantastic for stemmed glasses, but what about stemless glasses? These modern glasses are increasingly popular for their sleek design and stability. I personally love using stemless wine glasses at parties because they are less prone to spills, especially when you have a lively crowd or kids around. But how do you ensure everyone knows which glass is theirs?
One common solution is to use dry erase markers to write names on the glasses. However, this method has its drawbacks. Dry erase marker smudges and rubs off easily, leading to confusion and potentially sharing drinks. And let’s be honest, in today’s world, nobody wants to accidentally share germs!
The Washi Tape Solution: Simple, Stylish, and Sanitary
Enter washi tape! This versatile and decorative tape is the perfect material for creating personalized drink markers. It’s easy to apply, removable, and comes in a wide variety of colors and patterns. Paired with a Sharpie, you have a winning combination for stylish and practical drink identification.
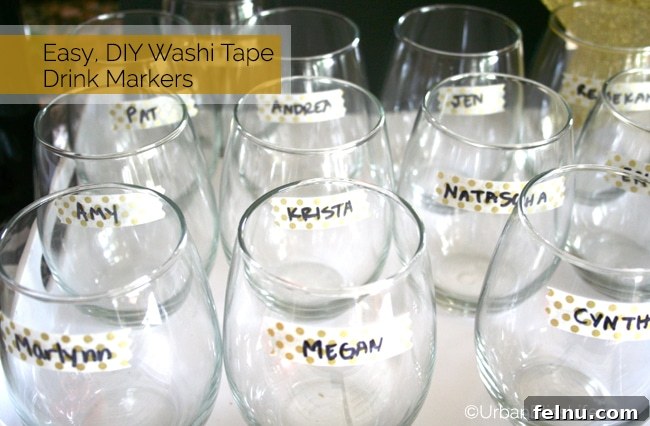
Washi tape adds a pop of color and prevents drink mix-ups without the smudge of dry erase markers.
This DIY project is incredibly simple, fast, and adds a touch of personalized charm to your party decor. You can easily color-coordinate the washi tape with your party theme, making it a cohesive and stylish element of your celebration. Plus, it’s a budget-friendly option that won’t break the bank.
What You’ll Need: Your Washi Tape Drink Marker Toolkit
The beauty of this project lies in its simplicity. You only need a few basic supplies:
- Washi Tape: Choose a variety of colors and patterns to match your party theme. Consider using different widths for added visual interest.
- Scissors: Regular scissors will work just fine, but pinking shears can add a fun, decorative edge to your washi tape strips.
- Sharpie Pen: A fine-tipped Sharpie is ideal for writing names or initials on the washi tape. Opt for a contrasting color to ensure readability.
Step-by-Step Guide: Creating Your Washi Tape Drink Markers
Ready to get started? Follow these simple steps to create your own washi tape drink markers:
- Prepare Your Materials: Gather your washi tape, scissors (or pinking shears), and Sharpie pen.
- Cut the Washi Tape: Cut a strip of washi tape approximately 2-3 inches long. If using pinking shears, carefully cut along the edge of the tape to create a decorative edge. You can also simply tear the tape for a more rustic look.
- Write the Name: Using your Sharpie pen, carefully write the guest’s name or initials on the washi tape strip. Ensure the ink is dry before proceeding to the next step.
- Apply to the Glass: Carefully peel the washi tape strip from the backing and gently adhere it to the glass. Position the tape near the top of the glass, leaving enough space for comfortable drinking.
- Repeat: Repeat steps 2-4 for each guest, ensuring each glass is clearly marked with a unique name.
Tips and Tricks for Washi Tape Drink Marker Success
Here are a few extra tips to ensure your washi tape drink markers are a hit:
- Choose the Right Washi Tape: Opt for washi tape with a strong adhesive to ensure it stays securely attached to the glass throughout the party.
- Consider Your Glassware: If you’re using a variety of glass shapes and sizes, adjust the length of the washi tape strips accordingly.
- Get Creative with Colors and Patterns: Don’t be afraid to experiment with different colors and patterns of washi tape to create a visually appealing display.
- Personalize with Embellishments: Add small embellishments like glitter, stickers, or stamps to further personalize the drink markers.
- Prepare in Advance: To save time on the day of the party, prepare the washi tape drink markers in advance.
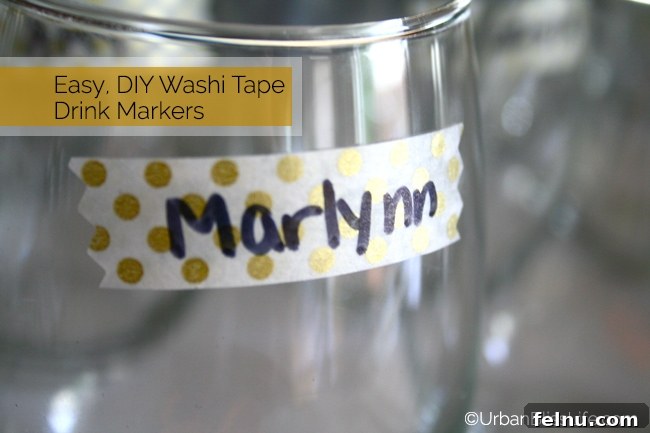
A close-up of the finished product: a simple, elegant, and personalized drink marker.
Cleanup is a Breeze!
One of the best things about using washi tape is that it’s incredibly easy to remove. When the party’s over, simply peel the tape off the glasses. It leaves no residue and won’t damage your glassware. No muss, no fuss!
Beyond the Basics: Creative Variations and Ideas
While the basic washi tape drink marker is a fantastic solution, there are plenty of ways to get creative and customize this project to suit your personal style and party theme:
- Themed Parties: Choose washi tape patterns that match the theme of your party. For a nautical party, use blue and white striped washi tape. For a holiday party, use festive patterns like snowflakes or reindeer.
- Color Coding: Assign different colors of washi tape to different types of drinks. This is especially helpful if you’re serving a variety of cocktails or non-alcoholic beverages.
- Initial Instead of Names: If you prefer a more subtle look, use initials instead of full names on the washi tape.
- Decorative Scissors: Experiment with different types of decorative scissors to create unique edges on the washi tape strips.
- Washi Tape Flags: Create small washi tape flags by folding the tape over a toothpick or skewer. These flags can be inserted into cocktails or used to decorate appetizers.
Why Choose Washi Tape Drink Markers?
Washi tape drink markers offer a multitude of benefits compared to other drink identification methods:
- Cost-Effective: Washi tape is relatively inexpensive, making it a budget-friendly option for party planning.
- Easy to Use: This DIY project is simple and requires minimal effort, making it perfect for busy hosts.
- Customizable: Washi tape comes in a wide variety of colors, patterns, and widths, allowing you to create personalized drink markers that match your party theme.
- Removable: Washi tape is easy to remove and leaves no residue, making cleanup a breeze.
- Stylish: Washi tape adds a touch of personalized charm and style to your party decor.
- Hygienic: Prevents drink sharing and minimizes the spread of germs.
In Conclusion: Elevate Your Party with DIY Washi Tape Drink Markers
Washi tape drink markers are a simple, stylish, and practical solution for ensuring your guests know which glass is theirs. This easy DIY project is perfect for any party, from casual gatherings to formal celebrations. So, ditch the dry erase markers and embrace the versatility of washi tape! Your guests (and your glassware) will thank you.
Do you have any other fun and easy ways to mark either stemless glasses or stemmed glasses at parties? Share your ideas in the comments below!
More DIY Projects and Party Inspiration
- DIY Coasters
- Party Decoration Ideas
- Easy Appetizer Recipes
- Cocktail Recipes for a Crowd
- Printable Party Games
- DIY Party Favors
- Budget-Friendly Party Tips